fuse FIAT MULTIPLA 2004 1.G Connect NavPlus Manual
[x] Cancel search | Manufacturer: FIAT, Model Year: 2004, Model line: MULTIPLA, Model: FIAT MULTIPLA 2004 1.GPages: 202, PDF Size: 2.22 MB
Page 7 of 202
6
CONNECT NAV
NAVIGATOR
S S
E E
C C
U U
R R
I I
T T
Y Y
GENERAL
The satellite navigator is equipped
with a four-digit secret security code.
This ensures that the system cannot
be used if it is removed from the dash-
board (i.e. stolen).CODE CARD
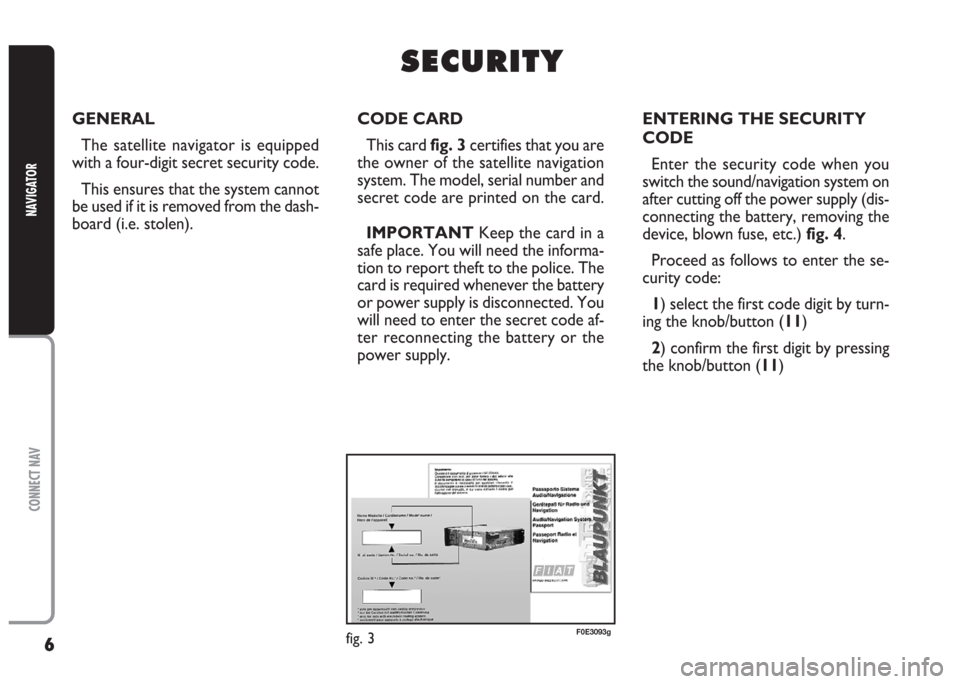
This card fig. 3 certifies that you are
the owner of the satellite navigation
system. The model, serial number and
secret code are printed on the card.
IMPORTANTKeep the card in a
safe place. You will need the informa-
tion to report theft to the police. The
card is required whenever the battery
or power supply is disconnected. You
will need to enter the secret code af-
ter reconnecting the battery or the
power supply.ENTERING THE SECURITY
CODE
Enter the security code when you
switch the sound/navigation system on
after cutting off the power supply (dis-
connecting the battery, removing the
device, blown fuse, etc.) fig. 4.
Proceed as follows to enter the se-
curity code:
1) select the first code digit by turn-
ing the knob/button (11)
2) confirm the first digit by pressing
the knob/button (11)
fig. 3F0E3093g
Page 10 of 202
9
CONNECT NAV
NAVIGATOR
AUDIO SECTION
– Separate bass/treble settings.
– Right/left and front/rear channel
balance.
– Automatic LOUDNESS function.SATELLITE NAVIGATION
SECTION
– Voice messages for the route to
be followed.
– Driving advice, distance and
probable time required to reach the
destination on the display.
– Possibility of entering special or
different destinations.
– Possibility of storing destinations.Fuses
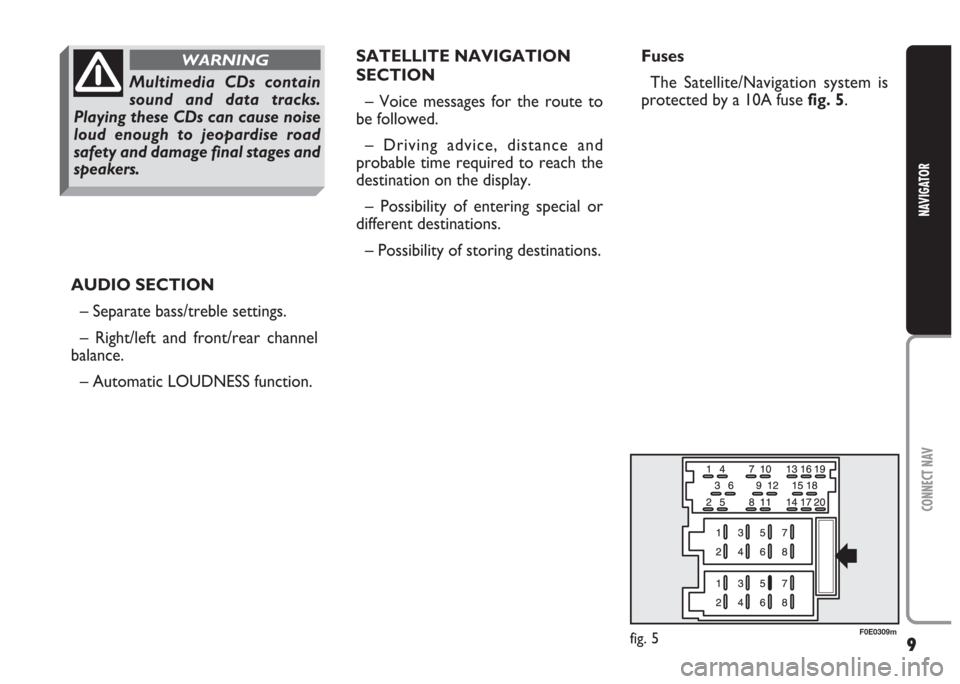
The Satellite/Navigation system is
protected by a 10A fuse fig. 5.
fig. 5F0E0309m
Multimedia CDs contain
sound and data tracks.
Playing these CDs can cause noise
loud enough to jeopardise road
safety and damage final stages and
speakers.
WARNING
Page 172 of 202
171
CONNECT NAV
NAVIGATOR
5) turn the knob/button (11) to se-
lect the required setting (ON or OFF)
6)press the knob/button (11) to
confirm: the display will show the
phone setup menu.
Refusing a call
To refuse a call, press ESC (9).
The caller will hear the busy line sig-
nal.
Ending a call
To end a call, press
£(15).
Redialling
Using the list of last called number
it is possible to redial a number (see
“Selecting a number from the list of
last called numbers” in this section).TELEPHONE CALLS TO
FOREIGN COUNTRIES
The GSM international standard en-
ables to call foreign countries.
The prerequisite is the existence of
a roaming agreement between
providers.
Check that your network provider
allows to use the SIM card in roam-
ing conditions.
The network provider can provide
you with the list of countries having lo-
cal network providers and the differ-
ent tariffs.
IMPORTANT To call abroad con-
tact immediately your network
provider and remember that your SIM
card shall be enabled for calls in roam-
ing conditions.Proceed as follows:
1) dial the international dialling code
of the required country
2) dial the area code without di-
allingthe first “0” and then dial the
phone number
IMPORTANT the first two figures
of the international dialling code can
be replaced by symbol “
+”
Example
International code of
the required country: 0039
Italy
Area dialling code: 011 Torino
Phone number: 12…. Office
Dialled number: +391112706..
Page 174 of 202
173
CONNECT NAV
NAVIGATOR
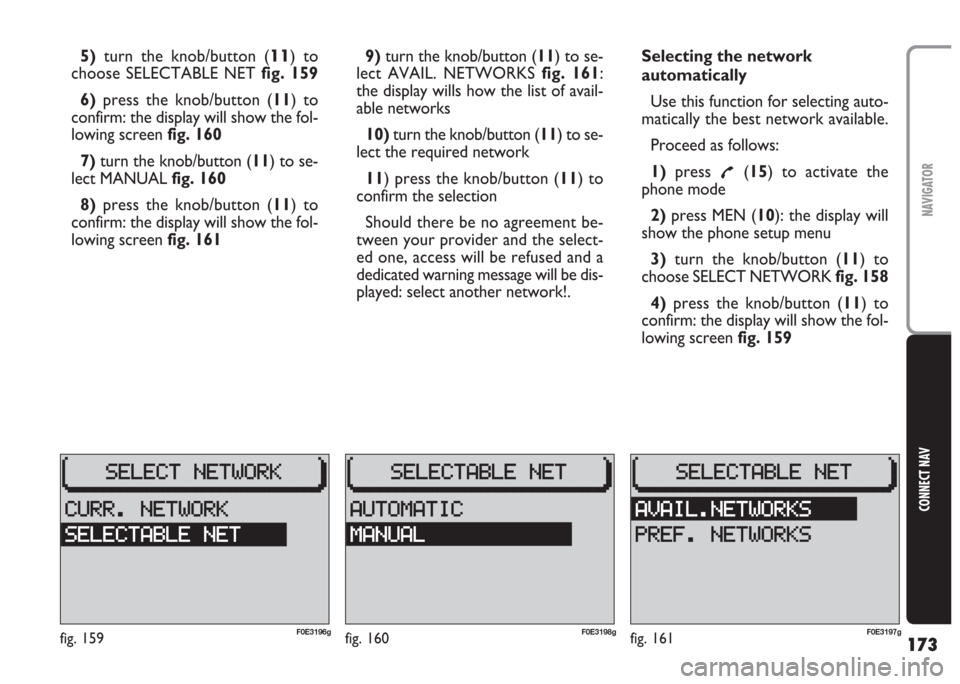
5)turn the knob/button (11) to
choose SELECTABLE NET fig. 159
6) press the knob/button (11) to
confirm: the display will show the fol-
lowing screen fig. 160
7)turn the knob/button (11) to se-
lect MANUAL fig. 160
8)press the knob/button (11) to
confirm: the display will show the fol-
lowing screen fig. 1619)turn the knob/button (11) to se-
lect AVAIL. NETWORKS fig. 161:
the display wills how the list of avail-
able networks
10)turn the knob/button (11) to se-
lect the required network
11) press the knob/button (11) to
confirm the selection
Should there be no agreement be-
tween your provider and the select-
ed one, access will be refused and a
dedicated warning message will be dis-
played: select another network!.Selecting the network
automatically
Use this function for selecting auto-
matically the best network available.
Proceed as follows:
1)press
£(15) to activate the
phone mode
2)press MEN (10): the display will
show the phone setup menu
3)turn the knob/button (11) to
choose SELECT NETWORK fig. 158
4)press the knob/button (11) to
confirm: the display will show the fol-
lowing screen fig. 159
fig. 159F0E3196gfig. 160F0E3198gfig. 161F0E3197g
Page 196 of 202
195
CONNECT NAV
NAVIGATOR
A A
N N
T T
I I
T T
H H
E E
F F
T T
P P
R R
O O
T T
E E
C C
T T
I I
O O
N N
S S
Y Y
S S
T T
E E
M M
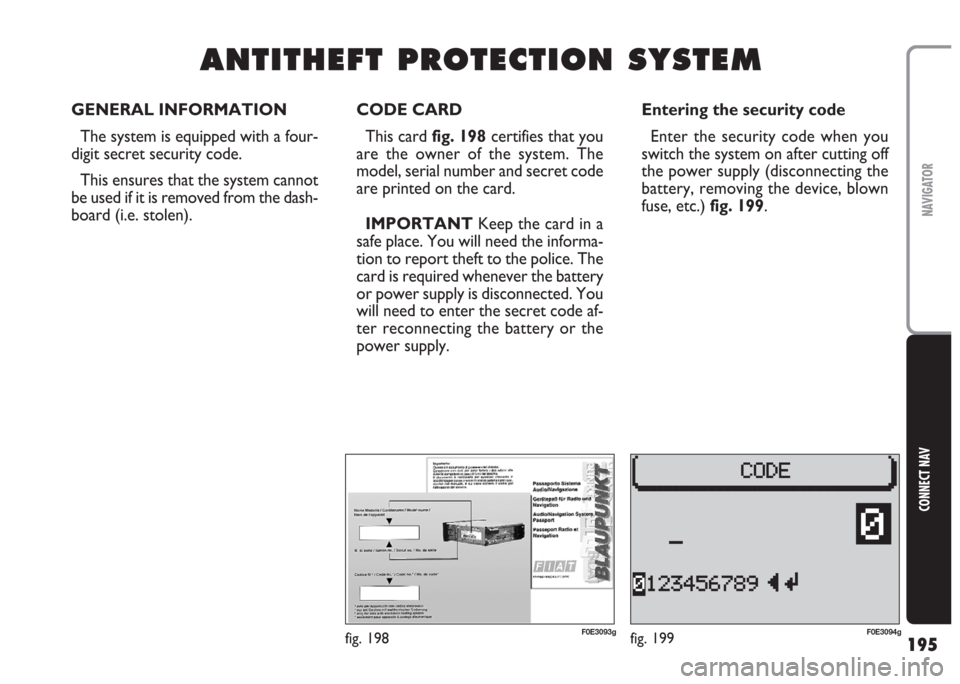
CODE CARD
This card fig. 198certifies that you
are the owner of the system. The
model, serial number and secret code
are printed on the card.
IMPORTANT Keep the card in a
safe place. You will need the informa-
tion to report theft to the police. The
card is required whenever the battery
or power supply is disconnected. You
will need to enter the secret code af-
ter reconnecting the battery or the
power supply.Entering the security code
Enter the security code when you
switch the system on after cutting off
the power supply (disconnecting the
battery, removing the device, blown
fuse, etc.) fig. 199.
fig. 199F0E3094gfig. 198F0E3093g
GENERAL INFORMATION
The system is equipped with a four-
digit secret security code.
This ensures that the system cannot
be used if it is removed from the dash-
board (i.e. stolen).
Page 200 of 202
199
CONNECT NAV
NAVIGATOR
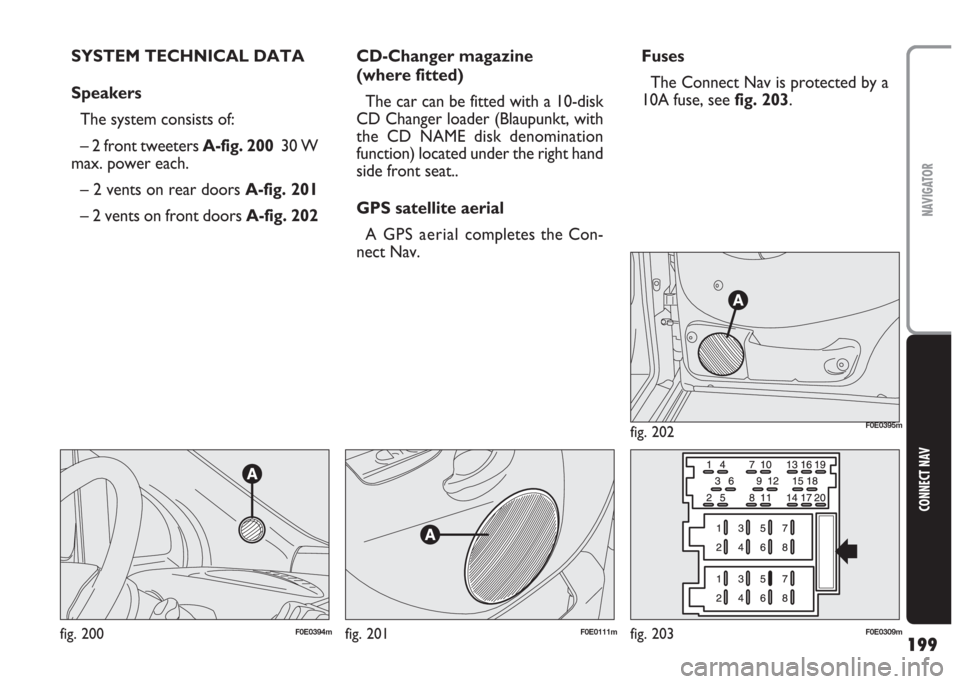
SYSTEM TECHNICAL DATA
Speakers
The system consists of:
– 2 front tweeters A-fig. 200 30 W
max. power each.
– 2 vents on rear doors A-fig. 201
– 2 vents on front doors A-fig. 202CD-Changer magazine
(where fitted)
The car can be fitted with a 10-disk
CD Changer loader (Blaupunkt, with
the CD NAME disk denomination
function) located under the right hand
side front seat..
GPS satellite aerial
A GPS aerial completes the Con-
nect Nav.Fuses
The Connect Nav is protected by a
10A fuse, see fig. 203.
fig. 200F0E0394mfig. 201F0E0111m
fig. 202F0E0395m
fig. 203F0E0309m