key FORD BRONCO 2023 Service Manual
[x] Cancel search | Manufacturer: FORD, Model Year: 2023, Model line: BRONCO, Model: FORD BRONCO 2023Pages: 642, PDF Size: 14.71 MB
Page 451 of 642
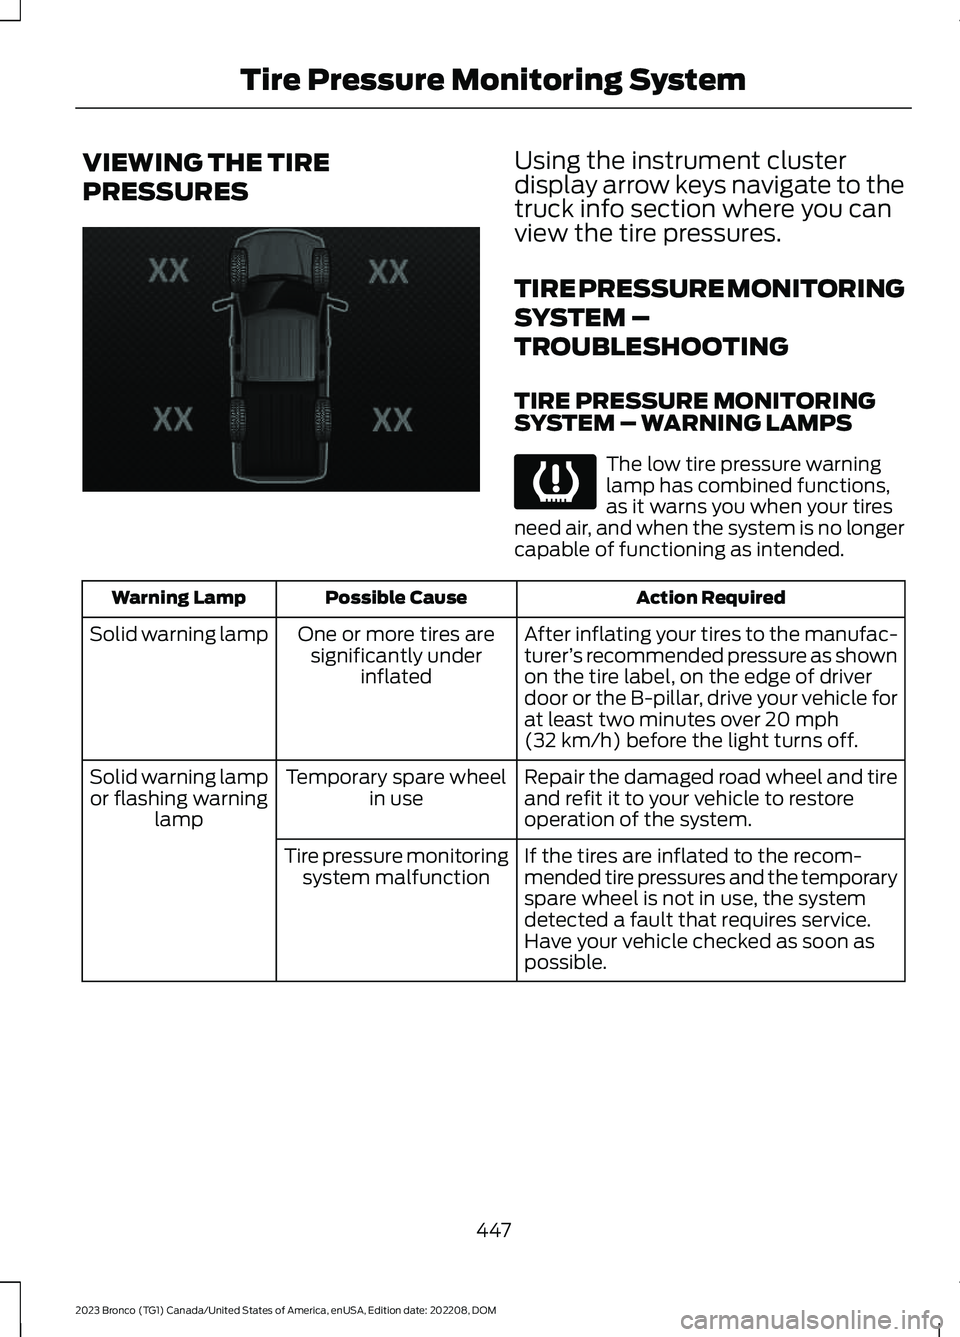
VIEWING THE TIRE
PRESSURES
Using the instrument clusterdisplay arrow keys navigate to thetruck info section where you canview the tire pressures.
TIRE PRESSURE MONITORING
SYSTEM –
TROUBLESHOOTING
TIRE PRESSURE MONITORINGSYSTEM – WARNING LAMPS
The low tire pressure warninglamp has combined functions,as it warns you when your tiresneed air, and when the system is no longercapable of functioning as intended.
Action RequiredPossible CauseWarning Lamp
After inflating your tires to the manufac-turer’s recommended pressure as shownon the tire label, on the edge of driverdoor or the B-pillar, drive your vehicle forat least two minutes over 20 mph(32 km/h) before the light turns off.
One or more tires aresignificantly underinflated
Solid warning lamp
Repair the damaged road wheel and tireand refit it to your vehicle to restoreoperation of the system.
Temporary spare wheelin useSolid warning lampor flashing warninglamp
If the tires are inflated to the recom-mended tire pressures and the temporaryspare wheel is not in use, the systemdetected a fault that requires service.Have your vehicle checked as soon aspossible.
Tire pressure monitoringsystem malfunction
447
2023 Bronco (TG1) Canada/United States of America, enUSA, Edition date: 202208, DOMTire Pressure Monitoring SystemE224333 E139232
Page 455 of 642
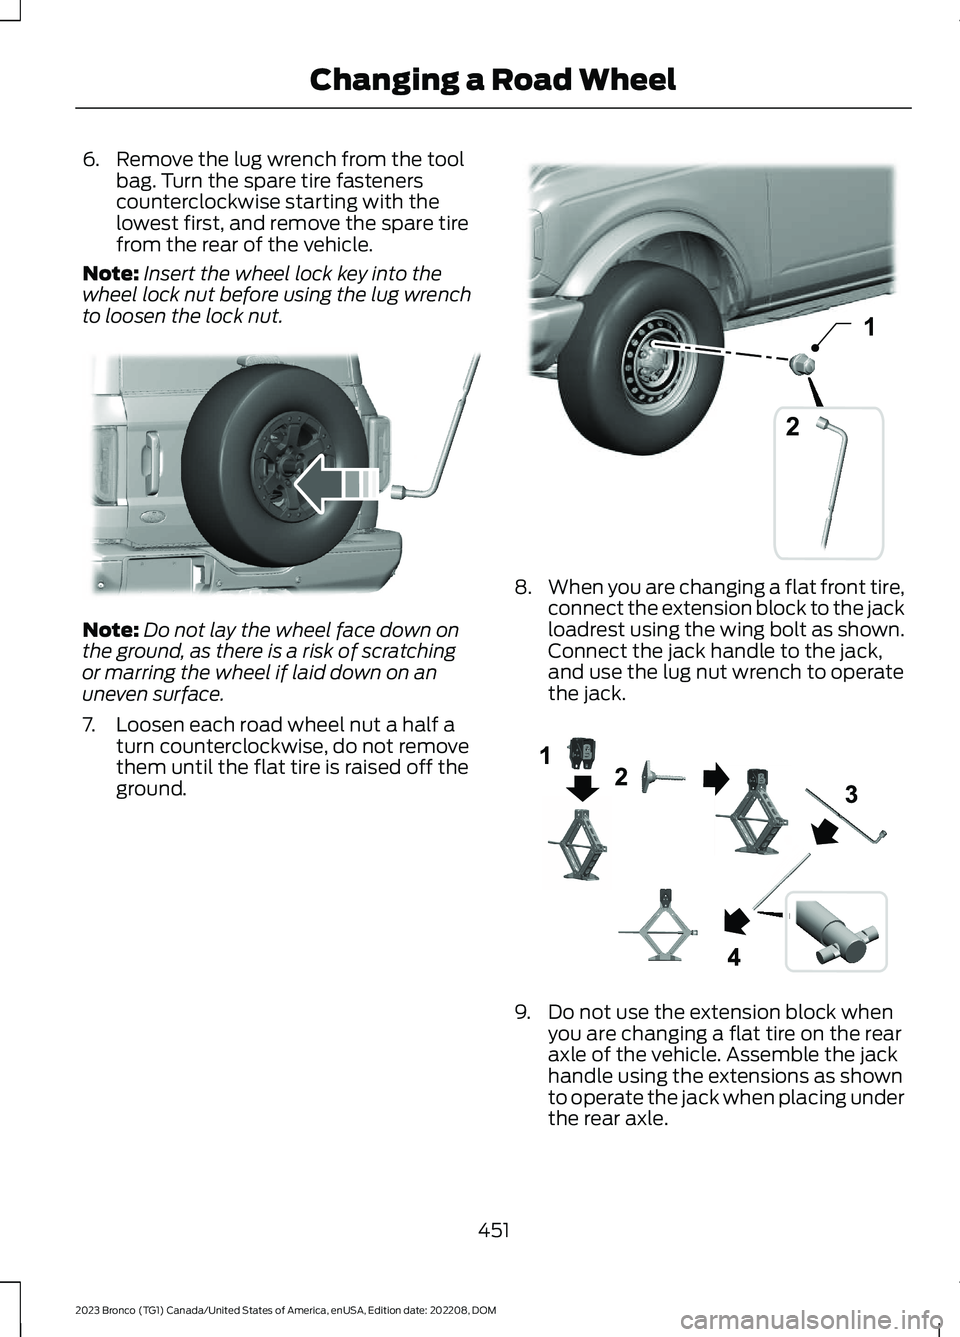
6.Remove the lug wrench from the toolbag. Turn the spare tire fastenerscounterclockwise starting with thelowest first, and remove the spare tirefrom the rear of the vehicle.
Note:Insert the wheel lock key into thewheel lock nut before using the lug wrenchto loosen the lock nut.
Note:Do not lay the wheel face down onthe ground, as there is a risk of scratchingor marring the wheel if laid down on anuneven surface.
7.Loosen each road wheel nut a half aturn counterclockwise, do not removethem until the flat tire is raised off theground.
8.When you are changing a flat front tire,connect the extension block to the jackloadrest using the wing bolt as shown.Connect the jack handle to the jack,and use the lug nut wrench to operatethe jack.
9.Do not use the extension block whenyou are changing a flat tire on the rearaxle of the vehicle. Assemble the jackhandle using the extensions as shownto operate the jack when placing underthe rear axle.
451
2023 Bronco (TG1) Canada/United States of America, enUSA, Edition date: 202208, DOMChanging a Road WheelE328591 12E328732 E330077
Page 459 of 642
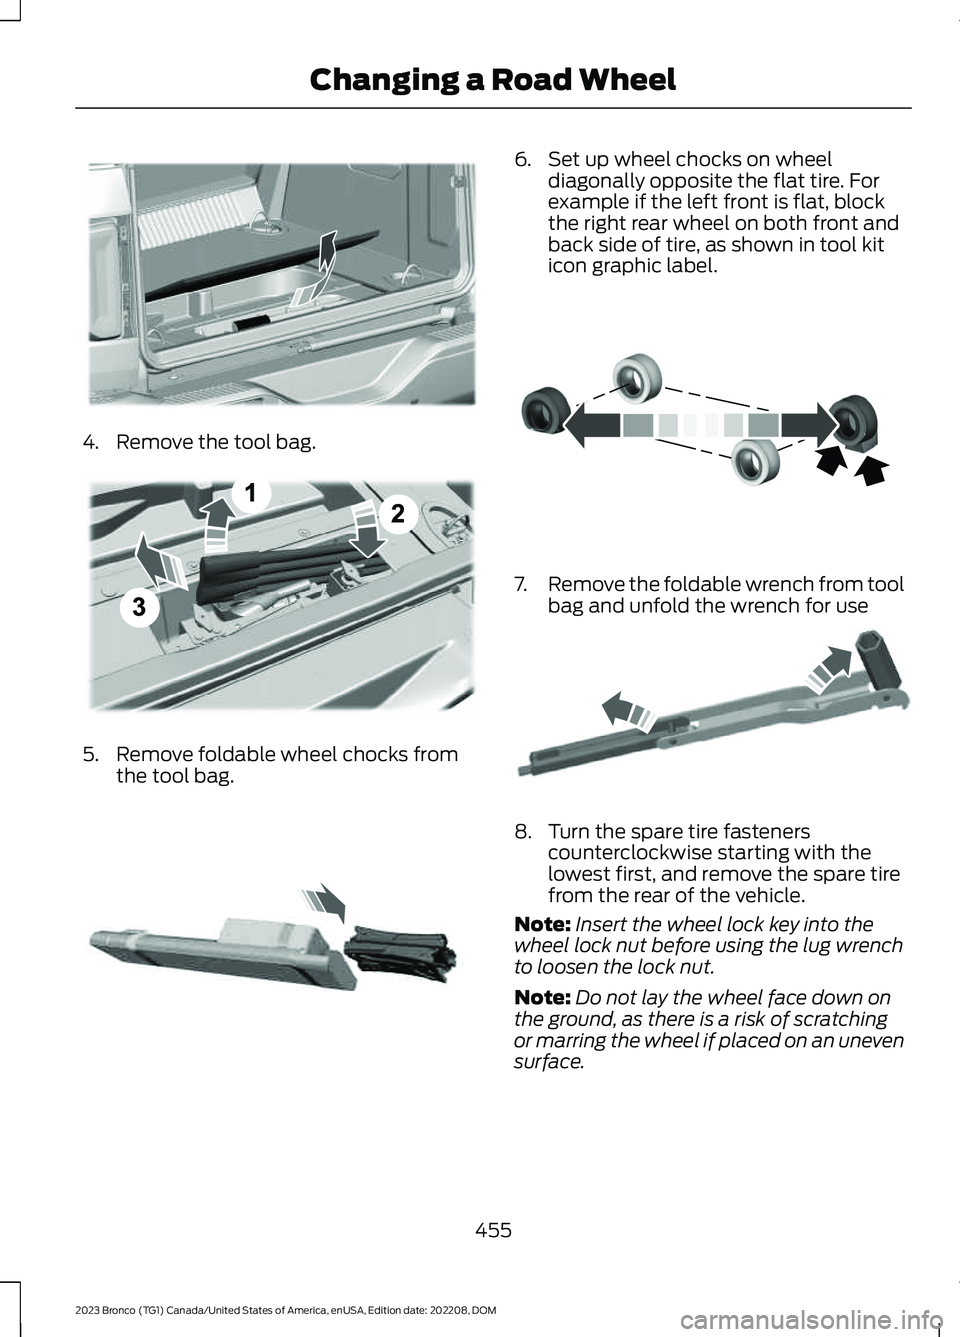
4.Remove the tool bag.
5.Remove foldable wheel chocks fromthe tool bag.
6.Set up wheel chocks on wheeldiagonally opposite the flat tire. Forexample if the left front is flat, blockthe right rear wheel on both front andback side of tire, as shown in tool kiticon graphic label.
7.Remove the foldable wrench from toolbag and unfold the wrench for use
8.Turn the spare tire fastenerscounterclockwise starting with thelowest first, and remove the spare tirefrom the rear of the vehicle.
Note:Insert the wheel lock key into thewheel lock nut before using the lug wrenchto loosen the lock nut.
Note:Do not lay the wheel face down onthe ground, as there is a risk of scratchingor marring the wheel if placed on an unevensurface.
455
2023 Bronco (TG1) Canada/United States of America, enUSA, Edition date: 202208, DOMChanging a Road WheelE324358 E343390 E370176 E370177 E181744
Page 502 of 642
CENTER DISPLAY
PRECAUTIONS
WARNING: Driving while distractedcan result in loss of vehicle control, crashand injury. We strongly recommend thatyou use extreme caution when using anydevice that may take your focus off theroad. Your primary responsibility is thesafe operation of your vehicle. Werecommend against the use of anyhand-held device while driving andencourage the use of voice-operatedsystems when possible. Make sure youare aware of all applicable local lawsthat may affect the use of electronicdevices while driving.
CENTER DISPLAY
LIMITATIONS
Speed-restricted Features
For your safety, some features are notavailable while the vehicle is in motion ator above 5 mph (8 km/h). Settings thatare not critical while driving your vehicleare shown as restricted on your display.Some of these settings include:
•Software updates.
•Personal profiles setup.
•Valet mode setup.
•Driver assistance settings.
•MyKey setup.
•Door keypad code setup.
These restricted features becomeavailable when your vehicle is no longer inmotion.
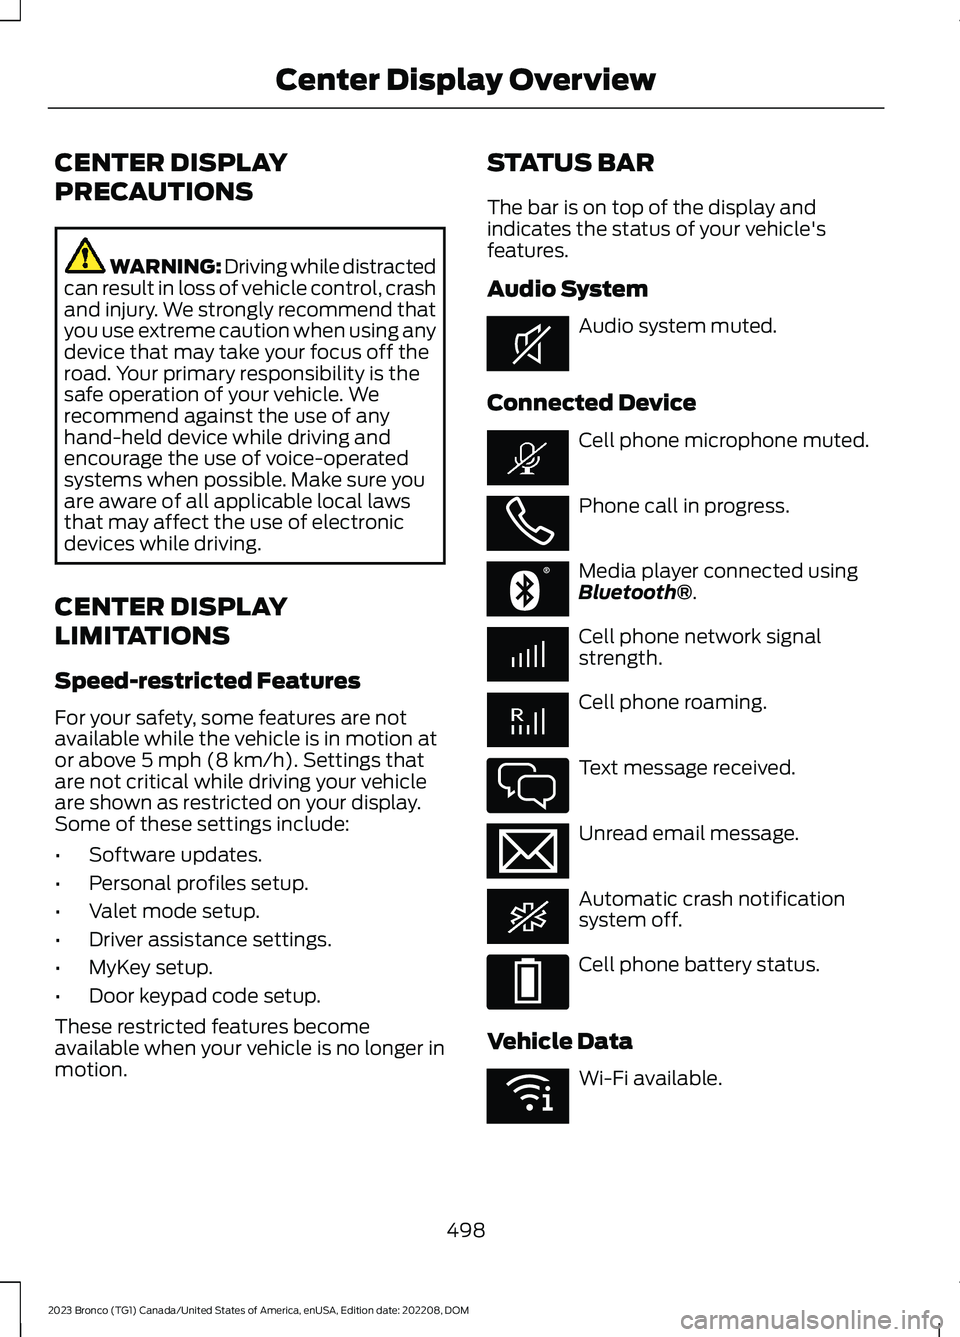
STATUS BAR
The bar is on top of the display andindicates the status of your vehicle'sfeatures.
Audio System
Audio system muted.
Connected Device
Cell phone microphone muted.
Phone call in progress.
Media player connected usingBluetooth®.
Cell phone network signalstrength.
Cell phone roaming.
Text message received.
Unread email message.
Automatic crash notificationsystem off.
Cell phone battery status.
Vehicle Data
Wi-Fi available.
498
2023 Bronco (TG1) Canada/United States of America, enUSA, Edition date: 202208, DOMCenter Display OverviewE353221 E353213 E353208 E335295 E353216 E335293 E353219
Page 509 of 642
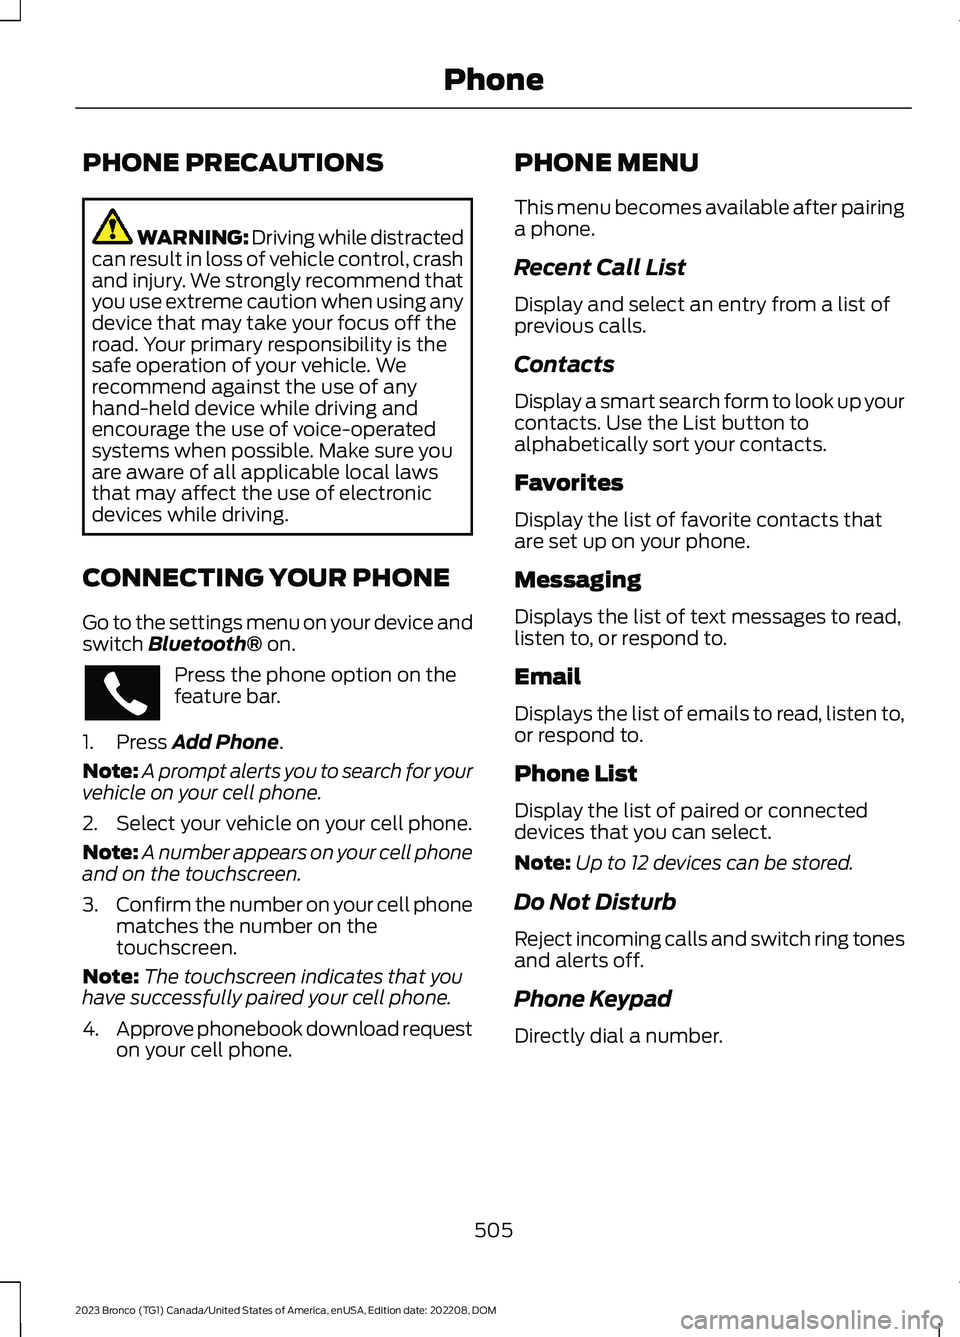
PHONE PRECAUTIONS
WARNING: Driving while distractedcan result in loss of vehicle control, crashand injury. We strongly recommend thatyou use extreme caution when using anydevice that may take your focus off theroad. Your primary responsibility is thesafe operation of your vehicle. Werecommend against the use of anyhand-held device while driving andencourage the use of voice-operatedsystems when possible. Make sure youare aware of all applicable local lawsthat may affect the use of electronicdevices while driving.
CONNECTING YOUR PHONE
Go to the settings menu on your device andswitch Bluetooth® on.
Press the phone option on thefeature bar.
1.Press Add Phone.
Note:A prompt alerts you to search for yourvehicle on your cell phone.
2.Select your vehicle on your cell phone.
Note:A number appears on your cell phoneand on the touchscreen.
3.Confirm the number on your cell phonematches the number on thetouchscreen.
Note:The touchscreen indicates that youhave successfully paired your cell phone.
4.Approve phonebook download requeston your cell phone.
PHONE MENU
This menu becomes available after pairinga phone.
Recent Call List
Display and select an entry from a list ofprevious calls.
Contacts
Display a smart search form to look up yourcontacts. Use the List button toalphabetically sort your contacts.
Favorites
Display the list of favorite contacts thatare set up on your phone.
Messaging
Displays the list of text messages to read,listen to, or respond to.
Email
Displays the list of emails to read, listen to,or respond to.
Phone List
Display the list of paired or connecteddevices that you can select.
Note:Up to 12 devices can be stored.
Do Not Disturb
Reject incoming calls and switch ring tonesand alerts off.
Phone Keypad
Directly dial a number.
505
2023 Bronco (TG1) Canada/United States of America, enUSA, Edition date: 202208, DOMPhone
Page 511 of 642
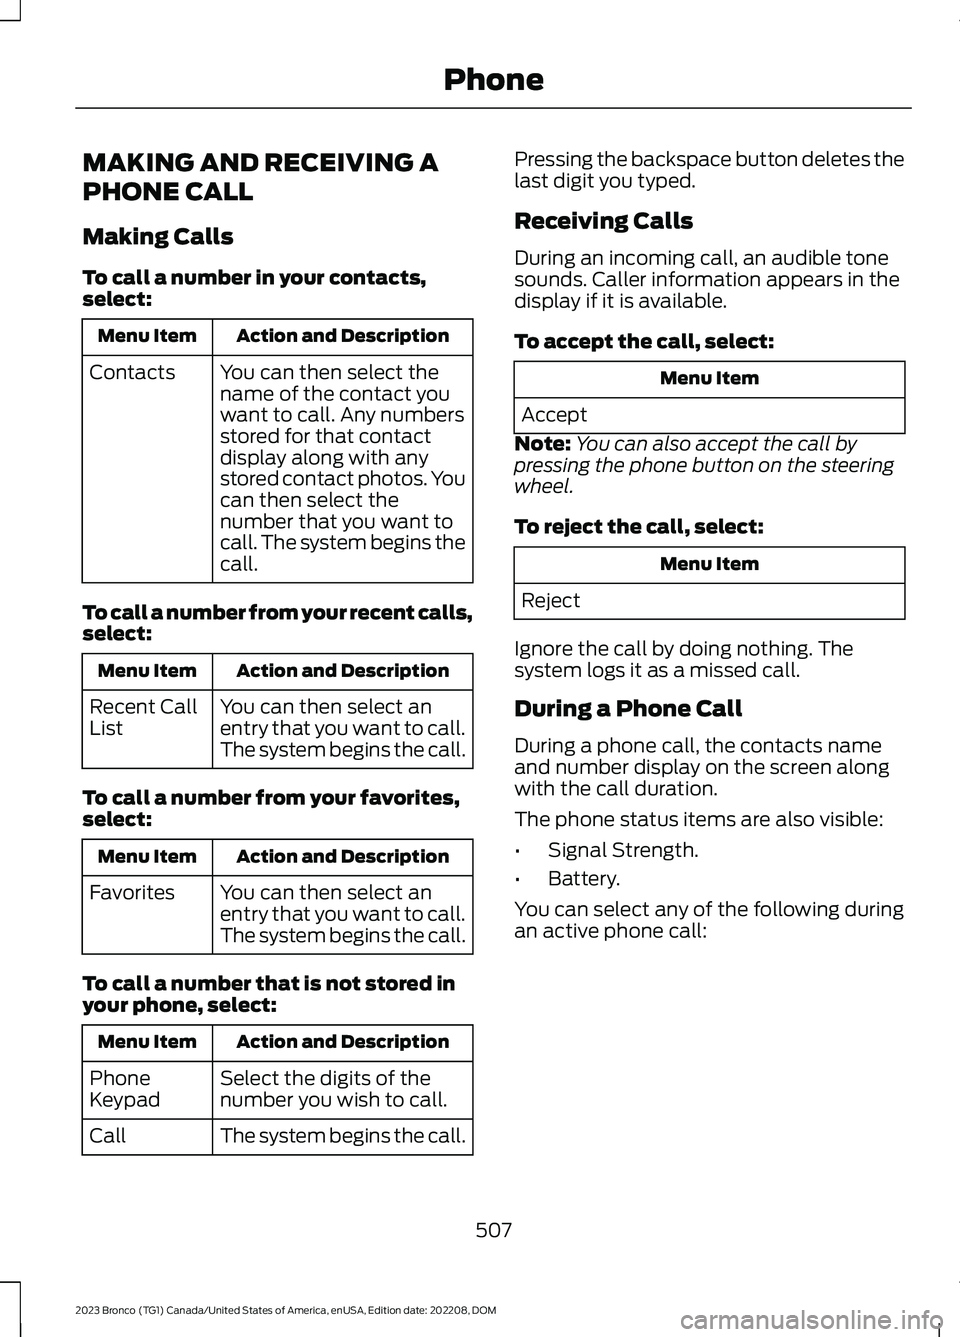
MAKING AND RECEIVING A
PHONE CALL
Making Calls
To call a number in your contacts,select:
Action and DescriptionMenu Item
You can then select thename of the contact youwant to call. Any numbersstored for that contactdisplay along with anystored contact photos. Youcan then select thenumber that you want tocall. The system begins thecall.
Contacts
To call a number from your recent calls,select:
Action and DescriptionMenu Item
You can then select anentry that you want to call.The system begins the call.
Recent CallList
To call a number from your favorites,select:
Action and DescriptionMenu Item
You can then select anentry that you want to call.The system begins the call.
Favorites
To call a number that is not stored inyour phone, select:
Action and DescriptionMenu Item
Select the digits of thenumber you wish to call.PhoneKeypad
The system begins the call.Call
Pressing the backspace button deletes thelast digit you typed.
Receiving Calls
During an incoming call, an audible tonesounds. Caller information appears in thedisplay if it is available.
To accept the call, select:
Menu Item
Accept
Note:You can also accept the call bypressing the phone button on the steeringwheel.
To reject the call, select:
Menu Item
Reject
Ignore the call by doing nothing. Thesystem logs it as a missed call.
During a Phone Call
During a phone call, the contacts nameand number display on the screen alongwith the call duration.
The phone status items are also visible:
•Signal Strength.
•Battery.
You can select any of the following duringan active phone call:
507
2023 Bronco (TG1) Canada/United States of America, enUSA, Edition date: 202208, DOMPhone
Page 512 of 642
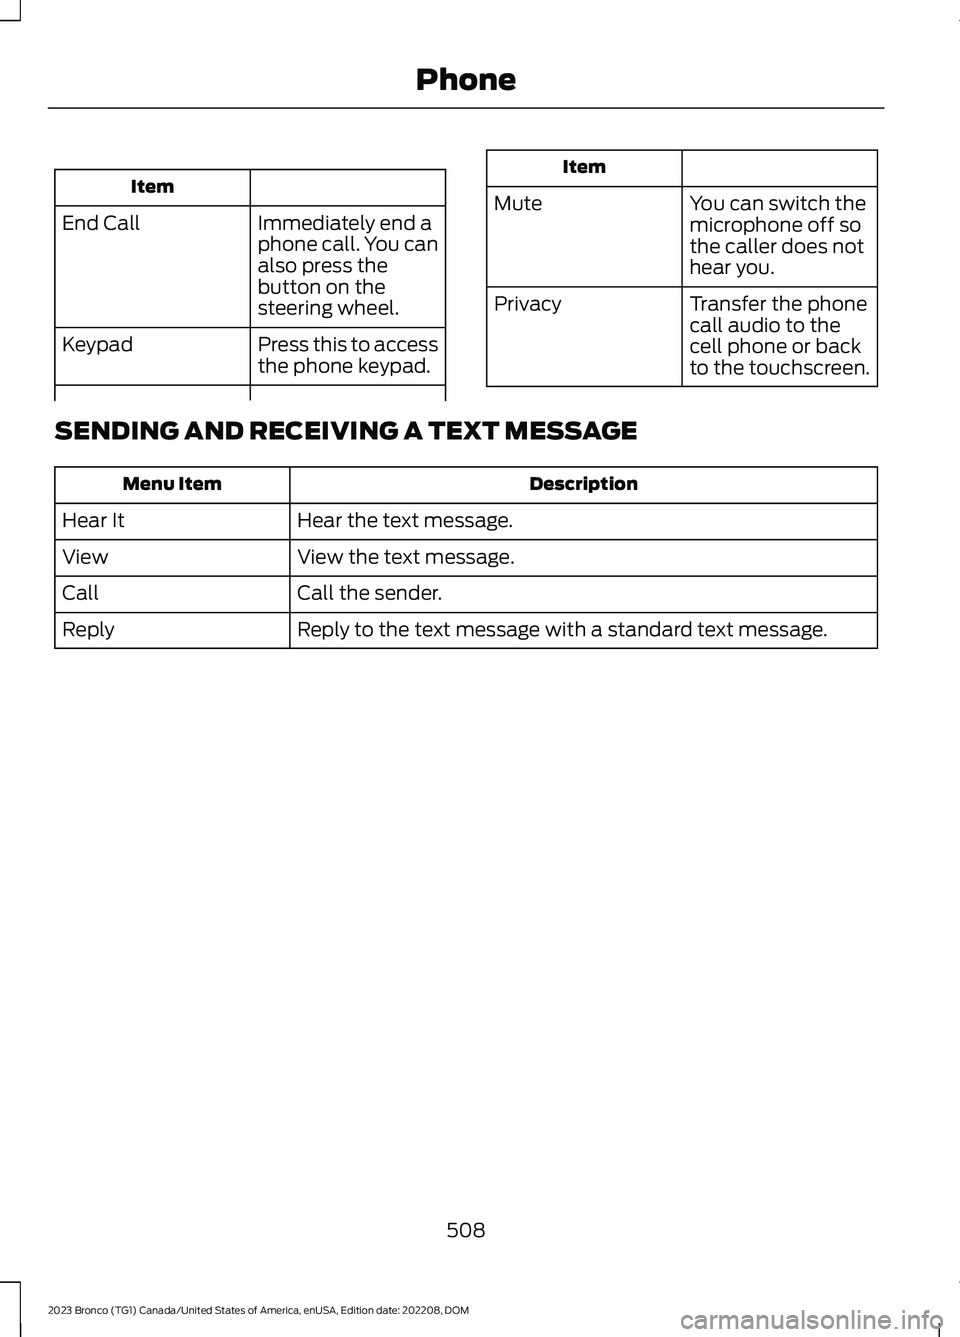
Item
Immediately end aphone call. You canalso press thebutton on thesteering wheel.
End Call
Press this to accessthe phone keypad.Keypad
Item
MuteYou can switch themicrophone off sothe caller does nothear you.
Transfer the phonecall audio to thecell phone or backto the touchscreen.
Privacy
SENDING AND RECEIVING A TEXT MESSAGE
DescriptionMenu Item
Hear the text message.Hear It
View the text message.View
Call the sender.Call
Reply to the text message with a standard text message.Reply
508
2023 Bronco (TG1) Canada/United States of America, enUSA, Edition date: 202208, DOMPhone
Page 519 of 642
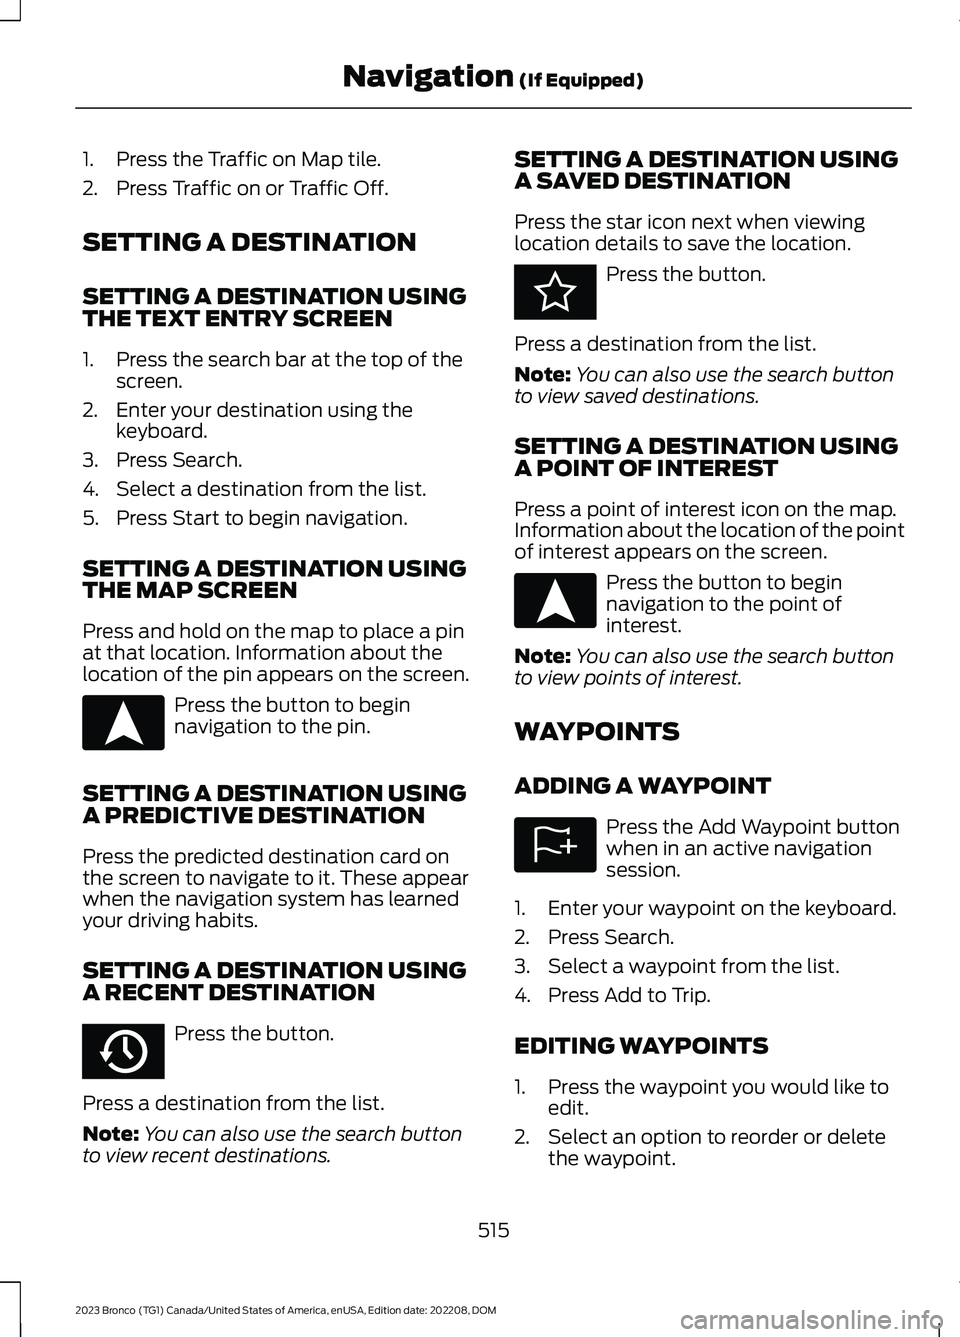
1.Press the Traffic on Map tile.
2.Press Traffic on or Traffic Off.
SETTING A DESTINATION
SETTING A DESTINATION USINGTHE TEXT ENTRY SCREEN
1.Press the search bar at the top of thescreen.
2.Enter your destination using thekeyboard.
3.Press Search.
4.Select a destination from the list.
5.Press Start to begin navigation.
SETTING A DESTINATION USINGTHE MAP SCREEN
Press and hold on the map to place a pinat that location. Information about thelocation of the pin appears on the screen.
Press the button to beginnavigation to the pin.
SETTING A DESTINATION USINGA PREDICTIVE DESTINATION
Press the predicted destination card onthe screen to navigate to it. These appearwhen the navigation system has learnedyour driving habits.
SETTING A DESTINATION USINGA RECENT DESTINATION
Press the button.
Press a destination from the list.
Note:You can also use the search buttonto view recent destinations.
SETTING A DESTINATION USINGA SAVED DESTINATION
Press the star icon next when viewinglocation details to save the location.
Press the button.
Press a destination from the list.
Note:You can also use the search buttonto view saved destinations.
SETTING A DESTINATION USINGA POINT OF INTEREST
Press a point of interest icon on the map.Information about the location of the pointof interest appears on the screen.
Press the button to beginnavigation to the point ofinterest.
Note:You can also use the search buttonto view points of interest.
WAYPOINTS
ADDING A WAYPOINT
Press the Add Waypoint buttonwhen in an active navigationsession.
1.Enter your waypoint on the keyboard.
2.Press Search.
3.Select a waypoint from the list.
4.Press Add to Trip.
EDITING WAYPOINTS
1.Press the waypoint you would like toedit.
2.Select an option to reorder or deletethe waypoint.
515
2023 Bronco (TG1) Canada/United States of America, enUSA, Edition date: 202208, DOMNavigation (If Equipped)E328844 E358714 E353215 E328844 E328843
Page 520 of 642
ROUTE GUIDANCE
ADJUSTING THE GUIDANCEPROMPT VOLUME
Turn the volume control when a guidanceprompt plays to adjust the volume.
REPEATING AN INSTRUCTION
Press the turn indicator to hear the lastvoice instruction.
ROUTE GUIDANCE SETTINGS
Avoid 4x4 Roads
Before Starting a Navigation Session
Before starting a navigation session youcan enable and disable 4x4 roads usingthe controls on the point of interest detailpage. When enabled the system willinclude 4x4 roads when determining thebest route. When disabled the system willavoid 4x4 roads.
During a Navigation Session
If you do not wish to have your route takeyou on 4x4 roads you can remove the turnonto the 4x4 road using the turn list.
1.Tap the chevron below the turn panel.
2.Swipe to the left on the 4x4 road onthe turn list that appears.
3.Press the delete button to remove thatroad from your route.
The system will then re-route you to yourdestination.
CANCELING ROUTE GUIDANCE
Press the button to cancel routeguidance to the selectedlocation.
516
2023 Bronco (TG1) Canada/United States of America, enUSA, Edition date: 202208, DOMNavigation (If Equipped)E280804
Page 521 of 642
This introduces new features and providesupdates to the vehicle's software systems.Make sure to switch Automatic Updateson, set a recurring update schedule andconnect your vehicle to Wi-Fi. Updatescould take longer when not connected toWi-Fi or could not download at all. SeeConnecting the Vehicle to a Wi-FiNetwork (page 483). See Connecting theVehicle to a Wi-Fi Network (page 483).
Your vehicle may be able to receivedrivable software updates, non-drivablesoftware updates or both. Drivablesoftware updates happen during normalvehicle usage and require limited inputfrom you. You are notified on yourtouchscreen and connected device priorto a non-drivable update.
Most updates complete in less than 30minutes, although some updates couldtake up to a few hours. Check yourtouchscreen or connected device for themost accurate estimated update time.
You are notified of the status of the vehiclesoftware update in the touchscreen andon your connected device. See SoftwareUpdate Indicators (page 518).
Vehicle Software UpdateRequirements
Non-drivable software updates do notinstall if any of the following occur:
•Your vehicle is running.
•Your vehicle is switched on.
•Your vehicle is not parked.
•The 12 V battery charge is too low.
•The hazard indicators are switched on.
•The alarm is sounding.
•The doors are open.
•The parking lamps are switched on.
•You are pressing the brake pedal.
•An emergency call is in process.
•Your vehicle is in limp home mode.
Vehicle Software UpdateLimitations
Once you begin a non-drivable softwareupdate, you cannot:
•Cancel the update.
•Lock, unlock or enter your vehicleunless you have a key blade.
•You can open the doors using themechanical latch if child locks arenot on.
•Drive your vehicle.
•Start your vehicle.
•Use the remote control to lock, unlockor start your vehicle.
•Use the alarm, central locks or doortones.
•Use the electronic door locks.
•Charge your vehicle.
•Charging resumes once the updatecompletes.
SOFTWARE UPDATE
SETTINGS
To access the Software Updates menu:
1.Press Settings on the touchscreen.
2.Press Software Updates.
You can do the following in the SoftwareUpdates menu:
•Switch Automatic Updates on and off.
•Schedule and install software updates.
•View software update details.
Press the button next to a menuoption for more information.
517
2023 Bronco (TG1) Canada/United States of America, enUSA, Edition date: 202208, DOMVehicle Software UpdatesE366956