steering FORD C MAX 2011 2.G User Guide
[x] Cancel search | Manufacturer: FORD, Model Year: 2011, Model line: C MAX, Model: FORD C MAX 2011 2.GPages: 296, PDF Size: 7.87 MB
Page 53 of 296
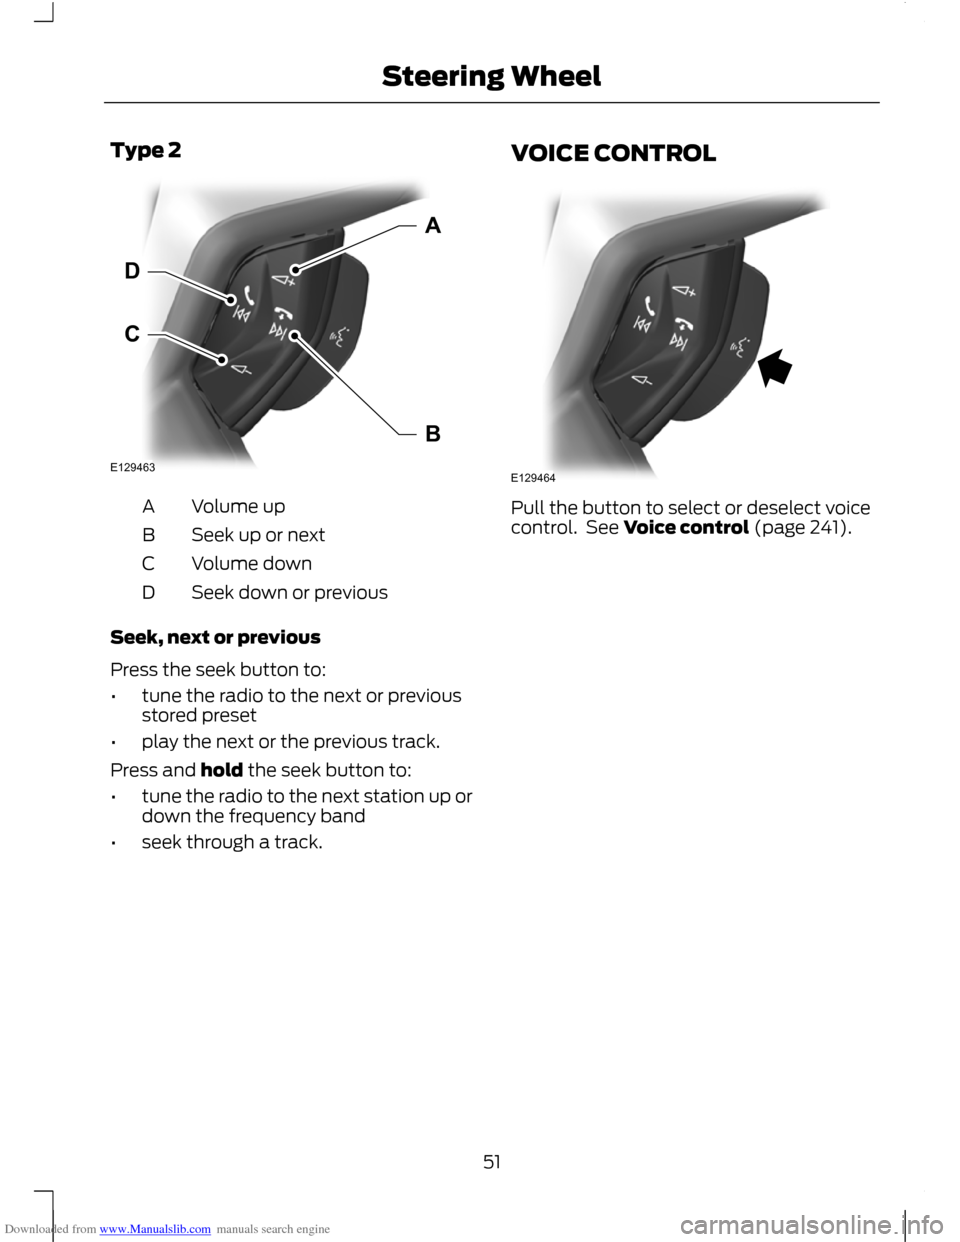
Downloaded from www.Manualslib.com manuals search engine Type 2
Volume up
A
Seek up or next
B
Volume down
C
Seek down or previous
D
Seek, next or previous
Press the seek button to:
• tune the radio to the next or previous
stored preset
• play the next or the previous track.
Press and hold the seek button to:
• tune the radio to the next station up or
down the frequency band
• seek through a track. VOICE CONTROL
Pull the button to select or deselect voice
control. See Voice control (page 241).
51
Steering WheelE129463CDAB E129464
Page 55 of 296
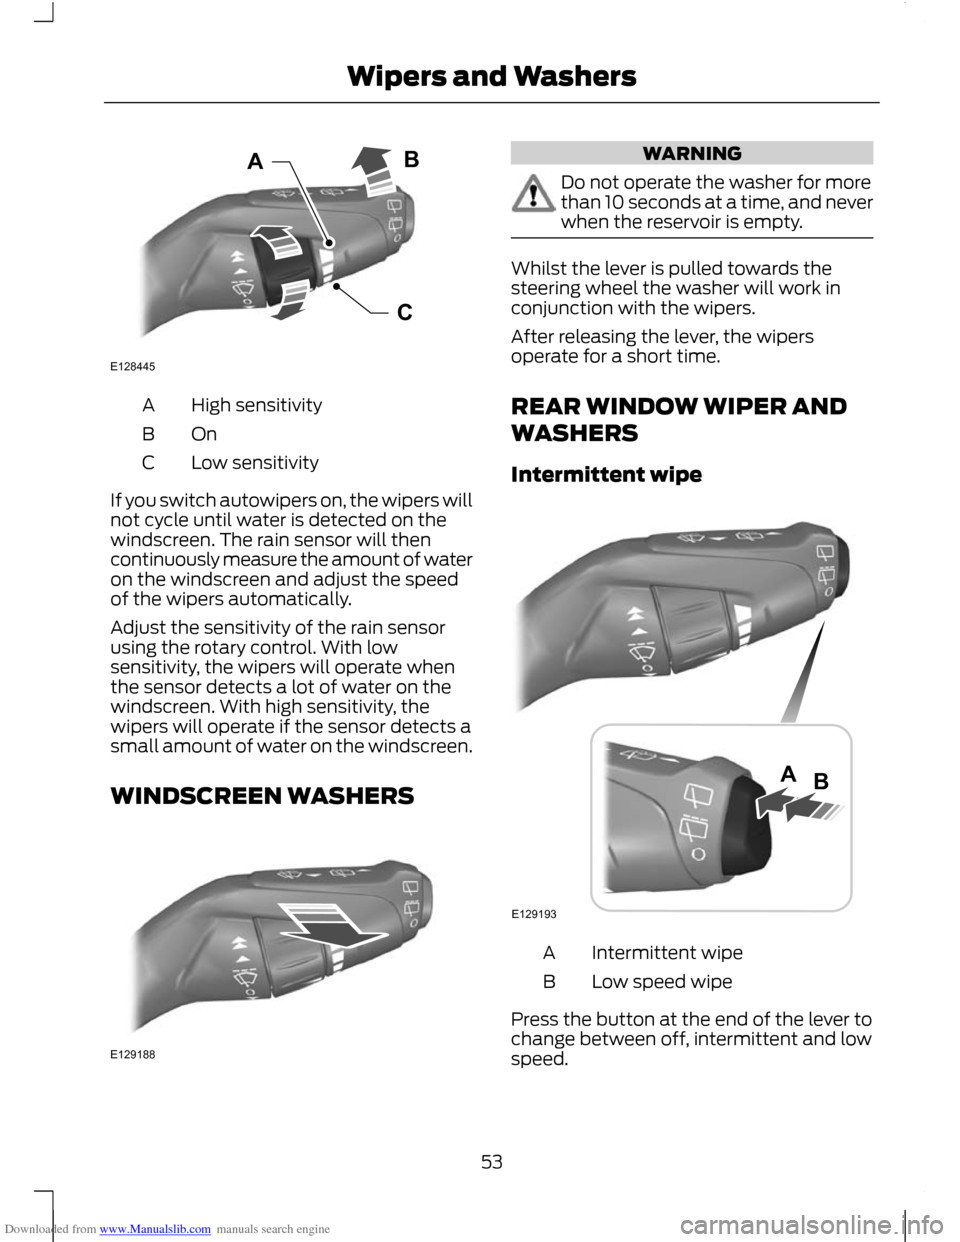
Downloaded from www.Manualslib.com manuals search engine High sensitivity
A
OnB
Low sensitivity
C
If you switch autowipers on, the wipers will
not cycle until water is detected on the
windscreen. The rain sensor will then
continuously measure the amount of water
on the windscreen and adjust the speed
of the wipers automatically.
Adjust the sensitivity of the rain sensor
using the rotary control. With low
sensitivity, the wipers will operate when
the sensor detects a lot of water on the
windscreen. With high sensitivity, the
wipers will operate if the sensor detects a
small amount of water on the windscreen.
WINDSCREEN WASHERS WARNING
Do not operate the washer for more
than 10 seconds at a time, and never
when the reservoir is empty.
Whilst the lever is pulled towards the
steering wheel the washer will work in
conjunction with the wipers.
After releasing the lever, the wipers
operate for a short time.
REAR WINDOW WIPER AND
WASHERS
Intermittent wipe
Intermittent wipe
A
Low speed wipe
B
Press the button at the end of the lever to
change between off, intermittent and low
speed.
53
Wipers and WashersCABE128445 E129188 E129193AB
Page 56 of 296
Downloaded from www.Manualslib.com manuals search engine Reverse gear wipe
The rear wiper will be activated
automatically when selecting reverse gear
if the rear wiper is not already switched on
and the front wiper is operating.
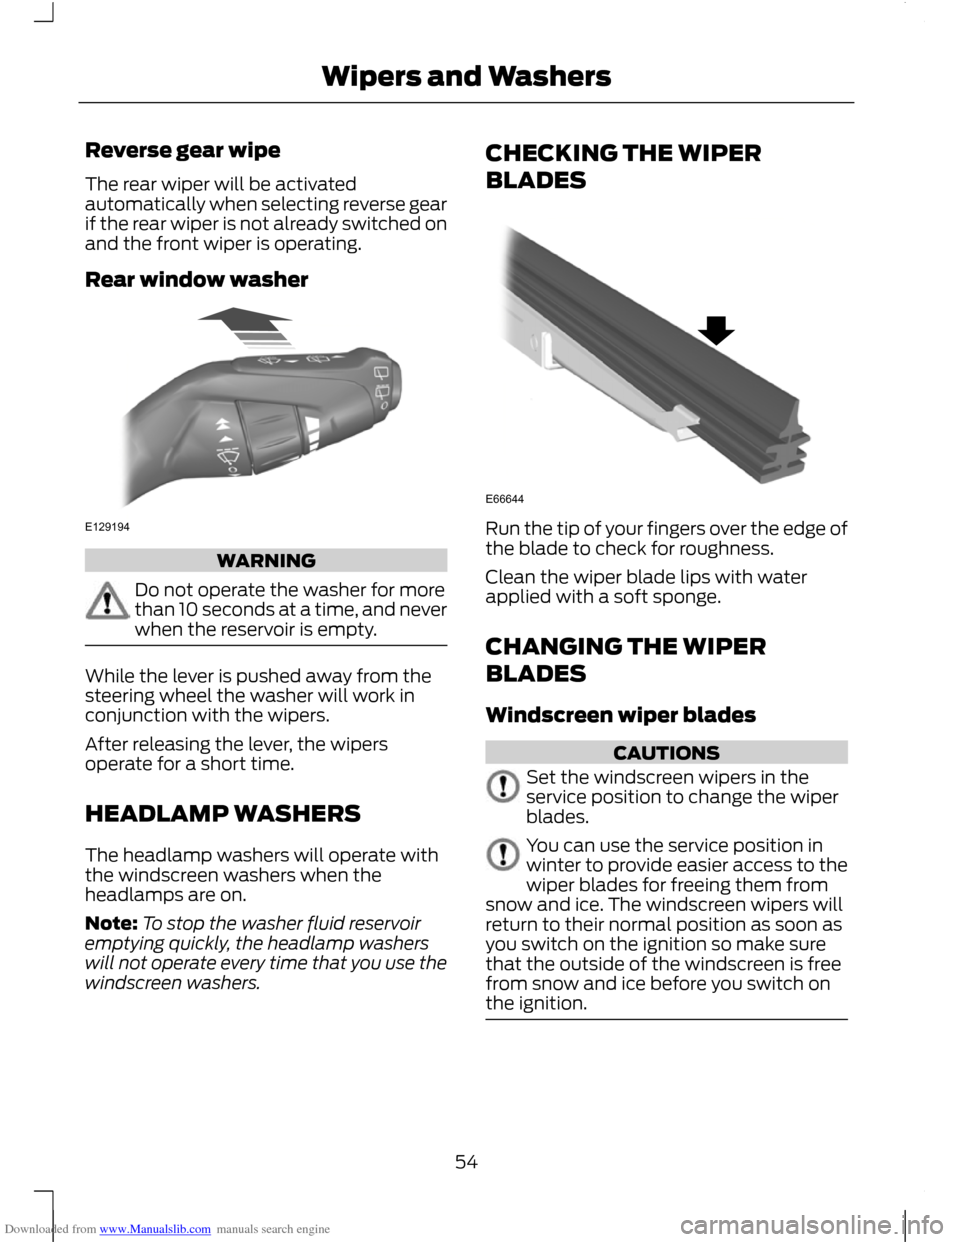
Rear window washer
WARNING
Do not operate the washer for more
than 10 seconds at a time, and never
when the reservoir is empty.
While the lever is pushed away from the
steering wheel the washer will work in
conjunction with the wipers.
After releasing the lever, the wipers
operate for a short time.
HEADLAMP WASHERS
The headlamp washers will operate with
the windscreen washers when the
headlamps are on.
Note:
To stop the washer fluid reservoir
emptying quickly, the headlamp washers
will not operate every time that you use the
windscreen washers. CHECKING THE WIPER
BLADES
Run the tip of your fingers over the edge of
the blade to check for roughness.
Clean the wiper blade lips with water
applied with a soft sponge.
CHANGING THE WIPER
BLADES
Windscreen wiper blades
CAUTIONS
Set the windscreen wipers in the
service position to change the wiper
blades.
You can use the service position in
winter to provide easier access to the
wiper blades for freeing them from
snow and ice. The windscreen wipers will
return to their normal position as soon as
you switch on the ignition so make sure
that the outside of the windscreen is free
from snow and ice before you switch on
the ignition. 54
Wipers and WashersE129194 E66644
Page 59 of 296
Downloaded from www.Manualslib.com manuals search engine LIGHTING CONTROL
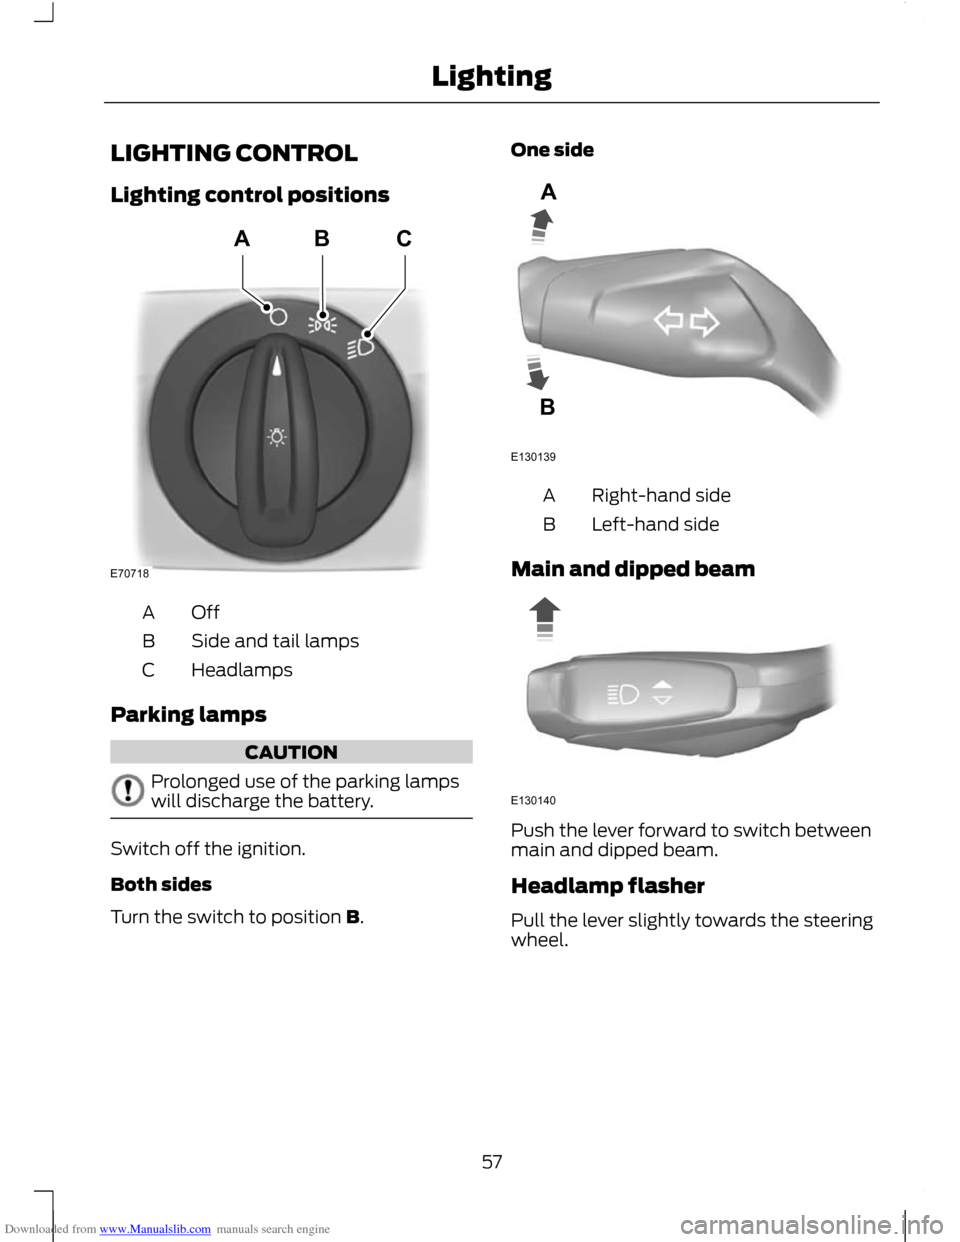
Lighting control positions
OffA
Side and tail lamps
B
Headlamps
C
Parking lamps CAUTION
Prolonged use of the parking lamps
will discharge the battery.
Switch off the ignition.
Both sides
Turn the switch to position B. One side
Right-hand side
A
Left-hand side
B
Main and dipped beam Push the lever forward to switch between
main and dipped beam.
Headlamp flasher
Pull the lever slightly towards the steering
wheel.
57
LightingE70718ABC E130139AB E130140
Page 60 of 296
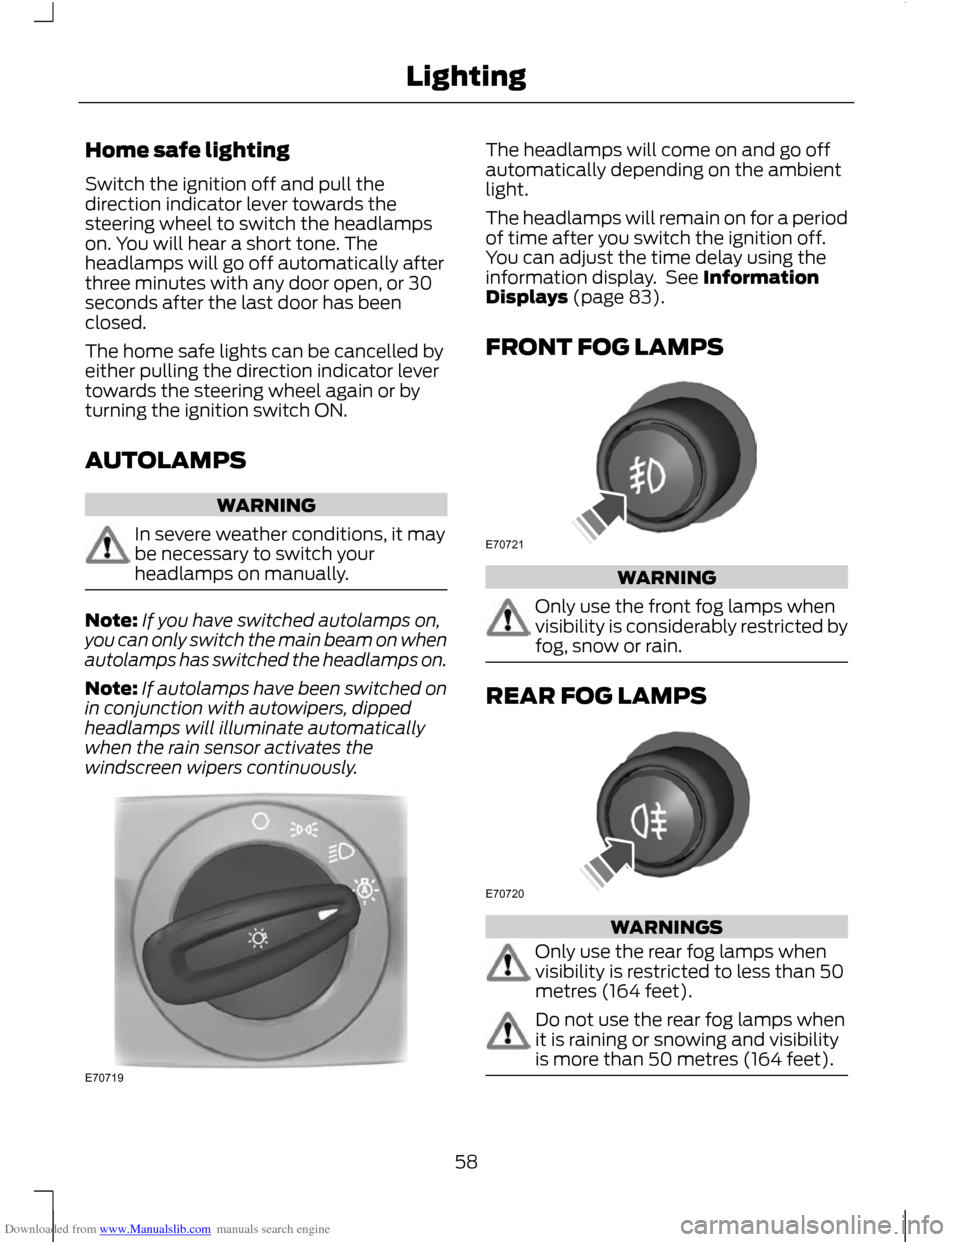
Downloaded from www.Manualslib.com manuals search engine Home safe lighting
Switch the ignition off and pull the
direction indicator lever towards the
steering wheel to switch the headlamps
on. You will hear a short tone. The
headlamps will go off automatically after
three minutes with any door open, or 30
seconds after the last door has been
closed.
The home safe lights can be cancelled by
either pulling the direction indicator lever
towards the steering wheel again or by
turning the ignition switch ON.
AUTOLAMPS
WARNING
In severe weather conditions, it may
be necessary to switch your
headlamps on manually.
Note:
If you have switched autolamps on,
you can only switch the main beam on when
autolamps has switched the headlamps on.
Note: If autolamps have been switched on
in conjunction with autowipers, dipped
headlamps will illuminate automatically
when the rain sensor activates the
windscreen wipers continuously. The headlamps will come on and go off
automatically depending on the ambient
light.
The headlamps will remain on for a period
of time after you switch the ignition off.
You can adjust the time delay using the
information display. See Information
Displays (page 83).
FRONT FOG LAMPS
WARNING
Only use the front fog lamps when
visibility is considerably restricted by
fog, snow or rain.
REAR FOG LAMPS
WARNINGS
Only use the rear fog lamps when
visibility is restricted to less than 50
metres (164 feet).
Do not use the rear fog lamps when
it is raining or snowing and visibility
is more than 50 metres (164 feet).
58
LightingE70719 E70721 E70720
Page 83 of 296
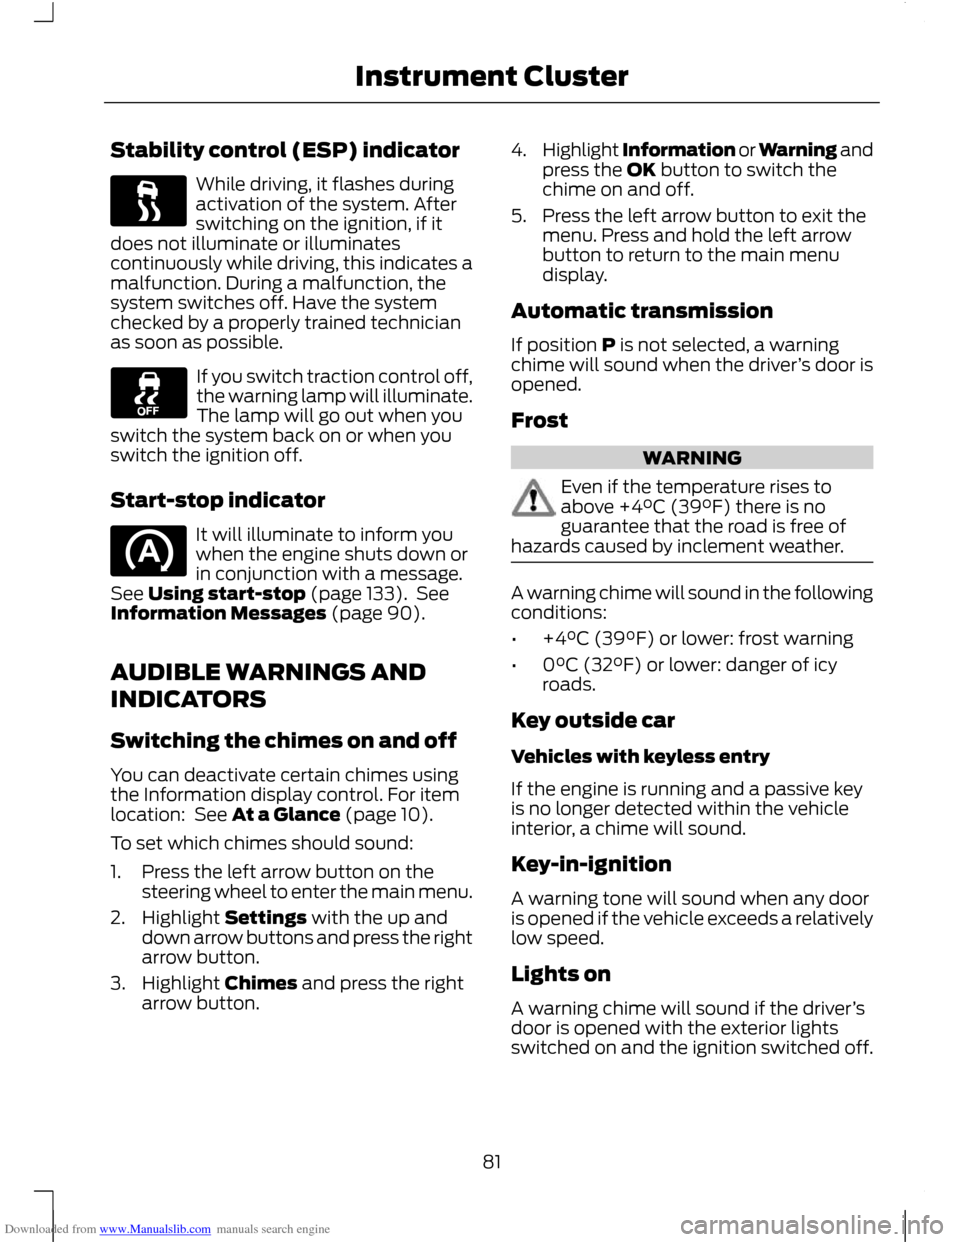
Downloaded from www.Manualslib.com manuals search engine Stability control (ESP) indicator
While driving, it flashes during
activation of the system. After
switching on the ignition, if it
does not illuminate or illuminates
continuously while driving, this indicates a
malfunction. During a malfunction, the
system switches off. Have the system
checked by a properly trained technician
as soon as possible. If you switch traction control off,
the warning lamp will illuminate.
The lamp will go out when you
switch the system back on or when you
switch the ignition off.
Start-stop indicator It will illuminate to inform you
when the engine shuts down or
in conjunction with a message.
See Using start-stop (page 133). See
Information Messages (page 90).
AUDIBLE WARNINGS AND
INDICATORS
Switching the chimes on and off
You can deactivate certain chimes using
the Information display control. For item
location: See At a Glance (page 10).
To set which chimes should sound:
1. Press the left arrow button on the steering wheel to enter the main menu.
2. Highlight Settings with the up and down arrow buttons and press the right
arrow button.
3. Highlight Chimes and press the right arrow button. 4.
Highlight Information or Warning and
press the OK button to switch the
chime on and off.
5. Press the left arrow button to exit the menu. Press and hold the left arrow
button to return to the main menu
display.
Automatic transmission
If position P is not selected, a warning
chime will sound when the driver ’s door is
opened.
Frost WARNING
Even if the temperature rises to
above +4°C (39°F) there is no
guarantee that the road is free of
hazards caused by inclement weather. A warning chime will sound in the following
conditions:
•
+4°C (39°F) or lower: frost warning
• 0°C (32°F) or lower: danger of icy
roads.
Key outside car
Vehicles with keyless entry
If the engine is running and a passive key
is no longer detected within the vehicle
interior, a chime will sound.
Key-in-ignition
A warning tone will sound when any door
is opened if the vehicle exceeds a relatively
low speed.
Lights on
A warning chime will sound if the driver ’s
door is opened with the exterior lights
switched on and the ignition switched off.
81
Instrument Cluster
Page 85 of 296
Downloaded from www.Manualslib.com manuals search engine GENERAL INFORMATION
Note:
The information display will remain
on for several minutes after you switch off
the ignition.
Various systems on your vehicle can be
controlled using the information display
controls on the steering column.
Corresponding information is displayed in
the information display.
For detailed instructions on navigation,
refer to the appropriate manual.
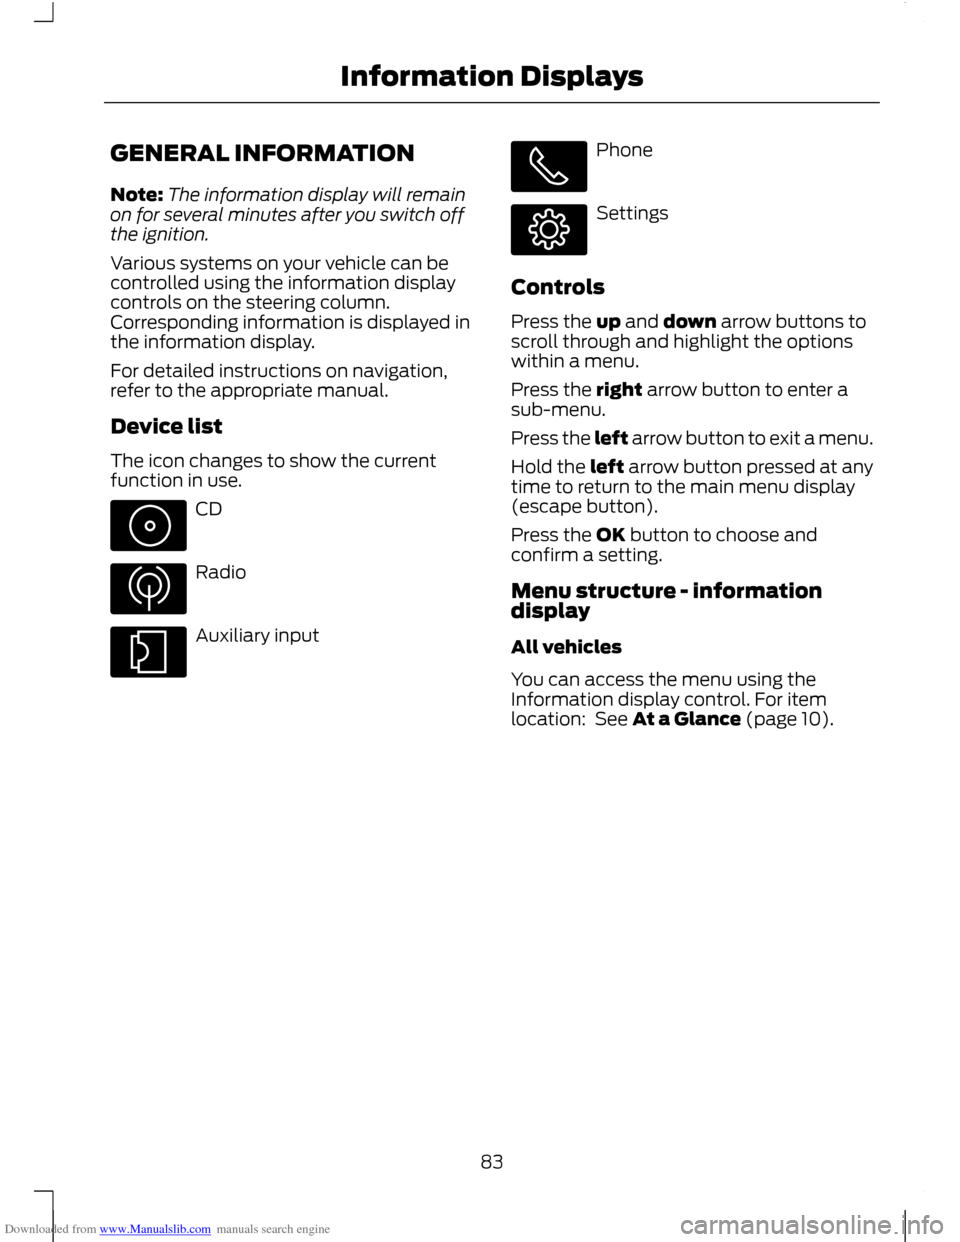
Device list
The icon changes to show the current
function in use. CD
Radio
Auxiliary input Phone
Settings
Controls
Press the up and down arrow buttons to
scroll through and highlight the options
within a menu.
Press the right arrow button to enter a
sub-menu.
Press the left arrow button to exit a menu.
Hold the left arrow button pressed at any
time to return to the main menu display
(escape button).
Press the OK button to choose and
confirm a setting.
Menu structure - information
display
All vehicles
You can access the menu using the
Information display control. For item
location: See At a Glance (page 10).
83
Information Displays
Page 95 of 296
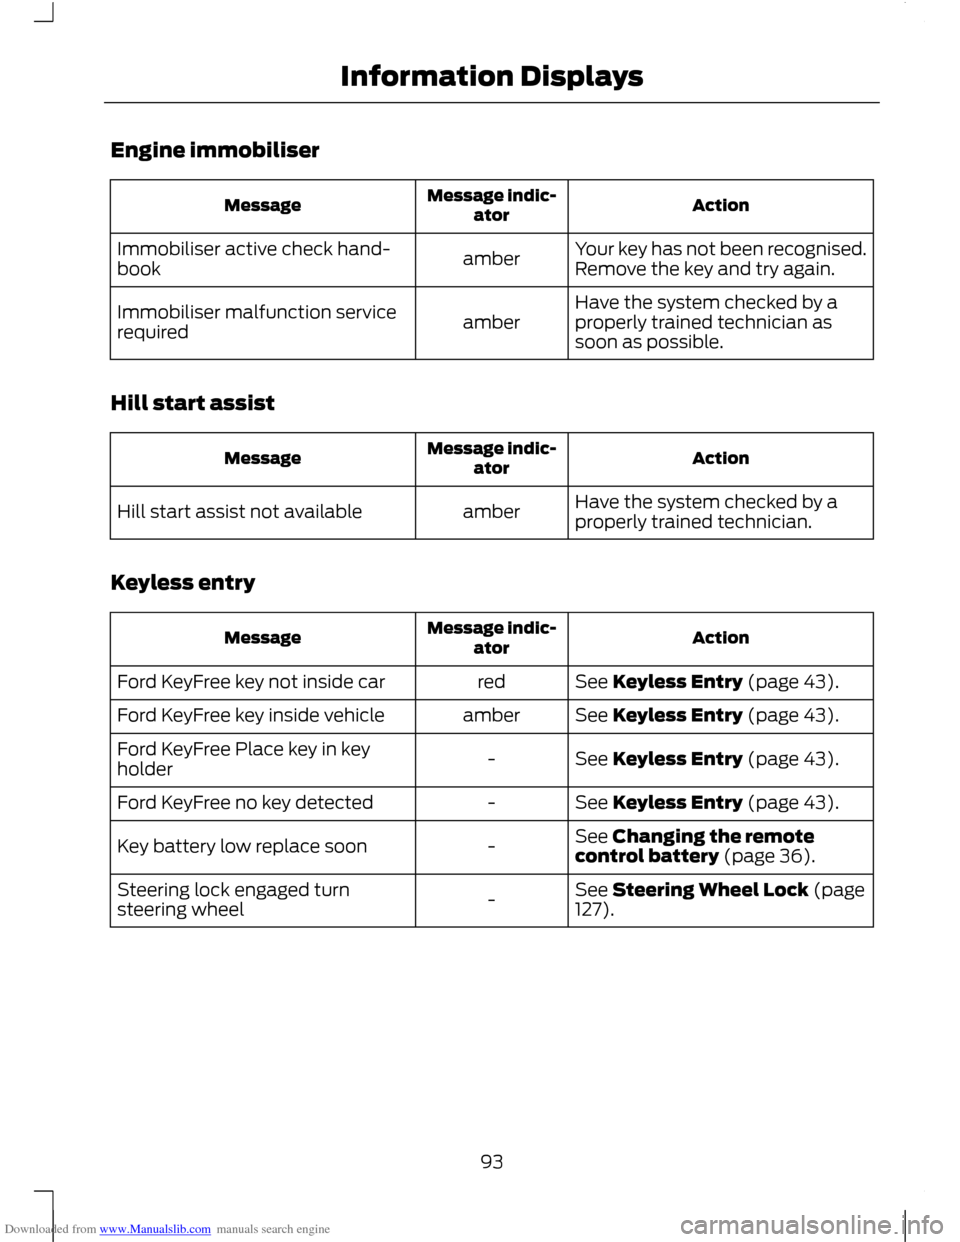
Downloaded from www.Manualslib.com manuals search engine Engine immobiliser
Action
Message indic-
ator
Message
Your key has not been recognised.
Remove the key and try again.
amber
Immobiliser active check hand-
book
Have the system checked by a
properly trained technician as
soon as possible.
amber
Immobiliser malfunction service
required
Hill start assist Action
Message indic-
ator
Message
Have the system checked by a
properly trained technician.
amber
Hill start assist not available
Keyless entry Action
Message indic-
ator
Message
See Keyless Entry (page 43).
red
Ford KeyFree key not inside car
See Keyless Entry (page 43).
amber
Ford KeyFree key inside vehicle
See Keyless Entry (page 43).
-
Ford KeyFree Place key in key
holder
See Keyless Entry (page 43).
-
Ford KeyFree no key detected
See Changing the remote
control battery (page 36).
-
Key battery low replace soon
See Steering Wheel Lock (page
127).
-
Steering lock engaged turn
steering wheel
93
Information Displays
Page 98 of 296
Downloaded from www.Manualslib.com manuals search engine Power steering
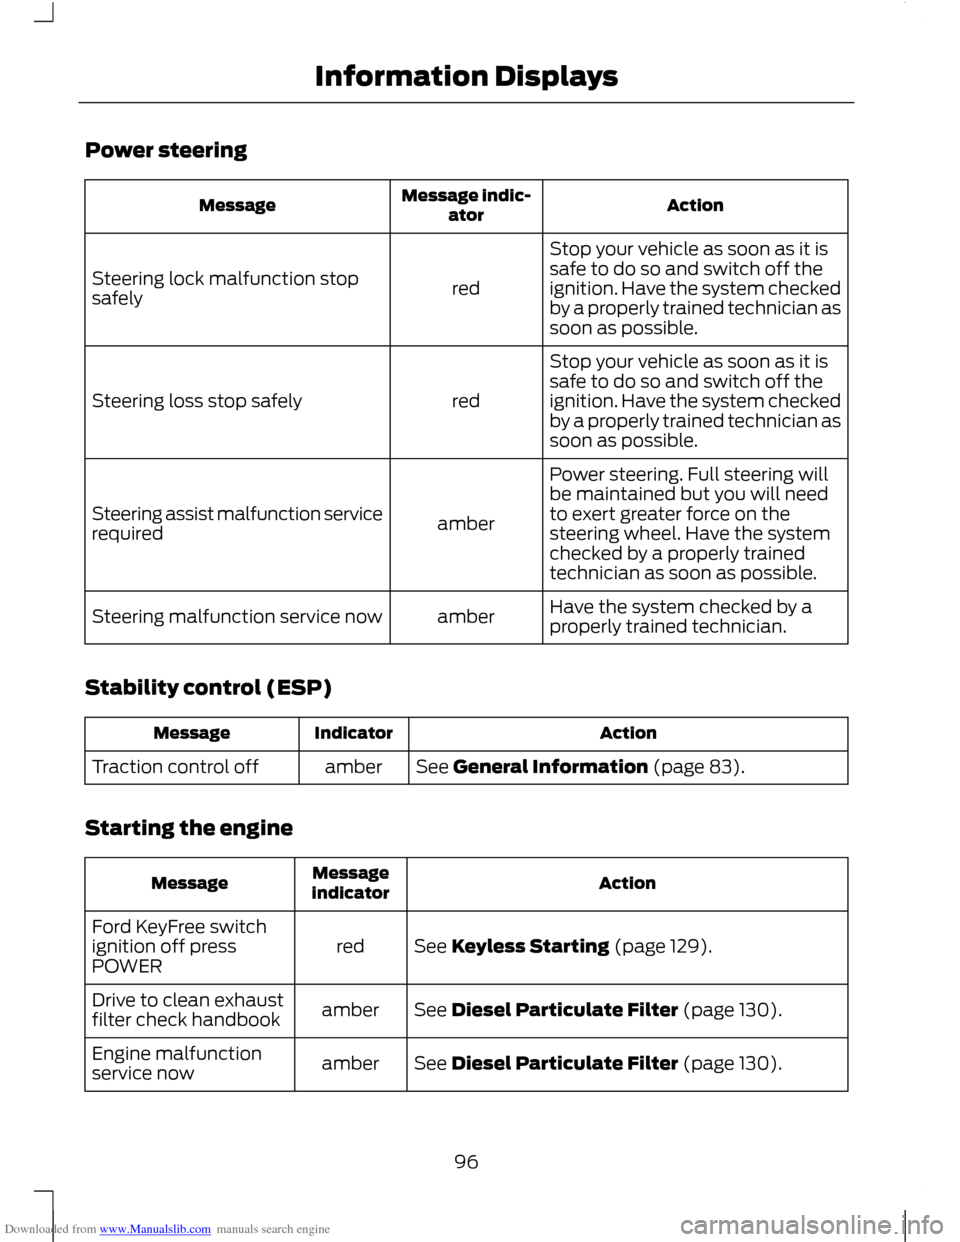
Action
Message indic-
ator
Message
Stop your vehicle as soon as it is
safe to do so and switch off the
ignition. Have the system checked
by a properly trained technician as
soon as possible.
red
Steering lock malfunction stop
safely
Stop your vehicle as soon as it is
safe to do so and switch off the
ignition. Have the system checked
by a properly trained technician as
soon as possible.
red
Steering loss stop safely
Power steering. Full steering will
be maintained but you will need
to exert greater force on the
steering wheel. Have the system
checked by a properly trained
technician as soon as possible.
amber
Steering assist malfunction service
required
Have the system checked by a
properly trained technician.
amber
Steering malfunction service now
Stability control (ESP) Action
Indicator
Message
See General Information (page 83).
amber
Traction control off
Starting the engine Action
Message
indicator
Message
See Keyless Starting (page 129).
red
Ford KeyFree switch
ignition off press
POWER
See Diesel Particulate Filter (page 130).
amber
Drive to clean exhaust
filter check handbook
See Diesel Particulate Filter (page 130).
amber
Engine malfunction
service now
96
Information Displays
Page 108 of 296
Downloaded from www.Manualslib.com manuals search engine AUXILIARY HEATER
Parking heater
WARNINGS
The parking heater must not be
operated at filling stations, near
sources of combustible vapours or
dust or in enclosed spaces. The parking heater should be
switched on for approximately 10
minutes at least once a month all
year round. This prevents the water pump
and heater motor from seizing. Note:
The parking heater will only operate
if there is at least 7.5 litres (1.6 gallons) of
fuel in the fuel tank and the ambient
temperature is below 15°C (59°F). The
heater will not operate if the battery is low.
Note: The heating depends on the outside
air temperature.
Note: When the parking heater is activated,
exhaust fumes may come from under the
sides of the vehicle. This is normal.
Note: On vehicles with manual climate
control the heating of the vehicle interior is
dependent on the temperature, air
distribution and blower control settings.
The parking heater operates independently
of the vehicle heater by heating the
engine ’s coolant circuit. It is fed from the
vehicle fuel tank. You can also use it while
the vehicle is in motion to help the vehicle
heater warm up the interior more quickly.
Used properly, the parking heater provides
the following benefits: •
It preheats the interior of the vehicle.
• It keeps the windows clear of ice in the
event of frost and prevents
condensation.
• It avoids cold starts and allows the
engine to reach operating temperature
sooner.
To prevent the battery from discharging:
• Once the parking heater has performed
one heating cycle, the next
programmed heating cycle will only be
carried out if you have started the
vehicle ’s engine in between.
• After a heating cycle, drive the vehicle
for at least the period of the heating
cycle.
Programming the parking heater
Note: The programmed time is the time at
which you wish the vehicle to be warm and
ready to drive, not the time at which the
heater switches on.
Note: You must programme the times at
least 70 minutes in advance of the time you
wish to set.
Note: You must set the time and date
correctly. See Clock (page 122).
To programme the heating times:
1. Use the arrow buttons on the steering wheel to enter the main menu. See
Information Displays (page 83).
2. Select the park heater option.
106
Climate Control