stop start FORD C MAX HYBRID 2015 2.G Owner's Manual
[x] Cancel search | Manufacturer: FORD, Model Year: 2015, Model line: C MAX HYBRID, Model: FORD C MAX HYBRID 2015 2.GPages: 455, PDF Size: 5.94 MB
Page 133 of 455
•
Very high or low outside temperature
(to provide system cooling or heating).
For C-MAX Energi vehicles, climate
control demands by passengers may
not directly cause the engine to run.
This only occurs when the high voltage
battery charge is low, or if the outside
temperature is cold enough to require
the engine to provide additional heat
for the cabin.
• Engine not warm enough to provide
passenger requested cabin
temperature.
Stopping: The gas engine may shut off
to conserve fuel as you come to a stop.
Restarting the vehicle is not required.
Simply step on the accelerator when you
are ready to drive.
Transmission Operation:
Due to the
technologically advanced,
electronically-controlled continuously
variable transaxle, you will not feel shift
changes like those of a non-hybrid vehicle.
Note: Since engine speed is controlled by
the transmission, it may seem elevated at
times. This is normal hybrid operation and
helps deliver fuel efficiency and
performance.
Neutral:
It is not recommended to idle the
vehicle in neutral (N) for an extended
period of time because this will discharge
your high voltage battery and decrease fuel
economy. The engine will not start or stop,
and cannot provide power to the hybrid
system in neutral (N).
Low:
Low (L) is designed to mimic the
enhanced engine braking available in
non-hybrid vehicles. Low gear will produce
high engine speeds to provide necessary
engine braking. This is normal and will not
damage your vehicle. In low gear, the gas
engine will remain on more often than in
drive (D).
Reverse:
In reverse (R), vehicle speed is
limited to 22 mph (35 km/h). Unique Hybrid Operating
Characteristics
Your vehicle behaves differently compared
to a non-hybrid. Here is a description of the
major differences:
Battery:
Your hybrid is equipped with a
high voltage battery. A cool battery
maintains battery life and provides the
best possible performance. Your hybrid
high voltage battery may periodically
re-condition itself to maintain maximum
efficiency. You may notice slight changes
in driveability during this process, but it is
an important part of your hybrid's high
voltage battery optimization features.
The high voltage battery is cooled by cabin
air drawn from vent holes in the trim panels
behind the rear seats. Avoid placing objects
at the vent holes that block airflow to the
high voltage battery.
Engine:
The engine speed in your hybrid
is not directly tied to your vehicle speed.
Your vehicle's engine and transmission are
designed to deliver the power you need at
the most efficient engine speed. During
heavy accelerations, your hybrid may reach
high engine speeds (up to 6000 RPM).
In prolonged mountainous driving, you may
see the engine speed changing without
your input. This is intentional and maintains
the battery charge level. You may also
notice during extended downhill driving
that your engine continues to run instead
of shutting off.
During this engine braking, the engine stays
on, but it is not using any fuel. You may also
hear a slight whine or whistle when
operating your vehicle. This is the normal
operation of the electric generator in the
hybrid system.
130
C-MAX (CCG) Mexico/United States of America/Canada, enUSA, CPE Review Unique Driving Characteristics
Page 134 of 455
During certain events (such as vehicle
servicing) your low voltage 12-volt battery
may become disconnected or disabled.
Once the battery is reconnected and after
driving the vehicle, the engine may
continue to operate for three to five
seconds after the key is turned to off. This
is a normal condition.
Braking: Your hybrid is equipped with
standard hydraulic braking and
regenerative braking. Regenerative braking
is performed by your transmission and it
captures brake energy and stores it in your
high voltage battery.
Driving to optimize fuel economy
Note: Having your engine running is not
always an indication of inefficiency. In some
cases, it is actually more efficient than
driving in electric mode.
Your fuel economy should improve
throughout your hybrid's break-in period.
As with any vehicle, your driving habits and
accessory usage can significantly impact
your fuel economy. For best results, keep
in mind these tips:
• Keep the tires properly inflated and
only use the recommended size.
• Aggressive driving increases the
amount of energy required to move
your vehicle. In general, you can
achieve better fuel economy with mild
to moderate acceleration and
deceleration. Moderate braking is
particularly important since it allows
you to maximize the energy captured
by the regenerative braking system.
Additional Tips:
• Do not carry extra loads.
• Be mindful of adding external
accessories that may increase
aerodynamic drag.
• Observe posted speed limits. •
Perform all scheduled maintenance.
• There is no need to wait for your engine
to warm up. The vehicle is ready to
drive immediately after starting.
EV+ Mode (C-MAX Energi Only)
Your vehicle will recognize your frequent
destinations and allow for more EV driving
as you approach them. For example, when
nearing your home it should be easier to
stay in electric mode. The EV indicator will
display EV+ when this mode is active. You
should see this approximately 1/8 mile
(200 meters) from a frequent destination.
See
Information Displays (page 88).
Note: Frequent destinations are learned by
your vehicle after two to four weeks of use.
You can clear these destinations with a
Driving History reset through the Settings
menu.
Note: You can switch the EV+ feature on
or off through the Driver Assist section of
the Settings menu.
Low Engine Use (If Equipped)
The low engine use mode is equipped on
Energi models only. The low engine use
mode will activate automatically when you
drive your vehicle with limited engine use.
The mode will maintain proper engine
lubrication at sufficient temperature. If your
vehicle is in low engine use mode when you
start the vehicle, a message will appear in
the information display. When your vehicle
is in low engine use mode, your vehicle will
automatically run the engine as necessary.
If you select the EV Now mode while the
vehicle is in the low engine use mode, EV
Now mode will be suspended for as long
as you are in low engine use mode The low
engine use mode will resume the next time
you start your vehicle and will
automatically stop when no longer needed.
131
C-MAX (CCG) Mexico/United States of America/Canada, enUSA, CPE Review Unique Driving Characteristics
Page 142 of 455
If this action corrects the problem, the
message may not reset immediately. It
may take several driving cycles for the
message to turn off. A driving cycle
consists of an engine start-up (after four
or more hours with the engine off) followed
by city or highway driving. Continuing to
drive with the message on may cause the
service engine soon lamp to turn on as
well.
Easy Fuel
™ Capless System
(Energi Vehicles Only) WARNING
The fuel system may be under
pressure. If you hear a hissing sound
near the fuel filler door, do not refuel
until the sound stops. Otherwise, fuel may
spray out, which could cause serious
personal injury. Note:
Your vehicle features a locking fuel
door and an auto-sealing feature that locks
the fuel tank refueling valve. Before you can
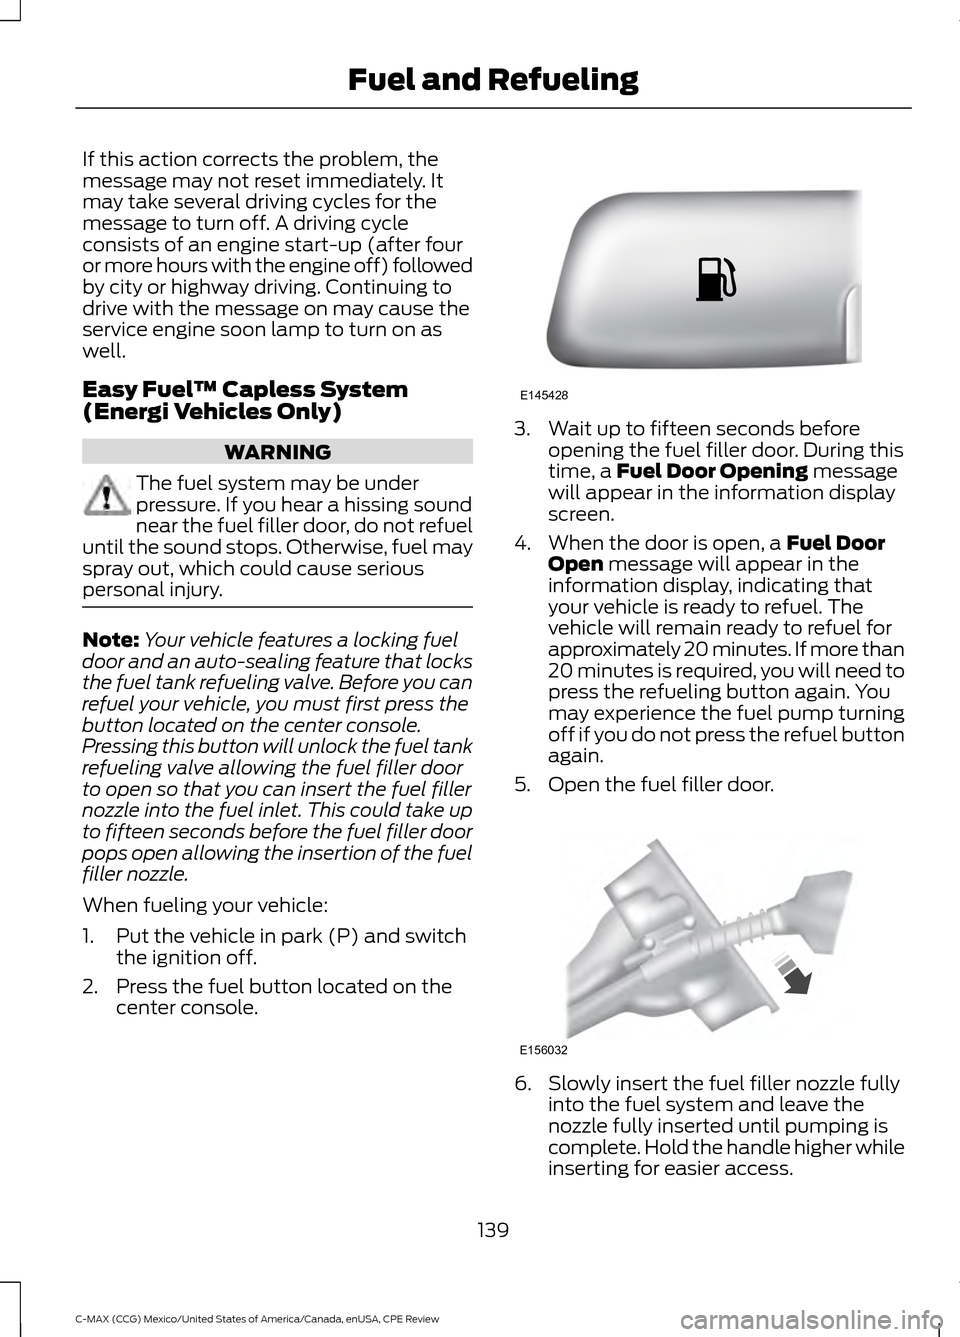
refuel your vehicle, you must first press the
button located on the center console.
Pressing this button will unlock the fuel tank
refueling valve allowing the fuel filler door
to open so that you can insert the fuel filler
nozzle into the fuel inlet. This could take up
to fifteen seconds before the fuel filler door
pops open allowing the insertion of the fuel
filler nozzle.
When fueling your vehicle:
1. Put the vehicle in park (P) and switch the ignition off.
2. Press the fuel button located on the center console. 3. Wait up to fifteen seconds before
opening the fuel filler door. During this
time, a Fuel Door Opening message
will appear in the information display
screen.
4. When the door is open, a
Fuel Door
Open message will appear in the
information display, indicating that
your vehicle is ready to refuel. The
vehicle will remain ready to refuel for
approximately 20 minutes. If more than
20 minutes is required, you will need to
press the refueling button again. You
may experience the fuel pump turning
off if you do not press the refuel button
again.
5. Open the fuel filler door. 6. Slowly insert the fuel filler nozzle fully
into the fuel system and leave the
nozzle fully inserted until pumping is
complete. Hold the handle higher while
inserting for easier access.
139
C-MAX (CCG) Mexico/United States of America/Canada, enUSA, CPE Review Fuel and RefuelingE145428 E156032
Page 143 of 455
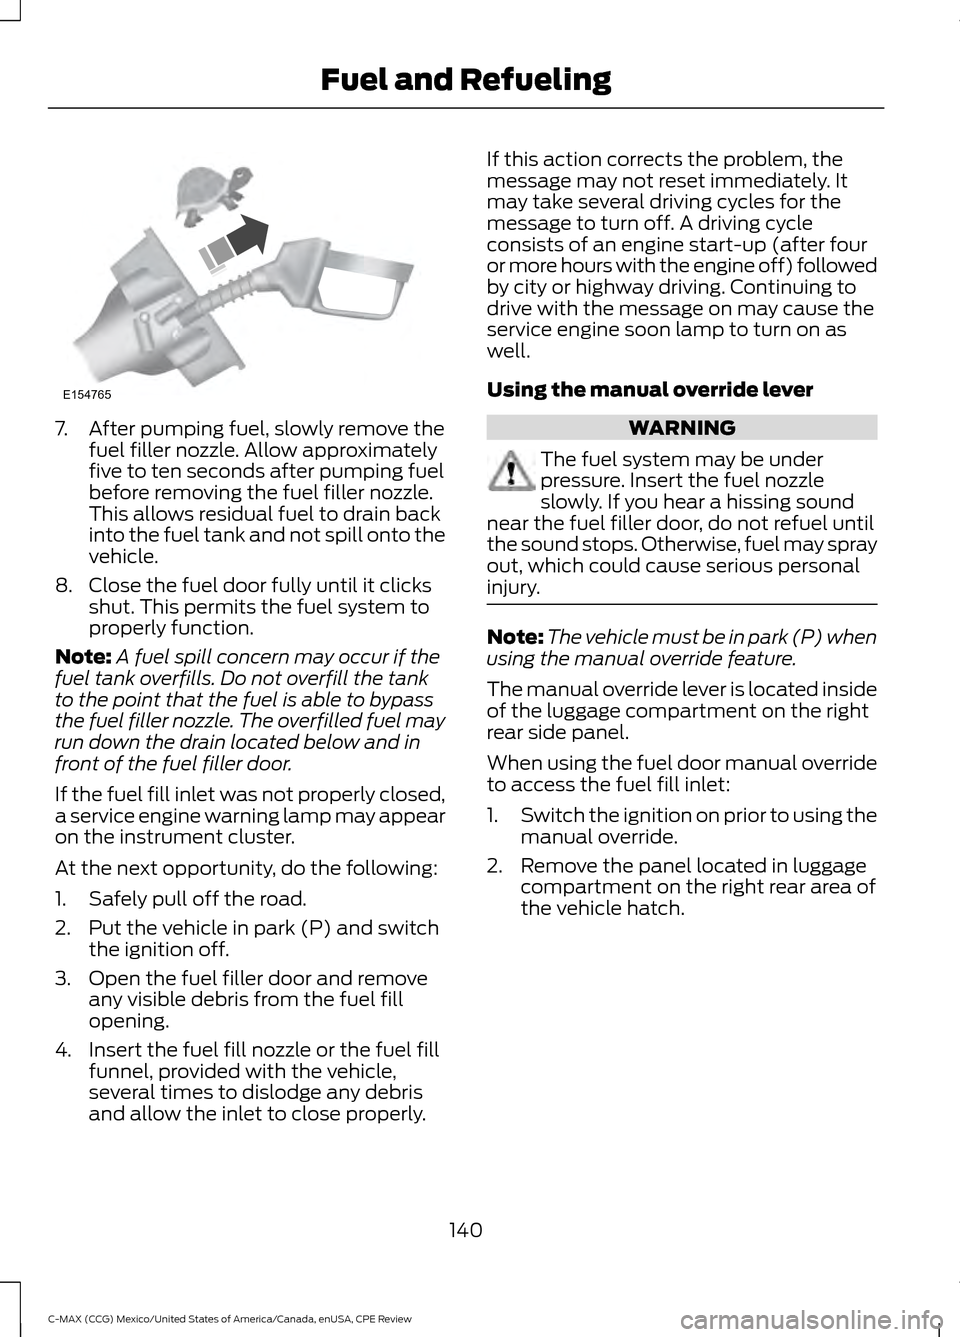
7. After pumping fuel, slowly remove the
fuel filler nozzle. Allow approximately
five to ten seconds after pumping fuel
before removing the fuel filler nozzle.
This allows residual fuel to drain back
into the fuel tank and not spill onto the
vehicle.
8. Close the fuel door fully until it clicks shut. This permits the fuel system to
properly function.
Note: A fuel spill concern may occur if the
fuel tank overfills. Do not overfill the tank
to the point that the fuel is able to bypass
the fuel filler nozzle. The overfilled fuel may
run down the drain located below and in
front of the fuel filler door.
If the fuel fill inlet was not properly closed,
a service engine warning lamp may appear
on the instrument cluster.
At the next opportunity, do the following:
1. Safely pull off the road.
2. Put the vehicle in park (P) and switch the ignition off.
3. Open the fuel filler door and remove any visible debris from the fuel fill
opening.
4. Insert the fuel fill nozzle or the fuel fill funnel, provided with the vehicle,
several times to dislodge any debris
and allow the inlet to close properly. If this action corrects the problem, the
message may not reset immediately. It
may take several driving cycles for the
message to turn off. A driving cycle
consists of an engine start-up (after four
or more hours with the engine off) followed
by city or highway driving. Continuing to
drive with the message on may cause the
service engine soon lamp to turn on as
well.
Using the manual override lever
WARNING
The fuel system may be under
pressure. Insert the fuel nozzle
slowly. If you hear a hissing sound
near the fuel filler door, do not refuel until
the sound stops. Otherwise, fuel may spray
out, which could cause serious personal
injury. Note:
The vehicle must be in park (P) when
using the manual override feature.
The manual override lever is located inside
of the luggage compartment on the right
rear side panel.
When using the fuel door manual override
to access the fuel fill inlet:
1. Switch the ignition on prior to using the
manual override.
2. Remove the panel located in luggage compartment on the right rear area of
the vehicle hatch.
140
C-MAX (CCG) Mexico/United States of America/Canada, enUSA, CPE Review Fuel and RefuelingE154765
Page 147 of 455
If the service engine soon indicator remains
on, have your vehicle serviced at the first
available opportunity. Although some
malfunctions detected by the OBD-II may
not have symptoms that are apparent,
continued driving with the service engine
soon indicator on can result in increased
emissions, lower fuel economy, reduced
engine and transmission smoothness and
lead to more costly repairs.
Readiness for Inspection and
Maintenance (I/M) Testing
Some state and provincial and local
governments may have
Inspection/Maintenance (I/M) programs
to inspect the emission control equipment
on your vehicle. Failure to pass this
inspection could prevent you from getting
a vehicle registration.
If the service engine soon
indicator is on or the bulb does
not work, your vehicle may need
service. See On-Board Diagnostics.
Your vehicle may not pass the I/M test if
the service engine soon indicator is on or
not working properly (bulb is burned out),
or if the OBD-II system has determined
that some of the emission control systems
have not been properly checked. In this
case, the vehicle is not ready for I/M
testing.
If the vehicle ’s engine or transmission has
just been serviced, or the battery has
recently run down or been replaced, the
OBD-II system may indicate that the
vehicle is not ready for I/M testing. To
determine if the vehicle is ready for I/M
testing, turn the ignition key to the on
position for 15 seconds without cranking
the engine. If the service engine soon
indicator blinks eight times, it means that
the vehicle is not ready for I/M testing; if
the service engine soon indicator stays on
solid, it means that your vehicle is ready
for I/M testing. The OBD-II system checks the emission
control system during normal driving. A
complete check may take several days. If
the vehicle is not ready for I/M testing, you
can perform the following driving cycle
consisting of mixed city and highway
driving:
15 minutes of steady driving on an
expressway or highway followed by 20
minutes of stop-and-go driving with at
least four 30-second idle periods.
Allow your vehicle to sit for at least eight
hours with the ignition off. Then, start the
vehicle and complete the above driving
cycle. The vehicle must warm up to its
normal operating temperature. Once
started, do not turn off the vehicle until the
above driving cycle is complete. If the
vehicle is still not ready for I/M testing, you
need to repeat the above driving cycle.
144
C-MAX (CCG) Mexico/United States of America/Canada, enUSA, CPE Review Fuel and Refueling
Page 153 of 455
When waiting to charge (not actively
charging), the light ring will indicate the
present state of charge of the high voltage
battery as follows:
•
When the top right quadrant light is off,
the charge is between 0– 25 percent.
• When the top right quadrant light is on
and the bottom right quadrant is off,
the charge is between 25–50 percent.
• When both right side quadrant lights
are on and the bottom left quadrant is
off, the charge is between 50– 75
percent.
• When three quadrant lights are on and
the top left quadrant is off, the charge
is between 75– 100 percent.
• When all lights on the entire ring are
on, the charge is 100 percent.
Note: When the vehicle is waiting to charge,
the light ring will turn off one minute after
displaying the present state of charge. When
the vehicle automatically begins charging,
the light ring will turn on and display how
far along the charge is per the section above.
Note: If the system detects a vehicle
charging system fault at any point in a
charge cycle, the entire light ring will flash
continuously for one minute and then turn
off. If this happens, unplug the charging
coupler and then plug it back into the charge
port receptacle. If the problem persists,
contact an authorized dealer.
You can modify the light ring lighting
conditions. See Charge Port Light Ring
Settings in the MyFord Touch section. See
MyFord Touch ™ (page 327).
Disconnecting the Charging
Coupler
Note: Do not pull the wall plug from the
wall while the vehicle is charging. Doing so
may damage the outlet and the cord.
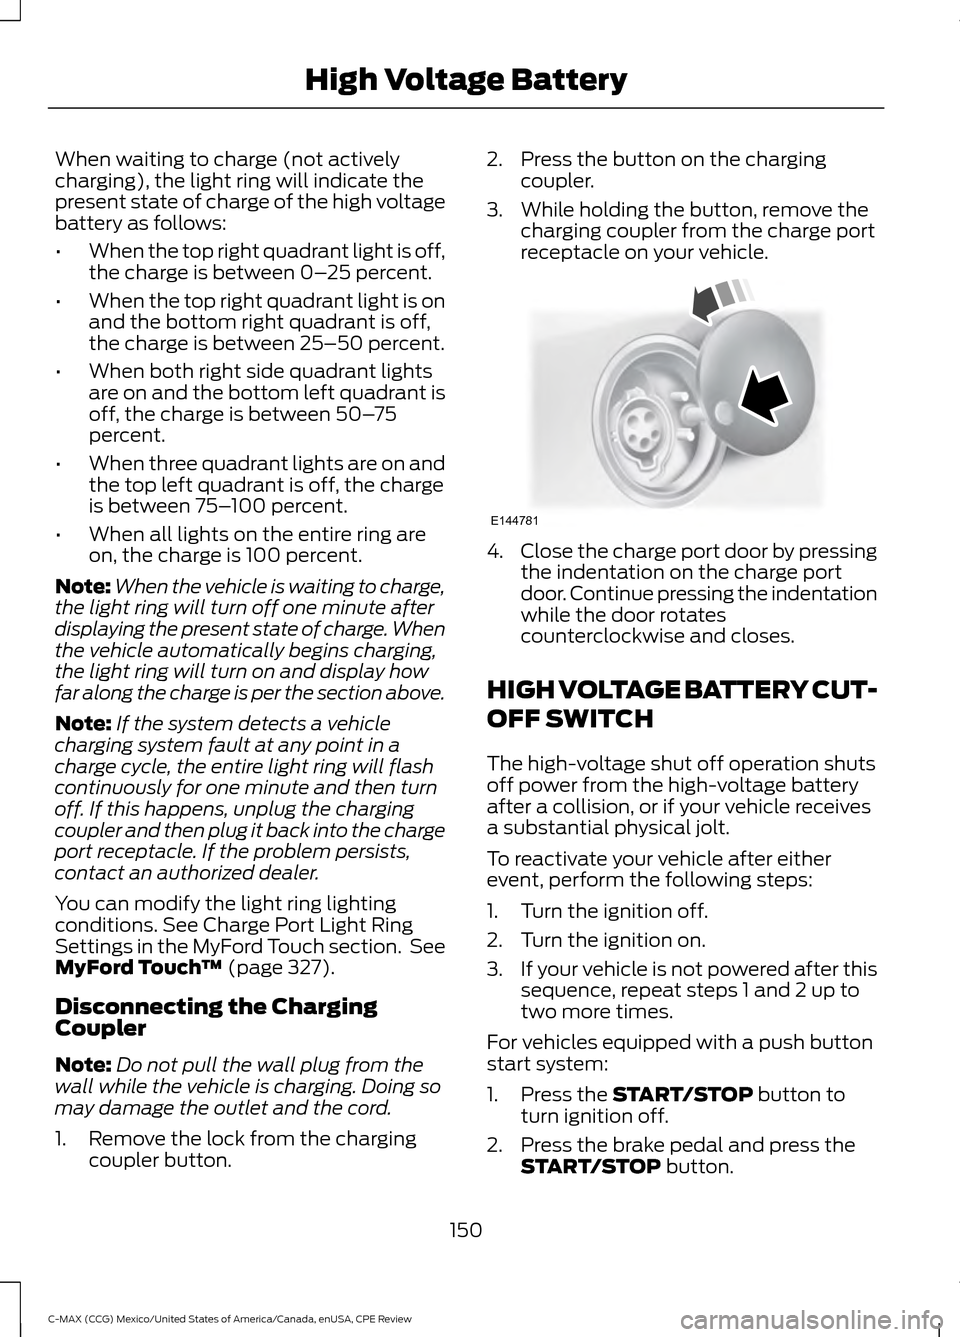
1. Remove the lock from the charging coupler button. 2. Press the button on the charging
coupler.
3. While holding the button, remove the charging coupler from the charge port
receptacle on your vehicle. 4.
Close the charge port door by pressing
the indentation on the charge port
door. Continue pressing the indentation
while the door rotates
counterclockwise and closes.
HIGH VOLTAGE BATTERY CUT-
OFF SWITCH
The high-voltage shut off operation shuts
off power from the high-voltage battery
after a collision, or if your vehicle receives
a substantial physical jolt.
To reactivate your vehicle after either
event, perform the following steps:
1. Turn the ignition off.
2. Turn the ignition on.
3. If your vehicle is not powered after this
sequence, repeat steps 1 and 2 up to
two more times.
For vehicles equipped with a push button
start system:
1. Press the
START/STOP button to
turn ignition off.
2. Press the brake pedal and press the START/STOP
button.
150
C-MAX (CCG) Mexico/United States of America/Canada, enUSA, CPE Review High Voltage BatteryE144781
Page 154 of 455
3.
If your vehicle is not powered after this
sequence, repeat steps 1 and 2 up to
two more times.
Note: During this process, your vehicle will
detect if the electrical system is safe and
reactivate. Once your vehicle determines
the electrical system safe, you can start your
vehicle as you would normally by either
turning the ignition key or by pressing the
brake in combination with the
START/STOP button.
Note: In the event your vehicle does not
reactivate after the third key cycle, contact
an authorized dealer.
151
C-MAX (CCG) Mexico/United States of America/Canada, enUSA, CPE Review High Voltage Battery
Page 155 of 455
AUTOMATIC TRANSMISSION
WARNINGS
Always set the parking brake fully
and make sure the gearshift is
latched in park (P). Turn the ignition
to the off position and remove the key
whenever you leave your vehicle. Do not apply the brake pedal and
accelerator pedal simultaneously.
Applying both pedals simultaneously
for more than three seconds will limit
engine rpm, which may result in difficulty
maintaining speed in traffic and could lead
to serious injury. Automatic Transmission
Putting your vehicle in gear:
1. Fully press down the brake pedal.
2.
Move the gearshift lever to the desired
gear.
3. Come to a complete stop.
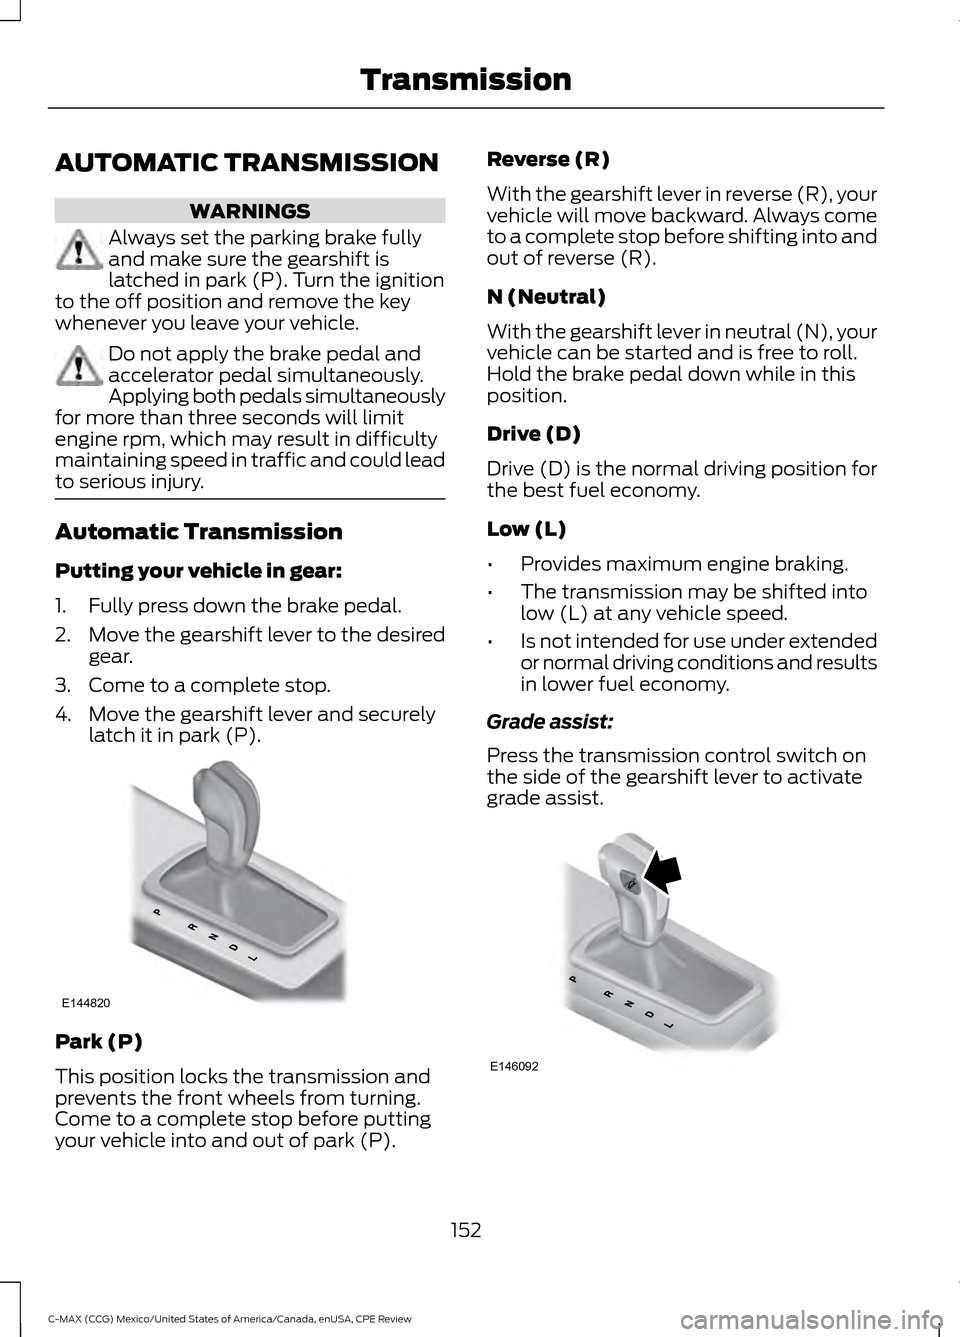
4. Move the gearshift lever and securely latch it in park (P). Park (P)
This position locks the transmission and
prevents the front wheels from turning.
Come to a complete stop before putting
your vehicle into and out of park (P). Reverse (R)
With the gearshift lever in reverse (R), your
vehicle will move backward. Always come
to a complete stop before shifting into and
out of reverse (R).
N (Neutral)
With the gearshift lever in neutral (N), your
vehicle can be started and is free to roll.
Hold the brake pedal down while in this
position.
Drive (D)
Drive (D) is the normal driving position for
the best fuel economy.
Low (L)
•
Provides maximum engine braking.
• The transmission may be shifted into
low (L) at any vehicle speed.
• Is not intended for use under extended
or normal driving conditions and results
in lower fuel economy.
Grade assist:
Press the transmission control switch on
the side of the gearshift lever to activate
grade assist. 152
C-MAX (CCG) Mexico/United States of America/Canada, enUSA, CPE Review TransmissionE144820 E146092
Page 158 of 455
GENERAL INFORMATION
Note:
Occasional brake noise is normal. If
a metal-to-metal, continuous grinding or
continuous squeal sound is present, the
brake linings may be worn-out. Have the
system checked by an authorized dealer. If
the vehicle has continuous vibration or
shudder in the steering wheel while braking,
have it checked by an authorized dealer.
Note: Brake dust may accumulate on the
wheels, even under normal driving
conditions. Some dust is inevitable as the
brakes wear and does not contribute to
brake noise. See Cleaning the Alloy
Wheels (page 237). See
Warning Lamps and
Indicators (page 83).
Wet brakes result in reduced braking
efficiency. Gently press the brake pedal a
few times when driving from a car wash or
standing water to dry the brakes.
Brake Over Accelerator
In the event the accelerator pedal
becomes stuck or entrapped, apply steady
and firm pressure to the brake pedal to
slow the vehicle and reduce engine power.
If you experience this condition, apply the
brakes and bring your vehicle to a safe
stop. Move the transmission to park (P),
switch the engine off and apply the parking
brake. Inspect the accelerator pedal for
any interference. If none are found and the
condition persists, have your vehicle towed
to the nearest authorized dealer.
Brake Assist
Brake assist detects when you brake
heavily by measuring the rate at which you
press the brake pedal. It provides
maximum braking efficiency as long as you
press the pedal. Brake assist can reduce
stopping distances in critical situations. Anti-lock Brake System
This system helps you maintain steering
control during emergency stops by keeping
the brakes from locking. This lamp momentarily
illuminates when you turn the
ignition on. If the light does not
illuminate during start up, remains on or
flashes, the system may be disabled. Have
the system checked by an authorized
dealer. If the anti-lock brake system is
disabled, normal braking is still effective. If the brake warning lamp
illuminates when you release the
parking brake, have the system
checked by an authorized dealer.
Regenerative Braking System
This feature is used to simulate the engine
braking of an internal combustion engine
and assist the standard brake system while
recovering some of the energy of motion
and storing it in the battery to improve the
range of your vehicle. The standard brake
system is designed to fully stop the car if
regenerative braking is not available.
During regenerative braking, the motor is
spun as a generator to create electrical
current. This recharges the battery and
slows the vehicle. In effect, once the
accelerator pedal is released, the motor
changes from an energy user to an energy
producer.
When the accelerator pedal is released or
the brake pedal is applied, the brake
controller automatically detects the
amount of deceleration requested and
optimizes how much of the deceleration
will be produced by regenerative braking.
The remaining portion is generated by
155
C-MAX (CCG) Mexico/United States of America/Canada, enUSA, CPE Review BrakesE144522 E144522
Page 185 of 455
Recreational Towing
Note:
Put your climate control system in
recirculated air mode to prevent exhaust
fumes from entering the vehicle. See
Climate Control (page 104).
Follow these guidelines if you have a need
for recreational (RV) towing. An example
of recreational towing would be towing
your vehicle behind a motorhome. We
designed these guidelines to prevent
damage to your transmission.
You can tow your vehicle with all four
wheels on the ground or with the front
wheels off the ground by using a tow dolly.
If you are using a tow dolly follow the
instructions specified by the equipment
provider.
If you tow your vehicle with all four wheels
on the ground:
• Tow only in the forward direction.
• Release the parking brake.
Vehicles with Push Button Start
1. Start the vehicle by pressing the brake pedal, and then pressing the ENGINE
START/STOP button until the vehicle
starts.
2. Press the brake pedal and shift the transmission into position
N.
3. Turn the vehicle off by pressing the ENGINE START/STOP button once.
(Trip Summary appears in the left
instrument cluster screen when the
vehicle is off.)
Vehicles with Ignition Key
1. Start the vehicle by pressing the brake pedal, and then turning the ignition key
until the vehicle starts.
2. Press the brake pedal and shift the transmission into position
N. 3. Turn the vehicle off by turning the
ignition key past the accessory position.
The key position is between the
accessory and off positions. See
Ignition Switch
(page 123). (Trip
Summary appears in the left
instrument cluster screen when the
vehicle is off.)
Note: If your vehicle is equipped with an
ignition key, you cannot remove the key from
the ignition cylinder when the transmission
is in position
N and the vehicle is off.
All Vehicles
• Do not exceed 70 mph (113 km/h).
• Place the transmission in position
P,
start the vehicle, and allow the engine
to run for one minute at the beginning
of each day (you may need to press the
accelerator pedal in order to start the
engine). After allowing the vehicle to
run, place the transmission back into
position
N and the ignition in the off
position.
Note: A
SHIFT TO PARK or
TRANSMISSION NOT IN PARK message
may appear in the information display when
the transmission is in position
N and the
ignition is in the off position. You can ignore
the message during recreational towing.
182
C-MAX (CCG) Mexico/United States of America/Canada, enUSA, CPE Review Towing