driver FORD E SERIES 1997 4.G User Guide
[x] Cancel search | Manufacturer: FORD, Model Year: 1997, Model line: E SERIES, Model: FORD E SERIES 1997 4.GPages: 192, PDF Size: 3.44 MB
Page 47 of 192
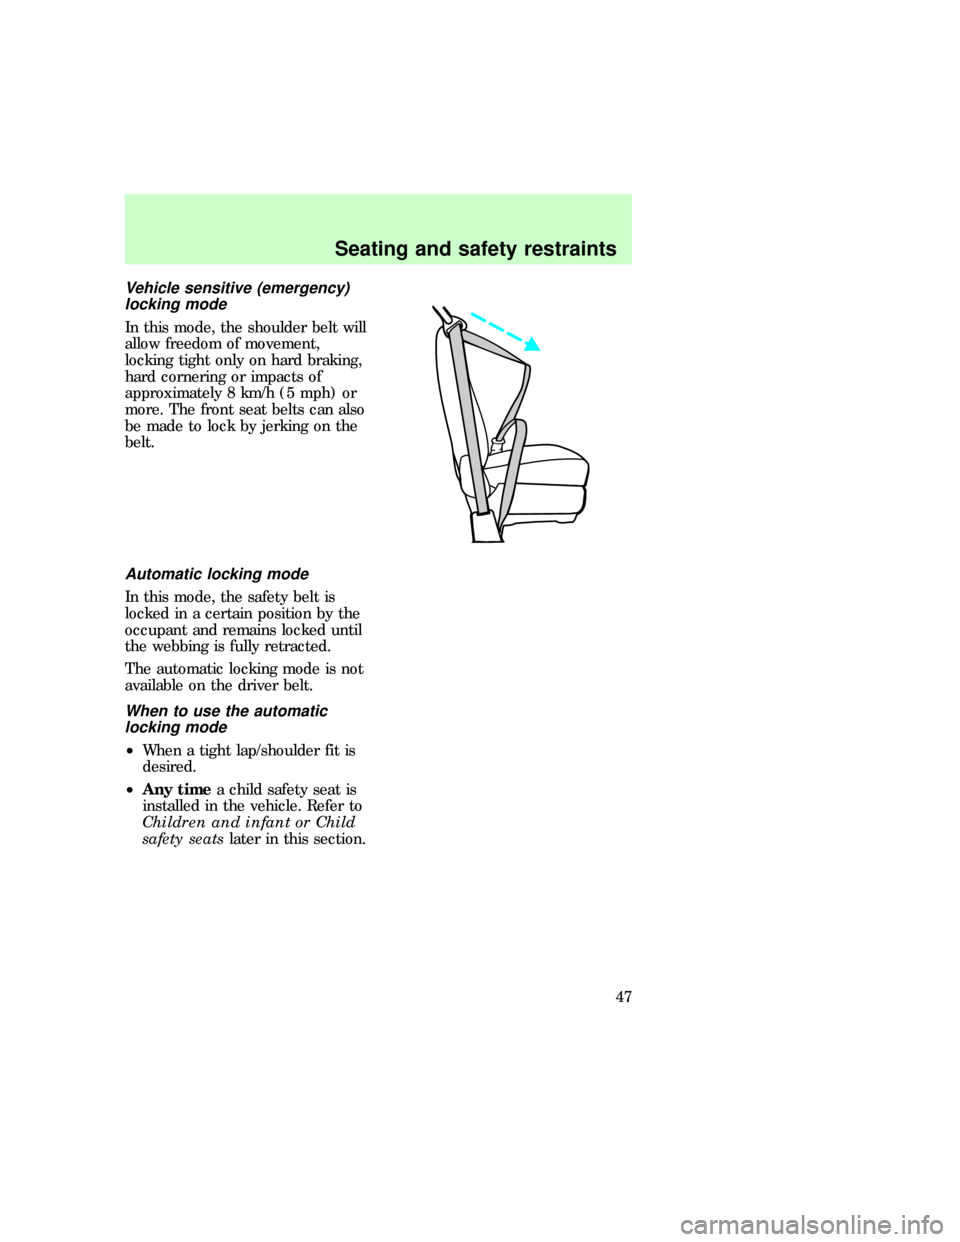
Vehicle sensitive (emergency)
locking mode
In this mode, the shoulder belt will
allow freedom of movement,
locking tight only on hard braking,
hard cornering or impacts of
approximately 8 km/h (5 mph) or
more. The front seat belts can also
be made to lock by jerking on the
belt.
Automatic locking mode
In this mode, the safety belt is
locked in a certain position by the
occupant and remains locked until
the webbing is fully retracted.
The automatic locking mode is not
available on the driver belt.
When to use the automatic
locking mode
²When a tight lap/shoulder fit is
desired.
²Any timea child safety seat is
installed in the vehicle. Refer to
Children and infant or Child
safety seatslater in this section.
eco_locking-mode_use
eco_how-to-use_locking-mode
Seating and safety restraints
47
Page 49 of 192
Canceling the automatic locking
mode
Disconnect the combination
lap/shoulder belt and allow it to
retract completely to cancel the
automatic locking mode and
activate the vehicle sensitive
(emergency) locking mode.
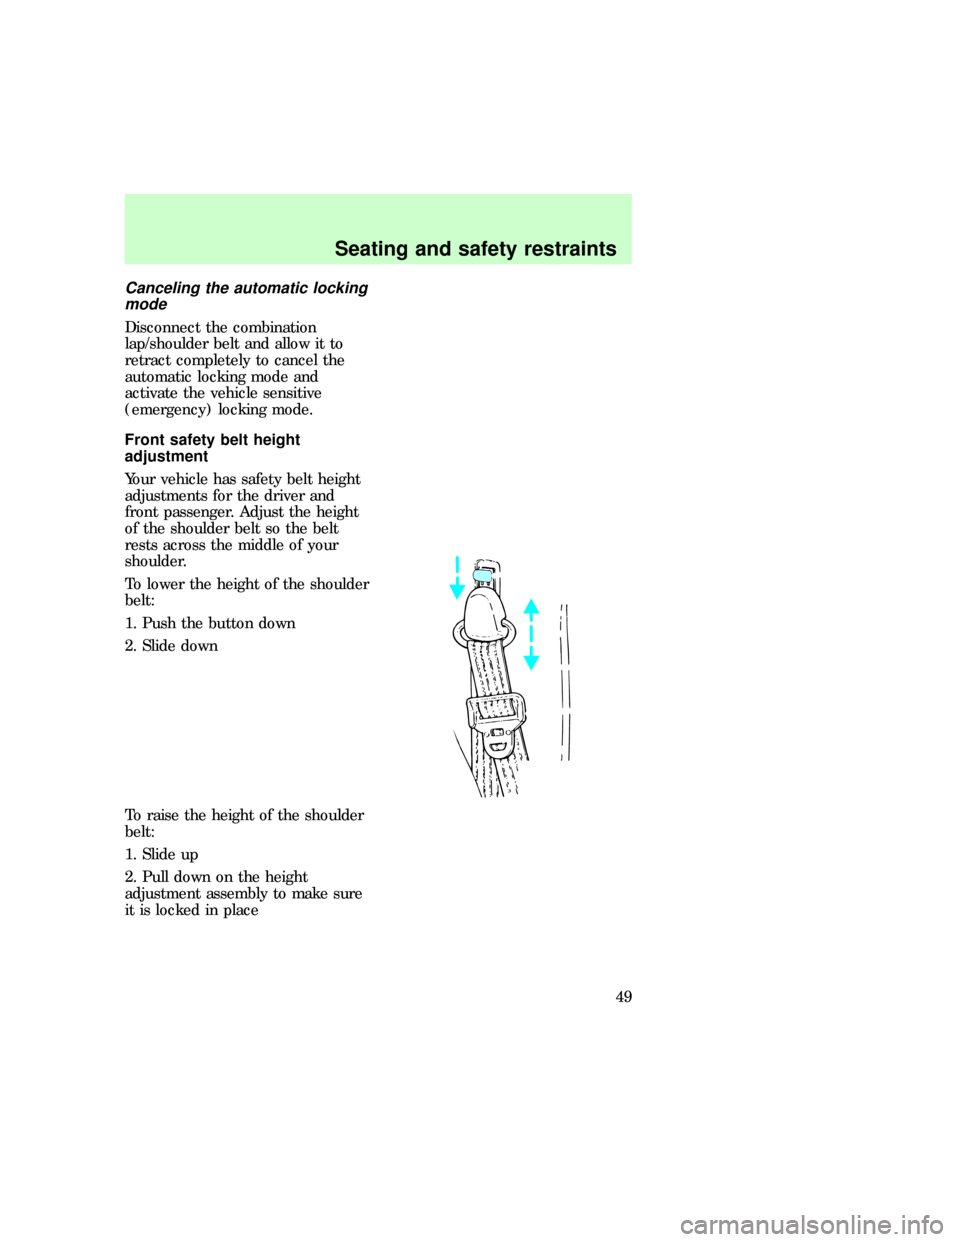
Front safety belt height
adjustment
Your vehicle has safety belt height
adjustments for the driver and
front passenger. Adjust the height
of the shoulder belt so the belt
rests across the middle of your
shoulder.
To lower the height of the shoulder
belt:
1. Push the button down
2. Slide down
To raise the height of the shoulder
belt:
1. Slide up
2. Pull down on the height
adjustment assembly to make sure
it is locked in place
eco_belt-height_adjust
eco_lap_belts
Seating and safety restraints
49
Page 51 of 192

Use only extensions manufactured
by the same supplier as the safety
belt. Manufacturer identification is
located at the end of the webbing
on the label. Also, use the safety
belt extension only if the safety
belt is too short for you when fully
extended. Do not use extension to
change the fit of the shoulder belt
across the torso.
Safety belt indicator light and
warning chime
The seat belt warning light
illuminates in the instrument
cluster and a chime sounds to
remind the occupants to fasten
their safety belts.
Conditions of operation
If... Then...
The driver's safety belt is not
buckled before the ignition key
is turned to ON...The safety belt indicator illuminates
and the warning chime/buzzer
sounds for four to eight seconds.
The driver's side safety belt is
buckled while the indicator
light is illuminated and the
warning chime is sounding...The safety belt warning chime turns
off.
The driver's safety belt is
buckled before the ignition key
is turned to ON...The safety belt indicator
chime/buzzer remains off.
Safety belt inspection after a
collision, maintenance and care
Check the safety belt system
periodically to make sure that it
works properly and is not
damaged. Check the safety belts to
eco_warning-light_chime
eco_light-chime_operation
eco_belt_maintenance
Seating and safety restraints
51
Page 53 of 192
All occupants of the
vehicle, including the
driver, should always wear their
safety belts, failure to do so may
increase the risk of personal
injury in the event of a collision.
The right front passenger
air bag is not designed to
restrain occupants in the center
front seating position.
Do not place objects or
mount equipment on or
near the dashboard area,
steering wheel or in front of the
passenger that may come in
contact with a deploying air bag.
Failure to follow this instruction
may increase the risk of personal
injury in the event of a collision.
Do not attempt to service,
repair, or modify the Air
Bag Supplemental Restraint
System or its fuses. See your
Ford or Lincoln-Mercury dealer.
If you are close to an
inflating air bag, it could
seriously injure you. Sit against
the seatback and position your
seat such that it is as far back
from the steering wheel as
possible but still allows you to
properly control the vehicle.
eco_children
Seating and safety restraints
53
Page 56 of 192
that inflates the air bag. Small
amounts of sodium hydroxide may
be present which may irritate the
skin and eyes, but none of the
residue is toxic.
The Air Bag Supplemental
Restraint System will reduce, but
not eliminate all injuries in an
accident.
Several air bag system
components get hot after
inflation. Do not try to touch
them after inflation.
The air bag will only
inflate once and the
pretensioners (if equipped) will
only activate once. The system is
designed to function on a
one-time-only basis. If the air bag
is inflated, THE AIR BAG WILL
NOT FUNCTION AGAIN AND
MUST BE REPLACED
IMMEDIATELY. If the
pretensioners activate (if
equipped), THE
PRETENSIONERS WILL NOT
FUNCTION AGAIN AND MUST
BE REPLACED IMMEDIATELY.
If the pretensioners are not
replaced, this will increase the
risk of injury in a subsequent
collision.
The SRS consists of:
²driver and passenger air bag
modules (which include the
inflators and air bags),
Seating and safety restraints
56
Page 57 of 192

²one or more impact and safing
sensors,
²a readiness light and tone,
²driver and front passenger
safety belt buckle pretensioners
²and the electrical wiring which
connects the components.
The diagnostic module monitors its
own internal circuits and the
supplemental air bag electrical
system readiness (including the
impact sensors), the system wiring,
the air bag system readiness light,
the air bag back up power and the
air bag ignitors.
Determining if the system is
operational
The SRS uses a readiness light in
the instrument cluster or a tone to
indicate the condition of the
system. Refer to theAir bag
readinesssection in the
Instrumentationchapter. Routine
maintenance of the air bag is not
required.
A difficulty with the system is
indicated by one or more of the
following:
²The readiness light will either
flash or stay lit.
²The readiness light will not
illuminate immediately after
ignition is turned on.
²A group of five beeps will be
heard. The tone pattern will
repeat periodically until the
problem and light are repaired.
com_determing_operational.01
Seating and safety restraints
57
Page 77 of 192
Make sure the corresponding lights
illuminate briefly. If a light fails to
illuminate, have the vehicle
serviced.
²If the driver's safety belt is
fastened, the
light does not
illuminate.
STARTING PROCEDURE
Starting the engine
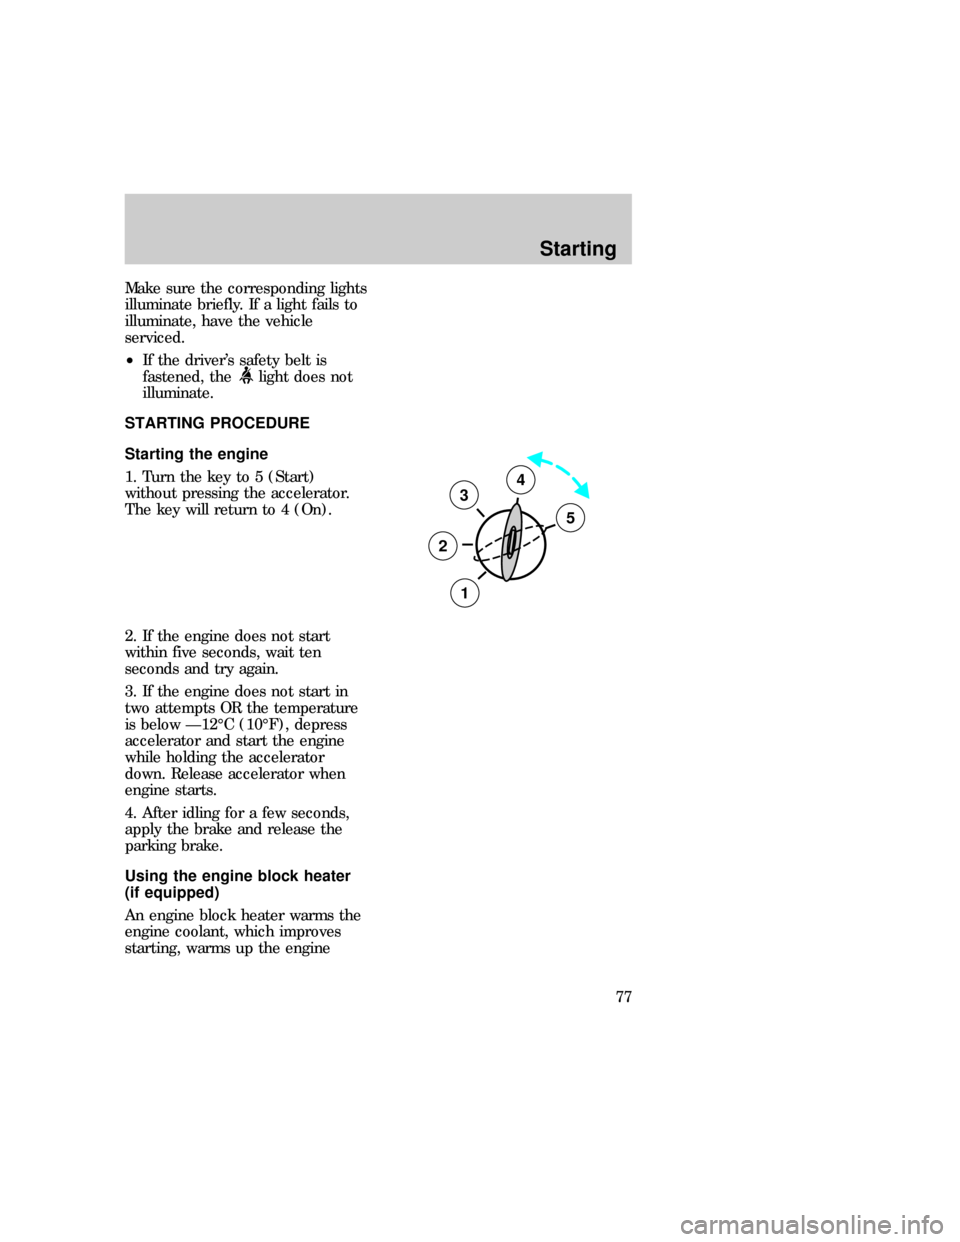
1. Turn the key to 5 (Start)
without pressing the accelerator.
The key will return to 4 (On).
2. If the engine does not start
within five seconds, wait ten
seconds and try again.
3. If the engine does not start in
two attempts OR the temperature
is below Ð12ÉC (10ÉF), depress
accelerator and start the engine
while holding the accelerator
down. Release accelerator when
engine starts.
4. After idling for a few seconds,
apply the brake and release the
parking brake.
Using the engine block heater
(if equipped)
An engine block heater warms the
engine coolant, which improves
starting, warms up the engine
3
2
1
5
4
eco_start_title
com_starting_vehicle.01
com_engine_heater.01
Starting
77
Page 87 of 192

²Payload:Combined maximum
allowable weight of cargo,
passengers and optional
equipment. The payload equals
Gross Vehicle Weight Rating
(GVWR) minus base curb
weight.
²GVW (Gross Vehicle Weight):
Base curb weight plus the
payload weight (including
passengers, cargo and optional
equipment. Remember, the GVW
is not a limit or a specification.
²GVWR (Gross Vehicle Weight
Rating):Maximum total weight
of the base vehicle, passengers,
optional equipment and cargo.
The GVWR is specific to each
particular vehicle and is listed
on the Safety Compliance
Certification Label on the driver
door pillar.
²GAWR (Gross Axle Weight
Rating):Carrying capacity for
each axle system (front and
rear). This amount is specific to
each particular vehicle and is
listed on the Safety Compliance
Certification Label on the driver
door pillar.
²GCWR (Gross Combined
Weight Rating):Maximum
combined weight of the towing
vehicle (including passengers
and cargo) and the trailer. The
GCWR indicates the maximum
loaded weight that the vehicle is
allowed to tow.
²Maximum trailer weight:
Maximum weight of a trailer the
Driving
87
Page 109 of 192

Number Fuse amperage
ratingCircuits protected
4 5 amp PCM keep alive
memory
5 10 amp Right trailer turn
signal
6 10 amp Left trailer turn signal
7 - Not used
8 60 amp Instrument panel
fuses
9 30 amp PCM power relay
10 60 amp Auxiliary battery
11 - Not used
12 60 amp Misc.
13 50 amp Blower motor relay
14 30 amp Trailer running lamps,
trailer backup lamps
15 40 amp Headlamp switch
16 50 amp Auxiliary A/C, remote
keyless entry module
17 30 amp Fuel pump relay
(gasoline), injector
driver module relay
(diesel)
18 60 amp Modified vehicle
power
19 60 amp Anti-lock brake
system (4WABS)
20 20 amp Electric brake
controller (trailer tow)
21 50 amp Modified vehicle
power
22 40 amp Trailer battery charge
(relay)
Roadside emergencies
109
Page 171 of 192
Cleaning the wiper blades
If the wiper blades do not wipe
properly, clean both the windshield
and wiper blades using undiluted
windshield wiper solution or a mild
detergent. Rinse thoroughly with
clean water. To avoid damaging the
blades, do not use fuel, kerosene,
paint thinner or other solvents.
Cleaning the instrument panel
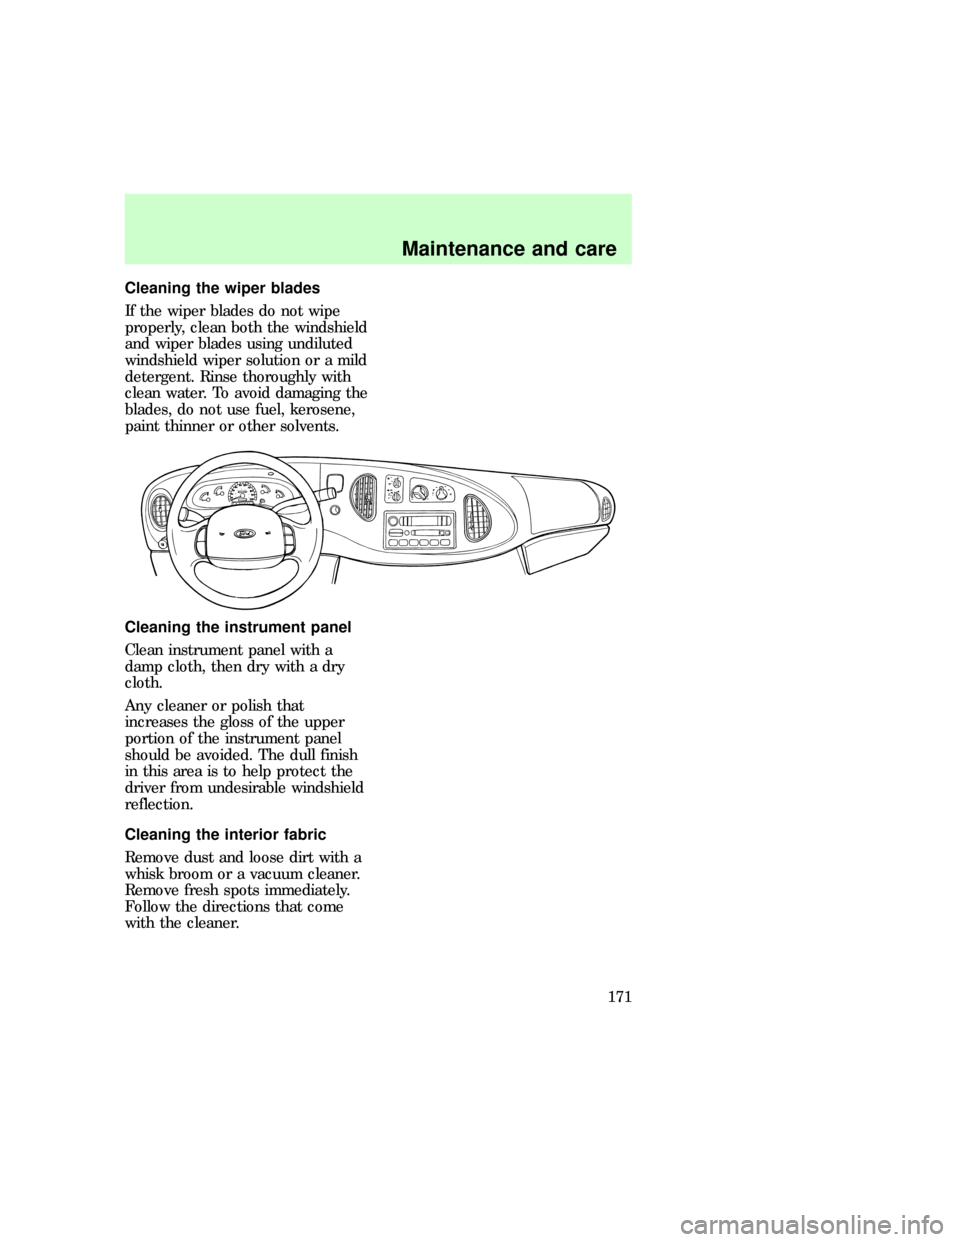
Clean instrument panel with a
damp cloth, then dry with a dry
cloth.
Any cleaner or polish that
increases the gloss of the upper
portion of the instrument panel
should be avoided. The dull finish
in this area is to help protect the
driver from undesirable windshield
reflection.
Cleaning the interior fabric
Remove dust and loose dirt with a
whisk broom or a vacuum cleaner.
Remove fresh spots immediately.
Follow the directions that come
with the cleaner.
com_instru-panel_cleaning.01
com_int_fabric_cleaning.01
com_safety_belts_cleaning.01
Maintenance and care
171