climate control FORD E SERIES 1998 4.G Owners Manual
[x] Cancel search | Manufacturer: FORD, Model Year: 1998, Model line: E SERIES, Model: FORD E SERIES 1998 4.GPages: 144, PDF Size: 2.14 MB
Page 5 of 144
VOL-PUSH ONAM
FMBASS
TREBBAL FADE
SEEK
TUNESCAN EJTAPEDOLBY 8 NR
REW
1FF
2SIDE 1-2
34
5
6
ST FM 1
FM 1
FANHI
LO
COOL
WARM
MAX
A/C NORM
A/CVENTOFF
FLR
MIX
CLK
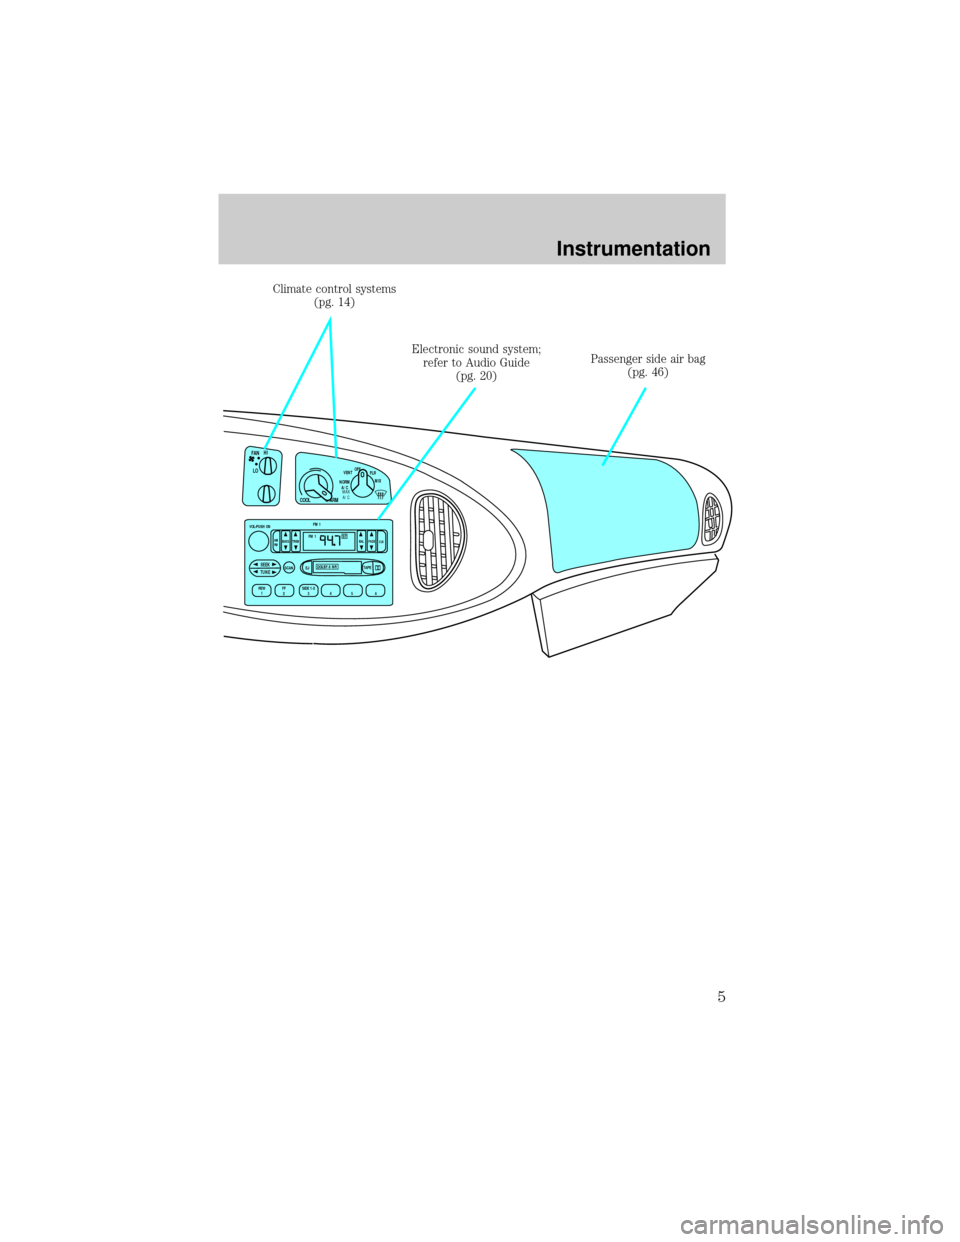
Climate control systems
(pg. 14)
Electronic sound system;
refer to Audio Guide
(pg. 20)Passenger side air bag
(pg. 46)
Instrumentation
5
Page 14 of 144
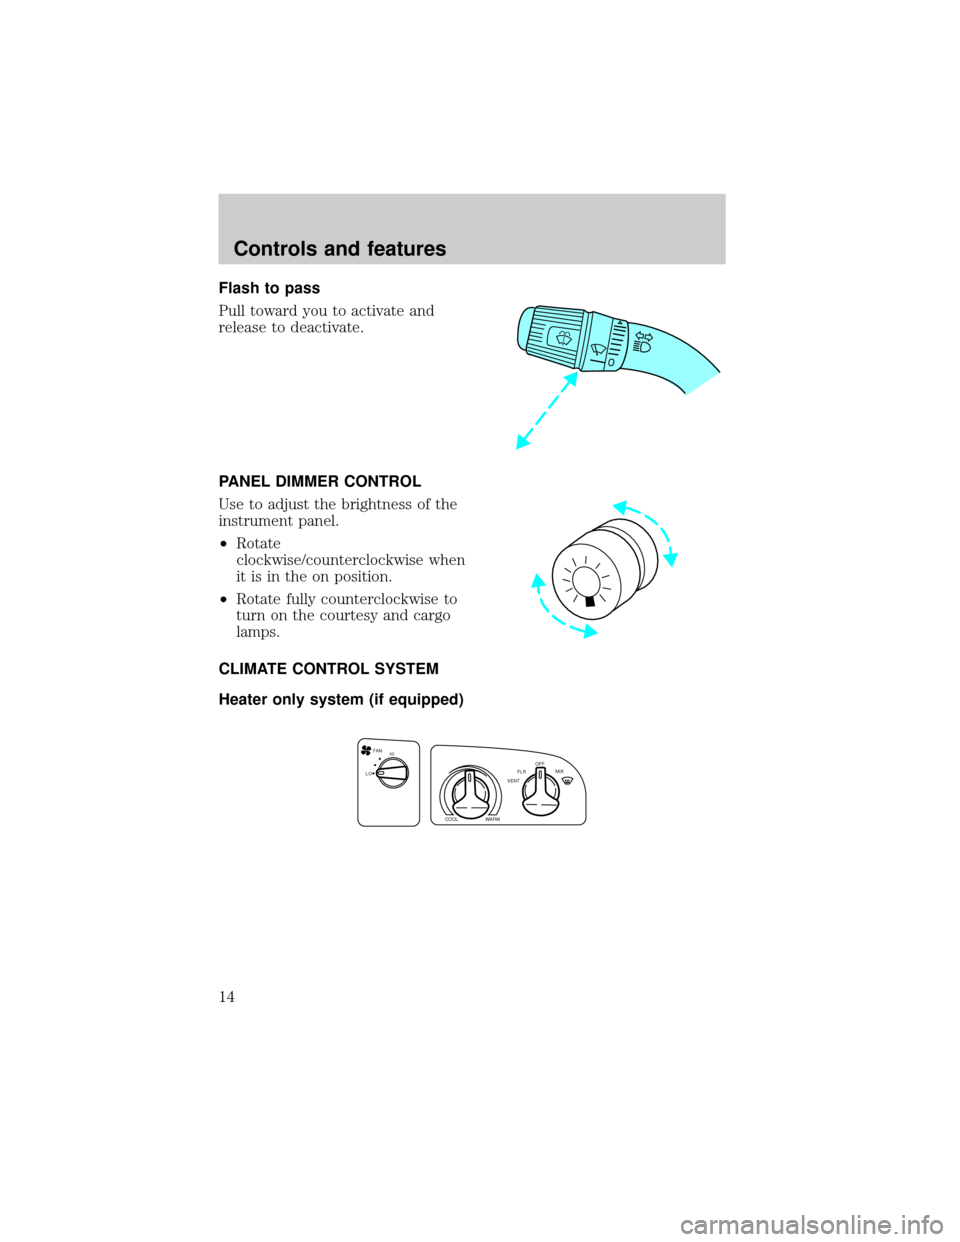
Flash to pass
Pull toward you to activate and
release to deactivate.
PANEL DIMMER CONTROL
Use to adjust the brightness of the
instrument panel.
²Rotate
clockwise/counterclockwise when
it is in the on position.
²Rotate fully counterclockwise to
turn on the courtesy and cargo
lamps.
CLIMATE CONTROL SYSTEM
Heater only system (if equipped)
FAN
LOHI
COOLWARM
VENTFLROFF
MIX
Controls and features
14
Page 16 of 144
Operating tips
²In humid weather, selectbefore driving. This will help to prevent
your windshield from fogging. After a few minutes, select any desired
position.
²To prevent humidity buildup inside the vehicle, don't drive with the
climate control system in the OFF position.
²Don't put objects under the front seat that will interfere with the
airflow to the back seats.
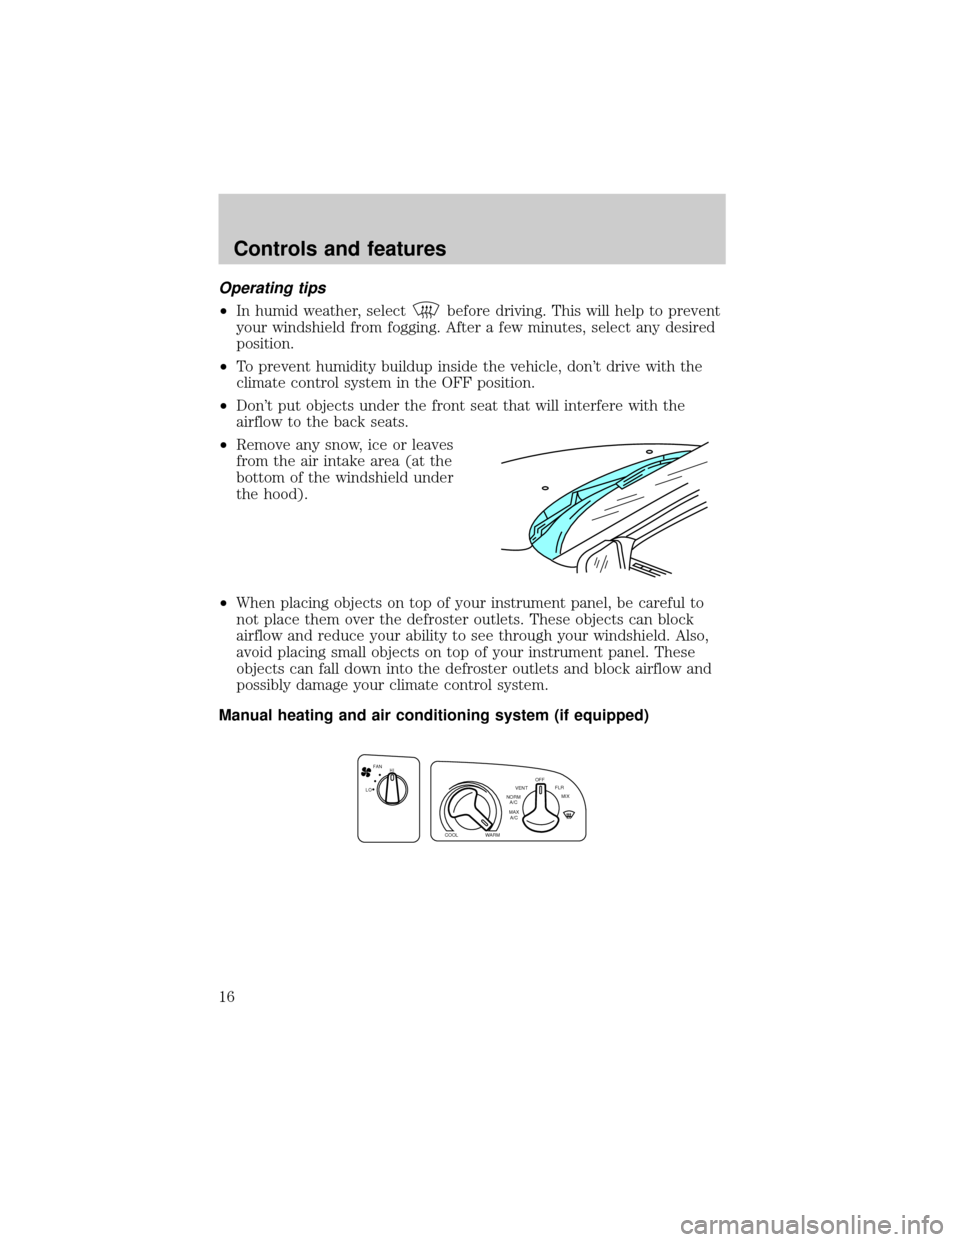
²Remove any snow, ice or leaves
from the air intake area (at the
bottom of the windshield under
the hood).
²When placing objects on top of your instrument panel, be careful to
not place them over the defroster outlets. These objects can block
airflow and reduce your ability to see through your windshield. Also,
avoid placing small objects on top of your instrument panel. These
objects can fall down into the defroster outlets and block airflow and
possibly damage your climate control system.
Manual heating and air conditioning system (if equipped)
FAN
LOHI
COOLWARM
MAX
A/C NORM
A/CVENTOFF
FLR
MIX
Controls and features
16
Page 18 of 144

Under normal conditions, your vehicle's climate control system should be
left in any position other than MAX A/C or OFF when the vehicle is
parked. This allows the vehicle to ªbreatheº through the outside air inlet
duct.
²MAX A/C-Uses recirculated air to cool the vehicle. MAX A/C is noisier
than NORM A/C but more economical and will cool the inside of the
vehicle faster. Airflow will be from the instrument panel registers. This
mode can also be used to prevent undesirable odors from entering the
vehicle.
²NORM A/C-Uses outside air to cool the vehicle. It is quieter than MAX
A/C but not as economical. Airflow will be from the instrument panel
registers.
²VENT-Distributes outside air through the instrument panel registers.
However, the air will not be cooled below the outside temperature
because the air conditioning does not operate in this mode.
²OFF-Outside air is shut out and the fan will not operate. For short
periods of time only, use this mode to prevent undesirable odors from
entering the vehicle.
²FLR-Allows for maximum heating by distributing outside air through
the floor ducts. However, the air will not be cooled below the outside
temperature because the air conditioning does not operate in this
mode.
²MIX-Distributes outside air through the windshield defroster ducts and
the floor ducts. Heating and air conditioning capabilities are provided
in this mode. For added customer comfort, when the temperature
control knob is anywhere in between the full hot and full cold
positions, the air distributed through the floor ducts will be slightly
warmer than the air sent to the windshield defroster ducts. If the
temperature is about 10ÉC (50ÉF) or higher, the air conditioner will
automatically dehumidify the air to prevent fogging.
²
-Distributes outside air through the windshield defroster ducts.
It can be used to clear ice or fog from the windshield. If the
temperature is about 10ÉC (50ÉF) or higher, the air conditioner will
automatically dehumidify the air to prevent fogging.
Operating tips
²In humid weather, selectbefore driving. This will prevent your
windshield from fogging. After a few minutes, select any desired
position.
Controls and features
18
Page 19 of 144
²To prevent humidity buildup inside the vehicle, don't drive with the
climate control system in the OFF position.
²Don't put objects under the front seat that will interfere with the
airflow to the back seats.
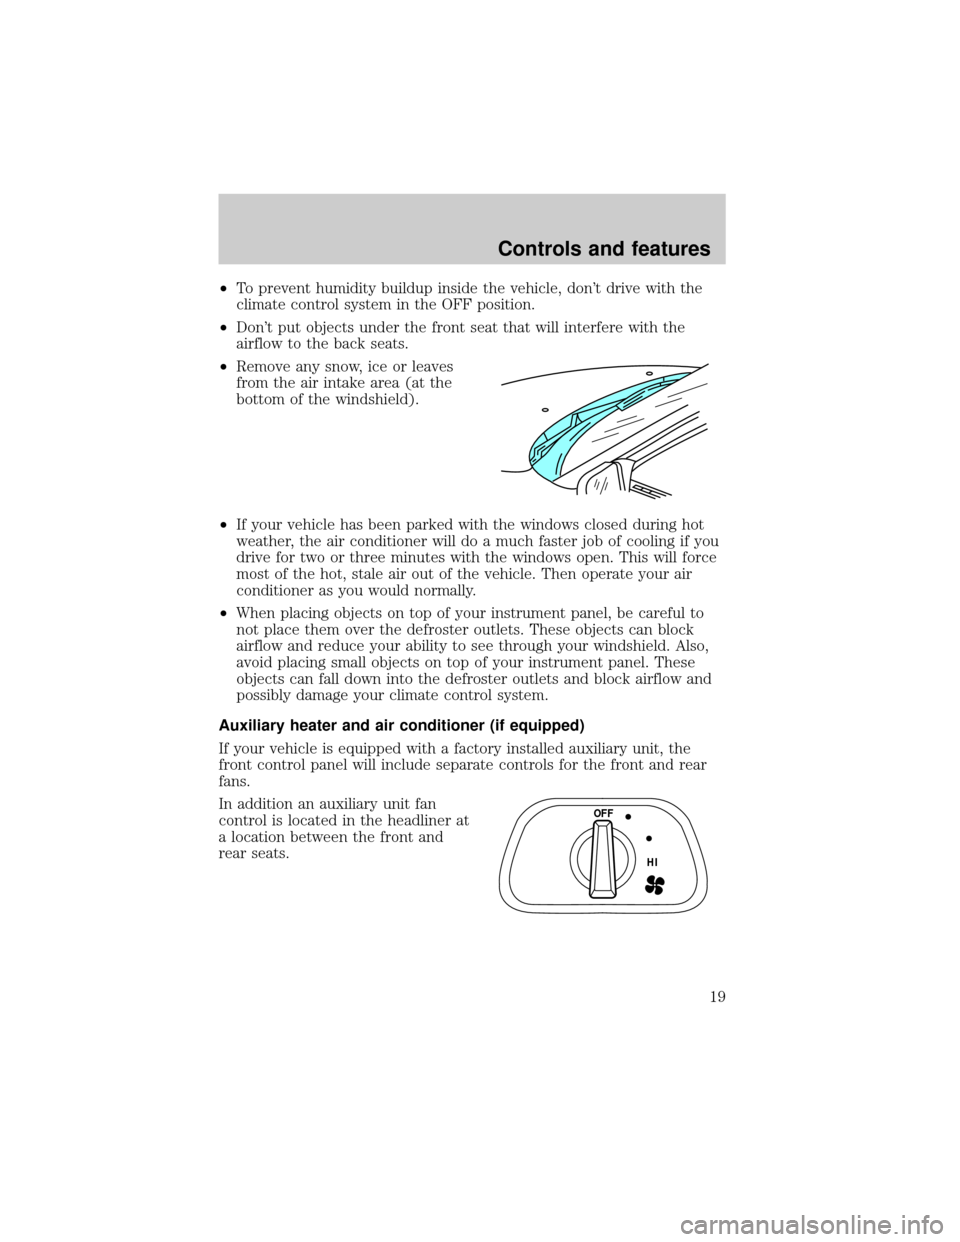
²Remove any snow, ice or leaves
from the air intake area (at the
bottom of the windshield).
²If your vehicle has been parked with the windows closed during hot
weather, the air conditioner will do a much faster job of cooling if you
drive for two or three minutes with the windows open. This will force
most of the hot, stale air out of the vehicle. Then operate your air
conditioner as you would normally.
²When placing objects on top of your instrument panel, be careful to
not place them over the defroster outlets. These objects can block
airflow and reduce your ability to see through your windshield. Also,
avoid placing small objects on top of your instrument panel. These
objects can fall down into the defroster outlets and block airflow and
possibly damage your climate control system.
Auxiliary heater and air conditioner (if equipped)
If your vehicle is equipped with a factory installed auxiliary unit, the
front control panel will include separate controls for the front and rear
fans.
In addition an auxiliary unit fan
control is located in the headliner at
a location between the front and
rear seats.
OFF
HI
Controls and features
19
Page 108 of 144
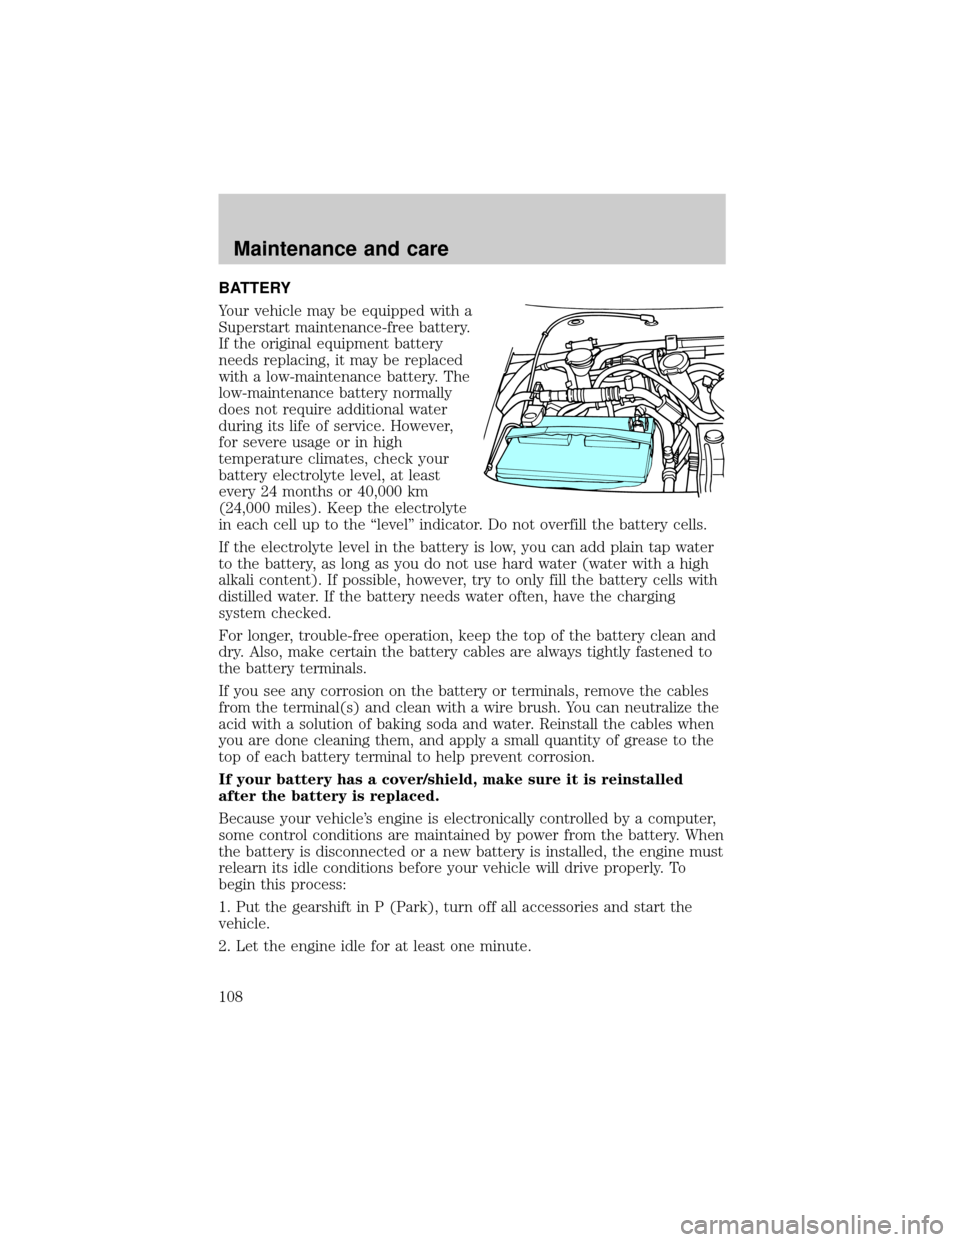
BATTERY
Your vehicle may be equipped with a
Superstart maintenance-free battery.
If the original equipment battery
needs replacing, it may be replaced
with a low-maintenance battery. The
low-maintenance battery normally
does not require additional water
during its life of service. However,
for severe usage or in high
temperature climates, check your
battery electrolyte level, at least
every 24 months or 40,000 km
(24,000 miles). Keep the electrolyte
in each cell up to the ªlevelº indicator. Do not overfill the battery cells.
If the electrolyte level in the battery is low, you can add plain tap water
to the battery, as long as you do not use hard water (water with a high
alkali content). If possible, however, try to only fill the battery cells with
distilled water. If the battery needs water often, have the charging
system checked.
For longer, trouble-free operation, keep the top of the battery clean and
dry. Also, make certain the battery cables are always tightly fastened to
the battery terminals.
If you see any corrosion on the battery or terminals, remove the cables
from the terminal(s) and clean with a wire brush. You can neutralize the
acid with a solution of baking soda and water. Reinstall the cables when
you are done cleaning them, and apply a small quantity of grease to the
top of each battery terminal to help prevent corrosion.
If your battery has a cover/shield, make sure it is reinstalled
after the battery is replaced.
Because your vehicle's engine is electronically controlled by a computer,
some control conditions are maintained by power from the battery. When
the battery is disconnected or a new battery is installed, the engine must
relearn its idle conditions before your vehicle will drive properly. To
begin this process:
1. Put the gearshift in P (Park), turn off all accessories and start the
vehicle.
2. Let the engine idle for at least one minute.
Maintenance and care
108
Page 114 of 144
INFORMATION ABOUT TIRE QUALITY GRADES
New vehicles are fitted with tires
that have their Tire Quality Grade
(described below) molded into the
tire's sidewall. These Tire Quality
Grades are determined by standards
that the United States Department
of Transportation has set.
Tire Quality Grades apply to new
pneumatic tires for use on
passenger cars. They do not apply
to deep tread, winter-type snow
tires, space-saver or temporary use spare tires, tires with nominal rim
diameters of 10 to 12 inches or limited production tires as defined in
Title 49 Code of Federal Regulations Part 575.104(c)(2).
U.S. Department of Transportation-Tire quality grades:The U.S.
Department of Transportation requires Ford to give you the following
information about tire grades exactly as the government has written it.
Treadwear
The treadwear grade is a comparative rating based on the wear rate of
the tire when tested under controlled conditions on a specified
government test course. For example, a tire grade 150 would wear one
and one-half (1 1/2) times as well on the government course as a tire
grade 100. The relative performance of tires depends upon the actual
conditions of their use, however, and may depart significantly from the
norm due to variations in driving habits, service practices, and
differences in road characteristics and climate.
Traction A B C
The traction grades, from highest to lowest are A, B, and C, and they
represent the tire's ability to stop on wet pavement as measured under
test surfaces of asphalt and concrete. A tire marked C may have poor
traction performance.
The traction grade assigned to this tire is based on braking
(straight ahead) traction tests and does not include cornering
(turning) traction.
Maintenance and care
114
Page 117 of 144
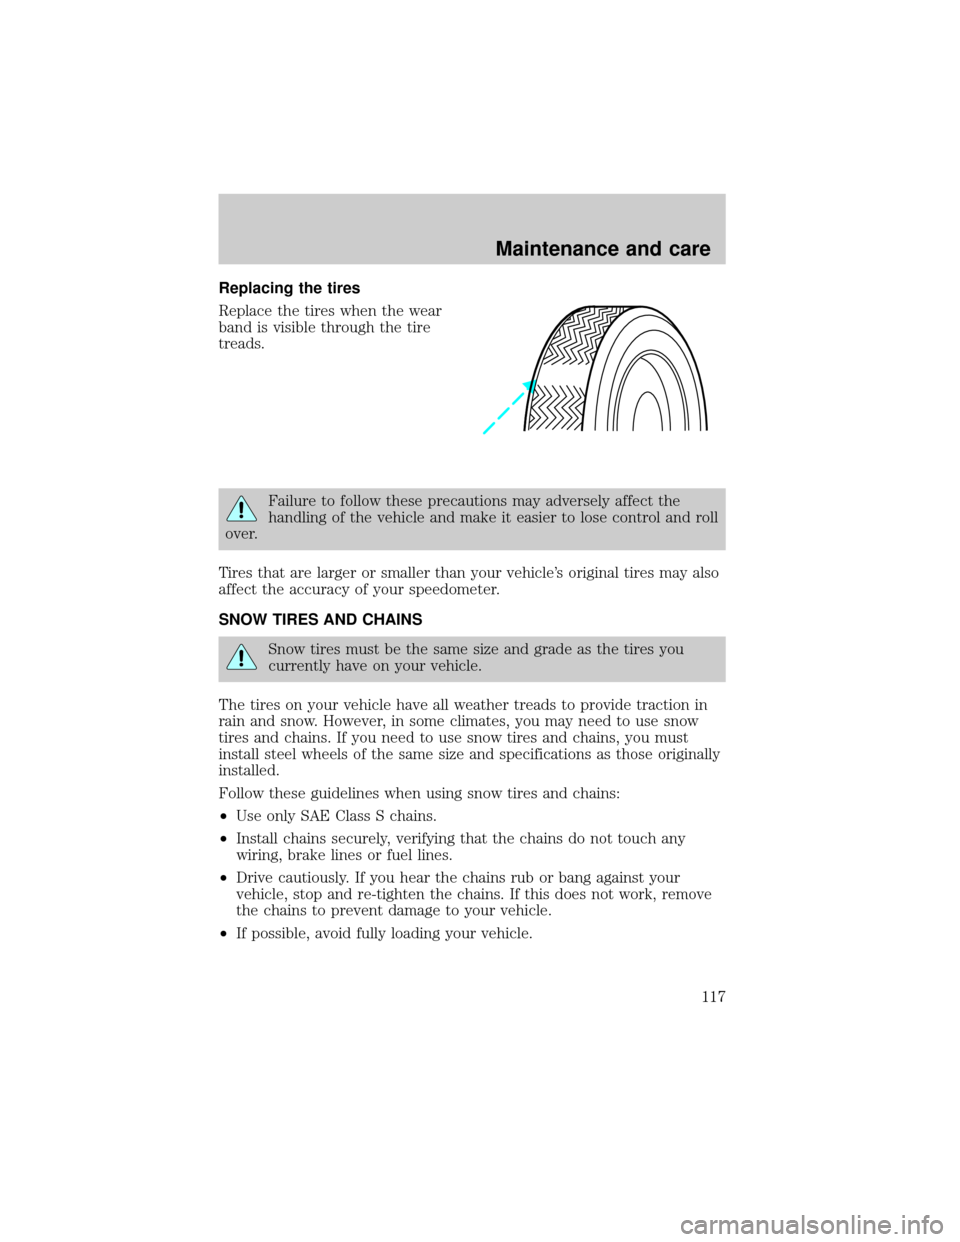
Replacing the tires
Replace the tires when the wear
band is visible through the tire
treads.
Failure to follow these precautions may adversely affect the
handling of the vehicle and make it easier to lose control and roll
over.
Tires that are larger or smaller than your vehicle's original tires may also
affect the accuracy of your speedometer.
SNOW TIRES AND CHAINS
Snow tires must be the same size and grade as the tires you
currently have on your vehicle.
The tires on your vehicle have all weather treads to provide traction in
rain and snow. However, in some climates, you may need to use snow
tires and chains. If you need to use snow tires and chains, you must
install steel wheels of the same size and specifications as those originally
installed.
Follow these guidelines when using snow tires and chains:
²Use only SAE Class S chains.
²Install chains securely, verifying that the chains do not touch any
wiring, brake lines or fuel lines.
²Drive cautiously. If you hear the chains rub or bang against your
vehicle, stop and re-tighten the chains. If this does not work, remove
the chains to prevent damage to your vehicle.
²If possible, avoid fully loading your vehicle.
Maintenance and care
117