ECO mode FORD E SERIES 2002 4.G Owners Manual
[x] Cancel search | Manufacturer: FORD, Model Year: 2002, Model line: E SERIES, Model: FORD E SERIES 2002 4.GPages: 272, PDF Size: 2.6 MB
Page 24 of 272
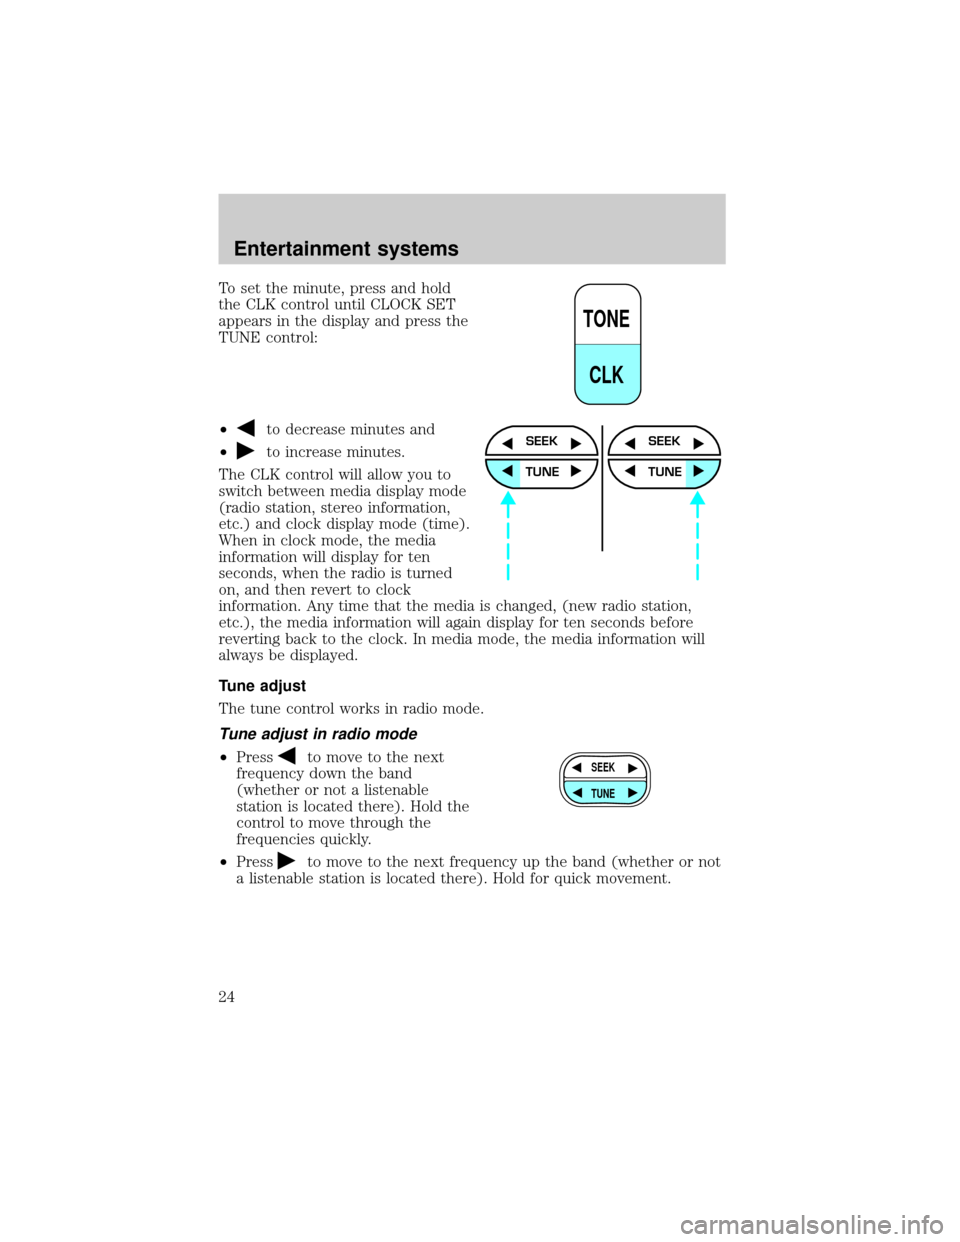
To set the minute, press and hold
the CLK control until CLOCK SET
appears in the display and press the
TUNE control:
²
to decrease minutes and
²
to increase minutes.
The CLK control will allow you to
switch between media display mode
(radio station, stereo information,
etc.) and clock display mode (time).
When in clock mode, the media
information will display for ten
seconds, when the radio is turned
on, and then revert to clock
information. Any time that the media is changed, (new radio station,
etc.), the media information will again display for ten seconds before
reverting back to the clock. In media mode, the media information will
always be displayed.
Tune adjust
The tune control works in radio mode.
Tune adjust in radio mode
²Pressto move to the next
frequency down the band
(whether or not a listenable
station is located there). Hold the
control to move through the
frequencies quickly.
²Press
to move to the next frequency up the band (whether or not
a listenable station is located there). Hold for quick movement.
TONE
CLK
SEEK
TUNE
SEEK
TUNE
SEEK
TUNE
Entertainment systems
24
Page 29 of 272
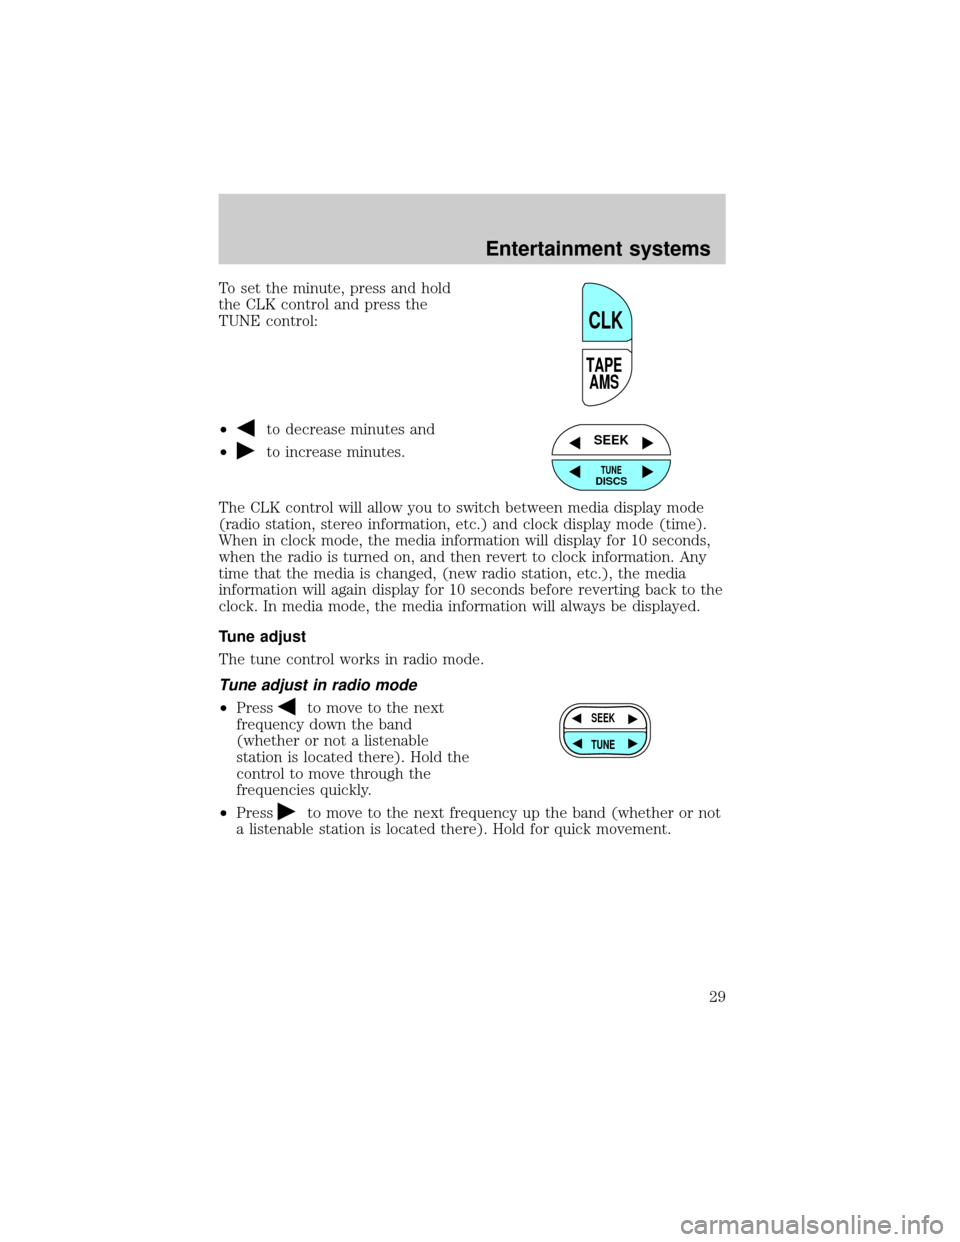
To set the minute, press and hold
the CLK control and press the
TUNE control:
²
to decrease minutes and
²
to increase minutes.
The CLK control will allow you to switch between media display mode
(radio station, stereo information, etc.) and clock display mode (time).
When in clock mode, the media information will display for 10 seconds,
when the radio is turned on, and then revert to clock information. Any
time that the media is changed, (new radio station, etc.), the media
information will again display for 10 seconds before reverting back to the
clock. In media mode, the media information will always be displayed.
Tune adjust
The tune control works in radio mode.
Tune adjust in radio mode
²Pressto move to the next
frequency down the band
(whether or not a listenable
station is located there). Hold the
control to move through the
frequencies quickly.
²Press
to move to the next frequency up the band (whether or not
a listenable station is located there). Hold for quick movement.
TAPE
AMS
CLK
SEEK
TUNEDISCS
SEEK
TUNE
Entertainment systems
29
Page 30 of 272
Tape select
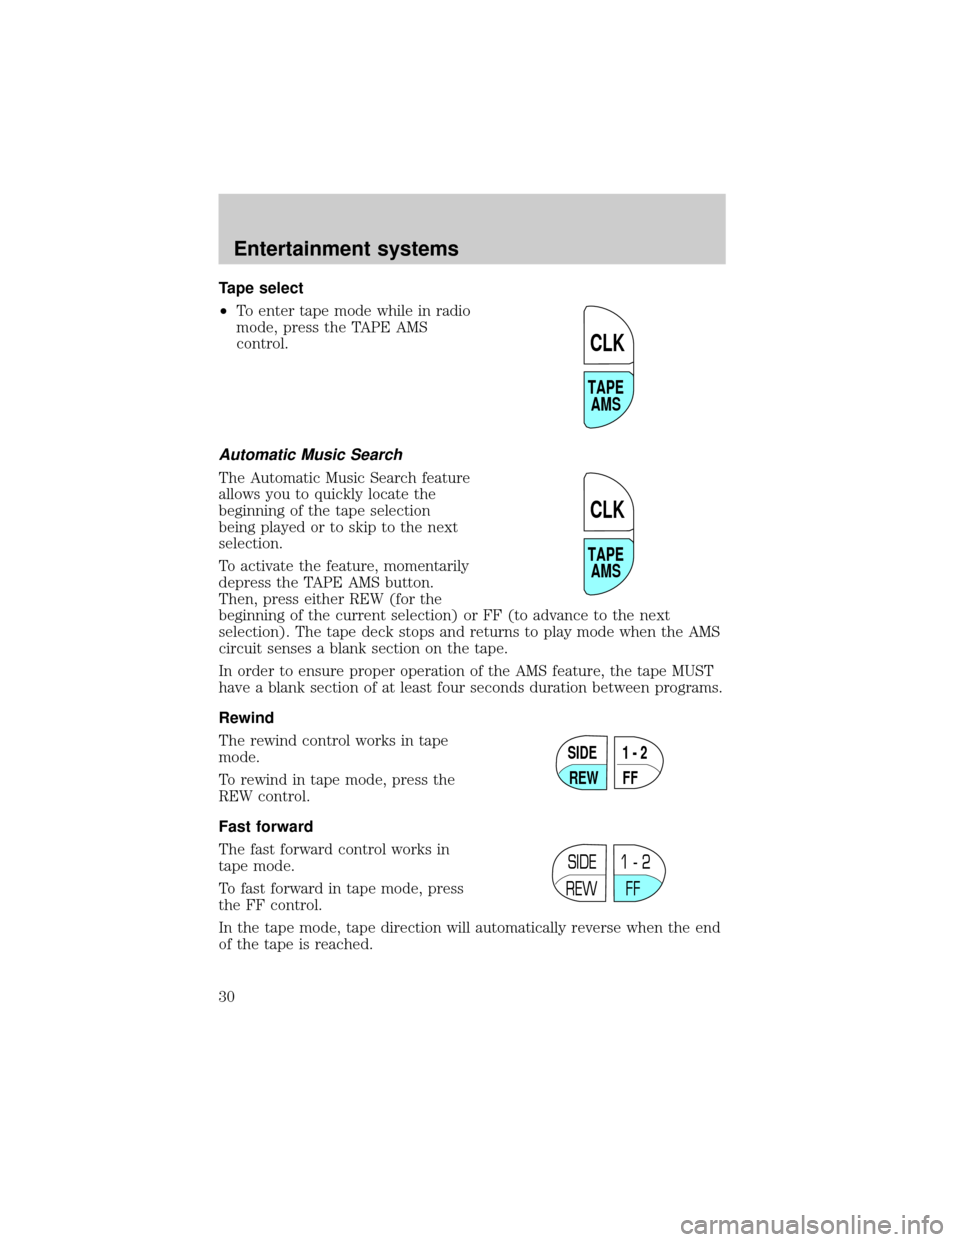
²To enter tape mode while in radio
mode, press the TAPE AMS
control.
Automatic Music Search
The Automatic Music Search feature
allows you to quickly locate the
beginning of the tape selection
being played or to skip to the next
selection.
To activate the feature, momentarily
depress the TAPE AMS button.
Then, press either REW (for the
beginning of the current selection) or FF (to advance to the next
selection). The tape deck stops and returns to play mode when the AMS
circuit senses a blank section on the tape.
In order to ensure proper operation of the AMS feature, the tape MUST
have a blank section of at least four seconds duration between programs.
Rewind
The rewind control works in tape
mode.
To rewind in tape mode, press the
REW control.
Fast forward
The fast forward control works in
tape mode.
To fast forward in tape mode, press
the FF control.
In the tape mode, tape direction will automatically reverse when the end
of the tape is reached.
TAPE
AMS
CLK
TAPE
AMS
CLK
SIDE
REW FF1 - 2
SIDE
REW FF1 - 2
Entertainment systems
30
Page 34 of 272
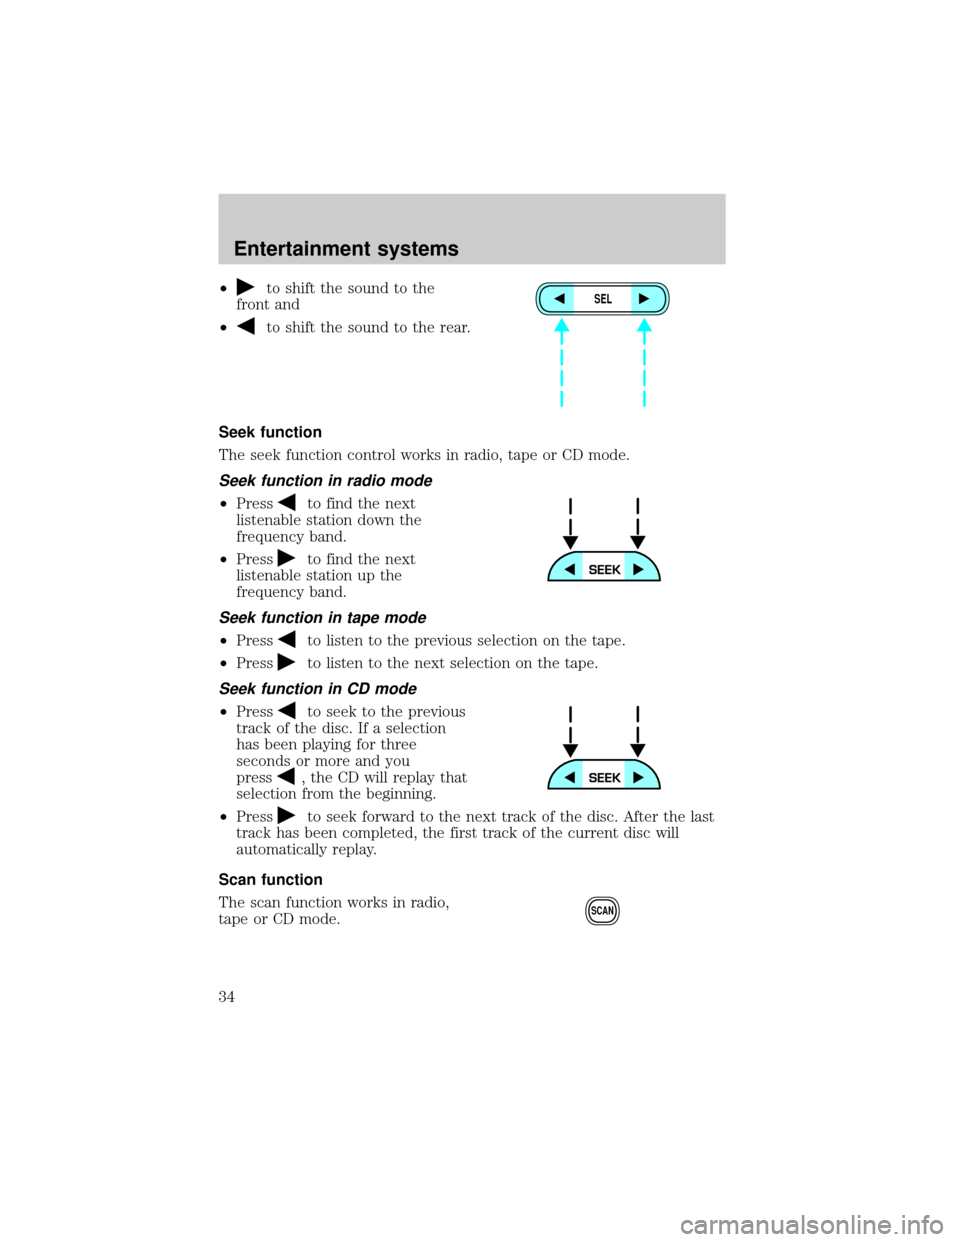
²to shift the sound to the
front and
²
to shift the sound to the rear.
Seek function
The seek function control works in radio, tape or CD mode.
Seek function in radio mode
²Pressto find the next
listenable station down the
frequency band.
²Press
to find the next
listenable station up the
frequency band.
Seek function in tape mode
²Pressto listen to the previous selection on the tape.
²Press
to listen to the next selection on the tape.
Seek function in CD mode
²Pressto seek to the previous
track of the disc. If a selection
has been playing for three
seconds or more and you
press
, the CD will replay that
selection from the beginning.
²Press
to seek forward to the next track of the disc. After the last
track has been completed, the first track of the current disc will
automatically replay.
Scan function
The scan function works in radio,
tape or CD mode.
SEL
SCAN
Entertainment systems
34
Page 38 of 272
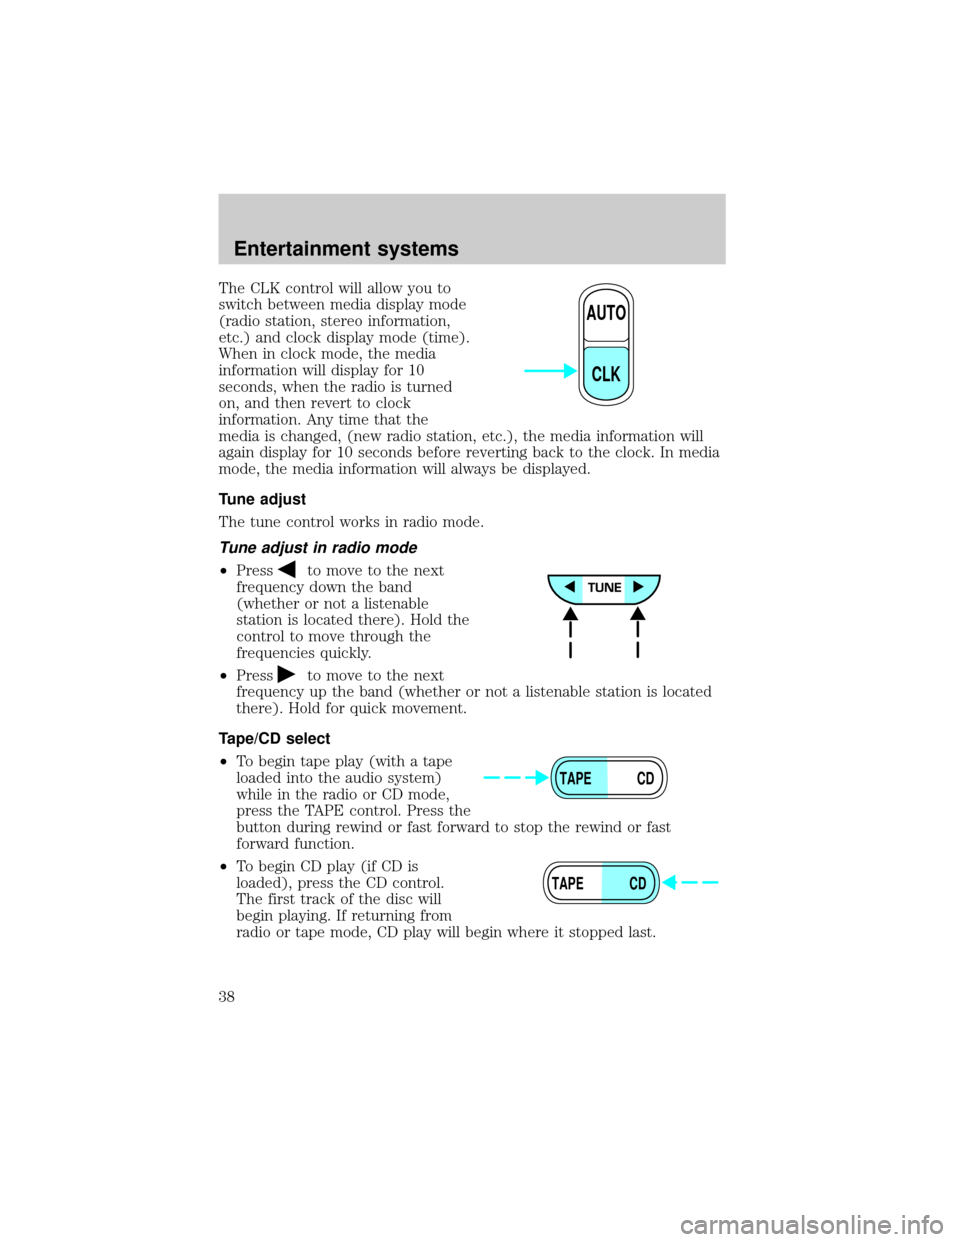
The CLK control will allow you to
switch between media display mode
(radio station, stereo information,
etc.) and clock display mode (time).
When in clock mode, the media
information will display for 10
seconds, when the radio is turned
on, and then revert to clock
information. Any time that the
media is changed, (new radio station, etc.), the media information will
again display for 10 seconds before reverting back to the clock. In media
mode, the media information will always be displayed.
Tune adjust
The tune control works in radio mode.
Tune adjust in radio mode
²Pressto move to the next
frequency down the band
(whether or not a listenable
station is located there). Hold the
control to move through the
frequencies quickly.
²Press
to move to the next
frequency up the band (whether or not a listenable station is located
there). Hold for quick movement.
Tape/CD select
²To begin tape play (with a tape
loaded into the audio system)
while in the radio or CD mode,
press the TAPE control. Press the
button during rewind or fast forward to stop the rewind or fast
forward function.
²To begin CD play (if CD is
loaded), press the CD control.
The first track of the disc will
begin playing. If returning from
radio or tape mode, CD play will begin where it stopped last.
AUTO
CLK
TAPE CD
TAPE CD
Entertainment systems
38
Page 54 of 272
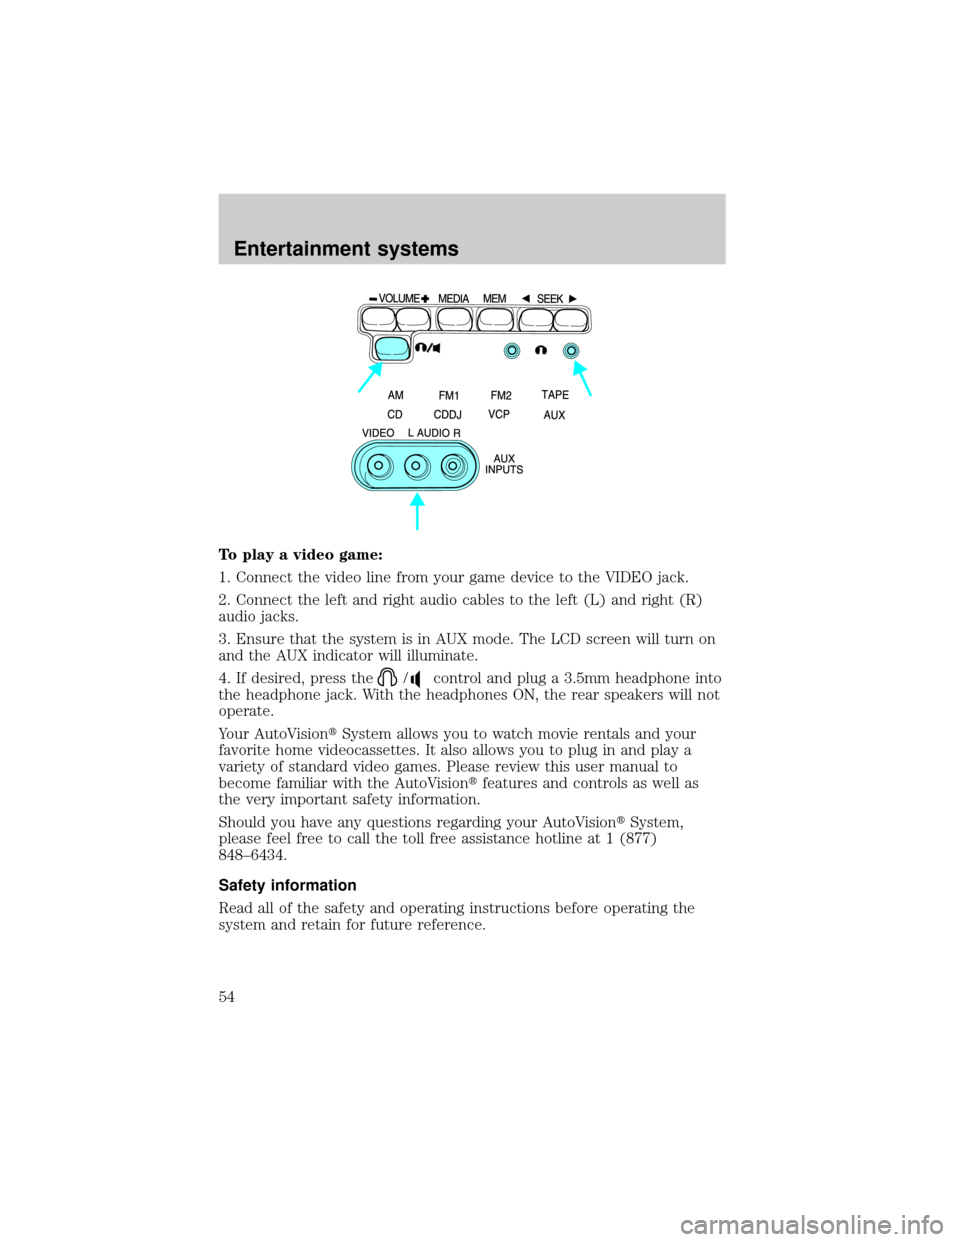
To play a video game:
1. Connect the video line from your game device to the VIDEO jack.
2. Connect the left and right audio cables to the left (L) and right (R)
audio jacks.
3. Ensure that the system is in AUX mode. The LCD screen will turn on
and the AUX indicator will illuminate.
4. If desired, press the
/control and plug a 3.5mm headphone into
the headphone jack. With the headphones ON, the rear speakers will not
operate.
Your AutoVisiontSystem allows you to watch movie rentals and your
favorite home videocassettes. It also allows you to plug in and play a
variety of standard video games. Please review this user manual to
become familiar with the AutoVisiontfeatures and controls as well as
the very important safety information.
Should you have any questions regarding your AutoVisiontSystem,
please feel free to call the toll free assistance hotline at 1 (877)
848±6434.
Safety information
Read all of the safety and operating instructions before operating the
system and retain for future reference.
Entertainment systems
54
Page 58 of 272
AutoVisionTsystem
Features
²2±head hi-fi playback
²AutoPlay feature
²Digital auto tracking
²Dual stereo headphone with electric volume control
²Self docking connection for easy mobile installation
²Latching system for secure safety
²Carrying handle for portability
²Water resistant tape door
²On screen display
²Protection circuits
Playback and format
²The videocassette player of your AutoVisiontsystem can only be used
in the ªplaybackº mode. You are not able to record with your system.
²The system plays standard videocassettes marked ªVHSº (or ªS-VHS).
VCP protection circuits
Tape protection circuit
²When the system is in PAUSE mode, the tape mechanism will
continue to create tension on the tape.
²When the VCP is in still playback, FFWD (fast forward) or REW
(reverse) mode for more than five minutes, the tape protection circuit
automatically returns the system to PLAY mode to avoid damage to
the tape.
Your AutoVision System is also equipped with a Dew sensor circuit and a
High/low temperature sensor circuit. For more information on these
circuits, please refer toHumidity and moisture condensationand
Temperature extremesin the Introduction chapter.
Entertainment systems
58
Page 60 of 272
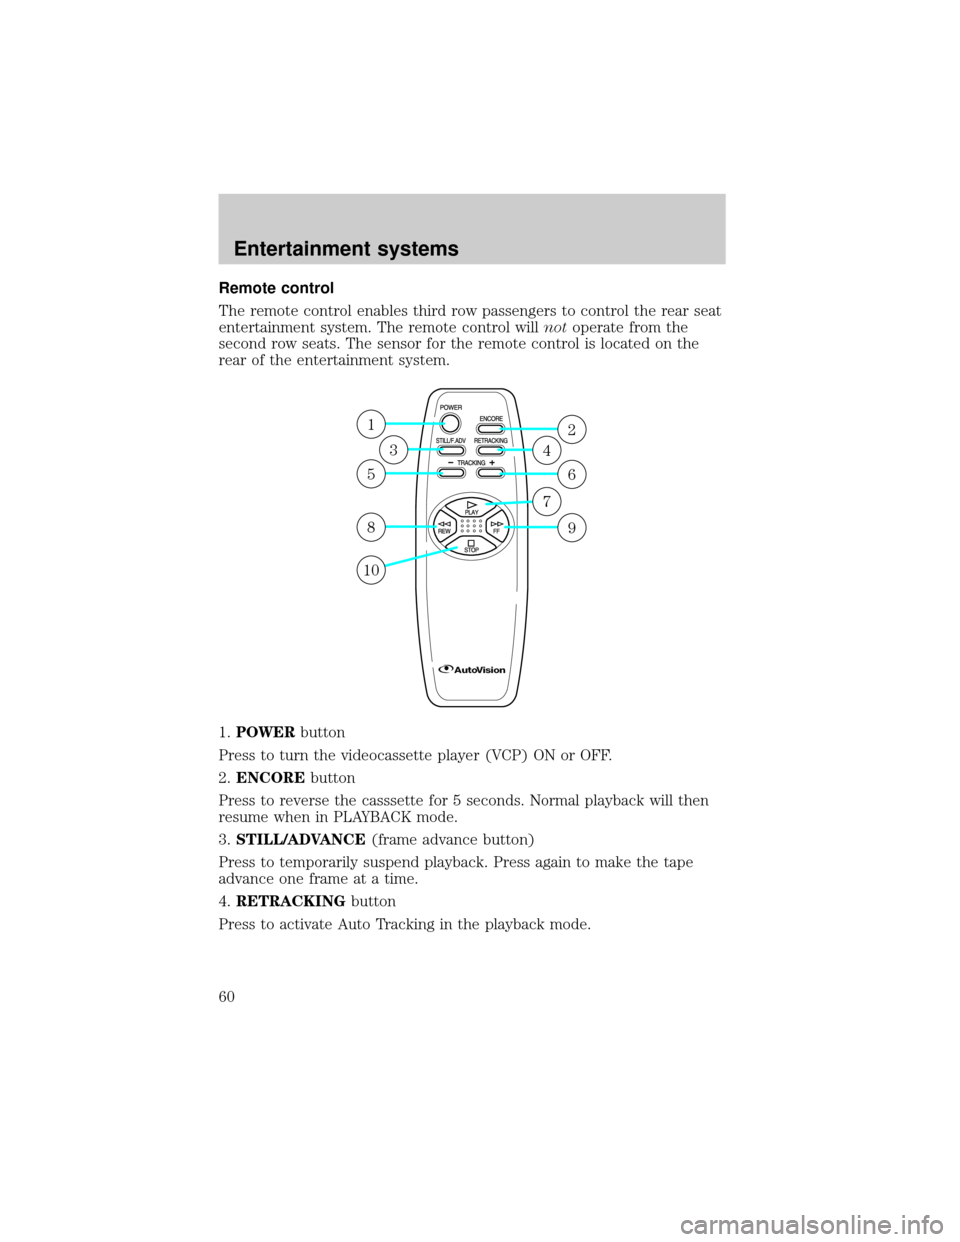
Remote control
The remote control enables third row passengers to control the rear seat
entertainment system. The remote control willnotoperate from the
second row seats. The sensor for the remote control is located on the
rear of the entertainment system.
1.POWERbutton
Press to turn the videocassette player (VCP) ON or OFF.
2.ENCOREbutton
Press to reverse the casssette for 5 seconds. Normal playback will then
resume when in PLAYBACK mode.
3.STILL/ADVANCE(frame advance button)
Press to temporarily suspend playback. Press again to make the tape
advance one frame at a time.
4.RETRACKINGbutton
Press to activate Auto Tracking in the playback mode.
1
5
8
10
3
2
6
9
4
7
Entertainment systems
60
Page 62 of 272
The remote control unit uses two AAA batteries.
The need for battery replacement is usually indicated if the remote
control only functions at extremely close distances to the entertainment
center or not at all.
When replacing batteries, use two new batteries (alkaline recommended)
and install with correct orientation (+ and þ polarities). Ensure that you
use only new batteries of the same brand.
If you will not be using the remote control for a considerably long time,
remove the batteries.
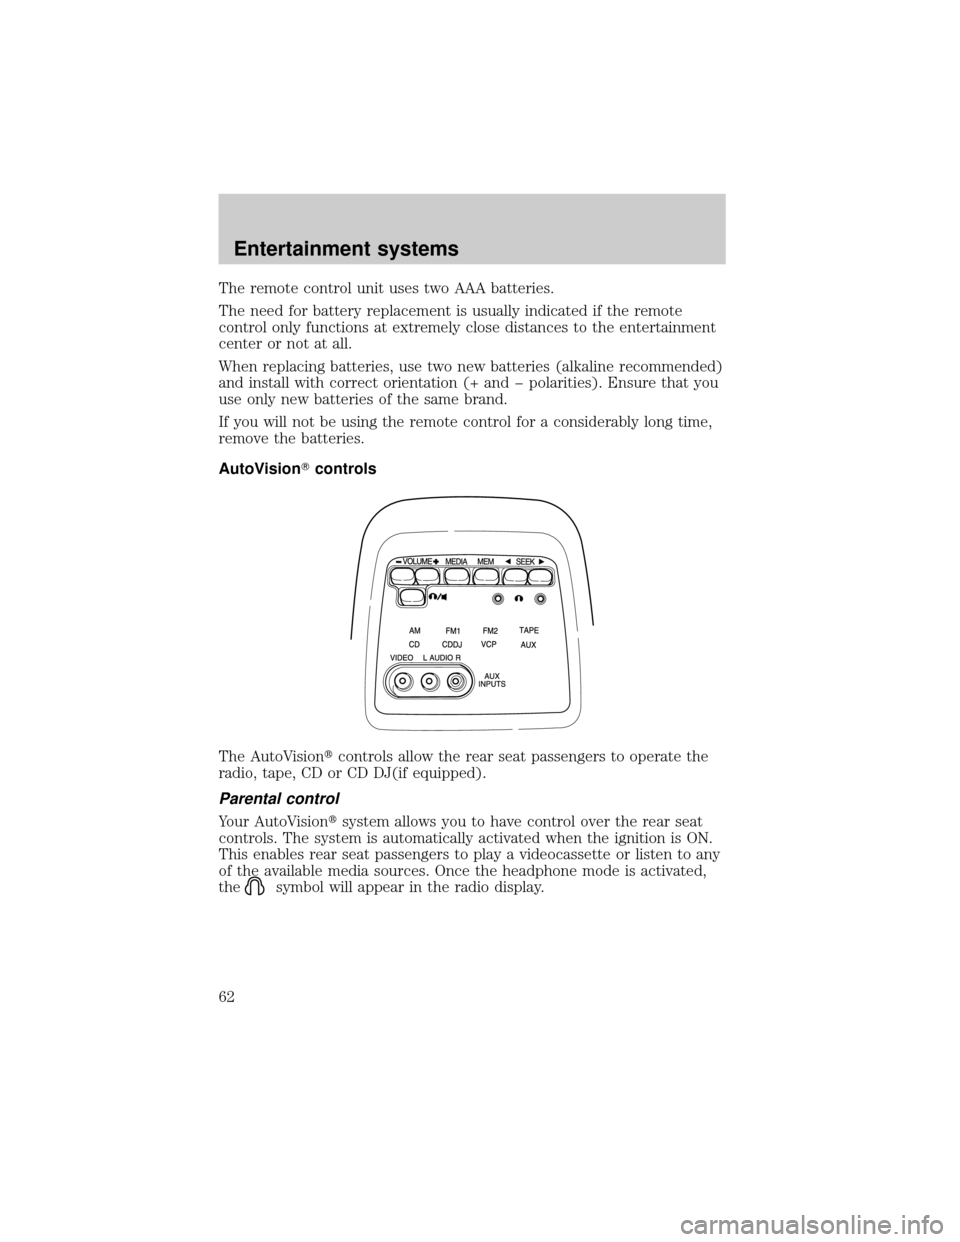
AutoVisionTcontrols
The AutoVisiontcontrols allow the rear seat passengers to operate the
radio, tape, CD or CD DJ(if equipped).
Parental control
Your AutoVisiontsystem allows you to have control over the rear seat
controls. The system is automatically activated when the ignition is ON.
This enables rear seat passengers to play a videocassette or listen to any
of the available media sources. Once the headphone mode is activated,
the
symbol will appear in the radio display.
Entertainment systems
62
Page 69 of 272
On-screen indicators
Playback operation
1. Press the POWER control on the VCP.
2. Insert a videocassette into the VCP.
3. The videocassette should automatically begin playback, and the
picture will appear within approximately nine seconds.
4. Press the STOP control to stop playback or press EJECT to remove
the cassette.
Fast-forward or rewind (no picture)
1. Press the FF/REW control on the VCP.
2. Press the STOP control to stop or press EJECT to remove the
cassette.
The tape will fast forward or rewind until it has reached the end or the
beginning.
Fast-forward or rewind (with picture)
1. While in playback mode, momentarily press the FF/REW key. The VCP
will search the playback direction five times faster than normal playback
mode.
2. Press the PLAY key to resume normal playback.
Special effects playback
Still playback/ Frame-to-frame playback (on remote control)
1. Press the STILL/F.ADV key while in playback mode. The playback
picture becomes still.
2. Press the STILL/F.ADV key again. Each time the control is pressed,
the pictures are played back one frame at a time.
The still playback feature can also be used in REW (reverse) mode.
If still playback/or frame-to-frame playback is engaged for five minutes or
longer, the VCP will automatically begin playback to protect the tape.
Automatic tracking is automatically activated the moment the VCP is
turned ON or a cassette is inserted.
If a videocassette is in poor shape (i.e., badly recorded), any tracking
adjustment may result in failure. The VCP will eject the videocassette.
Entertainment systems
69