FORD E SERIES 2019 Owners Manual
Manufacturer: FORD, Model Year: 2019, Model line: E SERIES, Model: FORD E SERIES 2019Pages: 329, PDF Size: 2.92 MB
Page 91 of 329
Tow/Haul Mode
To activate tow/haul, press thebutton on the gearshift lever.The TOW HAUL indicator lightilluminates in the instrument cluster.
The tow/haul feature:
•Delays upshifts to reduce the frequencyof transmission shifting.
•Provides engine braking in all forwardgears, which slows your vehicle andassists you in controlling your vehiclewhen descending a slope.
•Depending on driving conditions andload conditions, may downshift thetransmission, slow your vehicle andcontrol your vehicle speed whendescending a hill, without pressing theaccelerator pedal. The amount ofdownshift braking provided will varybased upon the amount you press thebrake pedal.
The tow/haul feature improvestransmission operation when towing atrailer or a heavy load. All transmissiongear ranges are available when usingtow/haul.
To deactivate the tow/haul feature andreturn to normal driving mode, press thebutton on the gearshift lever again. TheTOW HAUL light deactivates. Tow/haulalso deactivates when you power downyour vehicle.
WARNING: Do not use tow/haulwhen the road surface is slippery. Failureto follow this instruction could result inthe loss of control of your vehicle.
Brake-Shift Interlock
WARNING: When doing thisprocedure, you need to take thetransmission out of park (P) whichmeans your vehicle can roll freely. Toavoid unwanted vehicle movement,always fully apply the parking brake priorto doing this procedure. Use wheelschocks if appropriate.
WARNING: If the parking brake isfully released, but the brake warninglamp remains illuminated, the brakesmay not be working properly. Have yourvehicle checked as soon as possible.
Note:Do not drive your vehicle until youverify that the brake lamps are working.
Your vehicle has a brake-shift interlockfeature that prevents the gearshift leverfrom moving from park (P) when theignition is in the 3 (on) position and thebrake pedal is not pressed.
If you cannot move the gearshift lever outof park (P) position with the ignition in the4 (on) position and the brake pedalpressed, a malfunction may have occurred.It is possible that a fuse has blown or yourvehicle’s brake lamps are not operatingproperly. See Fuse Specification Chart(page 131).
If the fuse is not blown and the brakelamps are working properly, the followingprocedure allows you to move the gearshiftlever from park (P):
1. Apply the parking brake and turn theignition on.
2.Use a screwdriver to remove the lowertrim panel under the steering column.Make sure not to disturb the wires onthe electrical connector.
88
E-Series (TE4) Canada/United States of America, enUSA, Edition date: 201804, Second-Printing
TransmissionE161509
Page 92 of 329
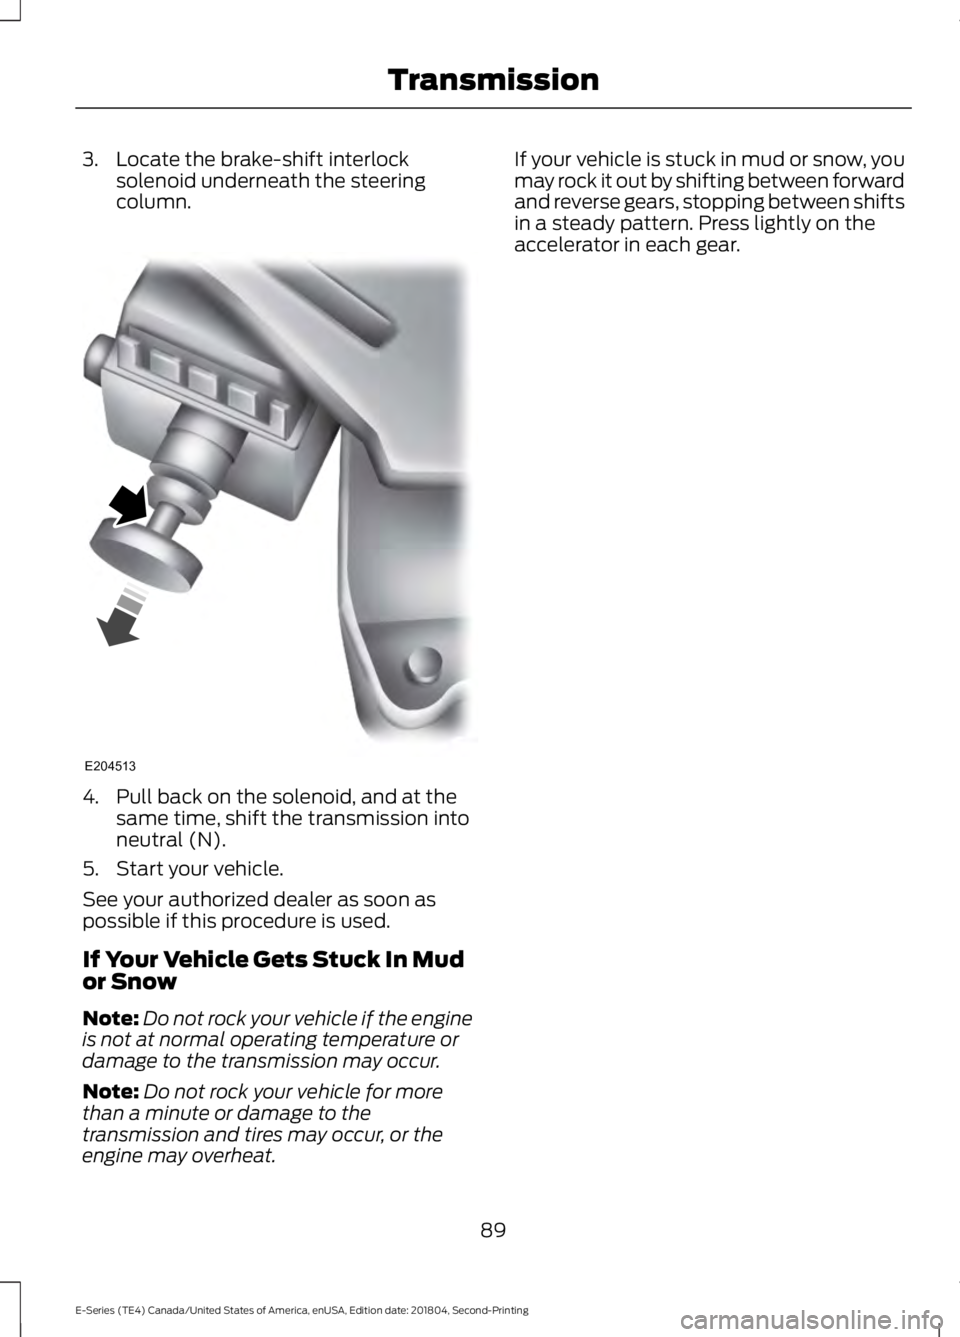
3. Locate the brake-shift interlocksolenoid underneath the steeringcolumn.
4. Pull back on the solenoid, and at thesame time, shift the transmission intoneutral (N).
5. Start your vehicle.
See your authorized dealer as soon aspossible if this procedure is used.
If Your Vehicle Gets Stuck In Mudor Snow
Note:Do not rock your vehicle if the engineis not at normal operating temperature ordamage to the transmission may occur.
Note:Do not rock your vehicle for morethan a minute or damage to thetransmission and tires may occur, or theengine may overheat.
If your vehicle is stuck in mud or snow, youmay rock it out by shifting between forwardand reverse gears, stopping between shiftsin a steady pattern. Press lightly on theaccelerator in each gear.
89
E-Series (TE4) Canada/United States of America, enUSA, Edition date: 201804, Second-Printing
TransmissionE204513
Page 93 of 329
LIMITED SLIP DIFFERENTIAL
(IF EQUIPPED)
This axle provides added traction onslippery surfaces, particularly when onewheel is on a poor traction surface. Undernormal conditions, the limited-slip axlefunctions like a standard rear axle. The axlemay exhibit a slight noise or vibrationduring tight turns with low vehicle speed.This is normal behavior and indicates theaxle is working.
90
E-Series (TE4) Canada/United States of America, enUSA, Edition date: 201804, Second-Printing
Rear Axle
Page 94 of 329
GENERAL INFORMATION
Note: Occasional brake noise is normal. Ifa metal-to-metal, continuous grinding orcontinuous squeal sound is present, thebrake linings may be worn-out and shouldbe inspected by an authorized dealer. If thevehicle has continuous vibration or shudderin the steering wheel while braking, thevehicle should be inspected by anauthorized dealer.
Note:Brake dust may accumulate on thewheels, even under normal drivingconditions. Some dust is inevitable as thebrakes wear and does not contribute tobrake noise. See Cleaning the Wheels(page 165).
Note:Indicators vary depending on region.
See Warning Lamps andIndicators (page 54).
Wet brakes result in reduced brakingefficiency. Gently press the brake pedal afew times when driving from a car wash orstanding water to dry the brakes.
Brake Over Accelerator
In the event the accelerator pedalbecomes stuck or entrapped, apply steadyand firm pressure to the brake pedal toslow the vehicle and reduce engine power.If you experience this condition, apply thebrakes and bring your vehicle to a safestop. Switch the engine off, shift thetransmission into park (P), apply theparking brake, and then inspect theaccelerator pedal for any interferences. Ifnone are found and the condition persists,have your vehicle towed to the nearestauthorized dealer.
Hydraulic brake booster system(Hydroboost or Hydromax)
The Hydroboost and Hydromax systemsreceive fluid pressure from the powersteering pump to provide power assistduring braking.
The Hydromax booster receives backuppressure from the reserve system electricpump whenever the fluid in the powersteering system is not flowing. When theengine is off, the pump turns on if you applythe brake pedal, or if you switch the ignitionto the on position.
The sound of the pump operating may beheard by the driver. This is a normalcharacteristic of the system.
The reserve system provides reducedbraking power, so the vehicle should beoperated under these conditions withcaution, and only to seek service repair andremoval of the vehicle from the roadway.
Note:For vehicles with the Hydromaxsystem operating under normal conditions,the noise of the fluid flowing through thebooster may be heard whenever you applythe brake. This condition is normal. Vehicleservice is not required.
If braking performance or pedal responsebecomes very poor, even when youstrongly press the pedal, it may indicatethe presence of air in the hydraulic systemor leakage of fluid. Stop the vehicle safelyas soon as possible and seek serviceimmediately.
HINTS ON DRIVING WITH
ANTI-LOCK BRAKES
The anti-lock braking system does noteliminate the risks when:
•You drive too closely to the vehicle infront of you.
•Your vehicle is hydroplaning.
91
E-Series (TE4) Canada/United States of America, enUSA, Edition date: 201804, Second-Printing
BrakesE144522
Page 95 of 329
•You take corners too fast.
•The road surface is poor.
Note: If the system activates, the brakepedal may pulse and may travel further.Maintain pressure on the brake pedal. Youmay also hear a noise from the system. Thisis normal.
PARKING BRAKE
WARNING: Always fully apply theparking brake. Make sure you shift intopark (P) for vehicles with an automatictransmission. Switch the ignition off andremove the key whenever you leave yourvehicle.
Apply the parking brake whenever you parkyour vehicle.
•For vehicles with a foot operatedparking brake, press the pedal down.
•For vehicles with a hand operatedparking brake, pull the parking brakelever up.
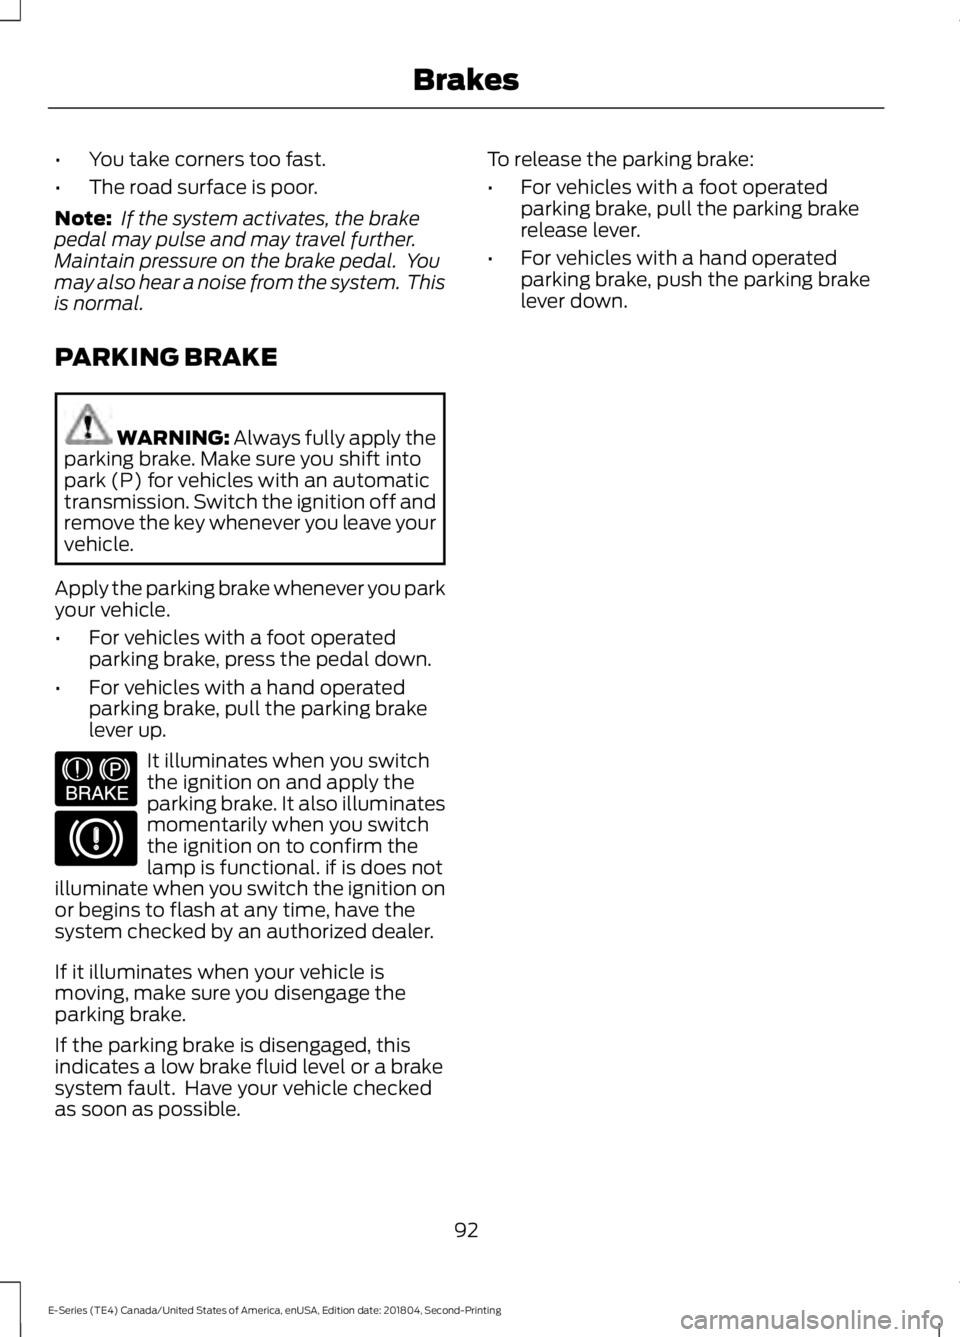
It illuminates when you switchthe ignition on and apply theparking brake. It also illuminatesmomentarily when you switchthe ignition on to confirm thelamp is functional. if is does notilluminate when you switch the ignition onor begins to flash at any time, have thesystem checked by an authorized dealer.
If it illuminates when your vehicle ismoving, make sure you disengage theparking brake.
If the parking brake is disengaged, thisindicates a low brake fluid level or a brakesystem fault. Have your vehicle checkedas soon as possible.
To release the parking brake:
•For vehicles with a foot operatedparking brake, pull the parking brakerelease lever.
•For vehicles with a hand operatedparking brake, push the parking brakelever down.
92
E-Series (TE4) Canada/United States of America, enUSA, Edition date: 201804, Second-Printing
BrakesE144522
Page 96 of 329
PRINCIPLE OF OPERATION
The traction control system helps avoiddrive wheel spin and loss of traction.
If your vehicle begins to slide, the systemapplies the brakes to individual wheelsand, when needed, reduces engine powerat the same time. If the wheels spin whenaccelerating on slippery or loose surfaces,the system reduces engine power in orderto increase traction.
USING TRACTION CONTROL
WARNING: The traction controllight illuminates steadily if a failure isdetected in the system. Verify that thetraction control system was notmanually disabled using the switch. Ifthe traction control light is stillilluminating steadily, have the systemserviced by an authorized dealerimmediately. Operating your vehicle withtraction control disabled could lead toan increased risk of loss of vehiclecontrol, vehicle rollover, personal injuryand death.
The system automatically turns on eachtime you switch the ignition on.
If your vehicle is stuck in mud or snow,switching traction control off may bebeneficial as this allows the wheels to spin.
Switching the System Off
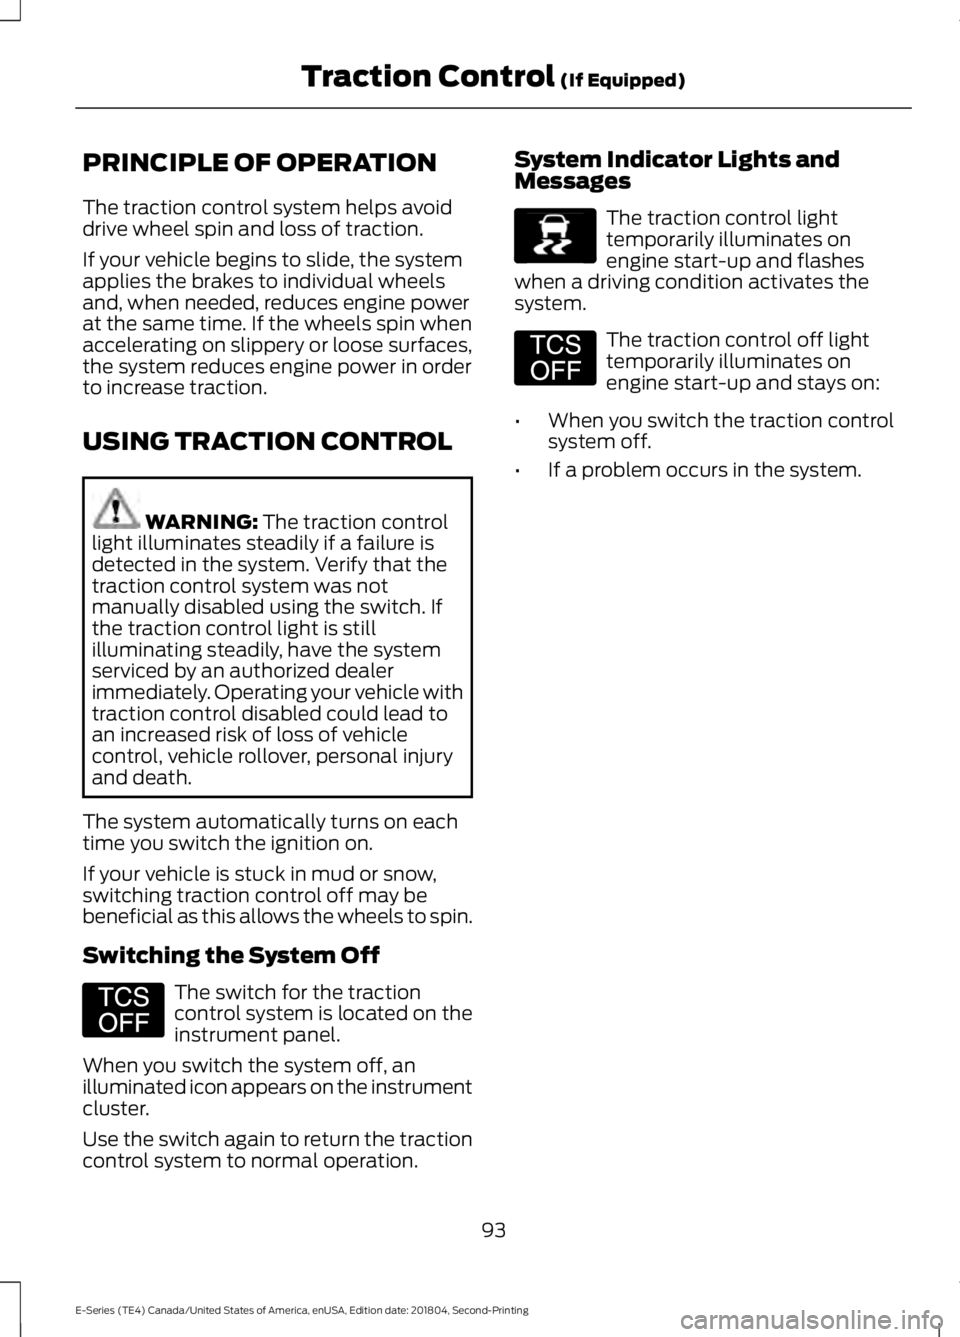
The switch for the tractioncontrol system is located on theinstrument panel.
When you switch the system off, anilluminated icon appears on the instrumentcluster.
Use the switch again to return the tractioncontrol system to normal operation.
System Indicator Lights andMessages
The traction control lighttemporarily illuminates onengine start-up and flasheswhen a driving condition activates thesystem.
The traction control off lighttemporarily illuminates onengine start-up and stays on:
•When you switch the traction controlsystem off.
•If a problem occurs in the system.
93
E-Series (TE4) Canada/United States of America, enUSA, Edition date: 201804, Second-Printing
Traction Control (If Equipped)E194301 E138639 E194301
Page 97 of 329
REAR VIEW CAMERA (IF EQUIPPED)
WARNING: The rear view camerasystem is a reverse aid supplementdevice that still requires the driver to useit in conjunction with the interior andexterior mirrors for maximum coverage.
WARNING: Objects that are closeto either corner of the bumper or underthe bumper, might not be seen on thescreen due to the limited coverage of thecamera system.
WARNING: Reverse your vehicleas slow as possible, higher speeds maylimit your reaction time to stop yourvehicle.
WARNING: Use caution when therear cargo door is ajar. If the rear cargodoor is ajar, the camera will be out ofposition and the video image may beincorrect. All guidelines disappear whenthe rear cargo door is ajar. Some vehiclesmay not come equipped with guidelines.
WARNING: Use caution whenturning camera features on or off whenthe transmission is not in park (P). Makesure your vehicle is not moving.
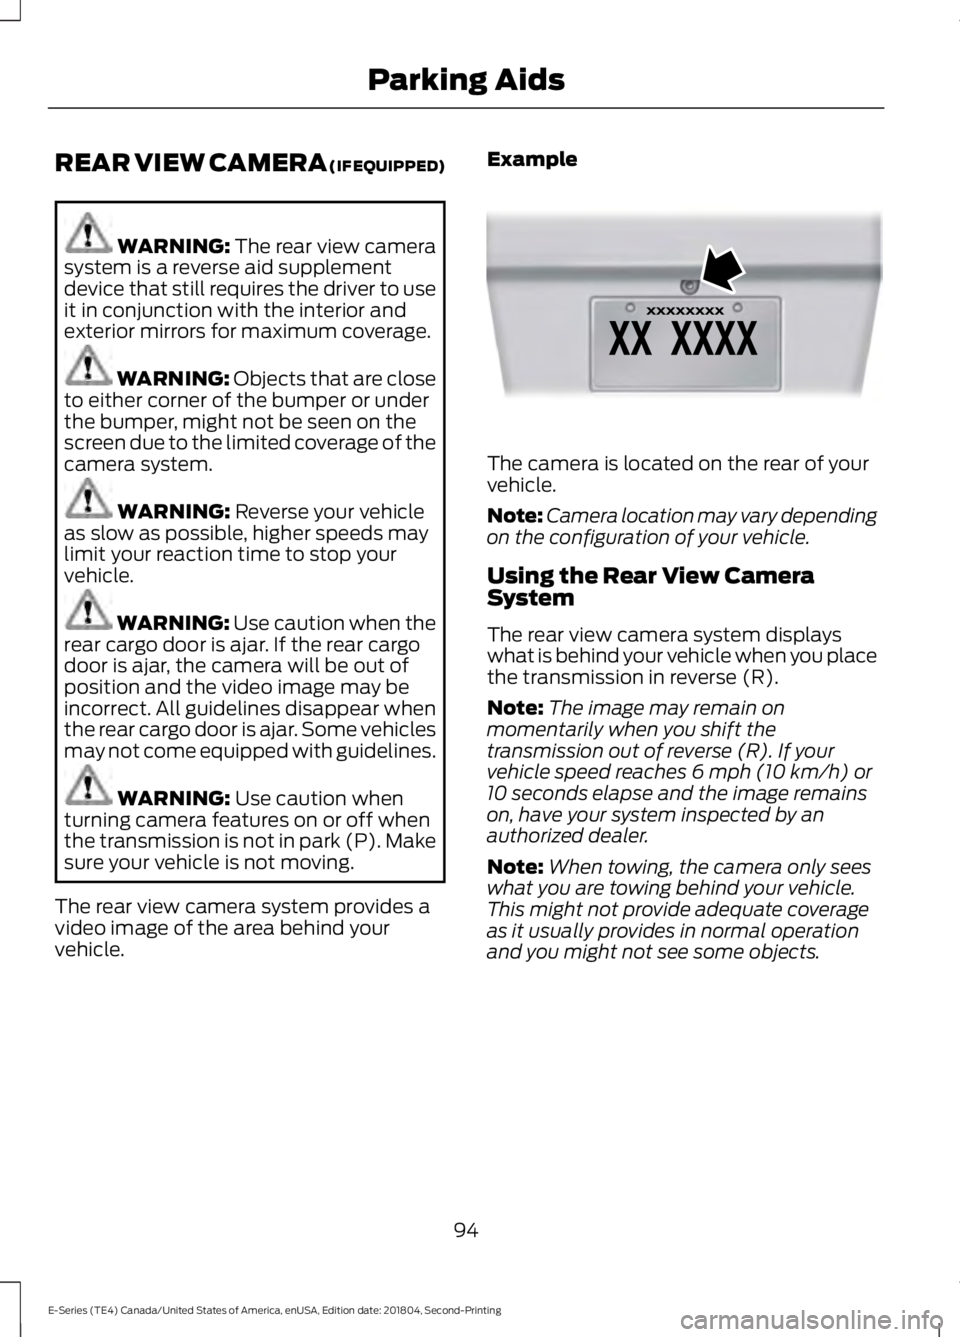
The rear view camera system provides avideo image of the area behind yourvehicle.
Example
The camera is located on the rear of yourvehicle.
Note:Camera location may vary dependingon the configuration of your vehicle.
Using the Rear View CameraSystem
The rear view camera system displayswhat is behind your vehicle when you placethe transmission in reverse (R).
Note:The image may remain onmomentarily when you shift thetransmission out of reverse (R). If yourvehicle speed reaches 6 mph (10 km/h) or10 seconds elapse and the image remainson, have your system inspected by anauthorized dealer.
Note:When towing, the camera only seeswhat you are towing behind your vehicle.This might not provide adequate coverageas it usually provides in normal operationand you might not see some objects.
94
E-Series (TE4) Canada/United States of America, enUSA, Edition date: 201804, Second-Printing
Parking AidsE142435
Page 98 of 329
The camera may not operate correctlyunder the following conditions:
•Nighttime or dark areas if the reverselamps are not operating.
•Mud, water or debris obstructs thecamera's view. Clean the lens with asoft, lint-free cloth and non-abrasivecleaner.
•The camera is misaligned due todamage to the rear of your vehicle.
Rear Camera Delay
When shifting the transmission out ofreverse (R) and into any gear other thanpark (P), the camera image remains onuntil your vehicle speed reaches 6 mph(10 km/h) or 10 seconds elapses. Thisoccurs when the rear camera delay featureis ON.
Selectable settings for this feature are ONand OFF. The default setting for the rearcamera delay is OFF.
95
E-Series (TE4) Canada/United States of America, enUSA, Edition date: 201804, Second-Printing
Parking Aids
Page 99 of 329
PRINCIPLE OF OPERATION
Cruise control lets you maintain a setspeed without keeping your foot on theaccelerator pedal. You can use cruisecontrol when your vehicle speed is greaterthan 20 mph (30 km/h).
USING CRUISE CONTROL
WARNING: Do not use cruisecontrol on winding roads, in heavy trafficor when the road surface is slippery. Thiscould result in loss of vehicle control,serious injury or death.
WARNING: When you are goingdownhill, your vehicle speed couldincrease above the set speed. Thesystem does not apply the brakes.
To help the system to maintain the setspeed when going downhill, downshift toa lower gear.
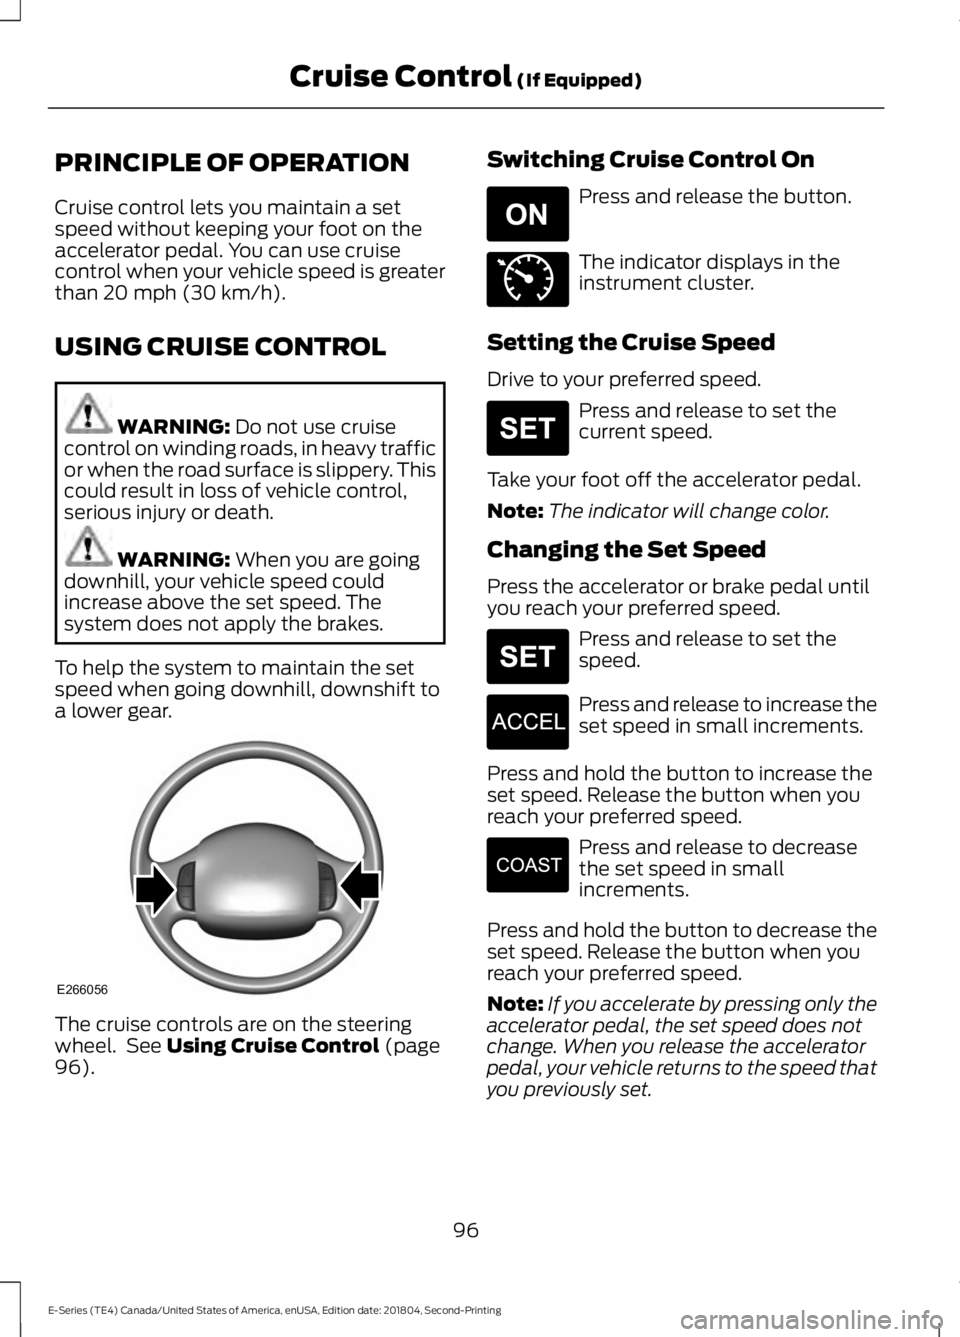
The cruise controls are on the steeringwheel. See Using Cruise Control (page96).
Switching Cruise Control On
Press and release the button.
The indicator displays in theinstrument cluster.
Setting the Cruise Speed
Drive to your preferred speed.
Press and release to set thecurrent speed.
Take your foot off the accelerator pedal.
Note:The indicator will change color.
Changing the Set Speed
Press the accelerator or brake pedal untilyou reach your preferred speed.
Press and release to set thespeed.
Press and release to increase theset speed in small increments.
Press and hold the button to increase theset speed. Release the button when youreach your preferred speed.
Press and release to decreasethe set speed in smallincrements.
Press and hold the button to decrease theset speed. Release the button when youreach your preferred speed.
Note:If you accelerate by pressing only theaccelerator pedal, the set speed does notchange. When you release the acceleratorpedal, your vehicle returns to the speed thatyou previously set.
96
E-Series (TE4) Canada/United States of America, enUSA, Edition date: 201804, Second-Printing
Cruise Control (If Equipped)E266056 E265296 E71340 E265306 E265306 E266055 E266054
Page 100 of 329
Canceling the Set Speed
Tap the brake pedal to cancel the setspeed.
Note:The system remembers the setspeed.
Resuming the Set Speed
Press and release to resume theset speed.
Switching Cruise Control Off
Press and release when thesystem is in standby mode, orswitch the ignition off.
Note:You erase the set speed when youswitch the system off.
97
E-Series (TE4) Canada/United States of America, enUSA, Edition date: 201804, Second-Printing
Cruise Control (If Equipped) E265297