buttons FORD E SERIES 2023 Owners Manual
[x] Cancel search | Manufacturer: FORD, Model Year: 2023, Model line: E SERIES, Model: FORD E SERIES 2023Pages: 292, PDF Size: 6.81 MB
Page 48 of 292

LOCKING AND UNLOCKING
You can use the power door lock controlor the remote control to lock and unlockyour vehicle.
Note:Do not use the door latch assemblyto attach any accessory, such as handles orsteps, as this can cause damage to yourvehicle.
Power Door Locks (If Equipped)
The power door lock control is on the driverand front passenger door panels.
Lock.A
Unlock.B
Remote Control (If Equipped)
You can use the remote control at any timewhen the ignition is off.
Unlocking the Doors (Two-StageUnlock)
Press the button to unlock thedriver door.
Press the button again within threeseconds to unlock all doors. The directionindicators will flash.
Note:The driver door can be unlocked withthe key if the remote control is notfunctioning.
Note: When you leave your vehicleunattended for several weeks, the remotecontrol turns off. Your vehicle must beunlocked and started. Unlocking andstarting your vehicle once enables theremote control.
Reprogramming the Unlocking Function
Note: When you press the unlock button,either all the doors are unlocked or only thedriver door is unlocked. Pressing the unlockbutton again unlocks all the doors.
You can reprogram the unlocking functionso that only the driver door is unlocked.
Press and hold the unlock and lock buttonson the remote control simultaneously forat least four seconds with the ignition off.The direction indicators flash twice toconfirm the change.
To return to the original unlocking function,repeat the process.
Locking the Doors
Press the button to lock alldoors. The direction indicatorswill flash.
Press the button again within threeseconds to confirm that all the doors areclosed. The doors lock again, the hornsounds and the direction indicators flashif all the doors are closed.
45
2023 E-Series (TE4) Canada/United States of America, enUSA, Edition date: 202111, First-PrintingDoors and LocksE195623AB E138629 E138623
Page 56 of 292
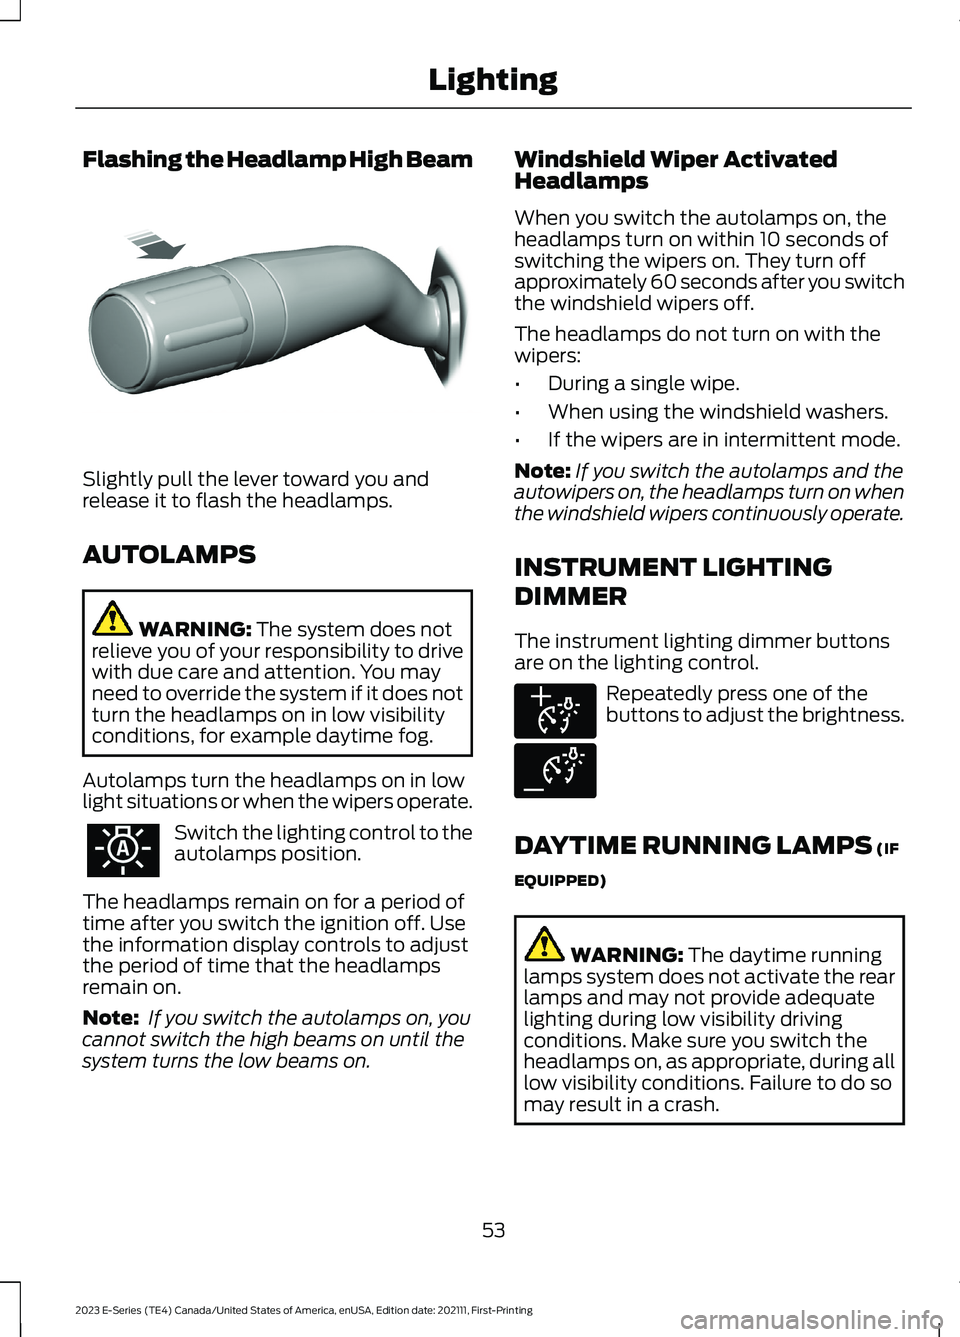
Flashing the Headlamp High Beam
Slightly pull the lever toward you andrelease it to flash the headlamps.
AUTOLAMPS
WARNING: The system does notrelieve you of your responsibility to drivewith due care and attention. You mayneed to override the system if it does notturn the headlamps on in low visibilityconditions, for example daytime fog.
Autolamps turn the headlamps on in lowlight situations or when the wipers operate.
Switch the lighting control to theautolamps position.
The headlamps remain on for a period oftime after you switch the ignition off. Usethe information display controls to adjustthe period of time that the headlampsremain on.
Note: If you switch the autolamps on, youcannot switch the high beams on until thesystem turns the low beams on.
Windshield Wiper ActivatedHeadlamps
When you switch the autolamps on, theheadlamps turn on within 10 seconds ofswitching the wipers on. They turn offapproximately 60 seconds after you switchthe windshield wipers off.
The headlamps do not turn on with thewipers:
•During a single wipe.
•When using the windshield washers.
•If the wipers are in intermittent mode.
Note:If you switch the autolamps and theautowipers on, the headlamps turn on whenthe windshield wipers continuously operate.
INSTRUMENT LIGHTING
DIMMER
The instrument lighting dimmer buttonsare on the lighting control.
Repeatedly press one of thebuttons to adjust the brightness.
DAYTIME RUNNING LAMPS (IF
EQUIPPED)
WARNING: The daytime runninglamps system does not activate the rearlamps and may not provide adequatelighting during low visibility drivingconditions. Make sure you switch theheadlamps on, as appropriate, during alllow visibility conditions. Failure to do somay result in a crash.
53
2023 E-Series (TE4) Canada/United States of America, enUSA, Edition date: 202111, First-PrintingLightingE311233 E291299 E291298
Page 68 of 292
GENERAL INFORMATION
WARNING: Driving while distractedcan result in loss of vehicle control, crashand injury. We strongly recommend thatyou use extreme caution when using anydevice that may take your focus off theroad. Your primary responsibility is thesafe operation of your vehicle. Werecommend against the use of anyhand-held device while driving andencourage the use of voice-operatedsystems when possible. Make sure youare aware of all applicable local lawsthat may affect the use of electronicdevices while driving.
Note:Trailer options are not available ifyour vehicle speed is greater than 3 mph(5 km/h).
Information Display Controls
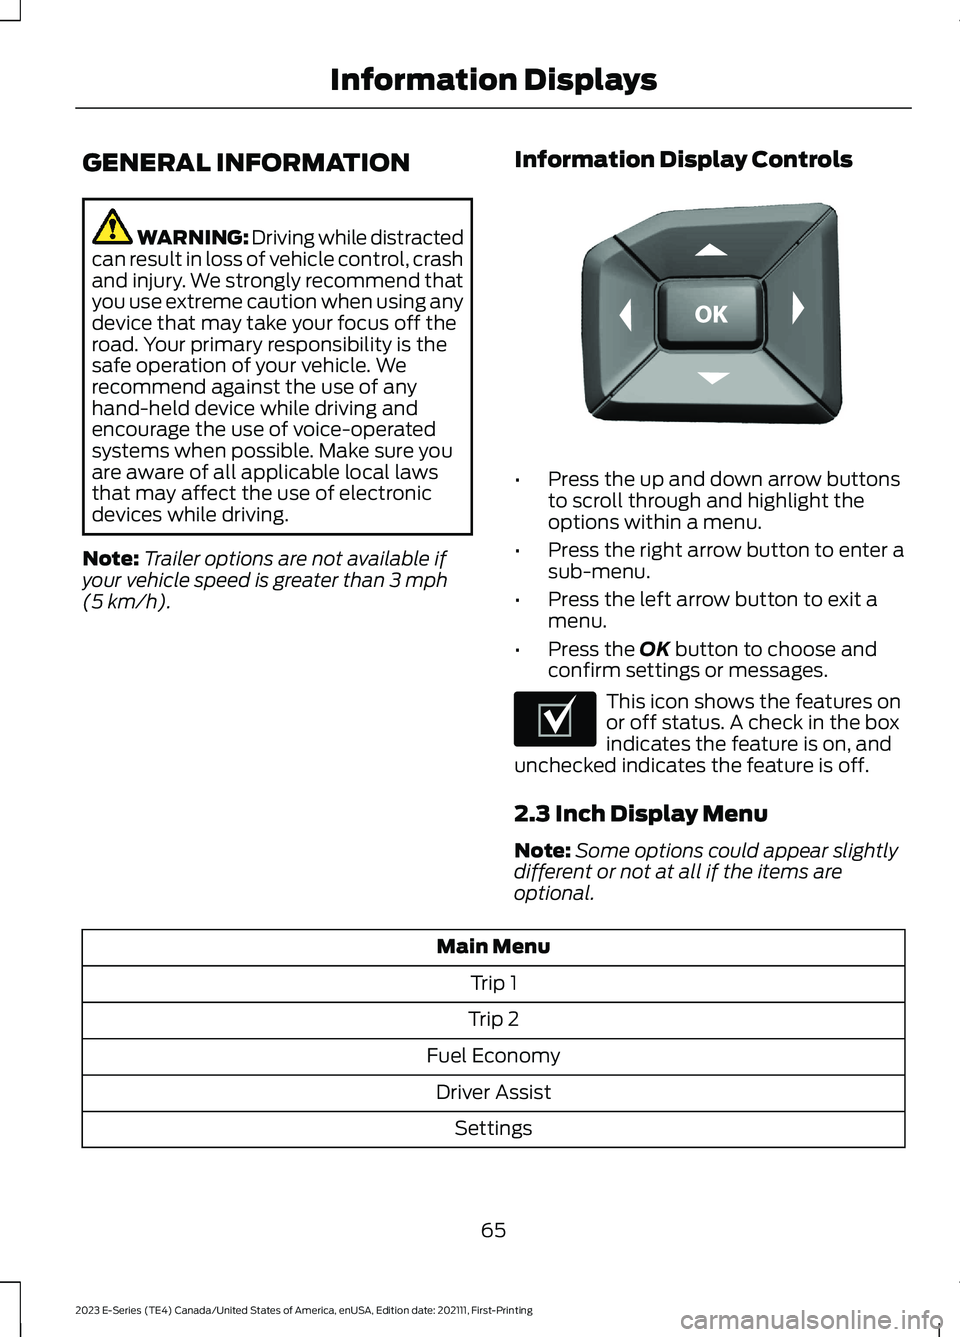
•Press the up and down arrow buttonsto scroll through and highlight theoptions within a menu.
•Press the right arrow button to enter asub-menu.
•Press the left arrow button to exit amenu.
•Press the OK button to choose andconfirm settings or messages.
This icon shows the features onor off status. A check in the boxindicates the feature is on, andunchecked indicates the feature is off.
2.3 Inch Display Menu
Note:Some options could appear slightlydifferent or not at all if the items areoptional.
Main Menu
Trip 1
Trip 2
Fuel Economy
Driver Assist
Settings
65
2023 E-Series (TE4) Canada/United States of America, enUSA, Edition date: 202111, First-PrintingInformation DisplaysE184451 E204495
Page 99 of 292
AUTOMATIC TRANSMISSION
WARNING: Apply the parkingbrake, shift into park (P), switch theignition off and remove the key beforeyou leave your vehicle. Failure to followthis instruction could result in personalinjury or death.
Putting your vehicle in or out ofgear:
1.Fully press down the brake pedal.
2.Move the gearshift lever into thepreferred gear.
3.When you finish driving, come to acomplete stop.
4.Move the gearshift lever and securelylatch it in park (P).
5.Release the brake pedal and thetransmission remains in the selectedgear.
Park (P)
This position locks the transmission andprevents the wheels from turning.
Reverse (R)
With the transmission in reverse (R), yourvehicle moves backward. Always come toa complete stop before shifting into andout of reverse (R).
Neutral (N)
With the transmission in neutral (N), youcan start your vehicle and it is free to roll.Hold the brake pedal down when in thisposition.
Drive (D)
Drive (D) is the normal driving position forthe best fuel economy. The overdrivefunction allows automatic upshifts anddownshifts through gears one through six.
Manual (M)
Moving the gearshift lever to the manual(M) position allows you to manually selectthe gear you prefer. Only the current geardisplays. Use the buttons on the gearshiftlever to manually select gears. Press the+ button to upshift or the – button todownshift. Return the transmission to adifferent gearshift position to deactivatemanual control.
Second (2)
Transmission operates in second (2) gearonly. Use second (2) gear to start-up onslippery roads.
First (1)
•Transmission operates in first (1) gearonly.
•Provides maximum engine braking.
•Allows upshifts by moving gearshiftlever.
•Does not downshift into first (1) gearat high speeds; allows for first (1) gearwhen vehicle reaches slower speeds.
Forced downshifts
•Allowed in drive (D) with the tow/haulfeature on or off.
•Press the accelerator to the floor.
•Allows transmission to select anappropriate gear.
96
2023 E-Series (TE4) Canada/United States of America, enUSA, Edition date: 202111, First-PrintingTransmissionPRNDM21E307627
Page 136 of 292
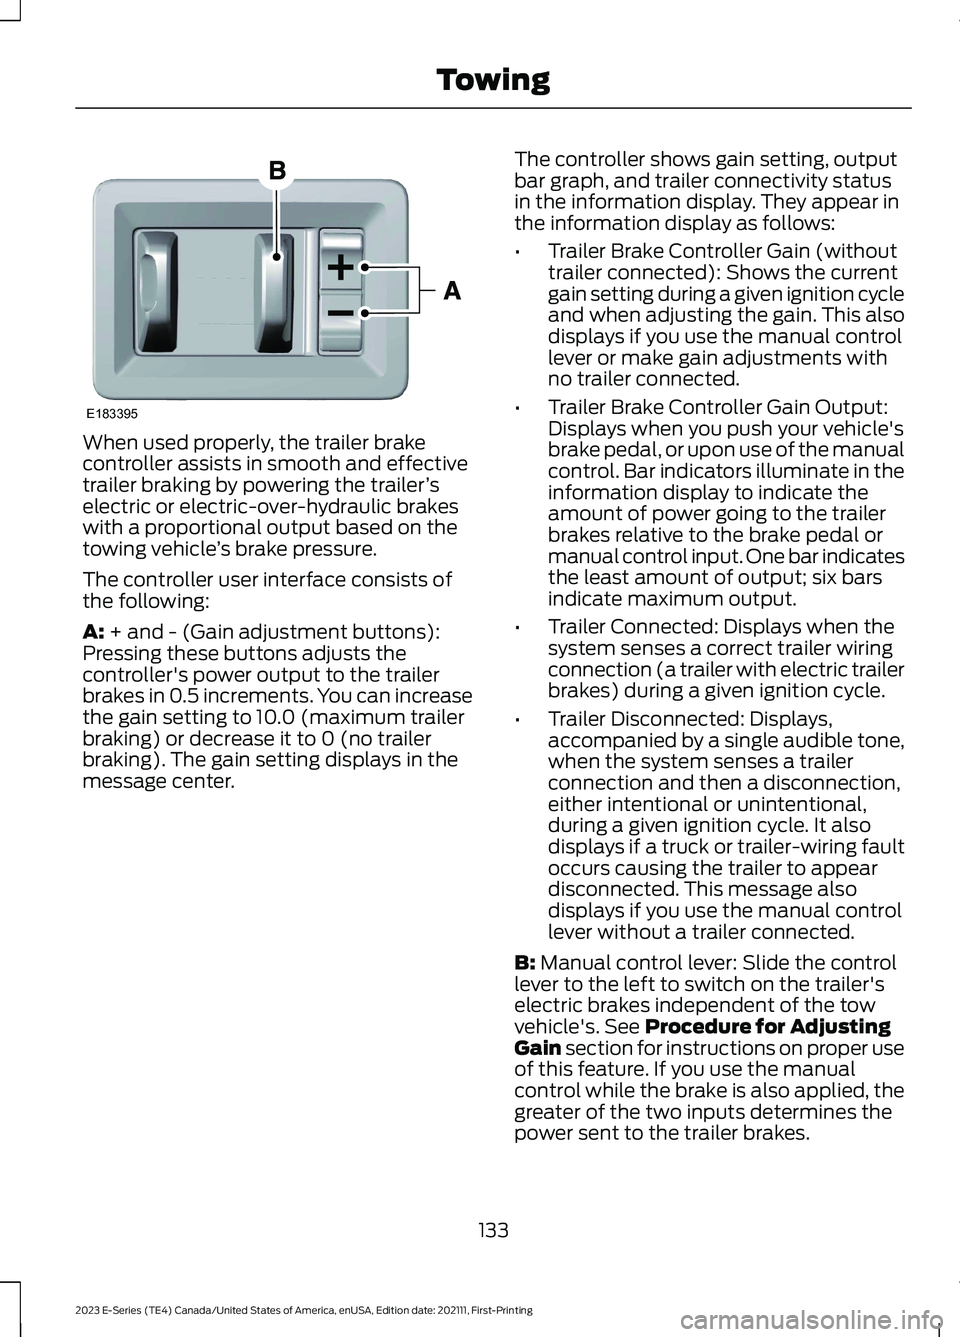
When used properly, the trailer brakecontroller assists in smooth and effectivetrailer braking by powering the trailer’selectric or electric-over-hydraulic brakeswith a proportional output based on thetowing vehicle’s brake pressure.
The controller user interface consists ofthe following:
A: + and - (Gain adjustment buttons):Pressing these buttons adjusts thecontroller's power output to the trailerbrakes in 0.5 increments. You can increasethe gain setting to 10.0 (maximum trailerbraking) or decrease it to 0 (no trailerbraking). The gain setting displays in themessage center.
The controller shows gain setting, outputbar graph, and trailer connectivity statusin the information display. They appear inthe information display as follows:
•Trailer Brake Controller Gain (withouttrailer connected): Shows the currentgain setting during a given ignition cycleand when adjusting the gain. This alsodisplays if you use the manual controllever or make gain adjustments withno trailer connected.
•Trailer Brake Controller Gain Output:Displays when you push your vehicle'sbrake pedal, or upon use of the manualcontrol. Bar indicators illuminate in theinformation display to indicate theamount of power going to the trailerbrakes relative to the brake pedal ormanual control input. One bar indicatesthe least amount of output; six barsindicate maximum output.
•Trailer Connected: Displays when thesystem senses a correct trailer wiringconnection (a trailer with electric trailerbrakes) during a given ignition cycle.
•Trailer Disconnected: Displays,accompanied by a single audible tone,when the system senses a trailerconnection and then a disconnection,either intentional or unintentional,during a given ignition cycle. It alsodisplays if a truck or trailer-wiring faultoccurs causing the trailer to appeardisconnected. This message alsodisplays if you use the manual controllever without a trailer connected.
B: Manual control lever: Slide the controllever to the left to switch on the trailer'selectric brakes independent of the towvehicle's. See Procedure for AdjustingGain section for instructions on proper useof this feature. If you use the manualcontrol while the brake is also applied, thegreater of the two inputs determines thepower sent to the trailer brakes.
133
2023 E-Series (TE4) Canada/United States of America, enUSA, Edition date: 202111, First-PrintingTowingE183395
Page 137 of 292
•Stoplamps: Using the manual controllever illuminates both the trailer brakelamps and your vehicle brake lampsexcept the center high mountedstoplamp, if you make the properelectrical connection to the trailer.Pressing your vehicle brake pedal alsoilluminates both trailer and vehiclebrake lamps.
Procedure for Adjusting Gain
Note:Only perform this procedure in atraffic-free environment at speeds ofapproximately 20-25 mph (30-40 km/h).
The gain setting sets the trailer brakecontroller for the specific towing condition.You should change the setting as towingconditions change. Changes to towingconditions include trailer load, vehicle load,road conditions and weather.
Set the gain to provide the maximumtrailer braking assistance while makingsure the trailer wheels do not lock whenusing the brakes. Locked trailer wheelsmay lead to trailer instability.
1.Make sure the trailer brakes are in goodworking condition, functioning normallyand properly adjusted. See your trailerdealer if necessary.
2.Connect the trailer and make theelectrical connections according to thetrailer manufacturer's instructions.
3.When you plug in a trailer with electricor electric-over-hydraulic brakes, amessage confirming connectionappears in the information display.
4.Use the gain adjustment (+ and -)buttons to increase or decrease thegain setting to the desired startingpoint. A gain setting of 6.0 is a goodstarting point for heavier loads.
5.In a traffic-free environment, tow thetrailer on a dry, level surface at a speedof 20-25 mph (30-40 km/h) andsqueeze the manual control levercompletely.
6.If the trailer wheels lock up, indicatedby squealing tires, reduce the gainsetting. If the trailer wheels turn freely,increase the gain setting. Repeat Steps5 and 6 until the gain setting is at apoint just below trailer wheel lock-up.If towing a heavier trailer, trailer wheellock-up may not be attainable evenwith the maximum gain setting of 10.
Explanation of Information DisplayWarning Messages
Note:An authorized dealer can diagnosethe trailer brake controller to determineexactly which trailer fault has occurred.However, your Ford warranty does not coverthis diagnosis if the fault is with the trailer.
A message indicating a trailer brakemodule fault may display in response tofaults sensed by the trailer brake controller,accompanied by a single tone. If thismessage appears, contact an authorizeddealer as soon as possible for diagnosisand repair. The controller may stillfunction, but performance may bedegraded.
A message indicating a trailer wiring faultmay display when there is a short circuiton the electric brake output wire. If thismessage displays, accompanied by asingle tone, with no trailer connected, theproblem is with your vehicle wiringbetween the trailer brake controller andthe 7-pin connector at the bumper. If themessage only displays with a trailerconnected, the problem is with the trailer
134
2023 E-Series (TE4) Canada/United States of America, enUSA, Edition date: 202111, First-PrintingTowing
Page 241 of 292
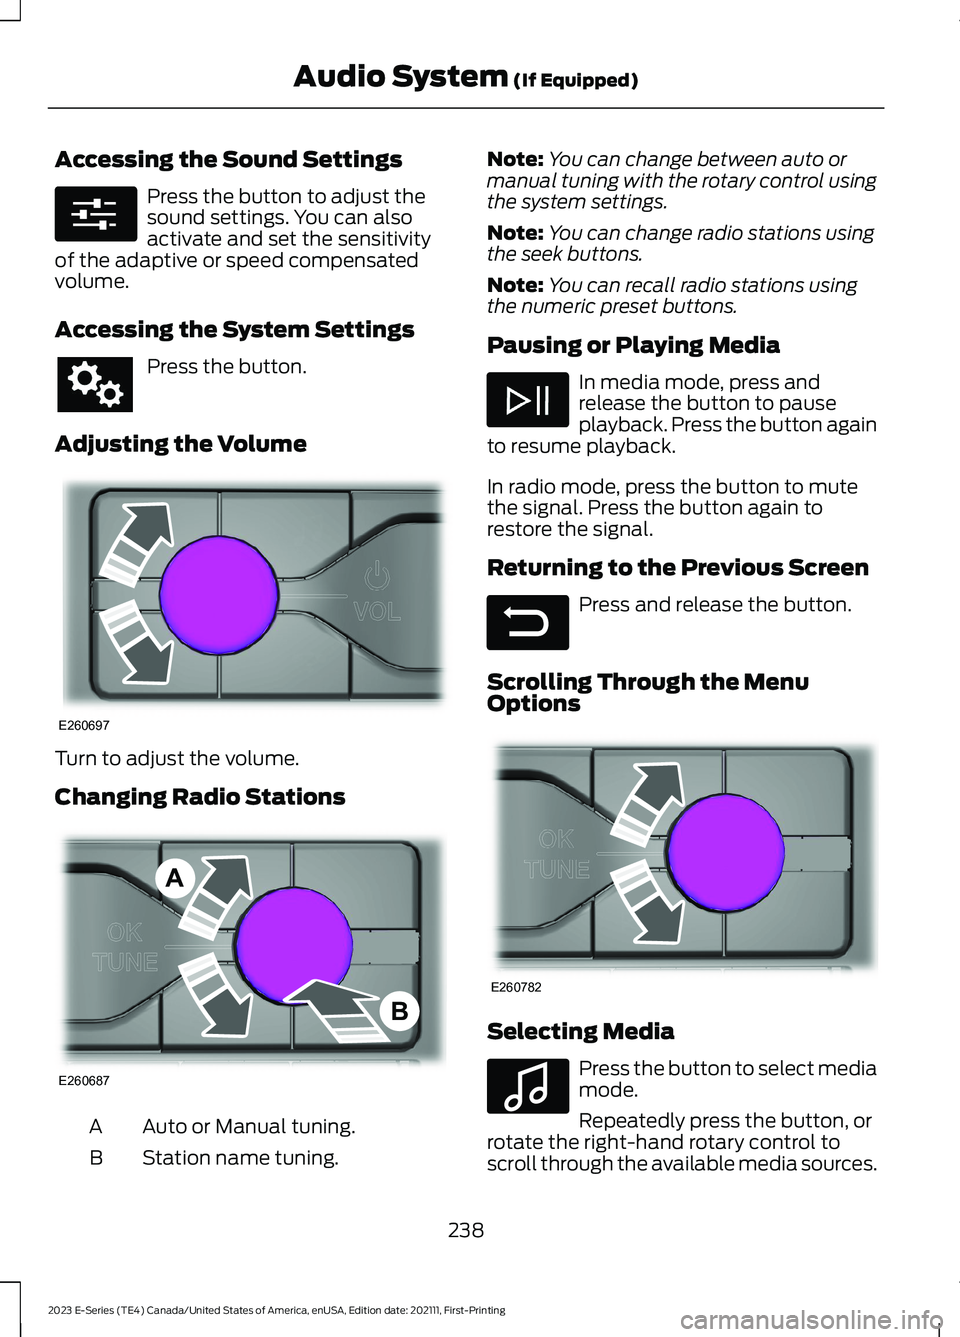
Accessing the Sound Settings
Press the button to adjust thesound settings. You can alsoactivate and set the sensitivityof the adaptive or speed compensatedvolume.
Accessing the System Settings
Press the button.
Adjusting the Volume
Turn to adjust the volume.
Changing Radio Stations
Auto or Manual tuning.A
Station name tuning.B
Note:You can change between auto ormanual tuning with the rotary control usingthe system settings.
Note:You can change radio stations usingthe seek buttons.
Note:You can recall radio stations usingthe numeric preset buttons.
Pausing or Playing Media
In media mode, press andrelease the button to pauseplayback. Press the button againto resume playback.
In radio mode, press the button to mutethe signal. Press the button again torestore the signal.
Returning to the Previous Screen
Press and release the button.
Scrolling Through the MenuOptions
Selecting Media
Press the button to select mediamode.
Repeatedly press the button, orrotate the right-hand rotary control toscroll through the available media sources.
238
2023 E-Series (TE4) Canada/United States of America, enUSA, Edition date: 202111, First-PrintingAudio System (If Equipped)E280315 E260697 E260687AB E281480 E260782 E100027
Page 242 of 292
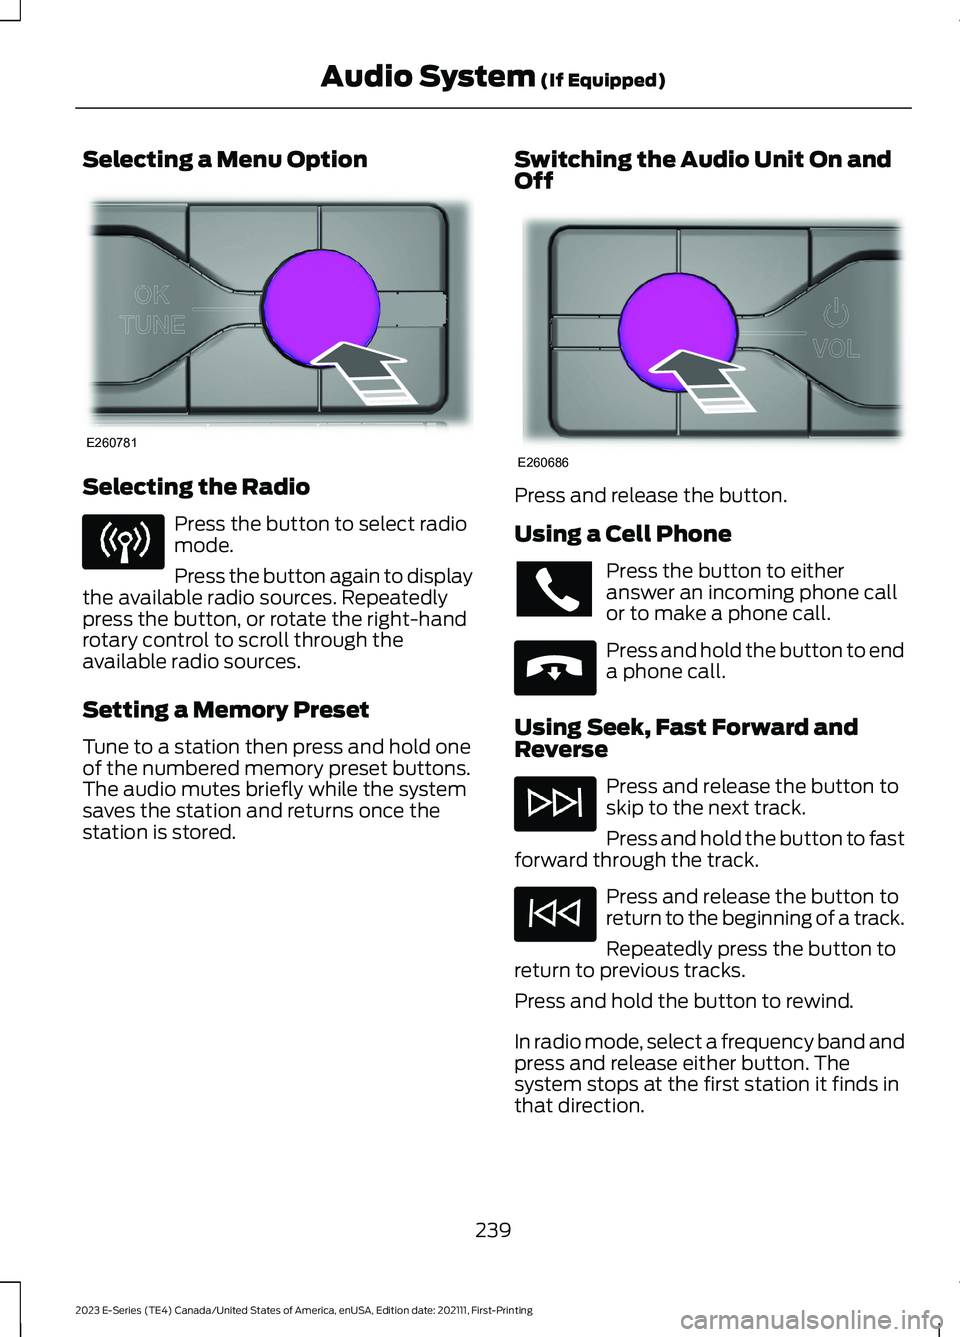
Selecting a Menu Option
Selecting the Radio
Press the button to select radiomode.
Press the button again to displaythe available radio sources. Repeatedlypress the button, or rotate the right-handrotary control to scroll through theavailable radio sources.
Setting a Memory Preset
Tune to a station then press and hold oneof the numbered memory preset buttons.The audio mutes briefly while the systemsaves the station and returns once thestation is stored.
Switching the Audio Unit On andOff
Press and release the button.
Using a Cell Phone
Press the button to eitheranswer an incoming phone callor to make a phone call.
Press and hold the button to enda phone call.
Using Seek, Fast Forward andReverse
Press and release the button toskip to the next track.
Press and hold the button to fastforward through the track.
Press and release the button toreturn to the beginning of a track.
Repeatedly press the button toreturn to previous tracks.
Press and hold the button to rewind.
In radio mode, select a frequency band andpress and release either button. Thesystem stops at the first station it finds inthat direction.
239
2023 E-Series (TE4) Canada/United States of America, enUSA, Edition date: 202111, First-PrintingAudio System (If Equipped)E260781 E260686 E265040
Page 262 of 292

ELECTROMAGNETIC
COMPATIBILITY
WARNING: Do not place objectsor mount equipment on or near theairbag cover, on the side of the front orrear seatbacks, or in areas that maycome into contact with a deployingairbag. Failure to follow theseinstructions may increase the risk ofpersonal injury in the event of a crash.
WARNING: Do not fasten antennacables to vehicle wiring, fuel pipes andbrake pipes.
WARNING: Keep antenna andpower cables at least 4 in (10 cm) fromany electronic modules and airbags.
Note:We test and certify your vehicle tomeet electromagnetic compatibilitylegislation. It is your responsibility to makesure that any equipment an authorizeddealer installs on your vehicle complies withapplicable local legislation and otherrequirements. Installation of someaftermarket electronic devices coulddegrade the performance of vehiclefunctions, which use radio frequency signalssuch as broadcast radio receiver, tirepressure monitoring system, push buttonstart,Bluetooth® connectivity or satellitenavigation.
Note:Any radio frequency transmitterequipment in your vehicle (such as cellulartelephones and amateur radio transmitters)must keep to the parameters in thefollowing illustrations and table. We do notprovide any other special provisions orconditions for installations or use.
Car/SUV
259
2023 E-Series (TE4) Canada/United States of America, enUSA, Edition date: 202111, First-PrintingAppendicesE239120