warning light FORD E SERIES 2024 User Guide
[x] Cancel search | Manufacturer: FORD, Model Year: 2024, Model line: E SERIES, Model: FORD E SERIES 2024Pages: 303, PDF Size: 6.95 MB
Page 45 of 303
The restraints control module alsomonitors the readiness of the above safetydevices plus the crash sensors. Thereadiness of the safety system is indicatedby a warning indicator light in theinstrument cluster or by a backup tone ifthe warning light is not working. SeeInstrument Cluster (page 58). Routinemaintenance of the airbag is not required.
A difficulty with the system is indicated byone or more of the following:
The readiness light will notilluminate immediately after youswitch the ignition on.
•The readiness light either flashes orstays lit.
•You hear a series of five tones. Thetone pattern repeats periodically untilthe problem, the light or both arerepaired.
If any of these things happen, evenintermittently, have the supplementalrestraint system serviced at an authorizeddealer immediately. Unless serviced, thesystem may not function properly in theevent of a crash.
The seatbelt pretensioners and the airbagsupplemental restraint system aredesigned to activate when the vehiclesustains frontal deceleration sufficient tocause the restraints control module todeploy a safety device.
The fact that the seatbelt pretensionersor airbags did not activate in a crash doesnot mean that something is wrong with thesystem. Rather, it means the restraintscontrol module determined the accidentconditions (such as crash severity, beltusage) were not appropriate to activatethese safety devices.
•The design of the front airbags is toactivate only in frontal and near-frontalcrashes (not rollovers, side impacts orrear impacts) unless the crash causessufficient frontal deceleration.
•The design of the seatbeltpretensioners is to activate in frontalor near-frontal crashes and deploy inrollovers.
AIRBAG DISPOSAL
Contact your authorized dealer as soon aspossible. Airbags must be disposed of byqualified personnel.
41
2024 E-Series (TE4) Canada/United States of America, enUSA, Edition date: 202210, First-PrintingSupplementary Restraints SystemE67017
Page 56 of 303
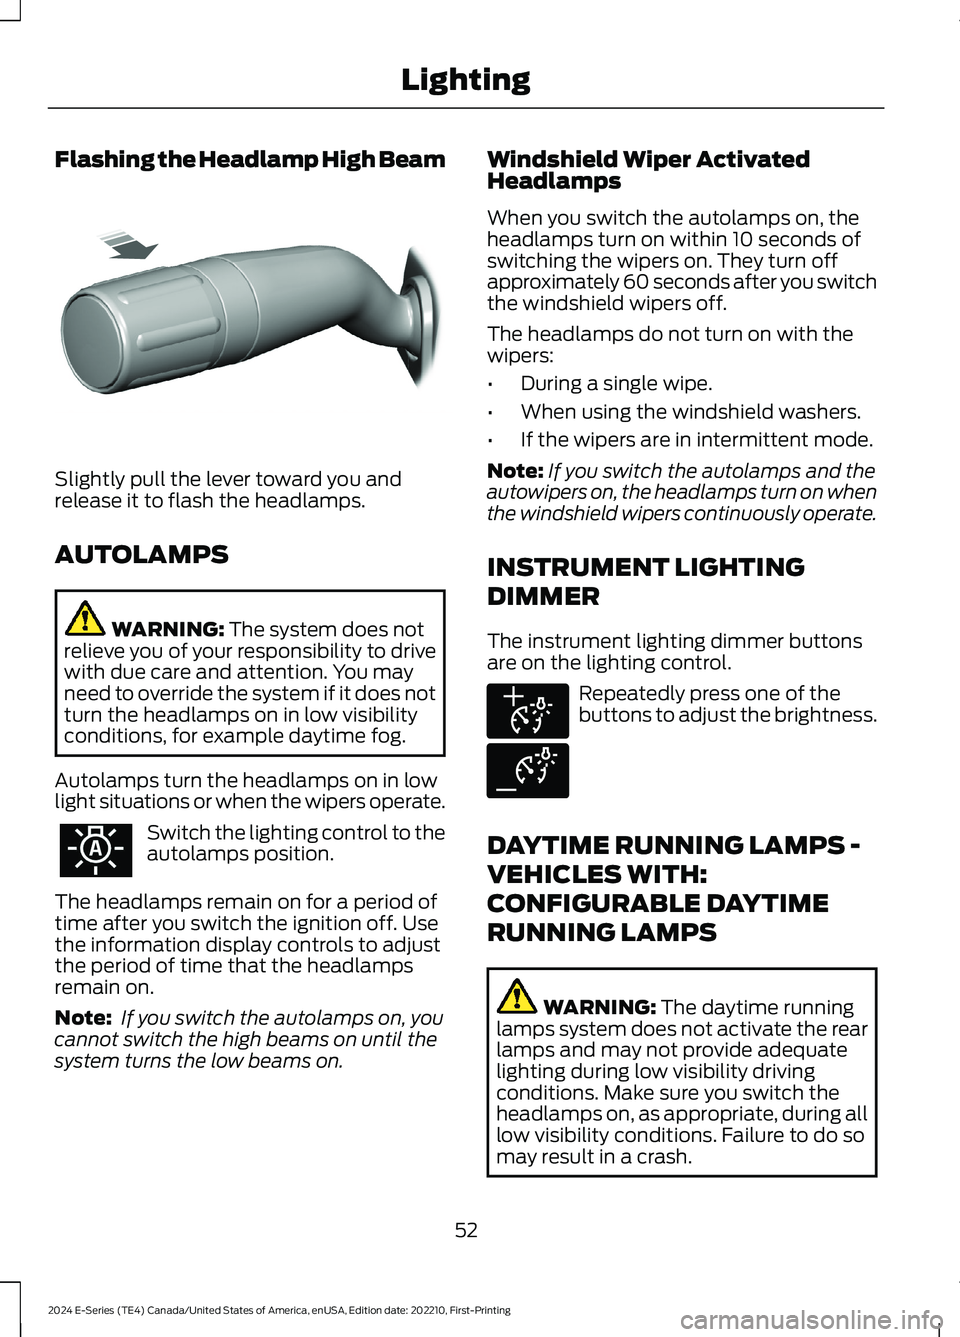
Flashing the Headlamp High Beam
Slightly pull the lever toward you andrelease it to flash the headlamps.
AUTOLAMPS
WARNING: The system does notrelieve you of your responsibility to drivewith due care and attention. You mayneed to override the system if it does notturn the headlamps on in low visibilityconditions, for example daytime fog.
Autolamps turn the headlamps on in lowlight situations or when the wipers operate.
Switch the lighting control to theautolamps position.
The headlamps remain on for a period oftime after you switch the ignition off. Usethe information display controls to adjustthe period of time that the headlampsremain on.
Note: If you switch the autolamps on, youcannot switch the high beams on until thesystem turns the low beams on.
Windshield Wiper ActivatedHeadlamps
When you switch the autolamps on, theheadlamps turn on within 10 seconds ofswitching the wipers on. They turn offapproximately 60 seconds after you switchthe windshield wipers off.
The headlamps do not turn on with thewipers:
•During a single wipe.
•When using the windshield washers.
•If the wipers are in intermittent mode.
Note:If you switch the autolamps and theautowipers on, the headlamps turn on whenthe windshield wipers continuously operate.
INSTRUMENT LIGHTING
DIMMER
The instrument lighting dimmer buttonsare on the lighting control.
Repeatedly press one of thebuttons to adjust the brightness.
DAYTIME RUNNING LAMPS -
VEHICLES WITH:
CONFIGURABLE DAYTIME
RUNNING LAMPS
WARNING: The daytime runninglamps system does not activate the rearlamps and may not provide adequatelighting during low visibility drivingconditions. Make sure you switch theheadlamps on, as appropriate, during alllow visibility conditions. Failure to do somay result in a crash.
52
2024 E-Series (TE4) Canada/United States of America, enUSA, Edition date: 202210, First-PrintingLightingE311233 E291299 E291298
Page 57 of 303
Switch the daytime running lamps on oroff using the touchscreen:
1.Select Settings.
2.Select Vehicle.
3.Select Lighting.
The daytime running lamps turn on when:
1.The lamps are on in the informationdisplay.
2.You switch the ignition on.
3.The transmission is not in park (P) forvehicles with automatic transmissionsor you release the parking brake forvehicles with manual transmissions.
4.The lighting control is in the autolampsposition.
5.The headlamps are off.
The other lighting control switch positionsdo not turn on the daytime running lamps.
If the daytime running lamps are off in theinformation display, the lamps stay off inall switch positions.
DAYTIME RUNNING LAMPS -
VEHICLES WITH: DAYTIME
RUNNING LAMPS (DRL)
WARNING: The daytime runninglamps system does not activate the rearlamps and may not provide adequatelighting during low visibility drivingconditions. Make sure you switch theheadlamps on, as appropriate, during alllow visibility conditions. Failure to do somay result in a crash.
The system turns the lamps on in daylightconditions.
To switch the system on, switch thelighting control to any position exceptheadlamps.
DIRECTION INDICATORS
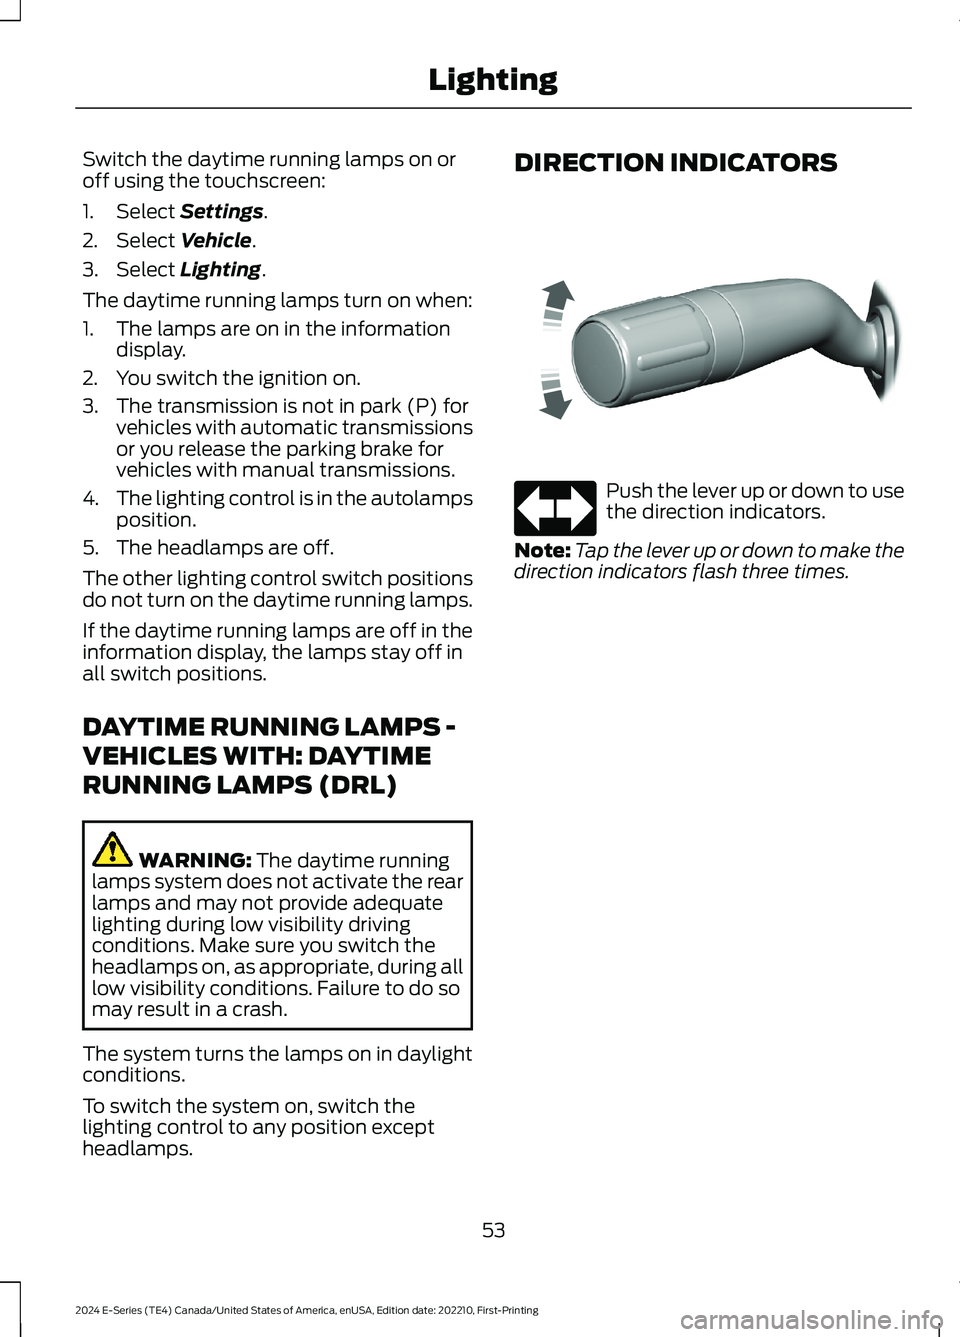
Push the lever up or down to usethe direction indicators.
Note:Tap the lever up or down to make thedirection indicators flash three times.
53
2024 E-Series (TE4) Canada/United States of America, enUSA, Edition date: 202210, First-PrintingLightingE311431 E67018
Page 60 of 303
POWER WINDOWS (IF EQUIPPED)
WARNING: Do not leave childrenunattended in your vehicle and do notlet them play with the power windows.Failure to follow this instruction couldresult in personal injury.
WARNING: When closing thepower windows, verify they are free ofobstruction and make sure that childrenand pets are not in the proximity of thewindow openings.
Note:You may hear a pulsing noise whenjust one of the windows is open. Lower theopposite window slightly to reduce thisnoise.
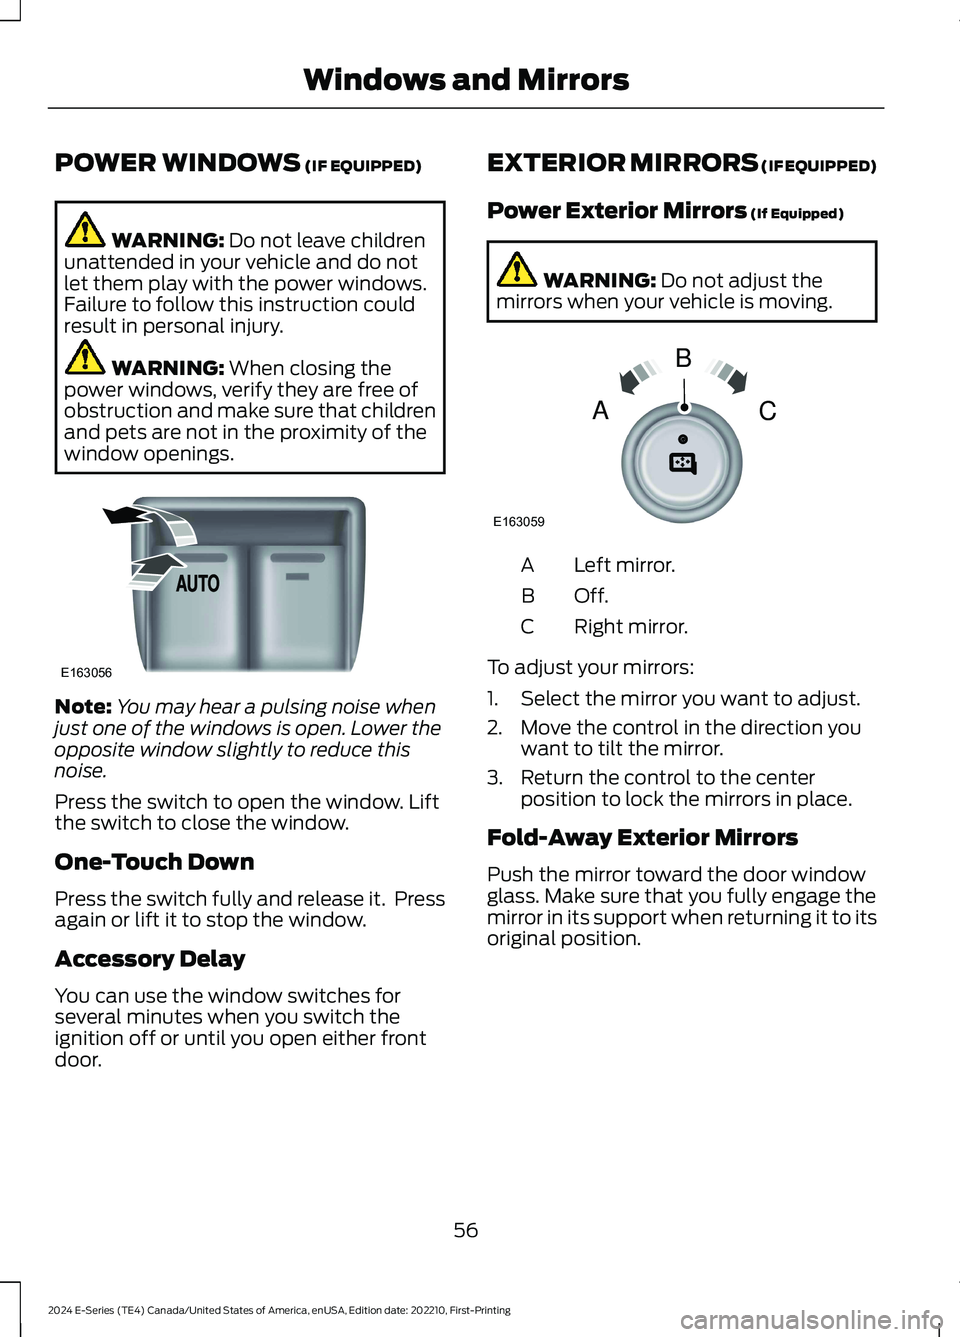
Press the switch to open the window. Liftthe switch to close the window.
One-Touch Down
Press the switch fully and release it. Pressagain or lift it to stop the window.
Accessory Delay
You can use the window switches forseveral minutes when you switch theignition off or until you open either frontdoor.
EXTERIOR MIRRORS (IF EQUIPPED)
Power Exterior Mirrors (If Equipped)
WARNING: Do not adjust themirrors when your vehicle is moving.
Left mirror.A
Off.B
Right mirror.C
To adjust your mirrors:
1.Select the mirror you want to adjust.
2.Move the control in the direction youwant to tilt the mirror.
3.Return the control to the centerposition to lock the mirrors in place.
Fold-Away Exterior Mirrors
Push the mirror toward the door windowglass. Make sure that you fully engage themirror in its support when returning it to itsoriginal position.
56
2024 E-Series (TE4) Canada/United States of America, enUSA, Edition date: 202210, First-PrintingWindows and MirrorsE163056 E163059BAC
Page 61 of 303
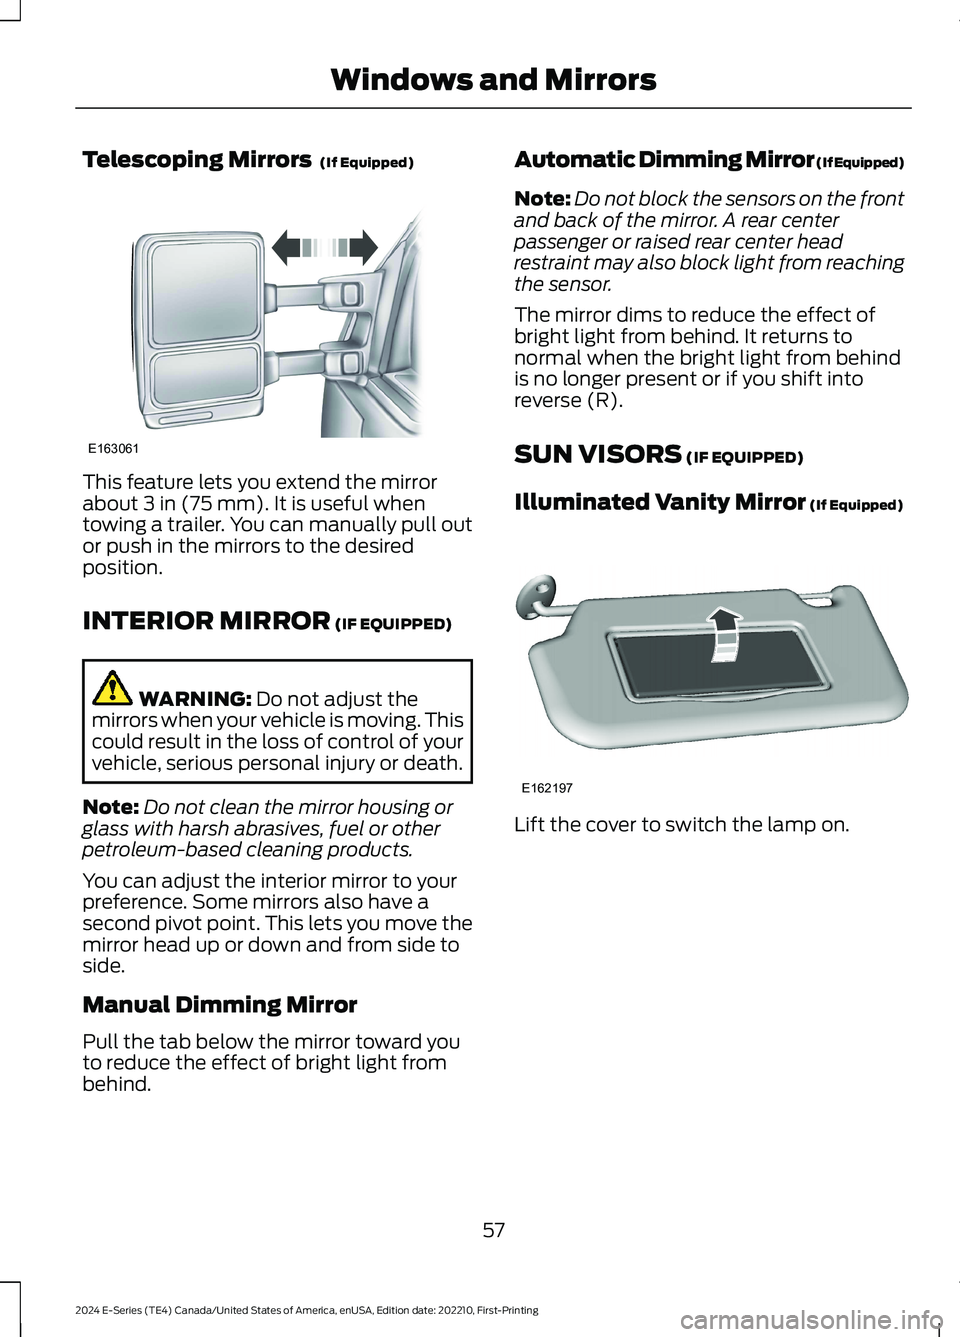
Telescoping Mirrors (If Equipped)
This feature lets you extend the mirrorabout 3 in (75 mm). It is useful whentowing a trailer. You can manually pull outor push in the mirrors to the desiredposition.
INTERIOR MIRROR (IF EQUIPPED)
WARNING: Do not adjust themirrors when your vehicle is moving. Thiscould result in the loss of control of yourvehicle, serious personal injury or death.
Note:Do not clean the mirror housing orglass with harsh abrasives, fuel or otherpetroleum-based cleaning products.
You can adjust the interior mirror to yourpreference. Some mirrors also have asecond pivot point. This lets you move themirror head up or down and from side toside.
Manual Dimming Mirror
Pull the tab below the mirror toward youto reduce the effect of bright light frombehind.
Automatic Dimming Mirror (If Equipped)
Note:Do not block the sensors on the frontand back of the mirror. A rear centerpassenger or raised rear center headrestraint may also block light from reachingthe sensor.
The mirror dims to reduce the effect ofbright light from behind. It returns tonormal when the bright light from behindis no longer present or if you shift intoreverse (R).
SUN VISORS (IF EQUIPPED)
Illuminated Vanity Mirror (If Equipped)
Lift the cover to switch the lamp on.
57
2024 E-Series (TE4) Canada/United States of America, enUSA, Edition date: 202210, First-PrintingWindows and MirrorsE163061 E162197
Page 64 of 303
Engine Oil Pressure Gauge
Indicates engine oil pressure. At normaloperating temperature, the level indicatoris in the normal range. If the pressure gaugefalls below the normal range, stop yourvehicle, switch off the engine and checkthe engine oil level. Add oil if needed. If theoil level is correct, have your vehiclechecked by an authorized dealer.
Engine Coolant TemperatureGauge
WARNING: Do not remove thecoolant reservoir cap when the engine ison or the cooling system is hot. Wait 10minutes for the cooling system to cooldown. Cover the coolant reservoir capwith a thick cloth to prevent thepossibility of scalding and slowly removethe cap. Failure to follow this instructioncould result in personal injury.
Indicates engine coolant temperature. Atnormal operating temperature, the levelindicator is in the normal range. If theengine coolant temperature exceeds thenormal range, stop your vehicle as soon aspossible, switch off the engine and let theengine cool.
Fuel Gauge
The fuel gauge indicates about how muchfuel is in the fuel tank.
The arrow adjacent to the fuel pumpsymbol indicates on which side of yourvehicle the fuel filler door is located.
Note:The fuel gauge may vary slightlywhen your vehicle is moving or on a slope.
Low Fuel Reminder
A low fuel level reminder displays andsounds when the distance to emptyreaches 50 mi (80 km),25 mi (40 km),10 mi (20 km) and 0 mi (0 km) for allvehicle keys.
Note:The low fuel reminder can appear atdifferent fuel gauge positions depending onfuel economy conditions. This variation isnormal.
Distance to Empty
Indicates the approximate distance yourvehicle can travel on the fuel remaining inthe tank. Changes in driving pattern cancause the value to not only decrease butalso increase or stay constant for periodsof time.
Transmission Fluid TemperatureGauge
Indicates transmission fluid temperature.At normal operating temperature, the levelindicator is in the normal range. If thetransmission fluid temperature exceedsthe normal range, stop your vehicle as soonas possible and verify the airflow is notrestricted by snow or debris blockingairflow through the grille.
Special operating conditions such assnowplowing, towing, or off-road use maycause higher than normal operatingtemperatures. See Special OperatingConditions Scheduled Maintenance(page 255).
To lower the transmission temperatureinto the normal range, alter the severity ofyour driving conditions. Operating thetransmission for extended periods with thegauge in the higher than normal area maycause internal transmission damage. If thegauge continues to show hightemperatures, see an authorized dealer.
60
2024 E-Series (TE4) Canada/United States of America, enUSA, Edition date: 202210, First-PrintingInstrument Cluster
Page 67 of 303
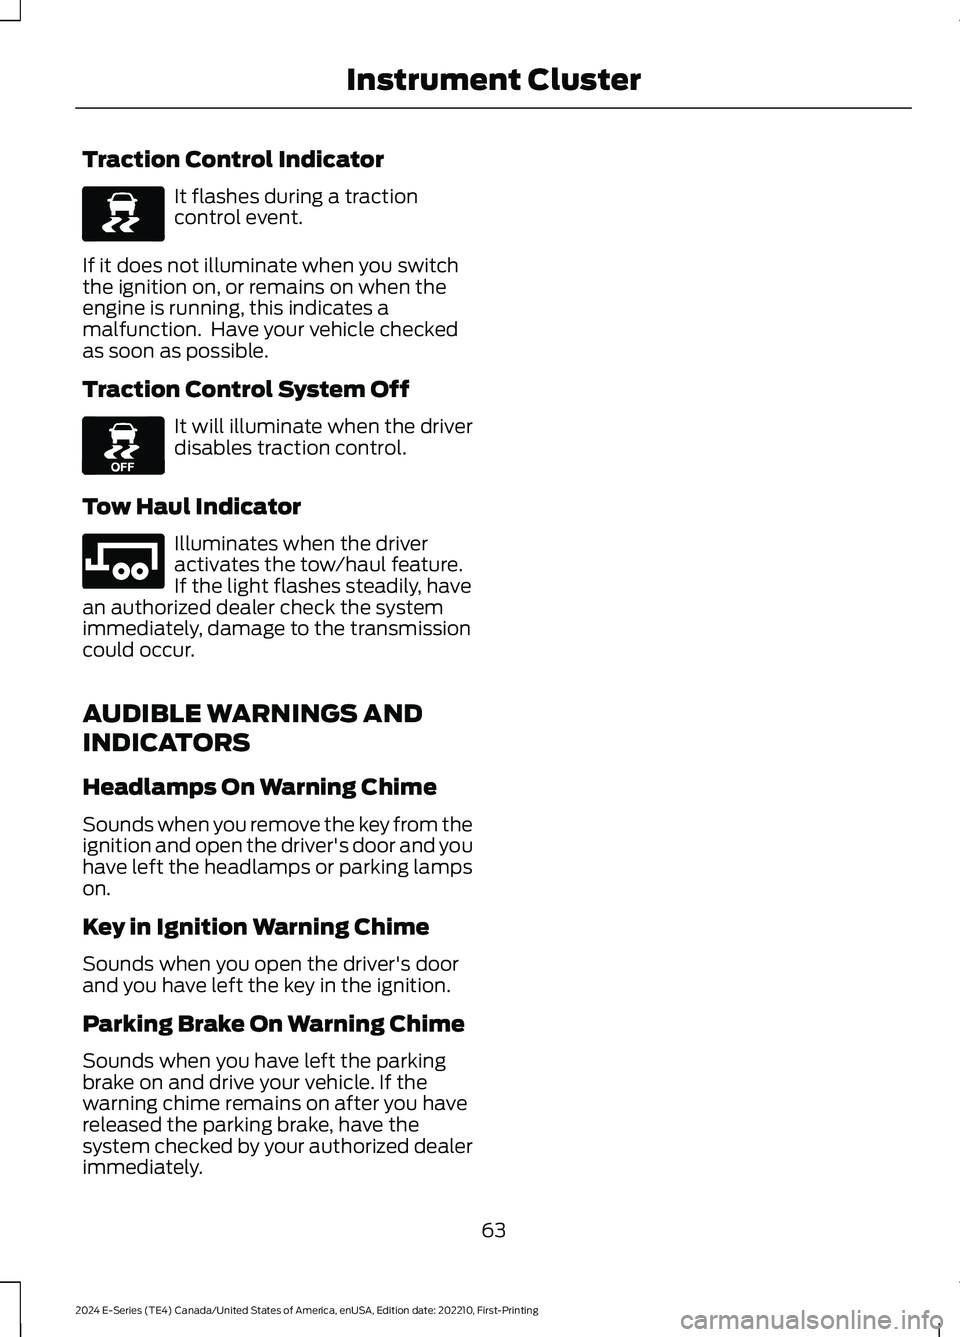
Traction Control Indicator
It flashes during a tractioncontrol event.
If it does not illuminate when you switchthe ignition on, or remains on when theengine is running, this indicates amalfunction. Have your vehicle checkedas soon as possible.
Traction Control System Off
It will illuminate when the driverdisables traction control.
Tow Haul Indicator
Illuminates when the driveractivates the tow/haul feature.If the light flashes steadily, havean authorized dealer check the systemimmediately, damage to the transmissioncould occur.
AUDIBLE WARNINGS AND
INDICATORS
Headlamps On Warning Chime
Sounds when you remove the key from theignition and open the driver's door and youhave left the headlamps or parking lampson.
Key in Ignition Warning Chime
Sounds when you open the driver's doorand you have left the key in the ignition.
Parking Brake On Warning Chime
Sounds when you have left the parkingbrake on and drive your vehicle. If thewarning chime remains on after you havereleased the parking brake, have thesystem checked by your authorized dealerimmediately.
63
2024 E-Series (TE4) Canada/United States of America, enUSA, Edition date: 202210, First-PrintingInstrument ClusterE138639 E130458 E246592
Page 68 of 303
GENERAL INFORMATION
WARNING: Driving while distractedcan result in loss of vehicle control, crashand injury. We strongly recommend thatyou use extreme caution when using anydevice that may take your focus off theroad. Your primary responsibility is thesafe operation of your vehicle. Werecommend against the use of anyhand-held device while driving andencourage the use of voice-operatedsystems when possible. Make sure youare aware of all applicable local lawsthat may affect the use of electronicdevices while driving.
Note:Trailer options are not available ifyour vehicle speed is greater than 3 mph(5 km/h).
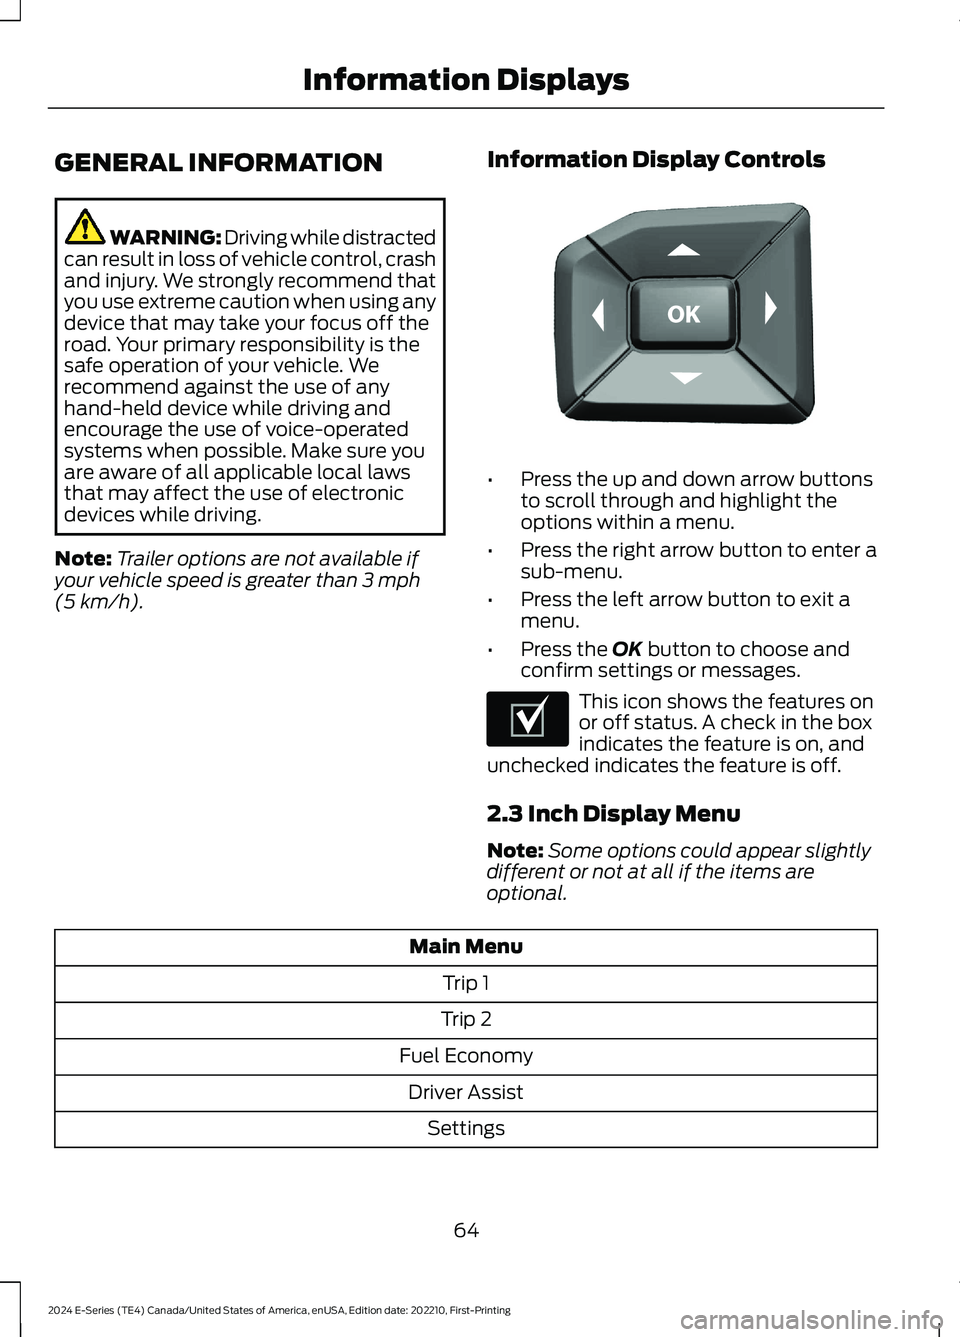
Information Display Controls
•Press the up and down arrow buttonsto scroll through and highlight theoptions within a menu.
•Press the right arrow button to enter asub-menu.
•Press the left arrow button to exit amenu.
•Press the OK button to choose andconfirm settings or messages.
This icon shows the features onor off status. A check in the boxindicates the feature is on, andunchecked indicates the feature is off.
2.3 Inch Display Menu
Note:Some options could appear slightlydifferent or not at all if the items areoptional.
Main Menu
Trip 1
Trip 2
Fuel Economy
Driver Assist
Settings
64
2024 E-Series (TE4) Canada/United States of America, enUSA, Edition date: 202210, First-PrintingInformation DisplaysE184451 E204495
Page 80 of 303
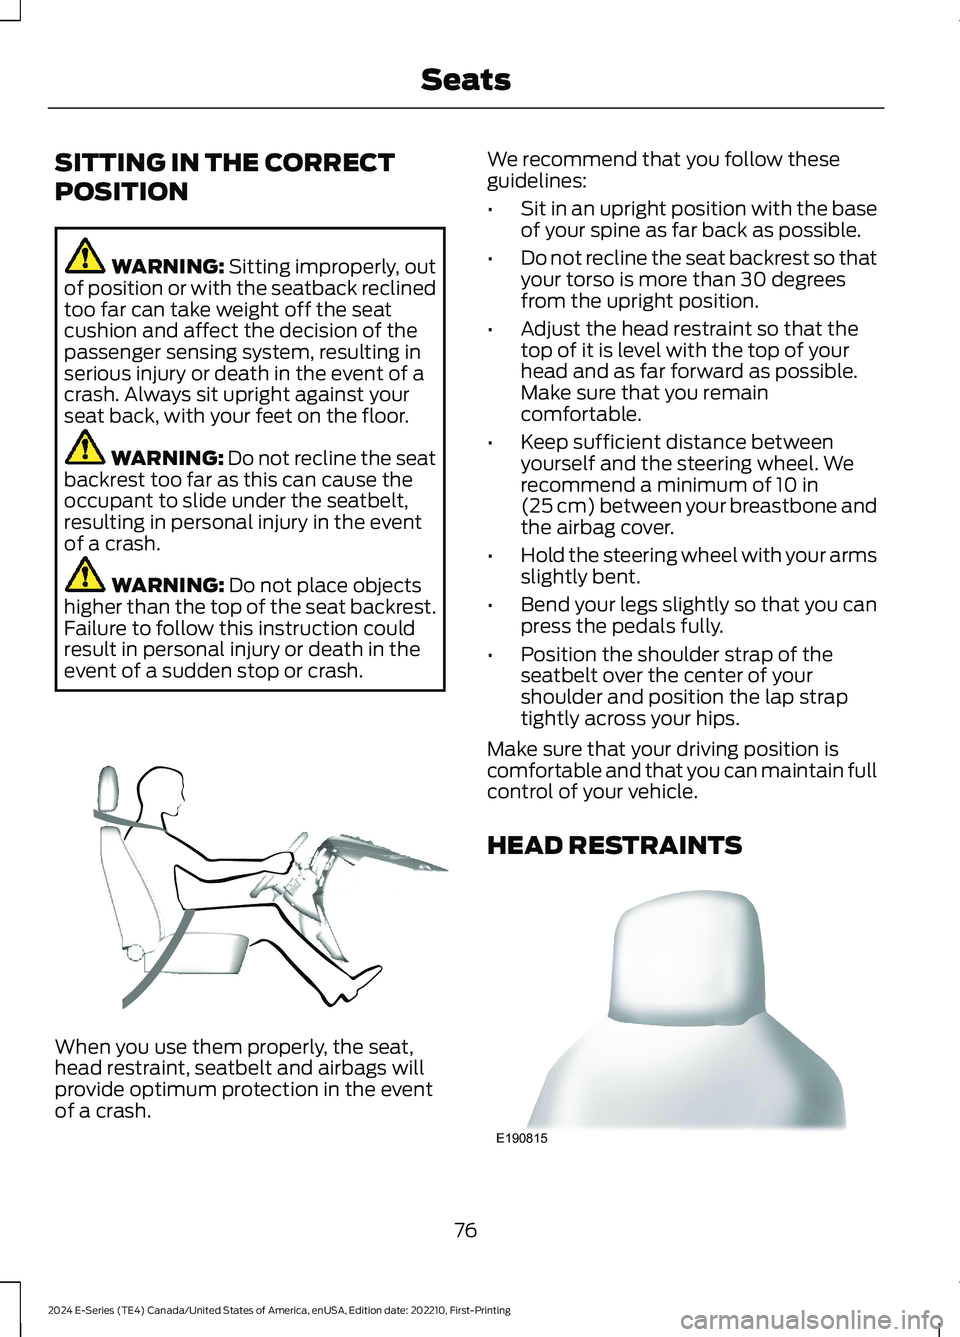
SITTING IN THE CORRECT
POSITION
WARNING: Sitting improperly, outof position or with the seatback reclinedtoo far can take weight off the seatcushion and affect the decision of thepassenger sensing system, resulting inserious injury or death in the event of acrash. Always sit upright against yourseat back, with your feet on the floor.
WARNING: Do not recline the seatbackrest too far as this can cause theoccupant to slide under the seatbelt,resulting in personal injury in the eventof a crash.
WARNING: Do not place objectshigher than the top of the seat backrest.Failure to follow this instruction couldresult in personal injury or death in theevent of a sudden stop or crash.
When you use them properly, the seat,head restraint, seatbelt and airbags willprovide optimum protection in the eventof a crash.
We recommend that you follow theseguidelines:
•Sit in an upright position with the baseof your spine as far back as possible.
•Do not recline the seat backrest so thatyour torso is more than 30 degreesfrom the upright position.
•Adjust the head restraint so that thetop of it is level with the top of yourhead and as far forward as possible.Make sure that you remaincomfortable.
•Keep sufficient distance betweenyourself and the steering wheel. Werecommend a minimum of 10 in(25 cm) between your breastbone andthe airbag cover.
•Hold the steering wheel with your armsslightly bent.
•Bend your legs slightly so that you canpress the pedals fully.
•Position the shoulder strap of theseatbelt over the center of yourshoulder and position the lap straptightly across your hips.
Make sure that your driving position iscomfortable and that you can maintain fullcontrol of your vehicle.
HEAD RESTRAINTS
76
2024 E-Series (TE4) Canada/United States of America, enUSA, Edition date: 202210, First-PrintingSeatsE68595 E190815
Page 83 of 303

12 Volt DC Power Point
WARNING: Do not plug optionalelectrical accessories into the cigarlighter socket. Incorrect use of the cigarlighter can cause damage not coveredby the vehicle warranty, and can resultin fire or serious injury.
Note:When you switch the ignition on, youcan use the socket to power 12 voltappliances with a maximum current ratingof 15 amps.
Note:If the power supply does not workafter you switch the ignition off, switch theignition on.
Note:Do not hang any accessory from theaccessory plug.
Note:Do not use the power point over thevehicle capacity of 12 volt DC 180 watts ora fuse may blow.
Note:Always keep the power point capsclosed when not in use.
Do not insert objects other than anaccessory plug into the power point. Thisdamages the power point and may blowthe fuse.
Run the vehicle for full capacity use of thepower point.
To prevent the battery from running out ofcharge:
•Do not use the power point longer thannecessary when the vehicle is notrunning.
•Do not leave devices plugged inovernight or when you park your vehiclefor extended periods.
Locations
Power points could be in the followinglocations:
•On the instrument panel.
•Inside the glove box.
•Behind the driver's seat, upper trimpanel.
110 Volt AC Power Point (If Equipped)
WARNING: Do not keep electricaldevices plugged into the power outletwhenever the device is not in use. Theoutlet provides power when the vehicleis on. Failure to follow this instructioncould result in personal injury.
WARNING: Do not use anextension cord or connect multipledevices to the power outlet. Doing socould result in overloading the poweroutlet. Failure to follow this instructioncould result in fire, personal injury orproperty damage.
Note:The power point turns off when youswitch the ignition off, or when the batteryvoltage drops below 11 volts.
You can use the power point for electricdevices that require up to 150 watts. It ison the instrument panel.
79
2024 E-Series (TE4) Canada/United States of America, enUSA, Edition date: 202210, First-PrintingAuxiliary Power PointsE194174