FORD ESCAPE 2022 Owners Manual
Manufacturer: FORD, Model Year: 2022, Model line: ESCAPE, Model: FORD ESCAPE 2022Pages: 585, PDF Size: 6.15 MB
Page 131 of 585
WHAT IS ELECTRIC
EFFICIENCY - PLUG-IN HYBRID
ELECTRIC VEHICLE (PHEV)
This screen shows your average driving
distance per kilowatt-hour of electricity
used on your plug-in hybrid vehicle. The
value is calculated only when your
available electric range is being used and
the gasoline engine is off.
Distance per full charge is also shown. This
is an estimate of the electric range you
would have if you plugged in and fully
charged your vehicle right now. The higher
your electric efficiency, the higher your
distance per full charge.
Your electric efficiency is affected by your
driving style and route, climate control use,
outside temperature and other factors.
Best efficiency is achieved with mild to
moderate acceleration and braking,
moderate speeds and low climate control
usage.
Note:Electric efficiency is a selectable
screen. See Customizing the Instrument
Cluster Display (page 124).
WHAT IS BRAKE COACH -
HYBRID ELECTRIC VEHICLE
(HEV)/PLUG-IN HYBRID
ELECTRIC VEHICLE (PHEV)
The brake coach appears after your vehicle
has come to a stop. It coaches you to brake
in a manner that maximizes the amount
of energy returned through the
regenerative braking system. The percent displayed is an indication of
the regenerative braking efficiency with
100% representing the maximum amount
of energy re
covered. You can switch brake
coach on or off in the settings menu. See
Instrument Cluster Display Main Menu
(page 124).
WHAT IS THE TRIP SUMMARY
- HYBRID ELECTRIC VEHICLE
(HEV)/PLUG-IN HYBRID
ELECTRIC VEHICLE (PHEV)
The trip summary displays upon shutting
off your vehicle. The values are cumulative
since you last started your vehicle.
The information shown is the same as the
This Trip screen. See Trip Data (page 129).
VEHICLE CHARGING STATUS
- PLUG-IN HYBRID ELECTRIC
VEHICLE (PHEV)
The vehicle charge status displays when
you switch off your vehicle and when you
switch on your vehicle when plugged in.
Charging status includes the charge start
or charge end time as appropriate. You can
modify your charge settings though the
touchscreen. See SYNC™ 3 (page 431).
128
Instrument Cluster Display
Page 132 of 585
ACCESSING THE TRIP
COMPUTER - VEHICLES WITH:
4.2 INCH INSTRUMENT
CLUSTER DISPLAY SCREEN
1. Use the instrument cluster displaycontrols to navigate the home screen.
2. Select the trip screen.
3. Press the menu button on the steering wheel.
4. Select Trip 1 or Trip 2.
ACCESSING THE TRIP
COMPUTER - VEHICLES WITH:
6.5 INCH INSTRUMENT
CLUSTER DISPLAY SCREEN/
12.3 INCH INSTRUMENT
CLUSTER DISPLAY SCREEN
Using Select Screens
1. Use the instrument cluster display
controls to navigate the home menu.
2. Select Select Screens .
3. Use the control on the steering wheel to navigate the menu. See
Customizing the Instrument Cluster
Display (page 124).
Using the Home Screen
Once the screens have been added, use
the instrument cluster display controls on
the steering wheel to view each trip screen.
RESETTING THE TRIP
COMPUTER
1. Use the instrument cluster display
controls to navigate the home screen.
2. Select the trip screen you want to reset. 3. Press and hold the OK button until the
system reset confirmation appears.
RESETTING THE INDIVIDUAL
TRIP VALUES - VEHICLES
WITH: 4.2 INCH INSTRUMENT
CLUSTER DISPLAY SCREEN
1. Use the instrument cluster displaycontrols to navigate the home screen.
2. Select the trip screen.
3. Press the menu button on the steering wheel.
4. Select Reset Individual Values .
5. Select a trip value to reset.
6. Press and hold the OK button until the system reset confirmation appears.
CONFIGURING THE TRIP
COMPUTER - VEHICLES WITH:
4.2 INCH INSTRUMENT
CLUSTER DISPLAY SCREEN
1. Use the instrument cluster displaycontrols to navigate the home screen.
2. Select the trip screen.
3. Press the menu button on the steering wheel.
4. Select Configure View .
5. Select values to display.
TRIP DATA
Trip 1 and 2
Provides trip timer, trip average fuel
economy and total trip distance traveled.
For hybrid vehicles, the trip also shows the
distance traveled on electric power only.
129
Trip Computer
Page 133 of 585
Note:Trip 1 and 2 are selectable screens.
See Accessing the Trip Computer (page
129).
This Trip
Provides trip timer, trip average fuel
economy, total trip distance traveled, and
distance traveled on electric power only
with the engine off. If the gasoline engine
has not turned on during the trip then trip
average fuel economy is not shown. This
Trip resets each time you start your vehicle.
Note: This trip is a selectable screen. See
Accessing the Trip Computer (page 129).
130
Trip Computer
Page 134 of 585
WHAT IS THE HEAD UP
DISPLAY
The system displays information on a
display screen in your field of vision,
allowing you to keep your eyes on the road.
You can select which information the
system displays.
SWITCHING THE HEAD UP
DISPLAY ON AND OFF
E265900Press the button on the steering
wheel or center console.Note:
The head up display menu appears
in the information display.
Action
Menu Item
Press the OK
button.
Head-Up Display
(HUD)
Press the OKbutton.
Note: The system remembers the last
setting when you start the engine.
HEAD UP DISPLAY SETTINGS
Action
Menu Item
Press the OK button.
Adjustment
Position 1. Press the OK button.
2. Use the up and down toggle buttons to adjust the
vertical position of the blue frame.
• Make sure that you can see all of the blue frame.
• Do not physically move the screen. This can causedamage not covered by the vehicle Warranty.
Brightness 1. Press the OK button.
2. Use the up and down toggle buttons to adjust the brightness of the display screen.
• The system adjusts the brightness based on howdark it is. If you set the brightness to a high level,
the system reduces the brightness at night.
Vertical Size 1. Press the OK button.
2. Use the up and down toggle buttons to adjust the vertical size of the display screen.
• A small vertical size could be more suitable if yousit in a high position.
131
Head Up Display (If Equipped)
Page 135 of 585
Selecting Which Information the
System Displays
Start the engine and switch the system on.
Note:Press the head up display button if
you do not see the head up display menu in
the instrument cluster display. Note:
For your safety, some features are
speed-dependent. The system limits their
use to when your vehicle is not moving.
Use the instrument cluster display controls
on the steering wheel to select which
information the system displays.
Action
Menu Item
Press the OK button.
Content
Press the OK button.
Distance Indication
Eco Advice
Incoming Calls
Lane Keeping System
Navigation
Speed Assistance
Speed Sign Recognition
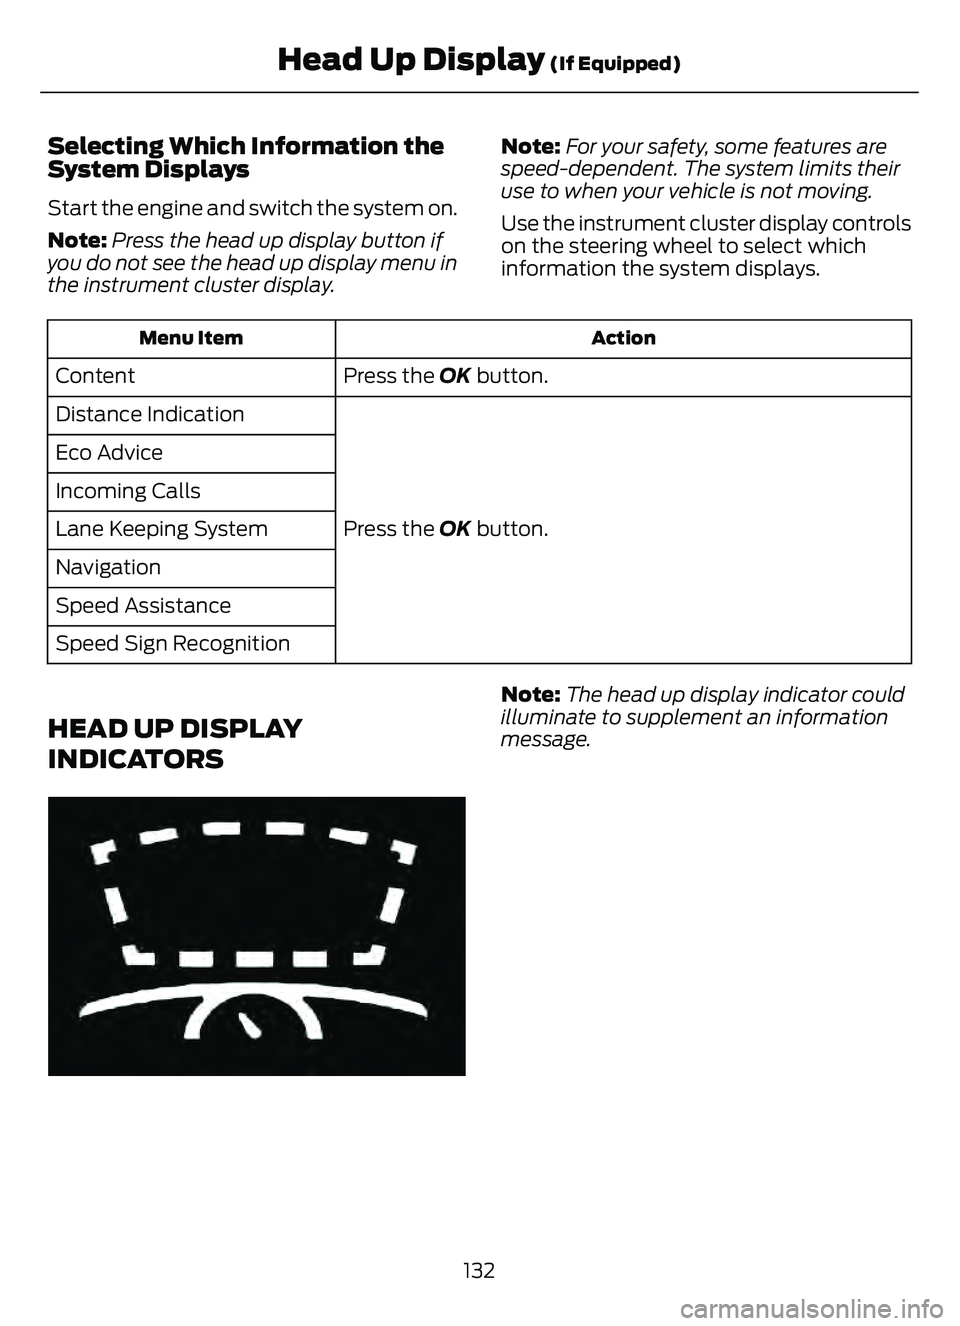
HEAD UP DISPLAY
INDICATORS
E265900
Note:
The head up display indicator could
illuminate to supplement an information
message.
132
Head Up Display (If Equipped)
Page 136 of 585
HEAD UP DISPLAY – TROUBLESHOOTING
HEAD UP DISPLAY – INFORMATION MESSAGES
Action
Message
The system is malfunctioning or something
is obstructing the display. Make sure that
the head up display is free from obstruction. If the message continues to appear, have
your vehicle checked as soon as possible.
Head Up Display System Fault See Manual
Press the button on the steering wheel or
center console. The head up display menu appears in the instrument cluster display.
Make sure the blue frame is fully visible. Do not manually move the screen. This can
cause damage not covered by your vehicle's warranty.
Head Up Display To Position Use the
Information Display
133
Head Up Display (If Equipped)
Page 137 of 585
WHAT IS REMOTE START
The system allows you to remotely start
your vehicle and to adjust the interior
temperature according to the settings that
you chose.
REMOTE START
PRECAUTIONS
WARNING: Do not start the engine
in a closed garage or in other enclosed
areas. Exhaust fumes are toxic. Always
open the garage door before you start
the engine. Failure to follow this
instruction could result in personal injury
or death.
REMOTE START LIMITATIONS
Remote start does not work under the
following conditions:
• The alarm horn is sounding.
• The hood is open.
• The transmission is not in park (P).
• The ignition is on.
• The battery voltage is below the minimum operating voltage.
• Remote start is not enabled.
Note: Do not use remote start if the fuel
level is low.
Note: You can use remote start with
FordPass. See Connecting the Vehicle to
a Wi-Fi Network (page 405).
ENABLING REMOTE START
1. Press Settings on the touchscreen.
2. Press Vehicle Settings .
3. Press Remote Start Setup .4. Switch Remote Start on or off.
Note:
To remote start with FordPass, make
sure that the modem is enabled. See
Connected Vehicle Requirements (page
405).
REMOTELY STARTING AND
STOPPING THE VEHICLE
Remotely Starting the Vehicle
E138623
Press the button on the remote
control.
E138625
Within three seconds, press the
button twice on the remote
control.
Note: You can also use the FordPass App
to start the vehicle.
Note: The turn signals flash twice.
Note: The parking lamps turn on when the
vehicle is running.
Note: The horn sounds if the system fails
to start.
Note: All other vehicle systems remain off
when you have remotely started the vehicle.
Note: The vehicle remains secured when
you have remotely started the vehicle. A
valid key must be inside your vehicle to
switch the ignition on and drive your vehicle.
Remotely Stopping the Vehicle
E138625
Within three seconds, press the
button twice on the remote
control.
EXTENDING THE REMOTE
START DURATION
To extend the remote start duration during
remote start, do the following:
134
Remote Start (If Equipped)
Page 138 of 585
E138623
Press the button on the remote
control.
E138625
Within three seconds, press the
button on the remote control.
Within three seconds, press the
button again.
If the duration is set to 15 minutes, the
duration extends by another 15 minutes.
This provides a total of 30 minutes.
Note: Remote start can only be extended
once.
Note: A maximum of two remote starts, or
one remote start with an extension, are
allowed. To reset the restart procedure
switch the vehicle to on, then to off.
REMOTE START REMOTE
CONTROL INDICATORS
Remote Control Feedback
An LED on the remote control provides
status feedback of remote start or stop
commands.
Status
LED
Remote start
successful.
Solid green.
Remote stopsuccessful.
Solid red.
Request failed or
status not received.
Blinking red.
Status incomplete.
Blinking green.
REMOTE START SETTINGS
SWITCHING CLIMATE CONTROL
AUTO MODE ON AND OFF
1. Press Settings on the touchscreen. 2. Press Remote Start Setup.
3. Press Climate Control
.
4. Select Vehicle.
5. Switch Auto on or off.
Note: If you switch the auto mode on, the
system attempts to heat or cool the interior
to 72°F (22°C).
Note: When you switch the ignition on, the
climate control system returns to the last
used settings.
SWITCHING CLIMATE CONTROL
LAST SETTINGS ON AND OFF
1. Press Settings on the touchscreen.
2. Press Vehicle Settings .
3. Press Remote Start Setup.
4. Switch Last settings on or off.
Note: If you switch the last settings on, the
system remembers the last used settings.
SWITCHING THE HEATED SEAT
SETTINGS ON AND OFF
1. Press Settings on the touchscreen.
2. Press Vehicle Settings .
3. Press Remote Start Setup.
4. Press Seats.
5. Switch Auto on or off.
Note: If you switch the heated seat settings
on, the heated seats turn on during cold
weather.
SWITCHING THE HEATED
STEERING WHEEL SETTINGS ON
AND OFF
1. Press Settings on the touchscreen.
2. Press Vehicle Settings .
3. Press Remote Start Setup.
4. Press Seats and Steering Wheel .
135
Remote Start (If Equipped)
Page 139 of 585
5. Switch Auto on or off.
Note: If you switch the heated steering
wheel settings on, the heated steering wheel
turns on during cold weather.
SETTING THE REMOTE START
DURATION
1. Press Settings on the touchscreen.
2. Press Vehicle Settings .
3. Press Remote Start Setup .
4. Press Duration.
Note: Wait a few seconds before remotely
starting the vehicle after the vehicle stops
running.
136
Remote Start (If Equipped)
Page 140 of 585
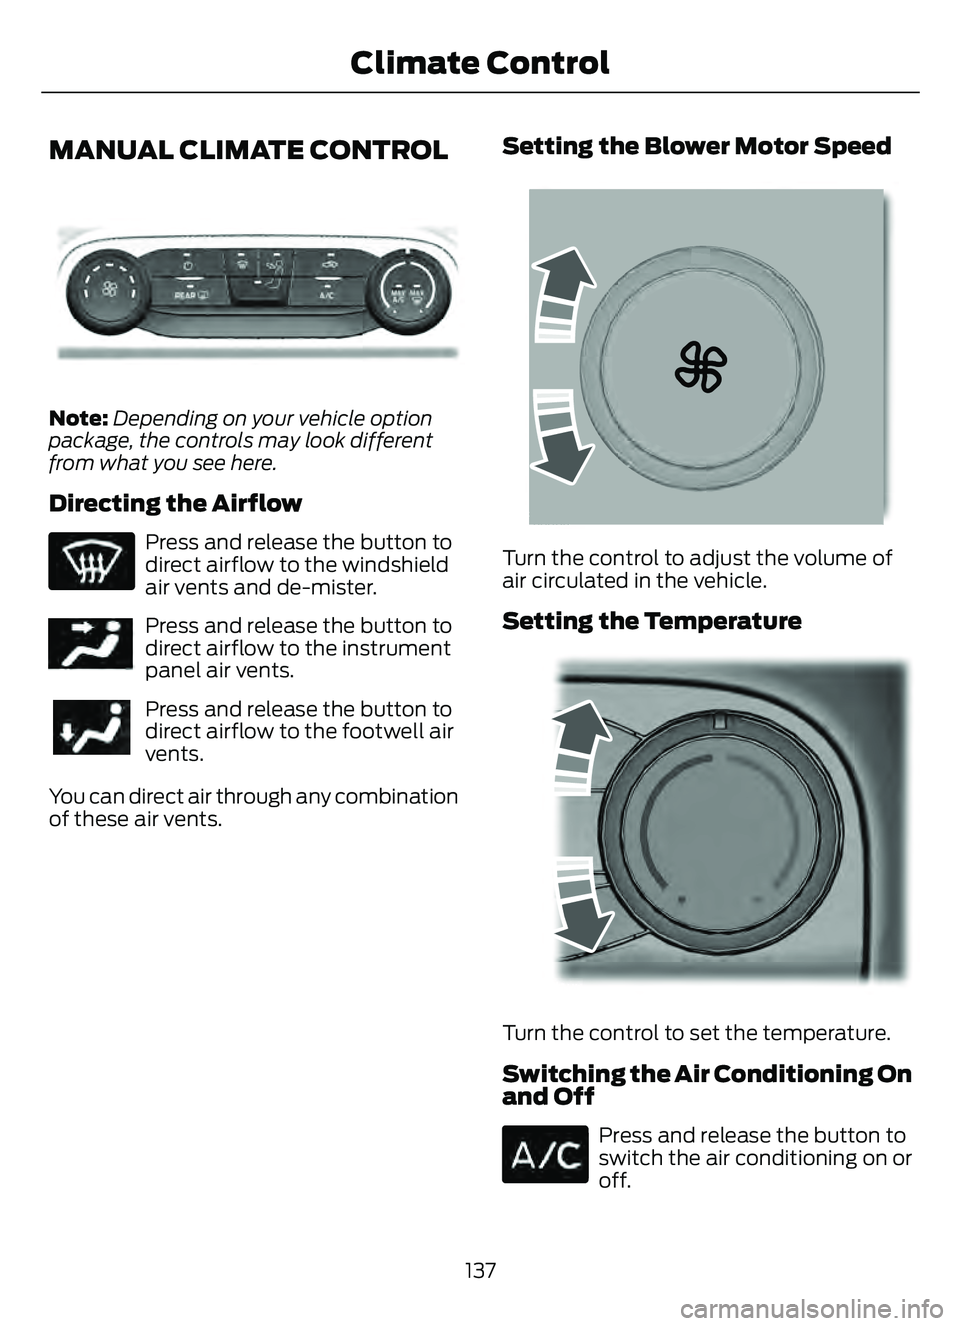
MANUAL CLIMATE CONTROL
E290056
Note:Depending on your vehicle option
package, the controls may look different
from what you see here.
Directing the Airflow
Press and release the button to
direct airflow to the windshield
air vents and de-mister.
E244097Press and release the button to
direct airflow to the instrument
panel air vents.
Press and release the button to
direct airflow to the footwell air
vents.
You can direct air through any combination
of these air vents.
Setting the Blower Motor Speed
E2265389E2265389265389
Turn the control to adjust the volume of
air circulated in the vehicle.
Setting the Temperature
106E22441061061061
Turn the control to set the temperature.
Switching the Air Conditioning On
and Off
Press and release the button to
switch the air conditioning on or
off.
137
Climate Control