cold FORD ESCAPE 2022 Owners Manual
[x] Cancel search | Manufacturer: FORD, Model Year: 2022, Model line: ESCAPE, Model: FORD ESCAPE 2022Pages: 585, PDF Size: 6.15 MB
Page 13 of 585
Driver Alert
What Is Driver Alert ....................................282
How Does Driver Alert Work ...................282
Driver Alert Precautions ...........................282
Driver Alert Limitations .............................282
Switching Driver Alert On and Off ........282
Driver Alert Indicators ...............................283
Driver Alert – Troubleshooting ..............283
Speed Sign Recognition
What Is Speed Sign Recognition ..........284
How Does Speed Sign Recognition Work........................................................................\
284
Speed Sign Recognition Precautions ........................................................................\
284
Speed Sign Recognition Limitations ........................................................................\
284
Speed Sign Recognition Indicators ......284
Setting the Speed Sign Recognition Speed Warning ........................................285
Setting the Speed Sign Recognition Speed Tolerance .....................................285
Speed Sign Recognition – Troubleshooting ......................................285
Load Carrying
Load Carrying Precautions ......................287
Locating the Safety ComplianceCertification Labels ...............................288
What Is the Gross Axle Weight Rating ........................................................................\
288
What Is the Gross Vehicle Weight Rating ........................................................................\
288
What Is the Gross Combined Weight Rating .........................................................288
Calculating Payload ..................................290
Calculating the Load Limit .....................290
Roof Rack ......................................................292
Luggage Compartment
Installing and Removing the Luggage Compartment Cover.............................294
Connecting a Trailer
Connecting a Trailer Precautions .........296
Connecting a Trailer ..................................296
Towing a Trailer
Towing a Trailer Precautions ..................298
Trailer Brake Precautions ........................298
Towing a Trailer Limitations ...................299
Loading Your Trailer ...................................299
Trailer Towing Hints ...................................299
Launching or Retrieving a Boat or
Personal Watercraft .............................300
Towing Weights and Dimensions ..........301
Trailer Sway Control
How Does Trailer Sway Control Work ........................................................................\
303
Trailer Sway Control Precautions .........303
Switching Trailer Sway Control On and Off ................................................................303
Driving Hints
Cold Weather Precautions ......................304
Breaking-In ...................................................304
Driving Economically ................................304
Driving in Special Conditions .................304
Driving Through Shallow Water ............306
Floor Mats .....................................................306
Crash and BreakdownInformation
Roadside Assistance ................................308
High Voltage Battery Vehicle Precautions- Hybrid Electric Vehicle (HEV) ........309
Switching the Hazard Flashers On and Off .................................................................310
Jump Starting the Vehicle ........................310
Post-Crash Alert System ..........................313
Automatic Crash Shutoff .........................314
Transporting the Vehicle ...........................314
10
Table of Contents
Page 98 of 585
WASHERS
WASHER PRECAUTIONS
WARNING: If you operate your
vehicle in temperatures below 41°F
(5°C), use washer fluid with antifreeze
protection. Failure to use washer fluid
with antifreeze protection in cold
weather could result in impaired
windshield vision and increase the risk
of injury or accident.
Do not operate the washers when the
washer reservoir is empty. This could cause
the washer pump to overheat.
Keep the outside of the windshield clean.
The rain sensor is very sensitive and the
wipers may operate if dirt, mist or insects
hit the windshield.
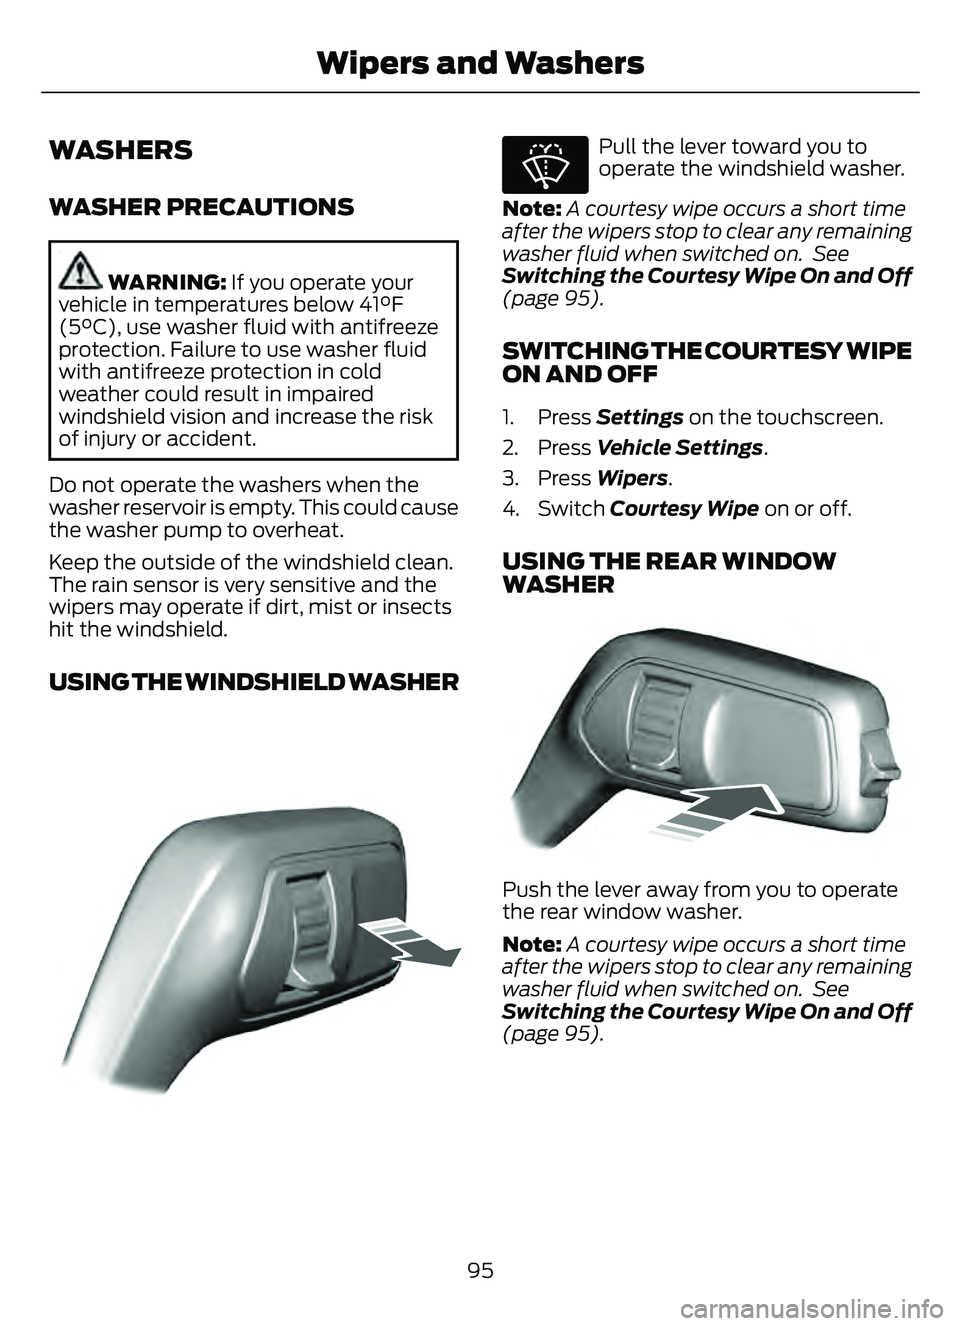
USING THE WINDSHIELD WASHER
E308825
E270967
Pull the lever toward you to
operate the windshield washer.
Note: A courtesy wipe occurs a short time
after the wipers stop to clear any remaining
washer fluid when switched on. See
Switching the Courtesy Wipe On and Off
(page 95).
SWITCHING THE COURTESY WIPE
ON AND OFF
1. Press Settings on the touchscreen.
2. Press Vehicle Settings .
3. Press Wipers .
4. Switch Courtesy Wipe on or off.
USING THE REAR WINDOW
WASHER
E2422224344343433334324434
Push the lever away from you to operate
the rear window washer.
Note:A courtesy wipe occurs a short time
after the wipers stop to clear any remaining
washer fluid when switched on. See
Switching the Courtesy Wipe On and Off
(page 95).
95
Wipers and Washers
Page 101 of 585
HEADLAMPS –
TROUBLESHOOTING
HEADLAMPS – FREQUENTLY
ASKED QUESTIONS
Why is there condensation in the
headlamps?Headlamps have vents to
accommodate normal changes in air
pressure. Condensation can be a
natural by-product of this design.
When moist air enters the lamp
assembly through the vents, there is a
possibility that condensation can
occur when the temperature is cold.
When normal condensation occurs, a
fine mist can form on the interior of the
lens. The fine mist eventually clears
and exits through the vents during
normal operation.
How much condensation is
acceptable? The presence of a fine mist, for
example no streaks, drip marks or
large droplets. A fine mist covers less
than 50% of the lens.
How long may it take for the
acceptable condensation to be
cleared? Clearing time may take as long as 48
hours under dry weather conditions.
How much condensation is
unacceptable? A water puddle inside the lamp.
Streaks, drip marks or large droplets
present on the interior of the lens.
What should I do if unacceptable
condensation is present? Have your vehicle checked as soon as
possible. Why do my headlamps turn off when I
have them switched on when I switch
my vehicle off?
The battery saver turns the headlamps
off after a short period of time after
you switch your vehicle off.AUTOLAMPS
WHAT ARE AUTOLAMPS
WARNING: The system does not
relieve you of your responsibility to drive
with due care and attention. You may
need to override the system if it does not
turn the headlamps on in low visibility
conditions, for example daytime fog.
Autolamps turn the headlamps on in low
light situations or when the windshield
wipers operate.
AUTOLAMP SETTINGS
1. Press Settings on the touchscreen.
2. Press Vehicle Settings .
3. Press Lighting.
4. Press Autolamp Delay.
5. Press a setting.
98
Exterior Lighting
Page 138 of 585
E138623
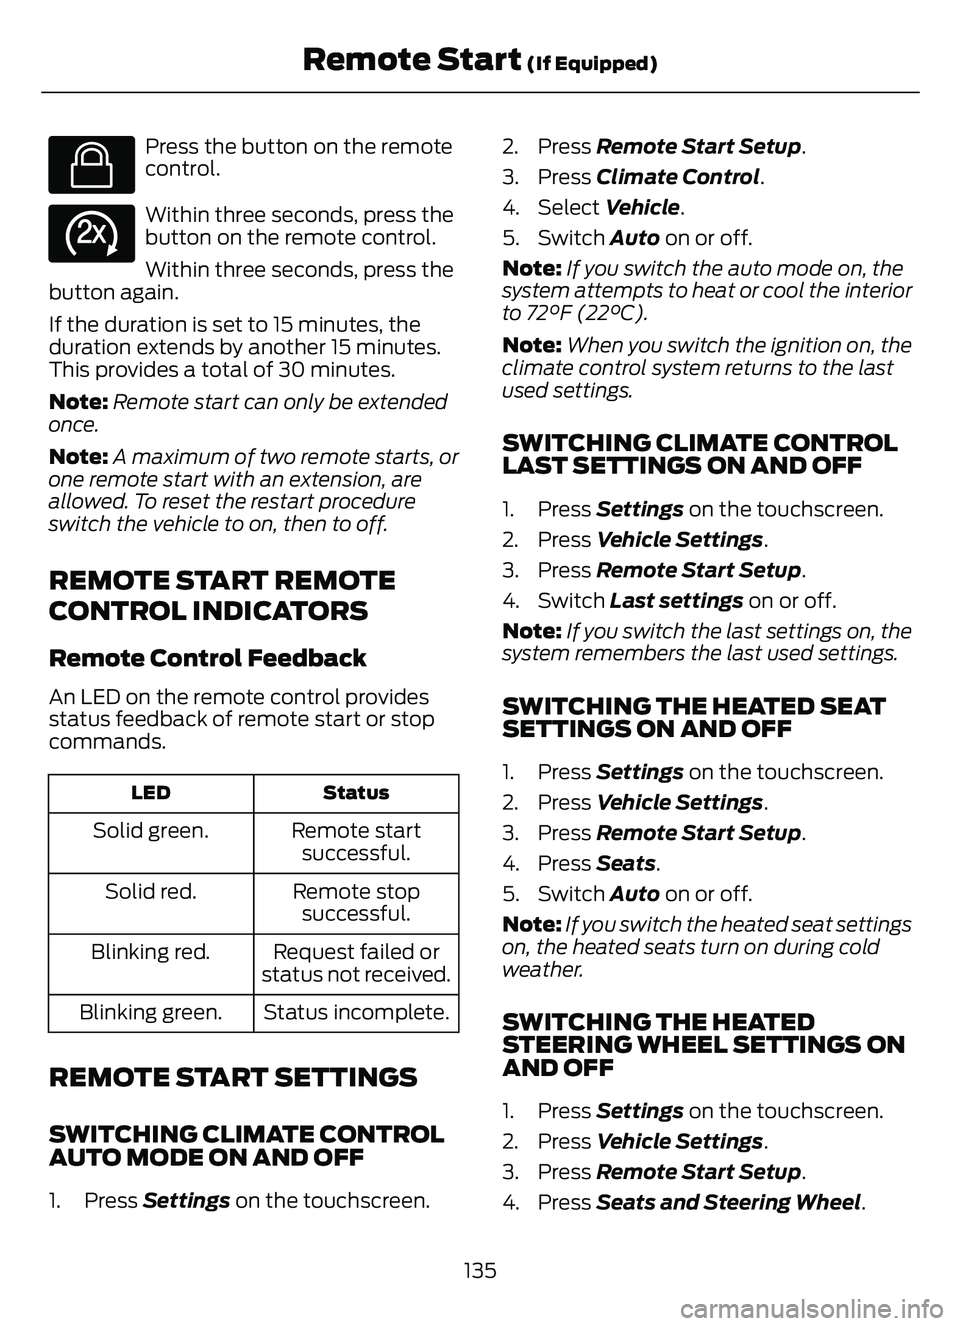
Press the button on the remote
control.
E138625
Within three seconds, press the
button on the remote control.
Within three seconds, press the
button again.
If the duration is set to 15 minutes, the
duration extends by another 15 minutes.
This provides a total of 30 minutes.
Note: Remote start can only be extended
once.
Note: A maximum of two remote starts, or
one remote start with an extension, are
allowed. To reset the restart procedure
switch the vehicle to on, then to off.
REMOTE START REMOTE
CONTROL INDICATORS
Remote Control Feedback
An LED on the remote control provides
status feedback of remote start or stop
commands.
Status
LED
Remote start
successful.
Solid green.
Remote stopsuccessful.
Solid red.
Request failed or
status not received.
Blinking red.
Status incomplete.
Blinking green.
REMOTE START SETTINGS
SWITCHING CLIMATE CONTROL
AUTO MODE ON AND OFF
1. Press Settings on the touchscreen. 2. Press Remote Start Setup.
3. Press Climate Control
.
4. Select Vehicle.
5. Switch Auto on or off.
Note: If you switch the auto mode on, the
system attempts to heat or cool the interior
to 72°F (22°C).
Note: When you switch the ignition on, the
climate control system returns to the last
used settings.
SWITCHING CLIMATE CONTROL
LAST SETTINGS ON AND OFF
1. Press Settings on the touchscreen.
2. Press Vehicle Settings .
3. Press Remote Start Setup.
4. Switch Last settings on or off.
Note: If you switch the last settings on, the
system remembers the last used settings.
SWITCHING THE HEATED SEAT
SETTINGS ON AND OFF
1. Press Settings on the touchscreen.
2. Press Vehicle Settings .
3. Press Remote Start Setup.
4. Press Seats.
5. Switch Auto on or off.
Note: If you switch the heated seat settings
on, the heated seats turn on during cold
weather.
SWITCHING THE HEATED
STEERING WHEEL SETTINGS ON
AND OFF
1. Press Settings on the touchscreen.
2. Press Vehicle Settings .
3. Press Remote Start Setup.
4. Press Seats and Steering Wheel .
135
Remote Start (If Equipped)
Page 139 of 585
5. Switch Auto on or off.
Note: If you switch the heated steering
wheel settings on, the heated steering wheel
turns on during cold weather.
SETTING THE REMOTE START
DURATION
1. Press Settings on the touchscreen.
2. Press Vehicle Settings .
3. Press Remote Start Setup .
4. Press Duration.
Note: Wait a few seconds before remotely
starting the vehicle after the vehicle stops
running.
136
Remote Start (If Equipped)
Page 147 of 585
Note:To prevent window fogging, you
cannot select recirculated air when
maximum defrost is on.
Note: The heated rear window also turns
on when you select maximum defrost.
Switching Recirculated Air On and
Off
Press and release the button to
switch between outside air and
recirculated air.
The air currently in the passenger
compartment recirculates. This may
reduce the time needed to cool the interior,
when used with A/C, and reduce unwanted
odors from entering your vehicle.
Note: Recirculated air may turn off, or
prevent you from switching on, in all air flow
modes except MAX A/C to reduce the risk
of fogging. Recirculation may also turn on
and off in various air distribution control
combinations to improve heating or cooling
efficiency.
HINTS ON CONTROLLING THE
INTERIOR CLIMATE -
VEHICLES WITH: AUTOMATIC
TEMPERATURE CONTROL
General Hints
Note: Prolonged use of recirculated air may
cause the windows to fog up.
Note: You may feel a small amount of air
from the footwell air vents regardless of the
air distribution setting.
Note: To reduce humidity build-up inside
your vehicle, do not drive with the system
switched off or with recirculated air always
switched on.
Note: Do not place objects under the front
seats as this may interfere with the airflow
to the rear seats. Note:
Remove any snow, ice or leaves from
the air intake area at the base of the
windshield.
Note: To improve the time to reach a
comfortable temperature in hot weather,
drive with the windows open until you feel
cold air through the air vents.
Automatic Climate Control
Note: Adjusting the settings when your
vehicle interior is extremely hot or cold is
not necessary. Automatic mode is best
recommended to maintain set temperature.
Note: The system adjusts to heat or cool
the interior to the temperature you select
as quickly as possible.
Note: For the system to function efficiently,
the instrument panel and side air vents
should be fully open.
Note: If you select AUTO during cold
outside temperatures, the system directs
air flow to the windshield and side window
air vents. In addition, the blower motor may
run at a slower speed until the engine warms
up.
Note: If you select AUTO during hot
temperatures and the inside of the vehicle
is hot, the system uses recirculated air to
maximize interior cooling. Blower motor
speed may also reduce until the air cools.
Quickly Heating the Interior
1. Press and release AUTO .
2. Adjust the temperature function to the setting you prefer.
Recommended Settings for
Heating
1. Press and release AUTO .
2. Adjust the temperature function to the setting you prefer. Use 72°F (22°C) as
a starting point, then adjust the setting
as necessary.
144
Climate Control
Page 148 of 585
Quickly Cooling the Interior
1. Press and release MAX A/C.
Recommended Settings for
Cooling
1. Press and release AUTO.
2. Adjust the temperature function to the setting you prefer. Use 72°F (22°C) as
a starting point, then adjust the setting
as necessary.
Defogging the Side Windows in
Cold Weather
1. Press and release defrost or maximumdefrost.
2. Adjust the temperature control to the setting you prefer. Use 72°F (22°C) as
a starting point, then adjust the setting
as necessary.
HINTS ON CONTROLLING THE
INTERIOR CLIMATE -
VEHICLES WITH: MANUAL
TEMPERATURE CONTROL
General Hints
Note: Prolonged use of recirculated air may
cause the windows to fog up.
Note: You may feel a small amount of air
from the footwell air vents regardless of the
air distribution setting.
Note: To reduce humidity build-up inside
your vehicle, do not drive with the system
switched off or with recirculated air always
switched on.
Note: Do not place objects under the front
seats as this may interfere with the airflow
to the rear seats.
Note: Remove any snow, ice or leaves from
the air intake area at the base of the
windshield. Note:
To improve the time to reach a
comfortable temperature in hot weather,
drive with the windows open until you feel
cold air through the air vents.
Quickly Heating the Interior
1. Adjust the blower motor speed to the highest speed setting.
2. Adjust the temperature control to the highest setting.
3. Direct air to the footwell air vents.
Recommended Settings for
Heating
1. Adjust the blower motor speed to the center setting.
2. Adjust the temperature control to the midway point of the hot settings.
3. Direct air to the footwell air vents.
Quickly Cooling the Interior
1. Switch MAX A/C on.
2. Drive with the windows open for a short period of time.
Recommended Settings for
Cooling
1. Adjust the blower motor speed to thecenter setting.
2. Adjust the temperature control to the midway point of the cold settings.
3. Direct air to the instrument panel air vents.
Vehicle Stationary for Extended
Periods During Extreme High
Ambient Temperatures
1. Apply the parking brake.
2. Place your vehicle in park (P) or neutral(N).
3. Switch MAX A/C on.
145
Climate Control
Page 149 of 585
4. Adjust the blower motor speed to thelowest speed setting.
Defogging the Side Windows in
Cold Weather
1. Direct air to the instrument panel andwindshield air vents.
2. Press and release A/C.
3. Adjust the temperature control to the setting you prefer.
4. Adjust the blower motor speed to the highest setting.
5. Direct air toward the side windows.
6. Close the instrument panel air vents.
HEATED WINDSHIELD (IF
EQUIPPED)
Windshield Wiper De-Icer
When you switch the heated rear
window on, the windshield wiper
de-icer turns on.
HEATED REAR WINDOW
Press the button to clear the rear
window of thin ice and fog. The
heated rear window turns off
after a short period of time.
Note: Make sure the engine is on before
operating the heated windows.
Note: Do not use harsh chemicals, razor
blades or other sharp objects to clean or
remove decals from the inside of the heated
rear window. The vehicle warranty may not
cover damage to the heated rear window
grid lines.
HEATED EXTERIOR MIRRORS
(IF EQUIPPED)
When you switch the heated rear window
on, the heated exterior mirrors turn on.
Note: Do not remove ice from the mirrors
with a scraper or adjust the mirror glass
when it is frozen in place.
Note: Do not clean the mirror housing or
glass with harsh abrasives, fuel or other
petroleum-based cleaning products. The
vehicle warranty may not cover damage
caused to the mirror housing or glass.
146
Climate Control
Page 175 of 585
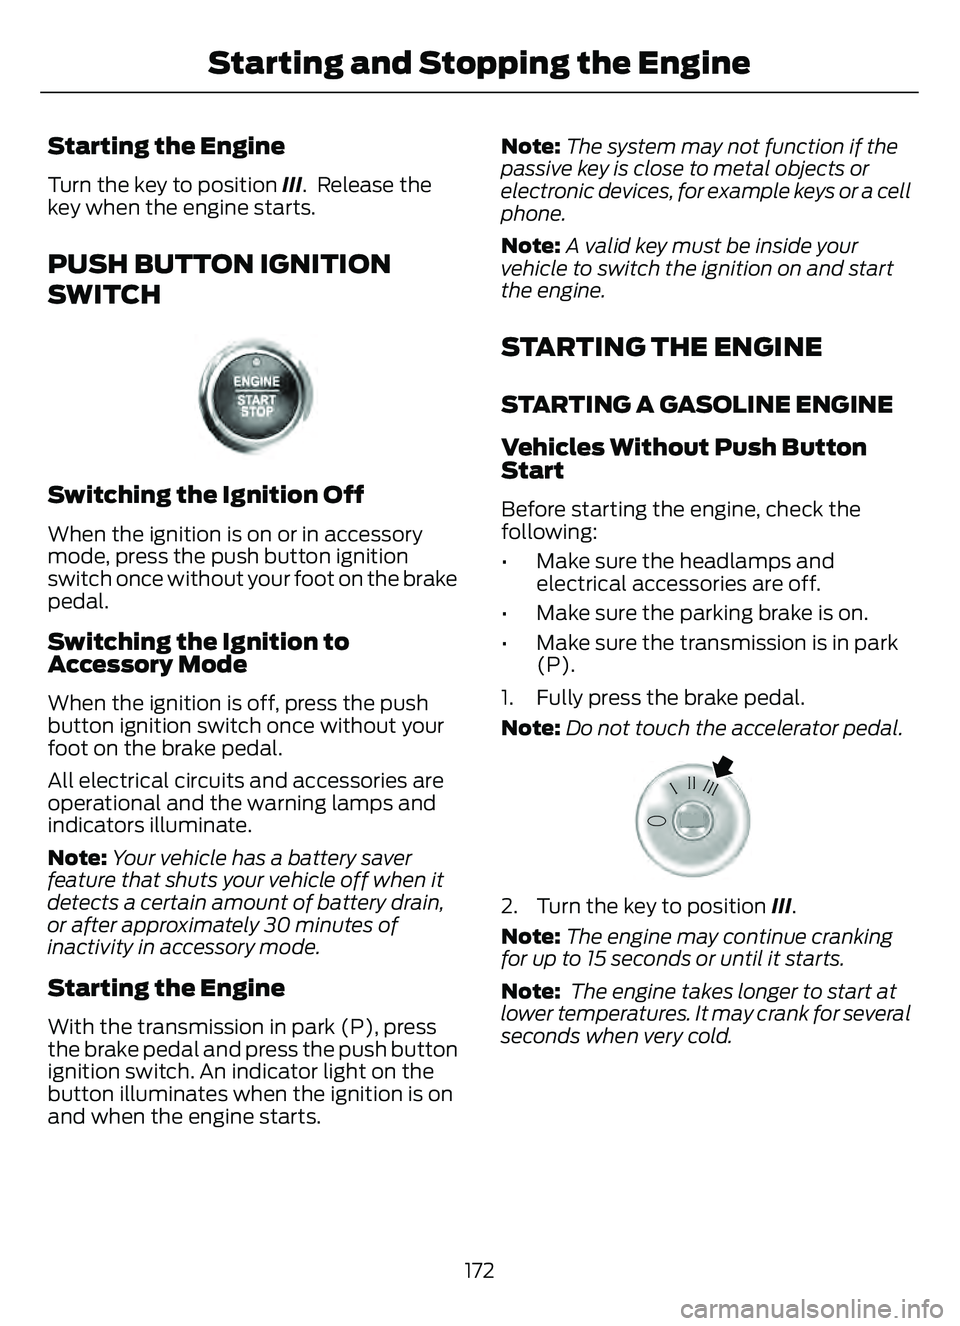
Starting the Engine
Turn the key to position III. Release the
key when the engine starts.
PUSH BUTTON IGNITION
SWITCH
E321258E321258
Switching the Ignition Off
When the ignition is on or in accessory
mode, press the push button ignition
switch once without your foot on the brake
pedal.
Switching the Ignition to
Accessory Mode
When the ignition is off, press the push
button ignition switch once without your
foot on the brake pedal.
All electrical circuits and accessories are
operational and the warning lamps and
indicators illuminate.
Note:Your vehicle has a battery saver
feature that shuts your vehicle off when it
detects a certain amount of battery drain,
or after approximately 30 minutes of
inactivity in accessory mode.
Starting the Engine
With the transmission in park (P), press
the brake pedal and press the push button
ignition switch. An indicator light on the
button illuminates when the ignition is on
and when the engine starts. Note:
The system may not function if the
passive key is close to metal objects or
electronic devices, for example keys or a cell
phone.
Note: A valid key must be inside your
vehicle to switch the ignition on and start
the engine.
STARTING THE ENGINE
STARTING A GASOLINE ENGINE
Vehicles Without Push Button
Start
Before starting the engine, check the
following:
• Make sure the headlamps and electrical accessories are off.
• Make sure the parking brake is on.
• Make sure the transmission is in park (P).
1. Fully press the brake pedal.
Note: Do not touch the accelerator pedal.
E322354E322354
2. Turn the key to position III.
Note: The engine may continue cranking
for up to 15 seconds or until it starts.
Note: The engine takes longer to start at
lower temperatures. It may crank for several
seconds when very cold.
172
Starting and Stopping the Engine
Page 176 of 585
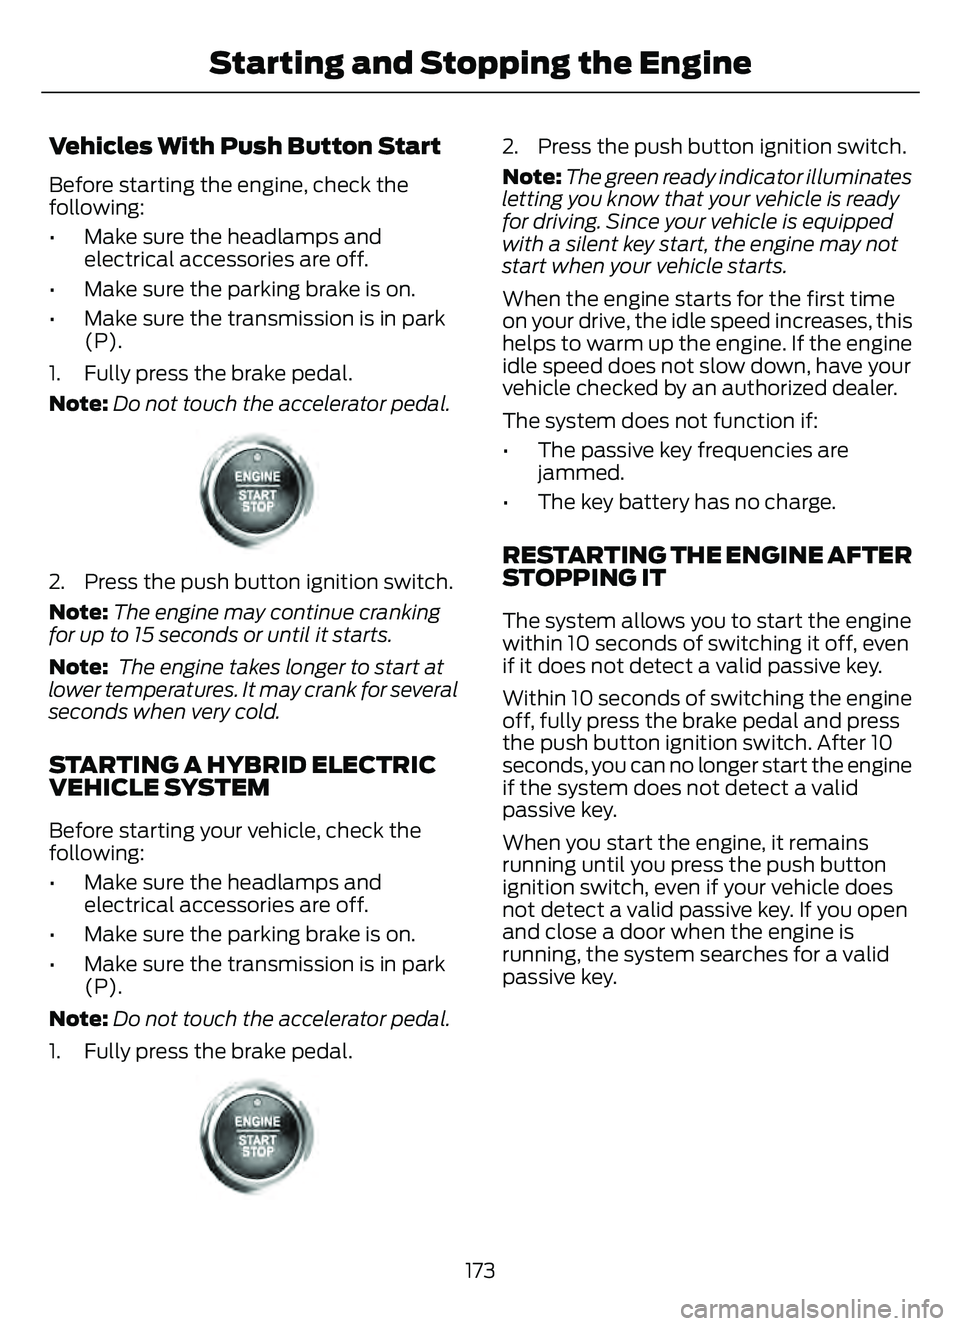
Vehicles With Push Button Start
Before starting the engine, check the
following:
• Make sure the headlamps andelectrical accessories are off.
• Make sure the parking brake is on.
• Make sure the transmission is in park (P).
1. Fully press the brake pedal.
Note: Do not touch the accelerator pedal.
E321258E321258
2. Press the push button ignition switch.
Note:The engine may continue cranking
for up to 15 seconds or until it starts.
Note: The engine takes longer to start at
lower temperatures. It may crank for several
seconds when very cold.
STARTING A HYBRID ELECTRIC
VEHICLE SYSTEM
Before starting your vehicle, check the
following:
• Make sure the headlamps and electrical accessories are off.
• Make sure the parking brake is on.
• Make sure the transmission is in park (P).
Note: Do not touch the accelerator pedal.
1. Fully press the brake pedal.
E321258E321258
2. Press the push button ignition switch.
Note: The green ready indicator illuminates
letting you know that your vehicle is ready
for driving. Since your vehicle is equipped
with a silent key start, the engine may not
start when your vehicle starts.
When the engine starts for the first time
on your drive, the idle speed increases, this
helps to warm up the engine. If the engine
idle speed does not slow down, have your
vehicle checked by an authorized dealer.
The system does not function if:
• The passive key frequencies are jammed.
• The key battery has no charge.
RESTARTING THE ENGINE AFTER
STOPPING IT
The system allows you to start the engine
within 10 seconds of switching it off, even
if it does not detect a valid passive key.
Within 10 seconds of switching the engine
off, fully press the brake pedal and press
the push button ignition switch. After 10
seconds, you can no longer start the engine
if the system does not detect a valid
passive key.
When you start the engine, it remains
running until you press the push button
ignition switch, even if your vehicle does
not detect a valid passive key. If you open
and close a door when the engine is
running, the system searches for a valid
passive key.
173
Starting and Stopping the Engine