coolant level FORD ESCAPE 2022 Owners Manual
[x] Cancel search | Manufacturer: FORD, Model Year: 2022, Model line: ESCAPE, Model: FORD ESCAPE 2022Pages: 585, PDF Size: 6.15 MB
Page 123 of 585
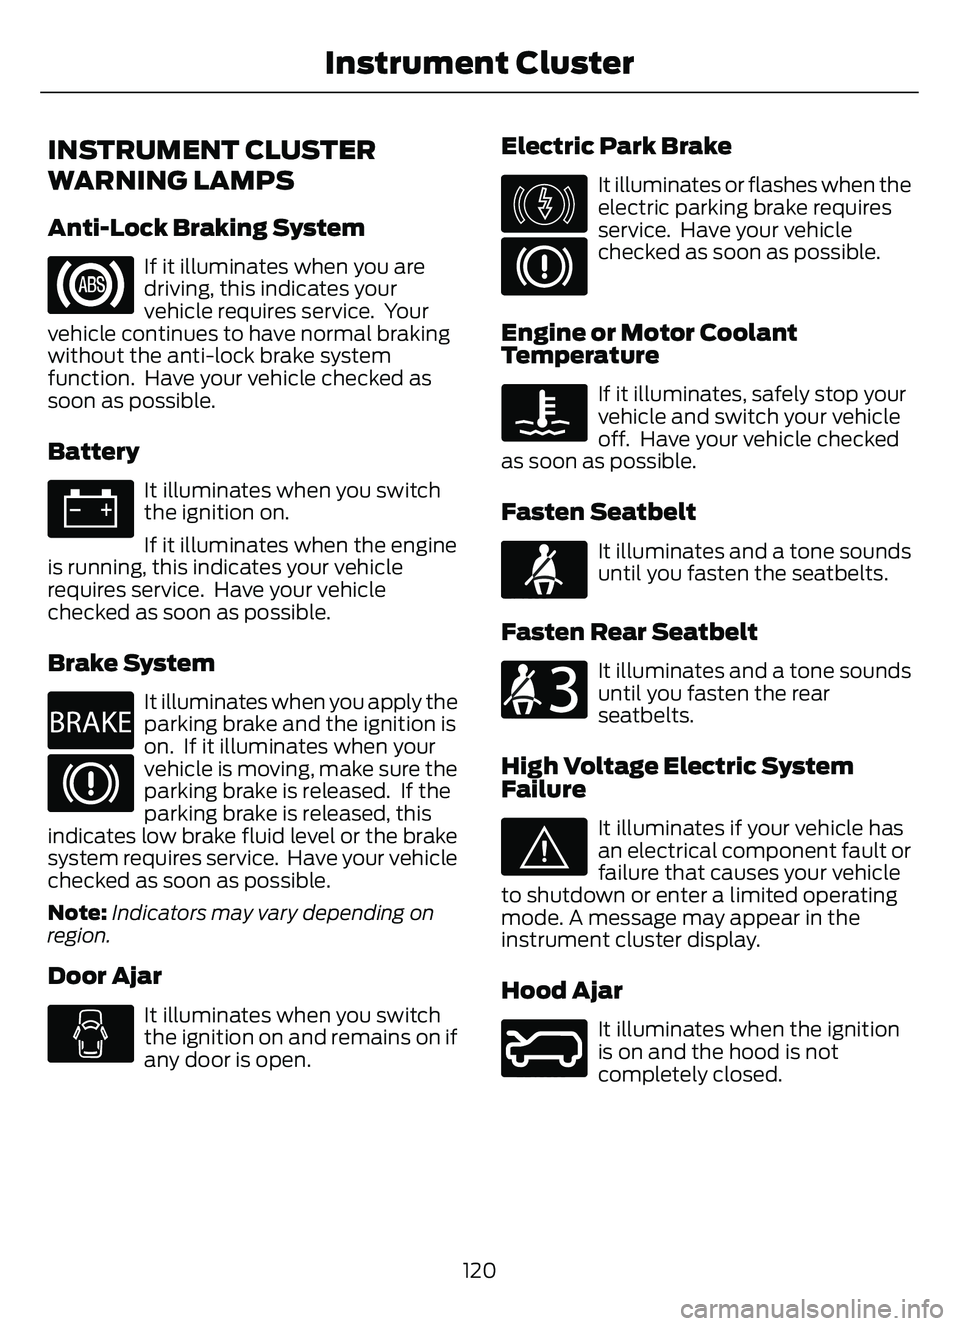
INSTRUMENT CLUSTER
WARNING LAMPS
Anti-Lock Braking System
If it illuminates when you are
driving, this indicates your
vehicle requires service. Your
vehicle continues to have normal braking
without the anti-lock brake system
function. Have your vehicle checked as
soon as possible.
Battery
It illuminates when you switch
the ignition on.
If it illuminates when the engine
is running, this indicates your vehicle
requires service. Have your vehicle
checked as soon as possible.
Brake System
E270480
It illuminates when you apply the
parking brake and the ignition is
on. If it illuminates when your
vehicle is moving, make sure the
parking brake is released. If the
parking brake is released, this
indicates low brake fluid level or the brake
system requires service. Have your vehicle
checked as soon as possible.
Note: Indicators may vary depending on
region.
Door Ajar
It illuminates when you switch
the ignition on and remains on if
any door is open.
Electric Park Brake
E146190
It illuminates or flashes when the
electric parking brake requires
service. Have your vehicle
checked as soon as possible.
Engine or Motor Coolant
Temperature
If it illuminates, safely stop your
vehicle and switch your vehicle
off. Have your vehicle checked
as soon as possible.
Fasten Seatbelt
E71880
It illuminates and a tone sounds
until you fasten the seatbelts.
Fasten Rear Seatbelt
E206718
It illuminates and a tone sounds
until you fasten the rear
seatbelts.
High Voltage Electric System
Failure
E144693
It illuminates if your vehicle has
an electrical component fault or
failure that causes your vehicle
to shutdown or enter a limited operating
mode. A message may appear in the
instrument cluster display.
Hood Ajar
E246598
It illuminates when the ignition
is on and the hood is not
completely closed.
120
Instrument Cluster
Page 337 of 585
3. Add engine oil that meets ourspecifications. See Capacities and
Specifications (page 387).
4. Reinstall the engine oil filler cap. Turn it clockwise until you feel a strong
resistance.
Note: Do not add oil further than the
maximum mark. Oil levels above the
maximum mark may cause engine damage.
Note: Immediately soak up any oil spillage
with an absorbent cloth.
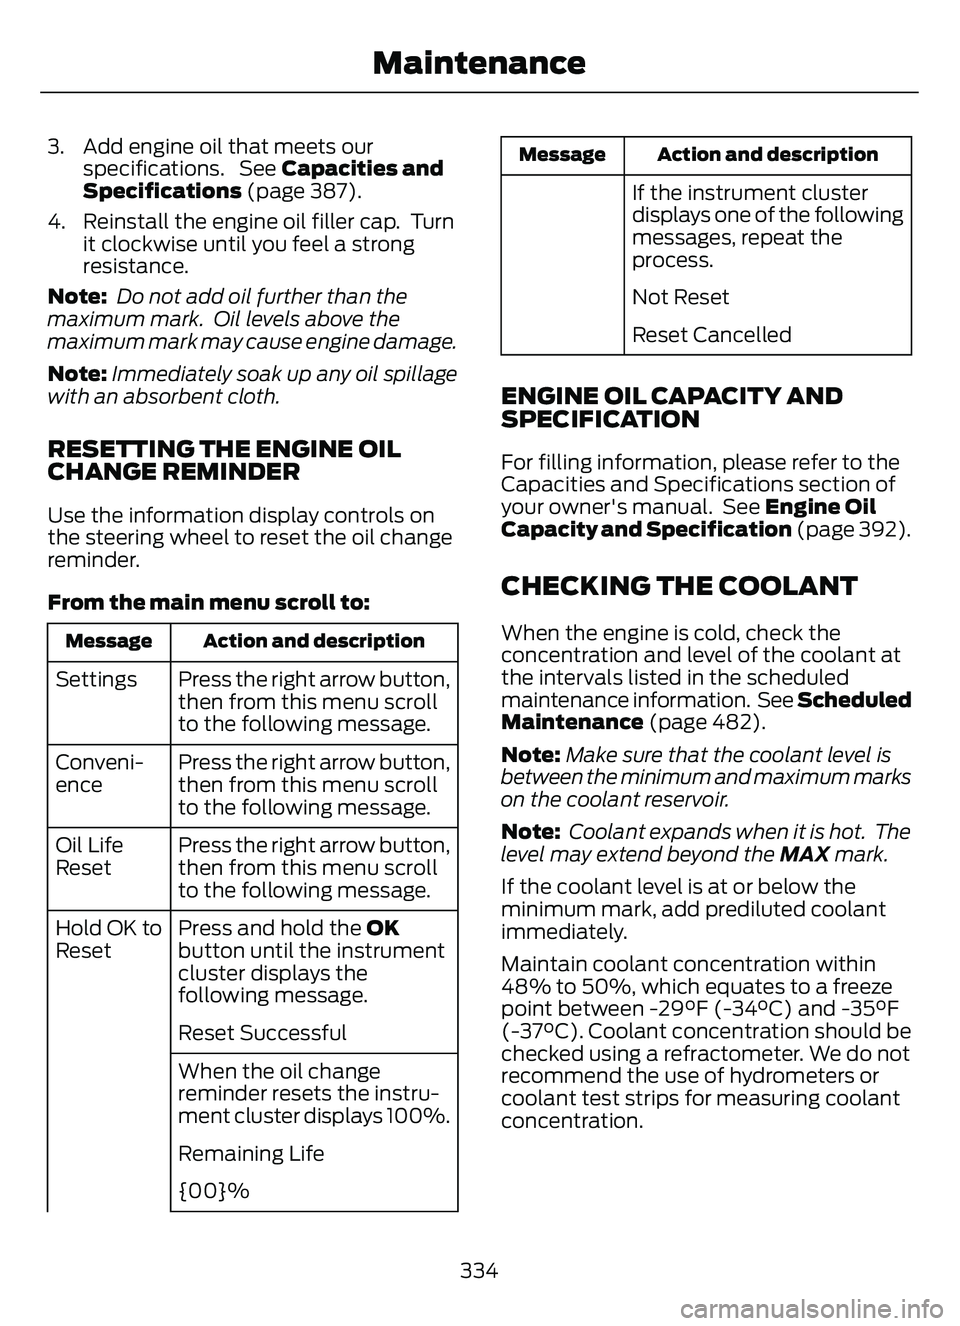
RESETTING THE ENGINE OIL
CHANGE REMINDER
Use the information display controls on
the steering wheel to reset the oil change
reminder.
From the main menu scroll to:
Action and description
Message
Press the right arrow button,
then from this menu scroll
to the following message.
Settings
Press the right arrow button,
then from this menu scroll
to the following message.
Conveni-
ence
Press the right arrow button,
then from this menu scroll
to the following message.
Oil Life
Reset
Press and hold the OK
button until the instrument
cluster displays the
following message.
Hold OK to
Reset
Reset Successful
When the oil change
reminder resets the instru-
ment cluster displays 100%.
Remaining Life
{00}%
Action and description
Message
If the instrument cluster
displays one of the following
messages, repeat the
process.
Not Reset
Reset Cancelled
ENGINE OIL CAPACITY AND
SPECIFICATION
For filling information, please refer to the
Capacities and Specifications section of
your owner's manual. See Engine Oil
Capacity and Specification (page 392).
CHECKING THE COOLANT
When the engine is cold, check the
concentration and level of the coolant at
the intervals listed in the scheduled
maintenance information. See Scheduled
Maintenance (page 482).
Note:Make sure that the coolant level is
between the minimum and maximum marks
on the coolant reservoir.
Note: Coolant expands when it is hot. The
level may extend beyond the MAX mark.
If the coolant level is at or below the
minimum mark, add prediluted coolant
immediately.
Maintain coolant concentration within
48% to 50%, which equates to a freeze
point between -29°F (-34°C) and -35°F
(-37°C). Coolant concentration should be
checked using a refractometer. We do not
recommend the use of hydrometers or
coolant test strips for measuring coolant
concentration.
334
Maintenance
Page 338 of 585

Adding Coolant
WARNING: Keep your hands and
clothing clear of the cooling fan.
WARNING: Do not remove the
coolant reservoir cap when the engine is
on or the cooling system is hot. Wait 10
minutes for the cooling system to cool
down. Cover the coolant reservoir cap
with a thick cloth to prevent the
possibility of scalding and slowly remove
the cap. Failure to follow this instruction
could result in personal injury.
WARNING: Do not add engine
coolant when the engine is on or the
cooling system is hot. Failure to follow
this instruction could result in personal
injury.
WARNING: Do not add coolant
further than the MAX mark.
WARNING: Do not put coolant in
the windshield washer reservoir. If
sprayed on the windshield, coolant could
make it difficult to see through the
windshield.
WARNING: Do not allow the fluid
to touch your skin or eyes. If this
happens, rinse the affected areas
immediately with plenty of water and
contact your physician.
Note: Do not use stop leak pellets, cooling
system sealants, or non-specified additives
as they can cause damage to the engine
cooling or heating systems. Resulting
component damage may not be covered by
the vehicle Warranty.
Note: Automotive fluids are not
interchangeable. It is very important to use prediluted
coolant approved to the correct
specification in order to avoid plugging the
small passageways in the engine cooling
system. Do not mix different colors or types
of coolant in your vehicle. Mixing of engine
coolants or using an incorrect coolant may
harm the engine or cooling system
components and could void the vehicle
Warranty.
Note:
If prediluted coolant is not available,
use the approved concentrated coolant
diluting it to 50/50 with deionized or
distilled water. Using water that has not
been deionized may contribute to deposit
formation, corrosion and plugging of the
small cooling system passageways.
To top up the coolant level do the
following:
1. Unscrew the cap slowly. Any pressure escapes as you unscrew the cap.
2. Add enough prediluted coolant to reach the correct level.
Note: We do not recommend the use of
recycled coolant.
3. Replace the coolant reservoir cap. Turn the cap clockwise until it contacts the
hard stop.
4. Check the coolant level in the coolant reservoir the next few times you drive
your vehicle. If necessary, repeat step
2.
If you have to add more than 1.1 qt (1 L) of
engine coolant per month, have your
vehicle checked as soon as possible.
Operating an engine with a low level of
coolant can result in engine overheating
and possible engine damage.
In case of emergency, you can add a large
amount of water without engine coolant
in order to reach a vehicle service location.
Service your vehicle as soon as possible.
335
Maintenance
Page 340 of 585
When Fail-Safe Mode Is Activated
WARNING: Fail-safe mode is for
use during emergencies only. Operate
your vehicle in fail-safe mode only as
long as necessary to bring your vehicle
to rest in a safe location and seek
immediate repairs. When in fail-safe
mode, your vehicle will have limited
power, will not be able to maintain
high-speed operation, and may
completely shut down without warning,
potentially losing engine power, power
steering assist, and power brake assist,
which may increase the possibility of a
crash resulting in serious injury.
WARNING: Do not remove the
coolant reservoir cap when the engine is
on or the cooling system is hot. Wait 10
minutes for the cooling system to cool
down. Cover the coolant reservoir cap
with a thick cloth to prevent the
possibility of scalding and slowly remove
the cap. Failure to follow this instruction
could result in personal injury.
Your vehicle has limited engine power
when in the fail-safe mode, drive your
vehicle with caution. Your vehicle does not
maintain high-speed operation and the
engine could operate poorly.
Remember that the engine is capable of
automatically shutting down to prevent
engine damage. In this situation:
1. Pull off the road as soon as safely possible and switch the engine off.
2. If you are a member of a roadside assistance program, we recommend
that you contact your roadside
assistance service provider.
3. If this is not possible, wait for a short period of time for the engine to cool. 4. Check the coolant level. If the coolant
level is at or below the minimum mark,
add prediluted coolant immediately.
5. When the engine temperature cools, you can re-start the engine. Have your
vehicle checked as soon as possible to
minimize engine damage.
Note: Driving your vehicle without repair
increases the chance of engine damage.
Engine Coolant Temperature
Management (If Equipped)
WARNING: To reduce the risk of
crash and injury, be prepared that the
vehicle speed may reduce and the
vehicle may not be able to accelerate
with full power until the coolant
temperature reduces.
If you tow a trailer with your vehicle, the
engine may temporarily reach a higher
temperature during severe operating
conditions, for example ascending a long
or steep grade in high ambient
temperatures.
At this time, you may notice the coolant
temperature gauge moves toward the red
zone and a message may appear in the
information display.
You may notice a reduction in vehicle
speed caused by reduced engine power in
order to manage the engine coolant
temperature. Your vehicle may enter this
mode if certain high-temperature and
high-load conditions take place. The
amount of speed reduction depends on
vehicle loading, grade and ambient
temperature. If this occurs, there is no
need to stop your vehicle. You can
continue to drive.
337
Maintenance
Page 341 of 585
The air conditioning may automatically
turn on and off during severe operating
conditions to protect the engine from
overheating. When the coolant
temperature decreases to the normal
operating temperature, the air conditioning
turns on.
If the coolant temperature gauge moves
fully into the red zone, or if the coolant
temperature warning or service engine
soon messages appear in your information
display, do the following:
1. Stop your vehicle as soon as it is safeto do so. Fully apply the parking brake,
shift into park (P) or neutral (N).
2. Leave the engine running until the coolant temperature gauge needle
returns to the normal position. If the
temperature does not drop after
several minutes, follow the remaining
steps.
3. Switch the engine off and wait for it to cool. Check the coolant level.
4. If the coolant level is at or below the minimum mark, add prediluted coolant
immediately.
5. If the coolant level is normal, restart the engine and continue.
CHANGING THE ENGINE AIR
FILTER - 1.5L ECOBOOST™/
2.0L ECOBOOST™
WARNING: To reduce the risk of
vehicle damage and personal burn
injuries, do not start your engine with the
air cleaner removed and do not remove
it while the engine is running.
When changing the air filter element, use
only parts that meet or exceed our
specifications. For EcoBoost equipped vehicles: When
servicing the air cleaner, it is important that
no foreign material enter the air induction
system. The engine and turbocharger are
susceptible to damage from even small
particles.
Change the air filter element at the proper
interval. See Scheduled Maintenance
(page 482).
Note:
Failure to use the correct air filter
element may result in severe engine
damage. The customer warranty may be
void for any damage to the engine if the
correct air filter element is not used.
E299070E299070E299E299E2992920700700707070070
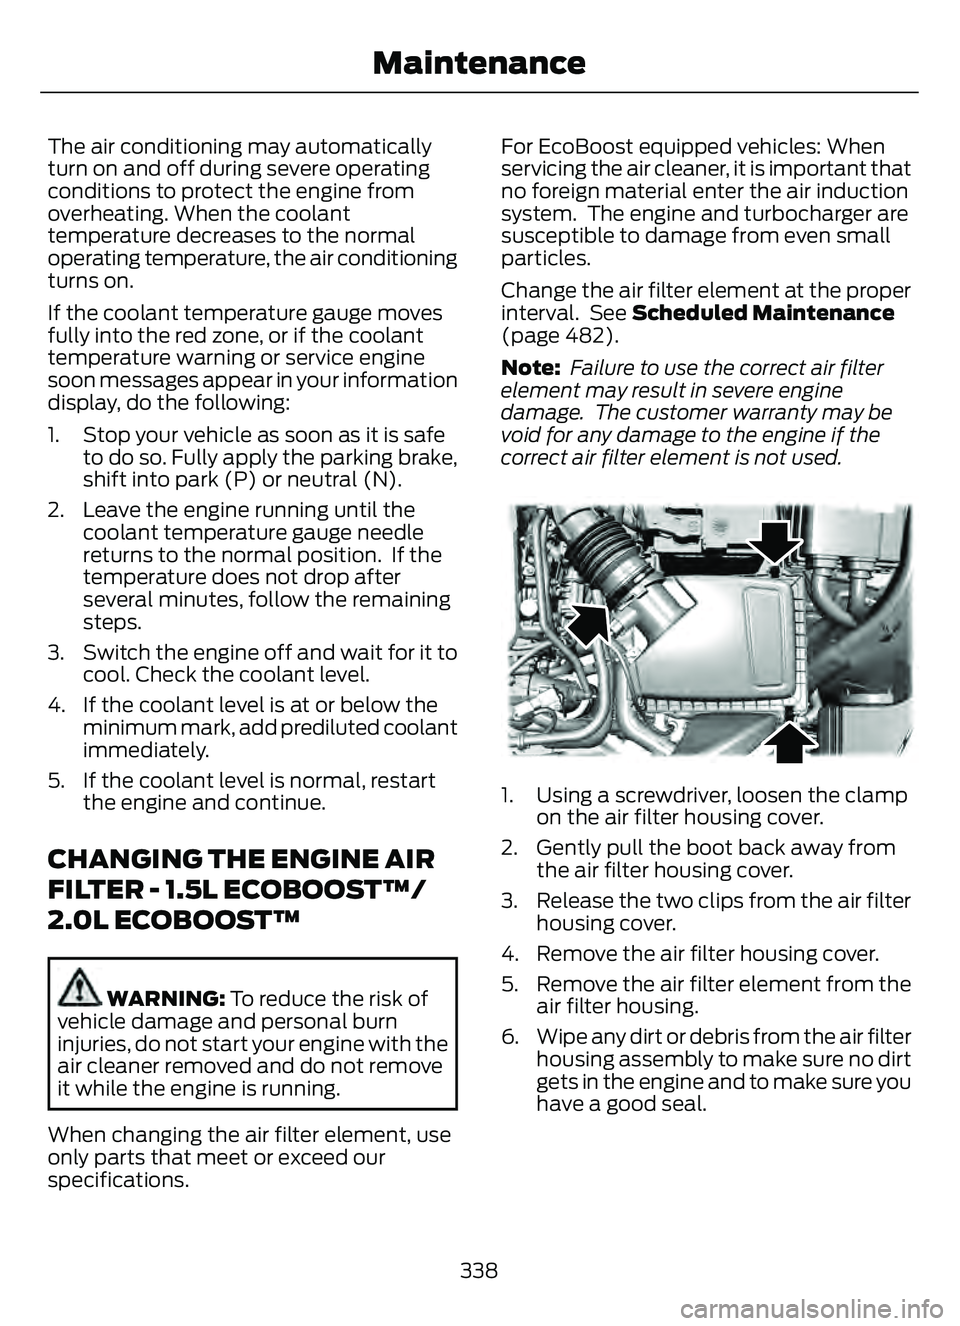
1. Using a screwdriver, loosen the clamp on the air filter housing cover.
2. Gently pull the boot back away from the air filter housing cover.
3. Release the two clips from the air filter housing cover.
4. Remove the air filter housing cover.
5. Remove the air filter element from the air filter housing.
6. Wipe any dirt or debris from the air filter housing assembly to make sure no dirt
gets in the engine and to make sure you
have a good seal.
338
Maintenance
Page 359 of 585
Note:If you intend on parking your vehicle
for an extended period after cleaning the
wheels with a wheel cleaner, drive your
vehicle for a few minutes before doing so to
reduce the risk of increased corrosion of the
brake discs, brake pads and linings.
Tires
• Maintain recommended air pressure.
Note: If you intend on parking your vehicle
for an extended period after cleaning the
wheels with a wheel cleaner, drive your
vehicle for a few minutes before doing so.
This reduces the risk of corrosion of the
brake discs, brake pads and linings.
REMOVING YOUR VEHICLE
FROM STORAGE
When your vehicle is ready to come out of
storage, do the following:
• We recommend that you change the engine oil before you use your vehicle
again.
• Wash your vehicle to remove any dirt or grease film build-up on window
surfaces.
• Check windshield wipers for any deterioration.
• Check under the hood for any foreign material that may have collected
during storage such as mice or squirrel
nests.
• Check the exhaust for any foreign material that may have collected
during storage.
• Check tire pressures and set tire inflation per the Tire Label.
• Check brake pedal operation. Drive your vehicle 15 ft (4.5 m) back and
forth to remove rust build-up. • Check fluid levels (including coolant,
oil and gas) to make sure there are no
leaks, and fluids are at recommended
levels.
• If you remove the battery, clean the battery cable ends and check for
damage.
Contact an authorized dealer if you have
any concerns or issues.
356
Storing Your Vehicle
Page 486 of 585
We strongly recommend only using our
genuine or our authorized re-manufactured
replacement parts engineered for your
vehicle.
Additives and Chemicals
We do not recommend using chemicals or
additives not approved by us as part of
your vehicle’s normal maintenance. Please
consult your warranty information.
Oils, Fluids and Flushing
In many cases, fluid discoloration is a
normal operating characteristic and, by
itself, does not necessarily indicate a
concern or that the fluid needs to be
changed. Have discolored fluids that also
show signs of overheating or foreign
material contamination checked
immediately.Make sure to change the vehicle’s oils and
fluids at the specified intervals or in
conjunction with a repair. Flushing is a
viable way to change fluid for many vehicle
sub-systems during scheduled
maintenance. It is critical that systems are
flushed only with new fluid that is the same
as that required to fill and operate the
system or using our approved flushing
chemical.
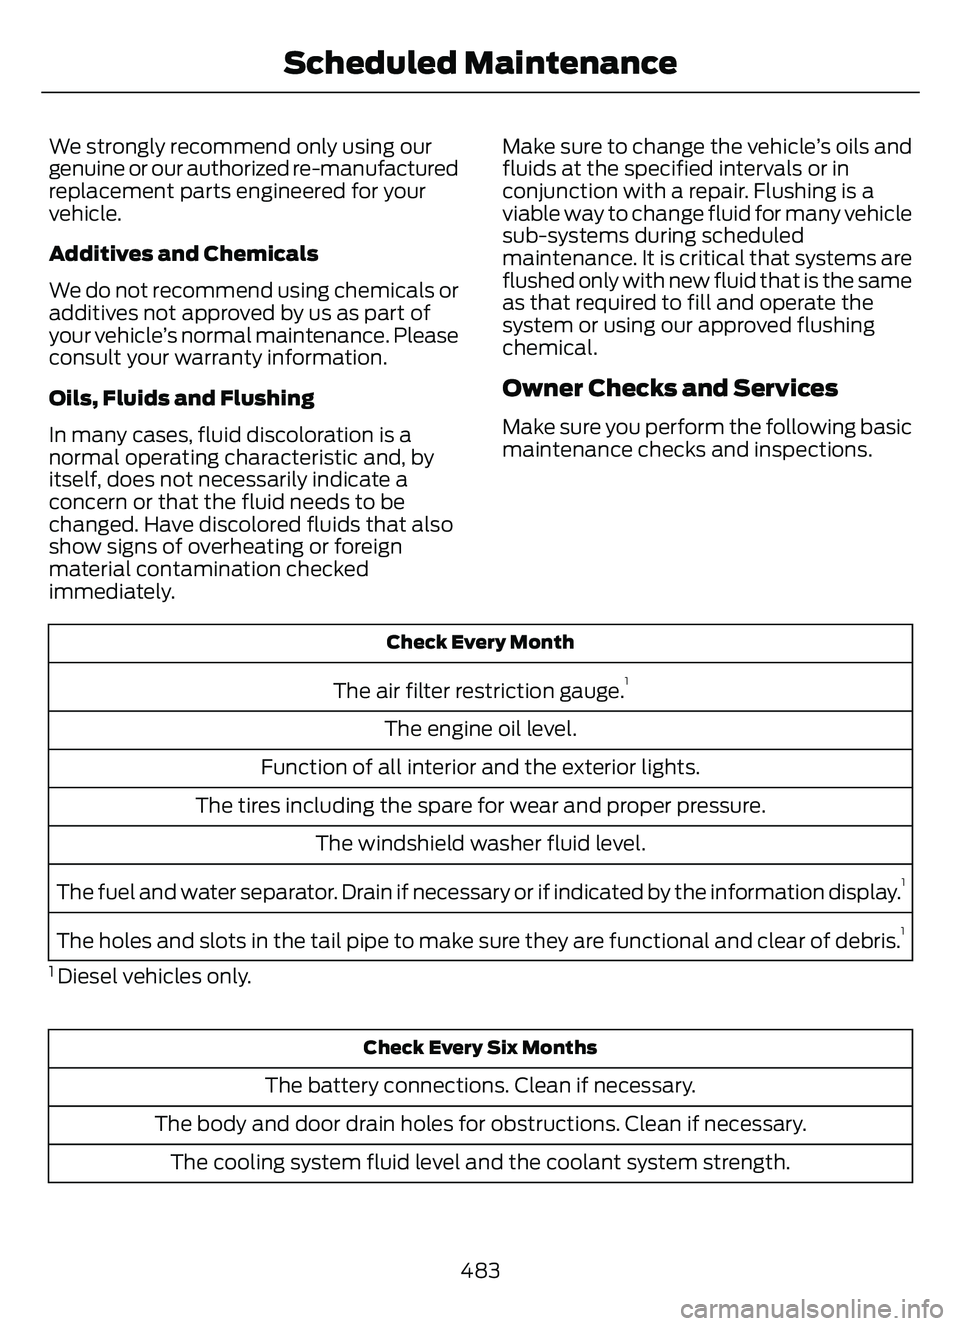
Owner Checks and Services
Make sure you perform the following basic
maintenance checks and inspections.
Check Every Month
The air filter restriction gauge.1
The engine oil level.
Function of all interior and the exterior lights.
The tires including the spare for wear and proper pressure. The windshield washer fluid level.
The fuel and water separator. Drain if necessary or if indicated by the information display.
1
The holes and slots in the tail pipe to make sure they are functional and clear of debris.1
1 Diesel vehicles only.
Check Every Six Months
The battery connections. Clean if necessary.
The body and door drain holes for obstructions. Clean if necessary. The cooling system fluid level and the coolant system strength.
483
Scheduled Maintenance
Page 487 of 585
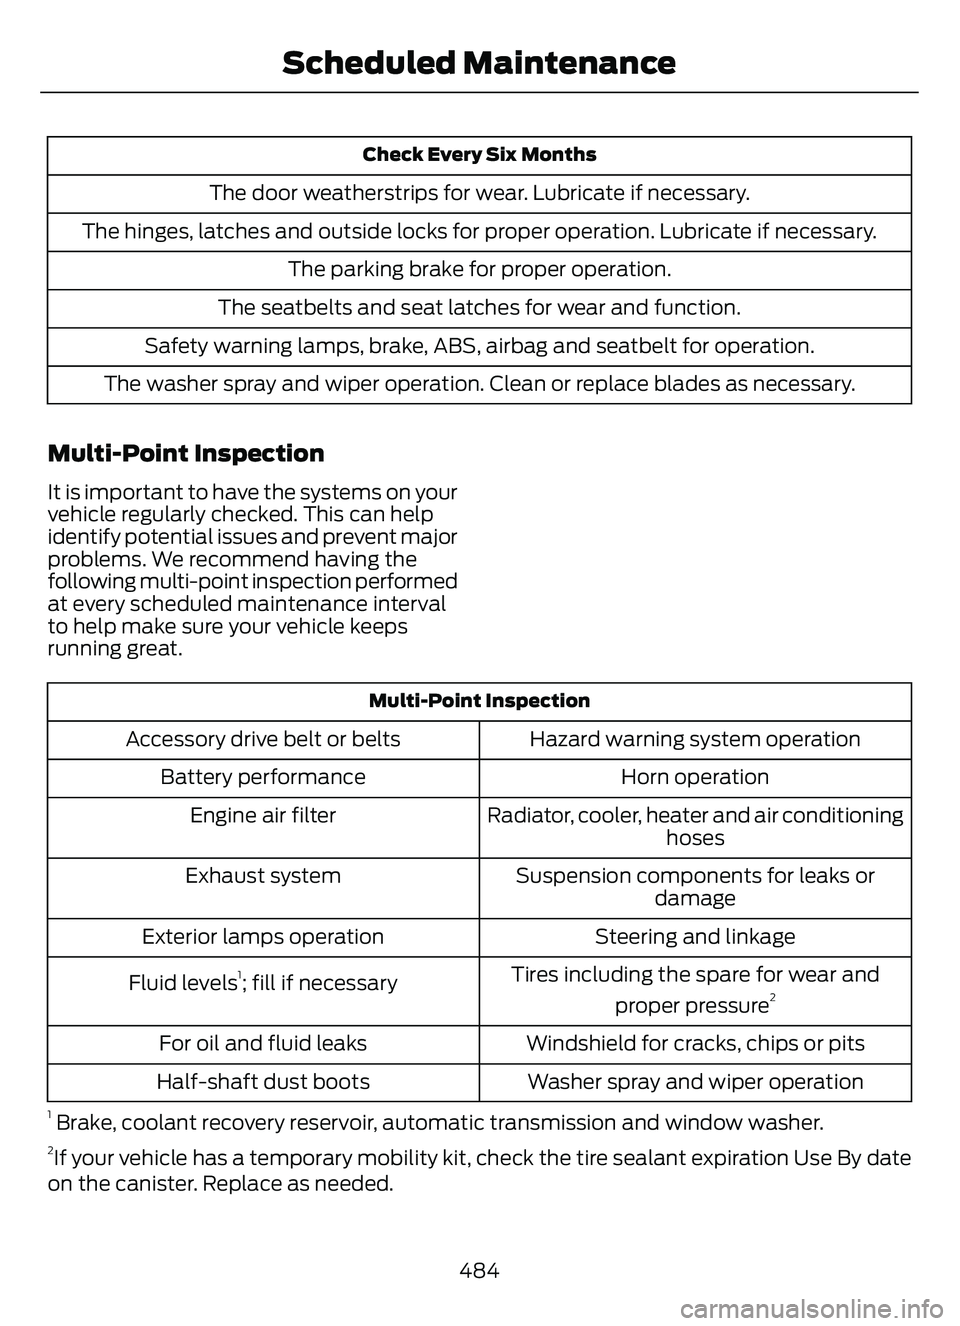
Check Every Six Months
The door weatherstrips for wear. Lubricate if necessary.
The hinges, latches and outside locks for proper operation. Lubricate if necessary. The parking brake for proper operation.
The seatbelts and seat latches for wear and function.
Safety warning lamps, brake, ABS, airbag and seatbelt for operation.
The washer spray and wiper operation. Clean or replace blades as necessary.
Multi-Point Inspection
It is important to have the systems on your
vehicle regularly checked. This can help
identify potential issues and prevent major
problems. We recommend having the
following multi-point inspection performed
at every scheduled maintenance interval
to help make sure your vehicle keeps
running great.
Multi-Point Inspection
Hazard warning system operation
Accessory drive belt or belts
Horn operation
Battery performance
Radiator, cooler, heater and air conditioninghoses
Engine air filter
Suspension components for leaks ordamage
Exhaust system
Steering and linkage
Exterior lamps operation
Tires including the spare for wear andproper pressure
2Fluid levels1; fill if necessary
Windshield for cracks, chips or pits
For oil and fluid leaks
Washer spray and wiper operation
Half-shaft dust boots
1 Brake, coolant re covery reservoir, automatic transmission and window washer.2If your vehicle has a temporary mobility kit, check the tire sealant expiration Use By date
on the canister. Replace as needed.
484
Scheduled Maintenance
Page 489 of 585
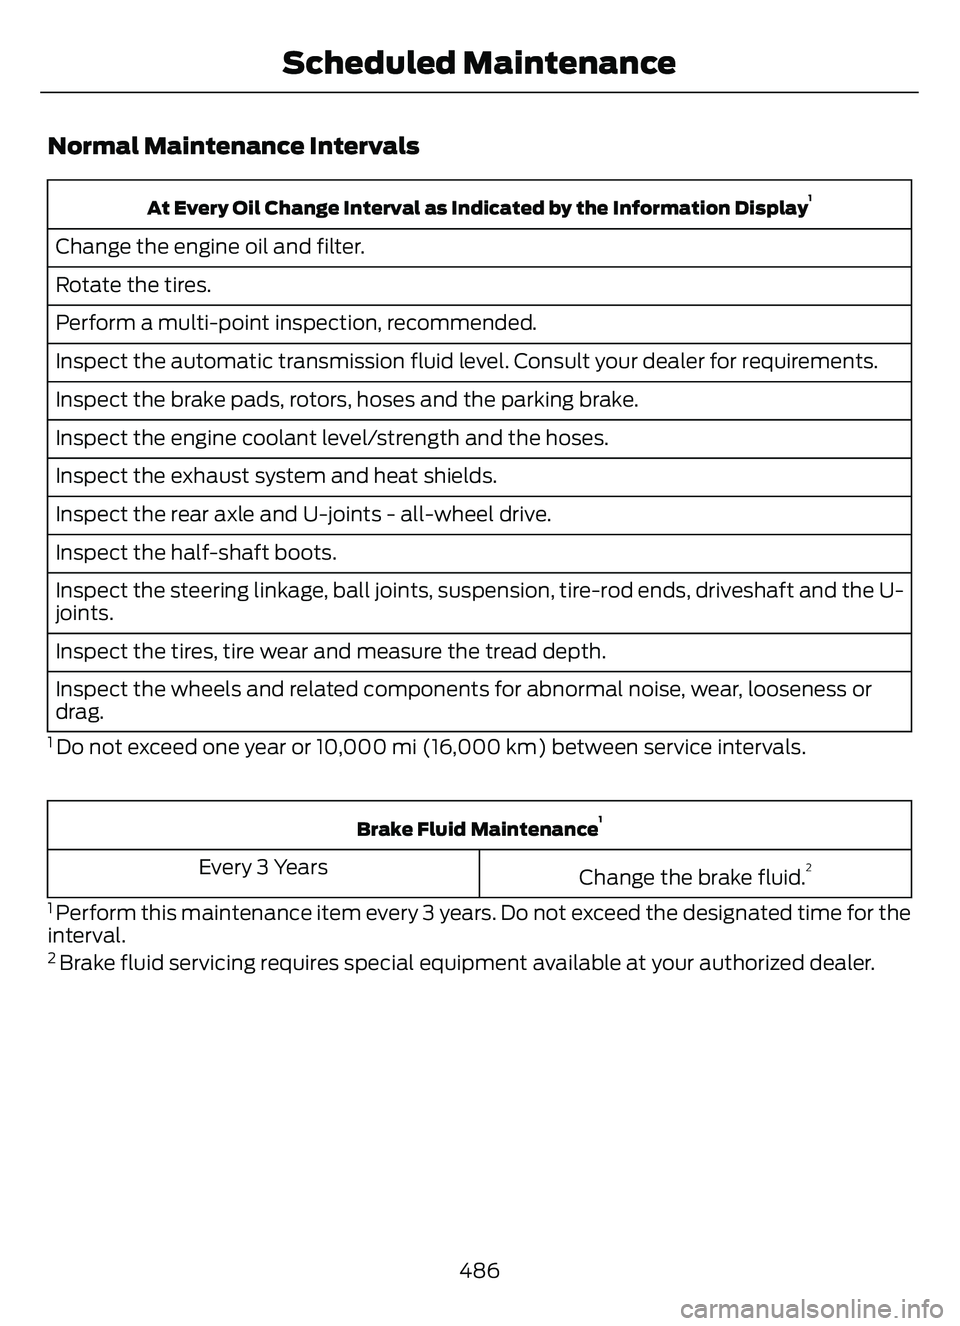
Normal Maintenance Intervals
At Every Oil Change Interval as Indicated by the Information Display1
Change the engine oil and filter.
Rotate the tires.
Perform a multi-point inspection, recommended.
Inspect the automatic transmission fluid level. Consult your dealer for requirements.
Inspect the brake pads, rotors, hoses and the parking brake.
Inspect the engine coolant level/strength and the hoses.
Inspect the exhaust system and heat shields.
Inspect the rear axle and U-joints - all-wheel drive.
Inspect the half-shaft boots.
Inspect the steering linkage, ball joints, suspension, tire-rod ends, driveshaft and the U-
joints.
Inspect the tires, tire wear and measure the tread depth.
Inspect the wheels and related components for abnormal noise, wear, looseness or
drag.
1 Do not exceed one year or 10,000 mi (16,000 km) between service intervals.
Brake Fluid Maintenance1
Change the brake fluid.2Every 3 Years
1 Perform this maintenance item every 3 years. Do not exceed the designated time for the
interval.
2 Brake fluid servicing requires special equipment available at your authorized dealer.
486
Scheduled Maintenance
Page 572 of 585
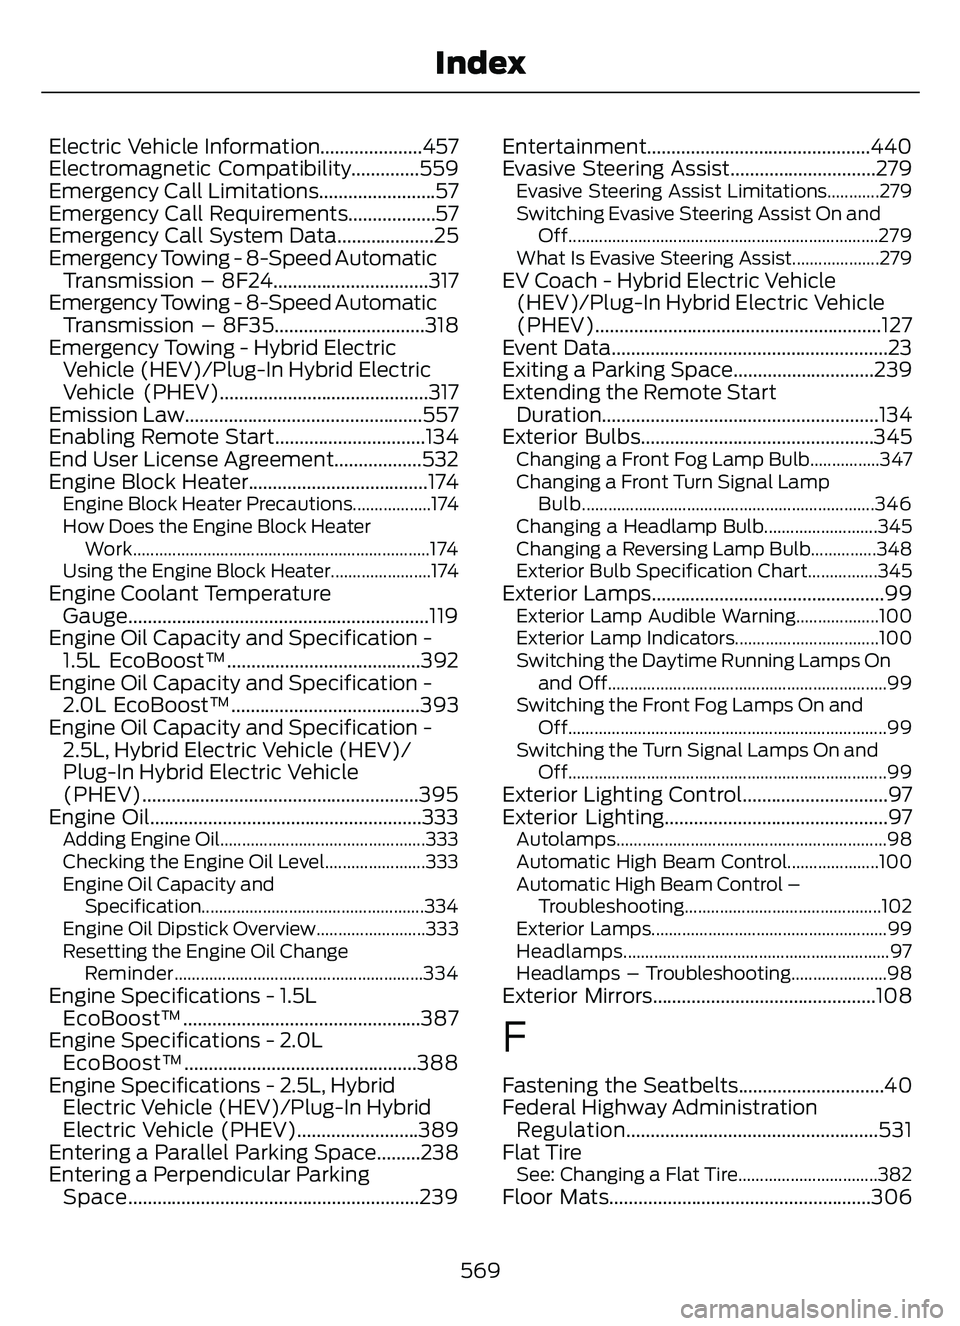
Electric Vehicle Information.....................457
Electromagnetic Compatibility..............559
Emergency Call Limitations........................57
Emergency Call Requirements..................57
Emergency Call System Data....................25
Emergency Towing - 8-Speed AutomaticTransmission – 8F24................................317
Emergency Towing - 8-Speed Automatic Transmission – 8F35...............................318
Emergency Towing - Hybrid Electric Vehicle (HEV)/Plug-In Hybrid Electric
Vehicle (PHEV)...........................................317
Emission Law.................................................557
Enabling Remote Start...............................134
End User License Agreement..................532
Engine Block Heater.....................................174
Engine Block Heater Precautions..................174
How Does the Engine Block Heater
Work....................................................................174
Using the Engine Block Heater.......................174
Engine Coolant Temperature Gauge..............................................................119
Engine Oil Capacity and Specification - 1.5L EcoBoost™........................................392
Engine Oil Capacity and Specification - 2.0L EcoBoost™.......................................393
Engine Oil Capacity and Specification - 2.5L, Hybrid Electric Vehicle (HEV)/
Plug-In Hybrid Electric Vehicle
(PHEV).........................................................395
Engine Oil........................................................333
Adding Engine Oil...............................................333
Checking the Engine Oil Level.......................333
Engine Oil Capacity and
Specification...................................................334
Engine Oil Dipstick Overview.........................333
Resetting the Engine Oil Change Reminder.........................................................334
Engine Specifications - 1.5LEcoBoost™.................................................387
Engine Specifications - 2.0L EcoBoost™................................................388
Engine Specifications - 2.5L, Hybrid Electric Vehicle (HEV)/Plug-In Hybrid
Electric Vehicle (PHEV).........................389
Entering a Parallel Parking Space.........238
Entering a Perpendicular Parking Space............................................................239 Entertainment..............................................440
Evasive Steering Assist..............................279
Evasive Steering Assist Limitations............279
Switching Evasive Steering Assist On and
Off.......................................................................2\
79
What Is Evasive Steering Assist....................279
EV Coach - Hybrid Electric Vehicle (HEV)/Plug-In Hybrid Electric Vehicle
(PHEV)...........................................................127
Event Data.........................................................23
Exiting a Parking Space.............................239
Extending the Remote Start Duration.........................................................134
Exterior Bulbs................................................345
Changing a Front Fog Lamp Bulb................347
Changing a Front Turn Signal Lamp
Bulb...................................................................346
Changing a Headlamp Bulb..........................345
Changing a Reversing Lamp Bulb...............348
Exterior Bulb Specification Chart................345
Exterior Lamps................................................99Exterior Lamp Audible Warning...................100
Exterior Lamp Indicators.................................100
Switching the Daytime Running Lamps On and Off................................................................9\
9
Switching the Front Fog Lamps On and Off........................................................................\
.99
Switching the Turn Signal Lamps On and Off........................................................................\
.99
Exterior Lighting Control..............................97
Exterior Lighting..............................................97
Autolamps..............................................................98
Automatic High Beam Control.....................100
Automatic High Beam Control –Troubleshooting.............................................102
Exterior Lamps......................................................99
Headlamps.............................................................97
Headlamps – Troubleshooting......................98
Exterior Mirrors..............................................108
F
Fastening the Seatbelts..............................40
Federal Highway Administration Regulation....................................................531
Flat Tire
See: Changing a Flat Tire................................382Floor Mats......................................................306
569
Index