audio FORD EXCURSION 2002 1.G User Guide
[x] Cancel search | Manufacturer: FORD, Model Year: 2002, Model line: EXCURSION, Model: FORD EXCURSION 2002 1.GPages: 272, PDF Size: 5.06 MB
Page 34 of 272
20815.psp Ford O/G 2002 Excursion English 4th Print 2C3J-19A321-HB 04/24/2003 09:14:57 17 B
When in rewind mode, your audio system will automatically lower the
volume level of the playing media.
Fast forward
The fast forward control works in
CD modes.
Press and hold the FF control until
the desired selection is reached. If the end of the disc is reached, the CD
will return to the first track. Release the control to disengage fast
forward mode.
When in fast forward mode, your audio system will automatically lower
the volume level of the playing media.
Load
The load feature allows you to load
single CDs into the player internal
to the radio.
This six disc CD player is equipped with a CD door. Compact
discs should only be inserted into the player after the door has
been opened by the player. Do not attempt to force the door
open. Compact discs should only be loaded by pressing the LOAD
control.
Press the LOAD control. (You can choose which slot will be loaded by
pressing the desired preset number. If you do not choose a slot, the
system will choose the next available one.) Wait until the CD door opens.
Load the CD into the player. LOADING CD# is displayed. When the CD
has been loaded, the door will close and the CD will begin to play. For
example, to load a CD into slot 2, press the LOAD control and then press
preset 2.
Auto load
This feature allows you to autoload
up to 6 discs into the multi disc CD
player internal to the radio.
Press and hold the LOAD control until AUTOLOAD # is displayed. The
CD door will open. Load the desired discs, one at a time. The CD is
loaded into position and the audio system will display CD#. Each time
the CD door opens, INSERT CD# is displayed. The door will close and
the player will move to the next slot after each disc has been loaded.
The process is repeated until all 6 slots are full. The audio system plays
REW FF
LOADLOAD
Entertainment Systems34
Page 35 of 272
20815.psp Ford O/G 2002 Excursion English 4th Print 2C3J-19A321-HB 04/24/2003 09:14:57 18 A
the last CD loaded and the display is updated. If some slots are already
full and autoload is activated, the system will fill all empty slots.
Eject
Press the EJ control to stop and
eject a CD. You can choose which
CD will be ejected by pressing the
EJ control and the desired preset number (1–6). For example, to eject
CD 2, press the EJ control and then press the preset 2 control. If you do
not choose a specific CD, the player will eject the current CD.
If a CD is ejected and not removed from the door of the CD player, the
player will automatically reload the CD. This feature may be used when
the ignition is ON or OFF.
Auto eject
Press and momentarily hold the EJ
control to engage auto eject. All CDs
which are present in the player will
be ejected one at a time. If a CD is ejected and not removed from the
door of the CD player, the player will automatically reload the CD. This
feature may be used when the ignition is ON or OFF.
Shuffle feature
Press the SHUF control until the
desired shuffle mode is displayed.
The audio system will then engage
the desired shuffle mode.
When engaged, the shuffle feature has two different modes: SHUFFLE
DISC and SHUFFLE TRK.
SHUFFLE DISC randomly plays tracks from all the discs presently in the
audio system.
SHUFFLE TRK plays all the tracks on the current disc in random order.
Compression feature
The compression feature operates in CD mode and brings soft and loud
CD passages together for a more consistent listening level.
Press the COMP control until COMP
ON is displayed.
EJEJ
Entertainment Systems
35
Page 36 of 272
20815.psp Ford O/G 2002 Excursion English 4th Print 2C3J-19A321-HB 04/24/2003 09:14:57 18 B
Menu mode
The MENU control allows you to
access many different features
within your audio system. There are
three sets of menus available
depending upon which mode or feature is activated.
While in FM mode, two menus are available.If RDS is turned OFF, you
can access the following:
•SELECT HOURS — Refer toSetting the clock.
•SELECT MINUTES — Refer toSetting the clock.
•RDS OFF — Refer toRadio data system feature.
If RDS is turned ON, you can access the following:
•TRAFFIC ON/OFF-Refer toTraffic announcements.
•FIND type-Refer toProgram type.
•SHOW (NAME, TYPE, NONE)- Refer toRadio data system feature.
•RDS ON— Refer toRadio data system feature.
•SELECT HOURS — Refer toSetting the clock.
•SELECT MINUTES —Refer toSetting the clock.
When in CD mode, you can access: SELECT HOURS, SELECT MINUTES
or COMP ON/OFF.
SELECT HOURS, SELECT MINUTES— Allows you to adjust the hours
and minutes. Refer toSetting the clock.
TRAFFIC ON/OFF— Traffic announcements can be programmed as local
or distant. Refer toTraffic announcements.
RDS ON/OFF— This feature allows your audio system to receive text
information from RDS-equipped FM radio stations. Refer toRadio Data
System feature.
FIND type — Allows you to select your desired FM program type and
search for that selection.
SHOW — Allows you to select from NAME (displays the name of the
radio station), TYPE (displays the RDS program type: rock, jazz, etc.), or
NONE (deactivates the RDS display).Entertainment Systems36
Page 37 of 272
20815.psp Ford O/G 2002 Excursion English 4th Print 2C3J-19A321-HB 04/24/2003 09:14:57 19 A
Traffic announcements
This feature allows you to hear
traffic announcements. When in this
mode, traffic announcements will
interrupt radio and CD play.
When in FM mode and RDS is
activated, press the MENU until TRAFFIC OFF displays. Press the SEL
control to engage the feature. The display will read TRAFFIC ON.
This feature also allows you to control the volume of traffic
announcements. With the display reading TRAFFIC ON, adjust the
volume using the volume control to the desired level. The volume level
will show at the bottom of the display. Interrupting traffic
announcements will be at the selected volume level.
To disengage the feature, press the MENU control until TRAFFIC ON
displays. Press the SEL control. The display will read TRAFFIC OFF.
RDS traffic seek feature
When in traffic mode, you can use the SEEK feature to seek up or down
the listenable traffic capable frequencies.
With the RDS activated, press MENU until TRAFFIC ON is displayed.
Press and hold the SEEK control until the desired selection is reached.
The feature disengages when the control is released.
RDS traffic scan feature
When in traffic mode, you can use the SCAN feature to scan up the
frequency band for listenable traffic capable frequencies.
With the RDS activated, press the MENU control until TRAFFIC ON is
displayed. Press the SCAN control. SCAN TRAFFIC will display. The
audio system will scan to all traffic capable frequencies. If no valid
stations are found after one pass, the scan function is cancelled and NOT
FOUND displays.
Traffic announcements are not available in most U.S. markets.
Radio data system (RDS) feature
This feature allows your audio
system to receive text information
from RDS-equipped FM radio
stations.
SEL
+
MENU
SEL
+
MENU
Entertainment Systems
37
Page 40 of 272
20815.psp Ford O/G 2002 Excursion English 4th Print 2C3J-19A321-HB 04/24/2003 09:14:57 20 B
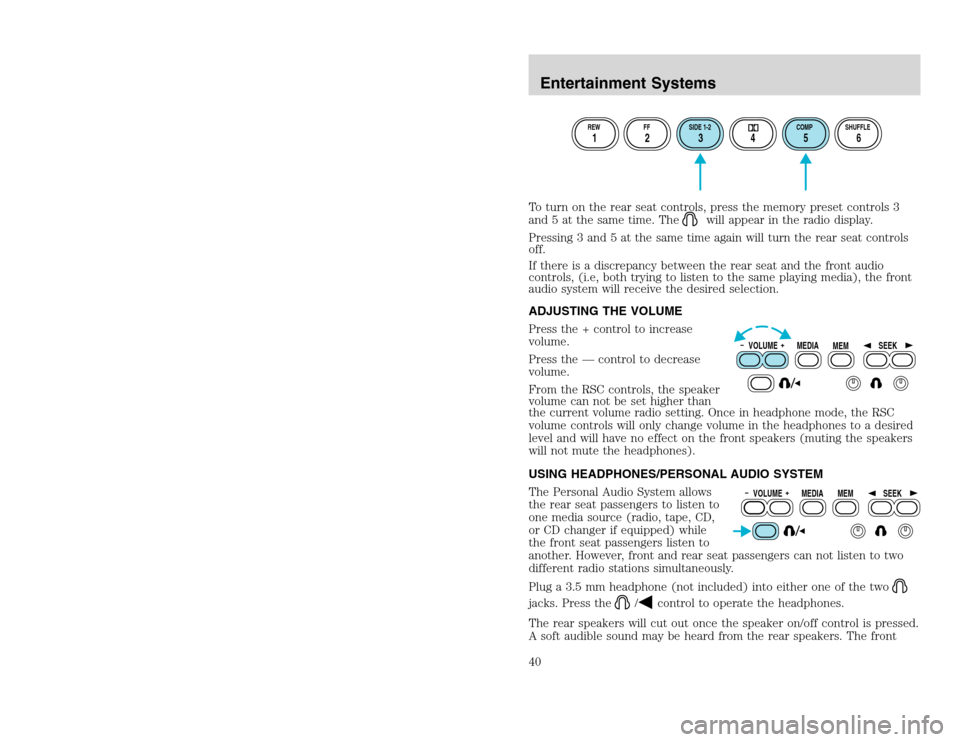
To turn on the rear seat controls, press the memory preset controls 3
and 5 at the same time. The
will appear in the radio display.
Pressing 3 and 5 at the same time again will turn the rear seat controls
off.
If there is a discrepancy between the rear seat and the front audio
controls, (i.e, both trying to listen to the same playing media), the front
audio system will receive the desired selection.
ADJUSTING THE VOLUME
Press the + control to increase
volume.
Press the — control to decrease
volume.
From the RSC controls, the speaker
volume can not be set higher than
the current volume radio setting. Once in headphone mode, the RSC
volume controls will only change volume in the headphones to a desired
level and will have no effect on the front speakers (muting the speakers
will not mute the headphones).
USING HEADPHONES/PERSONAL AUDIO SYSTEM
The Personal Audio System allows
the rear seat passengers to listen to
one media source (radio, tape, CD,
or CD changer if equipped) while
the front seat passengers listen to
another. However, front and rear seat passengers can not listen to two
different radio stations simultaneously.
Plug a 3.5 mm headphone (not included) into either one of the two
jacks. Press the
/
control to operate the headphones.
The rear speakers will cut out once the speaker on/off control is pressed.
A soft audible sound may be heard from the rear speakers. The front
REW FF SIDE 1-2 COMP SHUFFLE12 3456
VOLUME MEDIA
MEMSEEKVOLUME MEDIA
MEMSEEK
Entertainment Systems40
Page 41 of 272
20815.psp Ford O/G 2002 Excursion English 4th Print 2C3J-19A321-HB 04/24/2003 09:14:57 21 A
speaker will remain playing for the front passengers. Press the
/
control again to deactivate the headphones (Personal Audio System).
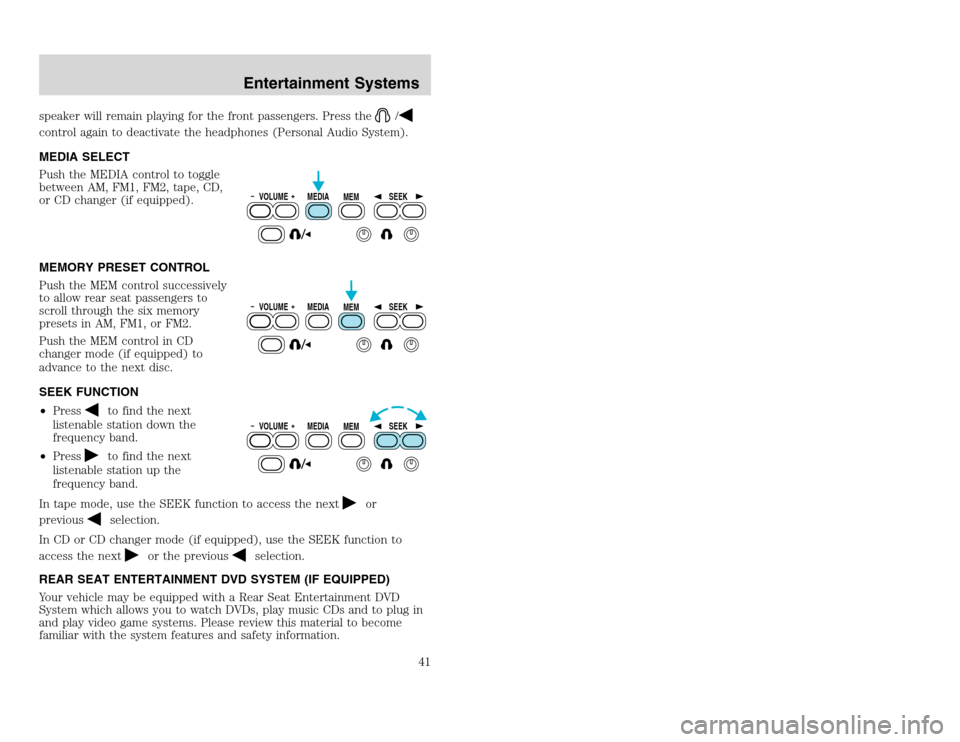
MEDIA SELECT
Push the MEDIA control to toggle
between AM, FM1, FM2, tape, CD,
or CD changer (if equipped).
MEMORY PRESET CONTROL
Push the MEM control successively
to allow rear seat passengers to
scroll through the six memory
presets in AM, FM1, or FM2.
Push the MEM control in CD
changer mode (if equipped) to
advance to the next disc.
SEEK FUNCTION
•Press
to find the next
listenable station down the
frequency band.
•Pressto find the next
listenable station up the
frequency band.
In tape mode, use the SEEK function to access the next
or
previous
selection.
In CD or CD changer mode (if equipped), use the SEEK function to
access the next
or the previous
selection.
REAR SEAT ENTERTAINMENT DVD SYSTEM (IF EQUIPPED)
Your vehicle may be equipped with a Rear Seat Entertainment DVD
System which allows you to watch DVDs, play music CDs and to plug in
and play video game systems. Please review this material to become
familiar with the system features and safety information.VOLUME MEDIA
MEMSEEKVOLUME MEDIA
MEMSEEKVOLUME MEDIA
MEMSEEK
Entertainment Systems
41
Page 44 of 272
20815.psp Ford O/G 2002 Excursion English 4th Print 2C3J-19A321-HB 04/24/2003 09:14:57 22 B
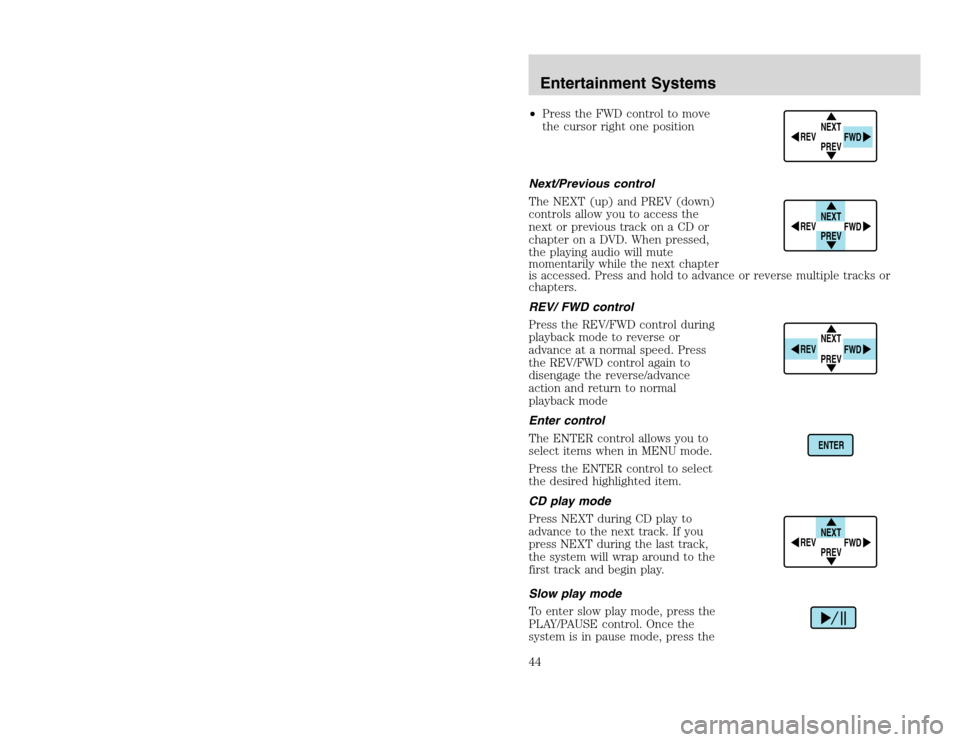
•Press the FWD control to move
the cursor right one position
Next/Previous control
The NEXT (up) and PREV (down)
controls allow you to access the
next or previous track on a CD or
chapter on a DVD. When pressed,
the playing audio will mute
momentarily while the next chapter
is accessed. Press and hold to advance or reverse multiple tracks or
chapters.
REV/ FWD control
Press the REV/FWD control during
playback mode to reverse or
advance at a normal speed. Press
the REV/FWD control again to
disengage the reverse/advance
action and return to normal
playback mode
Enter control
The ENTER control allows you to
select items when in MENU mode.
Press the ENTER control to select
the desired highlighted item.
CD play mode
Press NEXT during CD play to
advance to the next track. If you
press NEXT during the last track,
the system will wrap around to the
first track and begin play.
Slow play mode
To enter slow play mode, press the
PLAY/PAUSE control. Once the
system is in pause mode, press the
NEXT
PREV REV
FWDNEXT
PREV REV
FWDNEXT
PREV REV
FWDENTERNEXT
PREV REV
FWD
Entertainment Systems44
Page 49 of 272
20815.psp Ford O/G 2002 Excursion English 4th Print 2C3J-19A321-HB 04/24/2003 09:14:57 25 A
Using headphones/Personal Audio Feature
Single play mode will allow all
passengers to listen to the same
media source through all speakers.
The Personal Audio Feature allows
the front seat passengers to listen to
one source (radio, TAPE, CD, CDDJ, DVD, or AUX) while the rear seat
passengers listen to another.
To activate from the rear seat controls, press the
/
control and
plug a 3.5mm headphone into the headphone jack. With the headphones
ON, the rear speakers will not operate. In this mode, the headphones are
enabled. The rear seat passengers have control over the desired volume
levels.
Press the MODE control to toggle to the desired media source.
Use the SEEK, VOLUME and MEM controls to make any desired
adjustments.
Press the
/
control again to engage the rear speakers and
deactivate the Personal Audio Feature. In this mode, you can adjust the
audio output to all system speakers — front and rear together. The rear
seat passengers can not raise the volume of the system above the level
on the front radio bezel.
Parental control
Your Entertainment System allows you to have control over the rear seat
controls. The DVD system is automatically activated when the ignition is
ON. This enables rear seat passengers to utilize the Rear Seat Controls
(RSC). Once the headphone mode is activated, the
symbol will
appear in the radio display.
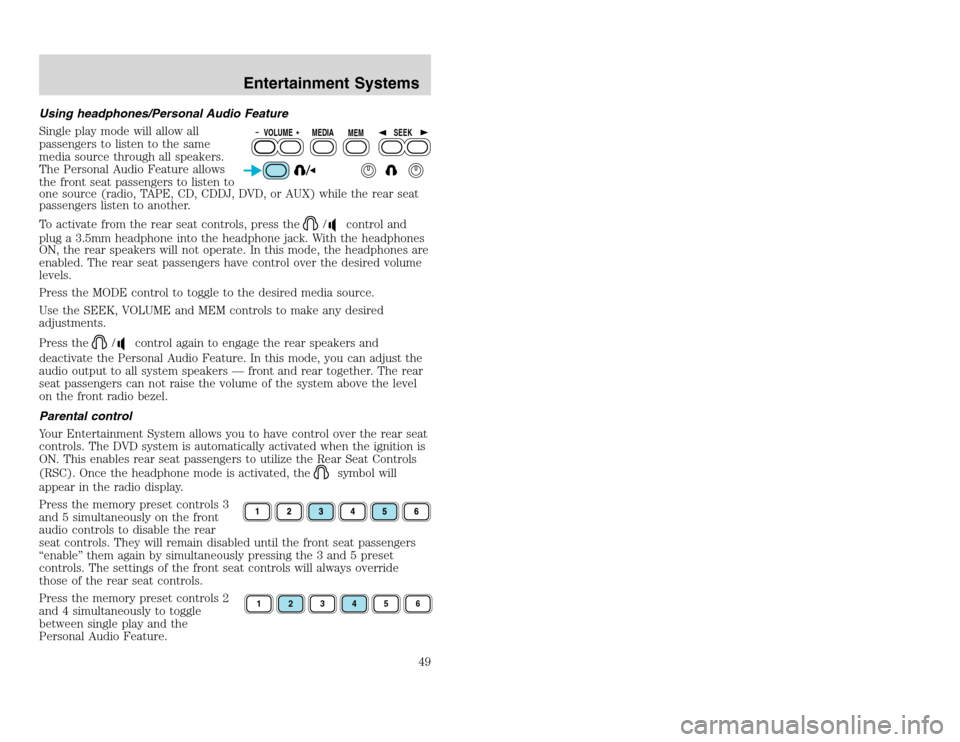
Press the memory preset controls 3
and 5 simultaneously on the front
audio controls to disable the rear
seat controls. They will remain disabled until the front seat passengers
“enable” them again by simultaneously pressing the 3 and 5 preset
controls. The settings of the front seat controls will always override
those of the rear seat controls.
Press the memory preset controls 2
and 4 simultaneously to toggle
between single play and the
Personal Audio Feature.
VOLUME MEDIA
MEMSEEK1
2
3
4
5
6
Entertainment Systems
49
Page 51 of 272
20815.psp Ford O/G 2002 Excursion English 4th Print 2C3J-19A321-HB 04/24/2003 09:14:57 26 A
General operating tips
•When the engine is not running, use the system sparingly otherwise it
will run the battery down.
•When the ignition is turned to OFF, the Rear Seat Entertainment DVD
System is also turned OFF. When the ignition is turned ON, the
system will begin playback from the last selected media source when
the play control is pressed.
•To disable the DVD player, simultaneously press the 3 and 5 memory
presets on the radio face. To enable the DVD player again, press the 3
and 5 presets simultaneously.
•The DVD player is only capable of reading the bottom side of a disc.
When inserting a single sided disc, the label should be up. For a
multi-sided disc, the desired play side should be down when the disc
is inserted into the player.
•The DVD player is only capable of playback of DVDs and CDs. The
player is not compatible with CDR/RW media.
•DVDs are formatted by regions. This DVD system can only play region
1 DVDs (DVDs manufactured in U.S and Canada).
This unit is designed to play commercially pressed 12 cm (4.75
in) audio compact discs and DVDs only. Due to technical
incompatibility, certain recordable and re-recordable compact
discs may not function correctly when used in Ford DVD/CD
players. Irregular shaped discs, discs with a scratch protection
film attached, and discs with homemade paper (adhesive) labels
should not be inserted into the player. The label may peel and
cause the disc to become jammed. It is recommended that
homemade discs be identified with permanent felt tip marker
rather than adhesive labels. Ball point pens may damage discs.
Please contact your dealer for further information.
Inserting a CD/DVD
Inserting a CD/DVD into the DVD player automatically turns the power
ON and playback should begin.
The counter is automatically reset to 0:00:00.
Ensure that the overhead screen is down for viewing.
Removing a CD/DVD
1. Press the STOP/EJECT control to stop playback.
2. Press the STOP/EJECT control again to eject the CD/DVD.
Entertainment Systems
51
Page 52 of 272
20815.psp Ford O/G 2002 Excursion English 4th Print 2C3J-19A321-HB 04/24/2003 09:14:57 26 B
If the CD/DVD is not removed within the allotted time, the system will
pull the CD/DVD back into the system for safety purposes. If the
CD/DVD will not eject from the system, press and hold the EJECT
control for approximately 2 seconds. The disc should eject whether the
vehicle ignition is ON or OFF.
Playing a video game/auxiliary device
1. Connect the video line from your video game device to the YELLOW
auxiliary input jack.
2. Connect the left and right audio lines to the WHITE and RED auxiliary
input jacks respectively.
3. Press the MODE control until DVD/CD AUX (no disc in player) or
DVD/CD play (disc in player) illuminates in the radio display. If a disc is
in the system, playback should begin. To enable the aux inputs, press the
STOP control or press the AUX control on the DVD player.
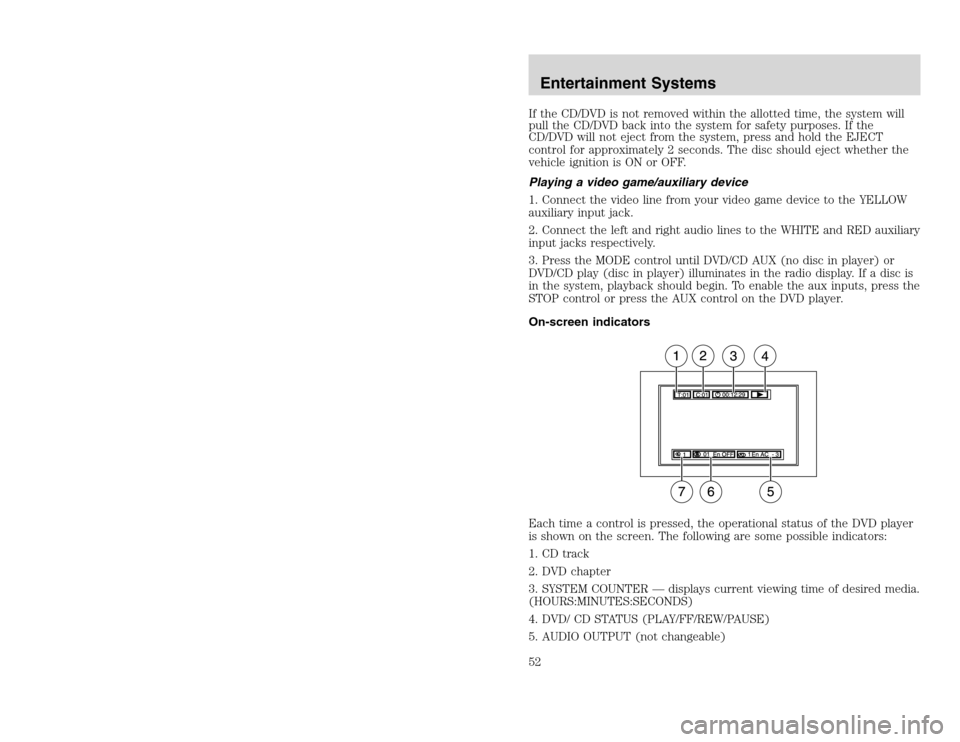
On-screen indicators
Each time a control is pressed, the operational status of the DVD player
is shown on the screen. The following are some possible indicators:
1. CD track
2. DVD chapter
3. SYSTEM COUNTER — displays current viewing time of desired media.
(HOURS:MINUTES:SECONDS)
4. DVD/ CD STATUS (PLAY/FF/REW/PAUSE)
5. AUDIO OUTPUT (not changeable)Entertainment Systems52