lock FORD EXPEDITION 1998 1.G Owners Manual
[x] Cancel search | Manufacturer: FORD, Model Year: 1998, Model line: EXPEDITION, Model: FORD EXPEDITION 1998 1.GPages: 216, PDF Size: 1.51 MB
Page 9 of 216
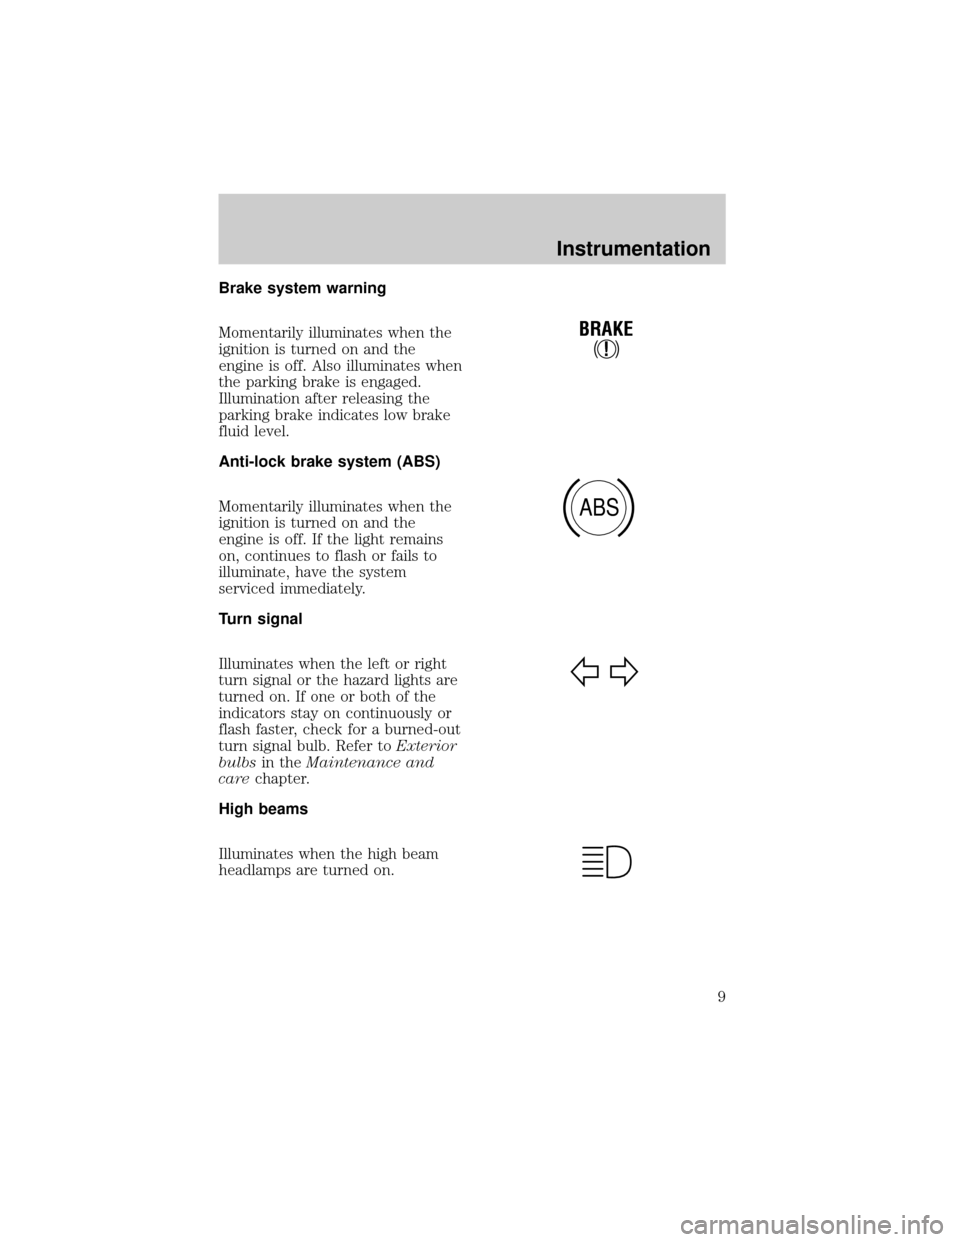
Brake system warning
Momentarily illuminates when the
ignition is turned on and the
engine is off. Also illuminates when
the parking brake is engaged.
Illumination after releasing the
parking brake indicates low brake
fluid level.
Anti-lock brake system (ABS)
Momentarily illuminates when the
ignition is turned on and the
engine is off. If the light remains
on, continues to flash or fails to
illuminate, have the system
serviced immediately.
Turn signal
Illuminates when the left or right
turn signal or the hazard lights are
turned on. If one or both of the
indicators stay on continuously or
flash faster, check for a burned-out
turn signal bulb. Refer toExterior
bulbsin theMaintenance and
carechapter.
High beams
Illuminates when the high beam
headlamps are turned on.
!
BRAKE
ABS
Instrumentation
9
Page 10 of 216
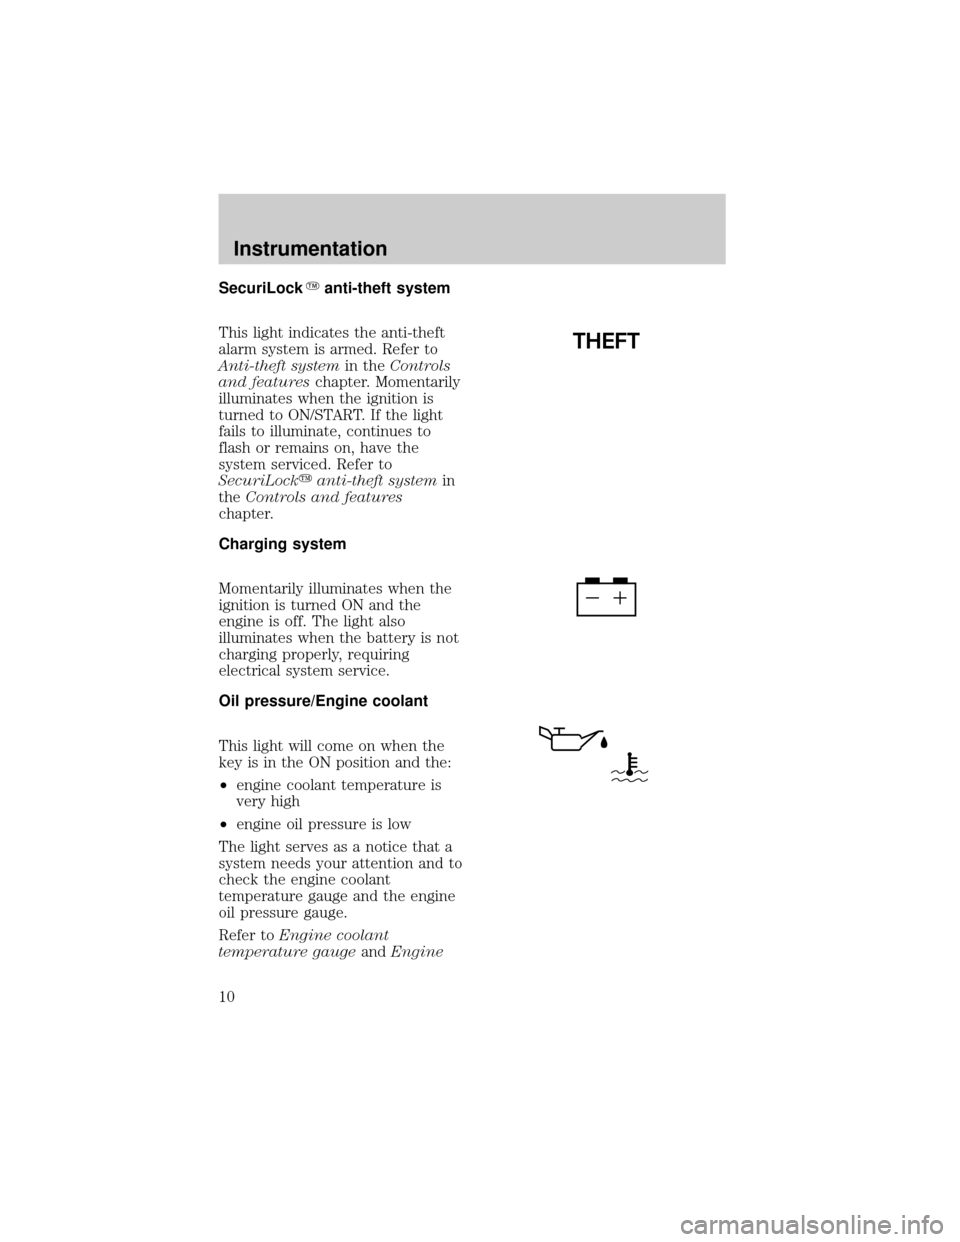
SecuriLockYanti-theft system
This light indicates the anti-theft
alarm system is armed. Refer to
Anti-theft systemin theControls
and featureschapter. Momentarily
illuminates when the ignition is
turned to ON/START. If the light
fails to illuminate, continues to
flash or remains on, have the
system serviced. Refer to
SecuriLockyanti-theft systemin
theControls and features
chapter.
Charging system
Momentarily illuminates when the
ignition is turned ON and the
engine is off. The light also
illuminates when the battery is not
charging properly, requiring
electrical system service.
Oil pressure/Engine coolant
This light will come on when the
key is in the ON position and the:
²engine coolant temperature is
very high
²engine oil pressure is low
The light serves as a notice that a
system needs your attention and to
check the engine coolant
temperature gauge and the engine
oil pressure gauge.
Refer toEngine coolant
temperature gaugeandEngine
THEFT
Instrumentation
10
Page 13 of 216
Key-in-ignition warning chime
Sounds when the key is left in the
ignition in the OFF/LOCK or ACC
position and either front door is
opened.
Headlamps on warning chime
Sounds when the headlamps or
parking lamps are on, the ignition
is off (and the key is not in the
ignition) and either front door is
opened.
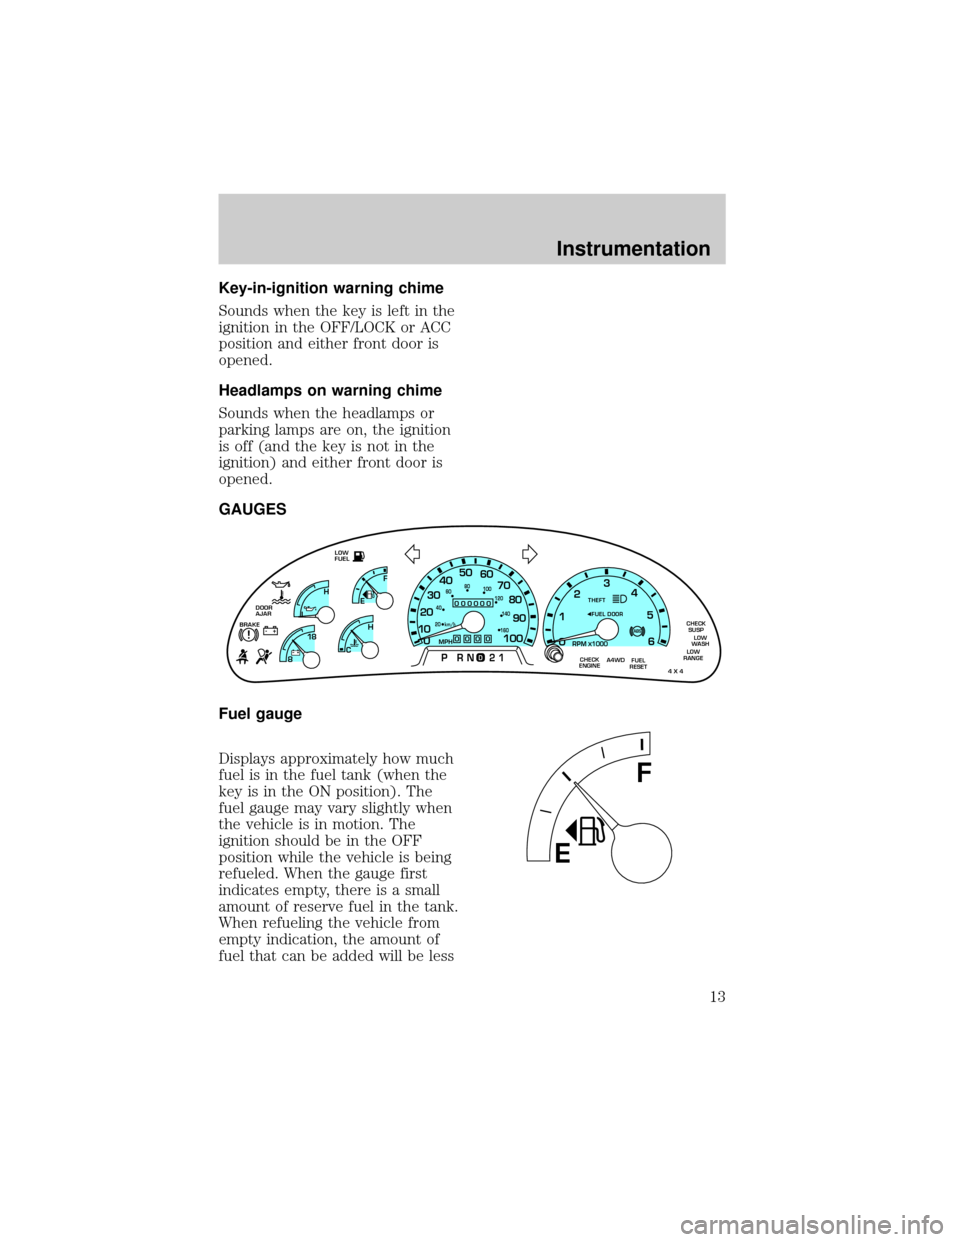
GAUGES
Fuel gauge
Displays approximately how much
fuel is in the fuel tank (when the
key is in the ON position). The
fuel gauge may vary slightly when
the vehicle is in motion. The
ignition should be in the OFF
position while the vehicle is being
refueled. When the gauge first
indicates empty, there is a small
amount of reserve fuel in the tank.
When refueling the vehicle from
empty indication, the amount of
fuel that can be added will be less
FUEL
RESET CHECK
ENGINELOW
RANGE
4 X 4
ABSBRAKE!+ -
THEFT
LOW
FUEL
DOOR
AJARLEF
H0
0000
RPM1000X
00000
MPH
20km/h 406080
100
120
140
160
0
0 123
5
6 4
PRN 21
1020304050
60
70
80
90
100
8C 18
H
D
CHECK
SUSP
LOW
WASH
A4WDFUEL DOOR
EF
Instrumentation
13
Page 27 of 216
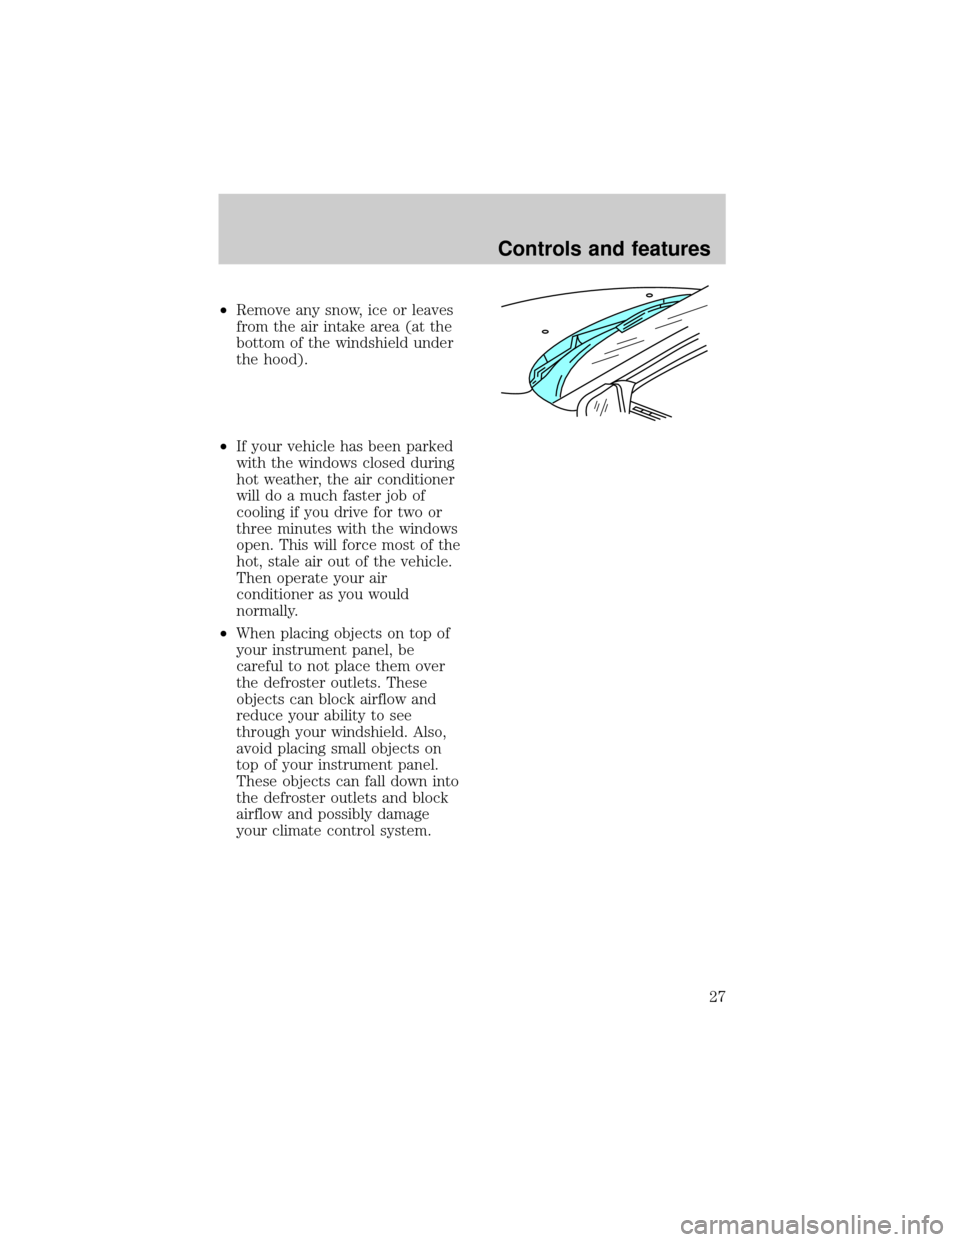
²Remove any snow, ice or leaves
from the air intake area (at the
bottom of the windshield under
the hood).
²If your vehicle has been parked
with the windows closed during
hot weather, the air conditioner
will do a much faster job of
cooling if you drive for two or
three minutes with the windows
open. This will force most of the
hot, stale air out of the vehicle.
Then operate your air
conditioner as you would
normally.
²When placing objects on top of
your instrument panel, be
careful to not place them over
the defroster outlets. These
objects can block airflow and
reduce your ability to see
through your windshield. Also,
avoid placing small objects on
top of your instrument panel.
These objects can fall down into
the defroster outlets and block
airflow and possibly damage
your climate control system.
Controls and features
27
Page 32 of 216
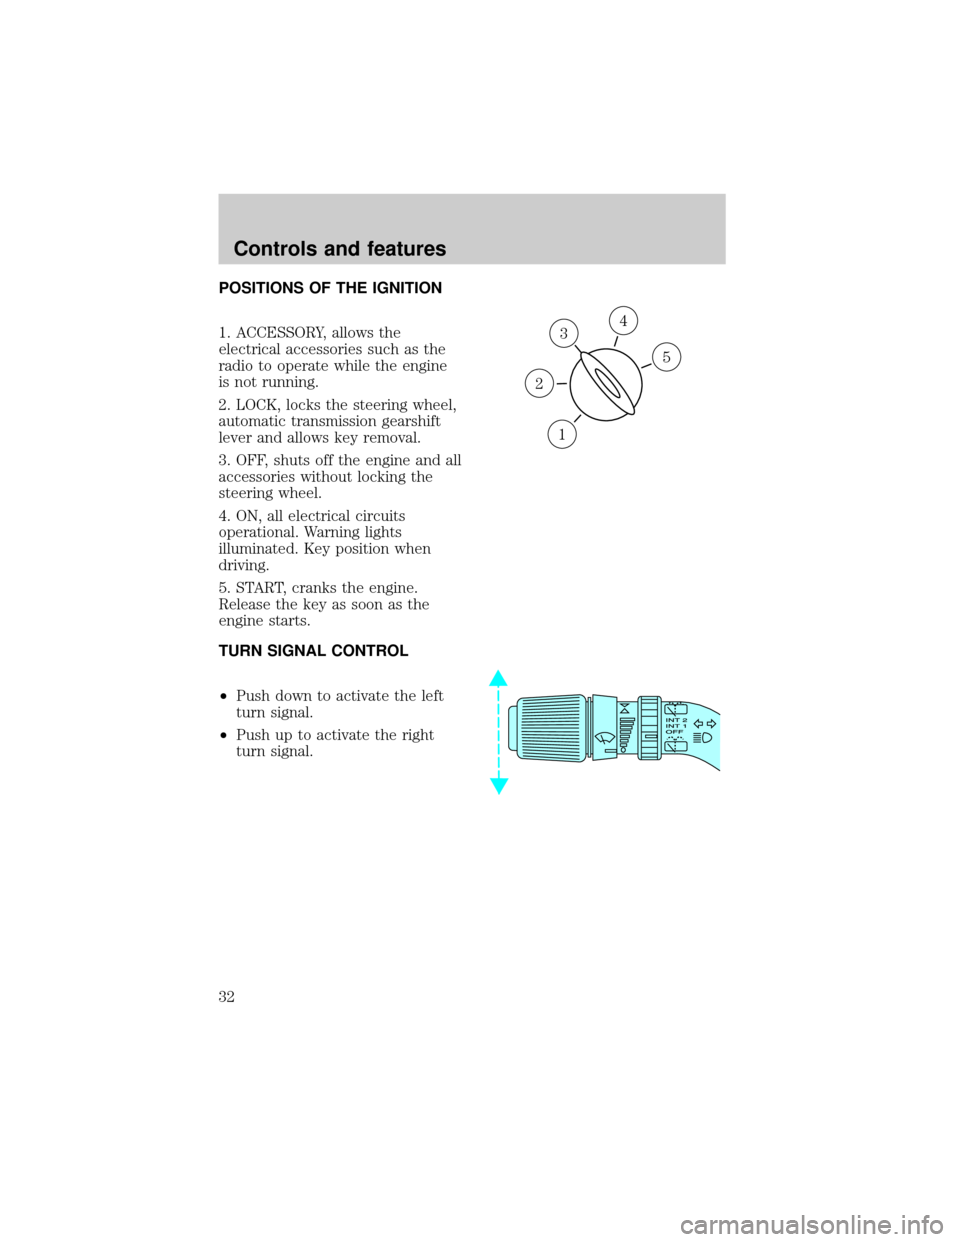
POSITIONS OF THE IGNITION
1. ACCESSORY, allows the
electrical accessories such as the
radio to operate while the engine
is not running.
2. LOCK, locks the steering wheel,
automatic transmission gearshift
lever and allows key removal.
3. OFF, shuts off the engine and all
accessories without locking the
steering wheel.
4. ON, all electrical circuits
operational. Warning lights
illuminated. Key position when
driving.
5. START, cranks the engine.
Release the key as soon as the
engine starts.
TURN SIGNAL CONTROL
²Push down to activate the left
turn signal.
²Push up to activate the right
turn signal.
3
1
2
5
4
Controls and features
32
Page 48 of 216
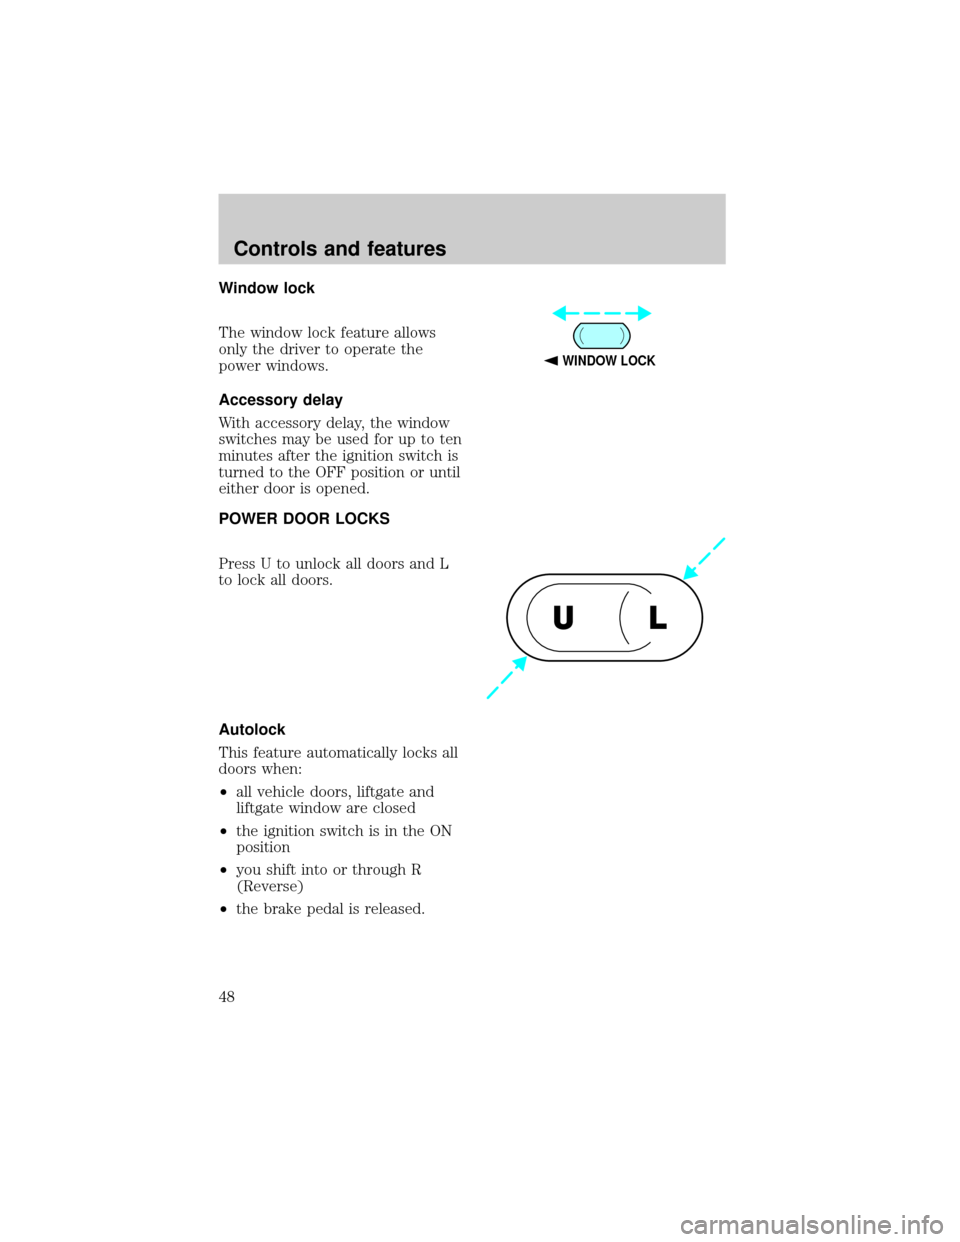
Window lock
The window lock feature allows
only the driver to operate the
power windows.
Accessory delay
With accessory delay, the window
switches may be used for up to ten
minutes after the ignition switch is
turned to the OFF position or until
either door is opened.
POWER DOOR LOCKS
Press U to unlock all doors and L
to lock all doors.
Autolock
This feature automatically locks all
doors when:
²all vehicle doors, liftgate and
liftgate window are closed
²the ignition switch is in the ON
position
²you shift into or through R
(Reverse)
²the brake pedal is released.
WINDOW LOCK
UL
Controls and features
48
Page 49 of 216

Relock
The autolock feature repeats when:
²any door is opened and closed
²the brake pedal is released.
Deactivating/activating the
autolock feature
Before following the procedure,
make sure that the ignition is OFF
and all vehicle doors and the
liftgate window are closed.
You must complete steps 1-5
within 30 seconds or the
procedure will have to be
repeated. If the procedure needs
to be repeated, you must wait 30
seconds.
1. Turn the ignition key to ON.
2. Press the power door unlock
control three times.
3. Turn the ignition key from ON
to OFF.
4. Press the power door unlock
control three times.
5. Turn the ignition back to ON.
The horn will chirp.
6. Press the unlock control, then
press the lock control. The horn
will chirp once if autolock was
deactivated or twice (one short
and one long chirp) if autolock was
activated.
7. Turn the ignition to OFF. The
horn will chirp once to confirm the
procedure is complete.
Controls and features
49
Page 50 of 216
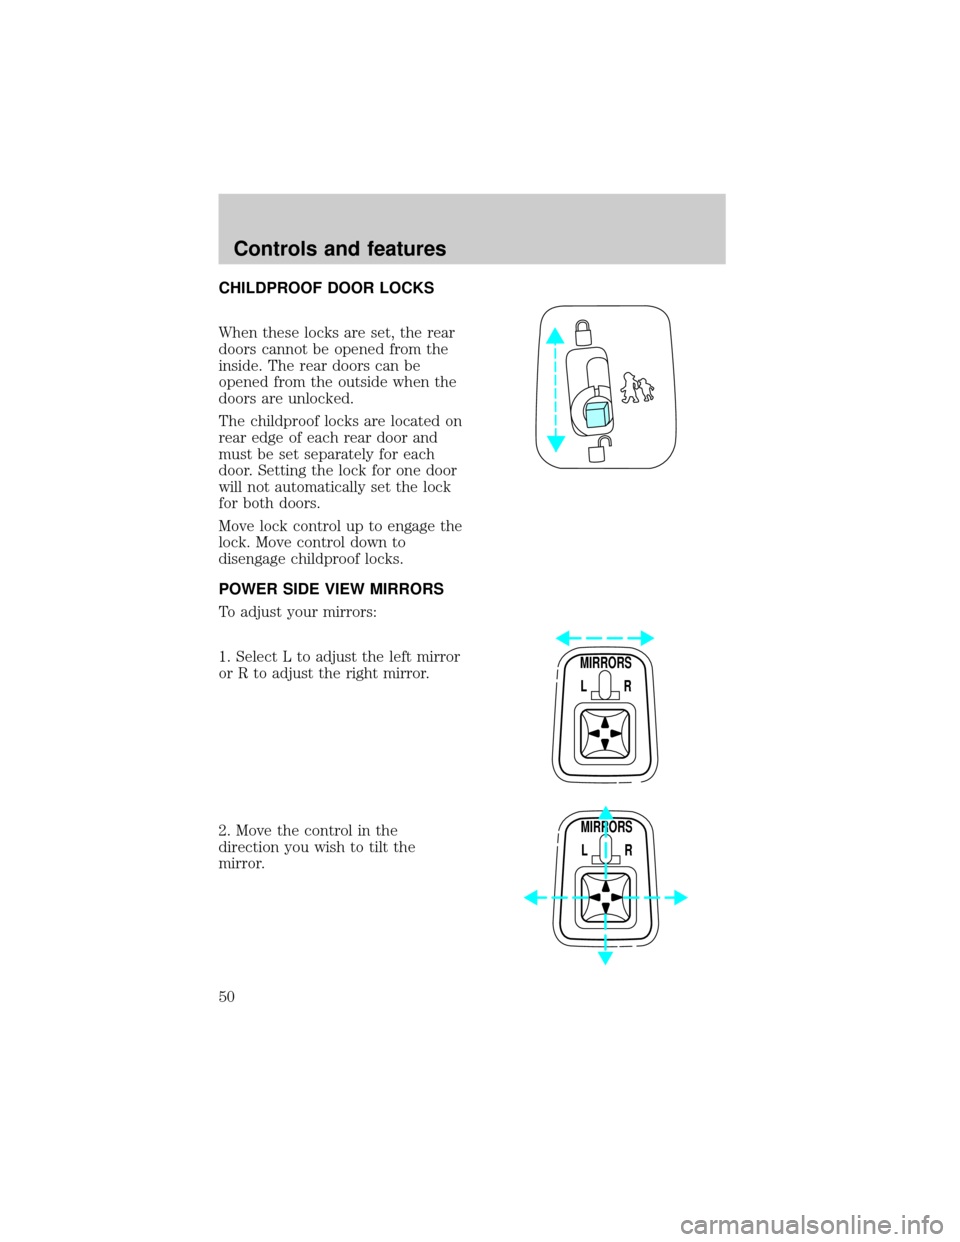
CHILDPROOF DOOR LOCKS
When these locks are set, the rear
doors cannot be opened from the
inside. The rear doors can be
opened from the outside when the
doors are unlocked.
The childproof locks are located on
rear edge of each rear door and
must be set separately for each
door. Setting the lock for one door
will not automatically set the lock
for both doors.
Move lock control up to engage the
lock. Move control down to
disengage childproof locks.
POWER SIDE VIEW MIRRORS
To adjust your mirrors:
1. Select L to adjust the left mirror
or R to adjust the right mirror.
2. Move the control in the
direction you wish to tilt the
mirror.
MIRRORS
L R
MIRRORS
L R
Controls and features
50
Page 51 of 216
3. Return to the center position to
lock mirrors in place.
Heated outside mirrors
Both mirrors are heated
automatically to remove ice, mist
and fog when the rear window
defrost is activated.
Do not remove ice from the
mirrors with a scraper or attempt
to readjust the mirror glass if it is
frozen in place. These actions
could cause damage to the glass
and mirrors.
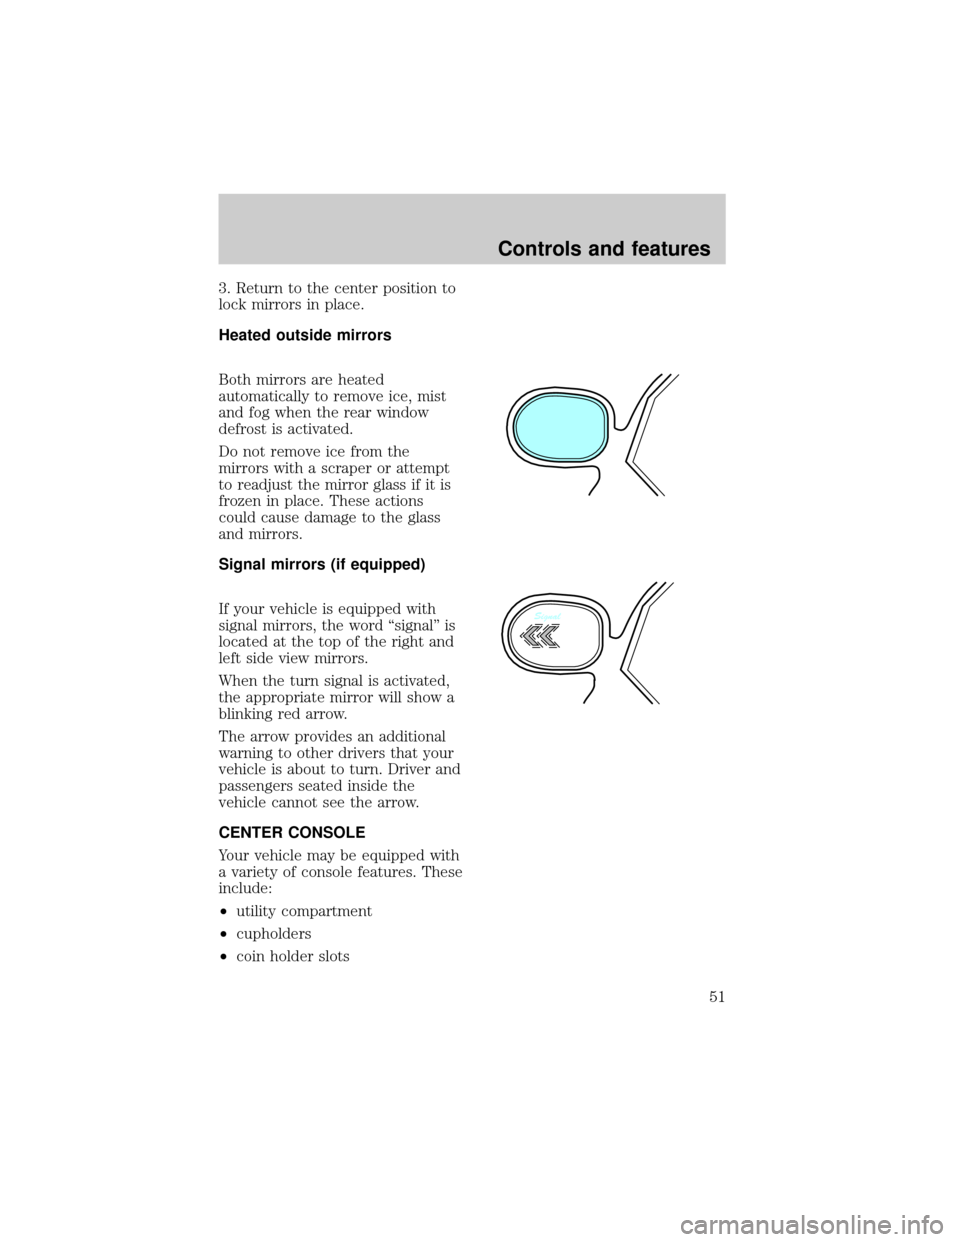
Signal mirrors (if equipped)
If your vehicle is equipped with
signal mirrors, the word ªsignalº is
located at the top of the right and
left side view mirrors.
When the turn signal is activated,
the appropriate mirror will show a
blinking red arrow.
The arrow provides an additional
warning to other drivers that your
vehicle is about to turn. Driver and
passengers seated inside the
vehicle cannot see the arrow.
CENTER CONSOLE
Your vehicle may be equipped with
a variety of console features. These
include:
²utility compartment
²cupholders
²coin holder slots
Signal
Controls and features
51
Page 53 of 216

POSITIVE RETENTION FLOOR
MAT (IF EQUIPPED)
Position the floor mat so that the
eyelet is over the pointed end of
the retention post and rotate
forward to lock in. Make sure that
the mat does not interfere with the
operation of the accelerator or the
brake pedal. To remove the floor
mat, reverse the installation
procedure.
LIFTGATE
To open the rear window, turn the
liftgate handle to the right.
To open the liftgate, turn the
liftgate handle to the left.
²Do not open the liftgate or
liftgate glass in a garage or
other enclosed area with a low
ceiling. If the liftgate glass is
raised and the liftgate is also
opened, both liftgate and glass
could be damaged against a low
ceiling.
²Do not leave the liftgate or
liftgate glass open while driving.
Doing so could cause serious
damage to the liftgate and its
components as well as allowing
carbon monoxide to enter the
vehicle.
DOORGLASS
Controls and features
53