rear FORD EXPEDITION 2001 1.G Owners Manual
[x] Cancel search | Manufacturer: FORD, Model Year: 2001, Model line: EXPEDITION, Model: FORD EXPEDITION 2001 1.GPages: 280, PDF Size: 1.79 MB
Page 6 of 280
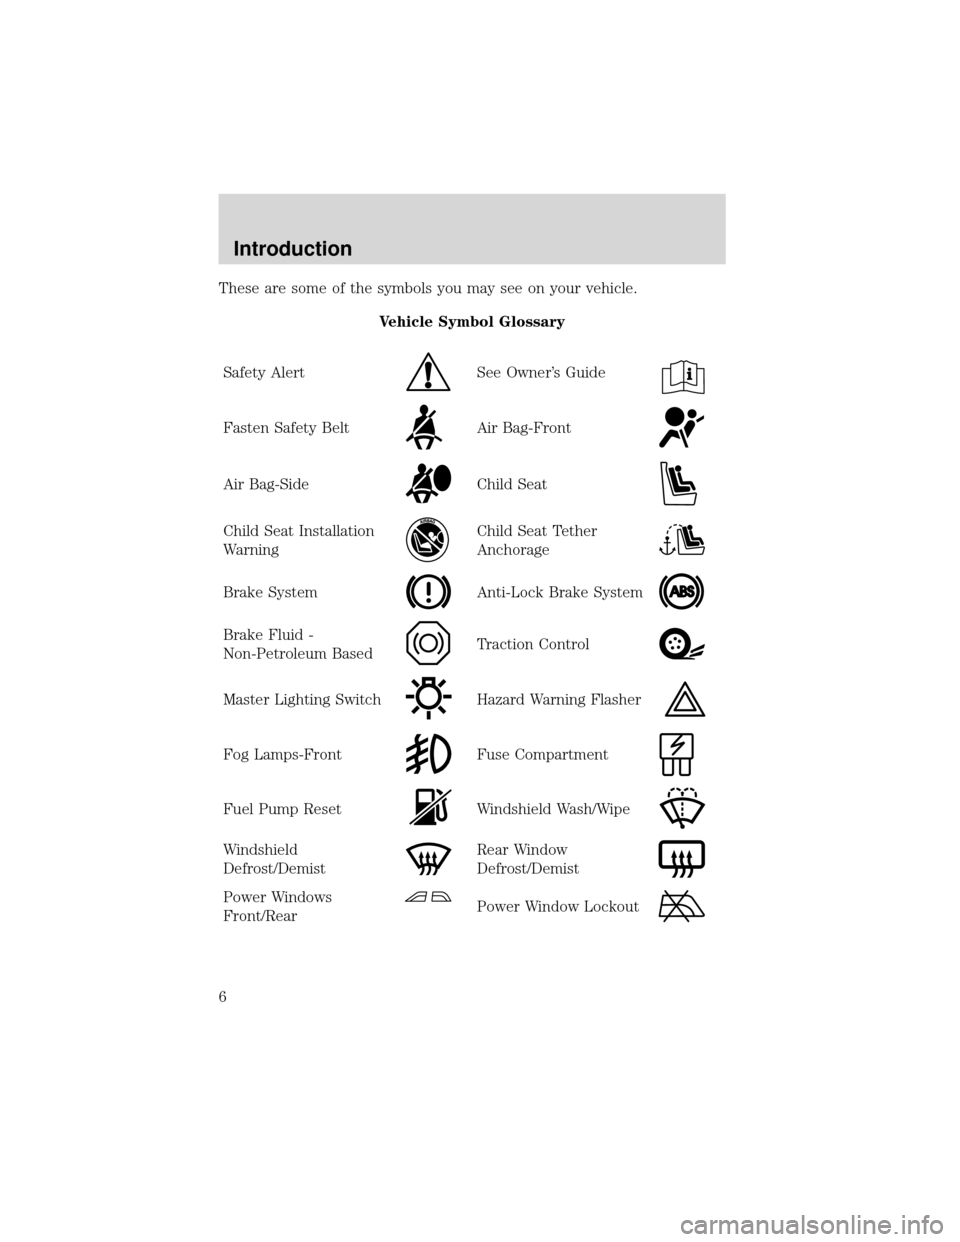
These are some of the symbols you may see on your vehicle.
Vehicle Symbol Glossary
Safety Alert
See Owner’s Guide
Fasten Safety BeltAir Bag-Front
Air Bag-SideChild Seat
Child Seat Installation
WarningChild Seat Tether
Anchorage
Brake SystemAnti-Lock Brake System
Brake Fluid -
Non-Petroleum BasedTraction Control
Master Lighting SwitchHazard Warning Flasher
Fog Lamps-FrontFuse Compartment
Fuel Pump ResetWindshield Wash/Wipe
Windshield
Defrost/DemistRear Window
Defrost/Demist
Power Windows
Front/RearPower Window Lockout
Introduction
6
Page 8 of 280
D
LHLH
EFCHBRAKEPRND2CRUISE DOOR
AJAR
SELECT/RESET
THEFT
FUEL DOOR
0MPHRPMX1000km/h
20406080
00
20
40
60
ON
OFFRES
SET
ACCEL
COAST
D
PEDALS
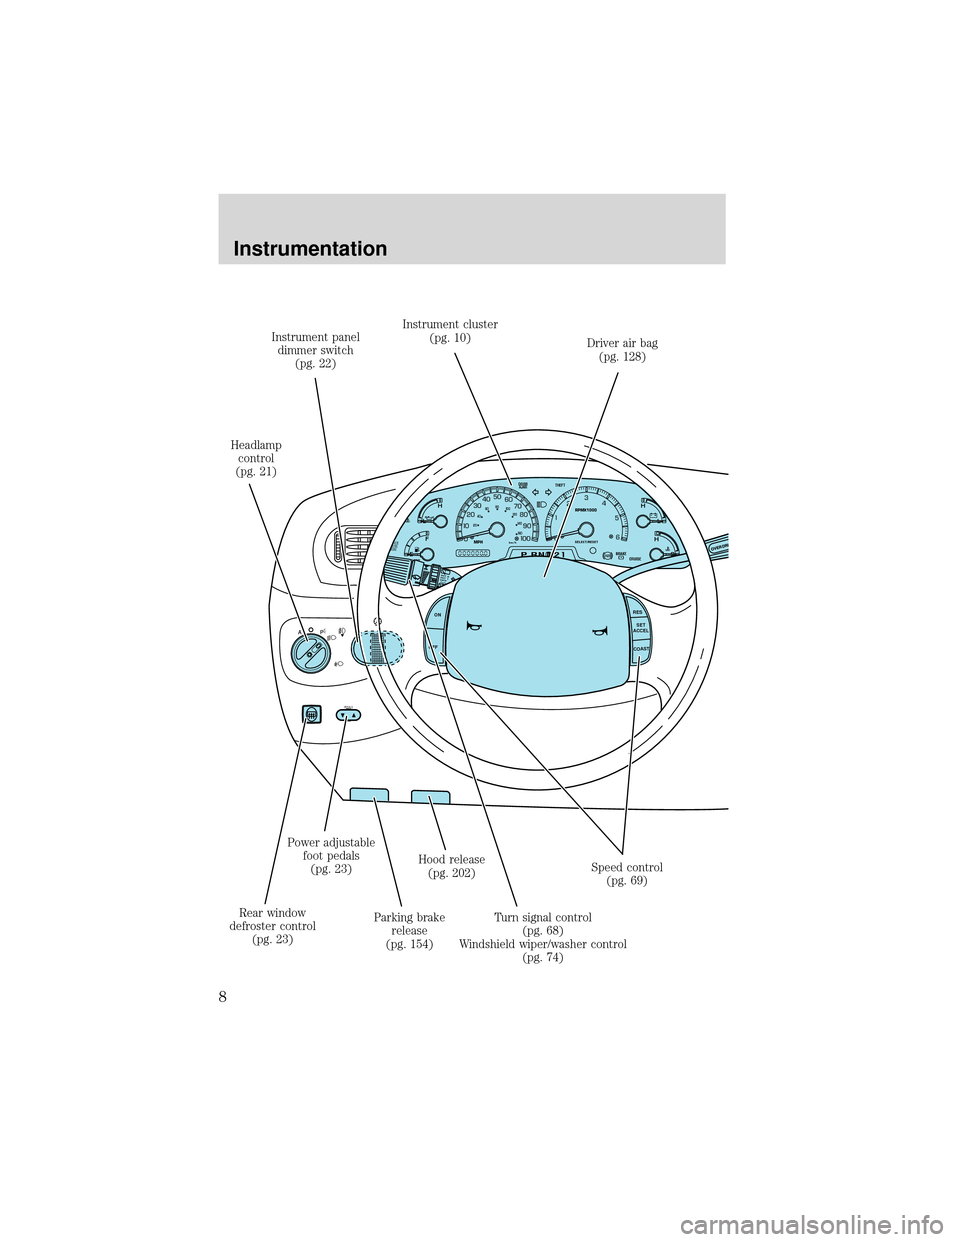
Headlamp
control
(pg. 21)Instrument panel
dimmer switch
(pg. 22)Instrument cluster
(pg. 10)
Driver air bag
(pg. 128)
Speed control
(pg. 69)
Turn signal control
(pg. 68)
Windshield wiper/washer control
(pg. 74) Hood release
(pg. 202)
Parking brake
release
(pg. 154) Power adjustable
foot pedals
(pg. 23)
Rear window
defroster control
(pg. 23)
Instrumentation
8
Page 23 of 280
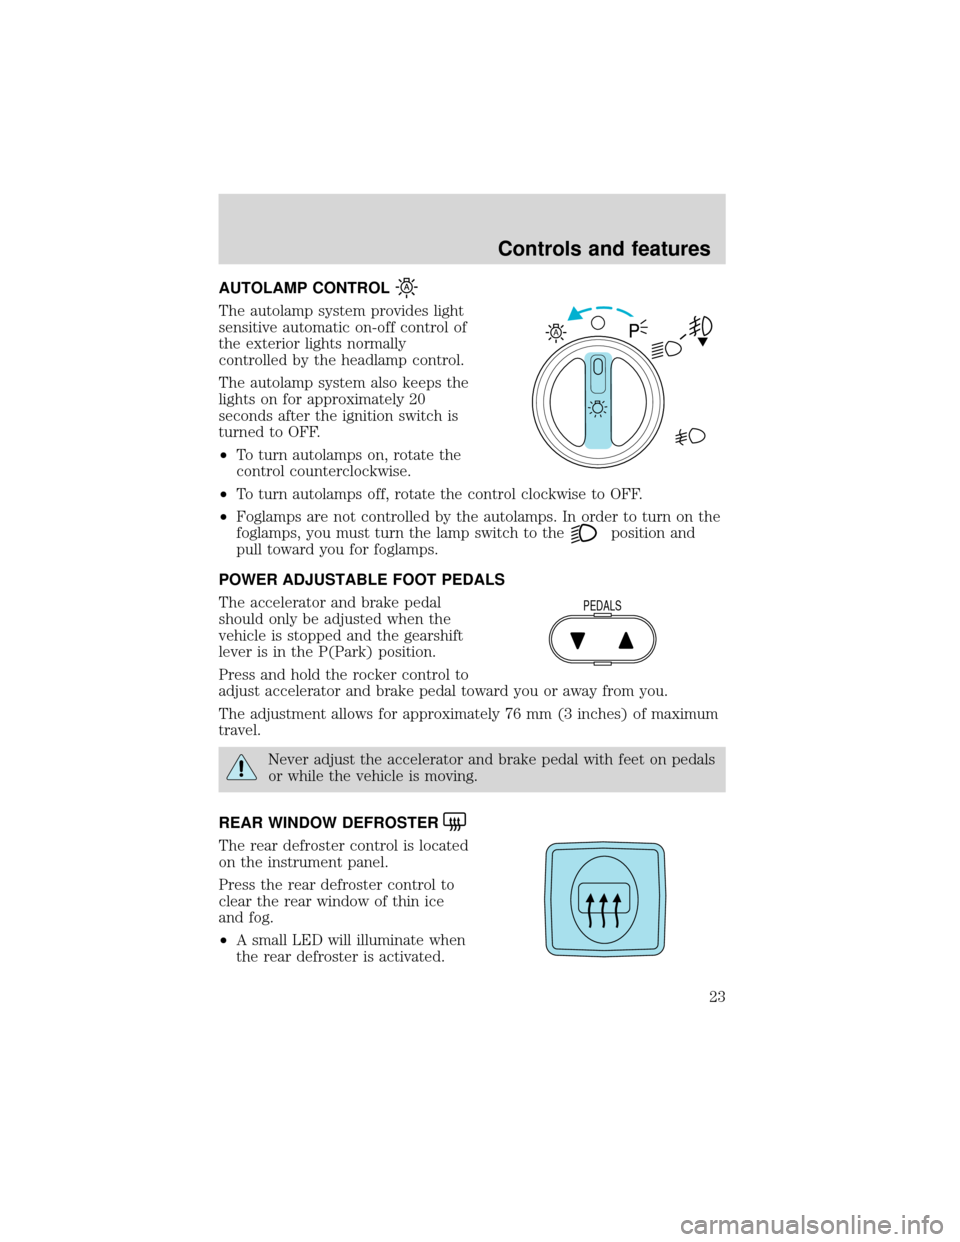
AUTOLAMP CONTROL
The autolamp system provides light
sensitive automatic on-off control of
the exterior lights normally
controlled by the headlamp control.
The autolamp system also keeps the
lights on for approximately 20
seconds after the ignition switch is
turned to OFF.
•To turn autolamps on, rotate the
control counterclockwise.
•To turn autolamps off, rotate the control clockwise to OFF.
•Foglamps are not controlled by the autolamps. In order to turn on the
foglamps, you must turn the lamp switch to the
position and
pull toward you for foglamps.
POWER ADJUSTABLE FOOT PEDALS
The accelerator and brake pedal
should only be adjusted when the
vehicle is stopped and the gearshift
lever is in the P(Park) position.
Press and hold the rocker control to
adjust accelerator and brake pedal toward you or away from you.
The adjustment allows for approximately 76 mm (3 inches) of maximum
travel.
Never adjust the accelerator and brake pedal with feet on pedals
or while the vehicle is moving.
REAR WINDOW DEFROSTER
The rear defroster control is located
on the instrument panel.
Press the rear defroster control to
clear the rear window of thin ice
and fog.
•A small LED will illuminate when
the rear defroster is activated.
A
PEDALS
Controls and features
23
Page 24 of 280
The ignition must be in the ON position to operate the rear window
defroster.
The defroster turns off automatically after 10 minutes or when the
ignition is turned to the OFF position. To manually turn off the defroster
before 10 minutes have passed, push the control again.
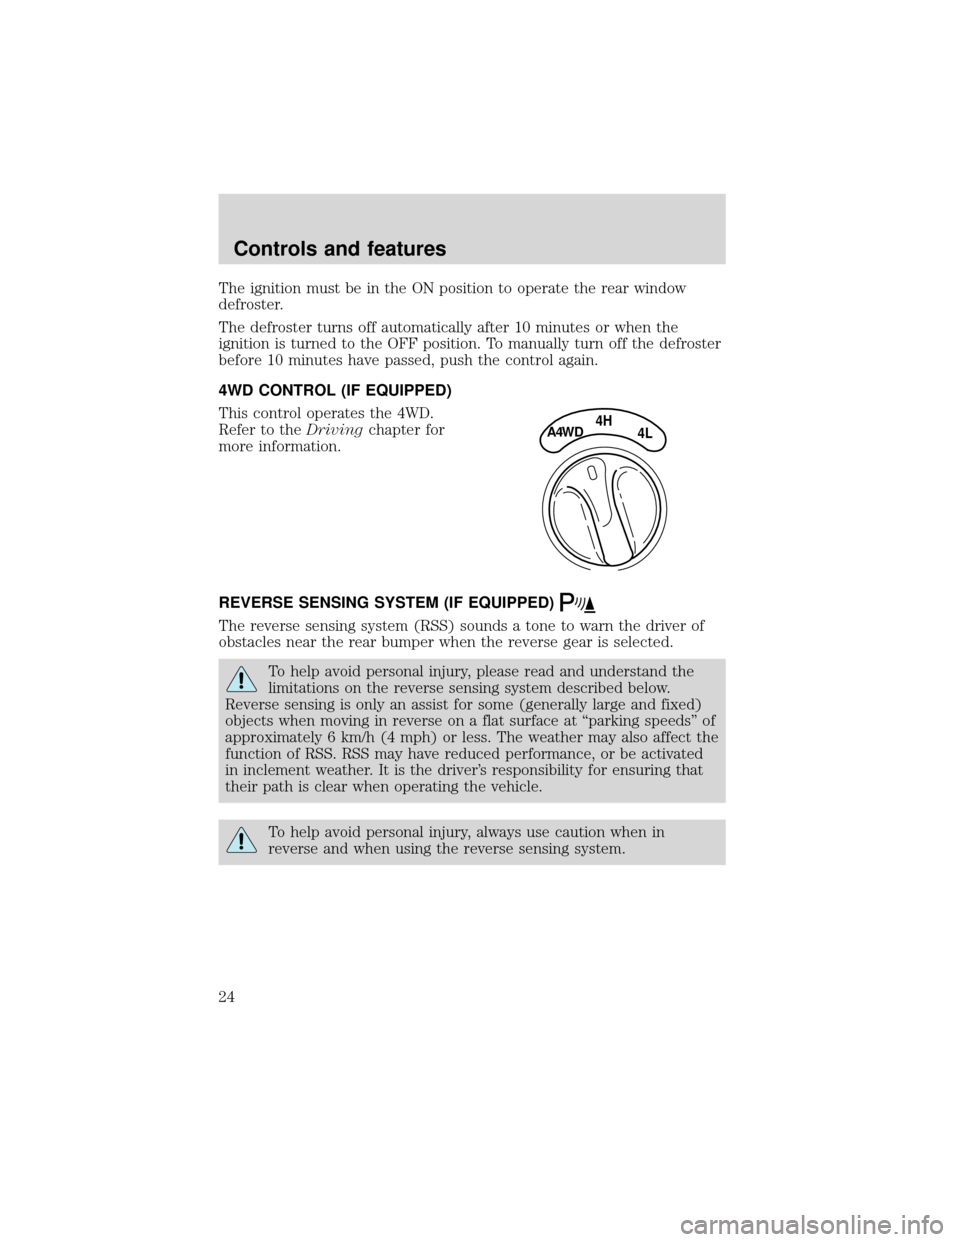
4WD CONTROL (IF EQUIPPED)
This control operates the 4WD.
Refer to theDrivingchapter for
more information.
REVERSE SENSING SYSTEM (IF EQUIPPED)
The reverse sensing system (RSS) sounds a tone to warn the driver of
obstacles near the rear bumper when the reverse gear is selected.
To help avoid personal injury, please read and understand the
limitations on the reverse sensing system described below.
Reverse sensing is only an assist for some (generally large and fixed)
objects when moving in reverse on a flat surface at“parking speeds”of
approximately 6 km/h (4 mph) or less. The weather may also affect the
function of RSS. RSS may have reduced performance, or be activated
in inclement weather. It is the driver’s responsibility for ensuring that
their path is clear when operating the vehicle.
To help avoid personal injury, always use caution when in
reverse and when using the reverse sensing system.
4HA4WD4L
Controls and features
24
Page 25 of 280
This system is not designed to prevent contact with small or
moving objects. The system is designed to provide a warning to
assist the driver in detecting large stationary objects to avoid damaging
the vehicle. The system may not detect smaller objects, particularly
those close to the ground.
The RSS will assist the driver in detecting certain objects while the
vehicle slowly moves in reverse at speeds less than 6 km/h (4 mph). The
RSS is not effective at speeds greater than 6 km/h (4 mph) and may not
detect certain angular or moving objects.
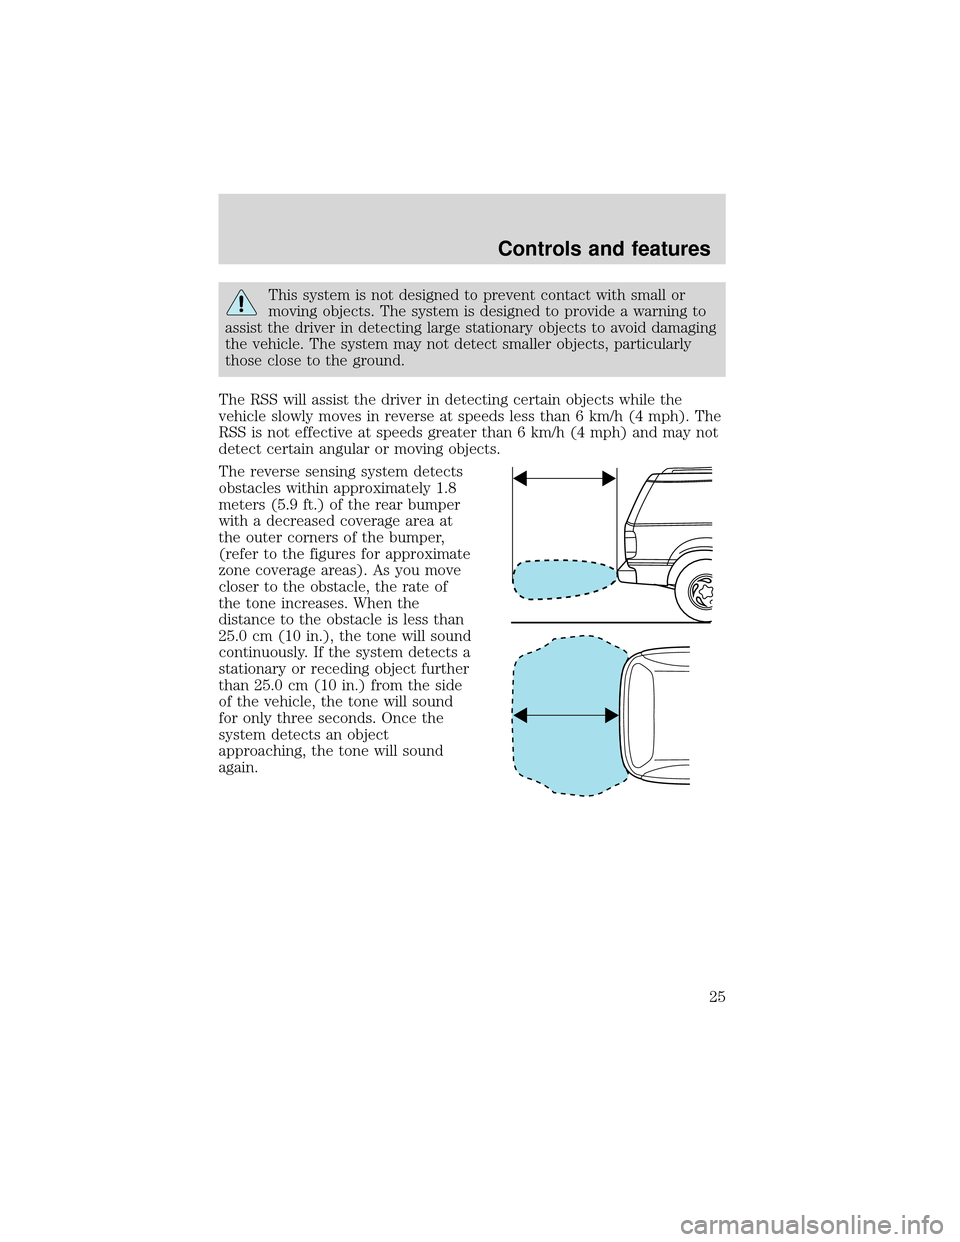
The reverse sensing system detects
obstacles within approximately 1.8
meters (5.9 ft.) of the rear bumper
with a decreased coverage area at
the outer corners of the bumper,
(refer to the figures for approximate
zone coverage areas). As you move
closer to the obstacle, the rate of
the tone increases. When the
distance to the obstacle is less than
25.0 cm (10 in.), the tone will sound
continuously. If the system detects a
stationary or receding object further
than 25.0 cm (10 in.) from the side
of the vehicle, the tone will sound
for only three seconds. Once the
system detects an object
approaching, the tone will sound
again.
Controls and features
25
Page 26 of 280
The reverse sensing system is
automatically enabled when the gear
selector is placed in R (Reverse)
and the ignition is ON. A reverse
sensing control allows the driver to
disable the reverse sensing system only when the ignition is ON, and the
gear selector is in R (Reverse).
The OFF indicator remains illuminated when the system is disabled. The
system defaults to ON every time the reverse gear is selected. Press the
control to disable or enable the system.
The indicator will remain illuminated to indicate a failure of the reverse
sensing system.
Always keep the sensors (located on the rear bumper/fascia) free
from dirt, snow and ice (do not clean the sensors with sharp
objects). These elements may cause the system to operate
inaccurately.
If the vehicle sustains damage to the rear bumper/fascia, leaving
it misaligned or bent, the sensing zone may be altered causing
inaccurate measurement of obstacles or false alarms.
AUXILIARY POWER POINT
Power outlets are designed
for accessory plugs only. Do
not hang any type of accessory or
accessory bracket from the plug.
Improper use of the power outlet
can cause damage not covered by
your warranty.
The auxiliary power point is located
on the instrument panel.
Do not plug optional electrical accessories into the cigarette lighter. Use
the power point.
OFF
Controls and features
26
Page 27 of 280
Power outlets are designed
for accessory plugs only. Do
not hang any type of accessory or
accessory bracket from the plug.
Improper use of the power outlet
can cause damage not covered by
your warranty.
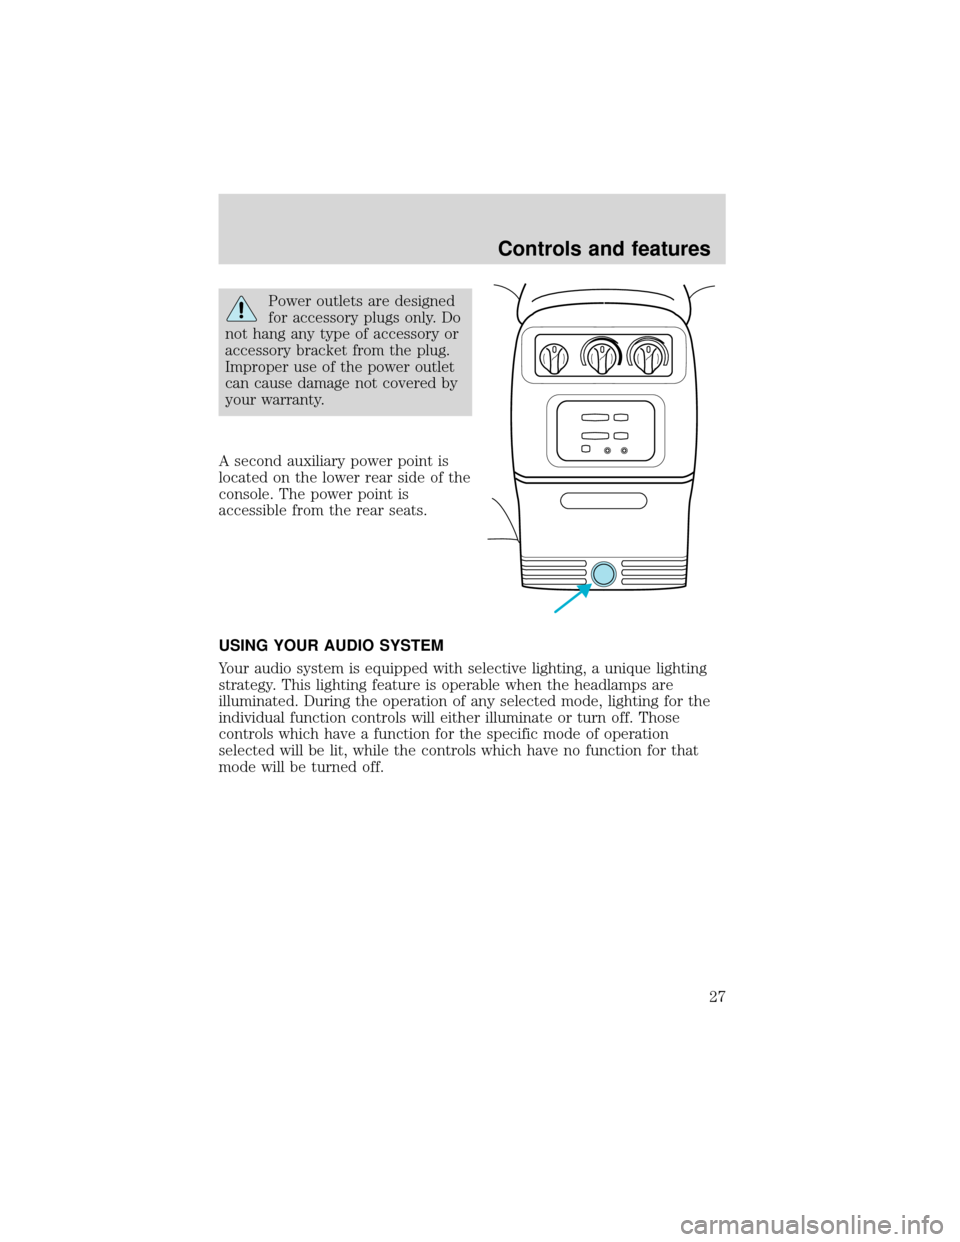
A second auxiliary power point is
located on the lower rear side of the
console. The power point is
accessible from the rear seats.
USING YOUR AUDIO SYSTEM
Your audio system is equipped with selective lighting, a unique lighting
strategy. This lighting feature is operable when the headlamps are
illuminated. During the operation of any selected mode, lighting for the
individual function controls will either illuminate or turn off. Those
controls which have a function for the specific mode of operation
selected will be lit, while the controls which have no function for that
mode will be turned off.
Controls and features
27
Page 34 of 280
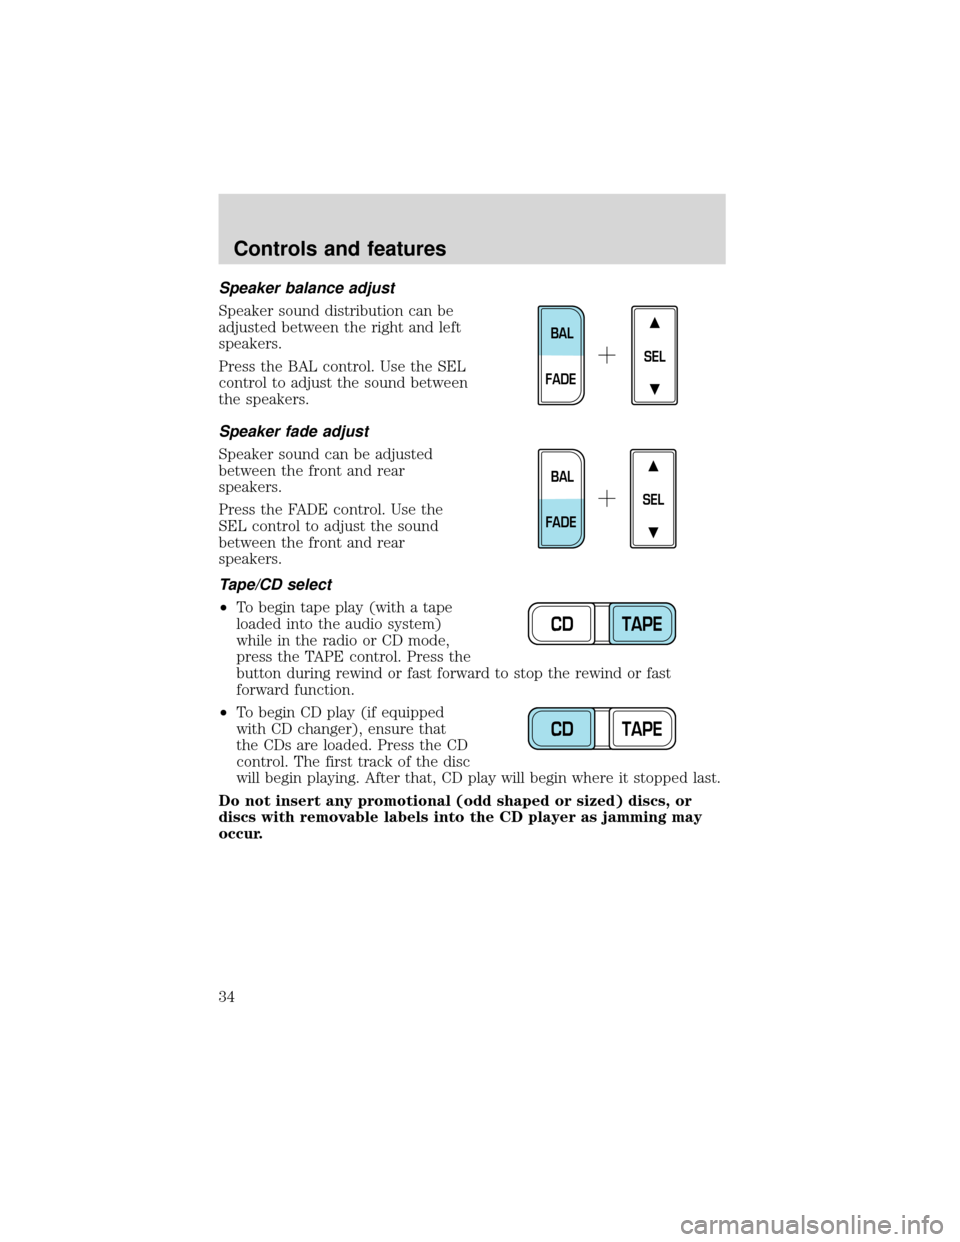
Speaker balance adjust
Speaker sound distribution can be
adjusted between the right and left
speakers.
Press the BAL control. Use the SEL
control to adjust the sound between
the speakers.
Speaker fade adjust
Speaker sound can be adjusted
between the front and rear
speakers.
Press the FADE control. Use the
SEL control to adjust the sound
between the front and rear
speakers.
Tape/CD select
•To begin tape play (with a tape
loaded into the audio system)
while in the radio or CD mode,
press the TAPE control. Press the
button during rewind or fast forward to stop the rewind or fast
forward function.
•To begin CD play (if equipped
with CD changer), ensure that
the CDs are loaded. Press the CD
control. The first track of the disc
will begin playing. After that, CD play will begin where it stopped last.
Do not insert any promotional (odd shaped or sized) discs, or
discs with removable labels into the CD player as jamming may
occur.
SEL
BAL
FADE
SEL
BAL
FADE
CD TAPE
CD TAPE
Controls and features
34
Page 37 of 280
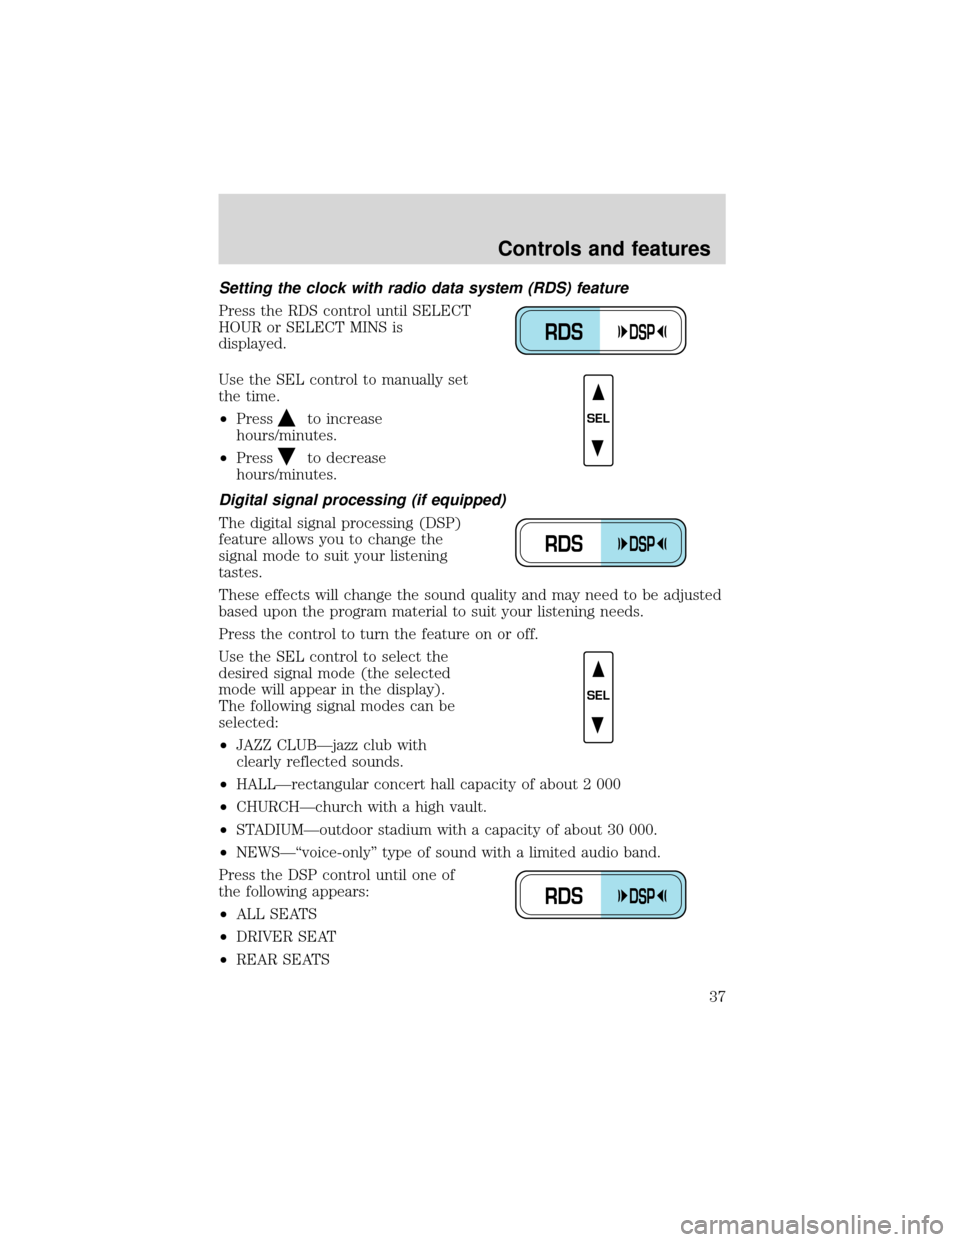
Setting the clock with radio data system (RDS) feature
Press the RDS control until SELECT
HOUR or SELECT MINS is
displayed.
Use the SEL control to manually set
the time.
•Press
to increase
hours/minutes.
•Press
to decrease
hours/minutes.
Digital signal processing (if equipped)
The digital signal processing (DSP)
feature allows you to change the
signal mode to suit your listening
tastes.
These effects will change the sound quality and may need to be adjusted
based upon the program material to suit your listening needs.
Press the control to turn the feature on or off.
Use the SEL control to select the
desired signal mode (the selected
mode will appear in the display).
The following signal modes can be
selected:
•JAZZ CLUB—jazz club with
clearly reflected sounds.
•HALL—rectangular concert hall capacity of about 2 000
•CHURCH—church with a high vault.
•STADIUM—outdoor stadium with a capacity of about 30 000.
•NEWS—“voice-only”type of sound with a limited audio band.
Press the DSP control until one of
the following appears:
•ALL SEATS
•DRIVER SEAT
•REAR SEATS
RDSDSP
SEL
RDSDSP
SEL
RDSDSP
Controls and features
37
Page 45 of 280
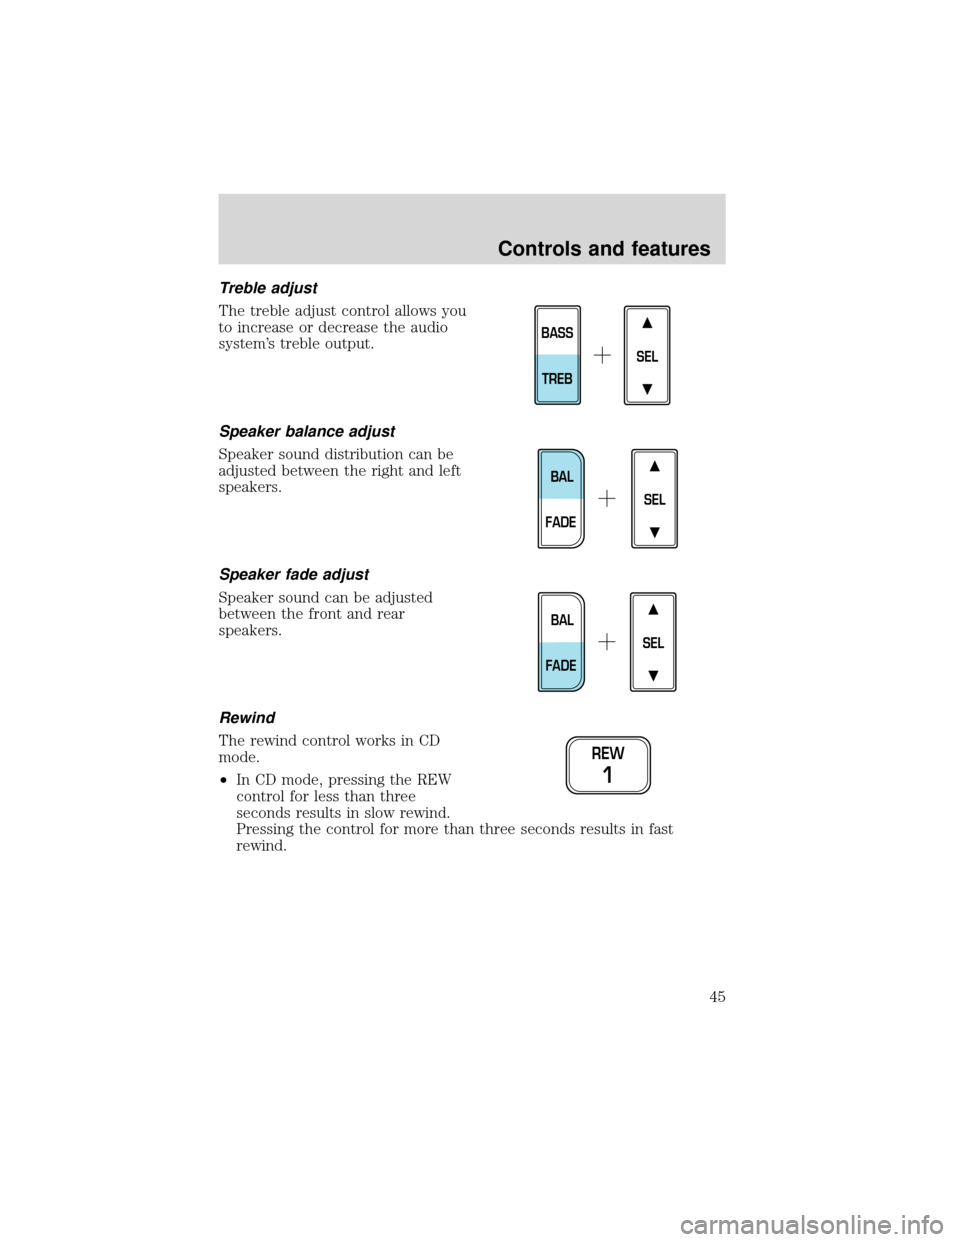
Treble adjust
The treble adjust control allows you
to increase or decrease the audio
system’s treble output.
Speaker balance adjust
Speaker sound distribution can be
adjusted between the right and left
speakers.
Speaker fade adjust
Speaker sound can be adjusted
between the front and rear
speakers.
Rewind
The rewind control works in CD
mode.
•In CD mode, pressing the REW
control for less than three
seconds results in slow rewind.
Pressing the control for more than three seconds results in fast
rewind.
SEL
BASS
TREB
SEL
BAL
FADE
SEL
BAL
FADE
REW
1
Controls and features
45