mirror FORD EXPEDITION 2003 2.G Owners Manual
[x] Cancel search | Manufacturer: FORD, Model Year: 2003, Model line: EXPEDITION, Model: FORD EXPEDITION 2003 2.GPages: 320, PDF Size: 3.67 MB
Page 80 of 320
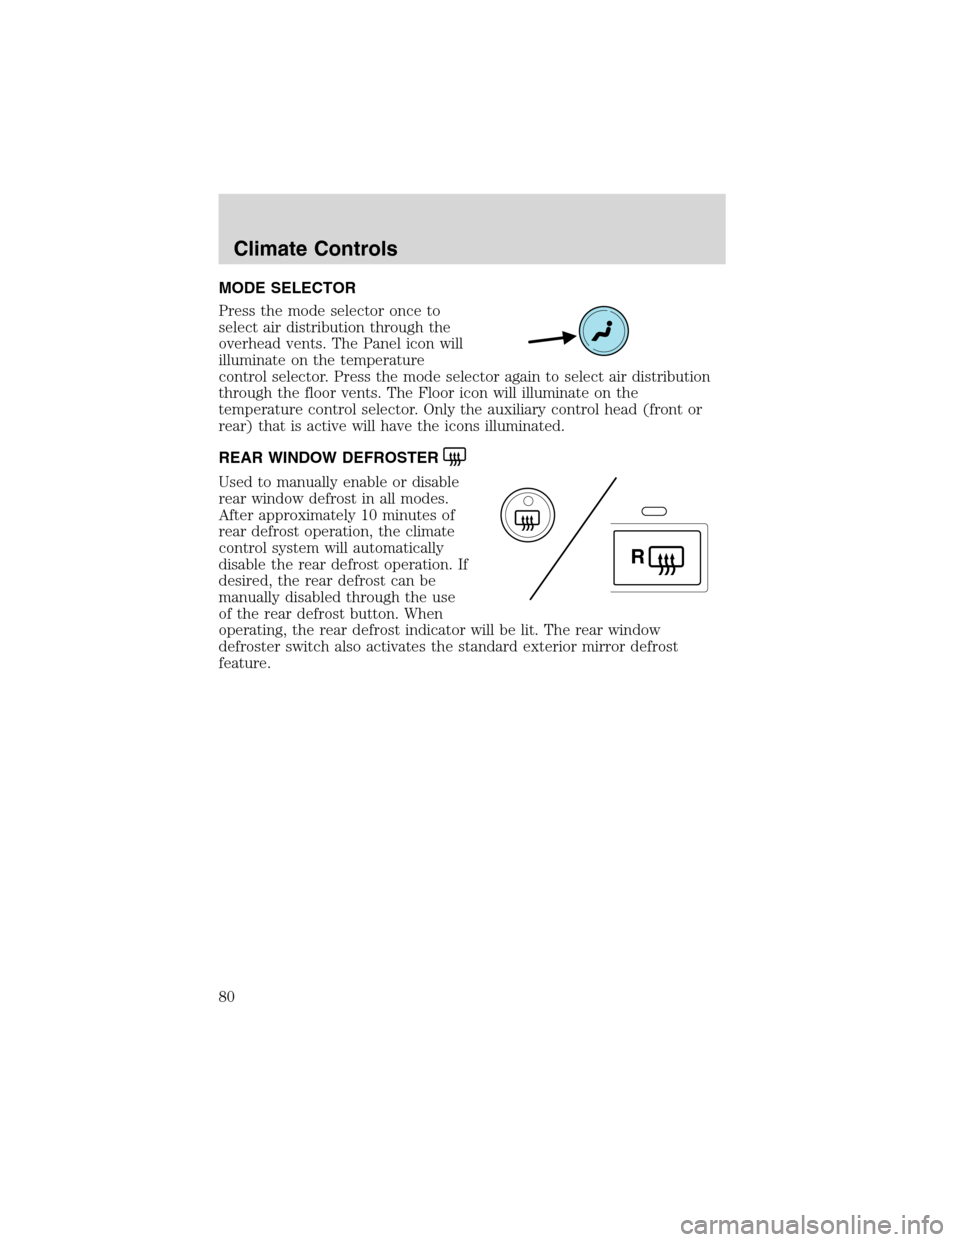
MODE SELECTOR
Press the mode selector once to
select air distribution through the
overhead vents. The Panel icon will
illuminate on the temperature
control selector. Press the mode selector again to select air distribution
through the floor vents. The Floor icon will illuminate on the
temperature control selector. Only the auxiliary control head (front or
rear) that is active will have the icons illuminated.
REAR WINDOW DEFROSTER
Used to manually enable or disable
rear window defrost in all modes.
After approximately 10 minutes of
rear defrost operation, the climate
control system will automatically
disable the rear defrost operation. If
desired, the rear defrost can be
manually disabled through the use
of the rear defrost button. When
operating, the rear defrost indicator will be lit. The rear window
defroster switch also activates the standard exterior mirror defrost
feature.
R
Climate Controls
80
Page 86 of 320
BULBS
Replacing exterior bulbs
Check the operation of all the bulbs frequently.
Using the right bulbs
Replacement bulbs are specified in the chart below. Headlamp bulbs
must be marked with an authorized“D.O.T.”for North America to ensure
lamp performance, light brightness and pattern and safe visibility. The
correct bulbs will not damage the lamp assembly or void the lamp
assembly warranty and will provide quality bulb burn time.
Function Number of bulbs Trade number
Headlamps (low-beam) 2 9006
Headlamps (high-beam) 2 9005
Front park/turn/sidemarker
lamps2 3457 K
Foglamps 2 899
Dome/map lamps 2 579
Turn/tail/brake/sidemarker
lamps2 3157
Approach/mirror turn
signal lamps2 906
Backup lamp 2 3156
License lamp 2 168
High-mount brake lamp 5 W5W
All replacement bulbs are clear in color except where noted.
To replace all instrument panel lights - see your dealer
Lights
86
Page 91 of 320
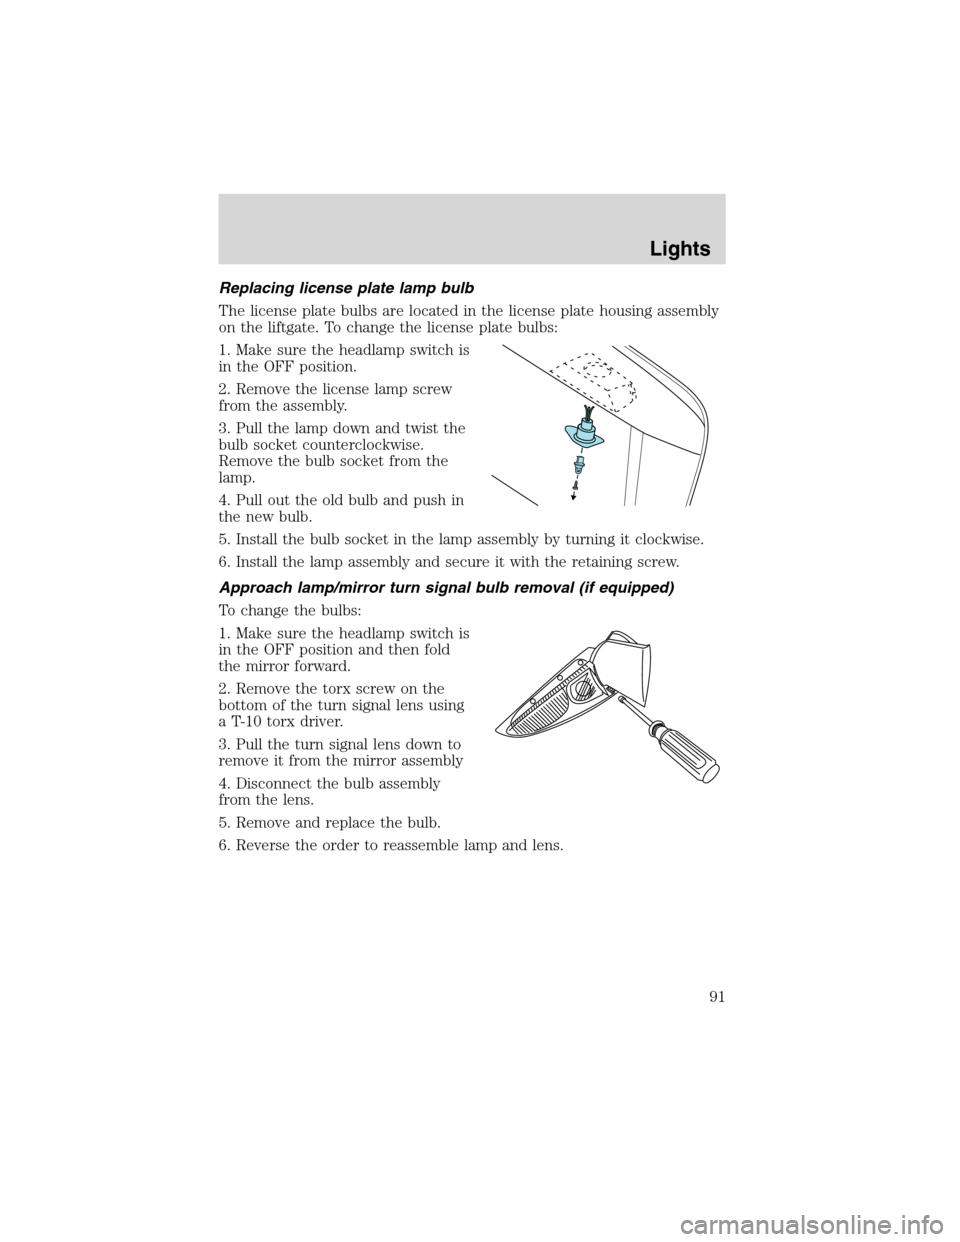
Replacing license plate lamp bulb
The license plate bulbs are located in the license plate housing assembly
on the liftgate. To change the license plate bulbs:
1. Make sure the headlamp switch is
in the OFF position.
2. Remove the license lamp screw
from the assembly.
3. Pull the lamp down and twist the
bulb socket counterclockwise.
Remove the bulb socket from the
lamp.
4. Pull out the old bulb and push in
the new bulb.
5. Install the bulb socket in the lamp assembly by turning it clockwise.
6. Install the lamp assembly and secure it with the retaining screw.
Approach lamp/mirror turn signal bulb removal (if equipped)
To change the bulbs:
1. Make sure the headlamp switch is
in the OFF position and then fold
the mirror forward.
2. Remove the torx screw on the
bottom of the turn signal lens using
a T-10 torx driver.
3. Pull the turn signal lens down to
remove it from the mirror assembly
4. Disconnect the bulb assembly
from the lens.
5. Remove and replace the bulb.
6. Reverse the order to reassemble lamp and lens.
Lights
91
Page 95 of 320
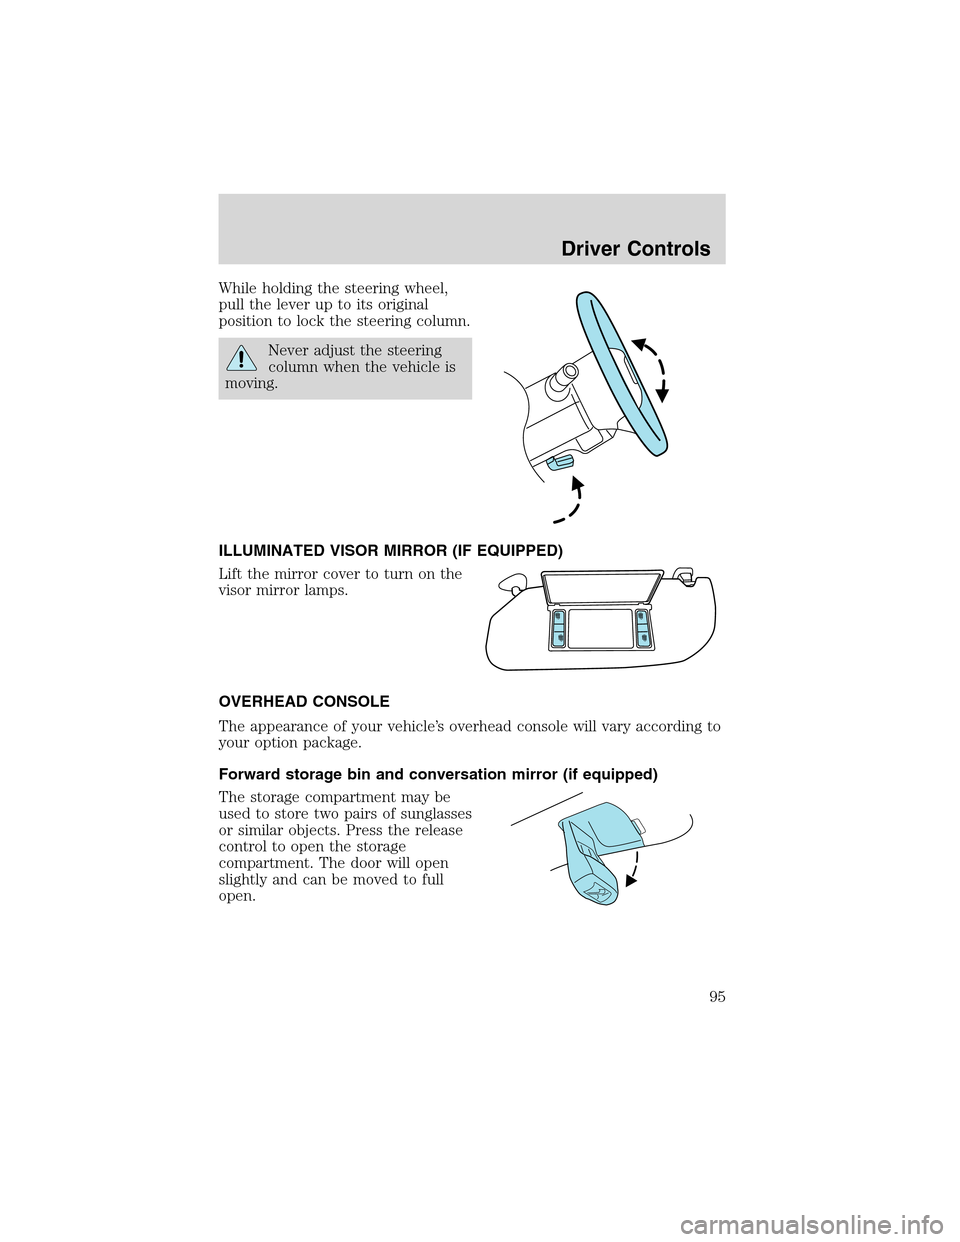
While holding the steering wheel,
pull the lever up to its original
position to lock the steering column.
Never adjust the steering
column when the vehicle is
moving.
ILLUMINATED VISOR MIRROR (IF EQUIPPED)
Lift the mirror cover to turn on the
visor mirror lamps.
OVERHEAD CONSOLE
The appearance of your vehicle’s overhead console will vary according to
your option package.
Forward storage bin and conversation mirror (if equipped)
The storage compartment may be
used to store two pairs of sunglasses
or similar objects. Press the release
control to open the storage
compartment. The door will open
slightly and can be moved to full
open.
Driver Controls
95
Page 96 of 320
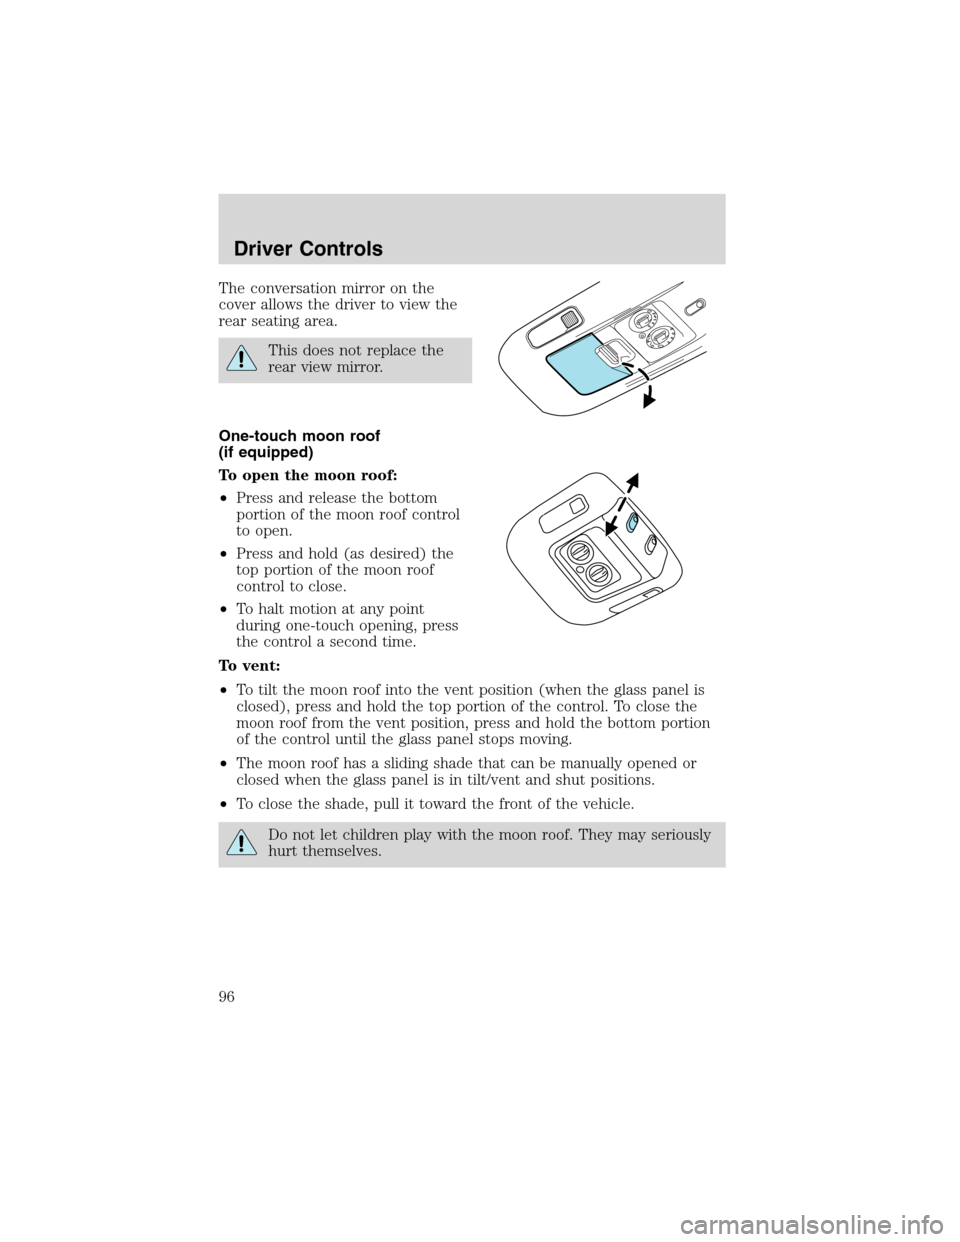
The conversation mirror on the
cover allows the driver to view the
rear seating area.
This does not replace the
rear view mirror.
One-touch moon roof
(if equipped)
To open the moon roof:
•Press and release the bottom
portion of the moon roof control
to open.
•Press and hold (as desired) the
top portion of the moon roof
control to close.
•To halt motion at any point
during one-touch opening, press
the control a second time.
To vent:
•To tilt the moon roof into the vent position (when the glass panel is
closed), press and hold the top portion of the control. To close the
moon roof from the vent position, press and hold the bottom portion
of the control until the glass panel stops moving.
•The moon roof has a sliding shade that can be manually opened or
closed when the glass panel is in tilt/vent and shut positions.
•To close the shade, pull it toward the front of the vehicle.
Do not let children play with the moon roof. They may seriously
hurt themselves.
Driver Controls
96
Page 100 of 320
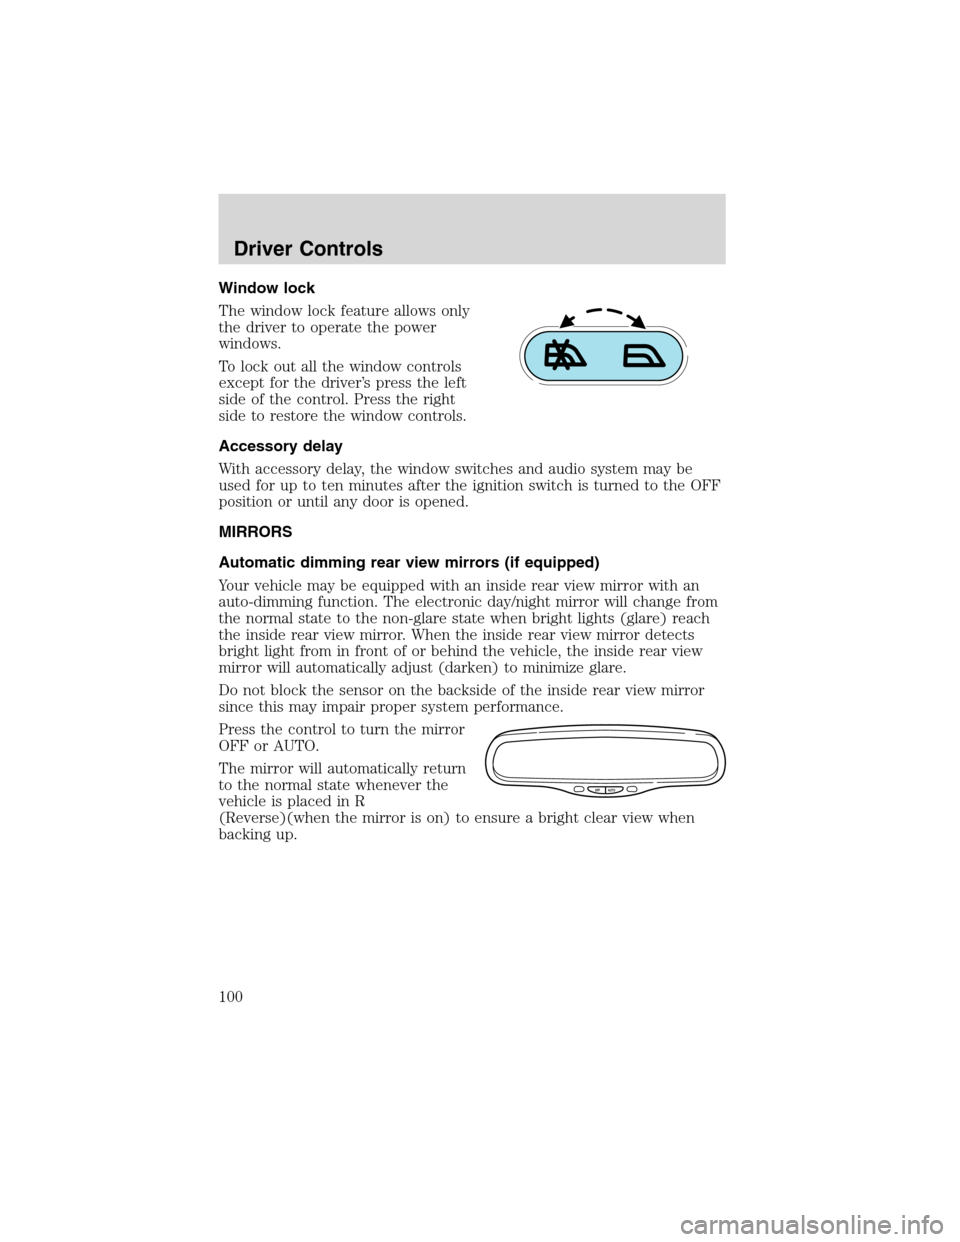
Window lock
The window lock feature allows only
the driver to operate the power
windows.
To lock out all the window controls
except for the driver’s press the left
side of the control. Press the right
side to restore the window controls.
Accessory delay
With accessory delay, the window switches and audio system may be
used for up to ten minutes after the ignition switch is turned to the OFF
position or until any door is opened.
MIRRORS
Automatic dimming rear view mirrors (if equipped)
Your vehicle may be equipped with an inside rear view mirror with an
auto-dimming function. The electronic day/night mirror will change from
the normal state to the non-glare state when bright lights (glare) reach
the inside rear view mirror. When the inside rear view mirror detects
bright light from in front of or behind the vehicle, the inside rear view
mirror will automatically adjust (darken) to minimize glare.
Do not block the sensor on the backside of the inside rear view mirror
since this may impair proper system performance.
Press the control to turn the mirror
OFF or AUTO.
The mirror will automatically return
to the normal state whenever the
vehicle is placed in R
(Reverse)(when the mirror is on) to ensure a bright clear view when
backing up.
OFF AUTO
Driver Controls
100
Page 101 of 320
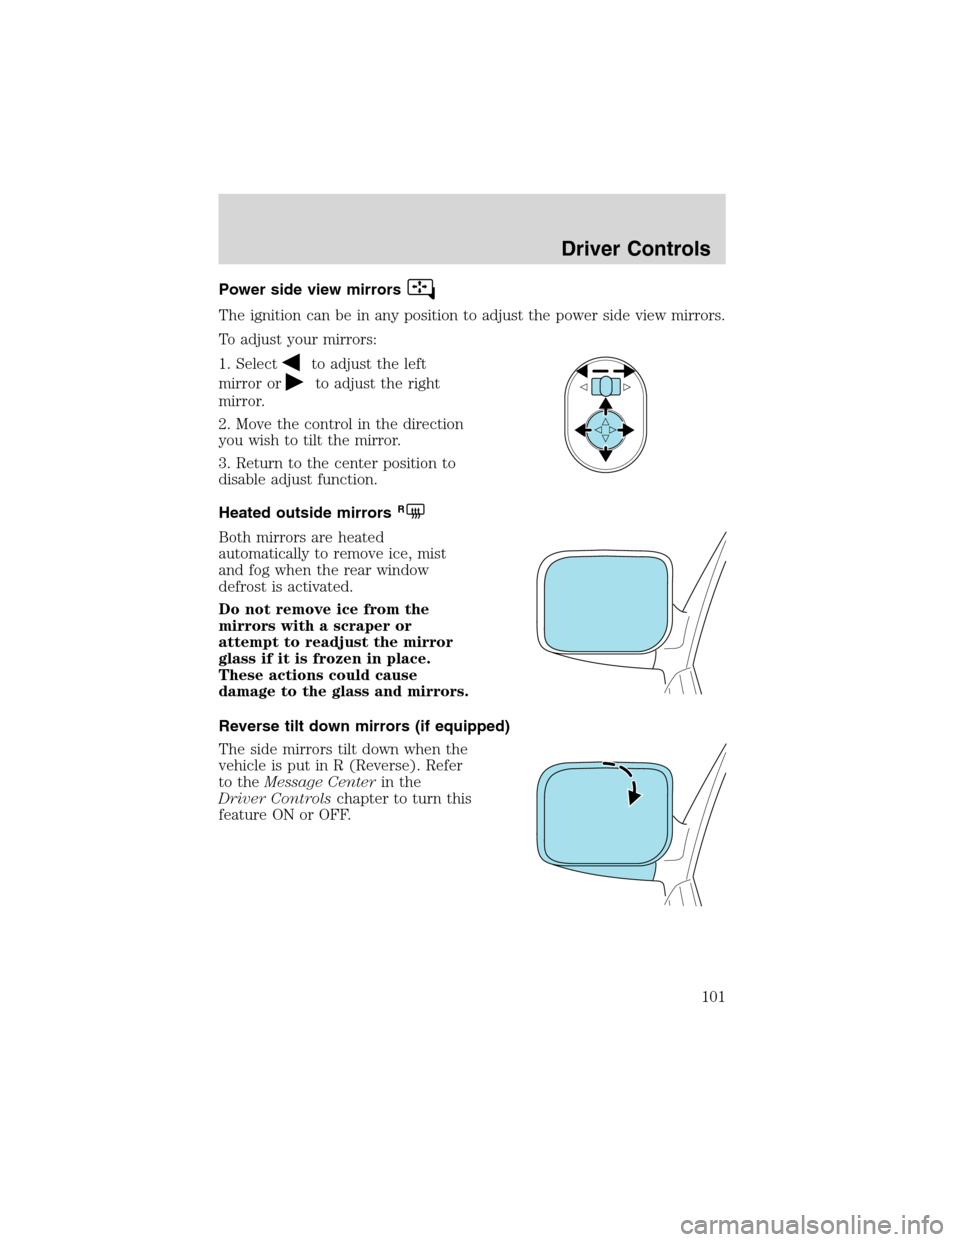
Power side view mirrors
The ignition can be in any position to adjust the power side view mirrors.
To adjust your mirrors:
1. Select
to adjust the left
mirror or
to adjust the right
mirror.
2. Move the control in the direction
you wish to tilt the mirror.
3. Return to the center position to
disable adjust function.
Heated outside mirrors
R
Both mirrors are heated
automatically to remove ice, mist
and fog when the rear window
defrost is activated.
Do not remove ice from the
mirrors with a scraper or
attempt to readjust the mirror
glass if it is frozen in place.
These actions could cause
damage to the glass and mirrors.
Reverse tilt down mirrors (if equipped)
The side mirrors tilt down when the
vehicle is put in R (Reverse). Refer
to theMessage Centerin the
Driver Controlschapter to turn this
feature ON or OFF.
Driver Controls
101
Page 102 of 320
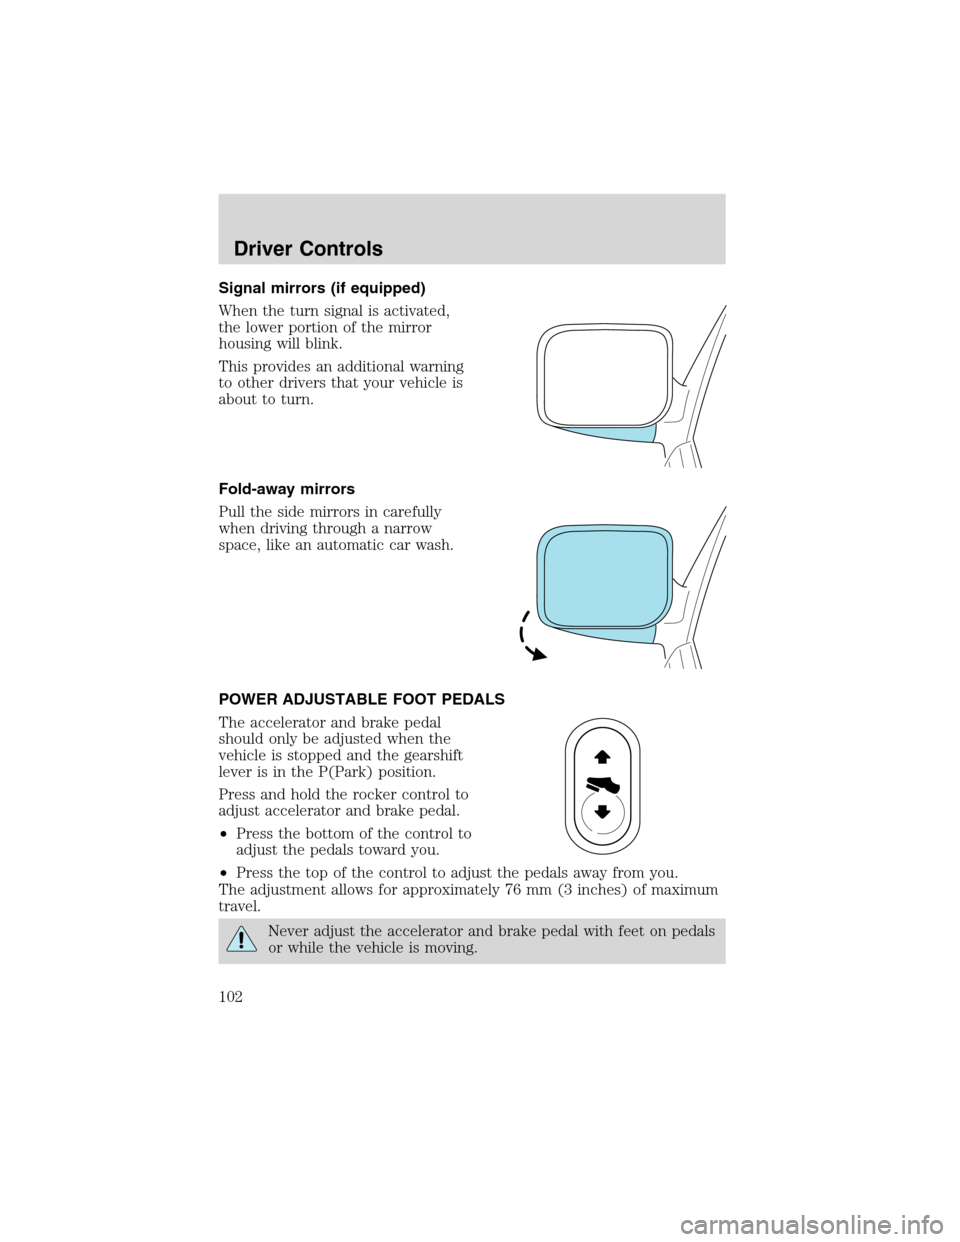
Signal mirrors (if equipped)
When the turn signal is activated,
the lower portion of the mirror
housing will blink.
This provides an additional warning
to other drivers that your vehicle is
about to turn.
Fold-away mirrors
Pull the side mirrors in carefully
when driving through a narrow
space, like an automatic car wash.
POWER ADJUSTABLE FOOT PEDALS
The accelerator and brake pedal
should only be adjusted when the
vehicle is stopped and the gearshift
lever is in the P(Park) position.
Press and hold the rocker control to
adjust accelerator and brake pedal.
•Press the bottom of the control to
adjust the pedals toward you.
•Press the top of the control to adjust the pedals away from you.
The adjustment allows for approximately 76 mm (3 inches) of maximum
travel.
Never adjust the accelerator and brake pedal with feet on pedals
or while the vehicle is moving.
Driver Controls
102
Page 117 of 320
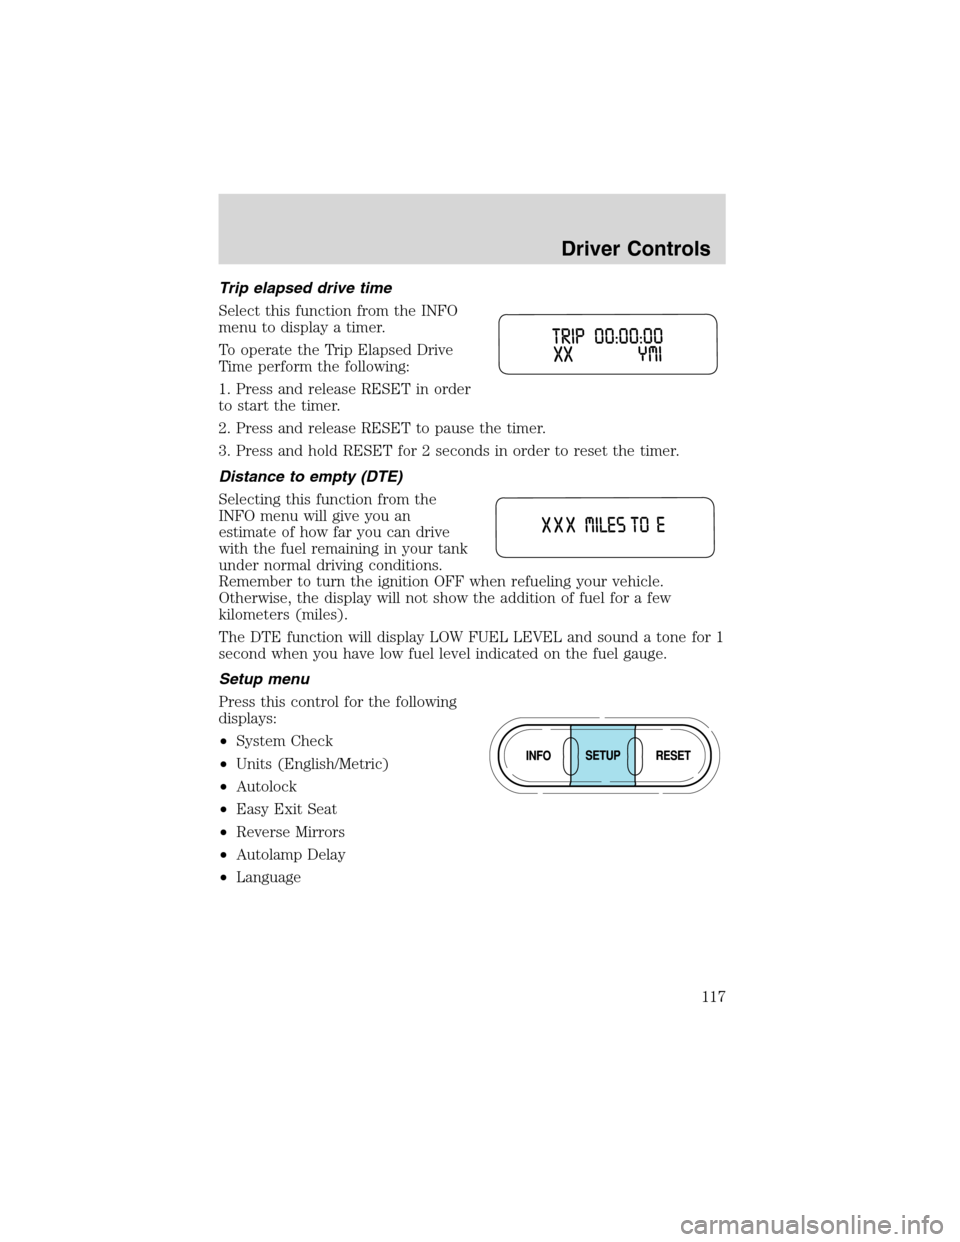
Trip elapsed drive time
Select this function from the INFO
menu to display a timer.
To operate the Trip Elapsed Drive
Time perform the following:
1. Press and release RESET in order
to start the timer.
2. Press and release RESET to pause the timer.
3. Press and hold RESET for 2 seconds in order to reset the timer.
Distance to empty (DTE)
Selecting this function from the
INFO menu will give you an
estimate of how far you can drive
with the fuel remaining in your tank
under normal driving conditions.
Remember to turn the ignition OFF when refueling your vehicle.
Otherwise, the display will not show the addition of fuel for a few
kilometers (miles).
The DTE function will display LOW FUEL LEVEL and sound a tone for 1
second when you have low fuel level indicated on the fuel gauge.
Setup menu
Press this control for the following
displays:
•System Check
•Units (English/Metric)
•Autolock
•Easy Exit Seat
•Reverse Mirrors
•Autolamp Delay
•Language
Driver Controls
117
Page 118 of 320
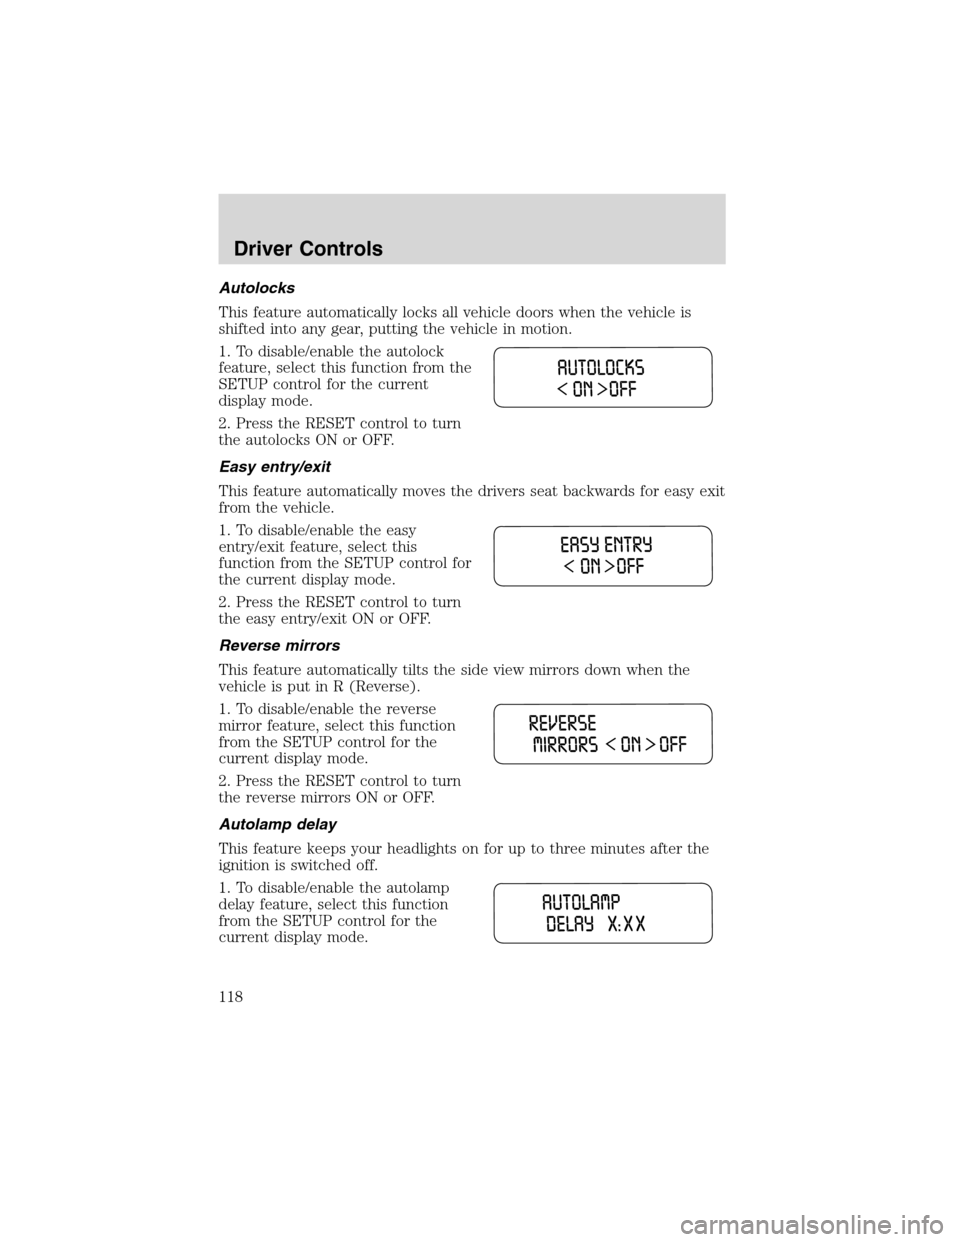
Autolocks
This feature automatically locks all vehicle doors when the vehicle is
shifted into any gear, putting the vehicle in motion.
1. To disable/enable the autolock
feature, select this function from the
SETUP control for the current
display mode.
2. Press the RESET control to turn
the autolocks ON or OFF.
Easy entry/exit
This feature automatically moves the drivers seat backwards for easy exit
from the vehicle.
1. To disable/enable the easy
entry/exit feature, select this
function from the SETUP control for
the current display mode.
2. Press the RESET control to turn
the easy entry/exit ON or OFF.
Reverse mirrors
This feature automatically tilts the side view mirrors down when the
vehicle is put in R (Reverse).
1. To disable/enable the reverse
mirror feature, select this function
from the SETUP control for the
current display mode.
2. Press the RESET control to turn
the reverse mirrors ON or OFF.
Autolamp delay
This feature keeps your headlights on for up to three minutes after the
ignition is switched off.
1. To disable/enable the autolamp
delay feature, select this function
from the SETUP control for the
current display mode.
Driver Controls
118