open hood FORD EXPEDITION 2015 3.G Owners Manual
[x] Cancel search | Manufacturer: FORD, Model Year: 2015, Model line: EXPEDITION, Model: FORD EXPEDITION 2015 3.GPages: 564, PDF Size: 6.71 MB
Page 7 of 564
Maintenance 290
General information...................................290
Opening and closing the hood............................291
Under hood overview..................................292
Engine oil dipstick....................................293
Engine oil check......................................293
Engine coolant check..................................294
Automatic transmission fluid check........................298
Brake fluid check.....................................299
Fuel filter...........................................299
Washer fluid check....................................300
Battery ............................................300
Checking the wiper blades..............................301
Changing the wiper blades..............................302
Air filter(s).........................................303
Adjusting the headlamps................................306
Changing a bulb......................................307
Removing a headlamp..................................308
Vehicle Care 313
Cleaning products.....................................313
Cleaning the exterior..................................313
Waxing.............................................315
Repairing minor paint damage............................315
Cleaning the engine...................................315
Cleaning the windows and wiper blades.....................316
Cleaning the interior...................................317
Cleaning the instrument panel and instrument cluster lens.......318
Cleaning the alloy wheels...............................320
Vehicle storage.......................................321
6Table of Contents
2015 Expedition(exd)
Owners Guide gf, 1st Printing, July 2014
USA(fus)
Page 52 of 564
The Safety Canopy will deploy during significant side crashes or when a
certain likelihood of a rollover event is detected by the rollover sensor.
The Safety Canopy is mounted to the roof side-rail sheet metal, behind
the headliner, above each row of seats. In certain sideways crashes or
rollover events, the Safety Canopy will be activated, regardless of which
seats are occupied. The Safety Canopy is designed to inflate between the
side window area and occupants to further enhance protection provided
in side impact crashes and rollover events.
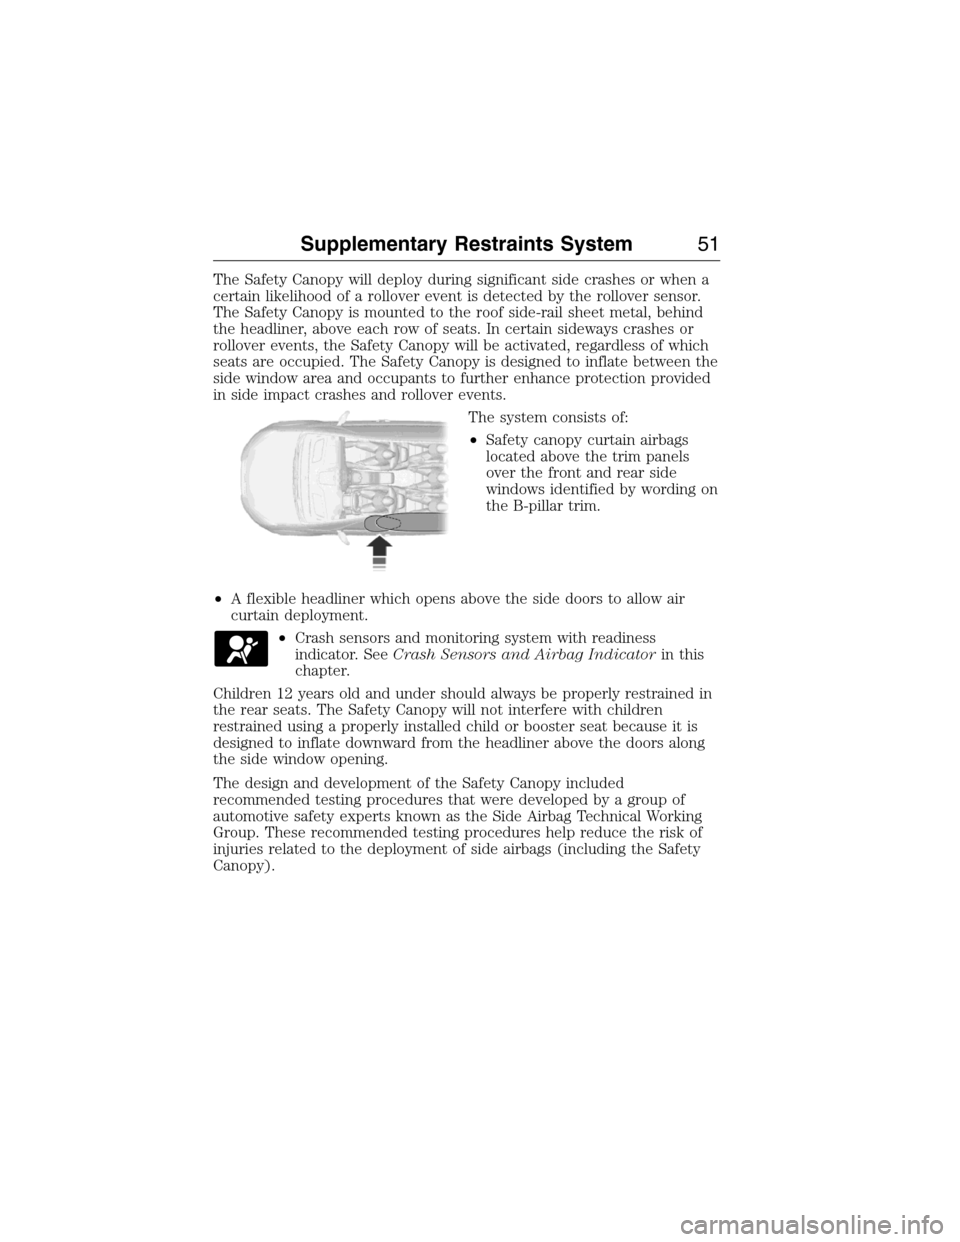
The system consists of:
•Safety canopy curtain airbags
located above the trim panels
over the front and rear side
windows identified by wording on
the B-pillar trim.
•A flexible headliner which opens above the side doors to allow air
curtain deployment.
•Crash sensors and monitoring system with readiness
indicator. SeeCrash Sensors and Airbag Indicatorin this
chapter.
Children 12 years old and under should always be properly restrained in
the rear seats. The Safety Canopy will not interfere with children
restrained using a properly installed child or booster seat because it is
designed to inflate downward from the headliner above the doors along
the side window opening.
The design and development of the Safety Canopy included
recommended testing procedures that were developed by a group of
automotive safety experts known as the Side Airbag Technical Working
Group. These recommended testing procedures help reduce the risk of
injuries related to the deployment of side airbags (including the Safety
Canopy).
Supplementary Restraints System51
2015 Expedition(exd)
Owners Guide gf, 1st Printing, July 2014
USA(fus)
Page 60 of 564
Car Finder
Press the button twice within three seconds. The horn will sound
and the turn signals will flash. We recommend you use this
method to locate your vehicle, rather than using the panic alarm.
Sounding a Panic Alarm
Press the button to activate the alarm. Press the button again
or switch the ignition on to deactivate.
Note:The panic alarm will only operate when the ignition is off.
Remote Start (If Equipped)
WARNING:To avoid exhaust fumes, do not use remote start if
your vehicle is parked indoors or areas that are not well
ventilated.
Note:Do not use remote start if your vehicle is low on fuel.
The remote start button is on the transmitter.
This feature allows you to start your vehicle from outside your vehicle.
The transmitter has an extended operating range.
Vehicles with automatic climate control can be configured to operate
when the vehicle is remote started. See theClimate Controlchapter for
more information. A manual climate control system will run at the setting
it was set to when your vehicle was last turned off.
Many states and provinces have restrictions for the use of remote start.
Check your local and state or provincial laws for specific requirements
regarding remote start systems.
The remote start system will not work if:
•the ignition is on
•the alarm system is triggered
•you disable the feature
•the hood is open
•the transmission is not inP
•the vehicle battery voltage is too low
•the service engine soon light is on.
Keys and Remote Control59
2015 Expedition(exd)
Owners Guide gf, 1st Printing, July 2014
USA(fus)
Page 70 of 564
LOCKING AND UNLOCKING
You can use the power door lock control or the remote control to lock
and unlock your vehicle.
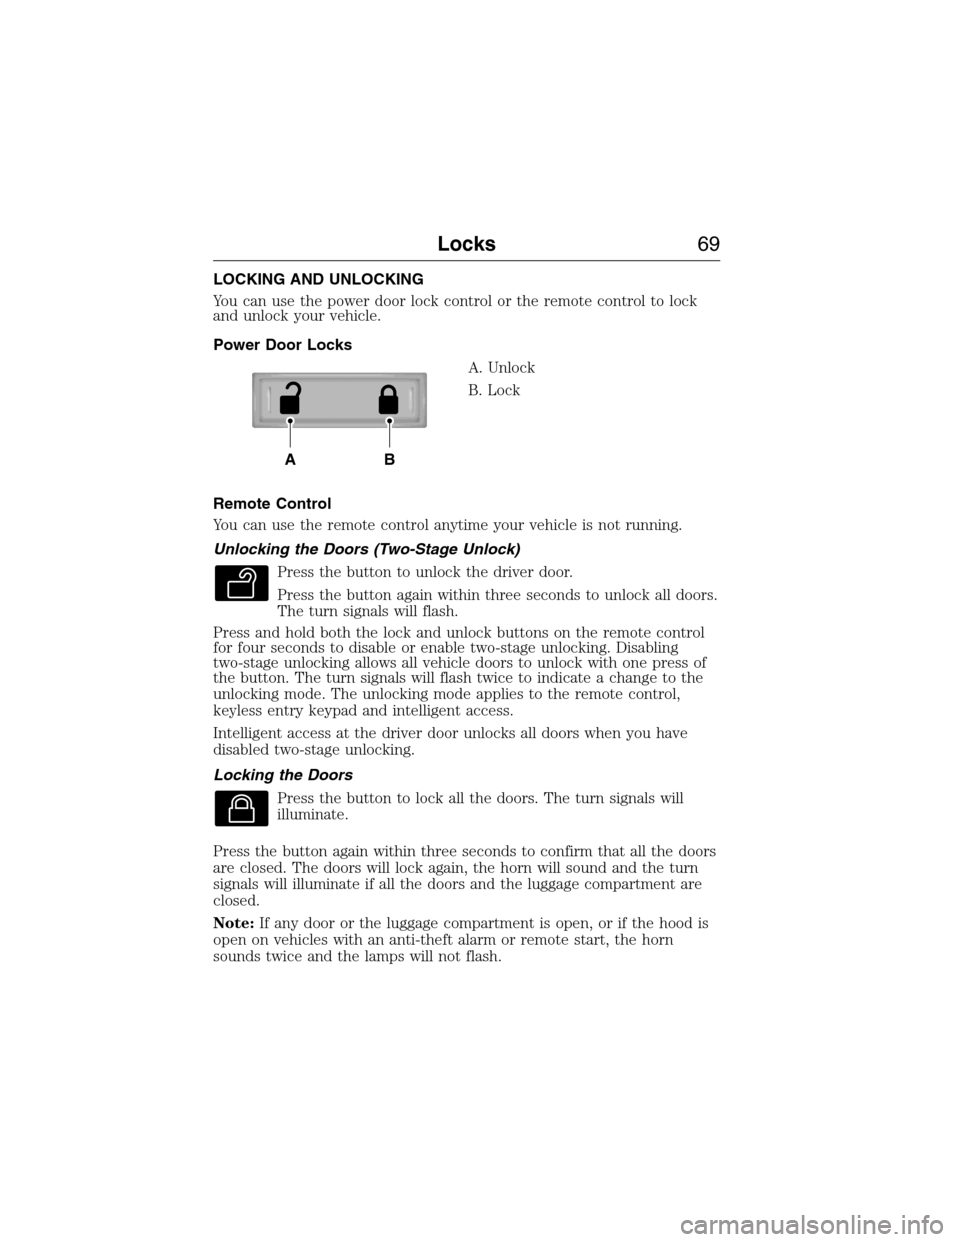
Power Door Locks
A. Unlock
B. Lock
Remote Control
You can use the remote control anytime your vehicle is not running.
Unlocking the Doors (Two-Stage Unlock)
Press the button to unlock the driver door.
Press the button again within three seconds to unlock all doors.
The turn signals will flash.
Press and hold both the lock and unlock buttons on the remote control
for four seconds to disable or enable two-stage unlocking. Disabling
two-stage unlocking allows all vehicle doors to unlock with one press of
the button. The turn signals will flash twice to indicate a change to the
unlocking mode. The unlocking mode applies to the remote control,
keyless entry keypad and intelligent access.
Intelligent access at the driver door unlocks all doors when you have
disabled two-stage unlocking.
Locking the Doors
Press the button to lock all the doors. The turn signals will
illuminate.
Press the button again within three seconds to confirm that all the doors
are closed. The doors will lock again, the horn will sound and the turn
signals will illuminate if all the doors and the luggage compartment are
closed.
Note:If any door or the luggage compartment is open, or if the hood is
open on vehicles with an anti-theft alarm or remote start, the horn
sounds twice and the lamps will not flash.
AB
Locks69
2015 Expedition(exd)
Owners Guide gf, 1st Printing, July 2014
USA(fus)
Page 83 of 564
ANTI-THEFT ALARM
The system will warn you of unauthorized entry to your vehicle.
The turn signal lamps will flash and the horn will sound when:
•any door or the hood is opened without using the key or the remote
control
•the ignition is turned on with an invalid key.
Take all keys and remote controls to your authorized dealer if there is
any potential alarm problem with your vehicle.
Arming the Alarm
The system is ready to arm whenever the ignition is off. Lock the vehicle
to arm the alarm.
The turn signal lamps will flash once after locking the vehicle to indicate
the alarm is in the pre-armed mode and will become fully armed in
20 seconds.
Disarming the Alarm
To disarm the alarm, do any of the following:
•Press the power door unlock button within the 20-second pre-armed
mode.
•Press the unlock button on the remote control.
•Unlock the doors with the keyless entry pad.
•Turn the ignition on with a valid key.
•Press the panic button on the remote control. The alarm system will
still be armed, but this shuts off the horn and turn lamps when the
alarm is sounding.
Note:If the driver’s door is unlocked with a key, a chime will sound
when you open the door. You will have 12 seconds to disarm the alarm
using any of the actions above, otherwise the alarm will trigger.
82Security
2015 Expedition(exd)
Owners Guide gf, 1st Printing, July 2014
USA(fus)
Page 292 of 564
Working with the Engine Off
1. Set the parking brake and shift toP(Park).
2. Turn off the engine and remove the key (if equipped).
3. Block the wheels.
Working with the Engine On
WARNING:To reduce the risk of vehicle damage or personal
burn injuries, do not start your engine with the air cleaner
removed and do not remove it while the engine is running.
1. Set the parking brake and shift to positionP(Park) .
2. Block the wheels.
OPENING AND CLOSING THE HOOD
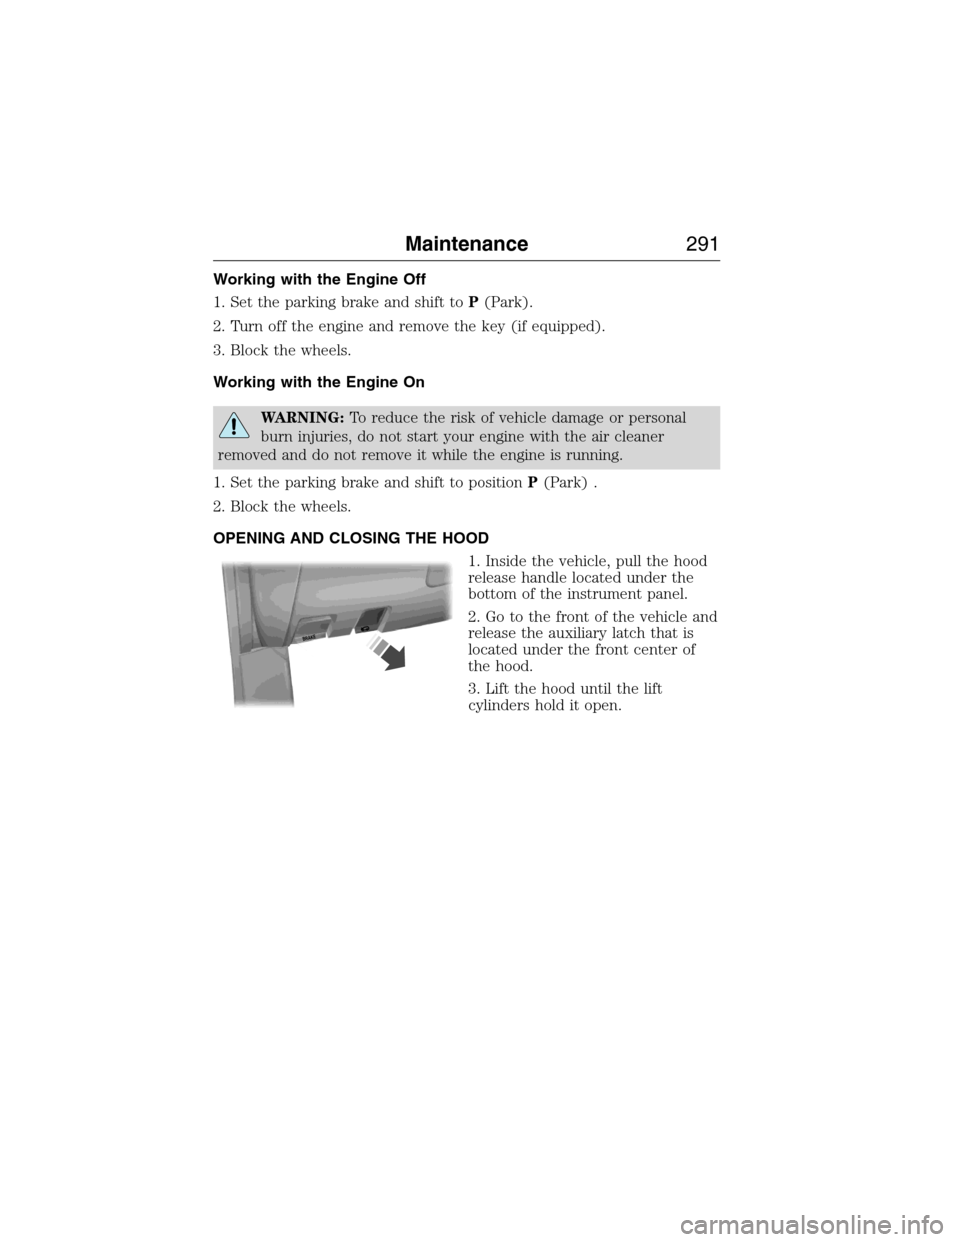
1. Inside the vehicle, pull the hood
release handle located under the
bottom of the instrument panel.
2. Go to the front of the vehicle and
release the auxiliary latch that is
located under the front center of
the hood.
3. Lift the hood until the lift
cylinders hold it open.
B
R
A
K
E
Maintenance291
2015 Expedition(exd)
Owners Guide gf, 1st Printing, July 2014
USA(fus)
Page 294 of 564
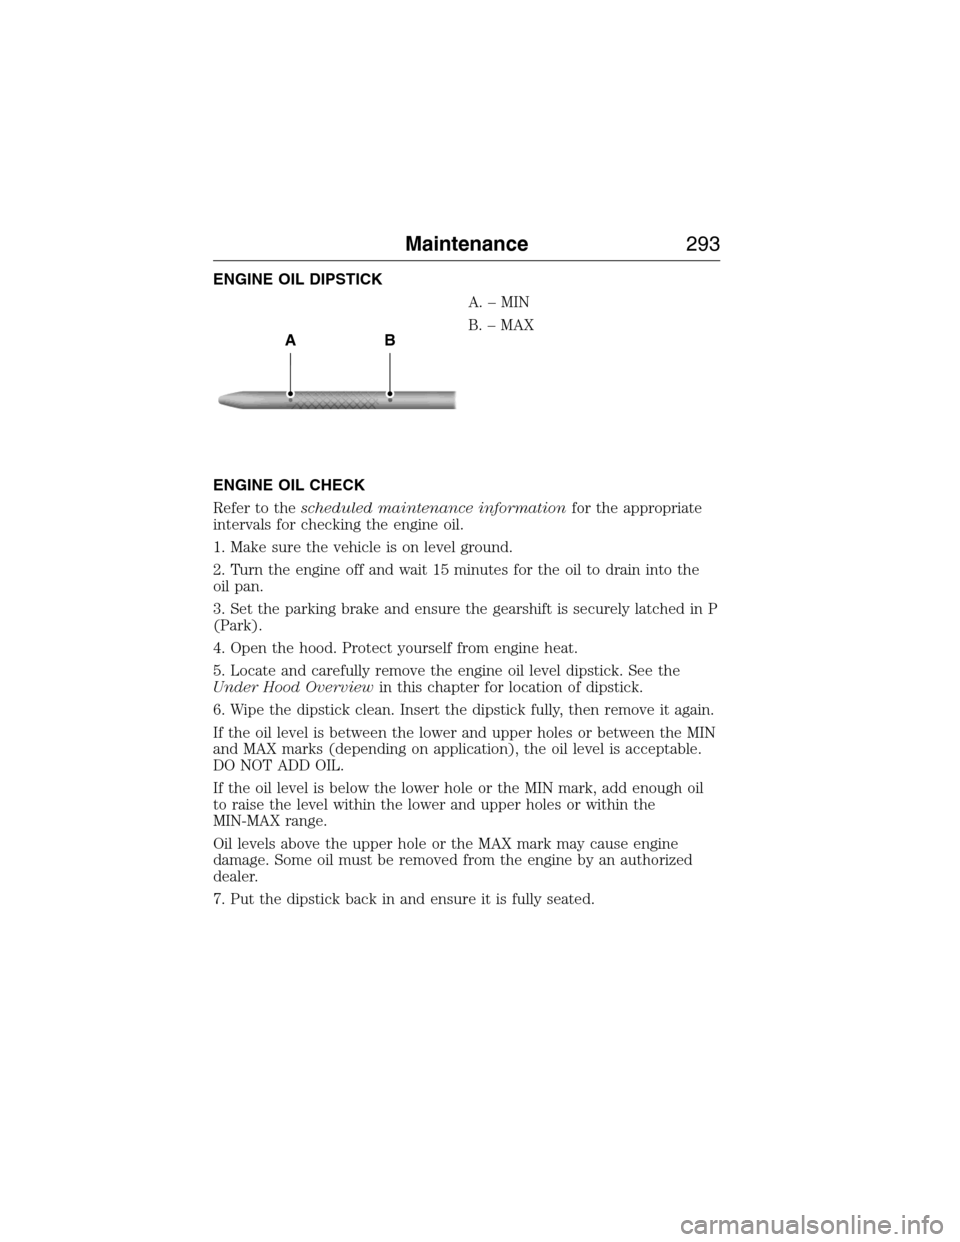
ENGINE OIL DIPSTICK
A.–MIN
B. – MAX
ENGINE OIL CHECK
Refer to thescheduled maintenance informationfor the appropriate
intervals for checking the engine oil.
1. Make sure the vehicle is on level ground.
2. Turn the engine off and wait 15 minutes for the oil to drain into the
oil pan.
3. Set the parking brake and ensure the gearshift is securely latched in P
(Park).
4. Open the hood. Protect yourself from engine heat.
5. Locate and carefully remove the engine oil level dipstick. See the
Under Hood Overviewin this chapter for location of dipstick.
6. Wipe the dipstick clean. Insert the dipstick fully, then remove it again.
If the oil level is between the lower and upper holes or between the MIN
and MAX marks (depending on application), the oil level is acceptable.
DO NOT ADD OIL.
If the oil level is below the lower hole or the MIN mark, add enough oil
to raise the level within the lower and upper holes or within the
MIN-MAX range.
Oil levels above the upper hole or the MAX mark may cause engine
damage. Some oil must be removed from the engine by an authorized
dealer.
7. Put the dipstick back in and ensure it is fully seated.
AB
Maintenance293
2015 Expedition(exd)
Owners Guide gf, 1st Printing, July 2014
USA(fus)
Page 307 of 564
ADJUSTING THE HEADLAMPS
The headlamps on your vehicle are properly aimed at the assembly plant.
If your vehicle has been in an accident, an authorized dealer should
check the alignment of your headlamps.
Vertical Aim Adjustment
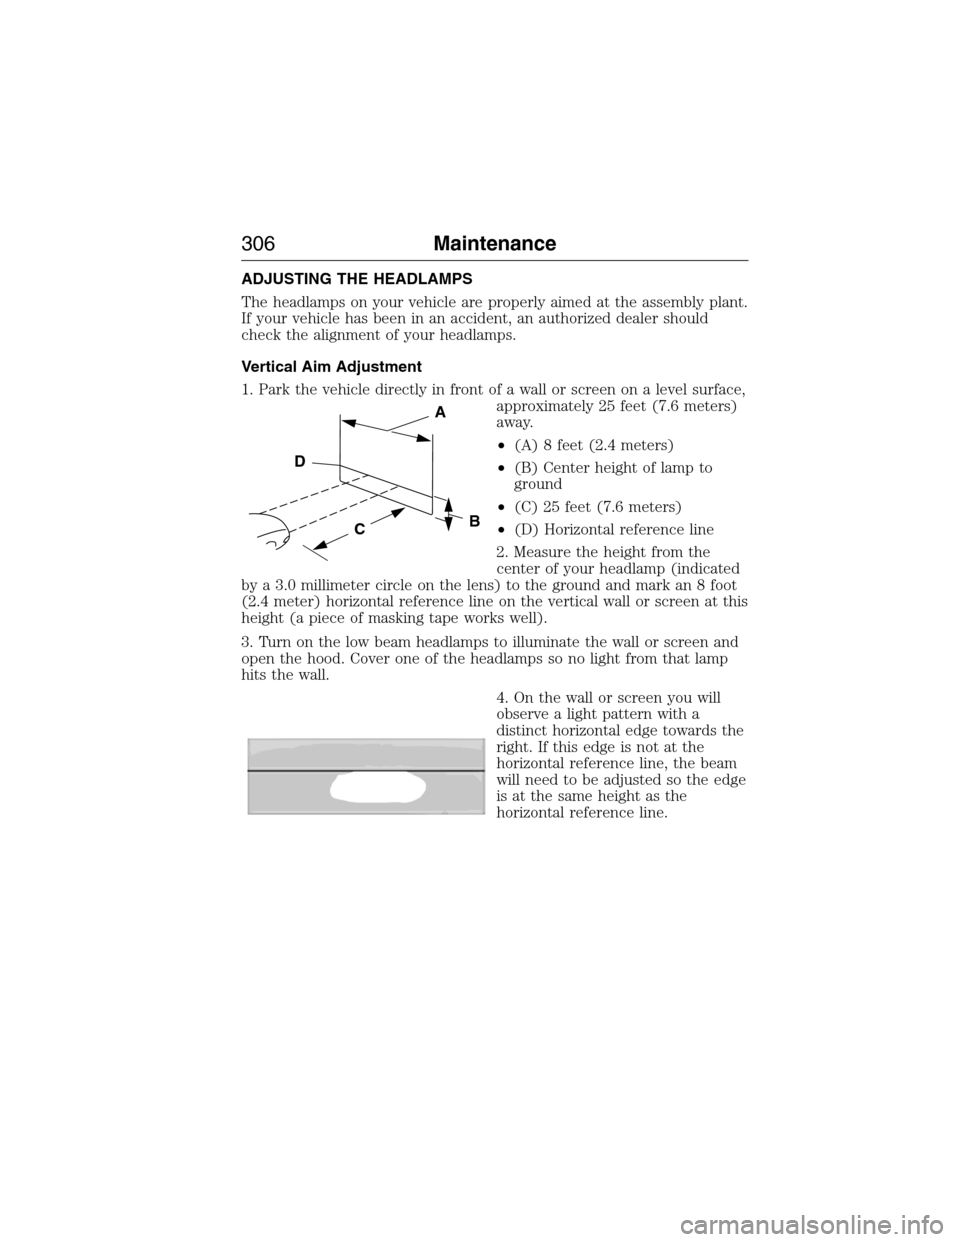
1. Park the vehicle directly in front of a wall or screen on a level surface,
approximately 25 feet (7.6 meters)
away.
•(A) 8 feet (2.4 meters)
•(B) Center height of lamp to
ground
•(C) 25 feet (7.6 meters)
•(D) Horizontal reference line
2. Measure the height from the
center of your headlamp (indicated
by a 3.0 millimeter circle on the lens) to the ground and mark an 8 foot
(2.4 meter) horizontal reference line on the vertical wall or screen at this
height (a piece of masking tape works well).
3. Turn on the low beam headlamps to illuminate the wall or screen and
open the hood. Cover one of the headlamps so no light from that lamp
hits the wall.
4. On the wall or screen you will
observe a light pattern with a
distinct horizontal edge towards the
right. If this edge is not at the
horizontal reference line, the beam
will need to be adjusted so the edge
is at the same height as the
horizontal reference line.
C
A
B
D
306Maintenance
2015 Expedition(exd)
Owners Guide gf, 1st Printing, July 2014
USA(fus)
Page 309 of 564
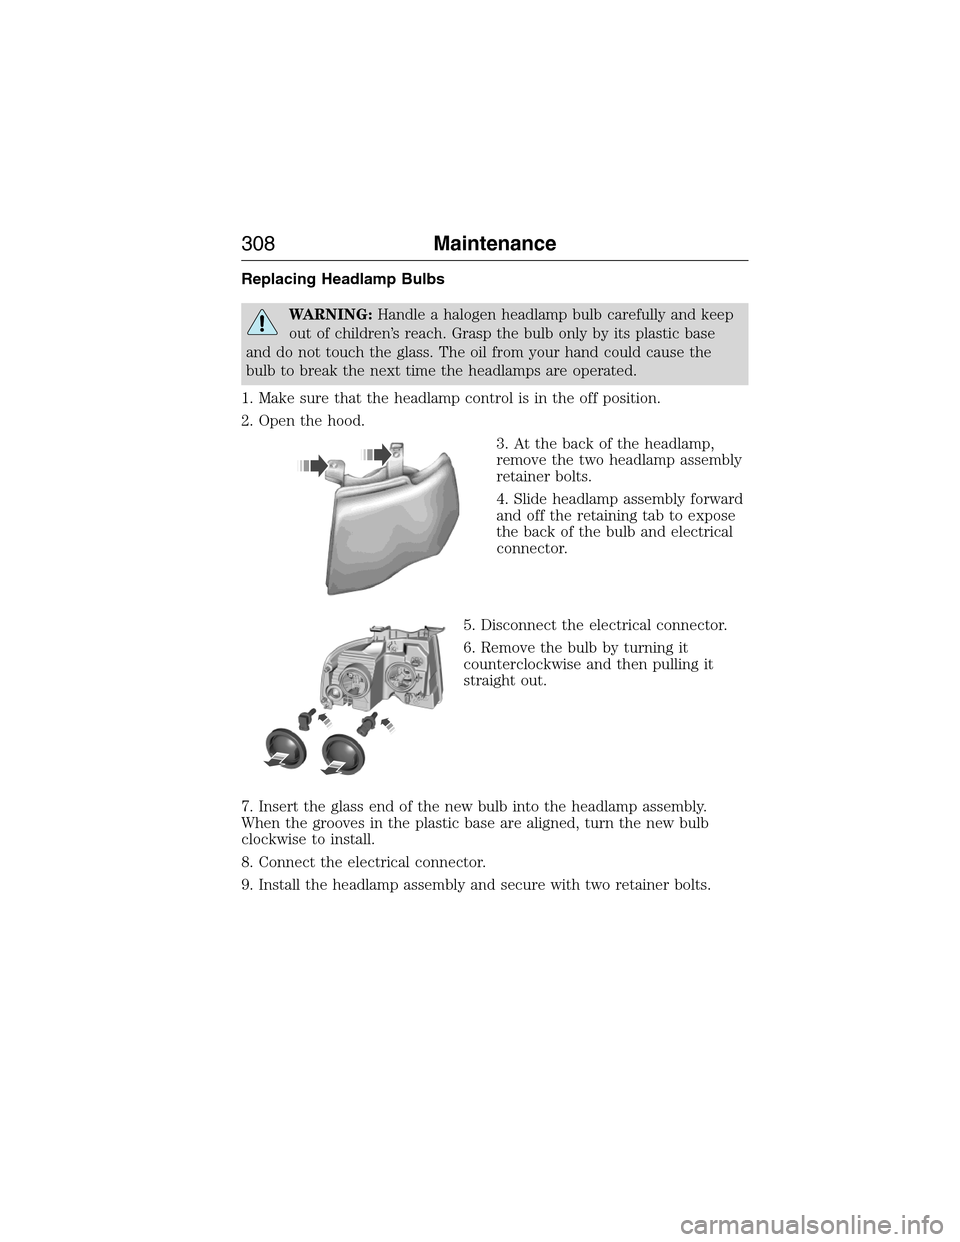
Replacing Headlamp Bulbs
WARNING:Handle a halogen headlamp bulb carefully and keep
out of children’s reach. Grasp the bulb only by its plastic base
and do not touch the glass. The oil from your hand could cause the
bulb to break the next time the headlamps are operated.
1. Make sure that the headlamp control is in the off position.
2. Open the hood.
3. At the back of the headlamp,
remove the two headlamp assembly
retainer bolts.
4. Slide headlamp assembly forward
and off the retaining tab to expose
the back of the bulb and electrical
connector.
5. Disconnect the electrical connector.
6. Remove the bulb by turning it
counterclockwise and then pulling it
straight out.
7. Insert the glass end of the new bulb into the headlamp assembly.
When the grooves in the plastic base are aligned, turn the new bulb
clockwise to install.
8. Connect the electrical connector.
9. Install the headlamp assembly and secure with two retainer bolts.
308Maintenance
2015 Expedition(exd)
Owners Guide gf, 1st Printing, July 2014
USA(fus)
Page 310 of 564
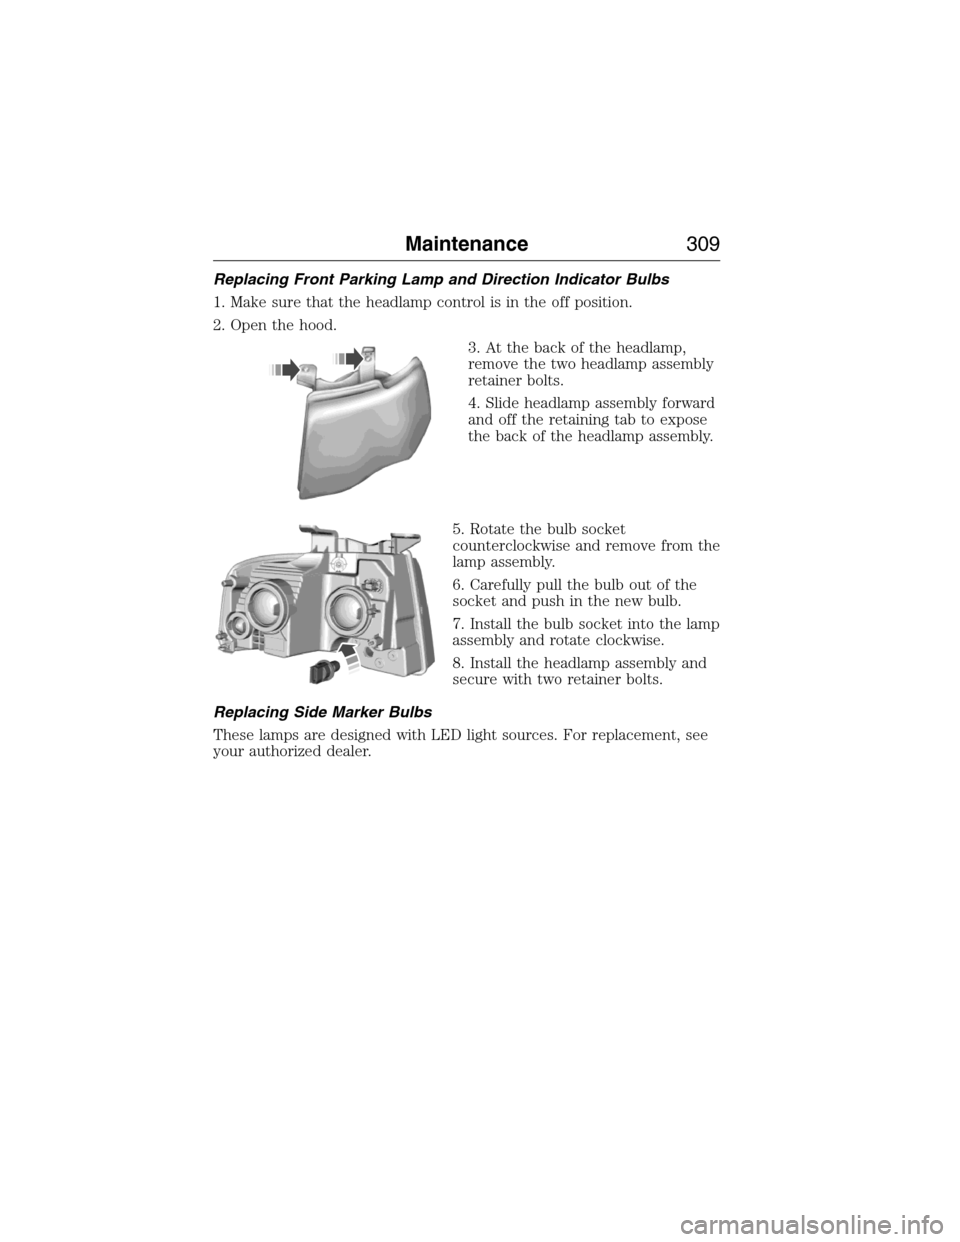
Replacing Front Parking Lamp and Direction Indicator Bulbs
1. Make sure that the headlamp control is in the off position.
2. Open the hood.
3. At the back of the headlamp,
remove the two headlamp assembly
retainer bolts.
4. Slide headlamp assembly forward
and off the retaining tab to expose
the back of the headlamp assembly.
5. Rotate the bulb socket
counterclockwise and remove from the
lamp assembly.
6. Carefully pull the bulb out of the
socket and push in the new bulb.
7. Install the bulb socket into the lamp
assembly and rotate clockwise.
8. Install the headlamp assembly and
secure with two retainer bolts.
Replacing Side Marker Bulbs
These lamps are designed with LED light sources. For replacement, see
your authorized dealer.
Maintenance309
2015 Expedition(exd)
Owners Guide gf, 1st Printing, July 2014
USA(fus)