horn FORD EXPLORER 1997 2.G Owners Manual
[x] Cancel search | Manufacturer: FORD, Model Year: 1997, Model line: EXPLORER, Model: FORD EXPLORER 1997 2.GPages: 236, PDF Size: 2.43 MB
Page 66 of 236

Identifying an armed anti-theft
system
When the system is armed, the
warning light will illuminate for 30
seconds. After 30 seconds, the
light will flash.
If the system is armed with the
doors open, the warning light will
stay illuminated until all the doors
are closed and then illuminate for
30 seconds and begin flashing.
When an unauthorized entry
occurs, the activated system will:
²flash the headlamps, parklamps
and the warning light in the
instrument cluster.
²sound the horn.
²prohibit the vehicle from
starting.
The flashing headlamps and
honking horn will automatically
shut off after about three minutes
and will remain off unless another
unauthorized entry is attempted.
However, the vehicle will not start
until the system is disarmed.
uno_anti-theft_disar_trig
Controls and features
67
Page 69 of 236

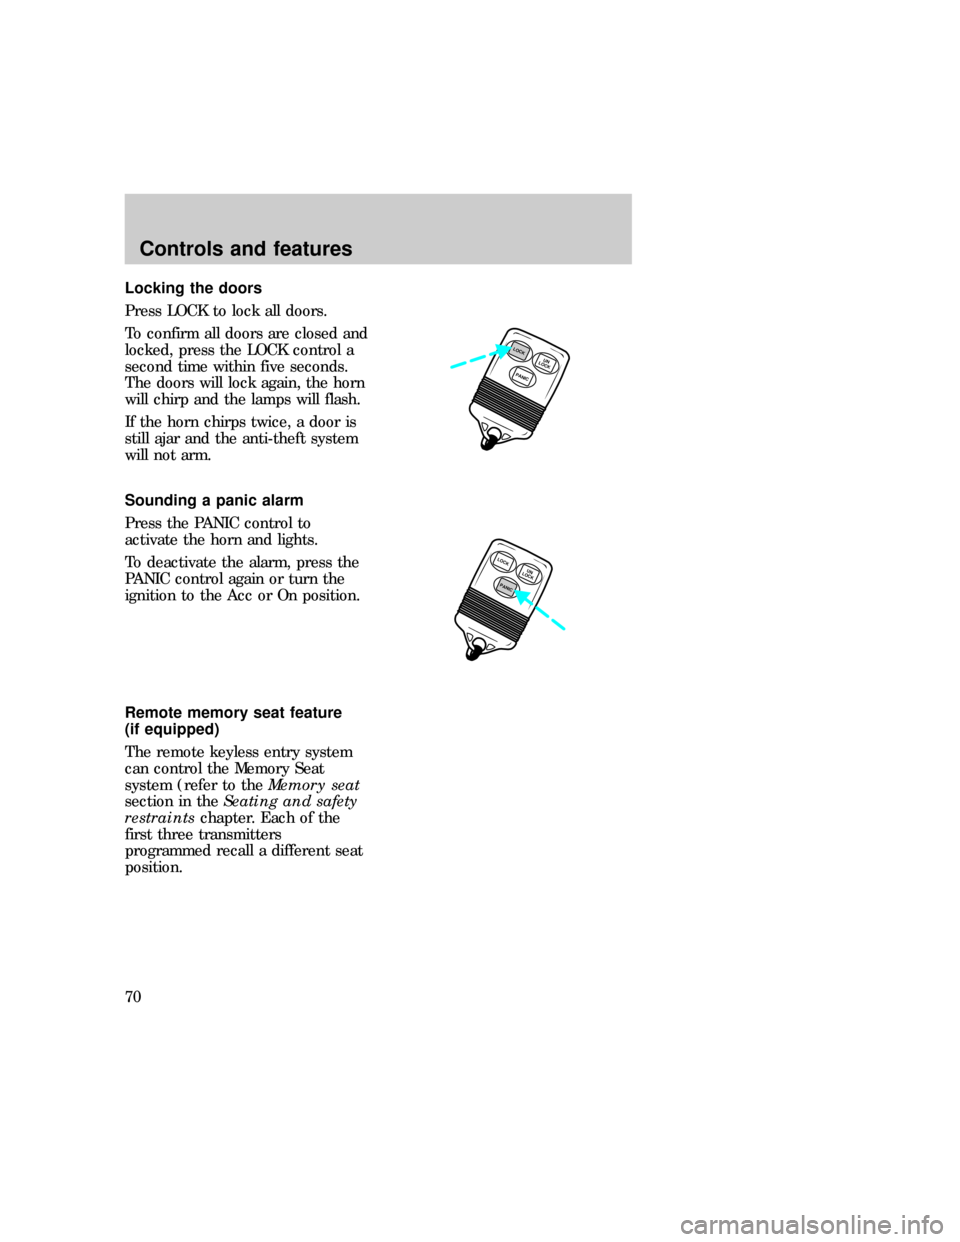
Locking the doors
Press LOCK to lock all doors.
To confirm all doors are closed and
locked, press the LOCK control a
second time within five seconds.
The doors will lock again, the horn
will chirp and the lamps will flash.
If the horn chirps twice, a door is
still ajar and the anti-theft system
will not arm.
Sounding a panic alarm
Press the PANIC control to
activate the horn and lights.
To deactivate the alarm, press the
PANIC control again or turn the
ignition to the Acc or On position.
Remote memory seat feature
(if equipped)
The remote keyless entry system
can control the Memory Seat
system (refer to theMemory seat
section in theSeating and safety
restraintschapter. Each of the
first three transmitters
programmed recall a different seat
position.
PANICUN
LOCKLOCK
LOCK
PANICUN
LOCK
uno_remote_panic
uno_remote_memory_seat
Controls and features
70
Page 71 of 236

5. Press the door power unlock
switch three times.
6. Turn the ignition key back to
ON within 30 seconds of step two.
7. The horn should chirp once. If
not, wait 30 seconds and repeat
steps one through six.
8. Press the door power unlock
switch twice.
9. Press the door power lock
switch.
10. The horn will chirp twice if the
remote memory seat feature was
deactivated, three times (two short
chirps followed by a long chirp) if
the remote memory seat feature
was activated.
11. Turn the ignition key to OFF.
12. The horn will chirp once to
confirm that you activated or
deactivated the remote memory
seat feature.
To reactivate the system, simply
repeat the instruction for
deactivating. By reentering the
code that deactivates the remote
memory seat, the keyless entry
system reinstates the feature.
The memory seat function will
continue to work from the door
switch even when deactivated at
the remote keyless entry module.
Replacing the batteries
The transmitter is powered by two
coin-type three-volt lithium
batteries. A decrease in operating
range can be caused by:
uno_remote_batteries
Controls and features
72
Page 153 of 236

Maxi fuses
Fuse Amperage Circuits protected
1 30 Rear window defrost
2 30 PCM power relay
3 20 Fuel system, anti-theft
system
4 20 Headlamps
5 30 ABS system
6 30 ABS system
7 20 Trailer park LP and
trailer stop LP
8 30 Battery saver relay
and headlamp relay
9 50 Blower motor
10 30 Power locks, power
windows and power
seats
11 20 PCM memory and
horn
12 50 Air ride control relay
13 60 Instrument panel fuse
panel
14 60 Ignition
Mini fuses
1 30 JBL system
2 15 Rear wiper system
3 30 Power point
4 20 4WD system
5 15 Air suspension system
6 15 Alternator system
7 10 Air bag system
8 15 DRL/Fog
lamps/Off-road lamps
9 - Not used
Roadside emergencies
154
Page 154 of 236

Maxi fuses
10 - Not used
11 20 HEGO system
Relay number Circuits connected
1 Wiper run relay
2 Horn relay
3 Wiper HI/LO relay
4 WOT A/C relay
5 PCM power relay
6 Fuel pump relay
Diode number Circuits connected
1 ABS diode
2 PCM diode
Relays
Relays are located in the power
distribution box.
Relays receive signals from
components or systems and
transfer these signals to activate or
deactivate other components or
systems.
Ford recommends that relays be
replaced by a qualified service
technician.
6
5
3
2
14 21
uno_relays
Roadside emergencies
155
Page 155 of 236

Relay number Circuits protected
1 Wiper run relay
2 Horn relay
3 Wiper HI/LO relay
4 WOT A/C relay
5 PCM power relay
6 Fuel pump relay
Diode number Circuits protected
1 ABS diode
2 PCM diode
CHANGING TIRES
Tire change procedure
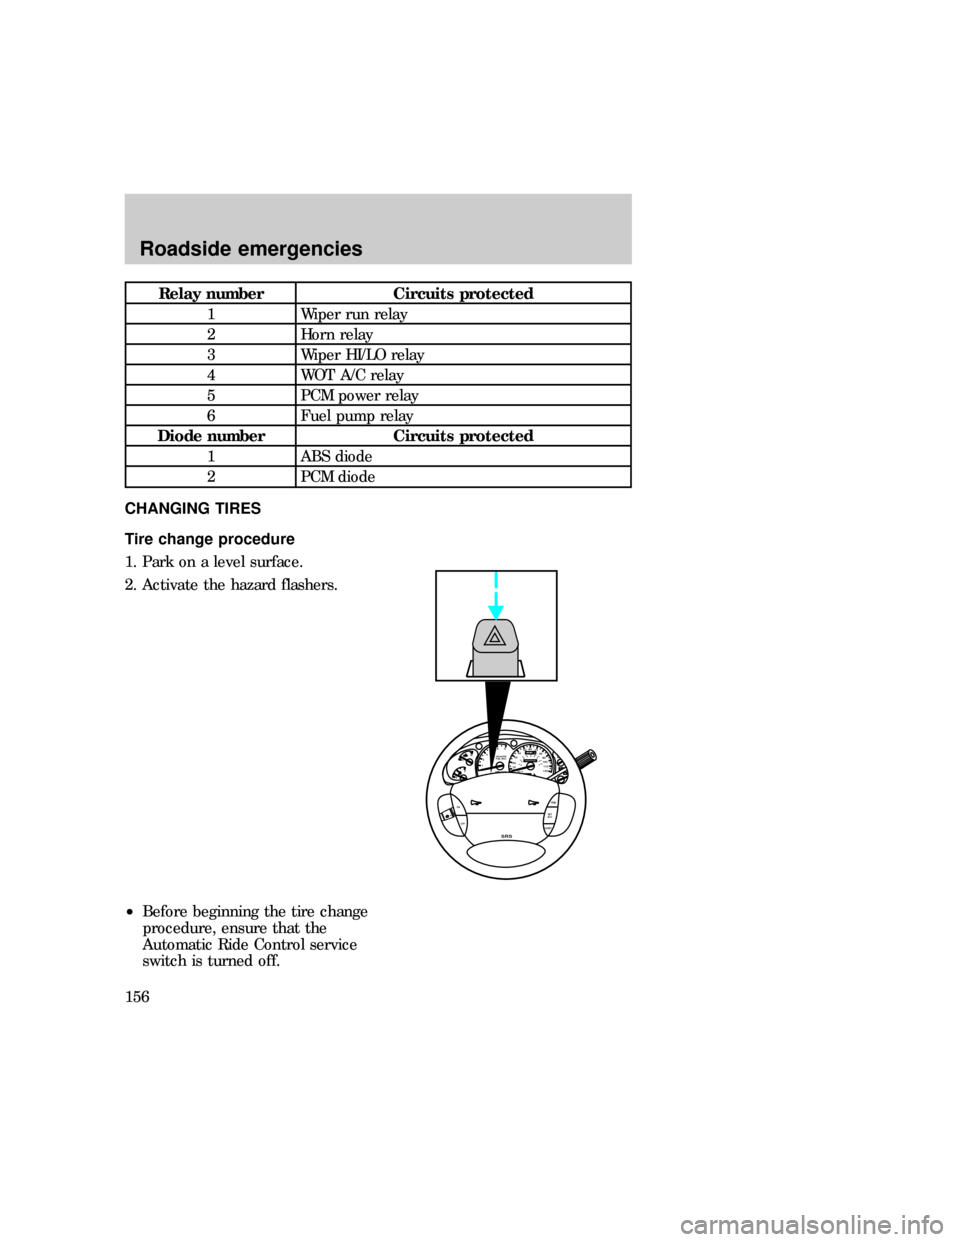
1. Park on a level surface.
2. Activate the hazard flashers.
²Before beginning the tire change
procedure, ensure that the
Automatic Ride Control service
switch is turned off.
0P RND21
UNLEADED
FUEL ONLY
RPM x 100012345
6H
C
F
E
RSM
SET
ACC
COAST OFF ON
SRS
- +H
H
L L020
1030405060
70
80
90
110
120000000oooo
km/h10020406080100
120
140
160
180
uno_tire_change_procedure
Roadside emergencies
156