heater FORD EXPLORER 2006 4.G Owners Manual
[x] Cancel search | Manufacturer: FORD, Model Year: 2006, Model line: EXPLORER, Model: FORD EXPLORER 2006 4.GPages: 328, PDF Size: 3.59 MB
Page 77 of 328

Compass calibration adjustment
Perform compass calibration in an open area free from steel structures
and high voltage lines. For optimum calibration, turn off all electrical
accessories (heater/air conditioning, wipers, etc.) and make sure all
vehicle doors are shut.
1. Start the vehicle.
2. Locate the reset button on the compass sensor mounted on the base
of mirror.
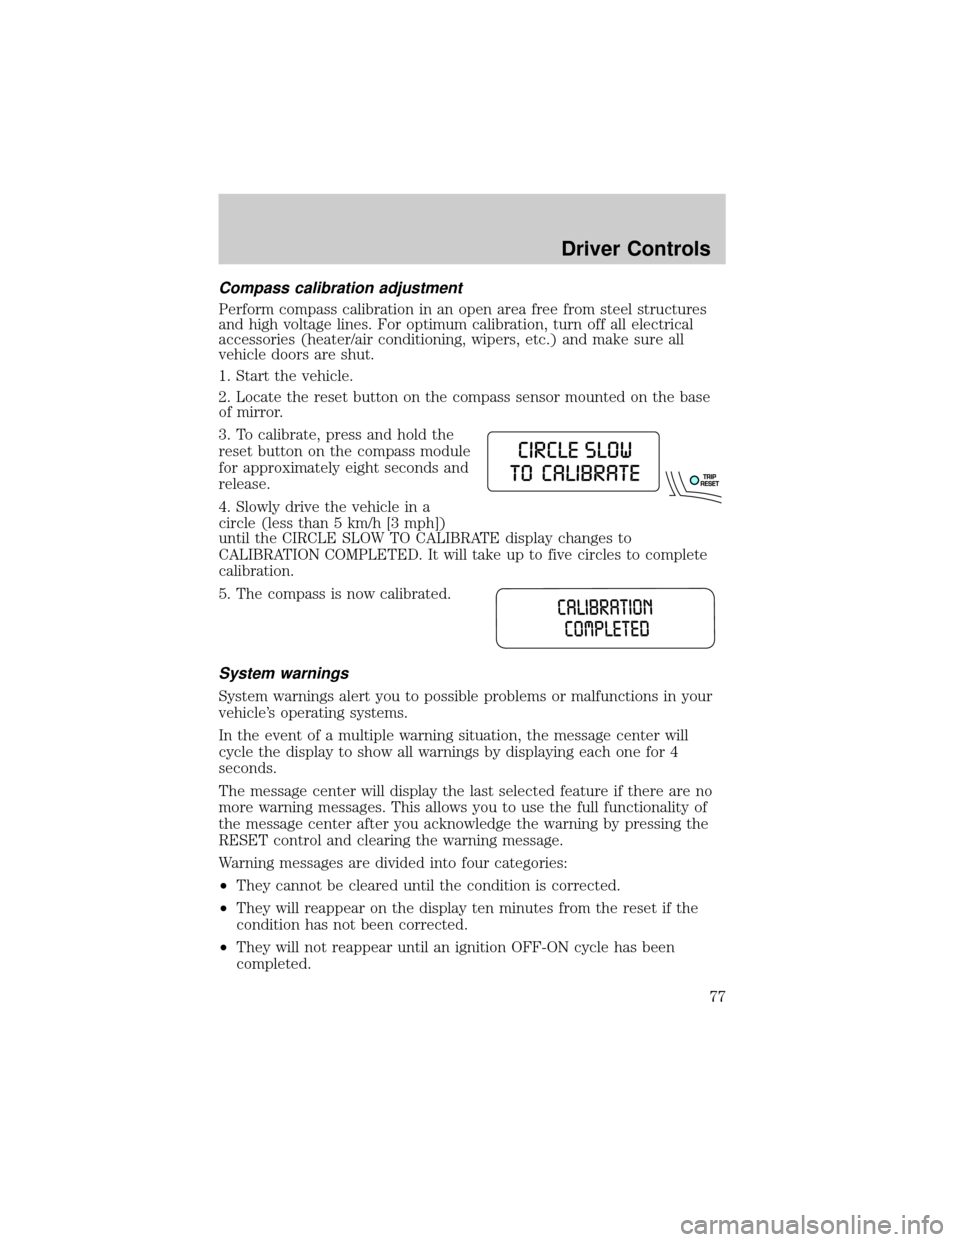
3. To calibrate, press and hold the
reset button on the compass module
for approximately eight seconds and
release.
4. Slowly drive the vehicle in a
circle (less than 5 km/h [3 mph])
until the CIRCLE SLOW TO CALIBRATE display changes to
CALIBRATION COMPLETED. It will take up to five circles to complete
calibration.
5. The compass is now calibrated.
System warnings
System warnings alert you to possible problems or malfunctions in your
vehicle's operating systems.
In the event of a multiple warning situation, the message center will
cycle the display to show all warnings by displaying each one for 4
seconds.
The message center will display the last selected feature if there are no
more warning messages. This allows you to use the full functionality of
the message center after you acknowledge the warning by pressing the
RESET control and clearing the warning message.
Warning messages are divided into four categories:
²They cannot be cleared until the condition is corrected.
²They will reappear on the display ten minutes from the reset if the
condition has not been corrected.
²They will not reappear until an ignition OFF-ON cycle has been
completed.
Driver Controls
77
Page 90 of 328

Compass calibration adjustment.
Perform compass calibration in an open area free from steel structures
and high voltage lines. For optimum calibration, turn off all electrical
accessories (heater/air conditioning, wipers, etc.) and make sure all
vehicle doors are shut.
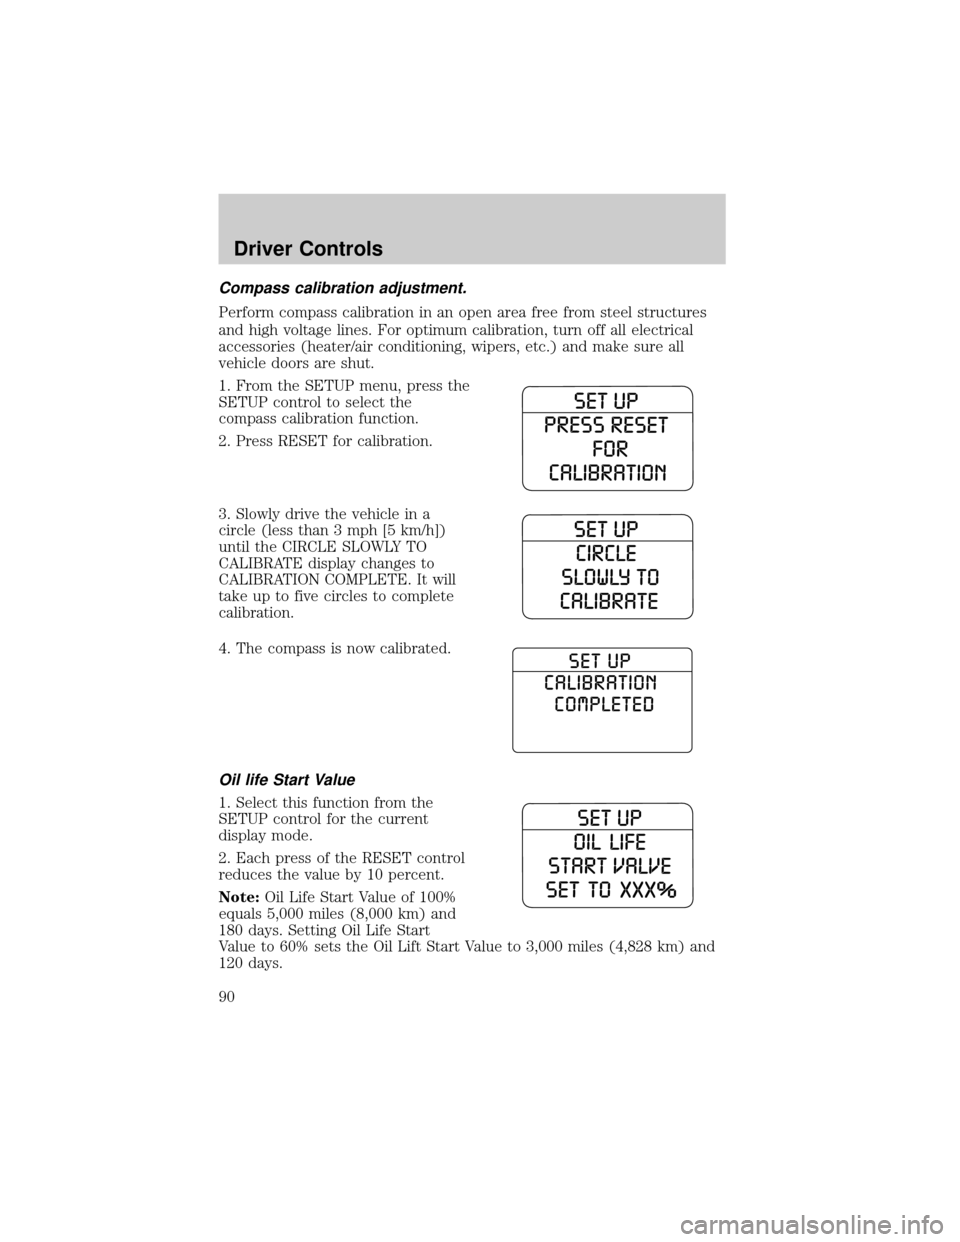
1. From the SETUP menu, press the
SETUP control to select the
compass calibration function.
2. Press RESET for calibration.
3. Slowly drive the vehicle in a
circle (less than 3 mph [5 km/h])
until the CIRCLE SLOWLY TO
CALIBRATE display changes to
CALIBRATION COMPLETE. It will
take up to five circles to complete
calibration.
4. The compass is now calibrated.
Oil life Start Value
1. Select this function from the
SETUP control for the current
display mode.
2. Each press of the RESET control
reduces the value by 10 percent.
Note:Oil Life Start Value of 100%
equals 5,000 miles (8,000 km) and
180 days. Setting Oil Life Start
Value to 60% sets the Oil Lift Start Value to 3,000 miles (4,828 km) and
120 days.
Driver Controls
90
Page 209 of 328

Starting the engine
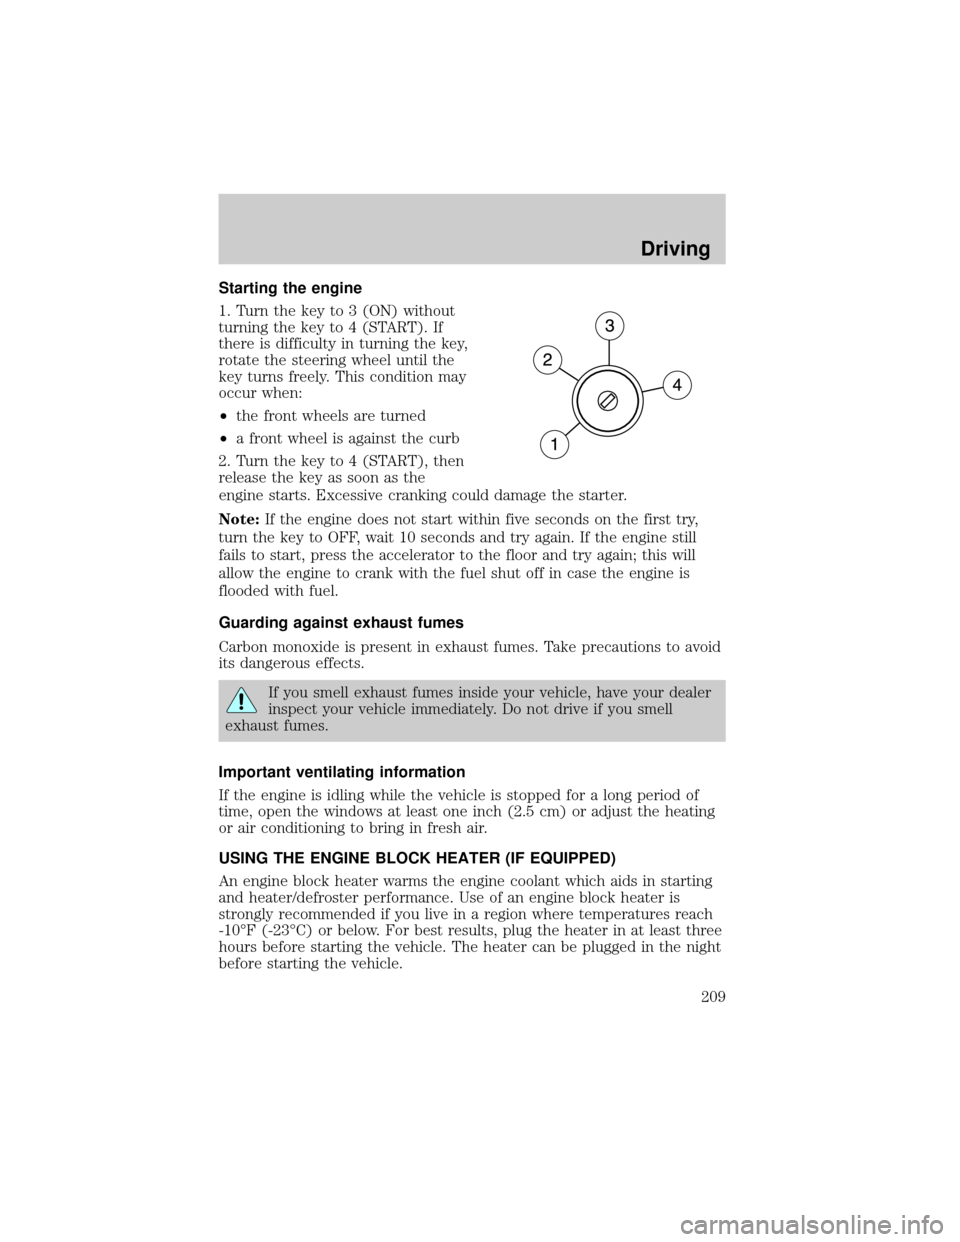
1. Turn the key to 3 (ON) without
turning the key to 4 (START). If
there is difficulty in turning the key,
rotate the steering wheel until the
key turns freely. This condition may
occur when:
²the front wheels are turned
²a front wheel is against the curb
2. Turn the key to 4 (START), then
release the key as soon as the
engine starts. Excessive cranking could damage the starter.
Note:If the engine does not start within five seconds on the first try,
turn the key to OFF, wait 10 seconds and try again. If the engine still
fails to start, press the accelerator to the floor and try again; this will
allow the engine to crank with the fuel shut off in case the engine is
flooded with fuel.
Guarding against exhaust fumes
Carbon monoxide is present in exhaust fumes. Take precautions to avoid
its dangerous effects.
If you smell exhaust fumes inside your vehicle, have your dealer
inspect your vehicle immediately. Do not drive if you smell
exhaust fumes.
Important ventilating information
If the engine is idling while the vehicle is stopped for a long period of
time, open the windows at least one inch (2.5 cm) or adjust the heating
or air conditioning to bring in fresh air.
USING THE ENGINE BLOCK HEATER (IF EQUIPPED)
An engine block heater warms the engine coolant which aids in starting
and heater/defroster performance. Use of an engine block heater is
strongly recommended if you live in a region where temperatures reach
-10ÉF (-23ÉC) or below. For best results, plug the heater in at least three
hours before starting the vehicle. The heater can be plugged in the night
before starting the vehicle.
Driving
209
Page 210 of 328

To reduce the risk of electrical shock, do not use your heater
with ungrounded electrical systems or two-pronged (cheater)
adapters.
BRAKES
Occasional brake noise is normal. If a metal-to-metal, continuous grinding
or continuous squeal sound is present, the brake linings may be worn-out
and should be inspected by an authorized dealer. If the vehicle has
continuous vibration or shudder in the steering wheel while braking, the
vehicle should be inspected by an authorized dealer.
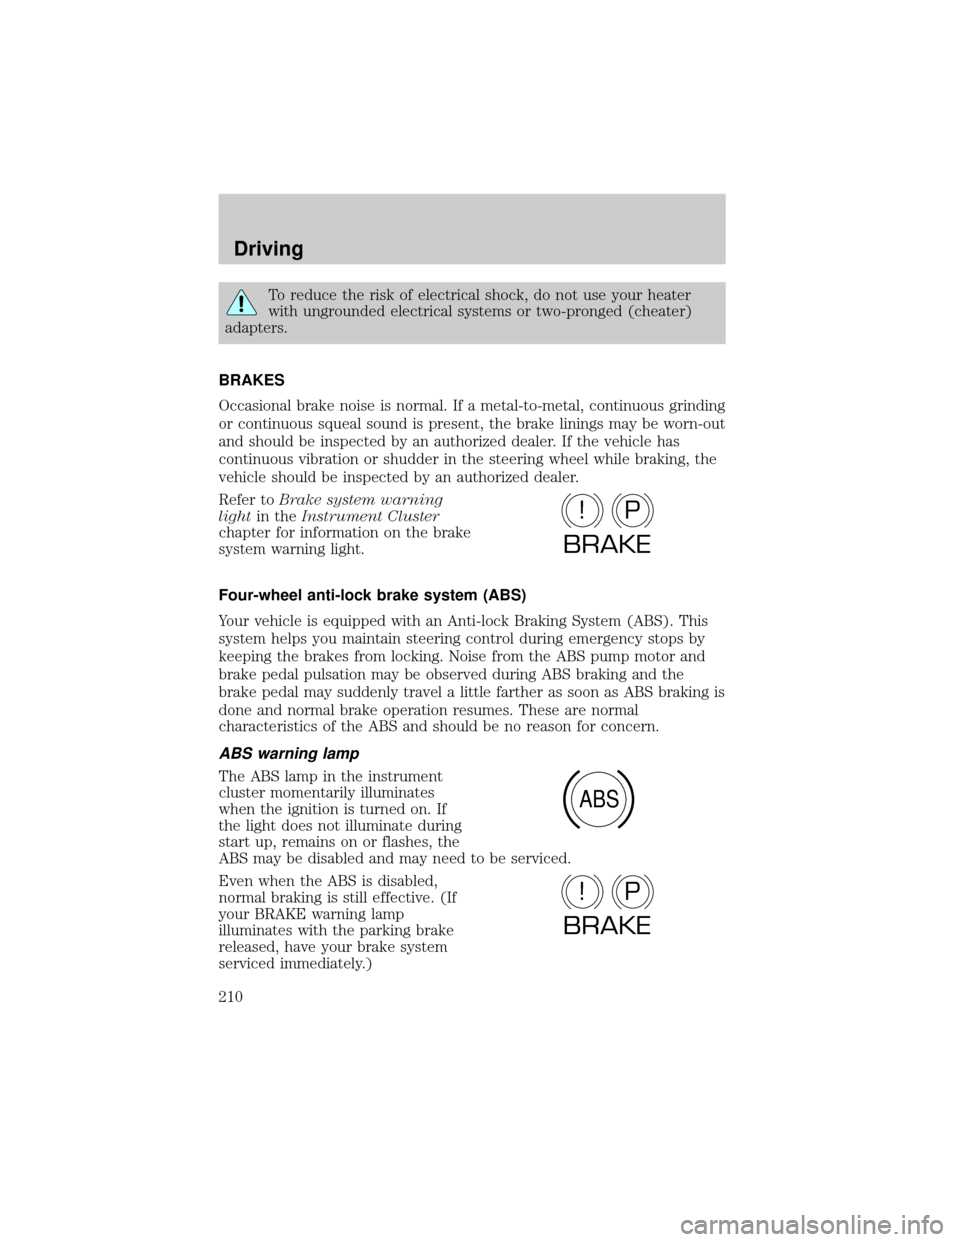
Refer toBrake system warning
lightin theInstrument Cluster
chapter for information on the brake
system warning light.
Four-wheel anti-lock brake system (ABS)
Your vehicle is equipped with an Anti-lock Braking System (ABS). This
system helps you maintain steering control during emergency stops by
keeping the brakes from locking. Noise from the ABS pump motor and
brake pedal pulsation may be observed during ABS braking and the
brake pedal may suddenly travel a little farther as soon as ABS braking is
done and normal brake operation resumes. These are normal
characteristics of the ABS and should be no reason for concern.
ABS warning lamp
The ABS lamp in the instrument
cluster momentarily illuminates
when the ignition is turned on. If
the light does not illuminate during
start up, remains on or flashes, the
ABS may be disabled and may need to be serviced.
Even when the ABS is disabled,
normal braking is still effective. (If
your BRAKE warning lamp
illuminates with the parking brake
released, have your brake system
serviced immediately.)
P!
BRAKE
ABS
P!
BRAKE
Driving
210
Page 257 of 328

4. Check all battery terminals and remove any excessive corrosion before
you attach the battery cables. Ensure that vent caps are tight and level.
5. Turn the heater fan on in both vehicles to protect any electrical
surges. Turn all other accessories off.
Connecting the jumper cables
1. Connect the positive (+) jumper cable to the positive (+) terminal of
the discharged battery.
Note:In the illustrations,lightning boltsare used to designate the
assisting (boosting) battery.
2. Connect the other end of the positive (+) cable to the positive (+)
terminal of the assisting battery.
+–+–
+–+–
Roadside Emergencies
257
Page 321 of 328

wheels ......................................270
wiper blades ............................272
Climate control (see Air
conditioning or Heating) ............37
Clock adjust
6-CD in dash .............................29
Compass, electronic ....................75
calibration .................................77
set zone adjustment ...........76, 89
Console ........................................56
overhead ....................................54
rear ............................................56
Controls
power seat ...............................116
steering column ........................62
Coolant
checking and adding ..............288
refill capacities ................292, 308
specifications ..................310, 313
Cruise control
(see Speed control) ....................60
Customer Assistance ................235
Ford Extended Service
Plan ..........................................266
Getting assistance outside
the U.S. and Canada ..............267
Getting roadside assistance ...235
Getting the service you
need .........................................262
Ordering additional owner's
literature .................................267
Utilizing the
Mediation/Arbitration
Program ...................................265
D
Daytime running lamps
(see Lamps) ................................43Defrost
rear window ..............................41
Dipstick
automatic transmission
fluid ..........................................305
engine oil .................................281
Doors
lubricant specifications ..........310
Driveline universal joint and
slip yoke ....................................306
Driving under special
conditions ..................224, 228, 232
sand .........................................230
snow and ice ...........................233
through water .................231, 234
Dual automatic temperature
control (DATC) ...........................37
DVD system .................................34
E
Electronic message center ...69, 80
Emergencies, roadside
jump-starting ..........................256
Emergency Flashers .................237
Emission control system ..........302
Engine ........................................313
cleaning ...................................270
coolant .....................................288
fail-safe cooling .......................293
idle speed control ...................286
lubrication
specifications ..................310, 313
refill capacities ........................308
service points ..................278±279
starting after a collision .........237
Engine block heater .................209
Engine oil ..................................281
Index
321