warning FORD EXPLORER 2015 5.G Service Manual
[x] Cancel search | Manufacturer: FORD, Model Year: 2015, Model line: EXPLORER, Model: FORD EXPLORER 2015 5.GPages: 596, PDF Size: 6.32 MB
Page 80 of 596
Power Liftgate (If Equipped)
WARNING:Make sure all persons are clear of the power liftgate
area before using the power liftgate control.
WARNING:Keep keys out of reach of children. Do not allow
children to play near an open or moving power liftgate.
Note:Cycling the ignition while the liftgate is power closing and is near
the latch may cause the liftgate to reverse to full open position. Make
sure that you close the liftgate before operating or moving the vehicle,
especially in an enclosure like a garage or a parking structure. You could
damage the liftgate or its components.
Note:Do not drive with the liftgate open without first disabling the
power function and securing the liftgate to the vehicle.
Note:In case of operation in extreme cold -40°F (-40°C), or on extreme
inclines, manual operation of the liftgate is suggested.
You can enable or disable the power liftgate using the information
display. The remote control and instrument panel button will still operate
the liftgate regardless of the setting.
Opening and Closing the Power Liftgate
Note:You can reverse the liftgate movement direction with a second
press of the instrument panel button, or the control button on the
liftgate, or a second double press of the transmitter button.
The liftgate will only operate with the transmission inP.
A chime will sound three times as the liftgate begins to power close. A
single chime indicates a problem with the close request, caused by:
•the ignition is on and the transmission is not inP;or
•the battery voltage is below the minimum operating voltage; or
•the vehicle speed is at or above 3 mph (5 km/h).
If the liftgate reverses and starts to close after an open request, a fast
continuous chime indicates excessive load on the gate or a possible strut
failure. Have your vehicle checked by an authorized dealer if you still
have a fast chime after you remove the load.
Locks79
2015 Explorer(exp)
Owners Guide gf, 2nd Printing, September 2014
USA(fus)
Page 81 of 596
To open or close from the instrument panel:Press the
instrument panel button.
To open or close with the remote control:Press the remote
control button twice within three seconds.
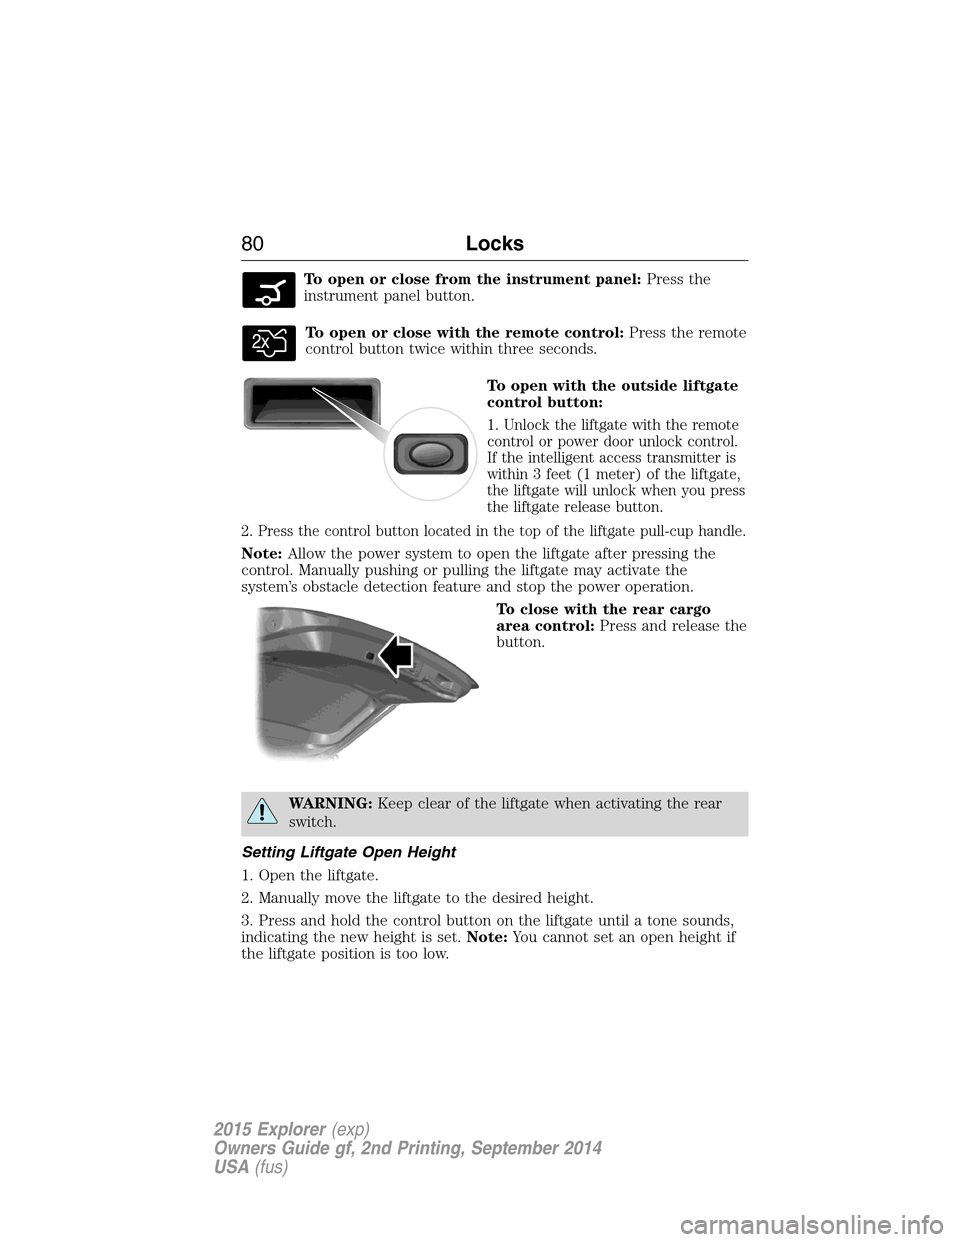
To open with the outside liftgate
control button:
1. Unlock the liftgate with the remote
control or power door unlock control.
If the intelligent access transmitter is
within 3 feet (1 meter) of the liftgate,
the liftgate will unlock when you press
the liftgate release button.
2. Press the control button located in the top of the liftgate pull-cup handle.
Note:Allow the power system to open the liftgate after pressing the
control. Manually pushing or pulling the liftgate may activate the
system’s obstacle detection feature and stop the power operation.
To close with the rear cargo
area control:Press and release the
button.
WARNING:Keep clear of the liftgate when activating the rear
switch.
Setting Liftgate Open Height
1. Open the liftgate.
2. Manually move the liftgate to the desired height.
3. Press and hold the control button on the liftgate until a tone sounds,
indicating the new height is set.Note:You cannot set an open height if
the liftgate position is too low.
80Locks
2015 Explorer(exp)
Owners Guide gf, 2nd Printing, September 2014
USA(fus)
Page 82 of 596
The new open liftgate height will now be recalled when the power
liftgate is opened. To change the programmed height, repeat the above
procedure. Once you open the power liftgate you can manually move it
to a different height.
When operating the power liftgate after a set height lower than full-open
is set, you can fully open the liftgate by manually pushing it upward to
the maximum open position.
Obstacle Detection
When closing:The system will reverse to full open when it detects an
obstacle. A tone will sound three times as the liftgate begins to reopen.
Remove the obstacle to close the liftgate.
Note:Entering the vehicle while the liftgate is closing can cause the
vehicle to bounce and activate obstacle detection. To prevent this, allow
the power liftgate to fully close before entering the vehicle. Before
driving off, check the instrument cluster for a liftgate or door ajar
message or warning indicator. Driving off without first checking for the
liftgate or door ajar message or warning indicator could result in
unintentionally leaving the liftgate open while you are driving.
When opening:The system will stop and a tone will sound three times
when it detects an obstacle. Remove the obstacle to operate the liftgate.
Resetting the Power Liftgate
The liftgate may not operate properly and you may need to reset it if any
of these conditions occur:
•A low voltage or dead battery
•A disconnected battery
•You manually close the liftgate and leave it ajar (unlatched)
To reset the power liftgate:
1. Disconnect the battery for 20 seconds then, reconnect the battery.
2. Manually close and fully latch the liftgate.
3. Power open the liftgate by using the transmitter or the instrument
panel control button.
Locks81
2015 Explorer(exp)
Owners Guide gf, 2nd Printing, September 2014
USA(fus)
Page 91 of 596
ADJUSTING THE STEERING WHEEL
WARNING:Do not adjust the steering wheel when your vehicle
is moving.
Note:Make sure that you are sitting in the correct position. SeeSitting
in the Correct Positionin theSeatschapter.
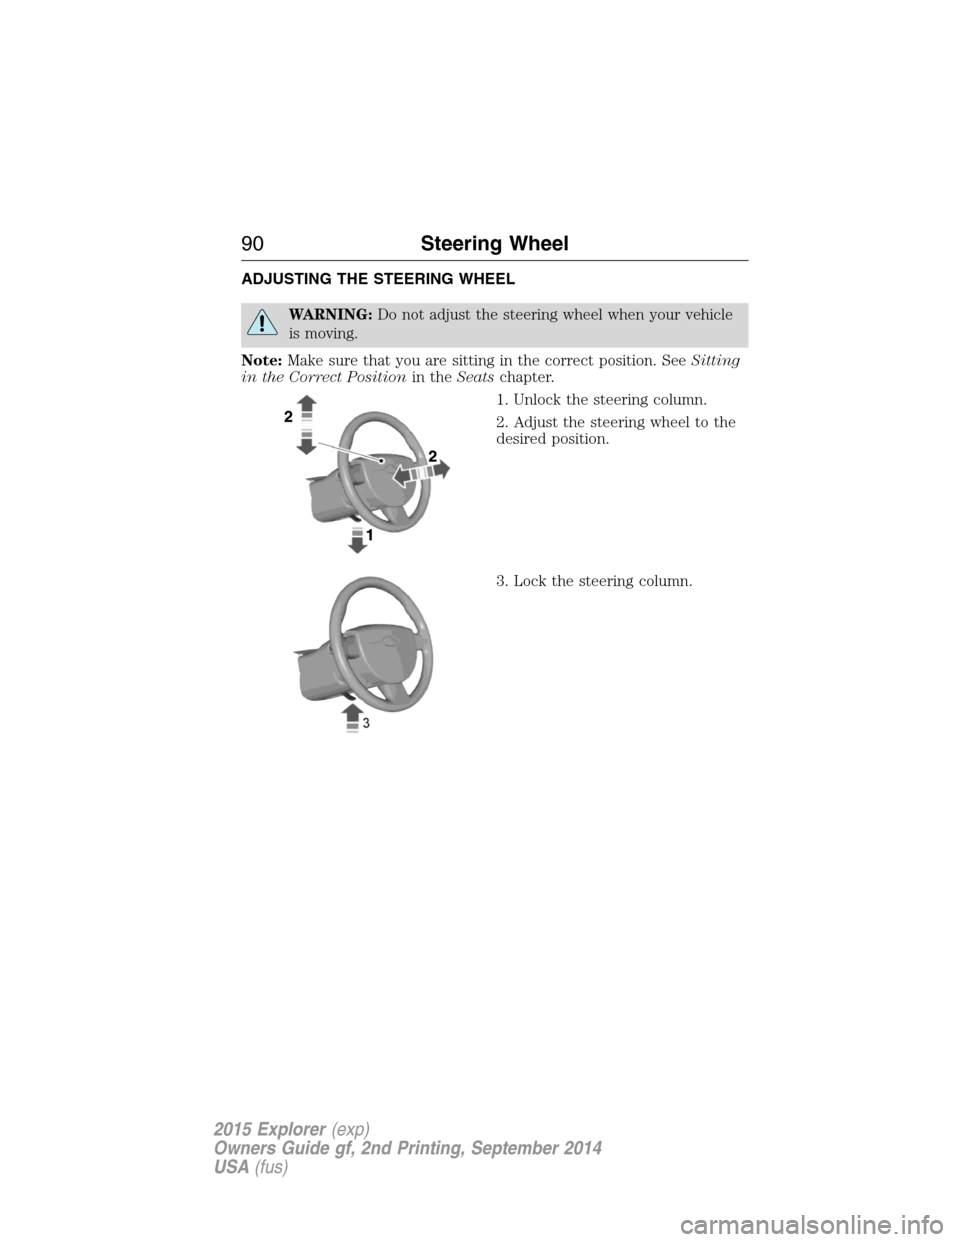
1. Unlock the steering column.
2. Adjust the steering wheel to the
desired position.
3. Lock the steering column.
90Steering Wheel
2015 Explorer(exp)
Owners Guide gf, 2nd Printing, September 2014
USA(fus)
Page 92 of 596
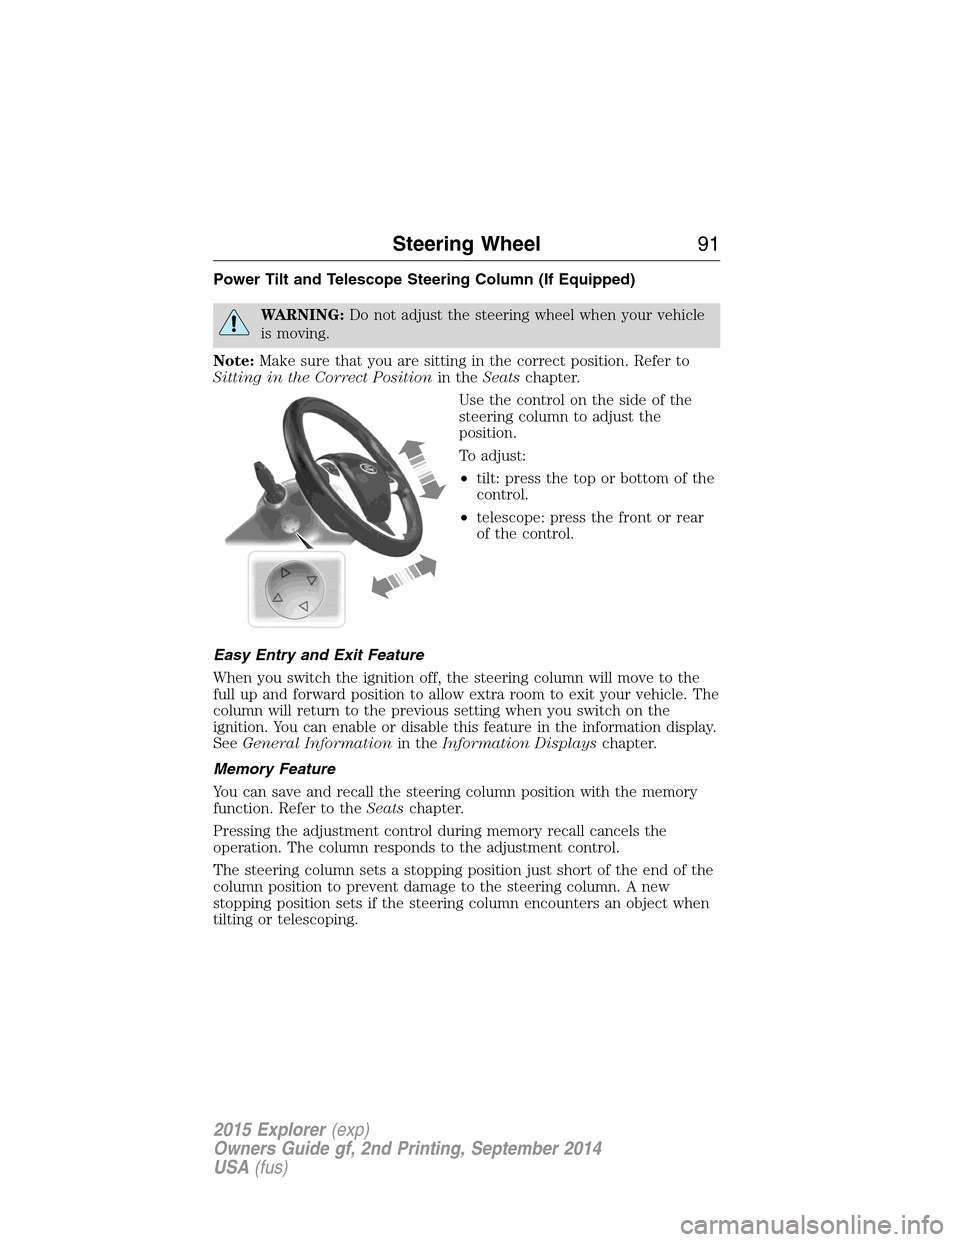
Power Tilt and Telescope Steering Column (If Equipped)
WARNING:Do not adjust the steering wheel when your vehicle
is moving.
Note:Make sure that you are sitting in the correct position. Refer to
Sitting in the Correct Positionin theSeatschapter.
Use the control on the side of the
steering column to adjust the
position.
To adjust:
•tilt: press the top or bottom of the
control.
•telescope: press the front or rear
of the control.
Easy Entry and Exit Feature
When you switch the ignition off, the steering column will move to the
full up and forward position to allow extra room to exit your vehicle. The
column will return to the previous setting when you switch on the
ignition. You can enable or disable this feature in the information display.
SeeGeneral Informationin theInformation Displayschapter.
Memory Feature
You can save and recall the steering column position with the memory
function. Refer to theSeatschapter.
Pressing the adjustment control during memory recall cancels the
operation. The column responds to the adjustment control.
The steering column sets a stopping position just short of the end of the
column position to prevent damage to the steering column. A new
stopping position sets if the steering column encounters an object when
tilting or telescoping.
Steering Wheel91
2015 Explorer(exp)
Owners Guide gf, 2nd Printing, September 2014
USA(fus)
Page 96 of 596
ADJUSTABLE PEDALS (IF EQUIPPED)
WARNING:Never adjust the accelerator and brake pedal with
feet on the pedals while the vehicle is moving.
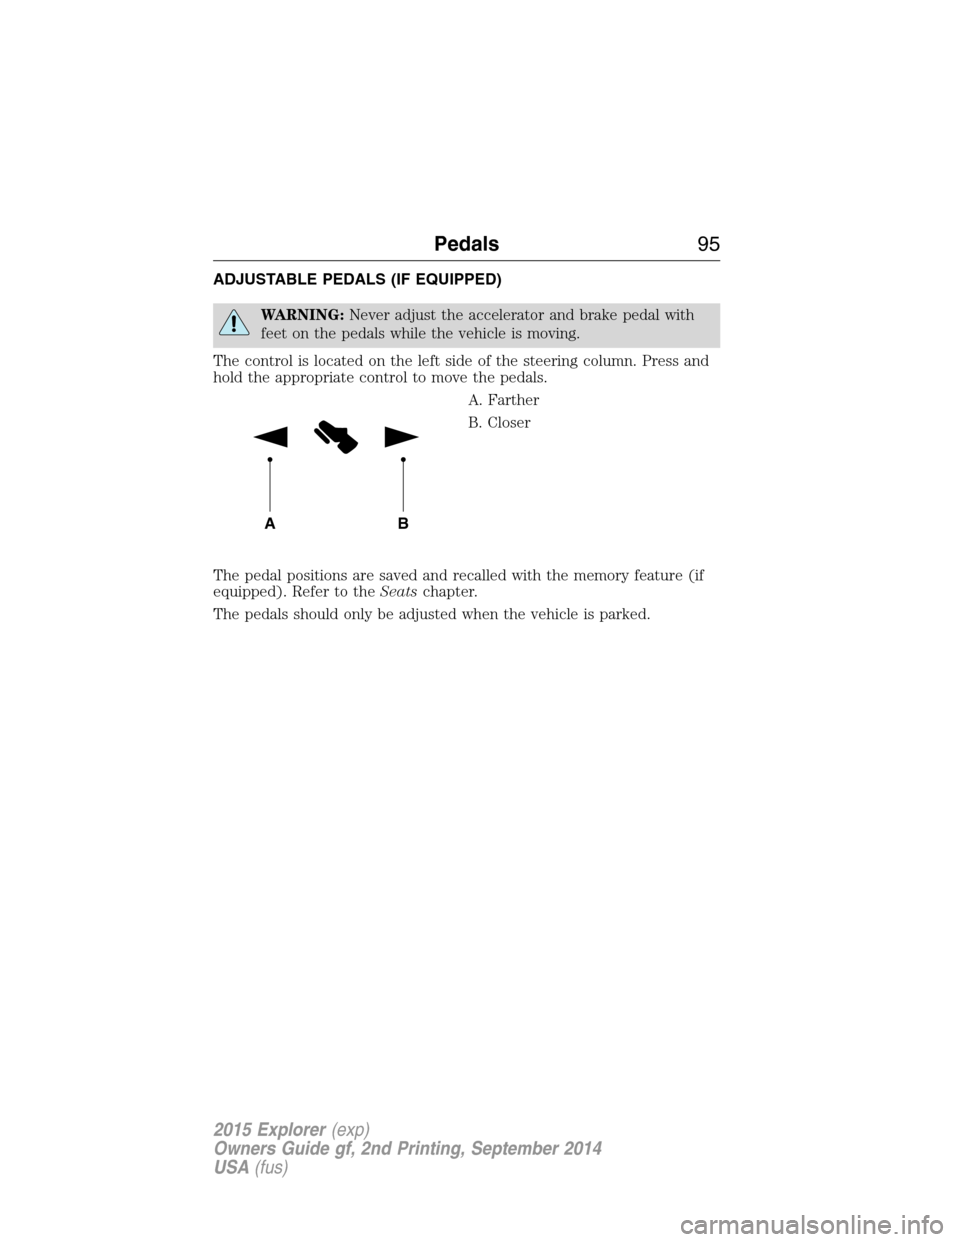
The control is located on the left side of the steering column. Press and
hold the appropriate control to move the pedals.
A. Farther
B. Closer
The pedal positions are saved and recalled with the memory feature (if
equipped). Refer to theSeatschapter.
The pedals should only be adjusted when the vehicle is parked.
AB
Pedals95
2015 Explorer(exp)
Owners Guide gf, 2nd Printing, September 2014
USA(fus)
Page 100 of 596
AUTOLAMPS
WARNING:The daytime running lamps system does not activate
the tail lamps and may not provide adequate lighting during low
visibility driving conditions. Also, the autolamps switch position may not
activate the headlamps in all low visibility conditions, such as daytime
fog. Always ensure that your headlamps are switched to auto or on, as
appropriate, during all low visibility conditions. Failure to do so may
result in a collision.
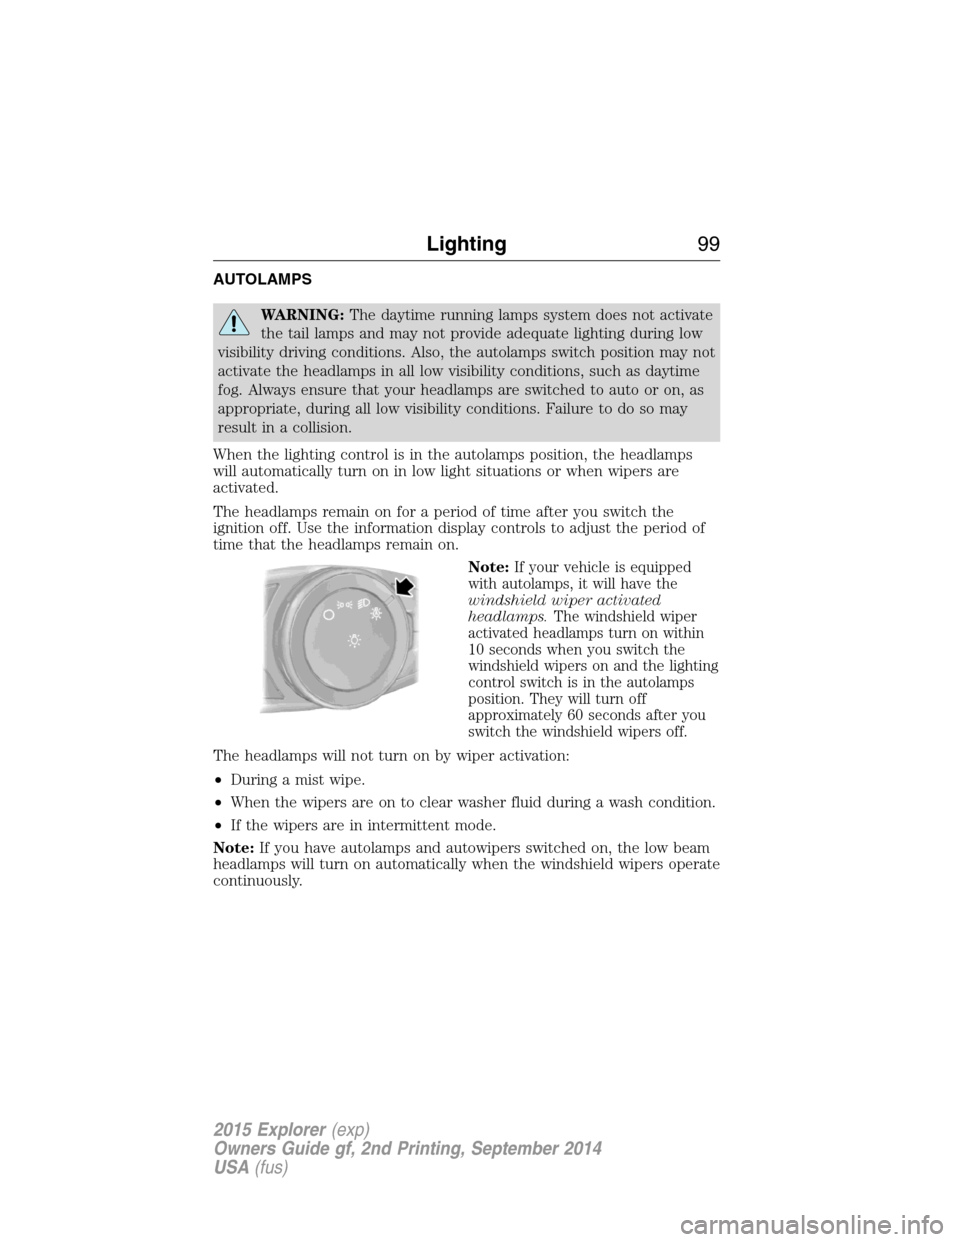
When the lighting control is in the autolamps position, the headlamps
will automatically turn on in low light situations or when wipers are
activated.
The headlamps remain on for a period of time after you switch the
ignition off. Use the information display controls to adjust the period of
time that the headlamps remain on.
Note:
If your vehicle is equipped
with autolamps, it will have the
windshield wiper activated
headlamps.The windshield wiper
activated headlamps turn on within
10 seconds when you switch the
windshield wipers on and the lighting
control switch is in the autolamps
position. They will turn off
approximately 60 seconds after you
switch the windshield wipers off.
The headlamps will not turn on by wiper activation:
•During a mist wipe.
•When the wipers are on to clear washer fluid during a wash condition.
•If the wipers are in intermittent mode.
Note:If you have autolamps and autowipers switched on, the low beam
headlamps will turn on automatically when the windshield wipers operate
continuously.
Lighting99
2015 Explorer(exp)
Owners Guide gf, 2nd Printing, September 2014
USA(fus)
Page 102 of 596
DAYTIME RUNNING LAMPS (IF EQUIPPED)
WARNING:Always remember to turn on your headlamps at
dusk or during inclement weather. The Daytime Running Lamp
(DRL) system does not activate the tail lamps and generally may not
provide adequate lighting during these conditions. Failure to activate
your headlamps under these conditions may result in a collision.
The system turns the headlamps on with a reduced output.
To activate:
•the ignition must be in the on position and
•the lighting control is in the off, autolamp, or parking lamp position
and
•the transmission is not in PARK.
AUTOMATIC HIGH BEAM CONTROL (IF EQUIPPED)
The system will automatically turn on your high beams if it is dark
enough and no other traffic is present. When it detects an approaching
vehicle’s headlights, a preceding vehicle’s tail lamps or street lighting, the
system will turn off the high beams (low beams remain on) before they
distract other drivers.
Note:If it appears that automatic control of the high beams is not
functioning properly, check the windshield in front of the camera for
blockage. A clear view of the road is required for proper system
operation. Any windshield damage in the area of the camera field-of-view
should be repaired.
Note:If a blockage is detected (e.g. bird dropping, bug splatter, snow, or
ice) and no changes are observed, the system will go into low beam
mode until the blockage is cleared. A message may also appear in the
instrument cluster display noting the front camera is blocked.
Note:Typical road dust, dirt and water spots will not affect the
automatic high beam system’s performance. However, in cold or
inclement weather conditions, the automatic high beam system’s
availability may be decreased. If the driver wants to change the beam
state independently of the system, the driver may turn the high beams
on or off using the multifunction switch stalk. Automatic control will
resume when conditions are correct.
Note:Modification of the vehicle ride height (e.g. using much larger
tires) may degrade feature performance.
Lighting101
2015 Explorer(exp)
Owners Guide gf, 2nd Printing, September 2014
USA(fus)
Page 107 of 596
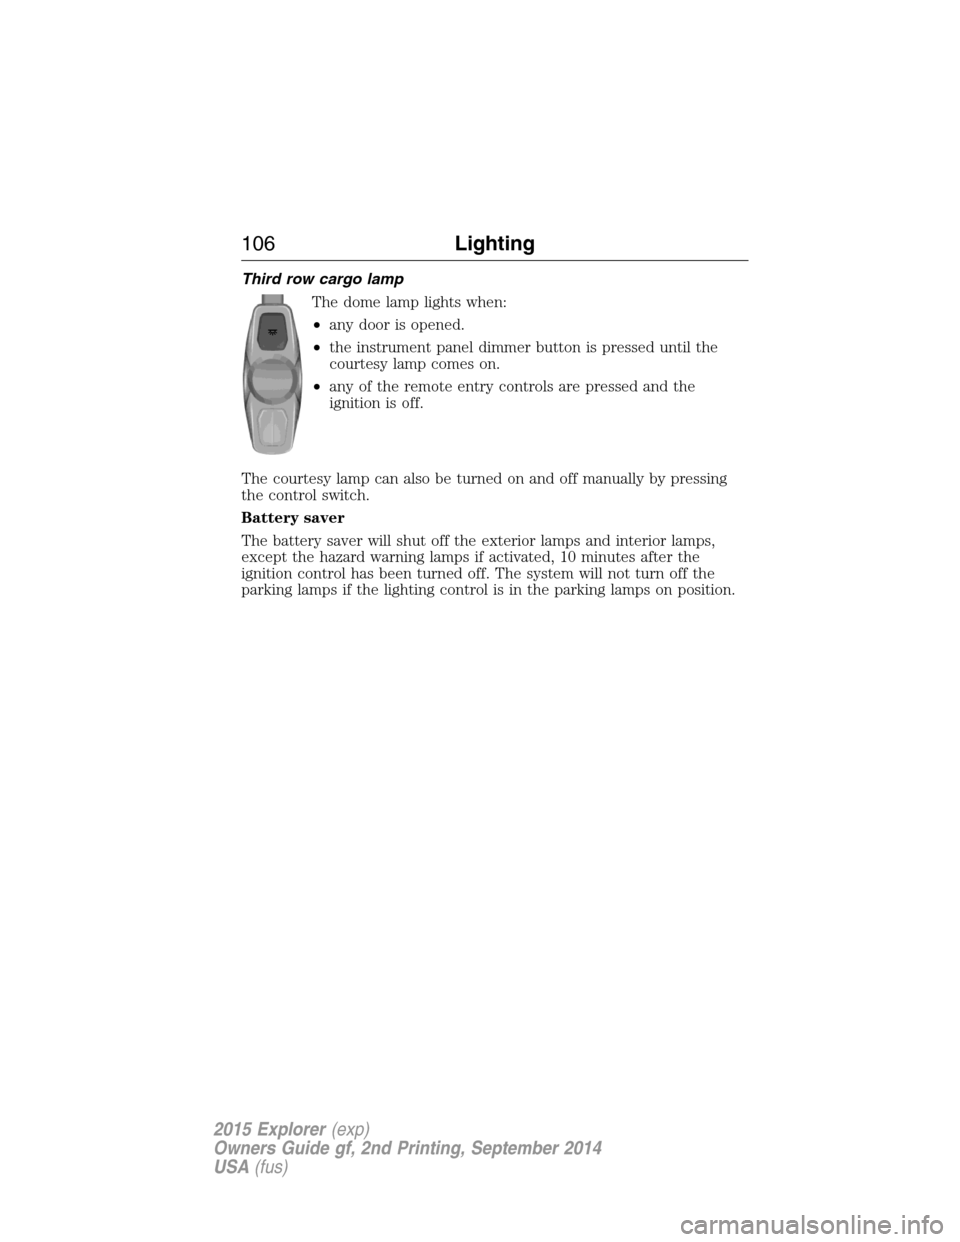
Third row cargo lamp
The dome lamp lights when:
•any door is opened.
•the instrument panel dimmer button is pressed until the
courtesy lamp comes on.
•any of the remote entry controls are pressed and the
ignition is off.
The courtesy lamp can also be turned on and off manually by pressing
the control switch.
Battery saver
The battery saver will shut off the exterior lamps and interior lamps,
except the hazard warning lamps if activated, 10 minutes after the
ignition control has been turned off. The system will not turn off the
parking lamps if the lighting control is in the parking lamps on position.
106Lighting
2015 Explorer(exp)
Owners Guide gf, 2nd Printing, September 2014
USA(fus)
Page 108 of 596
POWER WINDOWS
WARNING:Do not leave children unattended in your vehicle
and do not let children play with the power windows. They may
seriously injure themselves.
WARNING:When closing the power windows, you should verify
they are free of obstructions and make sure that children and
pets are not in the proximity of the window openings.
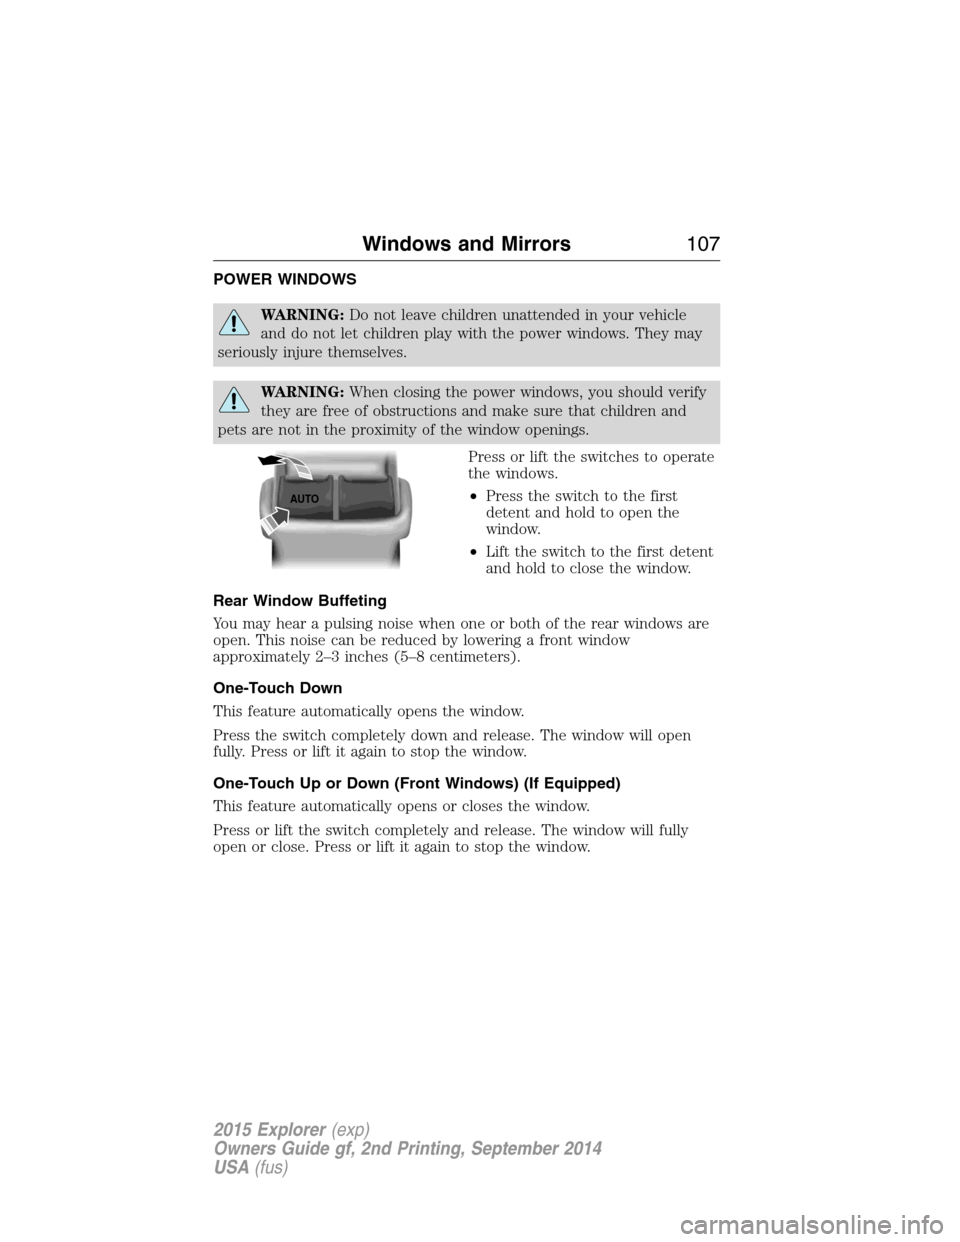
Press or lift the switches to operate
the windows.
•Press the switch to the first
detent and hold to open the
window.
•Lift the switch to the first detent
and hold to close the window.
Rear Window Buffeting
You may hear a pulsing noise when one or both of the rear windows are
open. This noise can be reduced by lowering a front window
approximately 2–3 inches (5–8 centimeters).
One-Touch Down
This feature automatically opens the window.
Press the switch completely down and release. The window will open
fully. Press or lift it again to stop the window.
One-Touch Up or Down (Front Windows) (If Equipped)
This feature automatically opens or closes the window.
Press or lift the switch completely and release. The window will fully
open or close. Press or lift it again to stop the window.
AUTO
Windows and Mirrors107
2015 Explorer(exp)
Owners Guide gf, 2nd Printing, September 2014
USA(fus)