hood open FORD EXPLORER 2015 5.G Owners Manual
[x] Cancel search | Manufacturer: FORD, Model Year: 2015, Model line: EXPLORER, Model: FORD EXPLORER 2015 5.GPages: 596, PDF Size: 6.32 MB
Page 8 of 596
Maintenance 310
General information...................................310
Opening and closing the hood............................311
Under hood overview..................................312
Engine oil dipstick....................................315
Engine oil check......................................316
Engine coolant check..................................316
Automatic transmission fluid check........................322
Brake fluid check.....................................326
Fuel filter...........................................327
Washer fluid check....................................327
Battery ............................................327
Checking the wiper blades..............................330
Air filter(s).........................................331
Adjusting the headlamps................................333
Changing a bulb......................................335
Bulb specification chart.................................339
Vehicle Care 341
Cleaning products.....................................341
Cleaning the exterior..................................341
Waxing.............................................343
Repairing minor paint damage............................343
Cleaning the engine...................................343
Cleaning the windows and wiper blades.....................344
Cleaning the interior...................................345
Cleaning the instrument panel and instrument cluster lens.......345
Cleaning leather seats..................................346
Cleaning the alloy wheels...............................347
Vehiclestorage.......................................348
Table of Contents7
2015 Explorer(exp)
Owners Guide gf, 2nd Printing, September 2014
USA(fus)
Page 60 of 596
WARNING:All occupants of your vehicle including the driver
should always wear their safety belts even when an airbag
supplemental restraint system and curtain airbag is provided. Failure to
properly wear your safety belt could seriously increase the risk of injury
or death.
WARNING:To reduce risk of injury, do not obstruct or place
objects in the deployment path of the curtain airbag.
WARNING:If the curtain airbags have deployed, the curtain
airbags will not function again. The curtain airbags (including the
A, B, C or D pillar trim and headliner) must be inspected and serviced
by an authorized dealer. If the curtain airbag is not replaced, the
unrepaired area will increase the risk of injury in a crash.
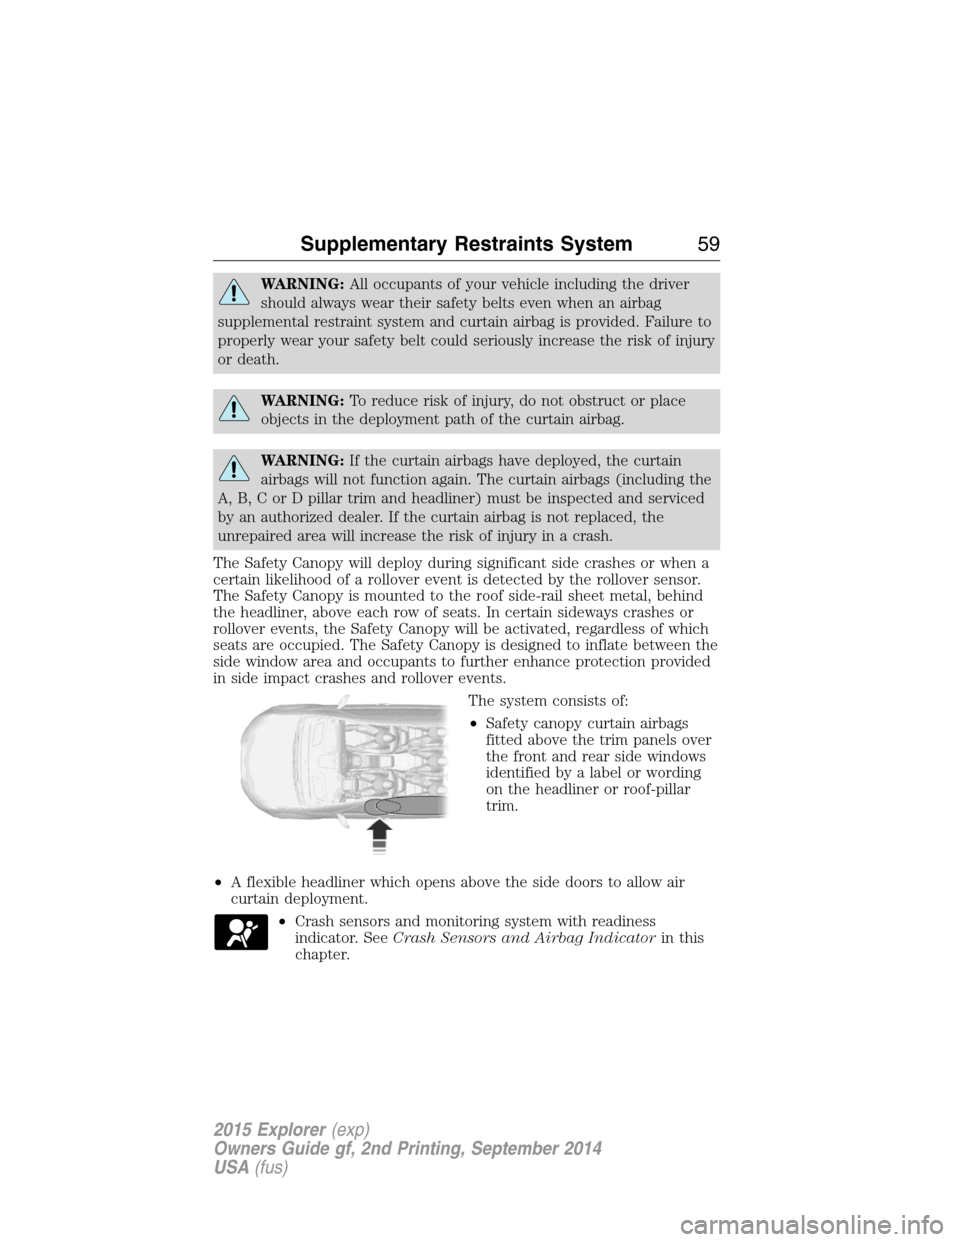
The Safety Canopy will deploy during significant side crashes or when a
certain likelihood of a rollover event is detected by the rollover sensor.
The Safety Canopy is mounted to the roof side-rail sheet metal, behind
the headliner, above each row of seats. In certain sideways crashes or
rollover events, the Safety Canopy will be activated, regardless of which
seats are occupied. The Safety Canopy is designed to inflate between the
side window area and occupants to further enhance protection provided
in side impact crashes and rollover events.
The system consists of:
•Safety canopy curtain airbags
fitted above the trim panels over
the front and rear side windows
identified by a label or wording
on the headliner or roof-pillar
trim.
•A flexible headliner which opens above the side doors to allow air
curtain deployment.
•Crash sensors and monitoring system with readiness
indicator. SeeCrash Sensors and Airbag Indicatorin this
chapter.
Supplementary Restraints System59
2015 Explorer(exp)
Owners Guide gf, 2nd Printing, September 2014
USA(fus)
Page 68 of 596
The remote start system will not work if:
•the ignition is on
•the alarm system is triggered
•you disable the feature
•the hood is open
•the transmission is not inP
•the vehicle battery voltage is too low
•the fuel is too low
•the service engine soon light is on.
Remote Starting the Vehicle
Note:You must press each button within three seconds of each other.
Your vehicle will not remote start and the horn will not sound if you do
not follow this sequence.
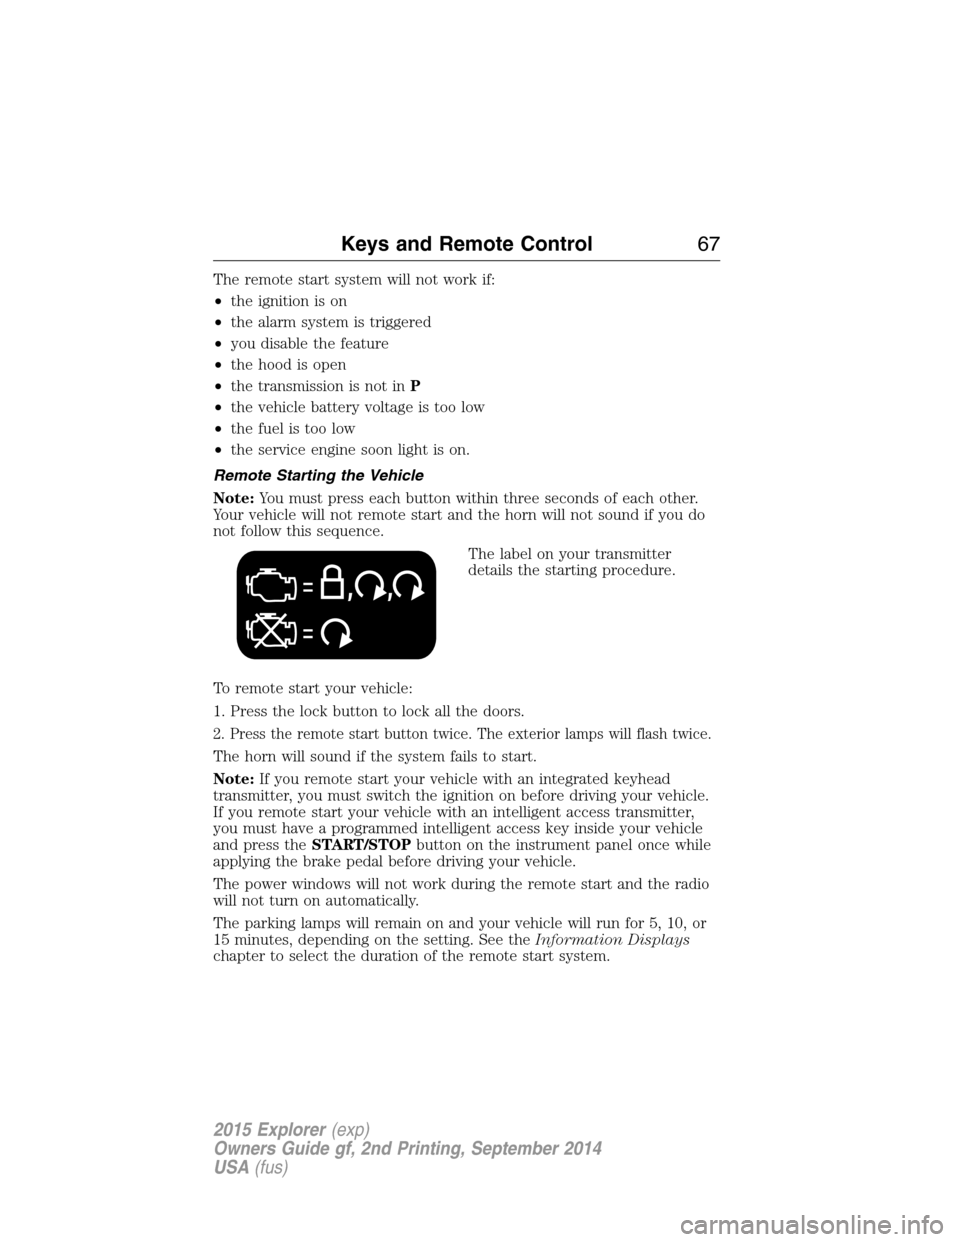
The label on your transmitter
details the starting procedure.
To remote start your vehicle:
1. Press the lock button to lock all the doors.
2. Press the remote start button twice. The exterior lamps will flash twice.
The horn will sound if the system fails to start.
Note:If you remote start your vehicle with an integrated keyhead
transmitter, you must switch the ignition on before driving your vehicle.
If you remote start your vehicle with an intelligent access transmitter,
you must have a programmed intelligent access key inside your vehicle
and press theSTART/STOPbutton on the instrument panel once while
applying the brake pedal before driving your vehicle.
The power windows will not work during the remote start and the radio
will not turn on automatically.
The parking lamps will remain on and your vehicle will run for 5, 10, or
15 minutes, depending on the setting. See theInformation Displays
chapter to select the duration of the remote start system.
Keys and Remote Control67
2015 Explorer(exp)
Owners Guide gf, 2nd Printing, September 2014
USA(fus)
Page 75 of 596
Note:If any door or the luggage compartment is open, or if the hood is
open on vehicles with an anti-theft alarm or remote start, the horn
sounds twice and the lamps will not flash.
Power Liftgate (If Equipped)
WARNING:Make sure all persons are clear of the liftgate area
before using power liftgate control.
WARNING:Make sure to close and latch the liftgate to prevent
drawing exhaust fumes into your vehicle. This will also prevent
passengers and cargo from falling out. If you must drive with the
liftgate open, keep the vents or windows open so outside air comes into
your vehicle. Failure to follow this warning could result in serious
personal injury.
Note:Be careful when opening or closing the liftgate in a garage or
other enclosed area to avoid damaging the liftgate.
Press twice within three seconds to open or close the liftgate,
or to reverse the movement.
Activating Intelligent Access (If Equipped)
You must have the intelligent access key within 3 feet (1 meter) of your
vehicle.
At the Front Doors
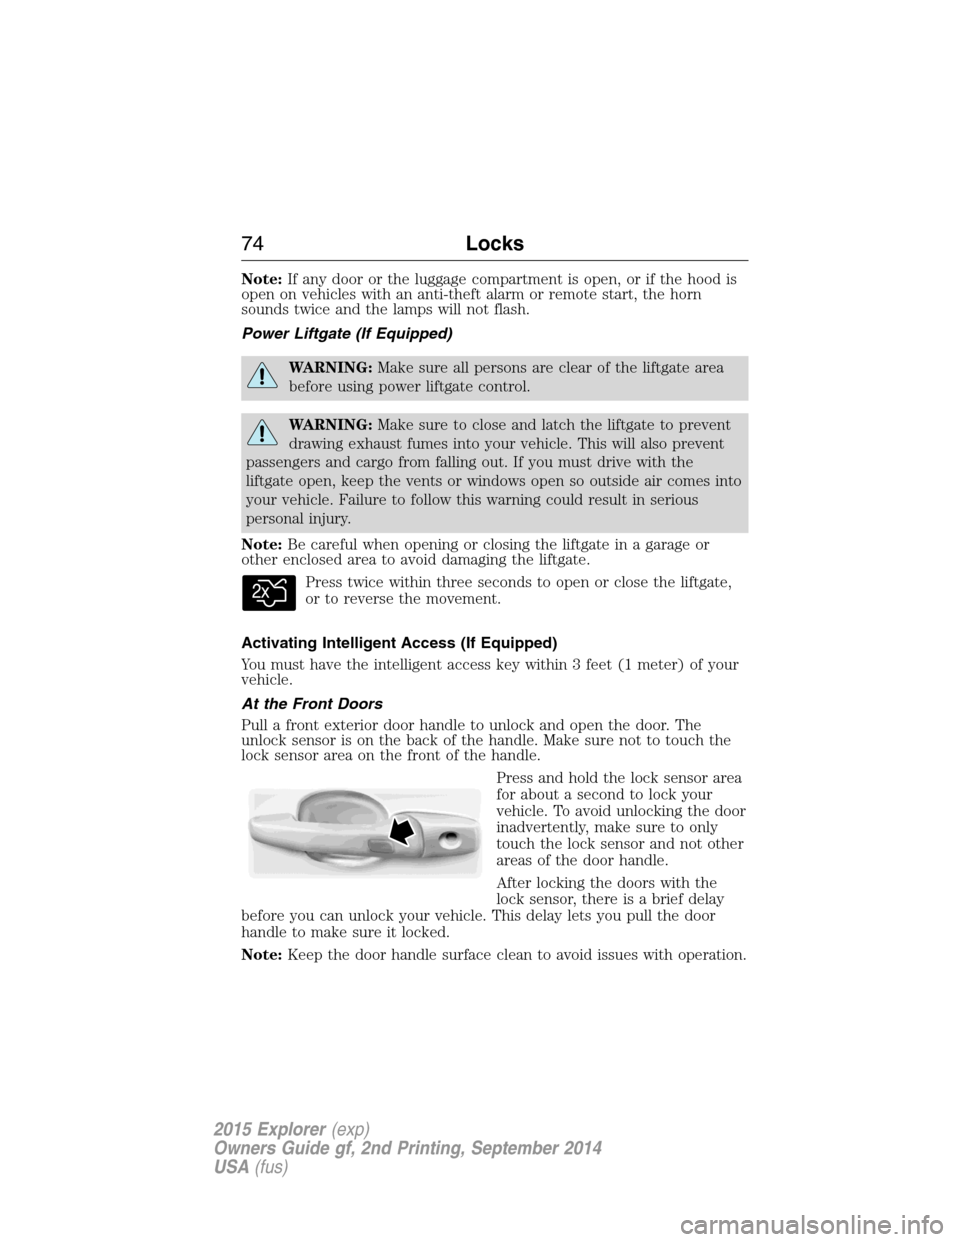
Pull a front exterior door handle to unlock and open the door. The
unlock sensor is on the back of the handle. Make sure not to touch the
lock sensor area on the front of the handle.
Press and hold the lock sensor area
for about a second to lock your
vehicle. To avoid unlocking the door
inadvertently, make sure to only
touch the lock sensor and not other
areas of the door handle.
After locking the doors with the
lock sensor, there is a brief delay
before you can unlock your vehicle. This delay lets you pull the door
handle to make sure it locked.
Note:Keep the door handle surface clean to avoid issues with operation.
74Locks
2015 Explorer(exp)
Owners Guide gf, 2nd Printing, September 2014
USA(fus)
Page 89 of 596
5. Press and release the brake pedal one time. The indicator on the
START/STOPbutton should begin to flash rapidly. This indicates the
vehicle is in programming mode and that it has detected two
programmed intelligent access keys in the vehicle.
6. Press theSTART/STOPbutton within one minute. A message will
appear in the information display indicating that the new intelligent
access key was programmed.
7. Remove the intelligent access key from the center console pocket and
press the unlock button on the newly programmed intelligent access key
to exit programming mode.
8. Verify that the remote entry functions operate (press lock then
unlock, making sure you end in unlock) and that the vehicle starts with
new intelligent access key.
ANTI-THEFT ALARM (IF EQUIPPED)
The system will warn you of unauthorized entry to your vehicle.
The turn signal lamps will flash and sound the horn up to a total of 10
times when:
•any door, the hood or the luggage compartment is opened without
using the keypad, the remote control or the intelligent access
transmitter (if equipped)
•the ignition is turned on with an invalid key.
Take all keys and remote controls to an authorized dealer if there is any
potential alarm problem with your vehicle.
Arming the Alarm
The system is ready to arm whenever the ignition is off. Lock the vehicle
to arm the alarm.
The turn signal lamps will flash once after locking the vehicle to indicate
the alarm is in the pre-armed mode. It will become fully armed in
20 seconds.
88Security
2015 Explorer(exp)
Owners Guide gf, 2nd Printing, September 2014
USA(fus)
Page 312 of 596

OPENING AND CLOSING THE HOOD
1. Inside the vehicle, pull the hood
release handle located under the
bottom left corner of the instrument
panel.
2. Go to the front of the vehicle and
release the auxiliary latch that is
located under the front center of
the hood.
3. Lift the hood.
Note:Make sure the hood is
properly closed.
Maintenance311
2015 Explorer(exp)
Owners Guide gf, 2nd Printing, September 2014
USA(fus)
Page 334 of 596
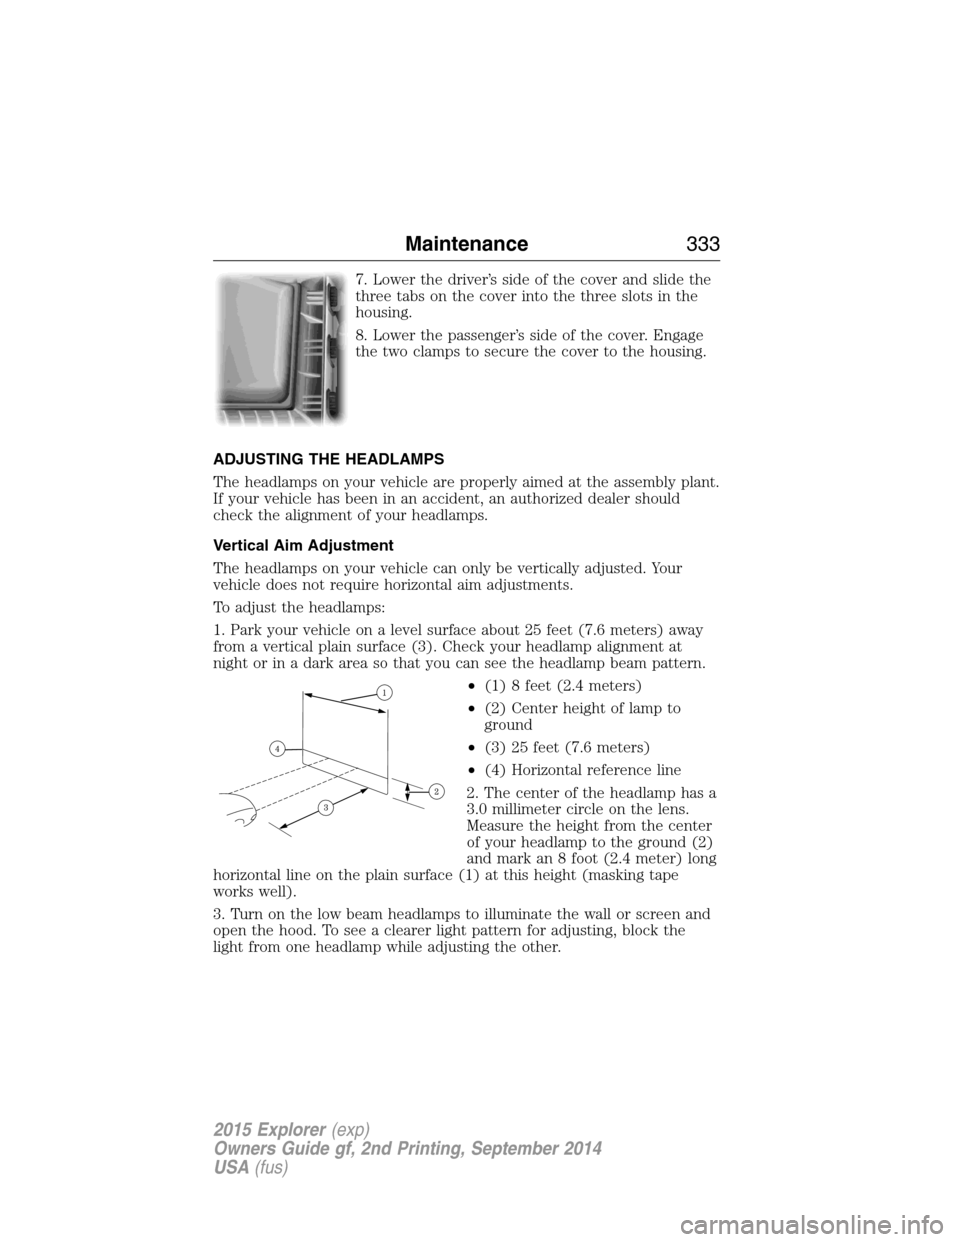
7. Lower the driver’s side of the cover and slide the
three tabs on the cover into the three slots in the
housing.
8. Lower the passenger’s side of the cover. Engage
the two clamps to secure the cover to the housing.
ADJUSTING THE HEADLAMPS
The headlamps on your vehicle are properly aimed at the assembly plant.
If your vehicle has been in an accident, an authorized dealer should
check the alignment of your headlamps.
Vertical Aim Adjustment
The headlamps on your vehicle can only be vertically adjusted. Your
vehicle does not require horizontal aim adjustments.
To adjust the headlamps:
1. Park your vehicle on a level surface about 25 feet (7.6 meters) away
from a vertical plain surface (3). Check your headlamp alignment at
night or in a dark area so that you can see the headlamp beam pattern.
•(1) 8 feet (2.4 meters)
•(2) Center height of lamp to
ground
•(3) 25 feet (7.6 meters)
•(4) Horizontal reference line
2. The center of the headlamp has a
3.0 millimeter circle on the lens.
Measure the height from the center
of your headlamp to the ground (2)
and mark an 8 foot (2.4 meter) long
horizontal line on the plain surface (1) at this height (masking tape
works well).
3. Turn on the low beam headlamps to illuminate the wall or screen and
open the hood. To see a clearer light pattern for adjusting, block the
light from one headlamp while adjusting the other.
Maintenance333
2015 Explorer(exp)
Owners Guide gf, 2nd Printing, September 2014
USA(fus)
Page 335 of 596
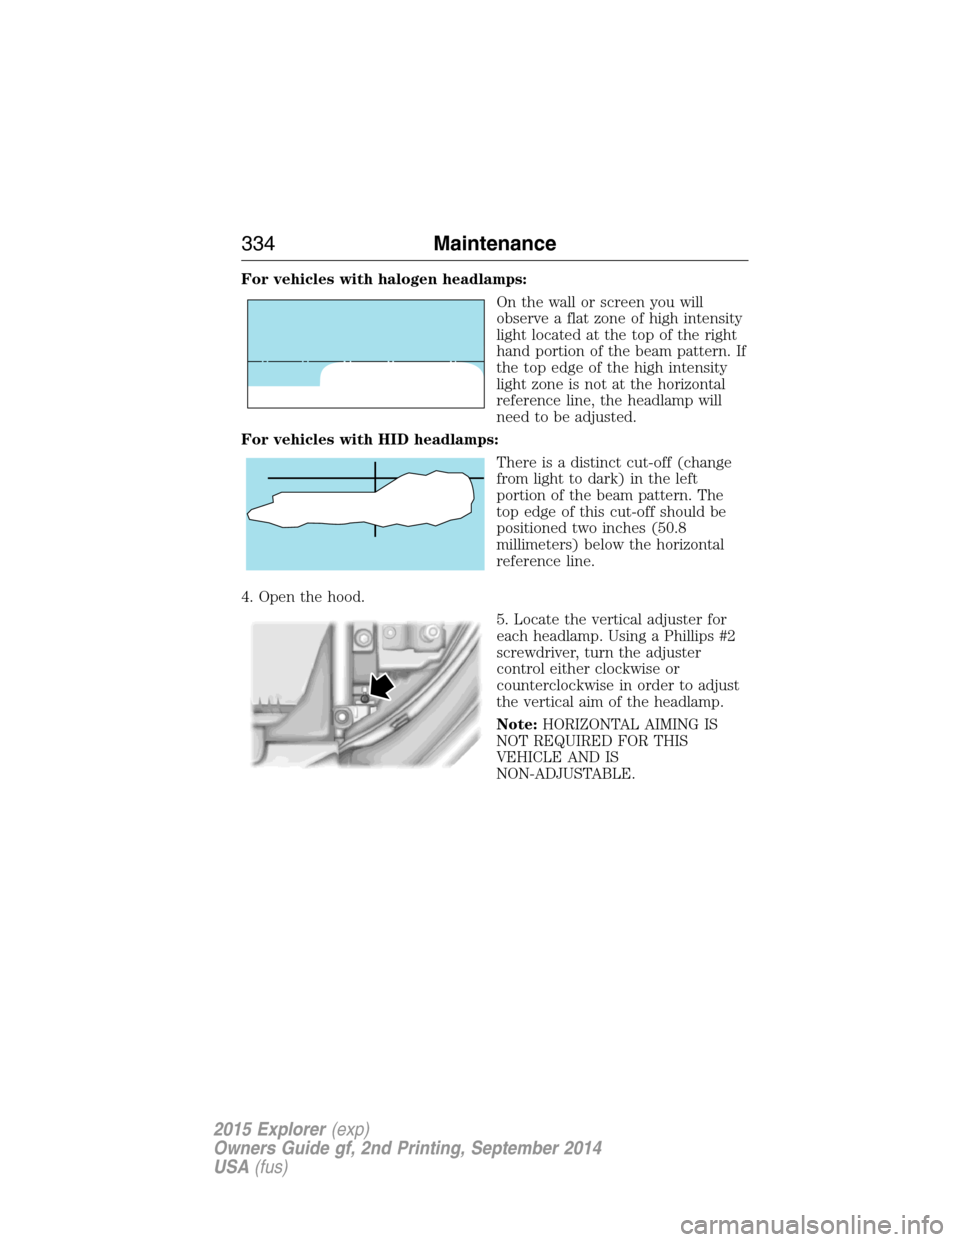
For vehicles with halogen headlamps:
On the wall or screen you will
observe a flat zone of high intensity
light located at the top of the right
hand portion of the beam pattern. If
the top edge of the high intensity
light zone is not at the horizontal
reference line, the headlamp will
need to be adjusted.
For vehicles with HID headlamps:
There is a distinct cut-off (change
from light to dark) in the left
portion of the beam pattern. The
top edge of this cut-off should be
positioned two inches (50.8
millimeters) below the horizontal
reference line.
4. Open the hood.
5. Locate the vertical adjuster for
each headlamp. Using a Phillips #2
screwdriver, turn the adjuster
control either clockwise or
counterclockwise in order to adjust
the vertical aim of the headlamp.
Note:HORIZONTAL AIMING IS
NOT REQUIRED FOR THIS
VEHICLE AND IS
NON-ADJUSTABLE.
334Maintenance
2015 Explorer(exp)
Owners Guide gf, 2nd Printing, September 2014
USA(fus)
Page 336 of 596
CHANGING A BULB
Lamp Assembly Condensation
Exterior lamps are vented to accommodate normal changes in pressure.
Condensation can be a natural by-product of this design. When moist air
enters the lamp assembly through the vents, there is a possibility that
condensation can occur when the temperature is cold. When normal
condensation occurs, a thin film of mist can form on the interior of the
lens. The thin mist eventually clears and exits through the vents during
normal operation. Clearing time may take as long as 48 hours under dry
weather conditions.
These are examples of acceptable condensation:
•Presence of thin mist (no streaks, drip marks or droplets).
•Fine mist covers less than 50% of the lens.
These are examples of unacceptable moisture (usually caused by a lamp
water leak):
•Water puddle inside the lamp.
•Large water droplets, drip marks or streaks present on the interior of
the lens.
Take your vehicle to a dealer for service if any of the above conditions of
unacceptable moisture are present.
Replacing headlamp bulbs
WARNING:Handle a halogen headlamp bulb carefully and keep
out of children’s reach. Grasp the bulb only by its plastic base
and do not touch the glass. The oil from your hand could cause the
bulb to break the next time the headlamps are operated.
Note:If the bulb is accidentally touched, it should be cleaned with
rubbing alcohol before being used.
1. Make sure that the headlamp control is in the off position.
2. Open the hood.
Maintenance335
2015 Explorer(exp)
Owners Guide gf, 2nd Printing, September 2014
USA(fus)
Page 338 of 596
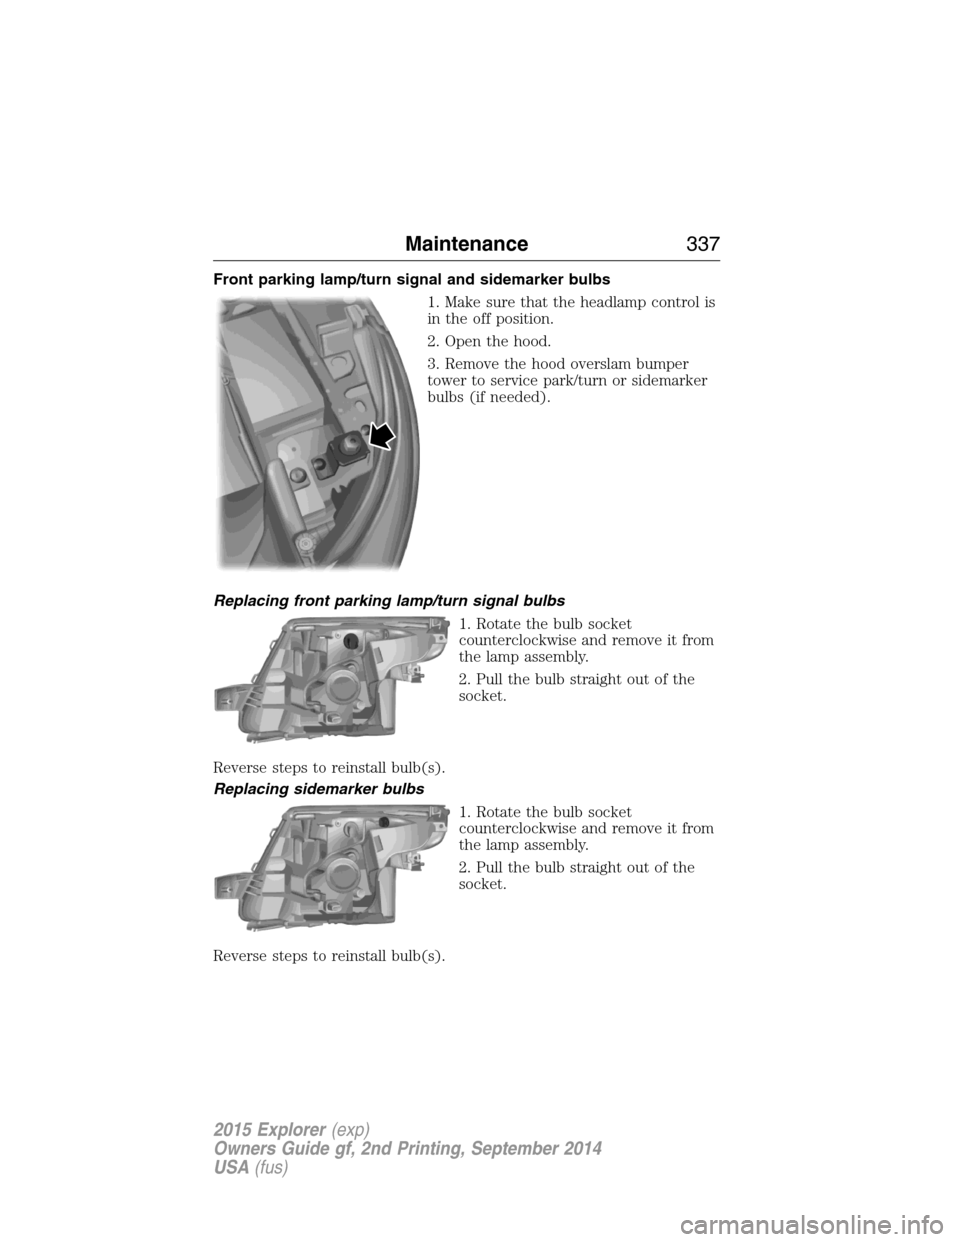
Front parking lamp/turn signal and sidemarker bulbs
1. Make sure that the headlamp control is
in the off position.
2. Open the hood.
3. Remove the hood overslam bumper
tower to service park/turn or sidemarker
bulbs (if needed).
Replacing front parking lamp/turn signal bulbs
1. Rotate the bulb socket
counterclockwise and remove it from
the lamp assembly.
2. Pull the bulb straight out of the
socket.
Reverse steps to reinstall bulb(s).
Replacing sidemarker bulbs
1. Rotate the bulb socket
counterclockwise and remove it from
the lamp assembly.
2. Pull the bulb straight out of the
socket.
Reverse steps to reinstall bulb(s).
Maintenance337
2015 Explorer(exp)
Owners Guide gf, 2nd Printing, September 2014
USA(fus)