turn signal FORD EXPLORER 2015 5.G Owners Manual
[x] Cancel search | Manufacturer: FORD, Model Year: 2015, Model line: EXPLORER, Model: FORD EXPLORER 2015 5.GPages: 596, PDF Size: 6.32 MB
Page 67 of 596
Deactivating Memory from the Remote Control
1. Press and hold the desired memory button for five seconds. You will
hear a tone in about two seconds. Continue to hold until you hear a
second tone.
2. Press the unlock button on the remote control.
3. Repeat this procedure for each additional transmitter if desired.
Car Finder
Press the button twice within three seconds. The horn will
sound and the turn signals will flash. We recommend you use
this method to locate your vehicle, rather than using the panic
alarm.
Sounding a Panic Alarm
Press the button to activate the alarm. Press the button again
or switch the ignition on to deactivate.
Note:The panic alarm will only operate when the ignition is off.
Remote Start (If Equipped)
WARNING:To avoid exhaust fumes, do not use remote start if
your vehicle is parked indoors or areas that are not well
ventilated.
Note:Do not use remote start if your vehicle is low on fuel.
The remote start button is on the transmitter.
This feature allows you to start your vehicle from outside your vehicle.
The transmitter has an extended operating range.
Vehicles with automatic climate control can be configured to operate
when the vehicle is remote started. See theClimate Controlchapter for
more information. A manual climate control system will run at the setting
it was set to when your vehicle was last turned off.
Many states and provinces have restrictions for the use of remote start.
Check your local and state or provincial laws for specific requirements
regarding remote start systems.
66Keys and Remote Control
2015 Explorer(exp)
Owners Guide gf, 2nd Printing, September 2014
USA(fus)
Page 74 of 596
LOCKING AND UNLOCKING
You can use the power door lock control or the remote control to lock
and unlock your vehicle.
Power Door Locks
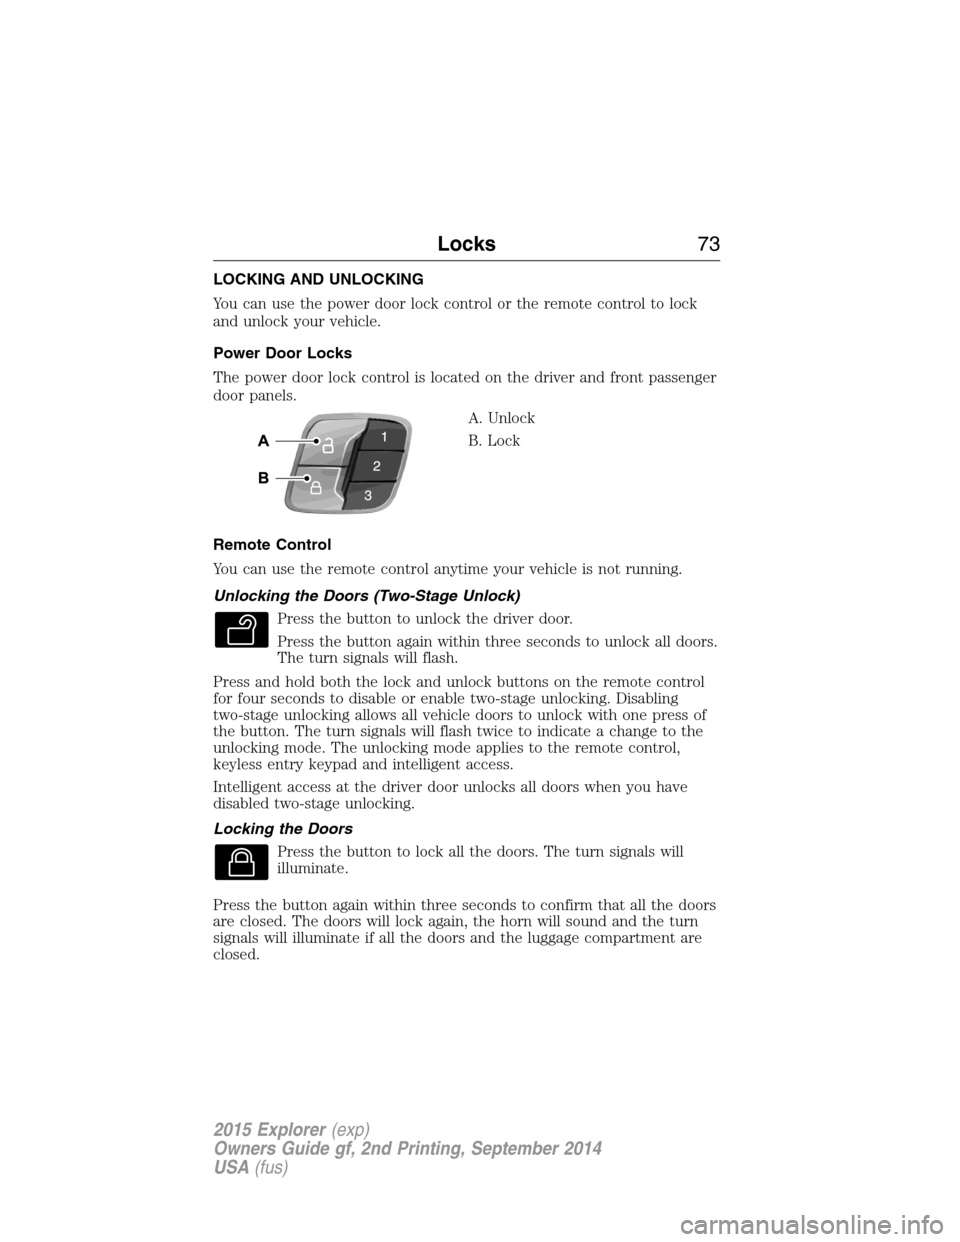
The power door lock control is located on the driver and front passenger
door panels.
A. Unlock
B. Lock
Remote Control
You can use the remote control anytime your vehicle is not running.
Unlocking the Doors (Two-Stage Unlock)
Press the button to unlock the driver door.
Press the button again within three seconds to unlock all doors.
The turn signals will flash.
Press and hold both the lock and unlock buttons on the remote control
for four seconds to disable or enable two-stage unlocking. Disabling
two-stage unlocking allows all vehicle doors to unlock with one press of
the button. The turn signals will flash twice to indicate a change to the
unlocking mode. The unlocking mode applies to the remote control,
keyless entry keypad and intelligent access.
Intelligent access at the driver door unlocks all doors when you have
disabled two-stage unlocking.
Locking the Doors
Press the button to lock all the doors. The turn signals will
illuminate.
Press the button again within three seconds to confirm that all the doors
are closed. The doors will lock again, the horn will sound and the turn
signals will illuminate if all the doors and the luggage compartment are
closed.
Locks73
2015 Explorer(exp)
Owners Guide gf, 2nd Printing, September 2014
USA(fus)
Page 89 of 596
5. Press and release the brake pedal one time. The indicator on the
START/STOPbutton should begin to flash rapidly. This indicates the
vehicle is in programming mode and that it has detected two
programmed intelligent access keys in the vehicle.
6. Press theSTART/STOPbutton within one minute. A message will
appear in the information display indicating that the new intelligent
access key was programmed.
7. Remove the intelligent access key from the center console pocket and
press the unlock button on the newly programmed intelligent access key
to exit programming mode.
8. Verify that the remote entry functions operate (press lock then
unlock, making sure you end in unlock) and that the vehicle starts with
new intelligent access key.
ANTI-THEFT ALARM (IF EQUIPPED)
The system will warn you of unauthorized entry to your vehicle.
The turn signal lamps will flash and sound the horn up to a total of 10
times when:
•any door, the hood or the luggage compartment is opened without
using the keypad, the remote control or the intelligent access
transmitter (if equipped)
•the ignition is turned on with an invalid key.
Take all keys and remote controls to an authorized dealer if there is any
potential alarm problem with your vehicle.
Arming the Alarm
The system is ready to arm whenever the ignition is off. Lock the vehicle
to arm the alarm.
The turn signal lamps will flash once after locking the vehicle to indicate
the alarm is in the pre-armed mode. It will become fully armed in
20 seconds.
88Security
2015 Explorer(exp)
Owners Guide gf, 2nd Printing, September 2014
USA(fus)
Page 104 of 596
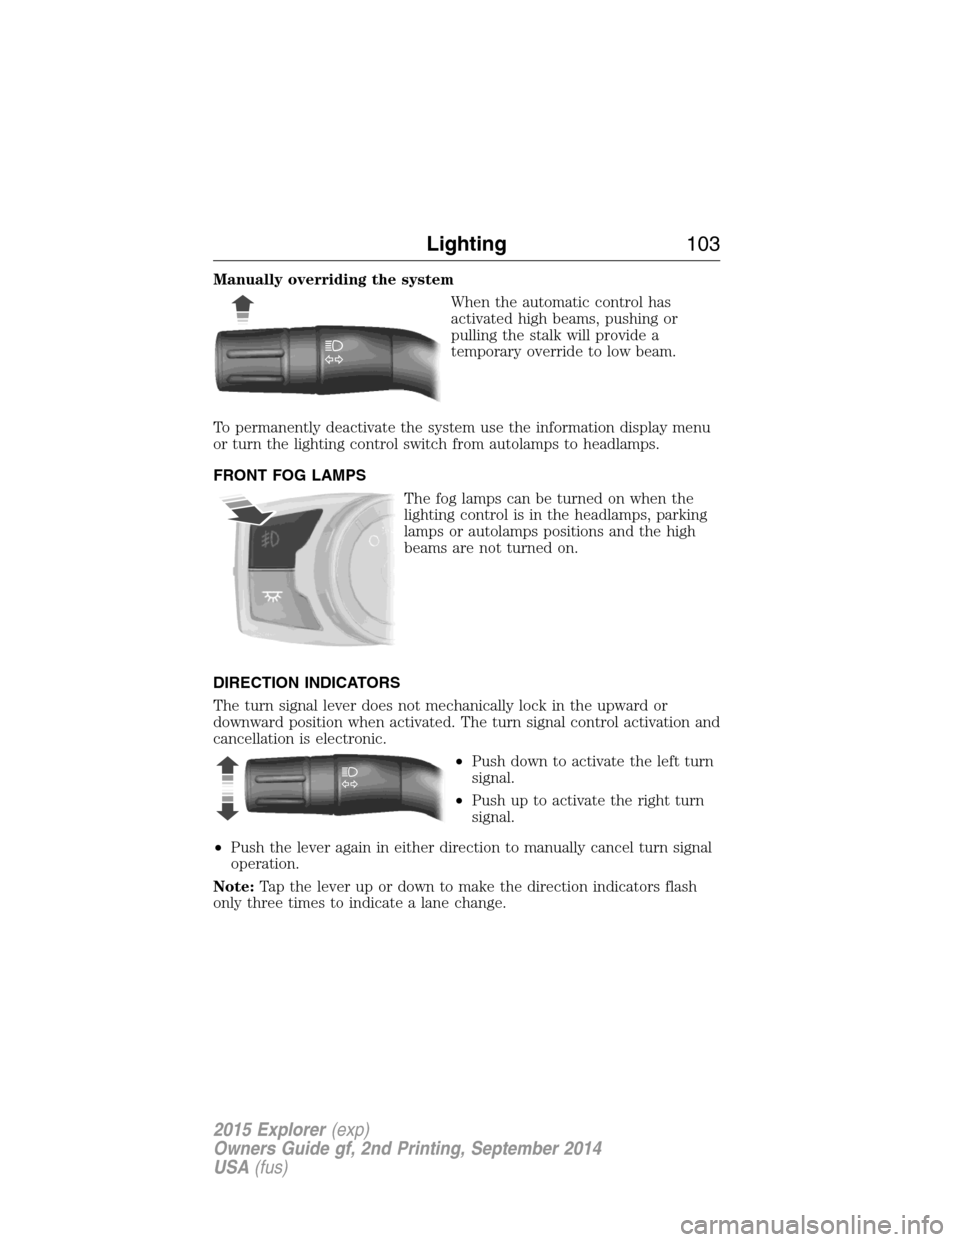
Manually overriding the system
When the automatic control has
activated high beams, pushing or
pulling the stalk will provide a
temporary override to low beam.
To permanently deactivate the system use the information display menu
or turn the lighting control switch from autolamps to headlamps.
FRONT FOG LAMPS
The fog lamps can be turned on when the
lighting control is in the headlamps, parking
lamps or autolamps positions and the high
beams are not turned on.
DIRECTION INDICATORS
The turn signal lever does not mechanically lock in the upward or
downward position when activated. The turn signal control activation and
cancellation is electronic.
•Push down to activate the left turn
signal.
•Push up to activate the right turn
signal.
•Push the lever again in either direction to manually cancel turn signal
operation.
Note:Tap the lever up or down to make the direction indicators flash
only three times to indicate a lane change.
Lighting103
2015 Explorer(exp)
Owners Guide gf, 2nd Printing, September 2014
USA(fus)
Page 111 of 596
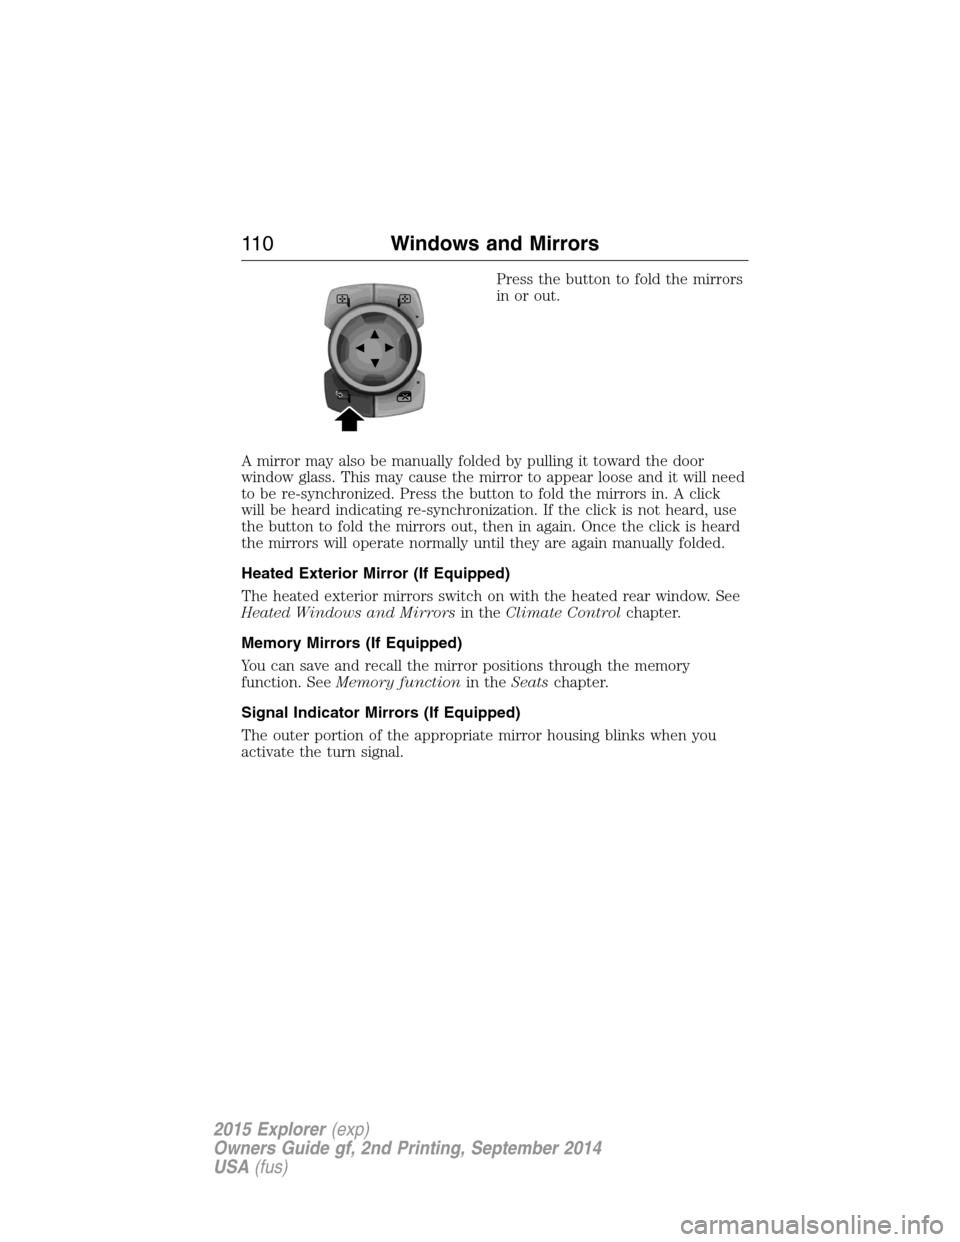
Press the button to fold the mirrors
in or out.
A mirror may also be manually folded by pulling it toward the door
window glass. This may cause the mirror to appear loose and it will need
to be re-synchronized. Press the button to fold the mirrors in. A click
will be heard indicating re-synchronization. If the click is not heard, use
the button to fold the mirrors out, then in again. Once the click is heard
the mirrors will operate normally until they are again manually folded.
Heated Exterior Mirror (If Equipped)
The heated exterior mirrors switch on with the heated rear window. See
Heated Windows and Mirrorsin theClimate Controlchapter.
Memory Mirrors (If Equipped)
You can save and recall the mirror positions through the memory
function. SeeMemory functionin theSeatschapter.
Signal Indicator Mirrors (If Equipped)
The outer portion of the appropriate mirror housing blinks when you
activate the turn signal.
11 0Windows and Mirrors
2015 Explorer(exp)
Owners Guide gf, 2nd Printing, September 2014
USA(fus)
Page 122 of 596
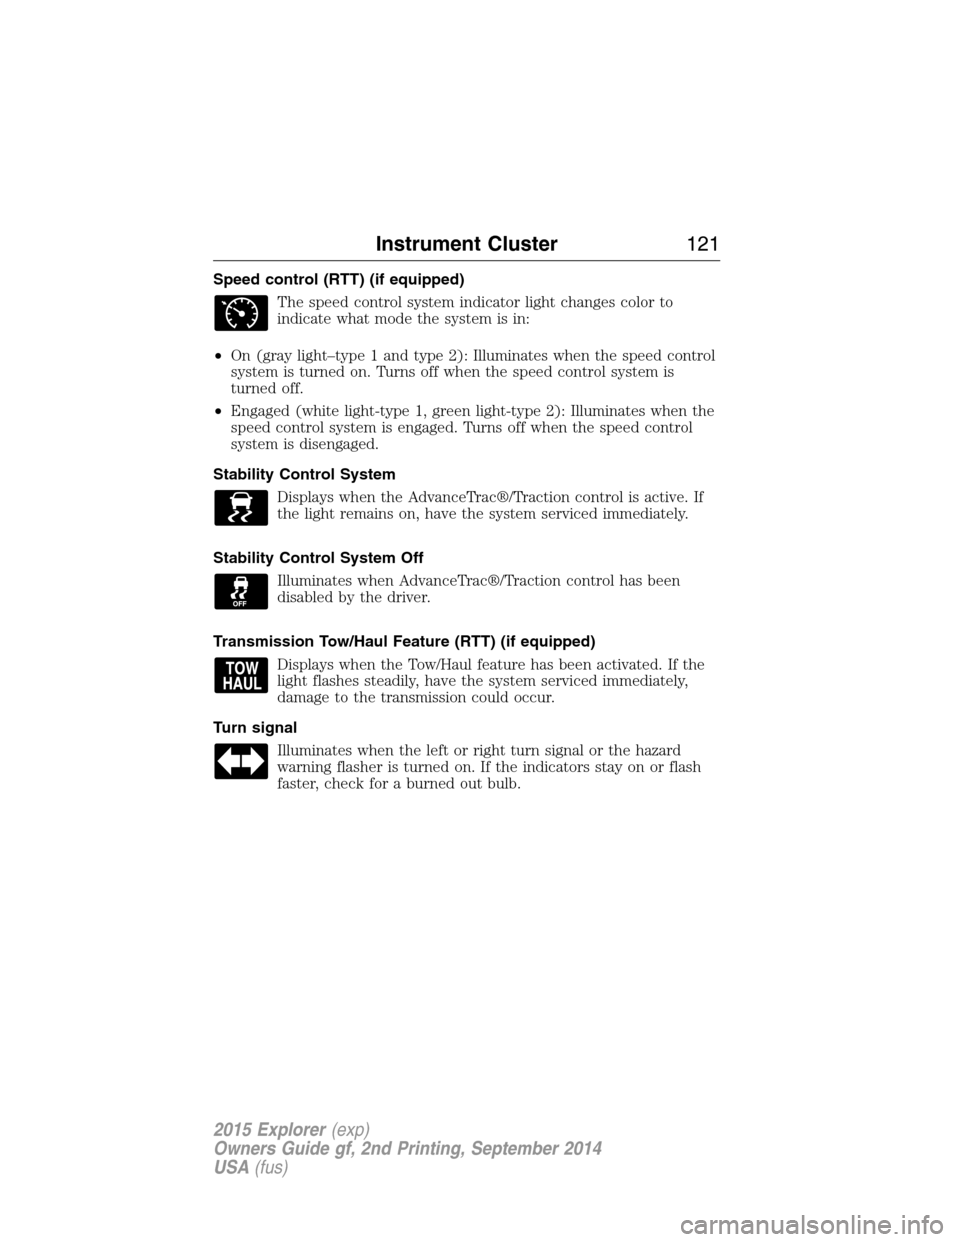
Speed control (RTT) (if equipped)
The speed control system indicator light changes color to
indicate what mode the system is in:
•On (gray light–type 1 and type 2): Illuminates when the speed control
system is turned on. Turns off when the speed control system is
turned off.
•Engaged (white light-type 1, green light-type 2): Illuminates when the
speed control system is engaged. Turns off when the speed control
system is disengaged.
Stability Control System
Displays when the AdvanceTrac®/Traction control is active. If
the light remains on, have the system serviced immediately.
Stability Control System Off
Illuminates when AdvanceTrac®/Traction control has been
disabled by the driver.
Transmission Tow/Haul Feature (RTT) (if equipped)
Displays when the Tow/Haul feature has been activated. If the
light flashes steadily, have the system serviced immediately,
damage to the transmission could occur.
Turn signal
Illuminates when the left or right turn signal or the hazard
warning flasher is turned on. If the indicators stay on or flash
faster, check for a burned out bulb.
Instrument Cluster121
2015 Explorer(exp)
Owners Guide gf, 2nd Printing, September 2014
USA(fus)
Page 179 of 596
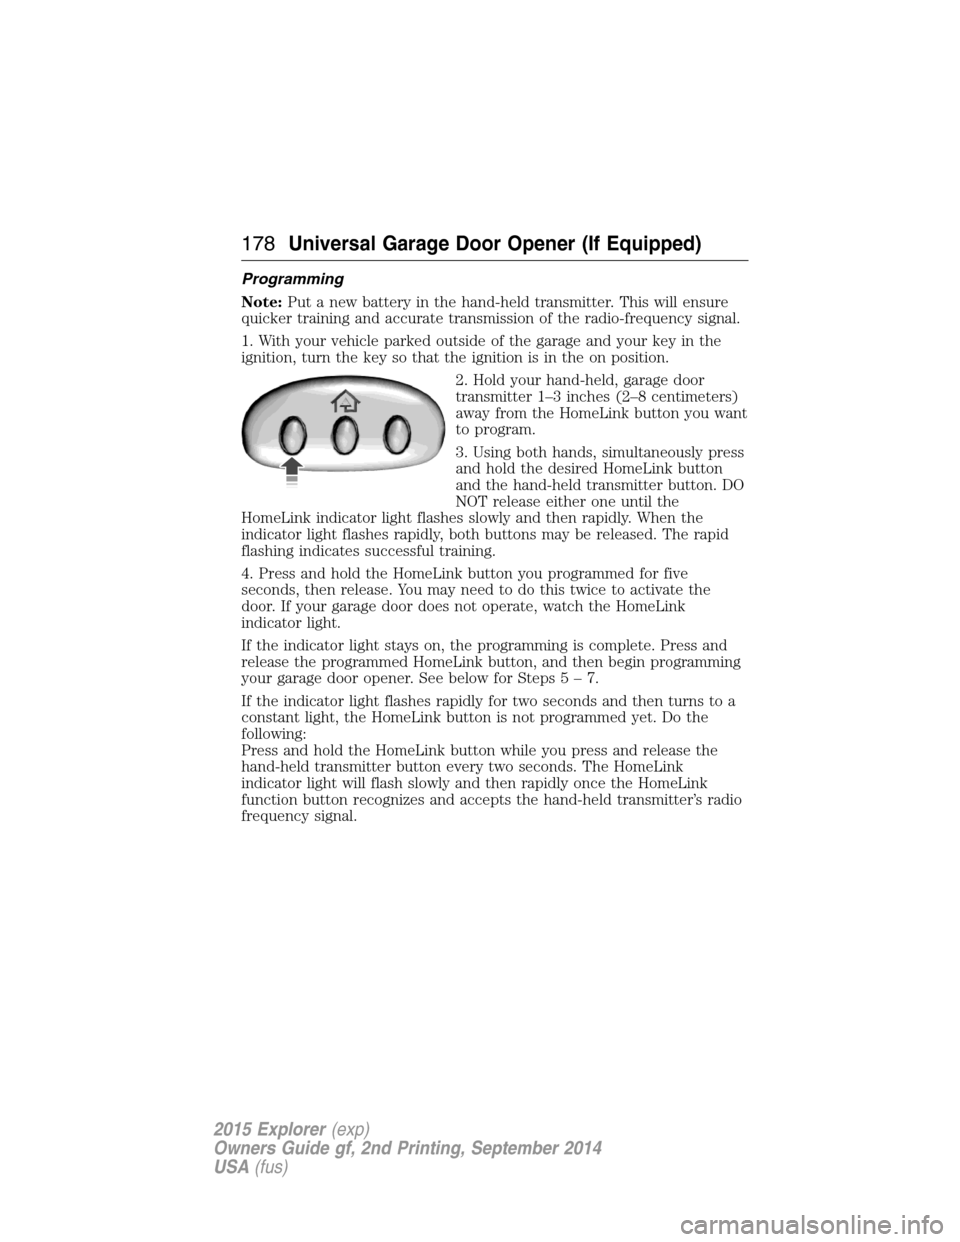
Programming
Note:Put a new battery in the hand-held transmitter. This will ensure
quicker training and accurate transmission of the radio-frequency signal.
1. With your vehicle parked outside of the garage and your key in the
ignition, turn the key so that the ignition is in the on position.
2. Hold your hand-held, garage door
transmitter 1–3 inches (2–8 centimeters)
away from the HomeLink button you want
to program.
3. Using both hands, simultaneously press
and hold the desired HomeLink button
and the hand-held transmitter button. DO
NOT release either one until the
HomeLink indicator light flashes slowly and then rapidly. When the
indicator light flashes rapidly, both buttons may be released. The rapid
flashing indicates successful training.
4. Press and hold the HomeLink button you programmed for five
seconds, then release. You may need to do this twice to activate the
door. If your garage door does not operate, watch the HomeLink
indicator light.
If the indicator light stays on, the programming is complete. Press and
release the programmed HomeLink button, and then begin programming
your garage door opener. See below for Steps5–7.
If the indicator light flashes rapidly for two seconds and then turns to a
constant light, the HomeLink button is not programmed yet. Do the
following:
Press and hold the HomeLink button while you press and release the
hand-held transmitter button every two seconds. The HomeLink
indicator light will flash slowly and then rapidly once the HomeLink
function button recognizes and accepts the hand-held transmitter’s radio
frequency signal.
178Universal Garage Door Opener (If Equipped)
2015 Explorer(exp)
Owners Guide gf, 2nd Printing, September 2014
USA(fus)
Page 232 of 596
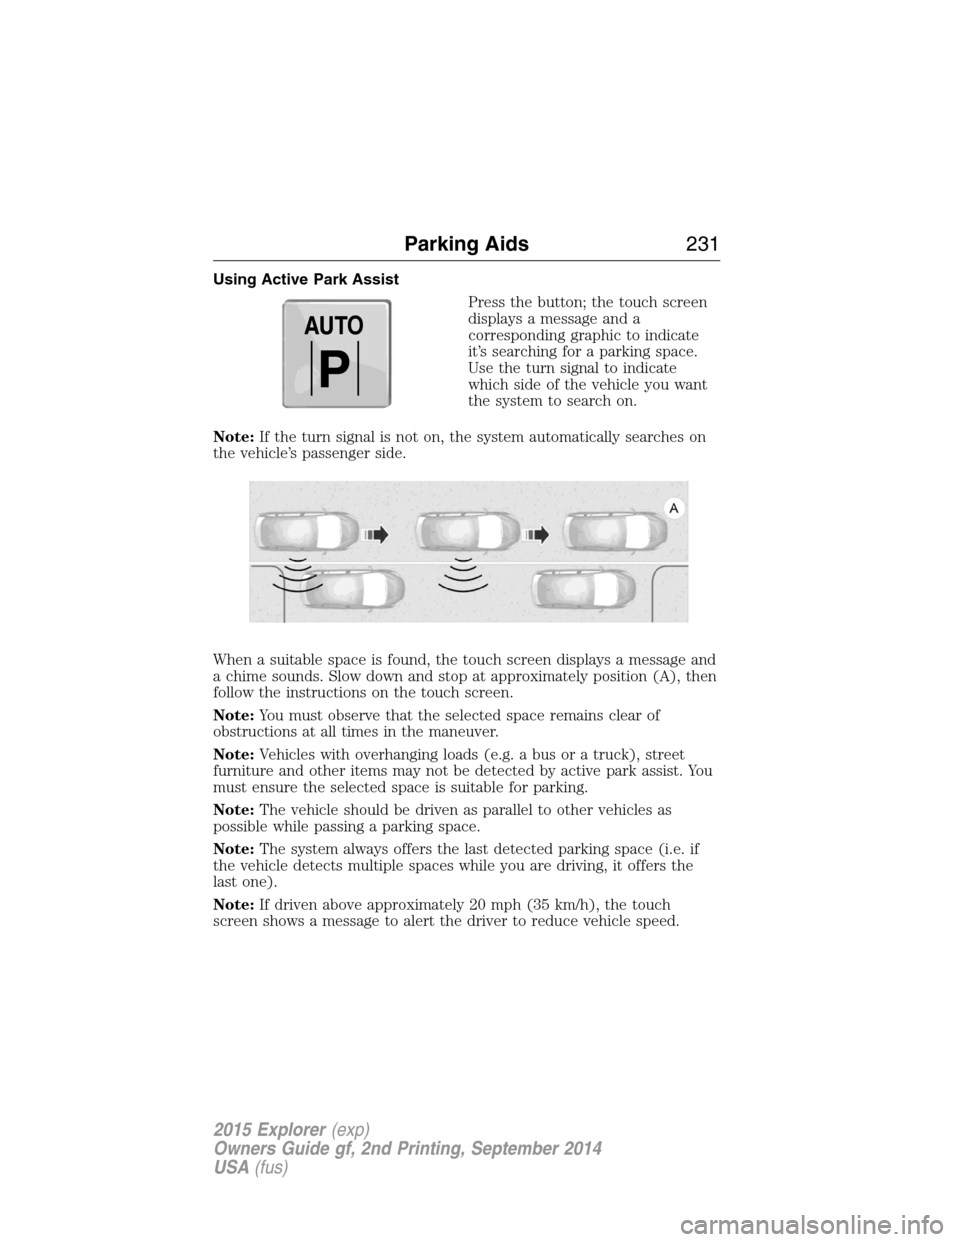
Using Active Park Assist
Press the button; the touch screen
displays a message and a
corresponding graphic to indicate
it’s searching for a parking space.
Use the turn signal to indicate
which side of the vehicle you want
the system to search on.
Note:If the turn signal is not on, the system automatically searches on
the vehicle’s passenger side.
When a suitable space is found, the touch screen displays a message and
a chime sounds. Slow down and stop at approximately position (A), then
follow the instructions on the touch screen.
Note:You must observe that the selected space remains clear of
obstructions at all times in the maneuver.
Note:Vehicles with overhanging loads (e.g. a bus or a truck), street
furniture and other items may not be detected by active park assist. You
must ensure the selected space is suitable for parking.
Note:The vehicle should be driven as parallel to other vehicles as
possible while passing a parking space.
Note:The system always offers the last detected parking space (i.e. if
the vehicle detects multiple spaces while you are driving, it offers the
last one).
Note:If driven above approximately 20 mph (35 km/h), the touch
screen shows a message to alert the driver to reduce vehicle speed.
AUTO
P
Parking Aids231
2015 Explorer(exp)
Owners Guide gf, 2nd Printing, September 2014
USA(fus)
Page 244 of 596
To help you to pass, the system may provide a small, temporary
acceleration when you switch on the left turn signal while following a
lead vehicle.
If the system predicts that its maximum braking level will not be
sufficient, an audible warning will sound while the system continues to
brake. This is accompanied by a heads-up display; a red warning bar
illuminating on the windshield. You should take immediate action.
Setting the Gap Distance
Note:It is your responsibility to select a gap appropriate to the driving
conditions.
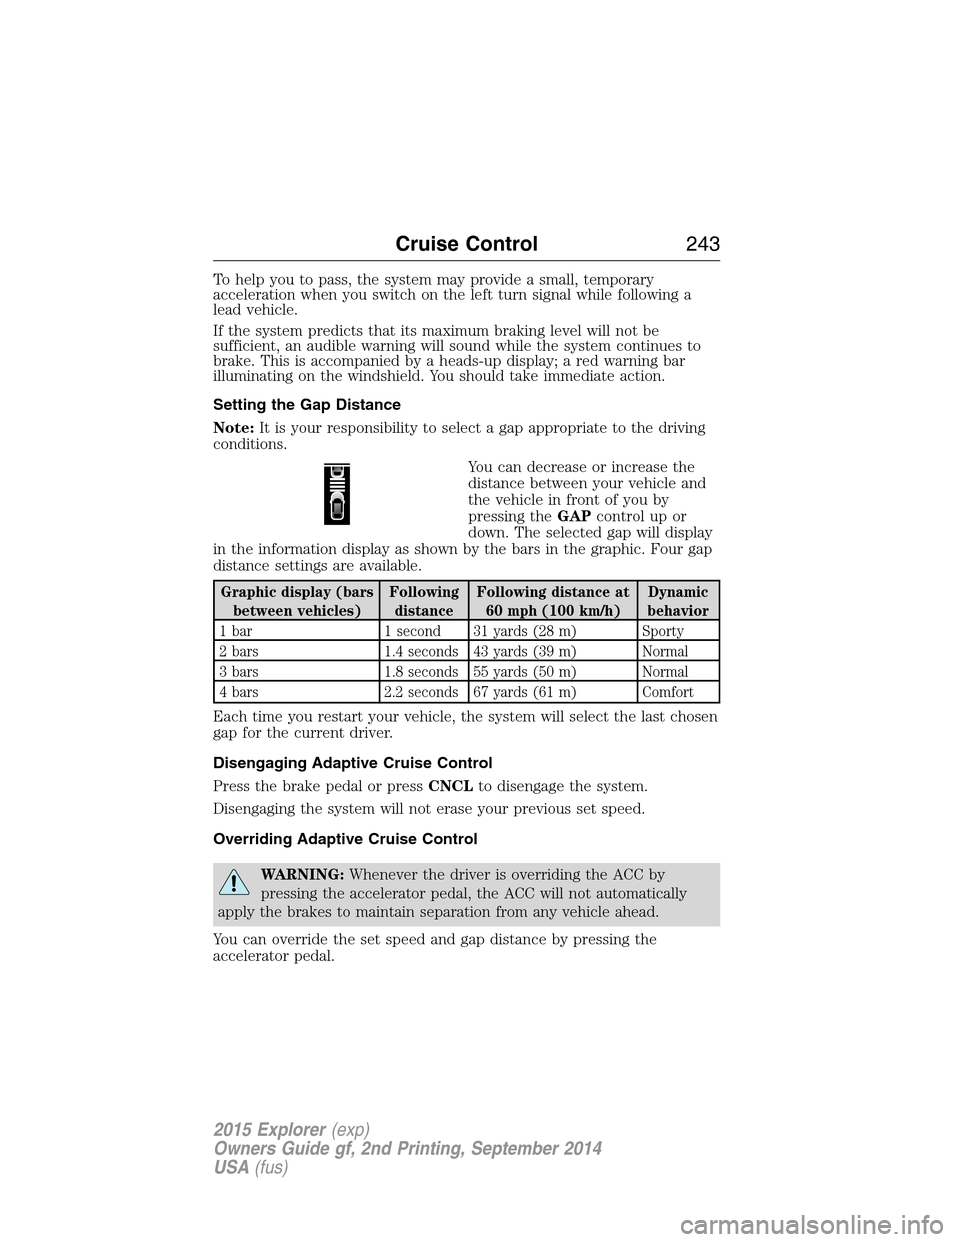
You can decrease or increase the
distance between your vehicle and
the vehicle in front of you by
pressing theGAPcontrolupor
down. The selected gap will display
in the information display as shown by the bars in the graphic. Four gap
distance settings are available.
Graphic display (bars
between vehicles)Following
distanceFollowing distance at
60 mph (100 km/h)Dynamic
behavior
1 bar 1 second 31 yards (28 m) Sporty
2 bars 1.4 seconds 43 yards (39 m) Normal
3 bars 1.8 seconds 55 yards (50 m) Normal
4 bars 2.2 seconds 67 yards (61 m) Comfort
Each time you restart your vehicle, the system will select the last chosen
gap for the current driver.
Disengaging Adaptive Cruise Control
Press the brake pedal or pressCNCLto disengage the system.
Disengaging the system will not erase your previous set speed.
Overriding Adaptive Cruise Control
WARNING:Whenever the driver is overriding the ACC by
pressing the accelerator pedal, the ACC will not automatically
apply the brakes to maintain separation from any vehicle ahead.
You can override the set speed and gap distance by pressing the
accelerator pedal.
Cruise Control243
2015 Explorer(exp)
Owners Guide gf, 2nd Printing, September 2014
USA(fus)
Page 251 of 596
LANE KEEPING SYSTEM (IF EQUIPPED)
WARNING:The system is designed to aid the driver. It is not
intended to replace the driver’s attention and judgment. The
driver is still responsible to drive with due care and attention.
The system notifies you to stay in your lane through the steering system
and the instrument cluster display when the front camera detects an
unintentional drift out of your lane is likely to occur. The system
automatically detects and tracks the road lane markings using a camera
that is mounted behind the interior rear view mirror.
Note:The system works above 40 mph (64 km/h).
Note:The system works as long as one lane marking can be detected by
the camera.
Note:If the camera is blocked or if the windshield is damaged, the
system may not function.
Note:When Aid mode is on and the system detects no driver steering
activity for a short period after system activation, the system alerts the
driver to keep their hands on the steering wheel. The system may detect
a light touch or grip on the steering wheel as hands-off driving.
Switching the System On and Off
Press the button located on the turn signal lever to switch the
system on or off.
Note:The system on/off setting is stored until it is manual changed,
unless a MyKey® is detected. If a MyKey® is detected, the system is
defaulted to on and the mode is set to Alert.
Note:If a MyKey® is detected, pressing the button will not affect the
on/off status of the system. Only the Mode and Intensity settings can be
changed when a MyKey® is present.
System Settings
The system has one standard feature setting and one optional setting
menu available. To view or adjust the settings, refer to theInformation
Displayschapter. The last-known selection for each of these settings is
stored by the system. You do not need to readjust your settings each
time you turn on the system.
250Driving Aids
2015 Explorer(exp)
Owners Guide gf, 2nd Printing, September 2014
USA(fus)