FORD EXPLORER 2023 Owners Manual
Manufacturer: FORD, Model Year: 2023, Model line: EXPLORER, Model: FORD EXPLORER 2023Pages: 573, PDF Size: 16.1 MB
Page 161 of 573
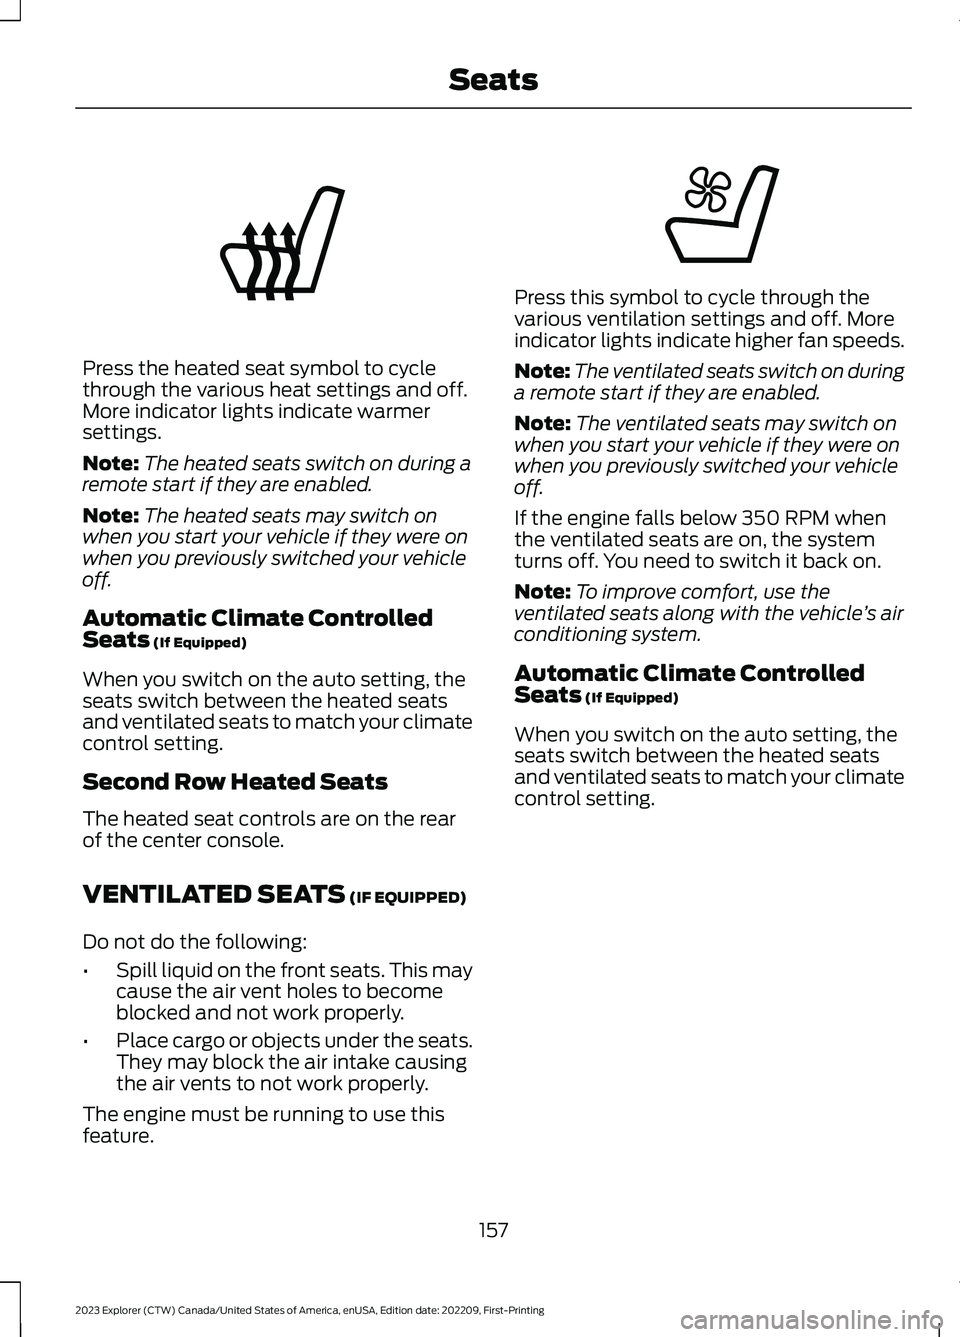
Press the heated seat symbol to cyclethrough the various heat settings and off.More indicator lights indicate warmersettings.
Note:The heated seats switch on during aremote start if they are enabled.
Note:The heated seats may switch onwhen you start your vehicle if they were onwhen you previously switched your vehicleoff.
Automatic Climate ControlledSeats (If Equipped)
When you switch on the auto setting, theseats switch between the heated seatsand ventilated seats to match your climatecontrol setting.
Second Row Heated Seats
The heated seat controls are on the rearof the center console.
VENTILATED SEATS (IF EQUIPPED)
Do not do the following:
•Spill liquid on the front seats. This maycause the air vent holes to becomeblocked and not work properly.
•Place cargo or objects under the seats.They may block the air intake causingthe air vents to not work properly.
The engine must be running to use thisfeature.
Press this symbol to cycle through thevarious ventilation settings and off. Moreindicator lights indicate higher fan speeds.
Note:The ventilated seats switch on duringa remote start if they are enabled.
Note:The ventilated seats may switch onwhen you start your vehicle if they were onwhen you previously switched your vehicleoff.
If the engine falls below 350 RPM whenthe ventilated seats are on, the systemturns off. You need to switch it back on.
Note:To improve comfort, use theventilated seats along with the vehicle’s airconditioning system.
Automatic Climate ControlledSeats (If Equipped)
When you switch on the auto setting, theseats switch between the heated seatsand ventilated seats to match your climatecontrol setting.
157
2023 Explorer (CTW) Canada/United States of America, enUSA, Edition date: 202209, First-PrintingSeatsE146322 E224689
Page 162 of 573
WHAT IS THE REAR
OCCUPANT ALERT SYSTEM
The rear occupant alert system monitorsvehicle conditions and notifies you to checkfor rear seat occupants when you switchthe ignition off.
HOW DOES THE REAR
OCCUPANT ALERT SYSTEM
WORK
The system monitors when rear doors havebeen opened and closed to indicate thepotential presence of an occupant in therear seat.
A message displays in the information andentertainment display screen and anaudible warning sounds when you switchthe ignition off after any of the followingconditions have been met:
•A rear door is opened or closed whilethe ignition is on.
•You switch the ignition on within 15minutes of a rear door opening andclosing.
•You switch the ignition on within 15minutes of the alert having displayedor sounded.
REAR OCCUPANT ALERT
SYSTEM PRECAUTIONS
WARNING: On hot days, thetemperature inside the vehicle can risevery quickly. Exposure of people oranimals to these high temperatures foreven a short time can cause death orserious heat related injuries, includingbrain damage. Small children areparticularly at risk.
WARNING: Do not leave childrenor pets unattended in your vehicle.Failure to follow this instruction couldresult in personal injury or death.
REAR OCCUPANT ALERT
SYSTEM LIMITATIONS
The system does not detect the presenceof objects or passengers in the rear seat.It monitors when rear doors are openedand closed.
Note:It is possible to receive an alert whenthere is no rear seat occupant, but alertconditions are met.
Note:It is possible to receive no alert whenthere is an occupant in the rear seat, if alertconditions are not met. For example, if a rearseat occupant does not enter the vehiclethrough a rear door.
Note:The audible warning does not soundwhen the front door is opened before youswitch the ignition off.
SWITCHING REAR OCCUPANT
ALERT SYSTEM ON AND OFF
1.Press Settings on the touchscreen.
2.Press Vehicle.
3.Switch Rear Occupant Alert on or off.
Note:The default setting is on.
Note:Performing a master reset causes thesystem to switch on again.
Semiannual Reminder (If Equipped)
When you switch the system off, amessage appears every six months as areminder that the system is off. You canswitch the system back on or leave it off.
158
2023 Explorer (CTW) Canada/United States of America, enUSA, Edition date: 202209, First-PrintingRear Occupant Alert System
Page 163 of 573
REAR OCCUPANT ALERT
SYSTEM INDICATORS
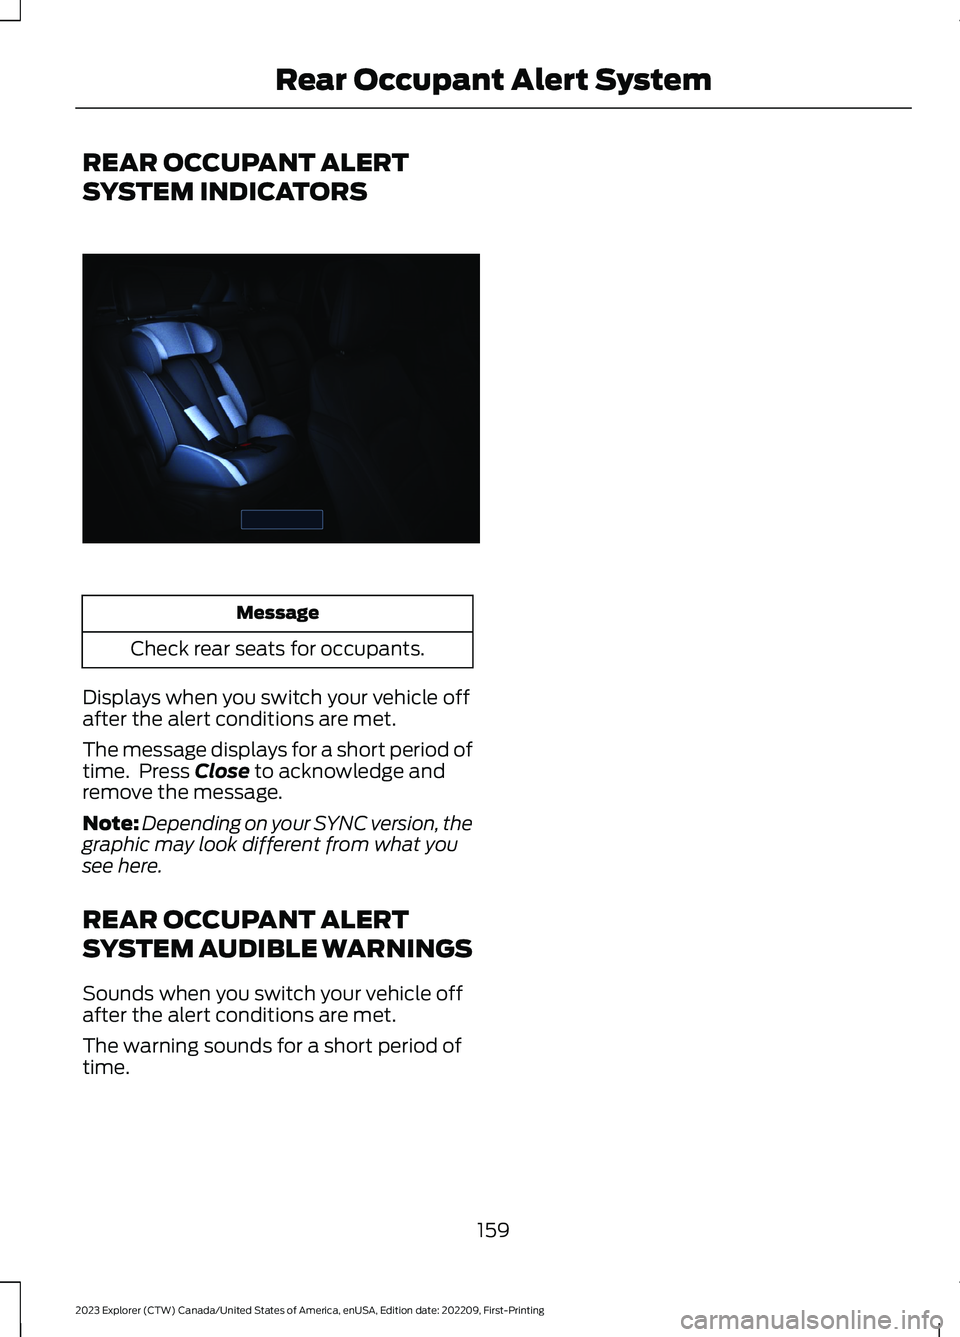
Message
Check rear seats for occupants.
Displays when you switch your vehicle offafter the alert conditions are met.
The message displays for a short period oftime. Press Close to acknowledge andremove the message.
Note:Depending on your SYNC version, thegraphic may look different from what yousee here.
REAR OCCUPANT ALERT
SYSTEM AUDIBLE WARNINGS
Sounds when you switch your vehicle offafter the alert conditions are met.
The warning sounds for a short period oftime.
159
2023 Explorer (CTW) Canada/United States of America, enUSA, Edition date: 202209, First-PrintingRear Occupant Alert SystemE350472
Page 164 of 573
WHAT IS THE GARAGE DOOR
OPENER
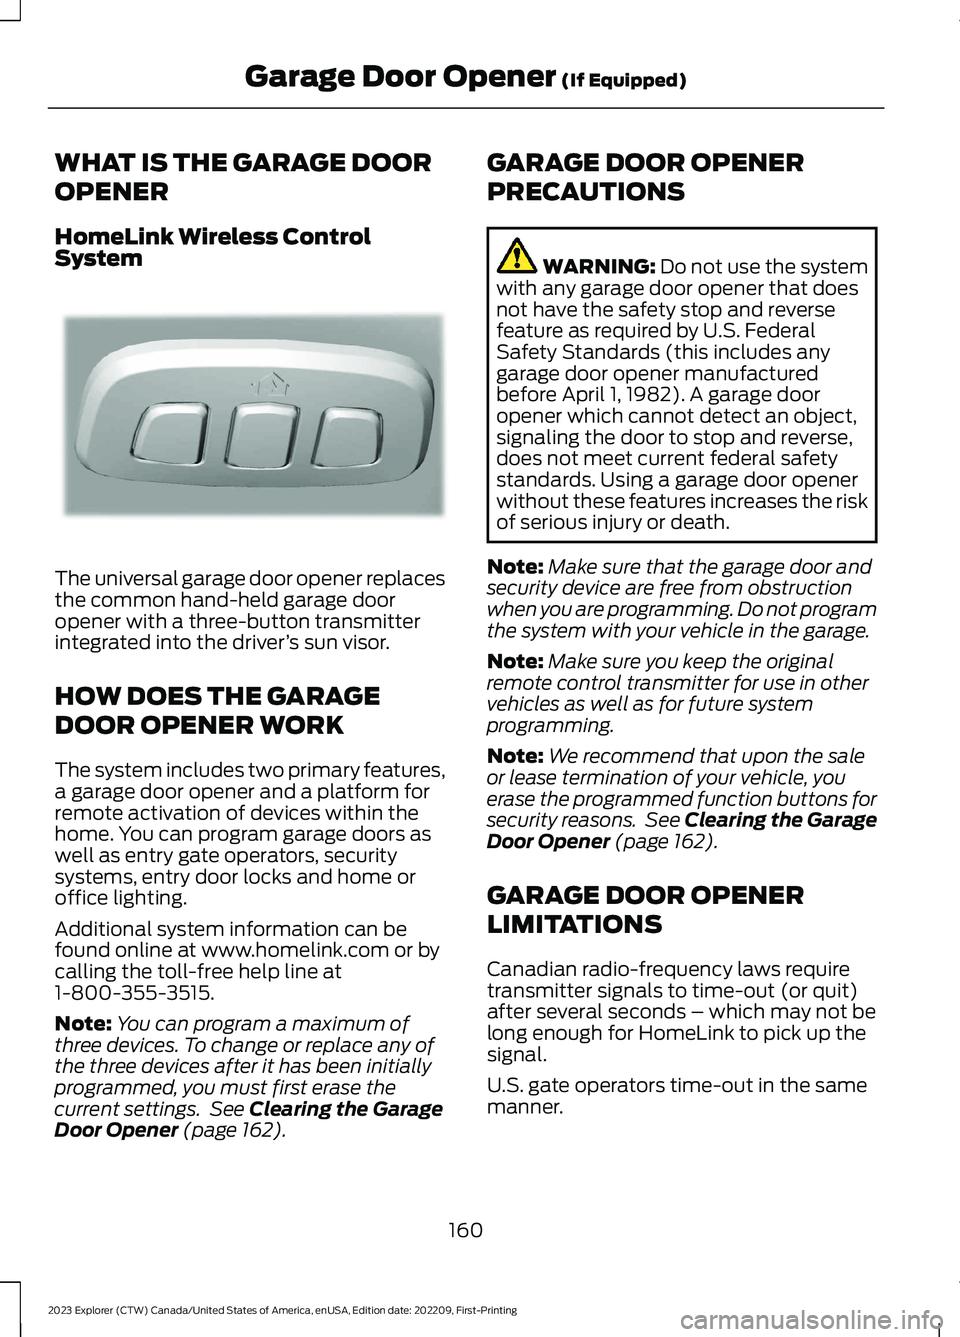
HomeLink Wireless ControlSystem
The universal garage door opener replacesthe common hand-held garage dooropener with a three-button transmitterintegrated into the driver’s sun visor.
HOW DOES THE GARAGE
DOOR OPENER WORK
The system includes two primary features,a garage door opener and a platform forremote activation of devices within thehome. You can program garage doors aswell as entry gate operators, securitysystems, entry door locks and home oroffice lighting.
Additional system information can befound online at www.homelink.com or bycalling the toll-free help line at1-800-355-3515.
Note:You can program a maximum ofthree devices. To change or replace any ofthe three devices after it has been initiallyprogrammed, you must first erase thecurrent settings. See Clearing the GarageDoor Opener (page 162).
GARAGE DOOR OPENER
PRECAUTIONS
WARNING: Do not use the systemwith any garage door opener that doesnot have the safety stop and reversefeature as required by U.S. FederalSafety Standards (this includes anygarage door opener manufacturedbefore April 1, 1982). A garage dooropener which cannot detect an object,signaling the door to stop and reverse,does not meet current federal safetystandards. Using a garage door openerwithout these features increases the riskof serious injury or death.
Note:Make sure that the garage door andsecurity device are free from obstructionwhen you are programming. Do not programthe system with your vehicle in the garage.
Note:Make sure you keep the originalremote control transmitter for use in othervehicles as well as for future systemprogramming.
Note:We recommend that upon the saleor lease termination of your vehicle, youerase the programmed function buttons forsecurity reasons. See Clearing the GarageDoor Opener (page 162).
GARAGE DOOR OPENER
LIMITATIONS
Canadian radio-frequency laws requiretransmitter signals to time-out (or quit)after several seconds – which may not belong enough for HomeLink to pick up thesignal.
U.S. gate operators time-out in the samemanner.
160
2023 Explorer (CTW) Canada/United States of America, enUSA, Edition date: 202209, First-PrintingGarage Door Opener (If Equipped)E188211
Page 165 of 573
Note:If programming a garage door openeror gate operator, it is advised to unplug thedevice during the “cycling” process toprevent possible overheating.
PROGRAMMING THE GARAGE
DOOR OPENER TO YOUR
HAND-HELD TRANSMITTER
This process is to program your in-vehicleHomeLink function button with yourhand-held transmitter.
Note:The programming steps belowassume you will be programming HomeLinkthat was not previously programmed. If yourHomeLink was previously programmed, youmay need to erase your HomeLink buttons.See Clearing the Garage Door Opener(page 162).
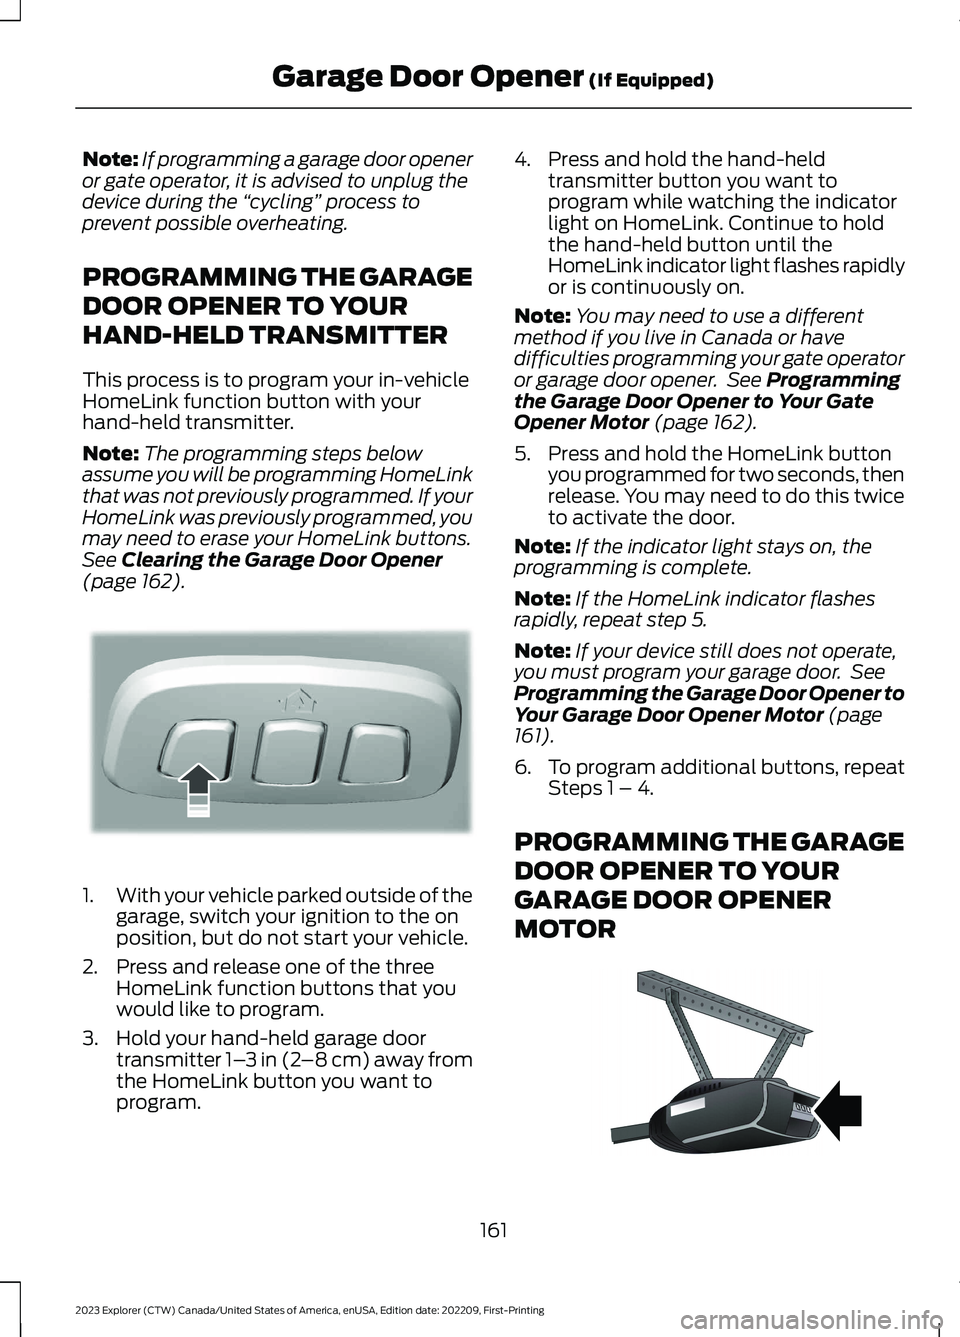
1.With your vehicle parked outside of thegarage, switch your ignition to the onposition, but do not start your vehicle.
2.Press and release one of the threeHomeLink function buttons that youwould like to program.
3.Hold your hand-held garage doortransmitter 1–3 in (2–8 cm) away fromthe HomeLink button you want toprogram.
4.Press and hold the hand-heldtransmitter button you want toprogram while watching the indicatorlight on HomeLink. Continue to holdthe hand-held button until theHomeLink indicator light flashes rapidlyor is continuously on.
Note:You may need to use a differentmethod if you live in Canada or havedifficulties programming your gate operatoror garage door opener. See Programmingthe Garage Door Opener to Your GateOpener Motor (page 162).
5.Press and hold the HomeLink buttonyou programmed for two seconds, thenrelease. You may need to do this twiceto activate the door.
Note:If the indicator light stays on, theprogramming is complete.
Note:If the HomeLink indicator flashesrapidly, repeat step 5.
Note:If your device still does not operate,you must program your garage door. SeeProgramming the Garage Door Opener toYour Garage Door Opener Motor (page161).
6.To program additional buttons, repeatSteps 1 – 4.
PROGRAMMING THE GARAGE
DOOR OPENER TO YOUR
GARAGE DOOR OPENER
MOTOR
161
2023 Explorer (CTW) Canada/United States of America, enUSA, Edition date: 202209, First-PrintingGarage Door Opener (If Equipped)E188212 E142659
Page 166 of 573
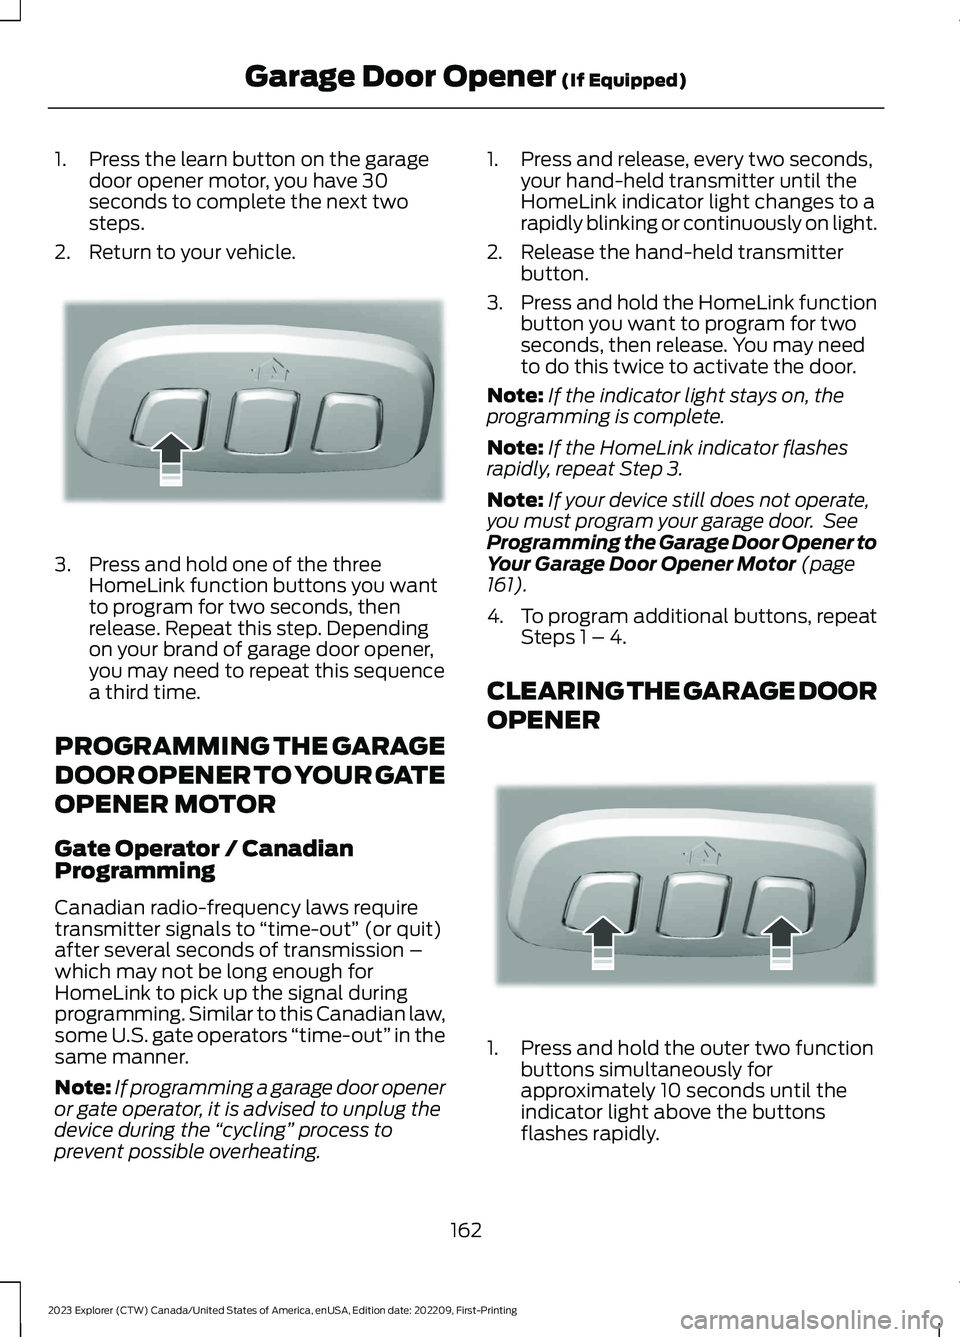
1.Press the learn button on the garagedoor opener motor, you have 30seconds to complete the next twosteps.
2.Return to your vehicle.
3.Press and hold one of the threeHomeLink function buttons you wantto program for two seconds, thenrelease. Repeat this step. Dependingon your brand of garage door opener,you may need to repeat this sequencea third time.
PROGRAMMING THE GARAGE
DOOR OPENER TO YOUR GATE
OPENER MOTOR
Gate Operator / CanadianProgramming
Canadian radio-frequency laws requiretransmitter signals to “time-out” (or quit)after several seconds of transmission –which may not be long enough forHomeLink to pick up the signal duringprogramming. Similar to this Canadian law,some U.S. gate operators “time-out” in thesame manner.
Note:If programming a garage door openeror gate operator, it is advised to unplug thedevice during the “cycling” process toprevent possible overheating.
1.Press and release, every two seconds,your hand-held transmitter until theHomeLink indicator light changes to arapidly blinking or continuously on light.
2.Release the hand-held transmitterbutton.
3.Press and hold the HomeLink functionbutton you want to program for twoseconds, then release. You may needto do this twice to activate the door.
Note:If the indicator light stays on, theprogramming is complete.
Note:If the HomeLink indicator flashesrapidly, repeat Step 3.
Note:If your device still does not operate,you must program your garage door. SeeProgramming the Garage Door Opener toYour Garage Door Opener Motor (page161).
4.To program additional buttons, repeatSteps 1 – 4.
CLEARING THE GARAGE DOOR
OPENER
1.Press and hold the outer two functionbuttons simultaneously forapproximately 10 seconds until theindicator light above the buttonsflashes rapidly.
162
2023 Explorer (CTW) Canada/United States of America, enUSA, Edition date: 202209, First-PrintingGarage Door Opener (If Equipped)E188212 E188213
Page 167 of 573
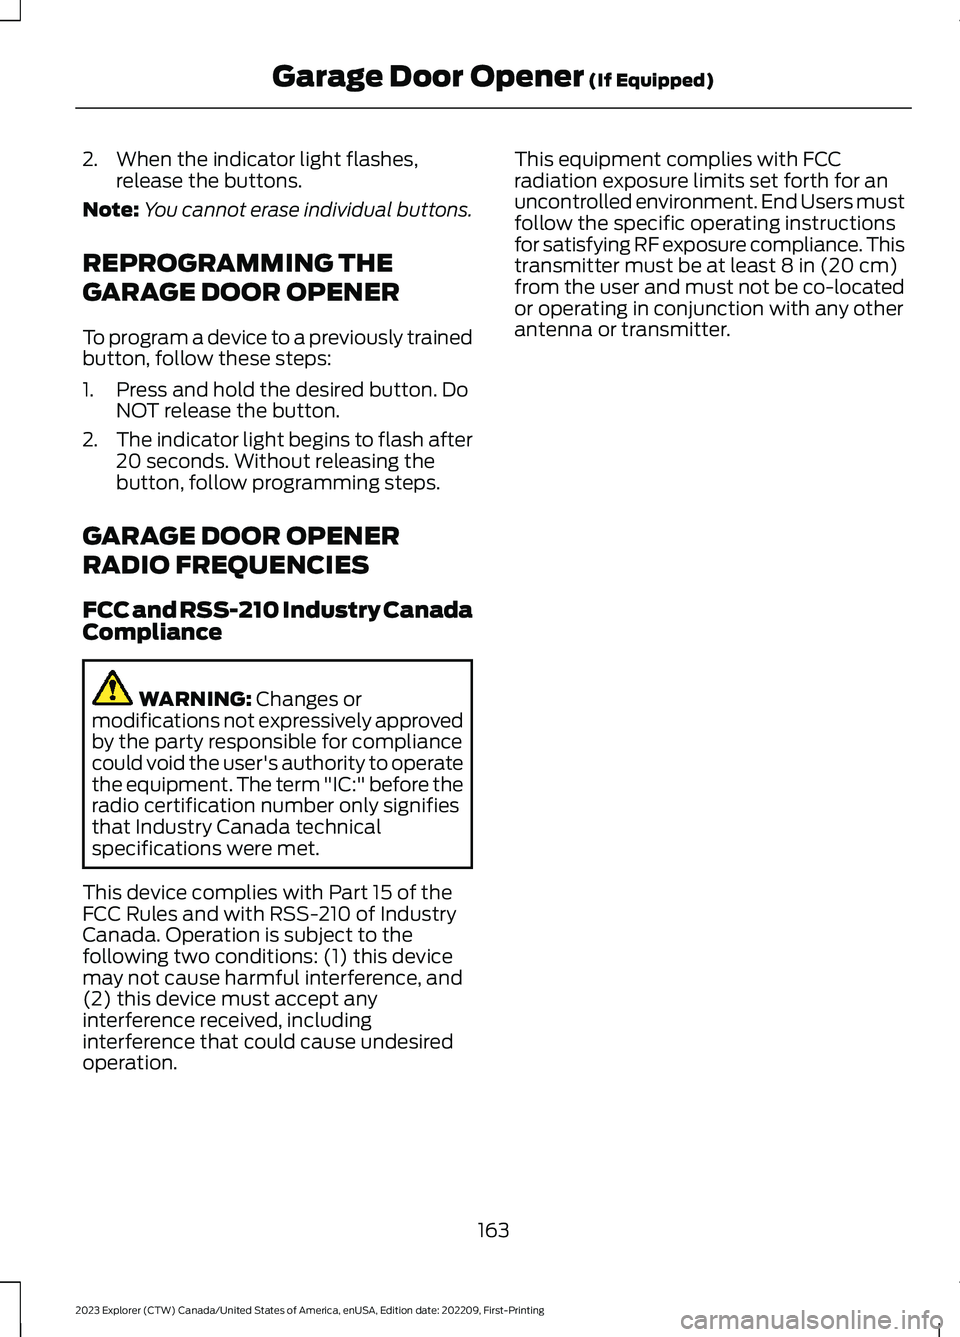
2.When the indicator light flashes,release the buttons.
Note:You cannot erase individual buttons.
REPROGRAMMING THE
GARAGE DOOR OPENER
To program a device to a previously trainedbutton, follow these steps:
1.Press and hold the desired button. DoNOT release the button.
2.The indicator light begins to flash after20 seconds. Without releasing thebutton, follow programming steps.
GARAGE DOOR OPENER
RADIO FREQUENCIES
FCC and RSS-210 Industry CanadaCompliance
WARNING: Changes ormodifications not expressively approvedby the party responsible for compliancecould void the user's authority to operatethe equipment. The term "IC:" before theradio certification number only signifiesthat Industry Canada technicalspecifications were met.
This device complies with Part 15 of theFCC Rules and with RSS-210 of IndustryCanada. Operation is subject to thefollowing two conditions: (1) this devicemay not cause harmful interference, and(2) this device must accept anyinterference received, includinginterference that could cause undesiredoperation.
This equipment complies with FCCradiation exposure limits set forth for anuncontrolled environment. End Users mustfollow the specific operating instructionsfor satisfying RF exposure compliance. Thistransmitter must be at least 8 in (20 cm)from the user and must not be co-locatedor operating in conjunction with any otherantenna or transmitter.
163
2023 Explorer (CTW) Canada/United States of America, enUSA, Edition date: 202209, First-PrintingGarage Door Opener (If Equipped)
Page 168 of 573
12 Volt DC Power Point
WARNING: Do not plug optionalelectrical accessories into the cigarlighter socket. Incorrect use of the cigarlighter can cause damage not coveredby the vehicle warranty, and can resultin fire or serious injury.
Note:When you switch the ignition on, youcan use the socket to power 12 voltappliances with a maximum current ratingof 15 amps.
Note:If the power supply does not workafter you switch the ignition off, switch theignition on.
Note:Do not hang any accessory from theaccessory plug.
Note:Do not use the power point over thevehicle capacity of 12 volt DC 180 watts ora fuse may blow.
Note:Always keep the power point capsclosed when not in use.
Do not insert objects other than anaccessory plug into the power point. Thisdamages the power point and may blowthe fuse.
Run the vehicle for full capacity use of thepower point.
To prevent the battery from running out ofcharge:
•Do not use the power point longer thannecessary when the vehicle is notrunning.
•Do not leave devices plugged inovernight or when you park your vehiclefor extended periods.
USB Port and Power PointLocations
USB Ports and Power Points may be in thefollowing locations:
•On the lower instrument panel.
•Inside the center console.
•On the front of the center console.
•On the rear of the center console.
•In the cargo area.
•On the passenger side floor panel.
•3rd row on the quarter trim panels.
Note:Some of the USB ports may not havedata transfer capabilities.
Note:Incorrect use of the USB ports cancause damage not covered by the vehiclewarranty.
110 Volt AC Power Point
WARNING: Do not keep electricaldevices plugged into the power outletwhenever the device is not in use. Theoutlet provides power when the vehicleis on. Failure to follow this instructioncould result in personal injury.
WARNING: Do not use anextension cord or connect multipledevices to the power outlet. Doing socould result in overloading the poweroutlet. Failure to follow this instructioncould result in fire, personal injury orproperty damage.
Note:The power point turns off when youswitch off the ignition, when the vehicle isnot in accessory mode or when the batteryvoltage drops below 11 volts.
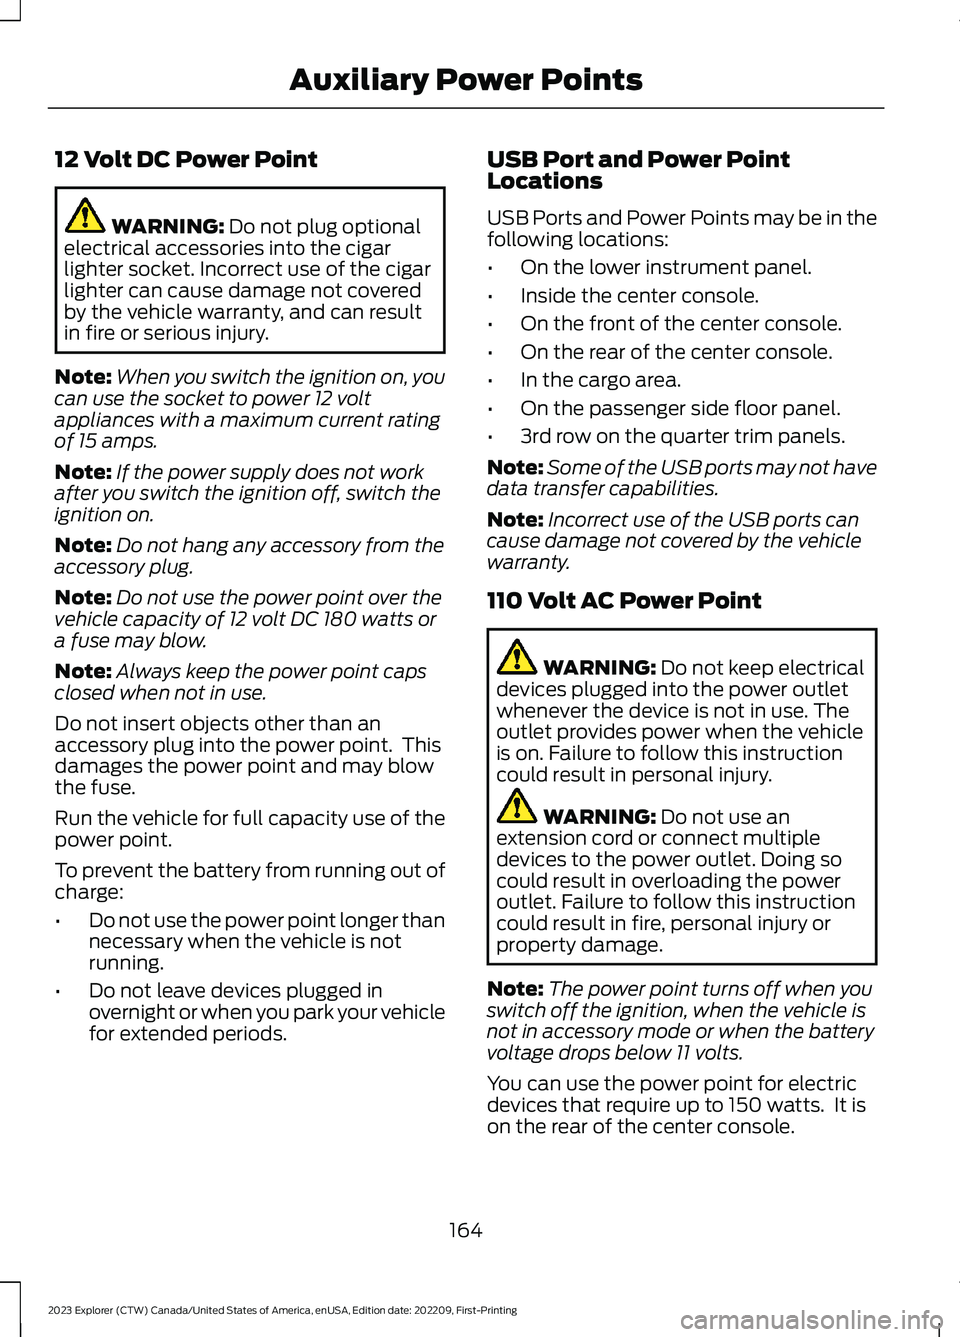
You can use the power point for electricdevices that require up to 150 watts. It ison the rear of the center console.
164
2023 Explorer (CTW) Canada/United States of America, enUSA, Edition date: 202209, First-PrintingAuxiliary Power Points
Page 169 of 573
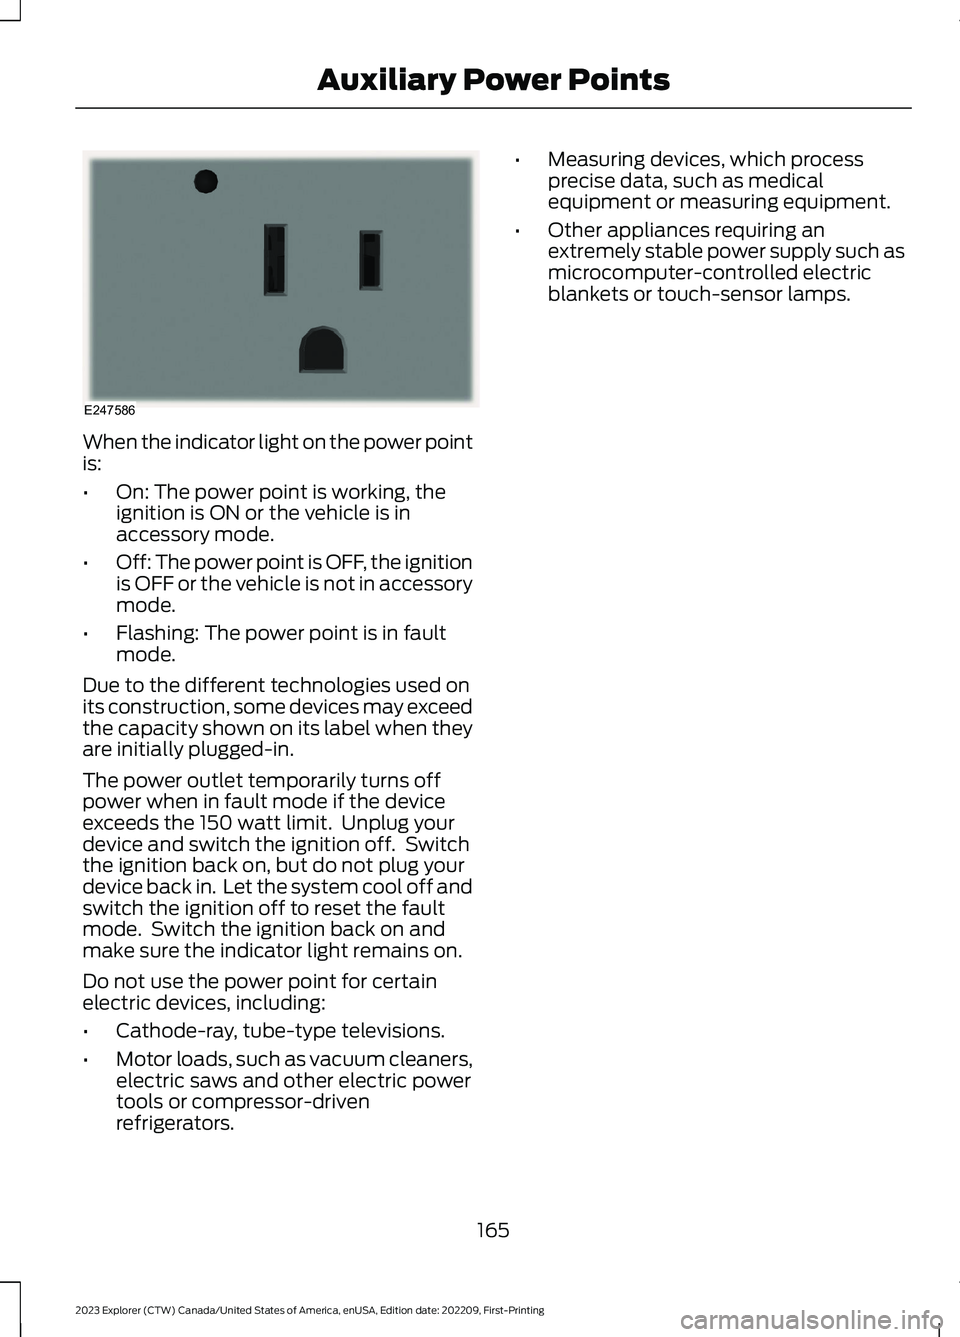
When the indicator light on the power pointis:
•On: The power point is working, theignition is ON or the vehicle is inaccessory mode.
•Off: The power point is OFF, the ignitionis OFF or the vehicle is not in accessorymode.
•Flashing: The power point is in faultmode.
Due to the different technologies used onits construction, some devices may exceedthe capacity shown on its label when theyare initially plugged-in.
The power outlet temporarily turns offpower when in fault mode if the deviceexceeds the 150 watt limit. Unplug yourdevice and switch the ignition off. Switchthe ignition back on, but do not plug yourdevice back in. Let the system cool off andswitch the ignition off to reset the faultmode. Switch the ignition back on andmake sure the indicator light remains on.
Do not use the power point for certainelectric devices, including:
•Cathode-ray, tube-type televisions.
•Motor loads, such as vacuum cleaners,electric saws and other electric powertools or compressor-drivenrefrigerators.
•Measuring devices, which processprecise data, such as medicalequipment or measuring equipment.
•Other appliances requiring anextremely stable power supply such asmicrocomputer-controlled electricblankets or touch-sensor lamps.
165
2023 Explorer (CTW) Canada/United States of America, enUSA, Edition date: 202209, First-PrintingAuxiliary Power PointsE247586
Page 170 of 573
WHAT IS THE WIRELESS
ACCESSORY CHARGER
The wireless accessory charger allows youto charge one compatible Qi wirelesscharging device on the charging area.
WIRELESS ACCESSORY
CHARGER PRECAUTIONS
WARNING: Wireless chargingdevices can affect the operation ofimplanted medical devices, includingcardiac pacemakers. If you have anyimplanted medical devices, werecommend that you consult with yourphysician.
Keep the charging area clean and removeforeign objects prior to charging a device.
Do not place items with a magnetic stripor radio-frequency identification chip, forexample passports, parking tickets,transportation passes or credit cards, nearthe charging area when charging a device.Damage could occur to the magnetic stripor radio-frequency identification chip.
Do not place metal objects, for exampleremote controls, coins and candywrappers, on or near the charging areawhen charging a device. Metal objects mayheat up and degrade the chargingperformance, in addition to causinginterruptions in charging.
Charging could be interrupted, degraded,or could stop if any of the following occur:
•The system detects a foreign object.
•The device is misaligned on thecharging area.
•The device moves on the activecharging area when the vehicle is inmotion.
•The vehicle ambient temperature is toohigh.
•You attempt to charge a non-Qicompatible device on the wirelesscharger.
Note:During charging, the device and thecharger could heat up, this is normal. If thebattery gets hotter than usual, the devicemay stop charging.
LOCATING THE WIRELESS
ACCESSORY CHARGER
The charging area is on thecenter console or in the mediabin below the instrument panel.
CHARGING A WIRELESS
DEVICE
Place the device on the center of thecharging surface with the charging sidedown. The charging stops after your devicereaches a full charge.
You can use the charger when the vehicleis in accessory mode, when the vehicle isrunning, or when SYNC is on.
Displays on the status bar whenwireless charging is in progress.
Note:The charging performance may beaffected if your device is in a case. It may benecessary to remove the case to wirelesslycharge your device.
Note:Software and firmware updates mayaffect device compatibility, including theuse of unofficial software or firmware. Youshould verify charging functionality with yourspecific devices in-vehicle.
166
2023 Explorer (CTW) Canada/United States of America, enUSA, Edition date: 202209, First-PrintingWireless Accessory Charger (If Equipped)E297549 E263583