FORD EXPLORER SPORT 2002 1.G Owners Manual
Manufacturer: FORD, Model Year: 2002, Model line: EXPLORER SPORT, Model: FORD EXPLORER SPORT 2002 1.GPages: 184, PDF Size: 2.8 MB
Page 91 of 184
Even when the ABS is disabled,
normal braking is still effective. (If
your BRAKE warning lamp
illuminates with the parking brake
released, have your brake system
serviced immediately.)
Using ABS
When hard braking is required, apply continuous force on the brake
pedal; do not pump the brake pedal since this will reduce the
effectiveness of the ABS and will increase your vehicle’s stopping
distance. The ABS will be activated immediately, allowing you to retain
full steering control during hard braking and on slippery surfaces.
However, the ABS does not decrease stopping distance.
Parking brake
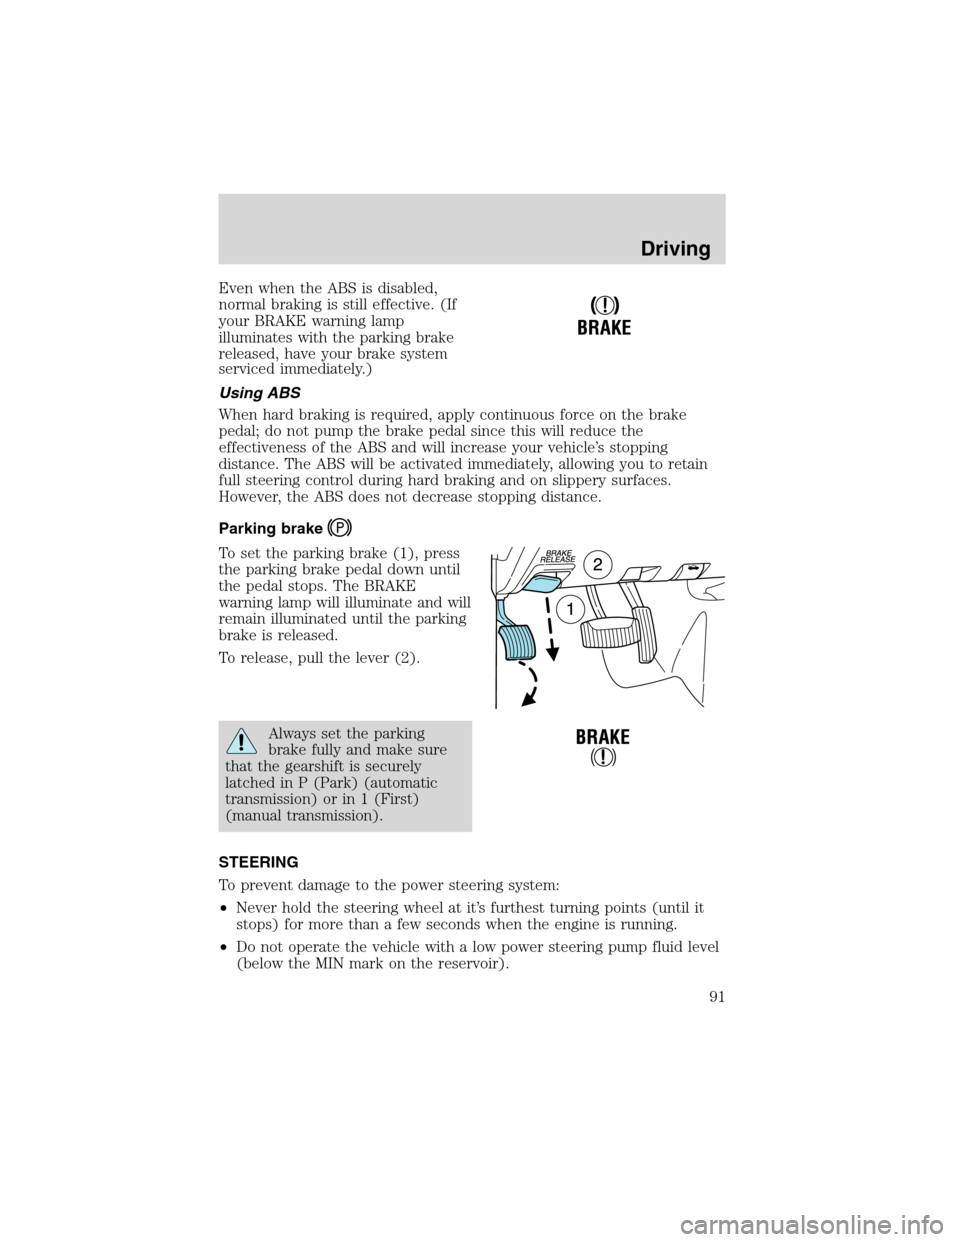
To set the parking brake (1), press
the parking brake pedal down until
the pedal stops. The BRAKE
warning lamp will illuminate and will
remain illuminated until the parking
brake is released.
To release, pull the lever (2).
Always set the parking
brake fully and make sure
that the gearshift is securely
latched in P (Park) (automatic
transmission) or in 1 (First)
(manual transmission).
STEERING
To prevent damage to the power steering system:
•Never hold the steering wheel at it’s furthest turning points (until it
stops) for more than a few seconds when the engine is running.
•Do not operate the vehicle with a low power steering pump fluid level
(below the MIN mark on the reservoir).
!
BRAKE
Driving
91
Page 92 of 184
If the power steering system breaks down (or if the engine is turned
off), you can steer the vehicle manually, but it takes more effort.
If the steering wanders or pulls, check for:
•an underinflated tire
•uneven tire wear
•loose or worn suspension components
•loose or worn steering components
•improper steering alignment
TRACTION-LOK AXLE (IF EQUIPPED)
This axle provides added traction on slippery surfaces, particularly when
one wheel is on a poor traction surface. Under normal conditions, the
Traction-Lok axle functions like a standard rear axle.
To reduce the risk of injury, never run the engine with one wheel
off the ground, such as when changing a tire.
PREPARING TO DRIVE YOUR VEHICLE
Utility vehicles have a significantly higher rollover rate than
other types of vehicles.
In a rollover crash, an unbelted person is significantly more likely
to die than a person wearing a safety belt.
Your vehicle has larger tires and increased ground clearance, giving the
vehicle a higher center of gravity than a passenger car.
Vehicles with a higher center of gravity such as utility and
four-wheel drive vehicles handle differently than vehicles with a
lower center of gravity. Utility and four-wheel drive vehicles arenot
designed for cornering at speeds as high as passenger cars any more
than low-slung sports cars are designed to perform satisfactorily under
off-road conditions. Avoid sharp turns, excessive speed and abrupt
maneuvers in these vehicles. Failure to drive cautiously could result in
an increased risk of loss of vehicle control, vehicle rollover, personal
injury and death.
Driving
92
Page 93 of 184
Loaded vehicles, with a higher center of gravity, may handle
differently than unloaded vehicles. Extra precautions, such as
slower speeds and increased stopping distance, should be taken when
driving a heavily loaded vehicle.
AUTOMATIC TRANSMISSION OPERATION (IF EQUIPPED)
Brake-shift interlock
This vehicle is equipped with a brake-shift interlock feature that prevents
the gearshift lever from being moved from P (Park) when the ignition is
in the ON position unless brake pedal is depressed.
If you cannot move the gearshift lever out of P (Park) with ignition in
the ON position and the brake pedal depressed:
1. Apply the parking brake, turn ignition key to LOCK, then remove the
key.
2. Insert the key and turn it to OFF.Apply the brake pedal and shift
to N (Neutral).
In the ignition OFF position, the automatic transmission shift
lever can be moved from the P (Park) position without the brake
pedal depressed. To avoid unwanted vehicle movement, always set the
parking brake.
3. Start the vehicle.
If it is necessary to use the above procedure to move the gearshift lever,
it is possible that a fuse has blown or the vehicle’s brakelamps are not
operating properly. Refer toFuses and relaysin theRoadside
emergencieschapter.
Do not drive your vehicle until you verify that the brakelamps
are working.
Always set the parking brake fully and make sure the gearshift is
latched in P (Park). Turn the ignition to the LOCK position and
remove the key whenever you leave your vehicle.
Driving
93
Page 94 of 184
If the parking brake is fully released, but the brake warning lamp
remains illuminated, the brakes may not be working properly.
See your dealer or a qualified service technician.
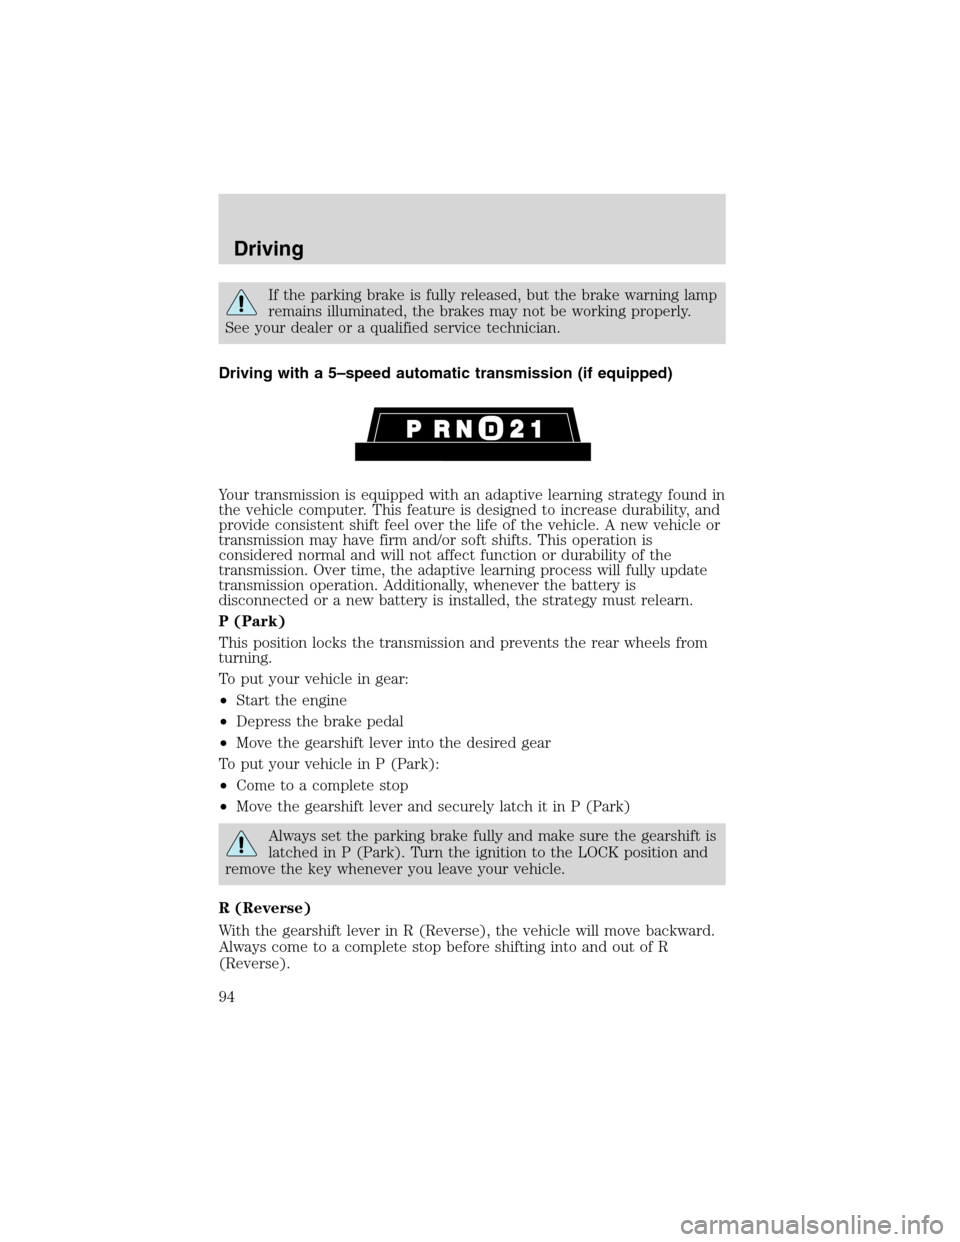
Driving with a 5–speed automatic transmission (if equipped)
Your transmission is equipped with an adaptive learning strategy found in
the vehicle computer. This feature is designed to increase durability, and
provide consistent shift feel over the life of the vehicle. A new vehicle or
transmission may have firm and/or soft shifts. This operation is
considered normal and will not affect function or durability of the
transmission. Over time, the adaptive learning process will fully update
transmission operation. Additionally, whenever the battery is
disconnected or a new battery is installed, the strategy must relearn.
P (Park)
This position locks the transmission and prevents the rear wheels from
turning.
To put your vehicle in gear:
•Start the engine
•Depress the brake pedal
•Move the gearshift lever into the desired gear
To put your vehicle in P (Park):
•Come to a complete stop
•Move the gearshift lever and securely latch it in P (Park)
Always set the parking brake fully and make sure the gearshift is
latched in P (Park). Turn the ignition to the LOCK position and
remove the key whenever you leave your vehicle.
R (Reverse)
With the gearshift lever in R (Reverse), the vehicle will move backward.
Always come to a complete stop before shifting into and out of R
(Reverse).
Driving
94
Page 95 of 184
N (Neutral)
With the gearshift lever in N (Neutral), the vehicle can be started and is
free to roll. Hold the brake pedal down while in this position.
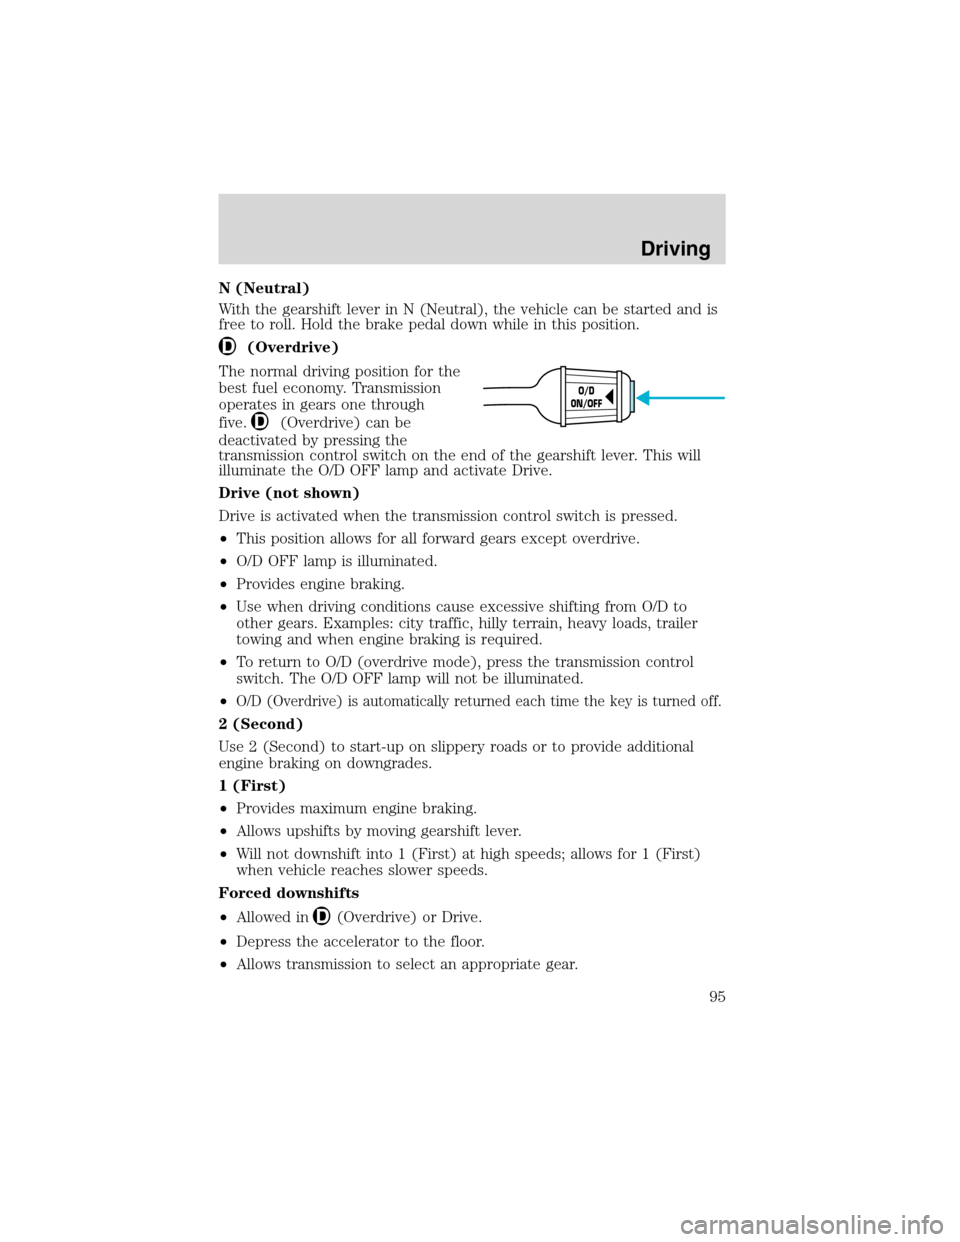
(Overdrive)
The normal driving position for the
best fuel economy. Transmission
operates in gears one through
five.
(Overdrive) can be
deactivated by pressing the
transmission control switch on the end of the gearshift lever. This will
illuminate the O/D OFF lamp and activate Drive.
Drive (not shown)
Drive is activated when the transmission control switch is pressed.
•This position allows for all forward gears except overdrive.
•O/D OFF lamp is illuminated.
•Provides engine braking.
•Use when driving conditions cause excessive shifting from O/D to
other gears. Examples: city traffic, hilly terrain, heavy loads, trailer
towing and when engine braking is required.
•To return to O/D (overdrive mode), press the transmission control
switch. The O/D OFF lamp will not be illuminated.
•
O/D (Overdrive) is automatically returned each time the key is turned off.
2 (Second)
Use 2 (Second) to start-up on slippery roads or to provide additional
engine braking on downgrades.
1 (First)
•Provides maximum engine braking.
•Allows upshifts by moving gearshift lever.
•Will not downshift into 1 (First) at high speeds; allows for 1 (First)
when vehicle reaches slower speeds.
Forced downshifts
•Allowed in
(Overdrive) or Drive.
•Depress the accelerator to the floor.
•Allows transmission to select an appropriate gear.
O/D
ON/OFF
Driving
95
Page 96 of 184
MANUAL TRANSMISSION OPERATION (IF EQUIPPED)
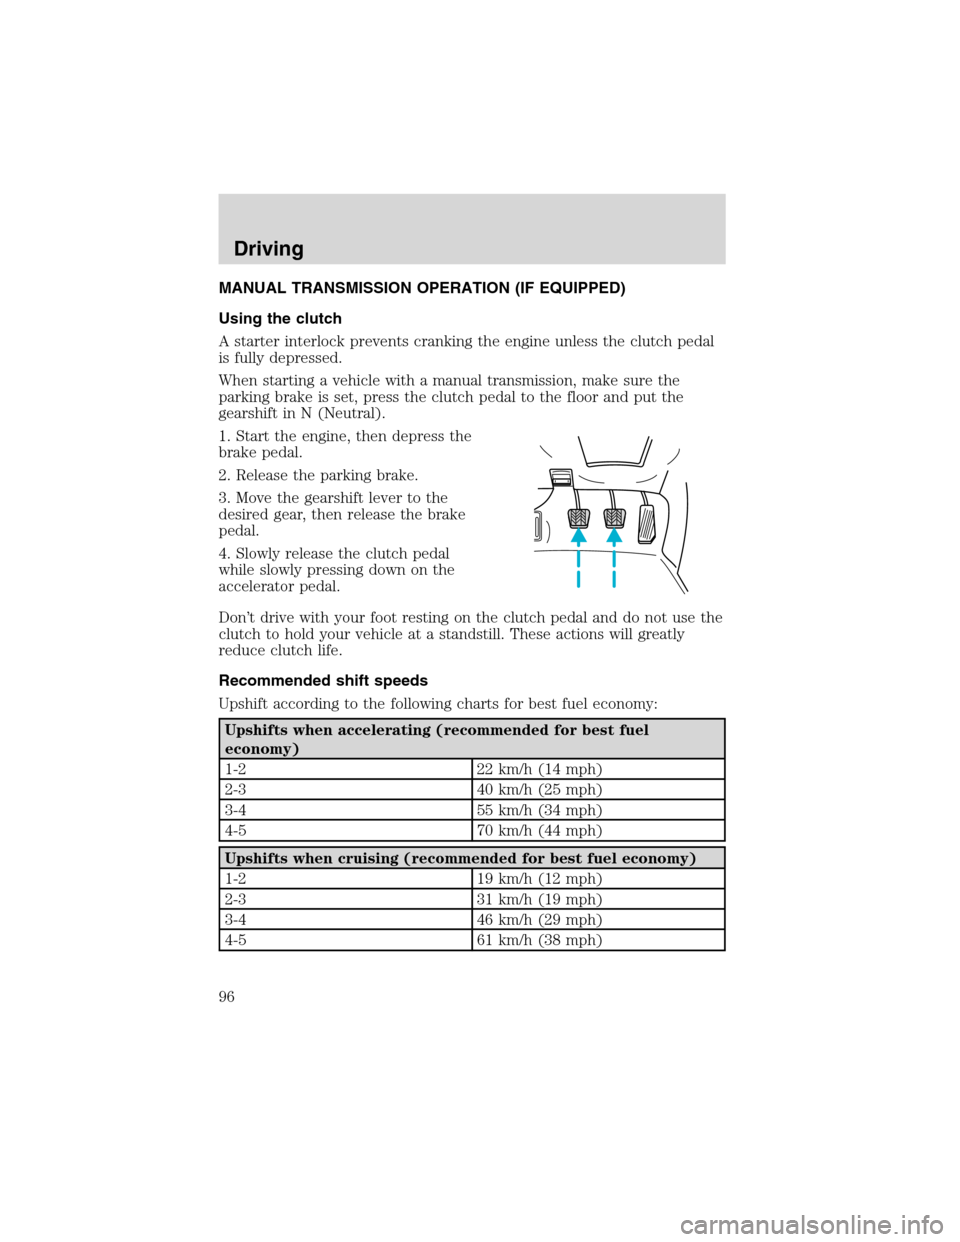
Using the clutch
A starter interlock prevents cranking the engine unless the clutch pedal
is fully depressed.
When starting a vehicle with a manual transmission, make sure the
parking brake is set, press the clutch pedal to the floor and put the
gearshift in N (Neutral).
1. Start the engine, then depress the
brake pedal.
2. Release the parking brake.
3. Move the gearshift lever to the
desired gear, then release the brake
pedal.
4. Slowly release the clutch pedal
while slowly pressing down on the
accelerator pedal.
Don’t drive with your foot resting on the clutch pedal and do not use the
clutch to hold your vehicle at a standstill. These actions will greatly
reduce clutch life.
Recommended shift speeds
Upshift according to the following charts for best fuel economy:
Upshifts when accelerating (recommended for best fuel
economy)
1-2 22 km/h (14 mph)
2-3 40 km/h (25 mph)
3-4 55 km/h (34 mph)
4-5 70 km/h (44 mph)
Upshifts when cruising (recommended for best fuel economy)
1-2 19 km/h (12 mph)
2-3 31 km/h (19 mph)
3-4 46 km/h (29 mph)
4-5 61 km/h (38 mph)
Driving
96
Page 97 of 184
Reverse
Make sure that your vehicle is at a complete stop before you shift into R
(Reverse). You can shift into R (Reverse) only by moving the gearshift
lever from left of 3 (Third) and 4 (Fourth) gears before you shift into R
(Reverse). This is a special lockout feature that protects the transmission
from accidentally being shifted into R (Reverse) when you downshift
from 5th.
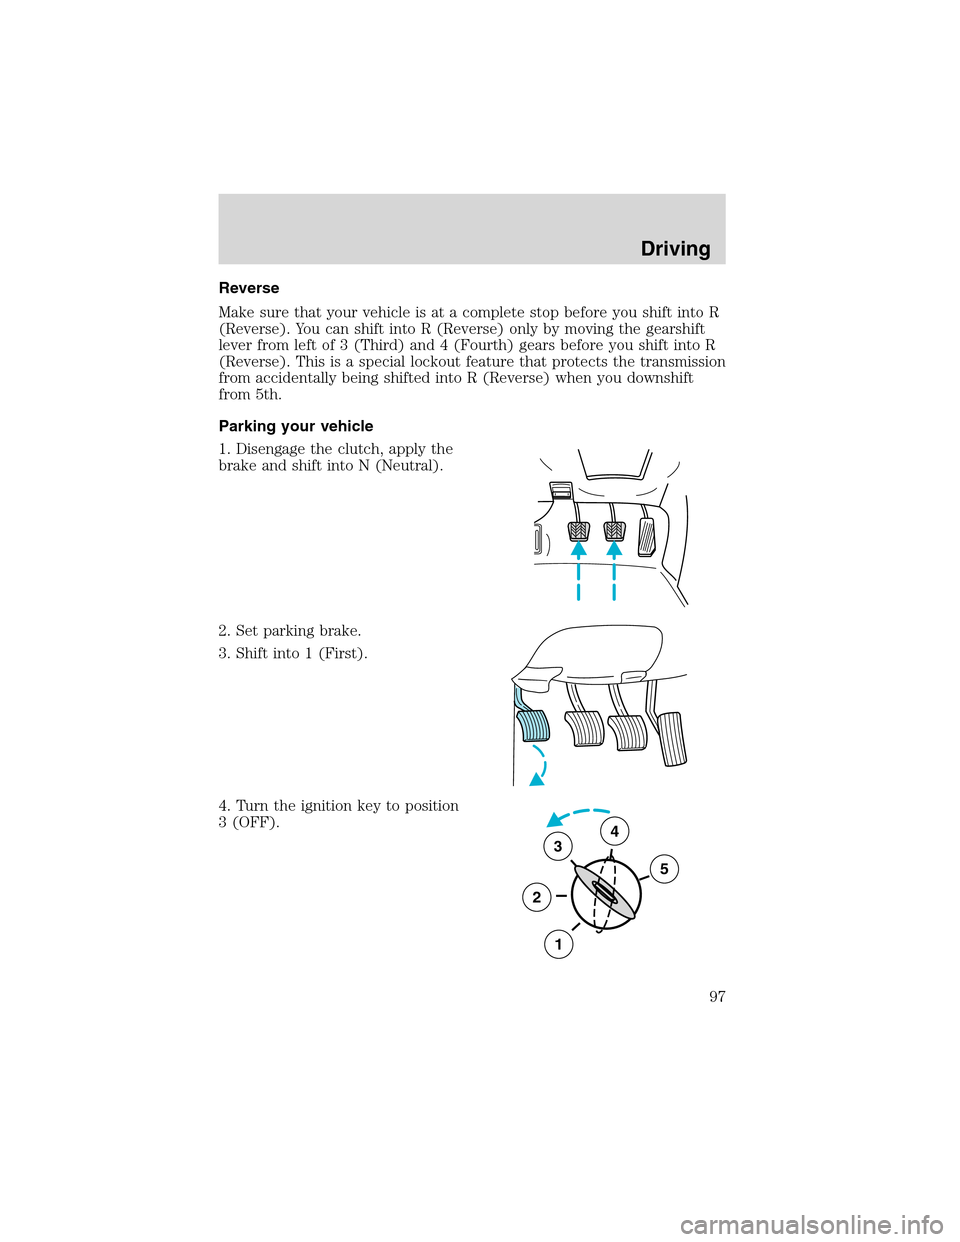
Parking your vehicle
1. Disengage the clutch, apply the
brake and shift into N (Neutral).
2. Set parking brake.
3. Shift into 1 (First).
4. Turn the ignition key to position
3 (OFF).
3
2
1
5
4
Driving
97
Page 98 of 184
Do not park your vehicle in Neutral, it may move unexpectedly
and injure someone. Use 1 (First) gear and set the parking brake
fully.
FOUR-WHEEL DRIVE (4WD) OPERATION (IF EQUIPPED)
Four–wheel drive (4WD) supplies power to all four wheels. 4WD should
not be operated on dry pavement; driveline damage may occur.
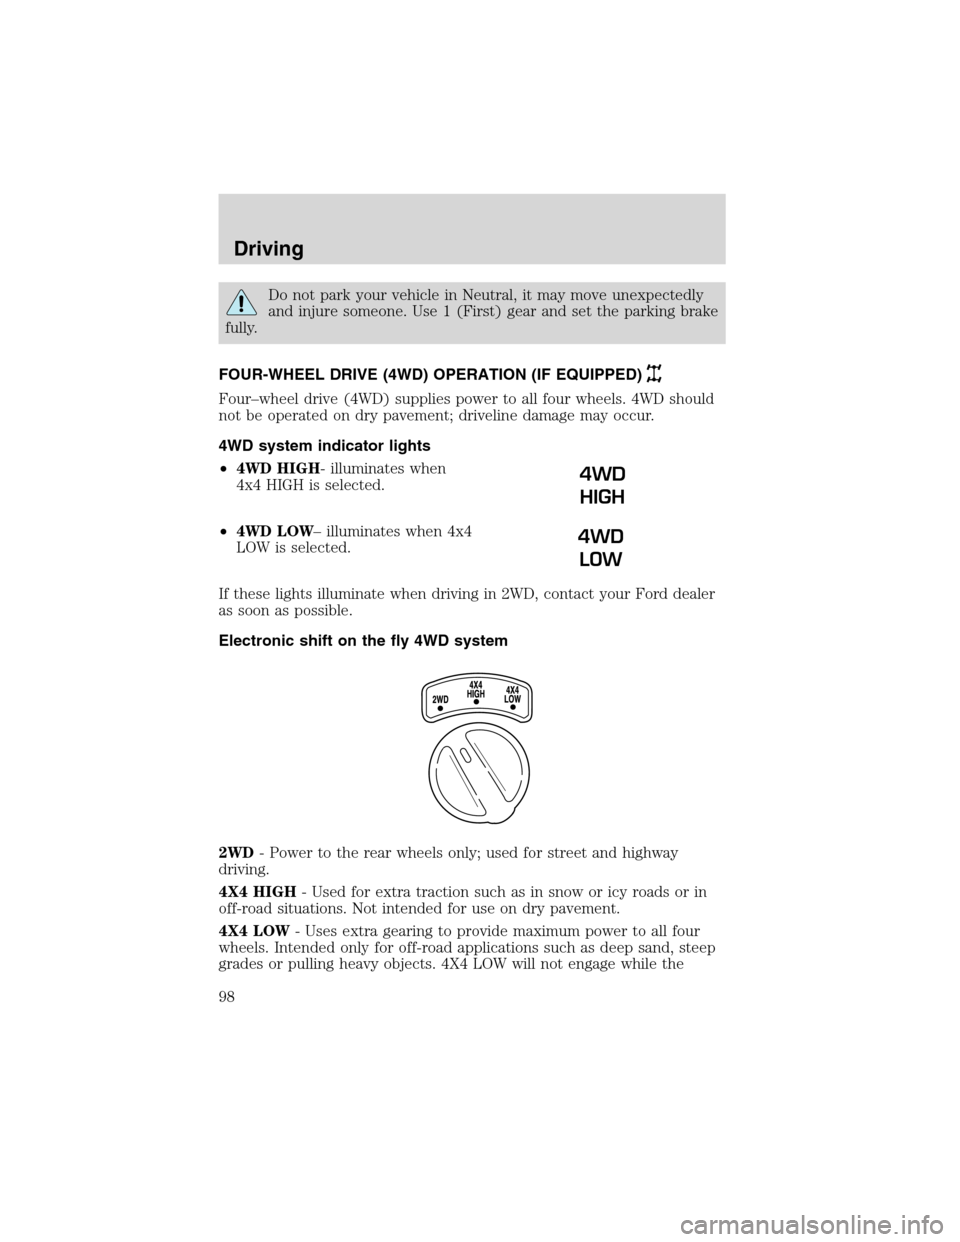
4WD system indicator lights
•4WD HIGH- illuminates when
4x4 HIGH is selected.
•4WD LOW–illuminates when 4x4
LOW is selected.
If these lights illuminate when driving in 2WD, contact your Ford dealer
as soon as possible.
Electronic shift on the fly 4WD system
2WD- Power to the rear wheels only; used for street and highway
driving.
4X4 HIGH- Used for extra traction such as in snow or icy roads or in
off-road situations. Not intended for use on dry pavement.
4X4 LOW- Uses extra gearing to provide maximum power to all four
wheels. Intended only for off-road applications such as deep sand, steep
grades or pulling heavy objects. 4X4 LOW will not engage while the
4WD
HIGH
4WD
LOW
Driving
98
Page 99 of 184
vehicle is moving; this is normal and should be no reason for concern.
Refer toShifting to/from 4X4 LOWfor proper operation.
Shifting between 2WD and 4X4 HIGH
•Move the 4WD control between 2WD and 4X4 HIGH at any forward
speed.
Note:Do not perform this operation if the rear wheels are slipping.
Shifting to/from 4X4 LOW
1. Bring the vehicle to a complete stop
2. Depress the brake
3. On vehicles equipped with an automatic transmission, place the
transmission in N (Neutral); on vehicles equipped with a manual
transmission, depress the clutch.
4. Move the 4WD control to the desired position.
•If shifting into 4WD LOW, wait for the 4X4 LOW light in the
instrument cluster to turnonindicating the shift is complete.
•If shifting out of 4WD LOW, wait for the 4X4 LOW light in the
instrument cluster turn turnoffindicating the shift is complete.
Driving off-road with truck and utility vehicles
Basic operating principles
Maintain steering wheel control at all times, especially in rough terrain;
sudden changes in terrain can result in abrupt steering wheel motion. Do
not use 4WD on dry, hard surfaced roads (except models equipped with
Auto 4WD).
If your vehicle goes off the edge of the pavement
Slow down and don’t slam on the brakes. Ease the vehicle back onto the
pavement only after reducing your speed.
Do not turn the steering wheel sharply while returning to the
road as this may cause you to lose control of the vehicle.
It may be safer to stay on the shoulder of the road and slow down before
returning to the pavement.
If your vehicle gets stuck
The vehicle may be rocked out by shifting from forward and reverse
gears, stopping between shifts, in a steady pattern. Press lightly on the
Driving
99
Page 100 of 184
accelerator in each gear.Do not rock the vehicle for more than a
few minutes or damage to the transmission and tires may occur
or the engine may overheat.
Do not spin the wheels at over 56 km/h (35 mph). The tires may
fail and injure a passenger or bystander.
Emergency maneuvers
In an emergency situation where a sudden sharp turn must be made,
turn the steering wheel only as rapidly and as far as required to avoid
the emergency. Excessive steering will result in less vehicle control. Also
avoid abrupt braking. In the event of an emergency stop, do not attempt
any sharp steering wheel movements. If the vehicle goes from one type
of surface to another (i.e., from concrete to gravel) there will be a
change in the way the vehicle responds to a maneuver (steering,
acceleration or braking).
Parking
On some 4WD vehicles, when the transfer case is in the N (Neutral)
position, the engine and transmission are disconnected from the rest of
the driveline. Therefore, the vehicle is free to roll even if the automatic
transmission is in P (Park) or the manual transmission is in gear. Do not
leave the vehicle unattended with the transfer case in N (Neutral)
position. Always set the parking brake fully and turn off the ignition
when leaving the vehicle.
Normal characteristics
On some 4WD vehicles, the initial shift from two-wheel drive to
four–wheel drive while the vehicle is moving can cause some momentary
clunk and ratcheting sounds. This is normal and should be no cause for
concern.
Driving on sand, mud and water
When driving over sand, avoid reducing the tire pressures; instead, shift
to a lower gear. Apply the accelerator slowly and avoid spinning the
wheels. If you must reduce the tire pressure, make sure you re-inflate
the tires as soon as possible. Avoid excessive speed because vehicle
momentum can work against your vehicle and cause it to become stuck.
Driving
100