jacking points FORD F-150 2020 Owners Manual
[x] Cancel search | Manufacturer: FORD, Model Year: 2020, Model line: F-150, Model: FORD F-150 2020Pages: 625, PDF Size: 7.98 MB
Page 89 of 625

USING POWER RUNNING
BOARDS
WARNING: In extreme climates,
excessive ice buildup may occur, causing
the running boards not to deploy. Make
sure that the running boards have
deployed, and have finished moving
before attempting to step on them. The
running boards will resume normal
function once the blockage is cleared. WARNING:
Switch off the running
boards before jacking or placing any
object under your vehicle. Never place
your hand between the extended running
board and your vehicle. A moving running
board may cause injury.
Note: Do not use the running boards, front
and rear hinge assemblies, running board
motors, or the running board underbody
mounts to lift your vehicle when jacking.
Always use proper jacking points.
Note: The running boards may operate
more slowly in cool temperatures.
Note: The running board mechanism may
trap debris such as mud, dirt, snow, ice and
salt. This may cause unwanted noise. If this
happens, manually set the running boards
to the deployed position. Then, wash the
system, in particular the front and rear hinge
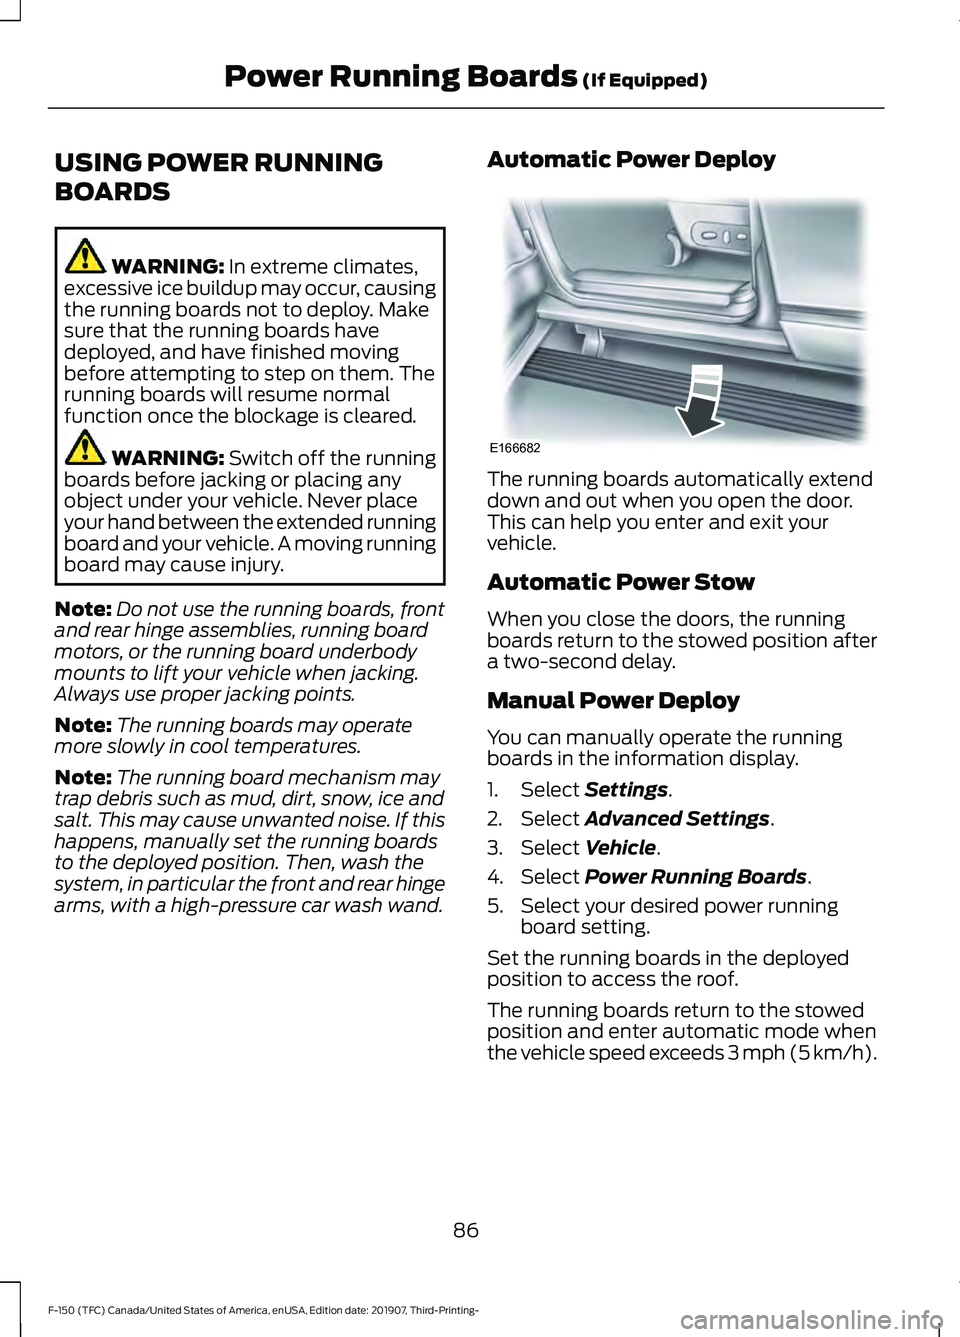
arms, with a high-pressure car wash wand. Automatic Power Deploy The running boards automatically extend
down and out when you open the door.
This can help you enter and exit your
vehicle.
Automatic Power Stow
When you close the doors, the running
boards return to the stowed position after
a two-second delay.
Manual Power Deploy
You can manually operate the running
boards in the information display.
1. Select
Settings.
2. Select
Advanced Settings.
3. Select
Vehicle.
4. Select
Power Running Boards.
5. Select your desired power running board setting.
Set the running boards in the deployed
position to access the roof.
The running boards return to the stowed
position and enter automatic mode when
the vehicle speed exceeds 3 mph (5 km/h).
86
F-150 (TFC) Canada/United States of America, enUSA, Edition date: 201907, Third-Printing- Power Running Boards
(If Equipped)E166682
Page 289 of 625

- 1200 = - 240 pounds. No, you do
not have enough cargo capacity
to carry that much weight. In
metric units, the calculation would
be: 635 kilograms - (2 x 99
kilograms) - (12 x 45 kilograms) =
635 - 198 - 540 = -103 kilograms.
You will need to reduce the load
weight by at least 240 pounds
(104 kilograms). If you remove
three 100-pound (45-kilogram)
cement bags, then the load
calculation would be:1400 - (2 x
220) - (9 x 100) = 1400 - 440 -
900 = 60 pounds. Now you have
the load capacity to transport the
cement and your friend home. In
metric units, the calculation would
be: 635 kilograms - (2 x 99
kilograms) - (9 x 45 kilograms) =
635 - 198 - 405 = 32 kilograms.
The above calculations also
assume that the loads are
positioned in your vehicle in a
manner that does not overload
the front or the rear gross axle
weight rating specified for your
vehicle on the Safety Compliance
Certification label.
Special Loading Instructions
for Owners of Pick-up Trucks
and Utility-type Vehicles
WARNING: When loading
the roof racks, we recommend
you evenly distribute the load,
as well as maintain a low center
of gravity. Loaded vehicles, with
higher centers of gravity, may handle differently than unloaded
vehicles. Take extra precautions,
such as slower speeds and
increased stopping distance,
when driving a heavily loaded
vehicle.
BED ACCESS
(IF EQUIPPED)
Box Side Step
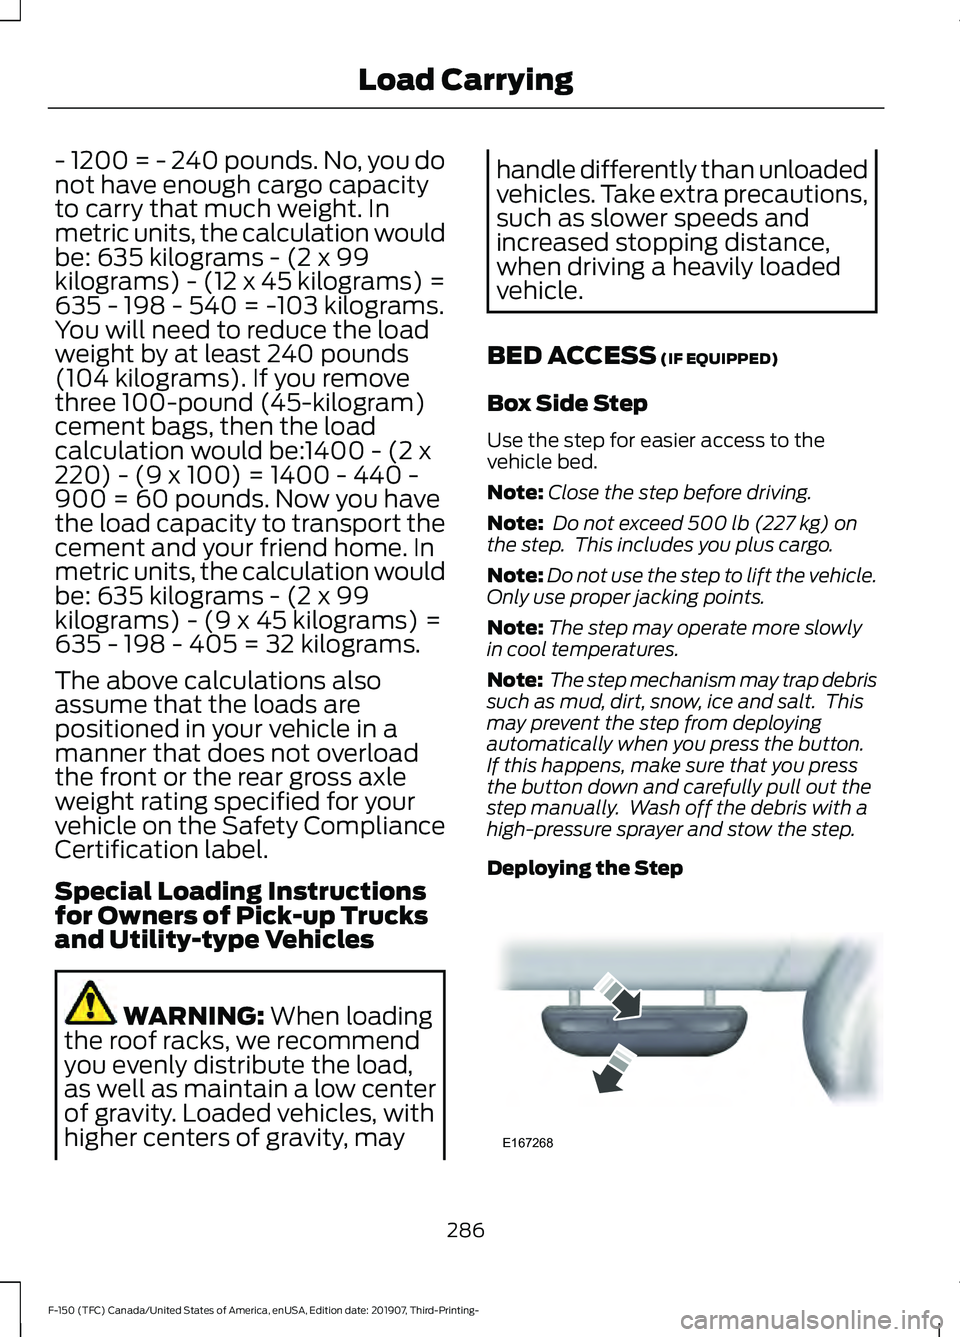
Use the step for easier access to the
vehicle bed.
Note: Close the step before driving.
Note: Do not exceed
500 lb (227 kg) on
the step. This includes you plus cargo.
Note: Do not use the step to lift the vehicle.
Only use proper jacking points.
Note: The step may operate more slowly
in cool temperatures.
Note: The step mechanism may trap debris
such as mud, dirt, snow, ice and salt. This
may prevent the step from deploying
automatically when you press the button.
If this happens, make sure that you press
the button down and carefully pull out the
step manually. Wash off the debris with a
high-pressure sprayer and stow the step.
Deploying the Step 286
F-150 (TFC) Canada/United States of America, enUSA, Edition date: 201907, Third-Printing- Load CarryingE167268
Page 422 of 625

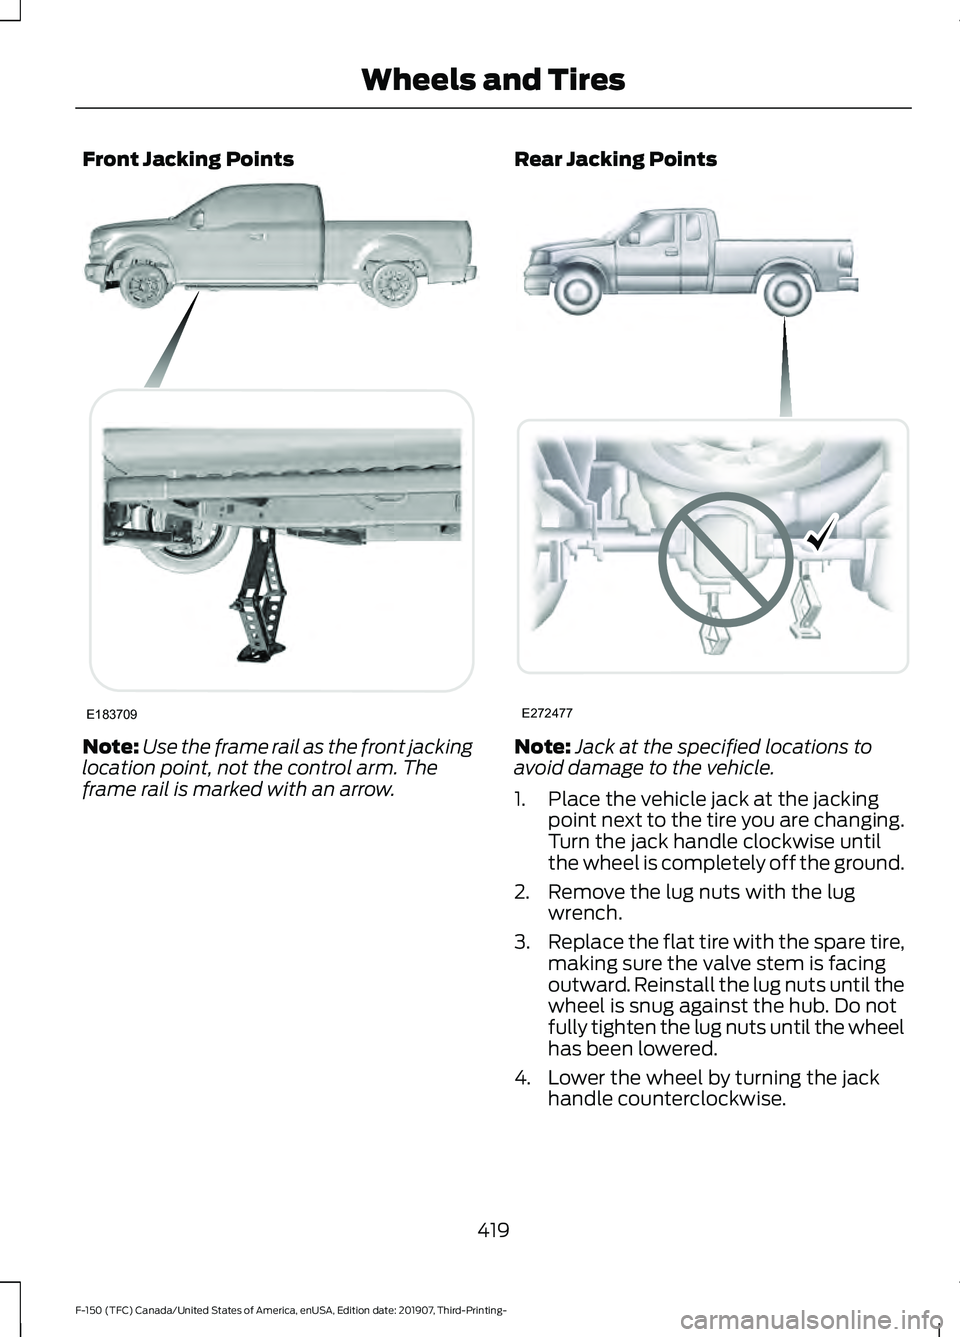
Front Jacking Points
Note:
Use the frame rail as the front jacking
location point, not the control arm. The
frame rail is marked with an arrow. Rear Jacking Points
Note:
Jack at the specified locations to
avoid damage to the vehicle.
1. Place the vehicle jack at the jacking point next to the tire you are changing.
Turn the jack handle clockwise until
the wheel is completely off the ground.
2. Remove the lug nuts with the lug wrench.
3. Replace the flat tire with the spare tire,
making sure the valve stem is facing
outward. Reinstall the lug nuts until the
wheel is snug against the hub. Do not
fully tighten the lug nuts until the wheel
has been lowered.
4. Lower the wheel by turning the jack handle counterclockwise.
419
F-150 (TFC) Canada/United States of America, enUSA, Edition date: 201907, Third-Printing- Wheels and TiresE183709 E272477