clock reset FORD F-650/750 2022 Owners Manual
[x] Cancel search | Manufacturer: FORD, Model Year: 2022, Model line: F-650/750, Model: FORD F-650/750 2022Pages: 379, PDF Size: 5.29 MB
Page 115 of 379

WARNING: Do not remove the fuel
pump nozzle from its fully inserted
position when refueling.
Use the following guidelines to avoid
electrostatic charge build-up when filling
an ungrounded fuel container:
• Place approved fuel container on the
ground.
• Do not fill a fuel container while it is in
the vehicle (including the cargo area).
• Keep the fuel pump nozzle in contact
with the fuel container while filling.
• Do not use a device that would hold
the fuel pump handle in the fill position.
Fuel Filler Cap WARNING: The fuel system may
be under pressure. If you hear a hissing
sound near the fuel filler inlet, do not
refuel until the sound stops. Otherwise,
fuel may spray out, which could cause
serious personal injury. WARNING:
If you do not use the
correct fuel filler cap, excessive pressure
or vacuum in the fuel tank may damage
the fuel system or cause the fuel cap to
disengage in a crash. Failure to follow
this warning could result in serious
personal injury.
The fuel tank has a threaded fuel filler cap.
Note: If you must replace the fuel filler cap,
replace it with a fuel filler cap that is
designed for your vehicle. The vehicle
Warranty may be void for any damage to
the fuel tank or fuel system if the correct
genuine Ford, Motorcraft or other certified
fuel filler cap is not used.
When refueling the vehicle fuel tank do the
following. 1. When your vehicle has stopped, shift
into neutral (N) or park (P).
2. Apply the parking brake and switch the
ignition off.
3. Turn the fuel filler cap counterclockwise and remove it.
4. Refuel your vehicle as required.
5. Replace the fuel filler cap, turn it clockwise until you feel a strong
resistance.
If the fuel cap warning lamp or a warning
message appears in the instrument cluster,
you may not have installed the fuel filler
cap correctly.
If the fuel cap warning lamp remains on,
at the next opportunity, safely pull off of
the road, remove the fuel filler cap, align
the cap properly and reinstall it. The check
fuel cap warning lamp or warning message
may not reset immediately. It may take
several driving cycles for the indicators to
turn off. A driving cycle consists of an
engine start-up (after four or more hours
with the engine off) followed by normal
city and highway driving.
FUEL CONSUMPTION
The advertised capacity is the maximum
amount of fuel that you can add to the fuel
tank after running out of fuel. Included in
the advertised capacity is an empty
reserve. The empty reserve is an
unspecified amount of fuel that remains
in the fuel tank when the fuel gauge
indicates empty.
Note: The amount of fuel in the empty
reserve varies and should not be relied upon
to increase driving range.
112
2022 F650750 (TBC) , enUSA, Edition date: 202010, Second-Printing Fuel and Refueling
Page 228 of 379

3. Add engine oil that meets our
specifications. See Capacities and
Specifications (page 286).
4. Reinstall the engine oil filler cap. Turn it clockwise until you feel a strong
resistance.
Note: Do not add oil further than the
maximum mark. Oil levels above the
maximum mark may cause engine damage.
Note: Immediately soak up any oil spillage
with an absorbent cloth.
Engine Oil Pressure Warning Lamp WARNING:
If it illuminates when
you are driving do not continue your
journey, even if the oil level is correct.
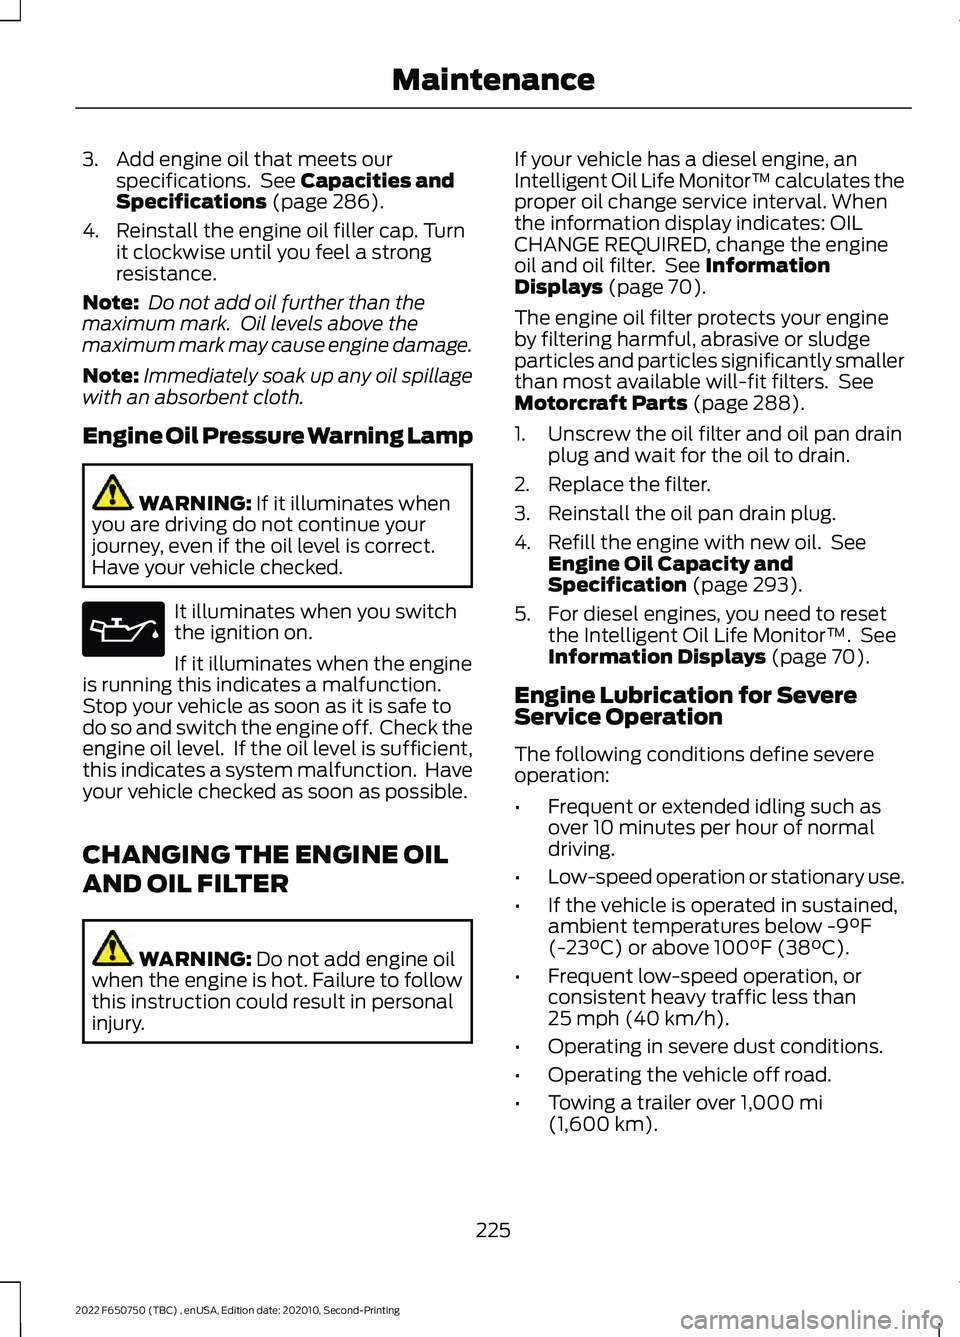
Have your vehicle checked. It illuminates when you switch
the ignition on.
If it illuminates when the engine
is running this indicates a malfunction.
Stop your vehicle as soon as it is safe to
do so and switch the engine off. Check the
engine oil level. If the oil level is sufficient,
this indicates a system malfunction. Have
your vehicle checked as soon as possible.
CHANGING THE ENGINE OIL
AND OIL FILTER WARNING:
Do not add engine oil
when the engine is hot. Failure to follow
this instruction could result in personal
injury. If your vehicle has a diesel engine, an
Intelligent Oil Life Monitor™ calculates the
proper oil change service interval. When
the information display indicates: OIL
CHANGE REQUIRED, change the engine
oil and oil filter. See
Information
Displays (page 70).
The engine oil filter protects your engine
by filtering harmful, abrasive or sludge
particles and particles significantly smaller
than most available will-fit filters. See
Motorcraft Parts
(page 288).
1. Unscrew the oil filter and oil pan drain plug and wait for the oil to drain.
2. Replace the filter.
3. Reinstall the oil pan drain plug.
4. Refill the engine with new oil. See Engine Oil Capacity and
Specification
(page 293).
5. For diesel engines, you need to reset the Intelligent Oil Life Monitor™. See
Information Displays
(page 70).
Engine Lubrication for Severe
Service Operation
The following conditions define severe
operation:
• Frequent or extended idling such as
over 10 minutes per hour of normal
driving.
• Low-speed operation or stationary use.
• If the vehicle is operated in sustained,
ambient temperatures below
-9°F
(-23°C) or above 100°F (38°C).
• Frequent low-speed operation, or
consistent heavy traffic less than
25 mph (40 km/h)
.
• Operating in severe dust conditions.
• Operating the vehicle off road.
• Towing a trailer over
1,000 mi
(1,600 km).
225
2022 F650750 (TBC) , enUSA, Edition date: 202010, Second-Printing Maintenance
Page 249 of 379

5. Turn the air conditioning (if equipped)
on and allow the engine to idle for at
least one minute.
6. Release the parking brake. With your foot on the brake pedal and with the
air conditioning on, put the vehicle in
drive (D) and allow the engine to idle
for at least one minute.
•If you do not allow the engine to
relearn its idle trim, the idle quality
of your vehicle may be adversely
affected until the idle trim is
eventually relearned.
7. Drive the vehicle to complete the relearning process
•The vehicle may need to be driven
10 mi (16 km) or more to relearn the
idle and fuel trim strategy along
with the ethanol content for flexible
fuel vehicles.
If the battery has been disconnected or a
new battery has been installed, the clock
and radio settings must be reset once the
battery is reconnected.
Always dispose of automotive
batteries in a responsible manner.
Follow your local authorized standards
for disposal. Call your local authorized
recycling center to find out more about
recycling automotive batteries.
Battery Management System (If
Equipped)
The battery management system (BMS)
monitors battery conditions and takes
actions to extend battery life. If excessive
battery drain is detected, the system may
temporarily disable certain electrical
features to protect the battery. Those
electrical accessories affected include the
rear defrost, heated/cooled seats, climate
control fan, heated steering wheel, audio
and navigation system. A message may be
shown in the information displays to alert the driver that battery protection actions
are active. These messages are only for
notification that an action is taking place,
and not intended to indicate an electrical
problem or that the battery requires
replacement.
Electrical accessory installation
To ensure proper operation of the BMS,
any electrical devices that are added to
the vehicle should not have their ground
connection made directly at the negative
battery post. A connection at the negative
battery post can cause inaccurate
measurements of the battery condition
and potential incorrect system operation.
Note:
Electrical or electronic accessories
added to the vehicle by the dealer or the
owner may adversely affect battery
performance and durability, and may also
affect the performance of other electrical
systems in the vehicle.
When a battery replacement is required,
the battery should only be replaced with
a Ford recommended replacement battery
which matches the electrical requirements
of the vehicle. After battery replacement,
or in some cases after charging the battery
with the external charger, the BMS requires
eight hours of vehicle sleep time (key off
with doors closed) to relearn the new
battery state of charge. Prior to relearning
the state of charge, the BMS may disable
electrical features (to protect the battery)
earlier than normal.
ADJUSTING THE HEADLAMPS
Vertical Aim Adjustment
The headlamps on your vehicle are
properly aimed at the assembly plant. If
your vehicle has been in an accident, the
alignment of your headlamps should be
checked by your authorized dealer.
246
2022 F650750 (TBC) , enUSA, Edition date: 202010, Second-Printing Maintenance