stop start FORD F150 2002 10.G Owners Manual
[x] Cancel search | Manufacturer: FORD, Model Year: 2002, Model line: F150, Model: FORD F150 2002 10.GPages: 320, PDF Size: 2.95 MB
Page 33 of 320

Rewind
The rewind control works in CD
mode.
²In CD mode, pressing the REW
control for less than three
seconds results in slow rewind.
Pressing the control for more than three seconds results in fast
rewind.
Fast forward
The fast forward control works in
CD mode.
²In CD mode, pressing the control
for less than three seconds
results in slow forward action. Pressing the control for more than
three seconds results in fast forward action.
Eject function
Press the control to stop and eject a
CD.
Compression feature (if equipped)
Compression adjust brings soft and
loud CD passages together for a
more consistent listening level.
Press the COMP control to activate
and deactivate compression adjust.
Shuffle feature (if equipped)
The shuffle feature operates in CD
changer mode and plays all tracks
on the current disc in random order.
The shuffle feature continues to the
next disc after all tracks are played.
Press the SHUFFLE control to start this feature. Random order play will
continue until the SHUFFLE control is pressed again.
REW
1
FF
2
EJ
COMP
5
SHUFF
6
Entertainment Systems
33
Page 96 of 320
4. The HomeLinktindicator light will flash, first slowly and then rapidly.
When the indicator light begins to flash rapidly, release both buttons.
The previous device has now been erased and the new device can be
activated by pushing the HomeLinktbutton that has just been
programmed.
Canadian Programming
During programming, your hand-held transmitter may automatically stop
transmitting after two seconds which may not be long enough to
program the HomeLinktUniversal Transceiver.
To program your hand-held
transmitters:
²Continue to hold the button on
the HomeLinktUniversal
Transceiver.
²Press and re-press the hand-held
transmitter button every two
seconds until the red light changes from a slow to a fast flash.
Operating TravelNoteT
TravelNotetrecords and stores messages for up to three minutes in total
length with simple controls. When you get an idea or remember
something important while you're driving, you don't have to try to
scribble it down or pull off the side of the road. All you have to do is
push a button and begin speaking.
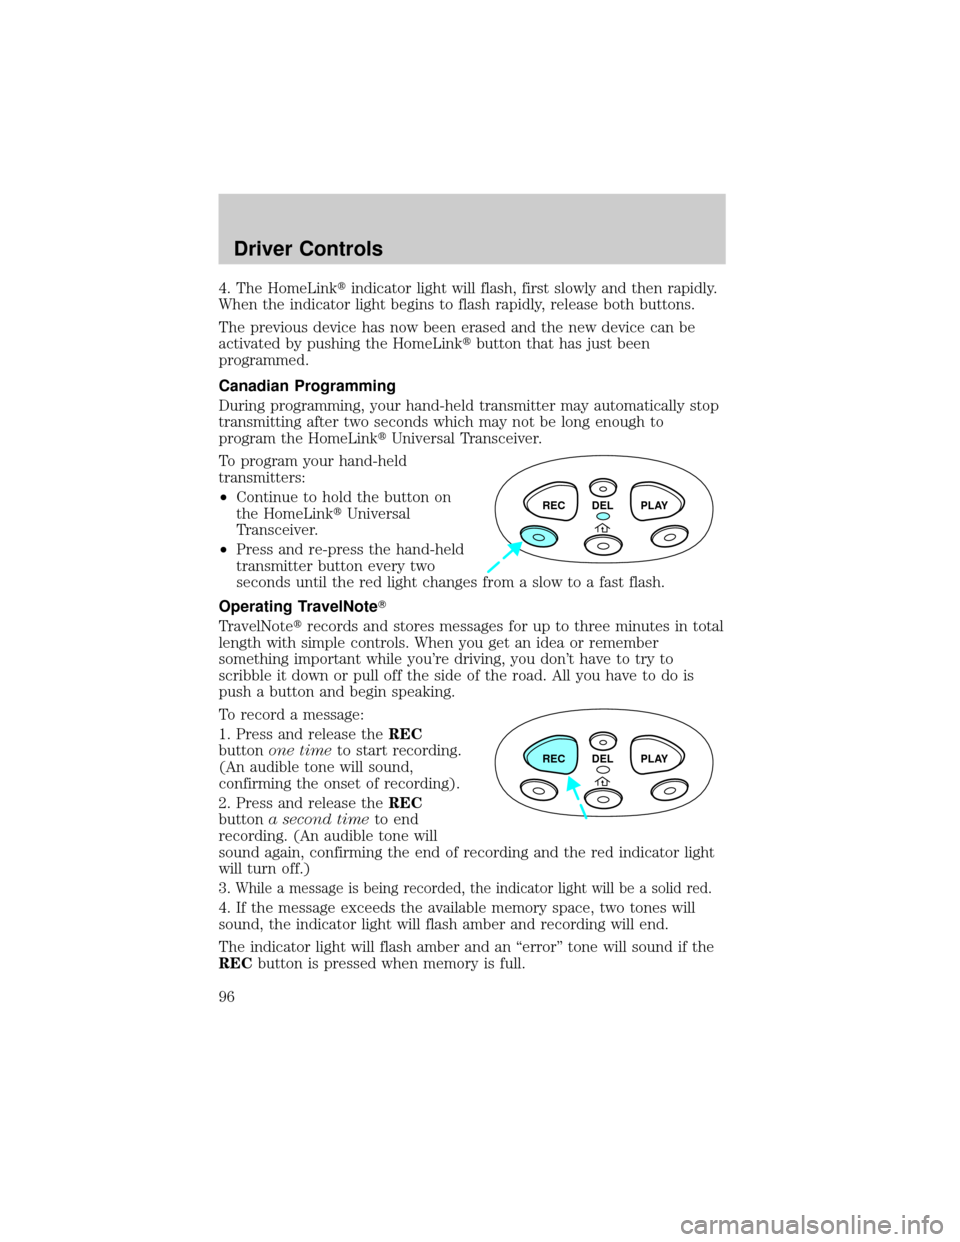
To record a message:
1. Press and release theREC
buttonone timeto start recording.
(An audible tone will sound,
confirming the onset of recording).
2. Press and release theREC
buttona second timeto end
recording. (An audible tone will
sound again, confirming the end of recording and the red indicator light
will turn off.)
3.
While a message is being recorded, the indicator light will be a solid red.
4. If the message exceeds the available memory space, two tones will
sound, the indicator light will flash amber and recording will end.
The indicator light will flash amber and an ªerrorº tone will sound if the
RECbutton is pressed when memory is full.
REC DEL PLAY
REC DEL PLAY
Driver Controls
96
Page 171 of 320
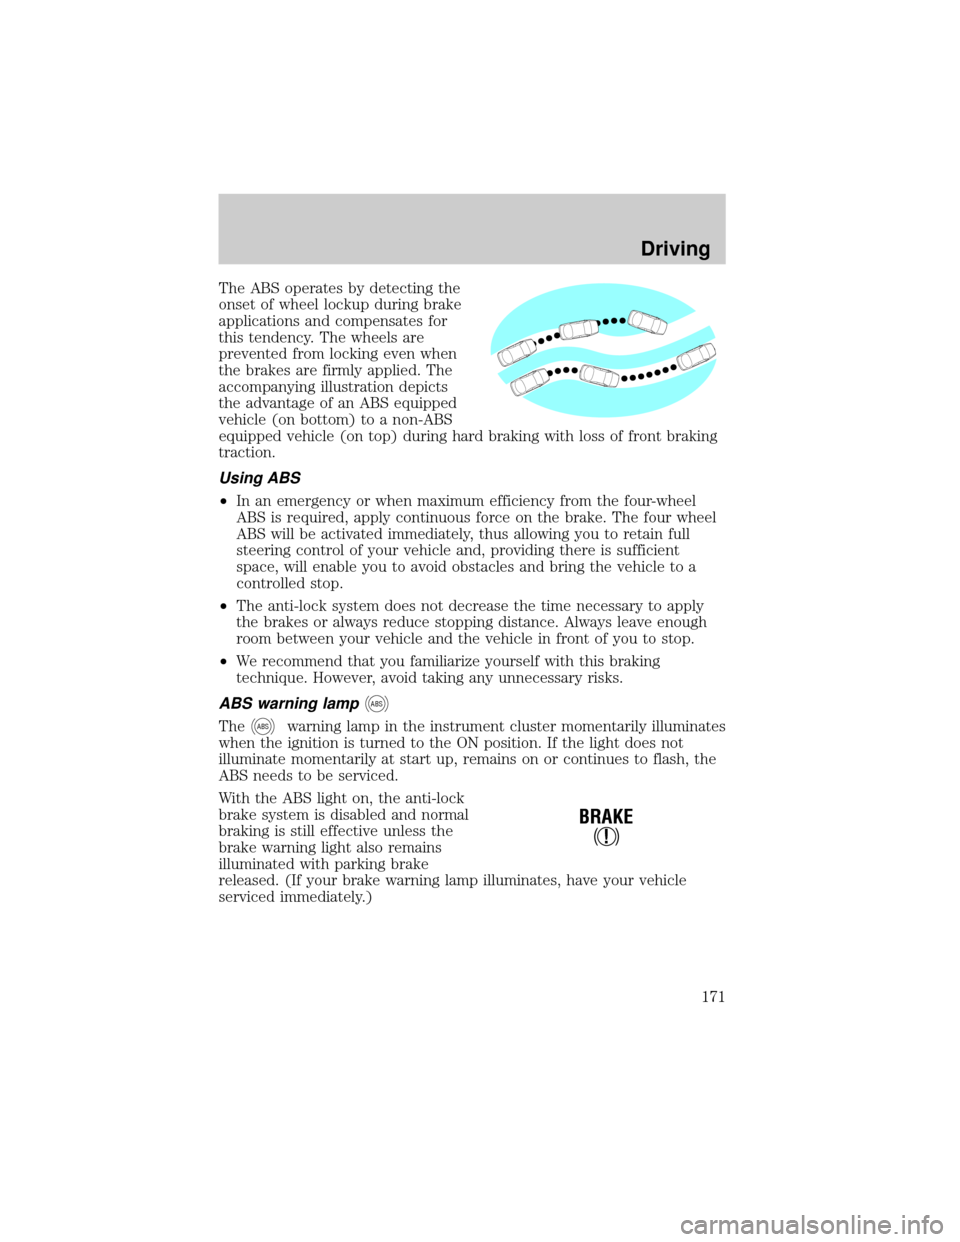
The ABS operates by detecting the
onset of wheel lockup during brake
applications and compensates for
this tendency. The wheels are
prevented from locking even when
the brakes are firmly applied. The
accompanying illustration depicts
the advantage of an ABS equipped
vehicle (on bottom) to a non-ABS
equipped vehicle (on top) during hard braking with loss of front braking
traction.
Using ABS
²In an emergency or when maximum efficiency from the four-wheel
ABS is required, apply continuous force on the brake. The four wheel
ABS will be activated immediately, thus allowing you to retain full
steering control of your vehicle and, providing there is sufficient
space, will enable you to avoid obstacles and bring the vehicle to a
controlled stop.
²The anti-lock system does not decrease the time necessary to apply
the brakes or always reduce stopping distance. Always leave enough
room between your vehicle and the vehicle in front of you to stop.
²We recommend that you familiarize yourself with this braking
technique. However, avoid taking any unnecessary risks.
ABS warning lampABS
TheABSwarning lamp in the instrument cluster momentarily illuminates
when the ignition is turned to the ON position. If the light does not
illuminate momentarily at start up, remains on or continues to flash, the
ABS needs to be serviced.
With the ABS light on, the anti-lock
brake system is disabled and normal
braking is still effective unless the
brake warning light also remains
illuminated with parking brake
released. (If your brake warning lamp illuminates, have your vehicle
serviced immediately.)
!
BRAKE
Driving
171
Page 175 of 320
Your vehicle has the capability to haul more cargo and people than most
passenger cars. Depending upon the type and placement of the load,
hauling people and cargo may raise the center of gravity of the vehicle.
Use extra caution while becoming familiar with your vehicle. Know the
capabilities and limitations of both you as a driver and your vehicle.
AUTOMATIC TRANSMISSION OPERATION (IF EQUIPPED)
Brake-shift interlock
This vehicle is equipped with a brake-shift interlock feature that prevents
the gearshift lever from being moved from P (Park) when the ignition is
in the ON position unless the brake pedal is depressed.
If you cannot move the gearshift lever out of P (Park) with ignition in
the ON position and the brake pedal depressed:
1. Apply the parking brake, turn ignition key to LOCK, then remove the
key.
2. Insert the key and turn it to OFF.Apply the brake pedal and shift
to N (Neutral).
3. Start the vehicle.
If it is necessary to use the above procedure to move the gearshift lever,
it is possible that a fuse has blown or the vehicle's brakelamps are not
operating properly. Refer toFuses and relaysin theRoadside
emergencieschapter.
Do not drive your vehicle until you verify that the brakelamps
are working.
If your vehicle gets stuck in mud or snow it may be rocked out by
shifting from forward and reverse gears, stopping between shifts, in a
steady pattern. Press lightly on the accelerator in each gear.
Do not rock the vehicle if the engine is not at normal operating
temperature or damage to the transmission may occur.
Do not rock the vehicle for more than a few minutes or damage
to the transmission and tires may occur or the engine may
overheat.
Driving
175
Page 176 of 320
Always set the parking brake fully and make sure the gearshift is
latched in P (Park). Turn off the ignition whenever you leave
your vehicle.
If the parking brake is fully released, but the brake warning lamp
remains illuminated, the brakes may not be working properly.
See your dealer or a qualified service technician.
Driving with a 4±speed automatic transmission
Understanding gearshift positions
To put your vehicle in gear, start the engine, depress the brake pedal,
then move gearshift lever out of P (Park).
Hold the brake pedal down while you move the gearshift lever
from P (Park) to another position. If you do not hold the brake
pedal down, your vehicle may move unexpectedly and injure someone.
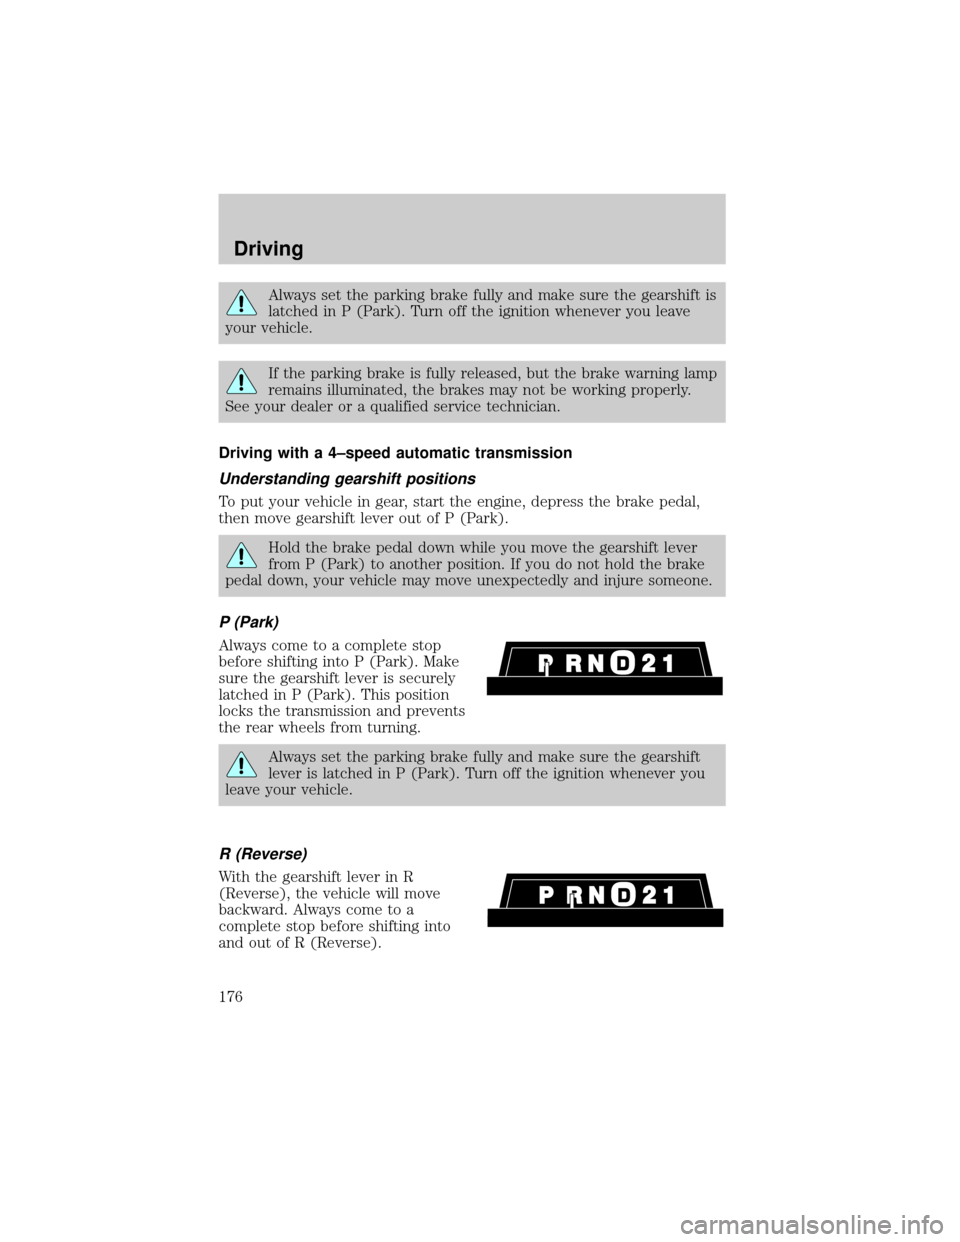
P (Park)
Always come to a complete stop
before shifting into P (Park). Make
sure the gearshift lever is securely
latched in P (Park). This position
locks the transmission and prevents
the rear wheels from turning.
Always set the parking brake fully and make sure the gearshift
lever is latched in P (Park). Turn off the ignition whenever you
leave your vehicle.
R (Reverse)
With the gearshift lever in R
(Reverse), the vehicle will move
backward. Always come to a
complete stop before shifting into
and out of R (Reverse).
Driving
176
Page 185 of 320
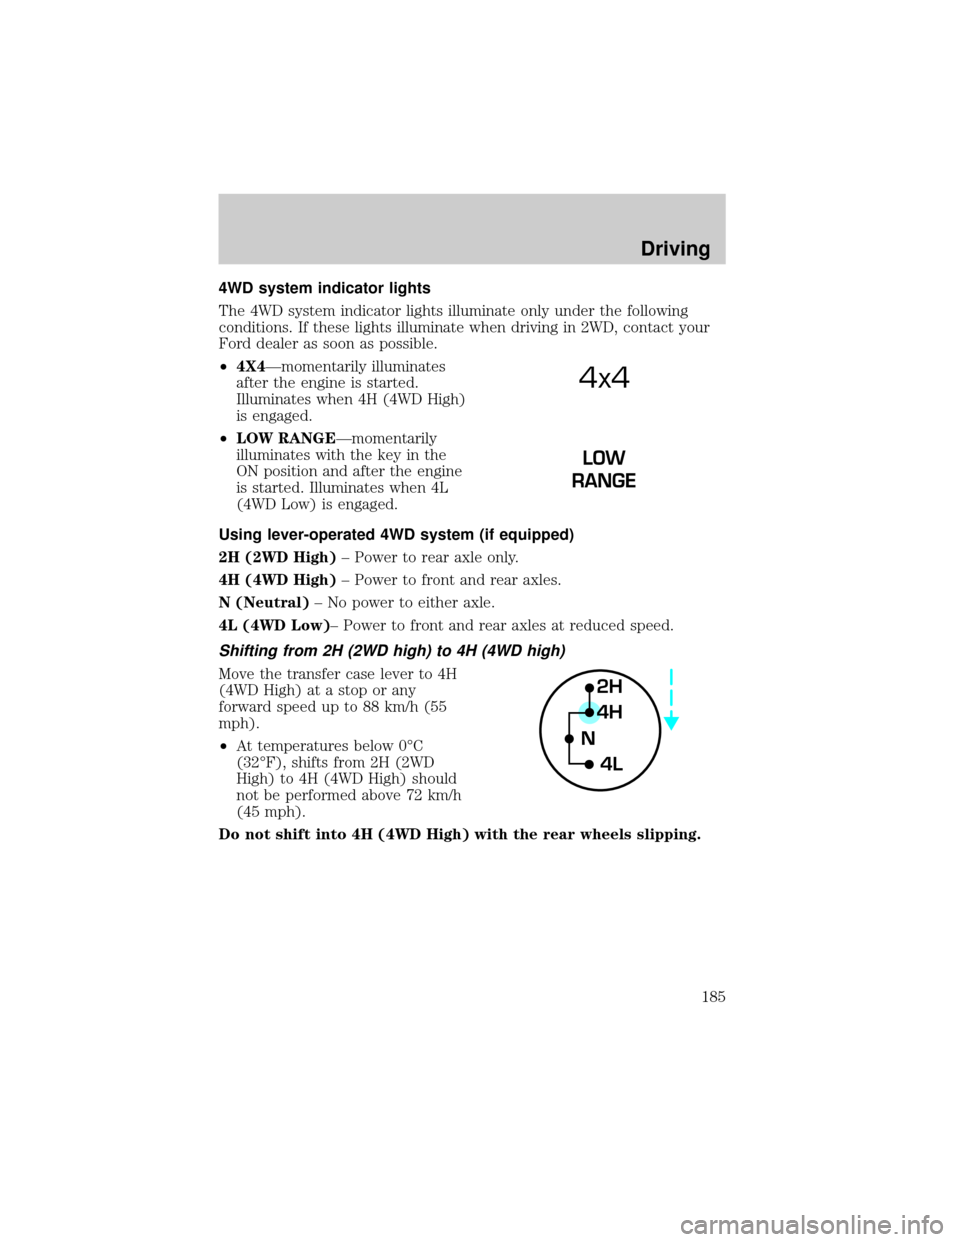
4WD system indicator lights
The 4WD system indicator lights illuminate only under the following
conditions. If these lights illuminate when driving in 2WD, contact your
Ford dealer as soon as possible.
²4X4Ðmomentarily illuminates
after the engine is started.
Illuminates when 4H (4WD High)
is engaged.
²LOW RANGEÐmomentarily
illuminates with the key in the
ON position and after the engine
is started. Illuminates when 4L
(4WD Low) is engaged.
Using lever-operated 4WD system (if equipped)
2H (2WD High)± Power to rear axle only.
4H (4WD High)± Power to front and rear axles.
N (Neutral)± No power to either axle.
4L (4WD Low)± Power to front and rear axles at reduced speed.
Shifting from 2H (2WD high) to 4H (4WD high)
Move the transfer case lever to 4H
(4WD High) at a stop or any
forward speed up to 88 km/h (55
mph).
²At temperatures below 0ÉC
(32ÉF), shifts from 2H (2WD
High) to 4H (4WD High) should
not be performed above 72 km/h
(45 mph).
Do not shift into 4H (4WD High) with the rear wheels slipping.
4x4
2H
4H
4L N
Driving
185
Page 194 of 320
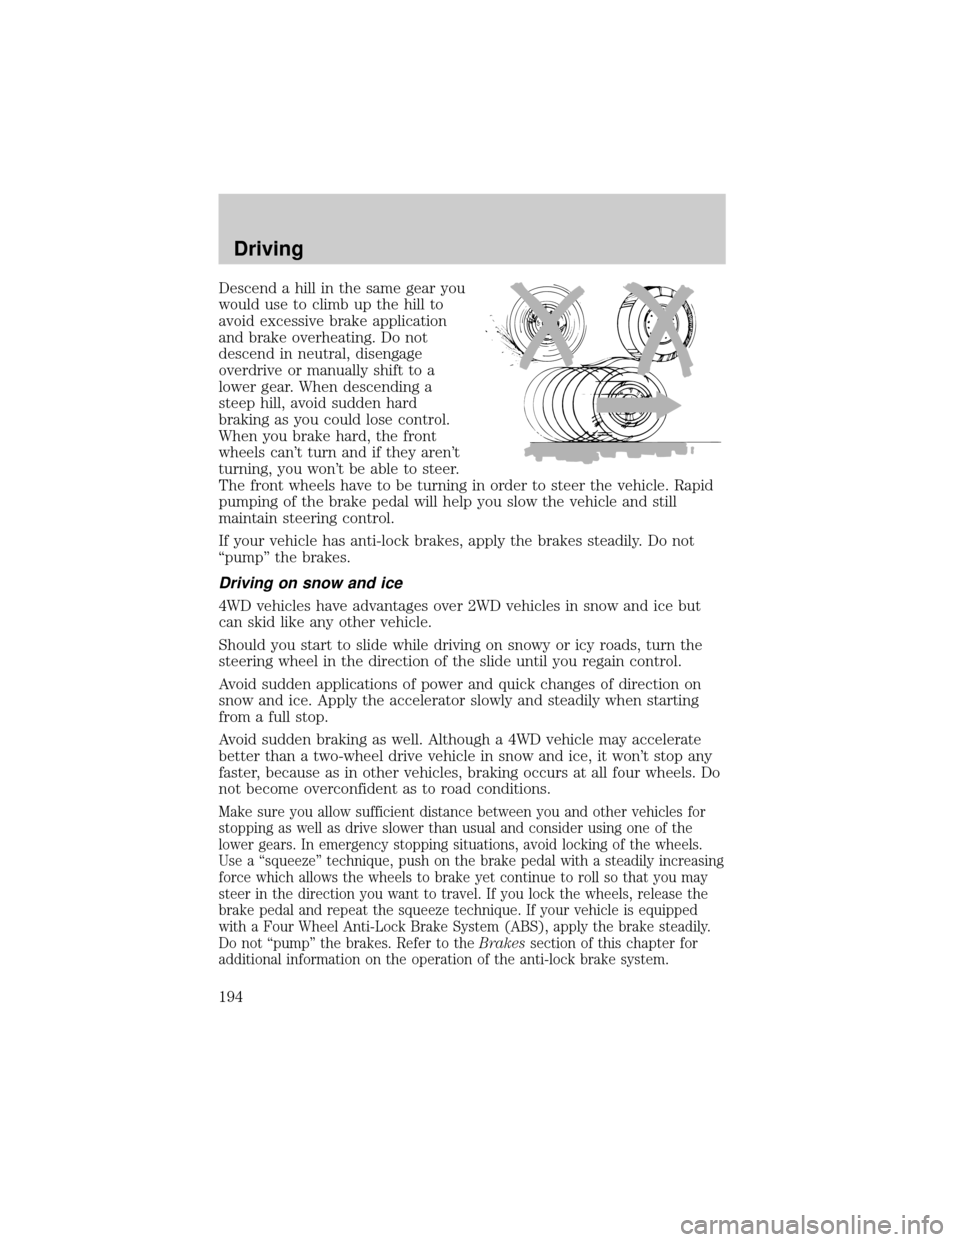
Descend a hill in the same gear you
would use to climb up the hill to
avoid excessive brake application
and brake overheating. Do not
descend in neutral, disengage
overdrive or manually shift to a
lower gear. When descending a
steep hill, avoid sudden hard
braking as you could lose control.
When you brake hard, the front
wheels can't turn and if they aren't
turning, you won't be able to steer.
The front wheels have to be turning in order to steer the vehicle. Rapid
pumping of the brake pedal will help you slow the vehicle and still
maintain steering control.
If your vehicle has anti-lock brakes, apply the brakes steadily. Do not
ªpumpº the brakes.
Driving on snow and ice
4WD vehicles have advantages over 2WD vehicles in snow and ice but
can skid like any other vehicle.
Should you start to slide while driving on snowy or icy roads, turn the
steering wheel in the direction of the slide until you regain control.
Avoid sudden applications of power and quick changes of direction on
snow and ice. Apply the accelerator slowly and steadily when starting
from a full stop.
Avoid sudden braking as well. Although a 4WD vehicle may accelerate
better than a two-wheel drive vehicle in snow and ice, it won't stop any
faster, because as in other vehicles, braking occurs at all four wheels. Do
not become overconfident as to road conditions.
Make sure you allow sufficient distance between you and other vehicles for
stopping as well as drive slower than usual and consider using one of the
lower gears. In emergency stopping situations, avoid locking of the wheels.
Use a ªsqueezeº technique, push on the brake pedal with a steadily increasing
force which allows the wheels to brake yet continue to roll so that you may
steer in the direction you want to travel. If you lock the wheels, release the
brake pedal and repeat the squeeze technique. If your vehicle is equipped
with a Four Wheel Anti-Lock Brake System (ABS), apply the brake steadily.
Do not ªpumpº the brakes. Refer to theBrakessection of this chapter for
additional information on the operation of the anti-lock brake system.
Driving
194
Page 205 of 320

Servicing after towing
If you tow a trailer for long distances, your vehicle will require more
frequent service intervals. Refer to your scheduled maintenance guide for
more information.
Trailer towing tips
²Practice turning, stopping and backing up before starting on a trip to
get the feel of the vehicle trailer combination. When turning, make
wider turns so the trailer wheels will clear curbs and other obstacles.
²Allow more distance for stopping with a trailer attached.
²The trailer tongue weight should be no more than 10±15% of the
loaded trailer weight.
²After you have traveled 80 km (50 miles), thoroughly check your
hitch, electrical connections and trailer wheel lug nuts.
²When stopped in traffic for long periods of time in hot weather, place
the gearshift in P (Park) (automatic transmissions) or N (Neutral)
(manual transmissions). This aids engine cooling and air conditioner
efficiency.
²Vehicles with trailers should not be parked on a grade. If you must
park on a grade, place wheel chocks under the trailer's wheels.
Launching or retrieving a boat
When backing down a ramp during boat launching or retrieval:
²do not allow the static water level to rise above the bottom edge of
the rear bumper.
²do not allow waves to break higher than 15 cm (6 inches) above the
bottom edge of the rear bumper.
Exceeding these limits may allow water to enter critical vehicle
components, adversely affecting driveability, emissions, reliability and
causing internal transmission damage.
Replace the rear axle lubricant any time the axle has been submerged in
water. Rear axle lubricant quantities are not to be checked or changed
unless a leak is suspected or repair required.
Disconnect the wiring to the trailer before backing the trailer into the
water. Reconnect the wiring to the trailer after the trailer is removed
from the water.
Driving
205
Page 211 of 320
Canadian customers who need to obtain reimbursement information, call
1±800±665±2006.
ROADSIDE COVERAGE BEYOND BASIC WARRANTY
In the United States, you may purchase additional roadside assistance
coverage beyond this period through the Ford Auto Club by contacting
your Ford or Lincoln Mercury dealer.
Similarly in Canada, for uninterrupted Roadside Assistance coverage, you
may purchase extended coverage prior to your Basic Warranty's Roadside
Assistance expiring. For more information and enrollment, contact
1±877±294±2582 or visit our website at www.ford.ca.
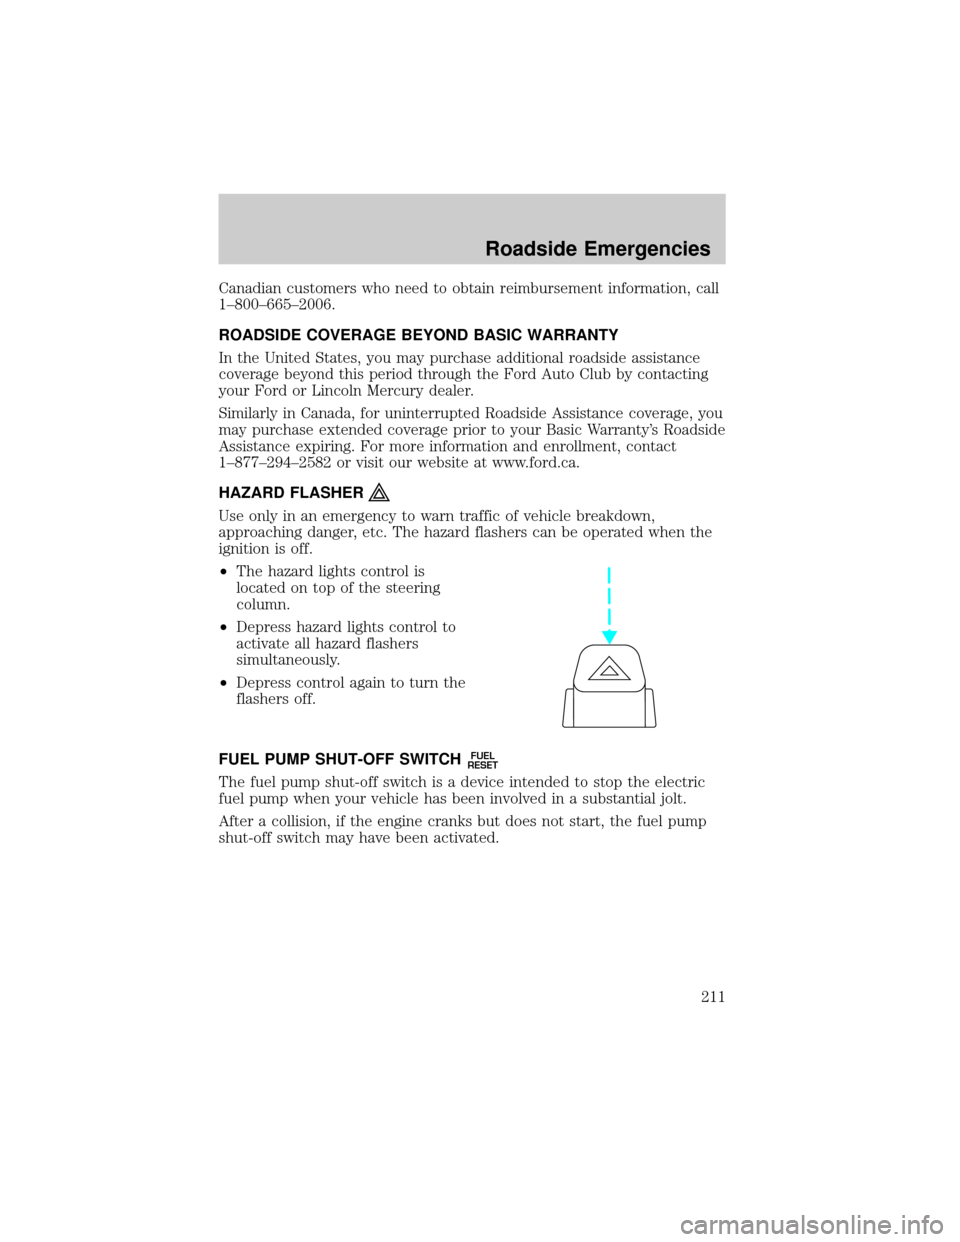
HAZARD FLASHER
Use only in an emergency to warn traffic of vehicle breakdown,
approaching danger, etc. The hazard flashers can be operated when the
ignition is off.
²The hazard lights control is
located on top of the steering
column.
²Depress hazard lights control to
activate all hazard flashers
simultaneously.
²Depress control again to turn the
flashers off.
FUEL PUMP SHUT-OFF SWITCH
FUEL
RESET
The fuel pump shut-off switch is a device intended to stop the electric
fuel pump when your vehicle has been involved in a substantial jolt.
After a collision, if the engine cranks but does not start, the fuel pump
shut-off switch may have been activated.
Roadside Emergencies
211
Page 264 of 320
When lifting a plastic-cased battery, excessive pressure on the
end walls could cause acid to flow through the vent caps,
resulting in personal injury and/or damage to the vehicle or battery.
Lift the battery with a battery carrier or with your hands on opposite
corners.
Keep batteries out of reach of children. Batteries contain sulfuric
acid. Avoid contact with skin, eyes or clothing. Shield your eyes
when working near the battery to protect against possible splashing of
acid solution. In case of acid contact with skin or eyes, flush
immediately with water for a minimum of 15 minutes and get prompt
medical attention. If acid is swallowed, call a physician immediately.
Battery posts, terminals and related accessories contain lead and
lead compounds.Wash hands after handling.
Because your vehicle's engine is also electronically controlled by a
computer, some control conditions are maintained by power from the
battery. When the battery is disconnected or a new battery is installed,
the engine must relearn its idle and fuel trim strategy for optimum
driveability and performance. To begin this process:
1. With the vehicle at a complete stop, set the parking brake.
2. Put the gearshift in P (Park) (automatic transmission) or the neutral
position (manual transmission), turn off all accessories and start the
engine.
3. Run the engine until it reaches normal operating temperature.
4. Allow the engine to idle for at least one minute.
5. Turn the A/C on and allow the engine to idle for at least one minute.
6. Drive the vehicle to complete the relearning process.
²The vehicle may need to be driven 16 km (10 miles) or more to
relearn the idle and fuel trim strategy.
²If you do not allow the engine to relearn its idle trim, the idle
quality of your vehicle may be adversely affected until the idle
trim is eventually relearned.
Maintenance and Specifications
264