ECO mode FORD F150 2002 10.G User Guide
[x] Cancel search | Manufacturer: FORD, Model Year: 2002, Model line: F150, Model: FORD F150 2002 10.GPages: 320, PDF Size: 2.95 MB
Page 44 of 320
Compression feature
Compression adjust brings soft and
loud CD passages together for a
more consistent listening level.
Press the COMP control to activate
and deactivate compression adjust.
The effect of the feature varies with the music content.
Shuffle feature
The shuffle feature operates in CD
mode and plays all tracks on the
current disc in random order. If
equipped with the CD changer, the
shuffle feature continues to the next
disc after all tracks are played.
Press the SHUFFLE control to start this feature. Random order play will
continue until the SHUFFLE control is pressed again.
Mute mode
Press the control to mute the
playing media. Press the control
again to return to the playing media.
Radio data system (RDS) feature
This feature allows your audio system to receive station identification or
program type from RDS-equipped FM radio stations.
The Federal Communications Commission (FCC) and the Canadian Radio
and Telecommunications Commission (CRTC) recommend FM radio
broadcasters to use RDS technology to transmit information. FM radio
stations are independently operated and individually elect to use RDS
technology to transmit station ID and program type as desired.
Press the RDS control until RDS ON
or RDS OFF appears in the display.
COMP
5
SHUFF
6
MUTE
RDS
Entertainment Systems
44
Page 56 of 320
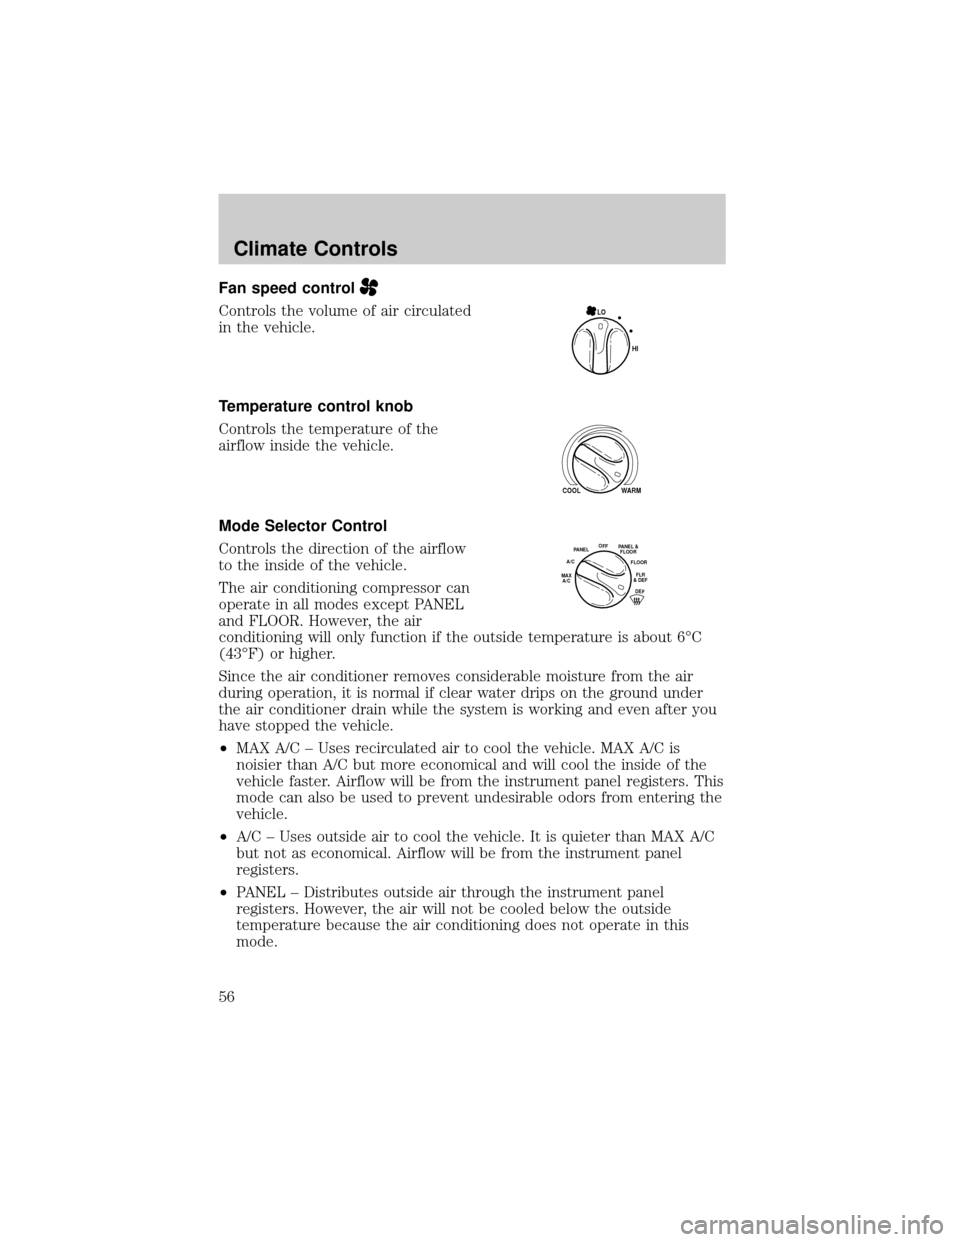
Fan speed control
Controls the volume of air circulated
in the vehicle.
Temperature control knob
Controls the temperature of the
airflow inside the vehicle.
Mode Selector Control
Controls the direction of the airflow
to the inside of the vehicle.
The air conditioning compressor can
operate in all modes except PANEL
and FLOOR. However, the air
conditioning will only function if the outside temperature is about 6ÉC
(43ÉF) or higher.
Since the air conditioner removes considerable moisture from the air
during operation, it is normal if clear water drips on the ground under
the air conditioner drain while the system is working and even after you
have stopped the vehicle.
²MAX A/C ± Uses recirculated air to cool the vehicle. MAX A/C is
noisier than A/C but more economical and will cool the inside of the
vehicle faster. Airflow will be from the instrument panel registers. This
mode can also be used to prevent undesirable odors from entering the
vehicle.
²A/C ± Uses outside air to cool the vehicle. It is quieter than MAX A/C
but not as economical. Airflow will be from the instrument panel
registers.
²PANEL ± Distributes outside air through the instrument panel
registers. However, the air will not be cooled below the outside
temperature because the air conditioning does not operate in this
mode.
HI LO
COOL WARM
OFFPANEL
A/CFLOOR
DEFFLR
& DEFMAX
A/C
PANEL &
FLOOR
Climate Controls
56
Page 61 of 320
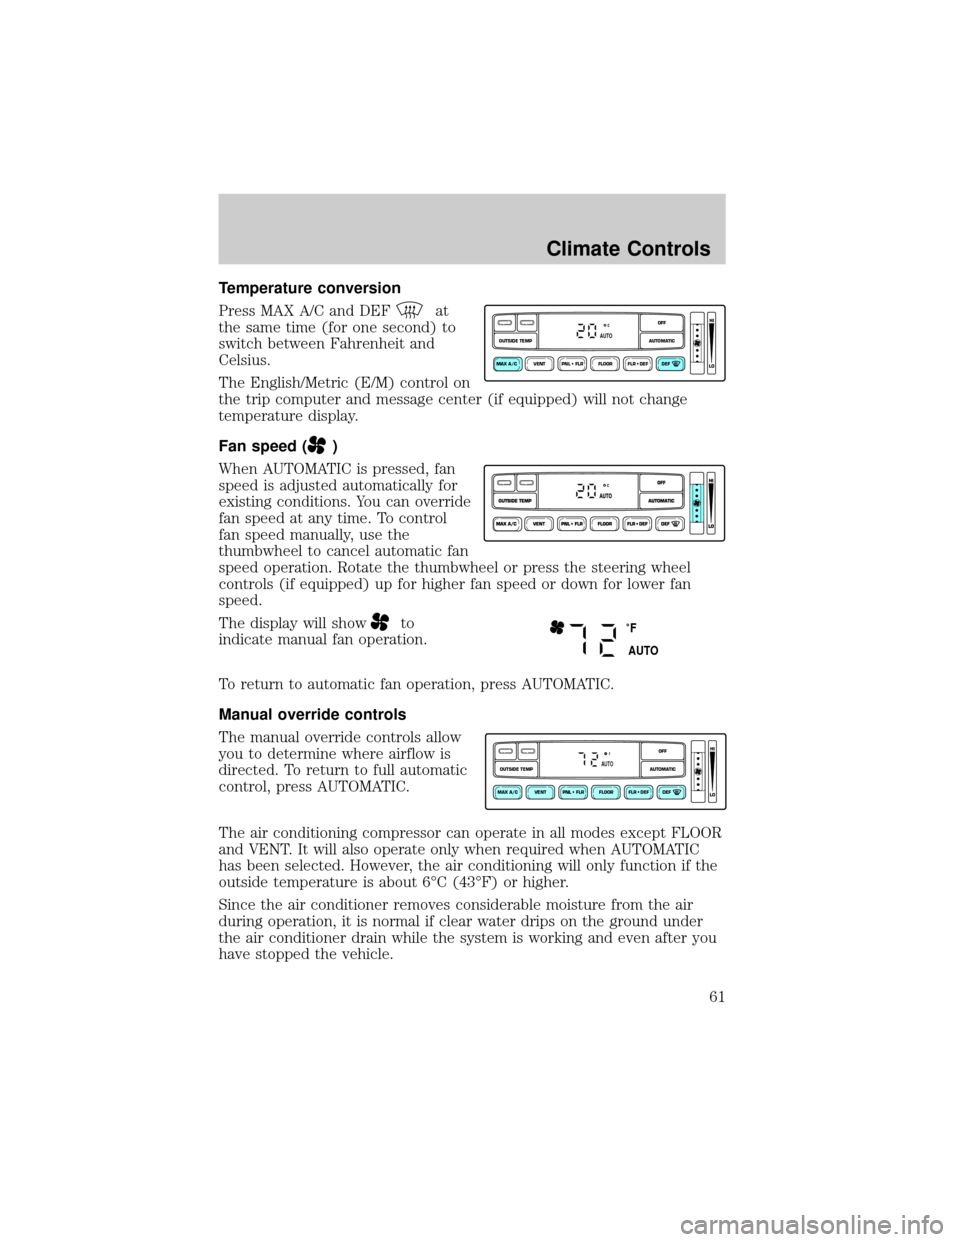
Temperature conversion
Press MAX A/C and DEF
at
the same time (for one second) to
switch between Fahrenheit and
Celsius.
The English/Metric (E/M) control on
the trip computer and message center (if equipped) will not change
temperature display.
Fan speed (
)
When AUTOMATIC is pressed, fan
speed is adjusted automatically for
existing conditions. You can override
fan speed at any time. To control
fan speed manually, use the
thumbwheel to cancel automatic fan
speed operation. Rotate the thumbwheel or press the steering wheel
controls (if equipped) up for higher fan speed or down for lower fan
speed.
The display will show
to
indicate manual fan operation.
To return to automatic fan operation, press AUTOMATIC.
Manual override controls
The manual override controls allow
you to determine where airflow is
directed. To return to full automatic
control, press AUTOMATIC.
The air conditioning compressor can operate in all modes except FLOOR
and VENT. It will also operate only when required when AUTOMATIC
has been selected. However, the air conditioning will only function if the
outside temperature is about 6ÉC (43ÉF) or higher.
Since the air conditioner removes considerable moisture from the air
during operation, it is normal if clear water drips on the ground under
the air conditioner drain while the system is working and even after you
have stopped the vehicle.
VENT PNL • FLR FLOOR FLR • DEF DEF
HI
LO
MAX A/C
OUTSIDE TEMP AUTOMATICOFFAUTO
˚F
AUTO
VENT PNL • FLR FLOOR FLR • DEF DEF
HI
LO
MAX A/C
OUTSIDE TEMP AUTOMATICOFFFAUTO
Climate Controls
61
Page 62 of 320
²MAX A/C-Uses recirculated air to cool the vehicle. The temperature
will display 16ÉC (60ÉF). To exit, press AUTOMATIC or any other
override controls. MAX A/C is louder than normal A/C but more
economical and will cool the inside of the vehicle faster. Airflow is
from the instrument panel registers. This mode can also be used to
prevent undesirable odors from entering the vehicle.
²VENT-Distributes outside air through the instrument panel registers.
However, the air cannot be cooled below the outside temperature
because the air conditioning does not operate in this mode.
²PNL²FLR-Distributes outside air through the instrument panel
registers and the floor ducts. Heating and air conditioning capabilities
are provided in this mode. The air will be heated or cooled based on
the temperature selection. For added customer comfort, the air
distributed through the floor ducts will be slightly warmer than the air
sent to the instrument panel registers.
²FLOOR-Distributes outside air through the floor ducts. However, the
air cannot be cooled below the outside temperature because the air
conditioning does not operate in this mode.
²FLR²DEF-Distributes outside air through the windshield defroster
ducts and the floor ducts. Heating and air conditioning capabilities are
provided in this mode. The air will be heated or cooled based on the
temperature selection. For added customer comfort, the air
distributed through the floor ducts will be slightly warmer than the air
sent to the windshield defroster ducts. If the temperature is about 6ÉC
(43ÉF) or higher, the air conditioner will automatically dehumidify the
air to reduce fogging.
²DEF
-Distributes outside air through the windshield defroster
ducts. It can be used to clear ice or fog from the windshield. If the
outside air temperature is about 6ÉC (43ÉF) or higher, the air
conditioner will automatically dehumidify the air to reduce fogging.
²OFF-Outside air is shut out and the fan will not operate. For short
periods of time only, use this mode to reduce undesirable odors from
entering the vehicle.
Climate Controls
62
Page 84 of 320
CENTER CONSOLE (IF EQUIPPED)
Your vehicle may be equipped with a variety of console features. These
include:
²Utility compartment
²Cupholders
²Coin holder slots
²Compact disc changer (if equipped)
²Rear audio controls
²Power point
Use only soft cups in the cupholder. Hard objects can injure you
in a collision.
OVERDRIVE CONTROL
Activating overdrive
(Overdrive) is the normal drive position for the best fuel economy.
The overdrive function allows automatic upshifts and downshifts through
all available gears.
Deactivating overdrive
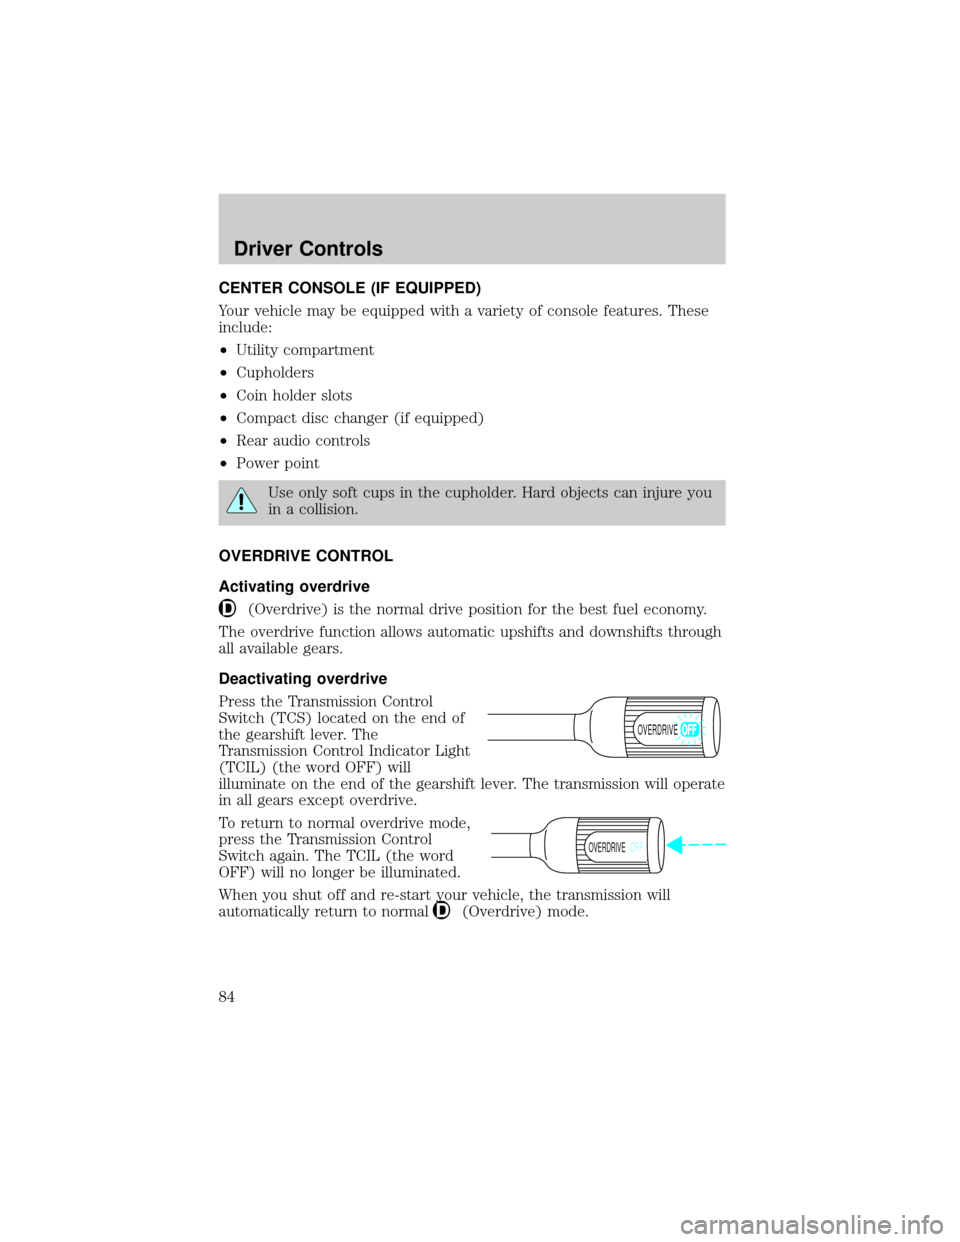
Press the Transmission Control
Switch (TCS) located on the end of
the gearshift lever. The
Transmission Control Indicator Light
(TCIL) (the word OFF) will
illuminate on the end of the gearshift lever. The transmission will operate
in all gears except overdrive.
To return to normal overdrive mode,
press the Transmission Control
Switch again. The TCIL (the word
OFF) will no longer be illuminated.
When you shut off and re-start your vehicle, the transmission will
automatically return to normal
(Overdrive) mode.
OVERDRIVE
OVERDRIVEOFF
Driver Controls
84
Page 93 of 320
Do not let children play with the moon roof. They may seriously
hurt themselves.
HOMELINKTUNIVERSAL TRANSCEIVER WITH TRAVELNOTET
(IF EQUIPPED)
The HomeLinktUniversal Transceiver, located on the driver's visor,
provides a convenient way to replace up to three hand-held transmitters
with a single built-in device. This feature will learn the radio frequency
codes of most current transmitters to operate garage doors, entry gates,
security systems, entry door locks, and home or office lighting.
When programming your HomeLinktUniversal Transceiver, to a
garage door or gate be sure that people and objects are out of
the way to prevent potential harm or damage.
Do not use the HomeLinktUniversal Transceiver with any garage door
opener that lacks safety stop and reverse features as required by U.S.
federal safety standards (this includes any garage door opener model
manufactured before April 1, 1982). A garage door which cannot detect
an object, signaling the door to stop and reverse, does not meet current
U.S. federal safety standards. For more information on this matter, call
toll-free: 1±800±355±3515 or on the Internet atHomeLink.jci.com.
Programming
Do not program the HomeLinktUniversal Transceiver with the
vehicle parked in the garage.
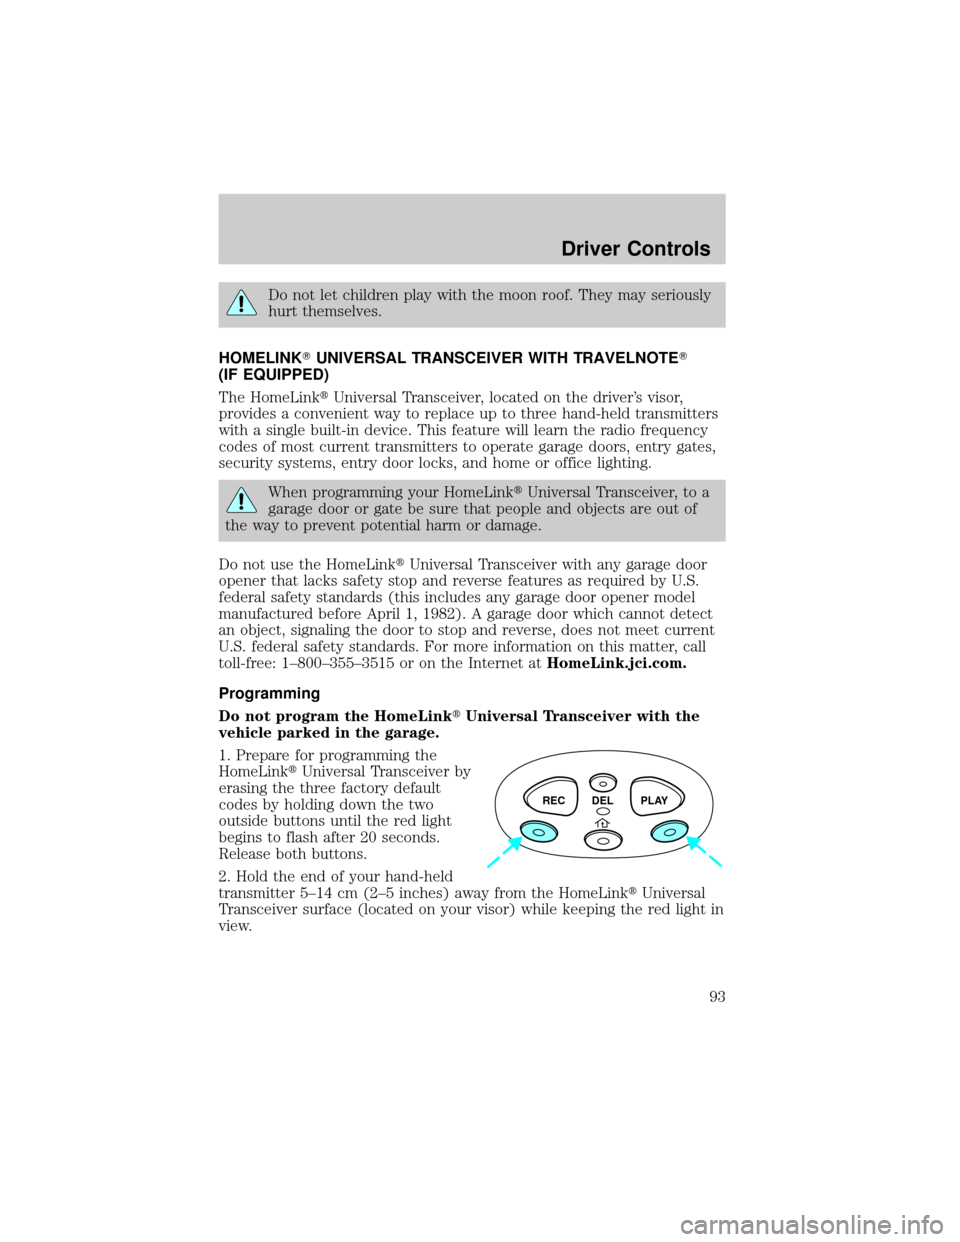
1. Prepare for programming the
HomeLinktUniversal Transceiver by
erasing the three factory default
codes by holding down the two
outside buttons until the red light
begins to flash after 20 seconds.
Release both buttons.
2. Hold the end of your hand-held
transmitter 5±14 cm (2±5 inches) away from the HomeLinktUniversal
Transceiver surface (located on your visor) while keeping the red light in
view.
REC DEL PLAY
Driver Controls
93
Page 112 of 320
Programming remote transmitters
It is necessary to haveall(maximum of four Ð original and/or new) of
your remote transmitters available prior to beginning this procedure.
To program the transmitters yourself:
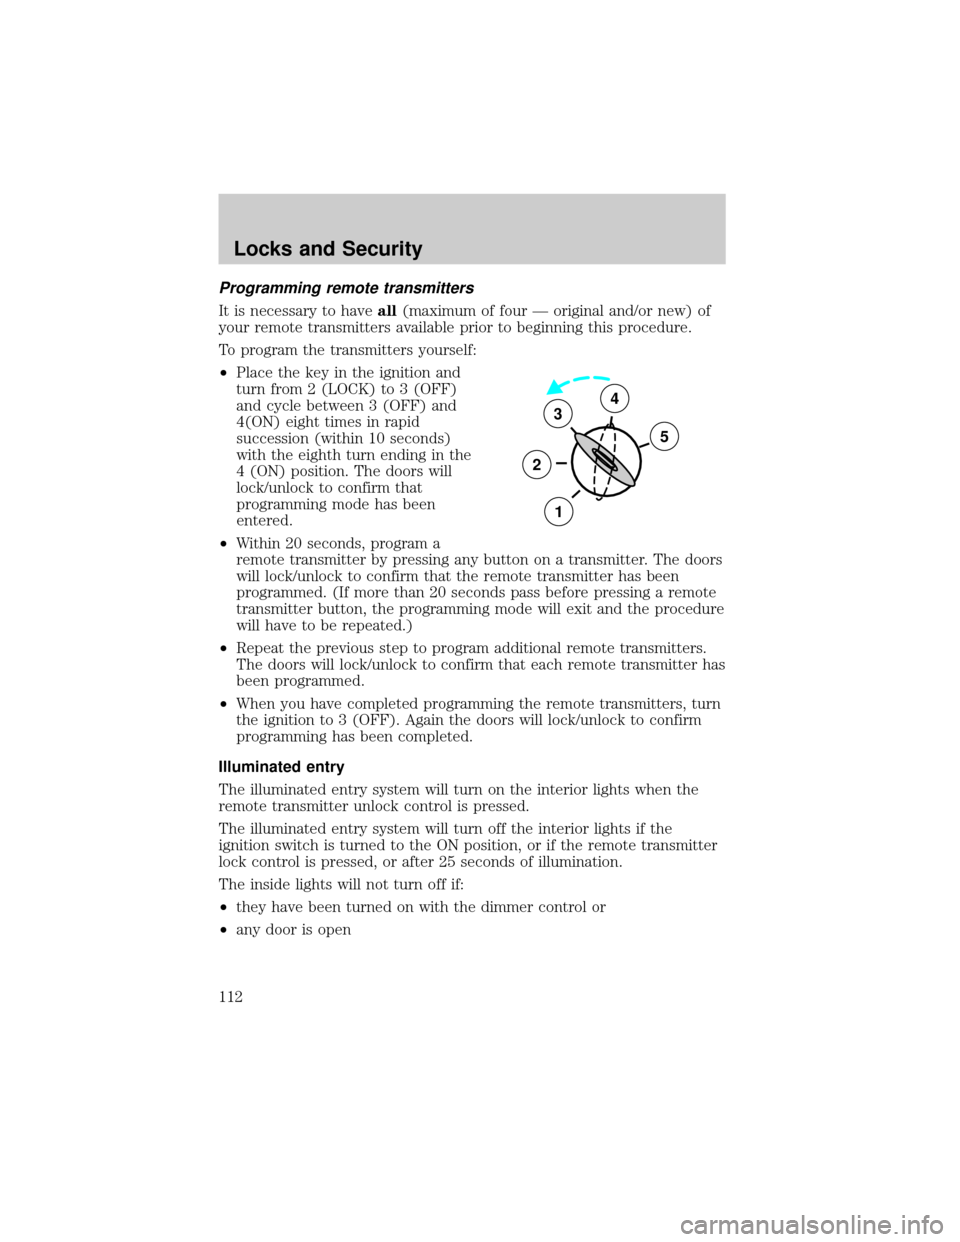
²Place the key in the ignition and
turn from 2 (LOCK) to 3 (OFF)
and cycle between 3 (OFF) and
4(ON) eight times in rapid
succession (within 10 seconds)
with the eighth turn ending in the
4 (ON) position. The doors will
lock/unlock to confirm that
programming mode has been
entered.
²Within 20 seconds, program a
remote transmitter by pressing any button on a transmitter. The doors
will lock/unlock to confirm that the remote transmitter has been
programmed. (If more than 20 seconds pass before pressing a remote
transmitter button, the programming mode will exit and the procedure
will have to be repeated.)
²Repeat the previous step to program additional remote transmitters.
The doors will lock/unlock to confirm that each remote transmitter has
been programmed.
²When you have completed programming the remote transmitters, turn
the ignition to 3 (OFF). Again the doors will lock/unlock to confirm
programming has been completed.
Illuminated entry
The illuminated entry system will turn on the interior lights when the
remote transmitter unlock control is pressed.
The illuminated entry system will turn off the interior lights if the
ignition switch is turned to the ON position, or if the remote transmitter
lock control is pressed, or after 25 seconds of illumination.
The inside lights will not turn off if:
²they have been turned on with the dimmer control or
²any door is open
3
2
1
5
4
Locks and Security
112
Page 115 of 320
If you wish to erase your personal code, use the following instructions:
Erasing personal code
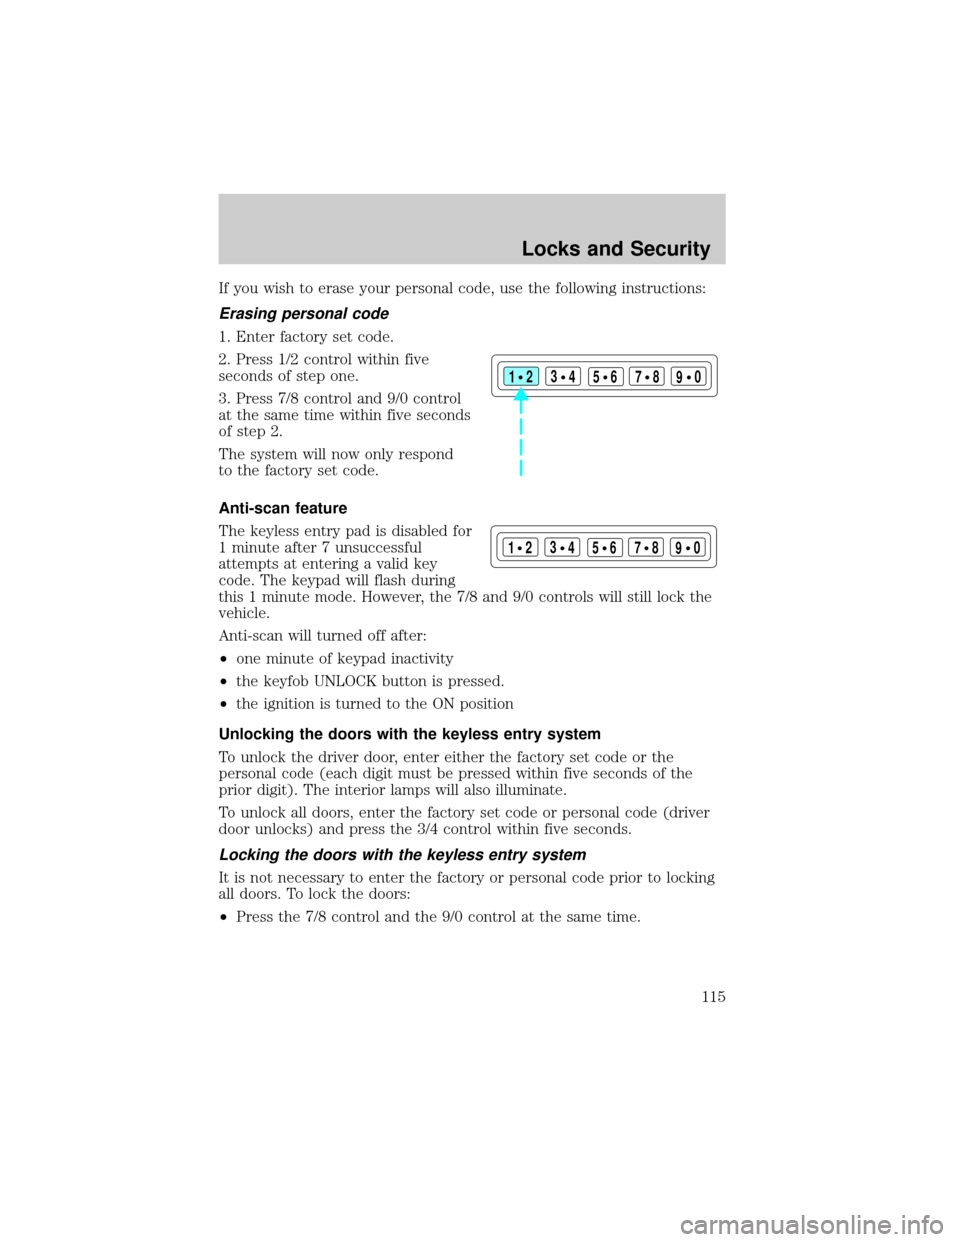
1. Enter factory set code.
2. Press 1/2 control within five
seconds of step one.
3. Press 7/8 control and 9/0 control
at the same time within five seconds
of step 2.
The system will now only respond
to the factory set code.
Anti-scan feature
The keyless entry pad is disabled for
1 minute after 7 unsuccessful
attempts at entering a valid key
code. The keypad will flash during
this 1 minute mode. However, the 7/8 and 9/0 controls will still lock the
vehicle.
Anti-scan will turned off after:
²one minute of keypad inactivity
²the keyfob UNLOCK button is pressed.
²the ignition is turned to the ON position
Unlocking the doors with the keyless entry system
To unlock the driver door, enter either the factory set code or the
personal code (each digit must be pressed within five seconds of the
prior digit). The interior lamps will also illuminate.
To unlock all doors, enter the factory set code or personal code (driver
door unlocks) and press the 3/4 control within five seconds.
Locking the doors with the keyless entry system
It is not necessary to enter the factory or personal code prior to locking
all doors. To lock the doors:
²Press the 7/8 control and the 9/0 control at the same time.
123
45678
90
123
45678
90
Locks and Security
115
Page 133 of 320

The front and rear outboard safety restraints in the vehicle are
combination lap and shoulder belts. The front passenger and rear seat
outboard safety belts have two types of locking modes described below:
Vehicle sensitive mode
The vehicle sensitive mode is the normal retractor mode, allowing free
shoulder belt length adjustment to your movements and locking in
response to vehicle movement. For example, if the driver brakes
suddenly or turns a corner sharply, or the vehicle receives an impact of
approximately 8 km/h (5 mph) or more, the combination safety belts will
lock to help reduce forward movement of the driver and passengers.
The front seat belt system can also be made to lock manually by quickly
pulling on the shoulder belt. Rear seat belts (if equipped) cannot be
made to lock up by pulling quickly on the belt.
Automatic locking mode
In this mode, the shoulder belt is automatically pre-locked. The belt will
still retract to remove any slack in the shoulder belt.
The automatic locking mode is not available on the driver safety belt.
When to use the automatic locking mode
²Anytimea child safety seat is installed in a passenger front or
outboard rear seating position with Regular Cab or SuperCab.
SuperCrew models include the center seating position of the second
row. Children 12 years old and under should be properly restrained in
the rear seat whenever possible. Refer toSafety Restraints for
ChildrenorSafety Seats for Childrenlater in this chapter.
Seating and Safety Restraints
133
Page 135 of 320
3. Allow the belt to retract. As the belt retracts, you will hear a clicking
sound. This indicates the safety belt is now in the automatic locking
mode.
How to disengage the automatic locking mode
Ford recommends that all safety belt assemblies and attaching
hardware should be inspected by a qualified technician after any
collision. Safety belt assemblies not in use during a collision should also
be inspected and replaced if either damage or improper operation is
noted.
Disconnect the combination lap/shoulder belt and allow it to retract
completely to disengage the automatic locking mode and activate the
vehicle sensitive (emergency) locking mode.
After any vehicle collision, the front passenger and rear outboard
seat belt systems must be checked by a qualified technician to
verify that the ªautomatic locking retractorº feature for child seats is
still functioning properly. In addition, all seat belts should be checked
for proper function.
BELT AND RETRACTOR ASSEMBLY MUST BE REPLACED if
the seat belt assembly ªautomatic locking retractorº feature or
any other seat belt function is not operating properly when checked
according to the procedures in Workshop Manual.
Failure to replace the Belt and Retractor assembly could
increase the risk of injury in collisions.
Safety belt pretensioner (if equipped)
Your vehicle is equipped with safety belt pretensioners at the driver and
front outboard passenger seating positions.
The Seat Integrated Restraints (SIR) seat is equipped with a buckle
pretensioner. Do NOT place objects between the seats, this could
interfere with the functioning of the pretensioner. For the SuperCab and
CrewCab base bench seats and all Regular Cab seating positions, the
seatbelts are equipped with a retractor pretensioner.
Seating and Safety Restraints
135