lock FORD F250 1998 Owners Manual
[x] Cancel search | Manufacturer: FORD, Model Year: 1998, Model line: F250, Model: FORD F250 1998Pages: 219, PDF Size: 1.65 MB
Page 9 of 219

Safety belt
Momentarily illuminates when the
ignition is turned ON to remind
you to fasten your safety belts. For
more information, refer to the
Seating and safety restraints
chapter.
Brake system warning
Momentarily illuminates when the
ignition is turned on and the
engine is off. Also illuminates when
the parking brake is engaged.
Illumination after releasing the
parking brake indicates low brake
fluid level.
Anti-lock brake system (ABS)
Momentarily illuminates when the
ignition is turned on and the
engine is off. If the light remains
on, continues to flash or fails to
illuminate, have the system
serviced immediately.
Turn signal
Illuminates when the left or right
turn signal or the hazard lights are
turned on. If one or both of the
indicators stay on continuously or
flash faster, check for a burned-out
turn signal bulb. Refer toExterior
bulbsin theMaintenance and
carechapter.
!
BRAKE
ABS
Instrumentation
9
ProCarManuals.com
Page 12 of 219

Fuel reset
Illuminates when the ignition key
is turned to the ON position and
the fuel pump shut-off switch has
been triggered. For more
information, refer toFuel pump
shut-off switchin theRoadside
emergencieschapter.
Safety belt warning chime
Chimes to remind you to fasten
your safety belts.
For information on the safety belt
warning chime, refer to the
Seating and safety restraints
chapter.
Supplemental restraint system
(SRS) warning chime
For information on the SRS
warning chime, refer to the
Seating and safety restraints
chapter.
Key-in-ignition warning chime
Sounds when the key is left in the
ignition in the OFF/LOCK or ACC
position and either front door is
opened.
Headlamps on warning chime
Sounds when the headlamps or
parking lamps are on, the ignition
is off (and the key is not in the
ignition) and either front door is
opened.
FUEL
RESET
Instrumentation
12
ProCarManuals.com
Page 22 of 219

²Remove any snow, ice or leaves
from the air intake area (at the
bottom of the windshield under
the hood).
²When placing objects on top of
your instrument panel, be
careful to not place them over
the defroster outlets. These
objects can block airflow and
reduce your ability to see
through your windshield. Also,
avoid placing small objects on
top of your instrument panel.
These objects can fall down into
the defroster outlets and block
airflow and possibly damage
your climate control system.
Manual heating and air
conditioning system
(if equipped)
Fan speed control
Controls the volume of air
circulated in the vehicle.
HI
COOL WARM
OFFPANEL
A/CFLOOR
DEFFLR
& DEFMAX
A/C
PANEL &
FLOORLO
Controls and features
22
ProCarManuals.com
Page 26 of 219

Operating tips
²In humid weather, select DEF
before driving. This will
prevent your windshield from
fogging. After a few minutes,
select any desired position.
²To prevent humidity buildup
inside the vehicle, don't drive
with the climate control system
in the OFF position.
²Don't put objects under the
front seat that will interfere with
the airflow to the back seats (if
eqipped).
²Remove any snow, ice or leaves
from the air intake area (at the
bottom of the windshield under
the hood).
²If your vehicle has been parked
with the windows closed during
hot weather, the air conditioner
will do a much faster job of
cooling if you drive for two or
three minutes with the windows
open. This will force most of the
hot, stale air out of the vehicle.
Then operate your air
conditioner as you would
normally.
²When placing objects on top of
your instrument panel, be
careful to not place them over
the defroster outlets. These
objects can block airflow and
Controls and features
26
ProCarManuals.com
Page 27 of 219

reduce your ability to see
through your windshield. Also,
avoid placing small objects on
top of your instrument panel.
These objects can fall down into
the defroster outlets and block
airflow and possibly damage
your climate control system.
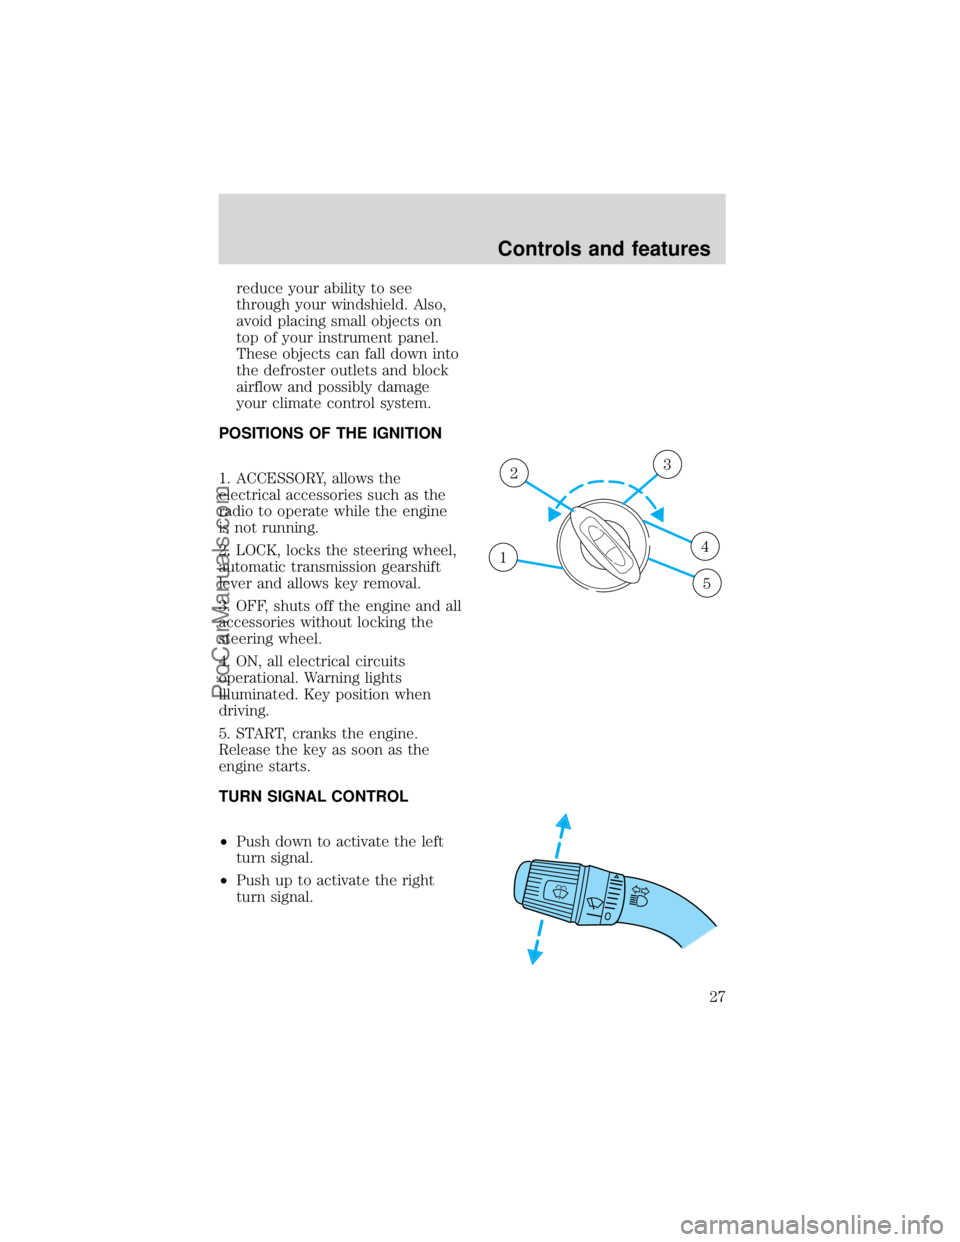
POSITIONS OF THE IGNITION
1. ACCESSORY, allows the
electrical accessories such as the
radio to operate while the engine
is not running.
2. LOCK, locks the steering wheel,
automatic transmission gearshift
lever and allows key removal.
3. OFF, shuts off the engine and all
accessories without locking the
steering wheel.
4. ON, all electrical circuits
operational. Warning lights
illuminated. Key position when
driving.
5. START, cranks the engine.
Release the key as soon as the
engine starts.
TURN SIGNAL CONTROL
²Push down to activate the left
turn signal.
²Push up to activate the right
turn signal.
1
23
4
5
Controls and features
27
ProCarManuals.com
Page 33 of 219

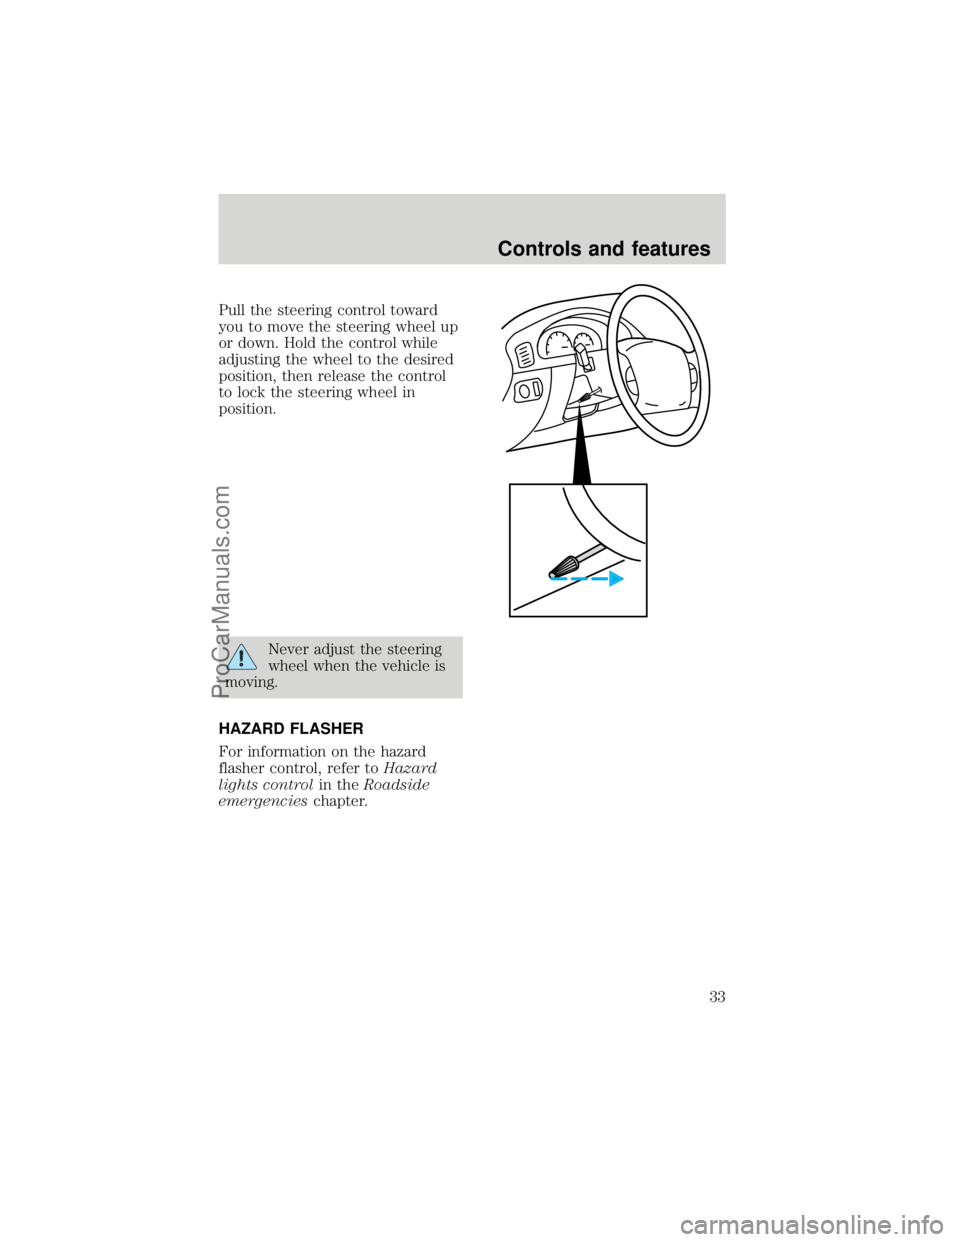
Pull the steering control toward
you to move the steering wheel up
or down. Hold the control while
adjusting the wheel to the desired
position, then release the control
to lock the steering wheel in
position.
Never adjust the steering
wheel when the vehicle is
moving.
HAZARD FLASHER
For information on the hazard
flasher control, refer toHazard
lights controlin theRoadside
emergencieschapter.
Controls and features
33
ProCarManuals.com
Page 38 of 219

Accessory delay
With accessory delay, the window
switches may be used for up to ten
minutes after the ignition switch is
turned to the OFF position or until
either door is opened.
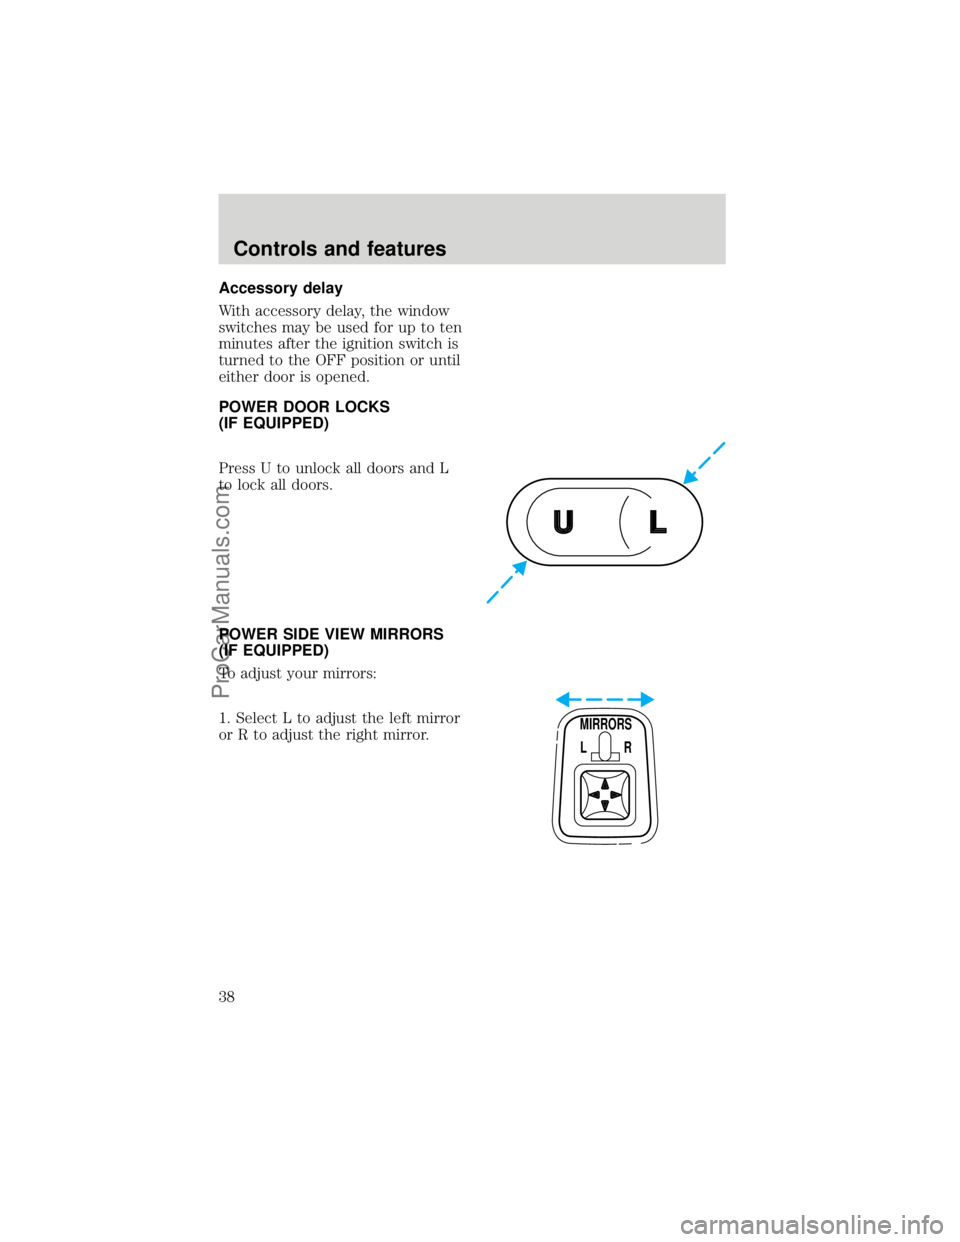
POWER DOOR LOCKS
(IF EQUIPPED)
Press U to unlock all doors and L
to lock all doors.
POWER SIDE VIEW MIRRORS
(IF EQUIPPED)
To adjust your mirrors:
1. Select L to adjust the left mirror
or R to adjust the right mirror.
UL
MIRRORS
L R
Controls and features
38
ProCarManuals.com
Page 39 of 219

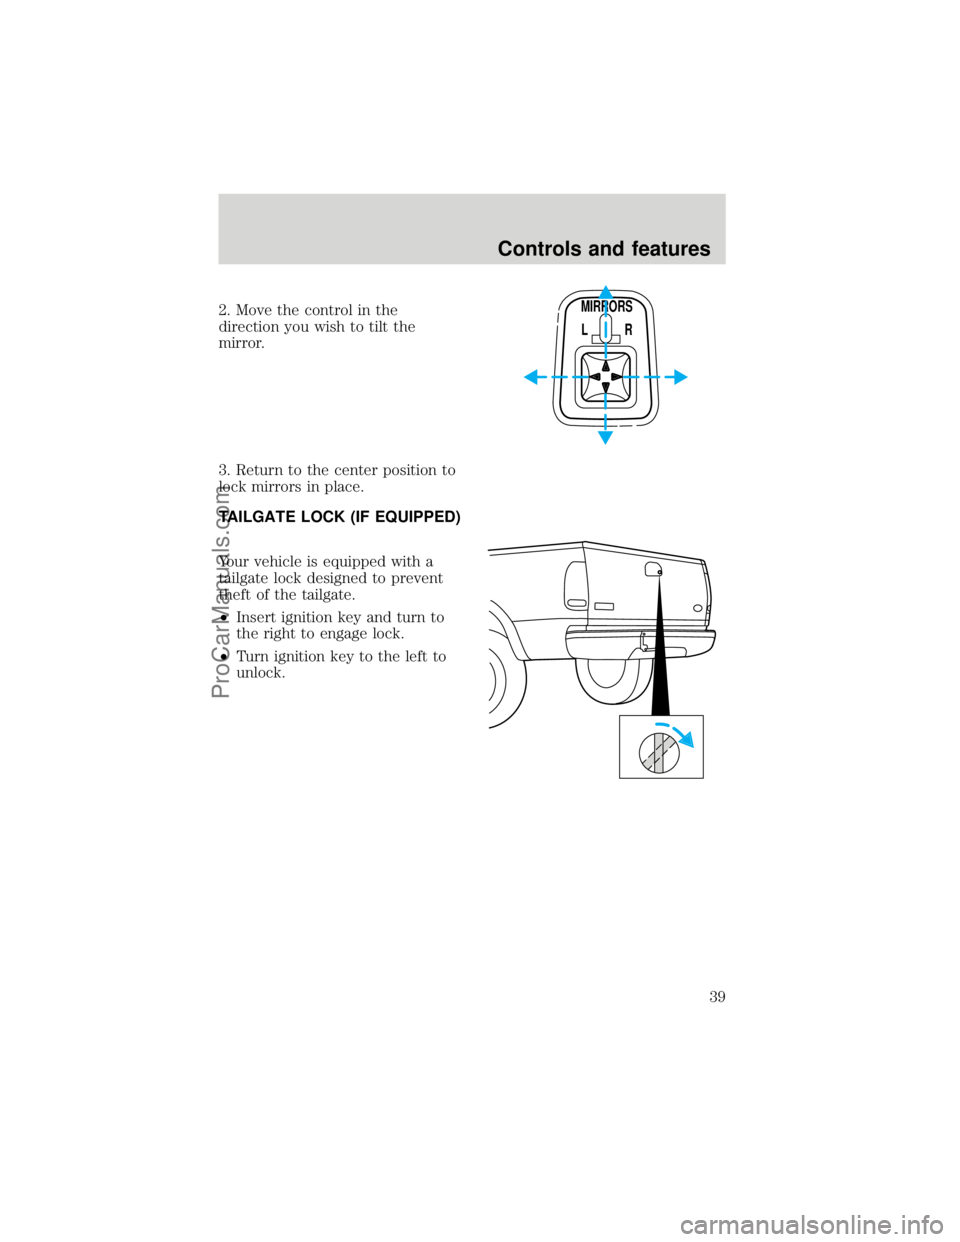
2. Move the control in the
direction you wish to tilt the
mirror.
3. Return to the center position to
lock mirrors in place.
TAILGATE LOCK (IF EQUIPPED)
Your vehicle is equipped with a
tailgate lock designed to prevent
theft of the tailgate.
²Insert ignition key and turn to
the right to engage lock.
²Turn ignition key to the left to
unlock.MIRRORS
L R
Controls and features
39
ProCarManuals.com
Page 41 of 219

²Press the remote entry lock
control
²Open a door and press the
power door lock control to lock
the doors
If a door is open, the system is
prearmed and is waiting for the
door to close. The theft indicator
in the instrument panel will be lit
continuously when the system is
prearmed.
Once the doors are closed, the
system will arm in 30 seconds.
When you press the lock control
twice within 5 seconds, the horn
will chirp once to let you know
that the system is armed.
If the doors are not closed and you
press the remote entry transmitter
twice to confirm the doors are
locked, the horn will chirp twice to
warn you that the system is not
arming.
Disarming the system
You can disarm the system by any
of the following actions:
Controls and features
41
ProCarManuals.com
Page 42 of 219

²Unlock the doors by using your
remote entry transmitter.
²Unlock the doors with a key.
Turn the key full travel (toward
the front of the vehicle) to make
sure the alarm disarms.
²Turn ignition to ACC or ON.
²Press the panic control on the
remote entry transmitter. This
will disarm the system only if
the alarm is sounding.
REMOTE ENTRY SYSTEM
(IF EQUIPPED)
The remote entry system allows
you to lock or unlock all vehicle
doors without a key.
The remote entry features only
operate with the ignition in the
OFF position.
Controls and features
42
ProCarManuals.com