coolant level FORD F450 2015 Owners Manual
[x] Cancel search | Manufacturer: FORD, Model Year: 2015, Model line: F450, Model: FORD F450 2015Pages: 485, PDF Size: 5.35 MB
Page 81 of 485
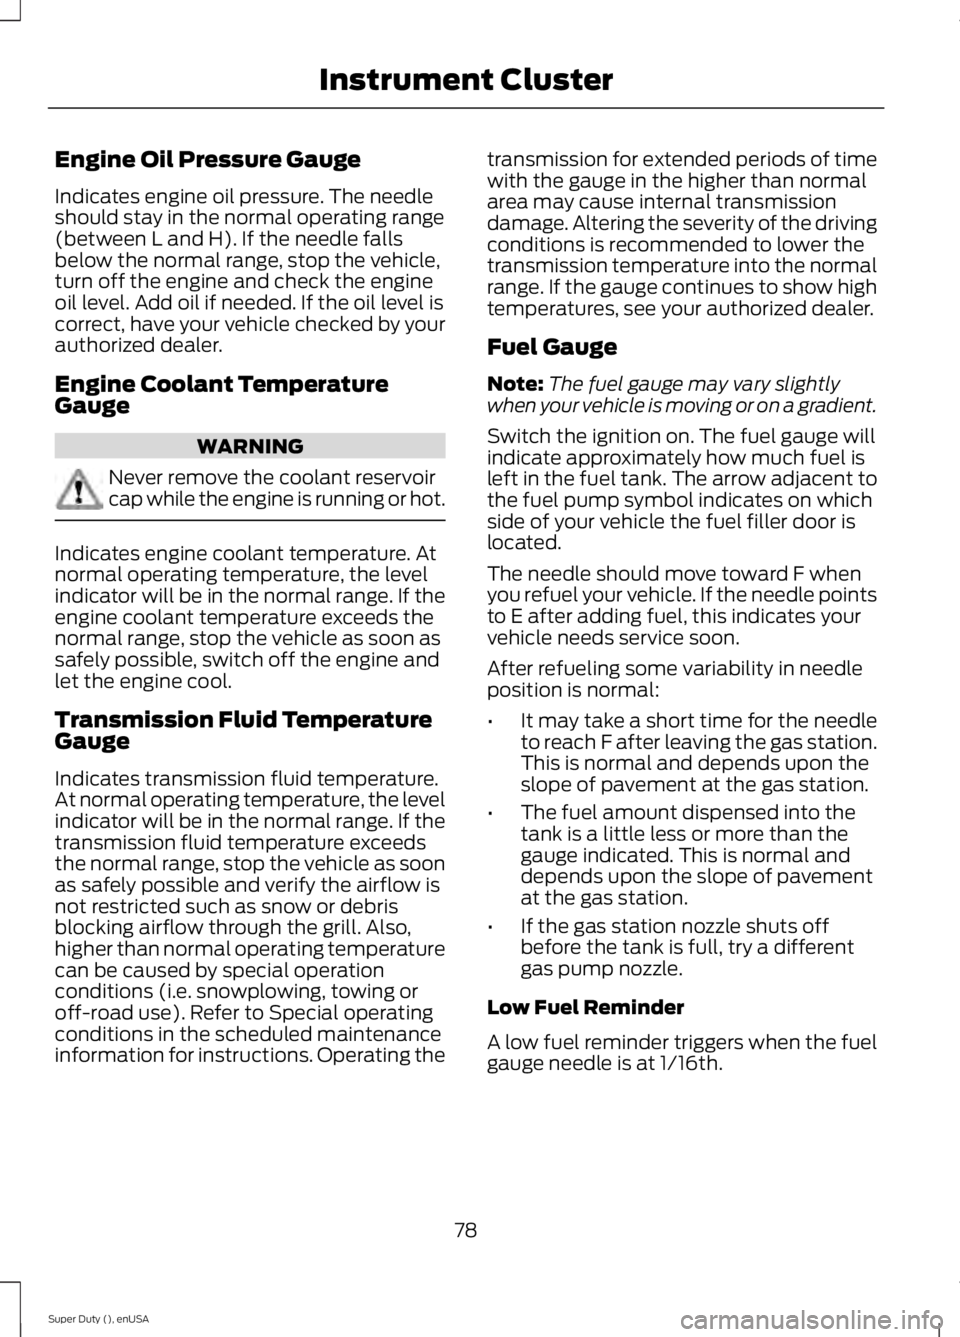
Engine Oil Pressure Gauge
Indicates engine oil pressure. The needle
should stay in the normal operating range
(between L and H). If the needle falls
below the normal range, stop the vehicle,
turn off the engine and check the engine
oil level. Add oil if needed. If the oil level is
correct, have your vehicle checked by your
authorized dealer.
Engine Coolant Temperature
Gauge
WARNING
Never remove the coolant reservoir
cap while the engine is running or hot.
Indicates engine coolant temperature. At
normal operating temperature, the level
indicator will be in the normal range. If the
engine coolant temperature exceeds the
normal range, stop the vehicle as soon as
safely possible, switch off the engine and
let the engine cool.
Transmission Fluid Temperature
Gauge
Indicates transmission fluid temperature.
At normal operating temperature, the level
indicator will be in the normal range. If the
transmission fluid temperature exceeds
the normal range, stop the vehicle as soon
as safely possible and verify the airflow is
not restricted such as snow or debris
blocking airflow through the grill. Also,
higher than normal operating temperature
can be caused by special operation
conditions (i.e. snowplowing, towing or
off-road use). Refer to Special operating
conditions in the scheduled maintenance
information for instructions. Operating the transmission for extended periods of time
with the gauge in the higher than normal
area may cause internal transmission
damage. Altering the severity of the driving
conditions is recommended to lower the
transmission temperature into the normal
range. If the gauge continues to show high
temperatures, see your authorized dealer.
Fuel Gauge
Note:
The fuel gauge may vary slightly
when your vehicle is moving or on a gradient.
Switch the ignition on. The fuel gauge will
indicate approximately how much fuel is
left in the fuel tank. The arrow adjacent to
the fuel pump symbol indicates on which
side of your vehicle the fuel filler door is
located.
The needle should move toward F when
you refuel your vehicle. If the needle points
to E after adding fuel, this indicates your
vehicle needs service soon.
After refueling some variability in needle
position is normal:
• It may take a short time for the needle
to reach F after leaving the gas station.
This is normal and depends upon the
slope of pavement at the gas station.
• The fuel amount dispensed into the
tank is a little less or more than the
gauge indicated. This is normal and
depends upon the slope of pavement
at the gas station.
• If the gas station nozzle shuts off
before the tank is full, try a different
gas pump nozzle.
Low Fuel Reminder
A low fuel reminder triggers when the fuel
gauge needle is at 1/16th.
78
Super Duty (), enUSA Instrument Cluster
Page 83 of 485
WARNING
Driving your vehicle with the warning
lamp on is dangerous. A significant
decrease in braking performance
may occur. It will take you longer to stop
your vehicle. Have your vehicle checked by
your authorized dealer immediately. Driving
extended distances with the parking brake
engaged can cause brake failure and the
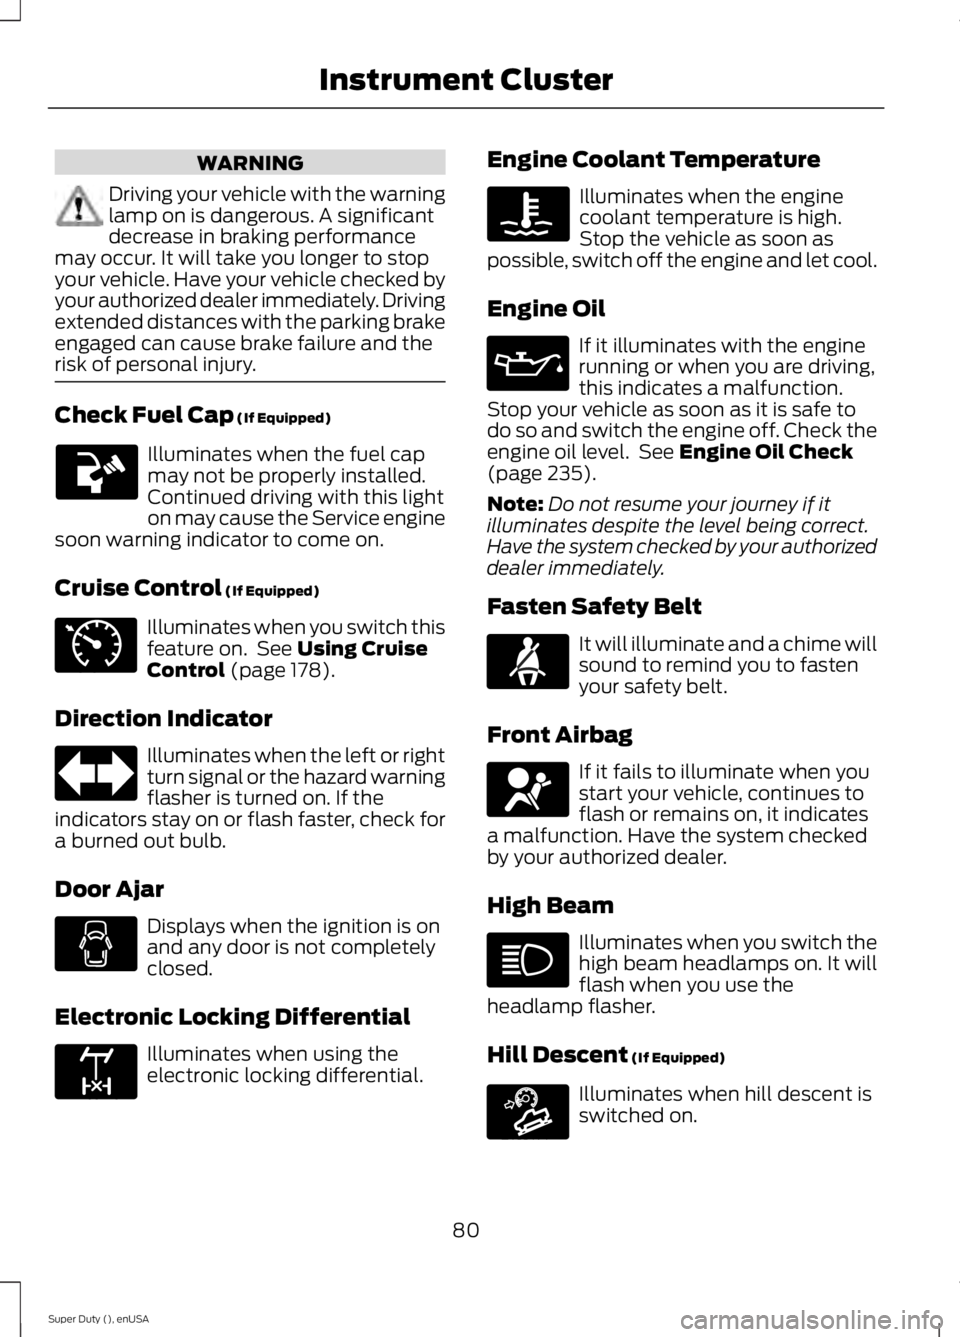
risk of personal injury. Check Fuel Cap (If Equipped)
Illuminates when the fuel cap
may not be properly installed.
Continued driving with this light
on may cause the Service engine
soon warning indicator to come on.
Cruise Control
(If Equipped) Illuminates when you switch this
feature on. See
Using Cruise
Control (page 178).
Direction Indicator Illuminates when the left or right
turn signal or the hazard warning
flasher is turned on. If the
indicators stay on or flash faster, check for
a burned out bulb.
Door Ajar Displays when the ignition is on
and any door is not completely
closed.
Electronic Locking Differential Illuminates when using the
electronic locking differential. Engine Coolant Temperature Illuminates when the engine
coolant temperature is high.
Stop the vehicle as soon as
possible, switch off the engine and let cool.
Engine Oil If it illuminates with the engine
running or when you are driving,
this indicates a malfunction.
Stop your vehicle as soon as it is safe to
do so and switch the engine off. Check the
engine oil level. See
Engine Oil Check
(page 235).
Note: Do not resume your journey if it
illuminates despite the level being correct.
Have the system checked by your authorized
dealer immediately.
Fasten Safety Belt It will illuminate and a chime will
sound to remind you to fasten
your safety belt.
Front Airbag If it fails to illuminate when you
start your vehicle, continues to
flash or remains on, it indicates
a malfunction. Have the system checked
by your authorized dealer.
High Beam Illuminates when you switch the
high beam headlamps on. It will
flash when you use the
headlamp flasher.
Hill Descent
(If Equipped) Illuminates when hill descent is
switched on.
80
Super Duty (), enUSA Instrument Cluster E71340 E163170 E163171
Page 99 of 485
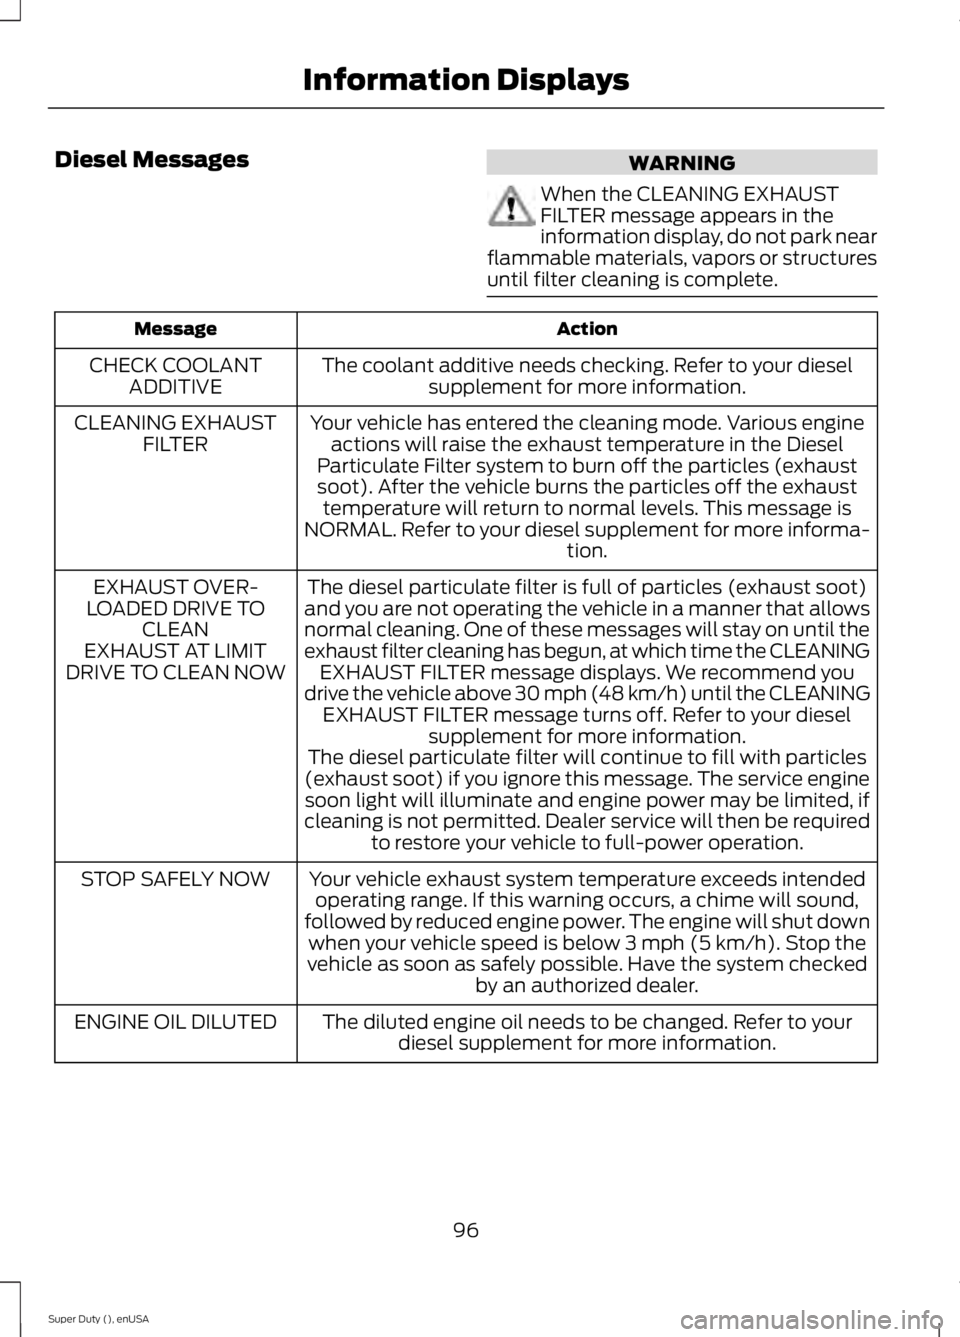
Diesel Messages
WARNING
When the CLEANING EXHAUST
FILTER message appears in the
information display, do not park near
flammable materials, vapors or structures
until filter cleaning is complete. Action
Message
The coolant additive needs checking. Refer to your dieselsupplement for more information.
CHECK COOLANT
ADDITIVE
Your vehicle has entered the cleaning mode. Various engineactions will raise the exhaust temperature in the Diesel
Particulate Filter system to burn off the particles (exhaust soot). After the vehicle burns the particles off the exhaust temperature will return to normal levels. This message is
NORMAL. Refer to your diesel supplement for more informa- tion.
CLEANING EXHAUST
FILTER
The diesel particulate filter is full of particles (exhaust soot)
and you are not operating the vehicle in a manner that allows
normal cleaning. One of these messages will stay on until the
exhaust filter cleaning has begun, at which time the CLEANING EXHAUST FILTER message displays. We recommend you
drive the vehicle above 30 mph (48 km/h) until the CLEANING EXHAUST FILTER message turns off. Refer to your diesel supplement for more information.
EXHAUST OVER-
LOADED DRIVE TO CLEAN
EXHAUST AT LIMIT
DRIVE TO CLEAN NOW
The diesel particulate filter will continue to fill with particles
(exhaust soot) if you ignore this message. The service engine soon light will illuminate and engine power may be limited, if
cleaning is not permitted. Dealer service will then be required to restore your vehicle to full-power operation.
Your vehicle exhaust system temperature exceeds intended operating range. If this warning occurs, a chime will sound,
followed by reduced engine power. The engine will shut down when your vehicle speed is below 3 mph (5 km/h). Stop the
vehicle as soon as safely possible. Have the system checked by an authorized dealer.
STOP SAFELY NOW
The diluted engine oil needs to be changed. Refer to yourdiesel supplement for more information.
ENGINE OIL DILUTED
96
Super Duty (), enUSA Information Displays
Page 103 of 485
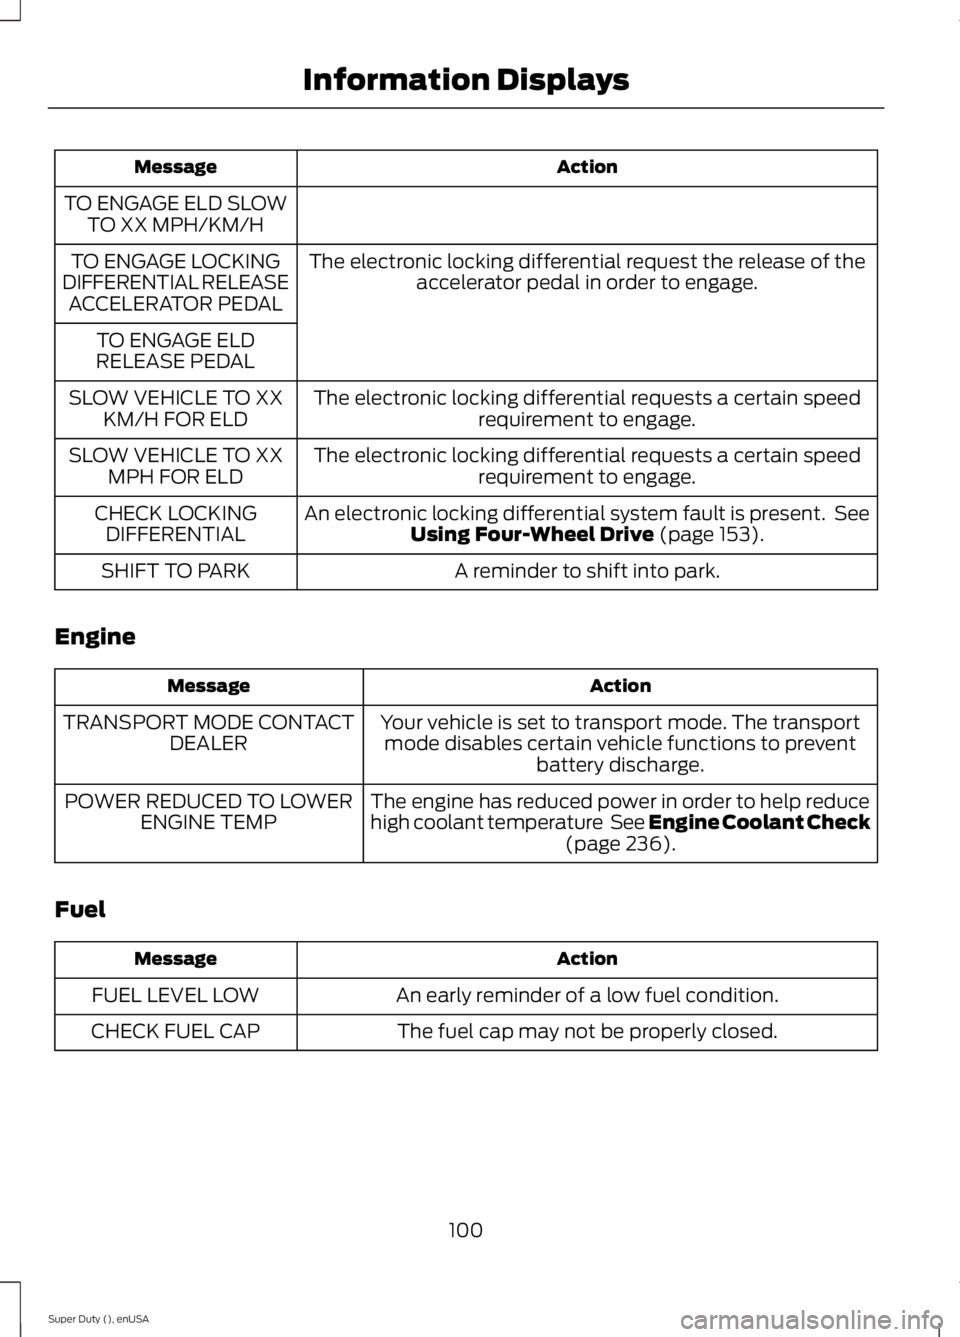
Action
Message
TO ENGAGE ELD SLOW TO XX MPH/KM/H
The electronic locking differential request the release of theaccelerator pedal in order to engage.
TO ENGAGE LOCKING
DIFFERENTIAL RELEASE ACCELERATOR PEDAL
TO ENGAGE ELD
RELEASE PEDAL
The electronic locking differential requests a certain speedrequirement to engage.
SLOW VEHICLE TO XX
KM/H FOR ELD
The electronic locking differential requests a certain speedrequirement to engage.
SLOW VEHICLE TO XX
MPH FOR ELD
An electronic locking differential system fault is present. SeeUsing Four-Wheel Drive (page 153).
CHECK LOCKING
DIFFERENTIAL
A reminder to shift into park.
SHIFT TO PARK
Engine Action
Message
Your vehicle is set to transport mode. The transportmode disables certain vehicle functions to prevent battery discharge.
TRANSPORT MODE CONTACT
DEALER
The engine has reduced power in order to help reduce
high coolant temperature See Engine Coolant Check(page
236).
POWER REDUCED TO LOWER
ENGINE TEMP
Fuel Action
Message
An early reminder of a low fuel condition.
FUEL LEVEL LOW
The fuel cap may not be properly closed.
CHECK FUEL CAP
100
Super Duty (), enUSA Information Displays
Page 238 of 485
Engine coolant reservoir
H.
Air filter assembly
I.
Power distribution box
J.
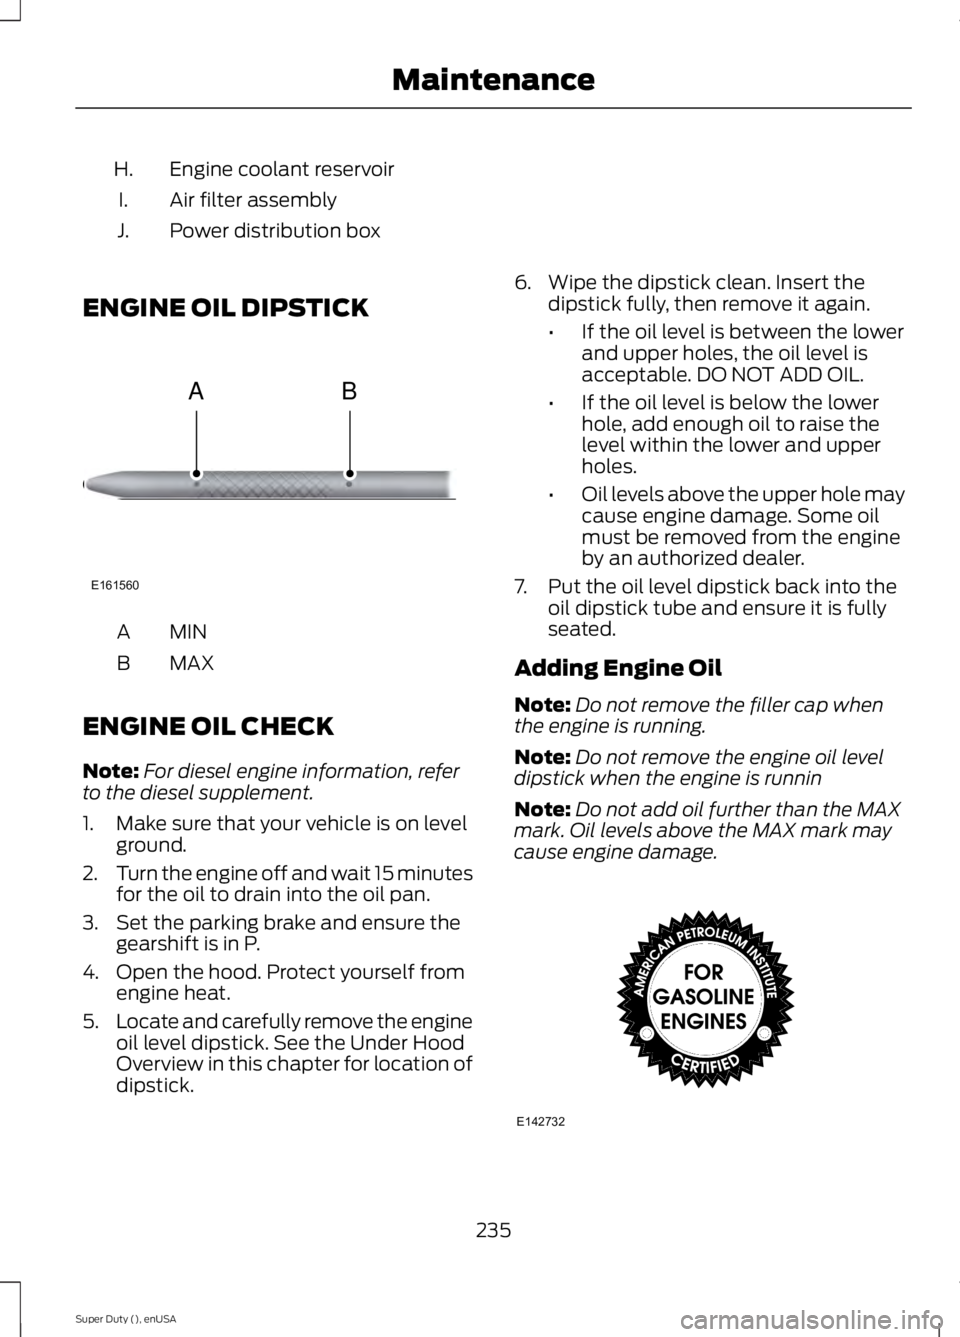
ENGINE OIL DIPSTICK MINA
MAX
B
ENGINE OIL CHECK
Note: For diesel engine information, refer
to the diesel supplement.
1. Make sure that your vehicle is on level ground.
2. Turn the engine off and wait 15 minutes
for the oil to drain into the oil pan.
3. Set the parking brake and ensure the gearshift is in P.
4. Open the hood. Protect yourself from engine heat.
5. Locate and carefully remove the engine
oil level dipstick. See the Under Hood
Overview in this chapter for location of
dipstick. 6. Wipe the dipstick clean. Insert the
dipstick fully, then remove it again.
•If the oil level is between the lower
and upper holes, the oil level is
acceptable. DO NOT ADD OIL.
• If the oil level is below the lower
hole, add enough oil to raise the
level within the lower and upper
holes.
• Oil levels above the upper hole may
cause engine damage. Some oil
must be removed from the engine
by an authorized dealer.
7. Put the oil level dipstick back into the oil dipstick tube and ensure it is fully
seated.
Adding Engine Oil
Note: Do not remove the filler cap when
the engine is running.
Note: Do not remove the engine oil level
dipstick when the engine is runnin
Note: Do not add oil further than the MAX
mark. Oil levels above the MAX mark may
cause engine damage. 235
Super Duty (), enUSA MaintenanceE161560
AB E142732
Page 239 of 485
Only use oils certified for gasoline engines
by the American Petroleum Institute (API).
An oil with this trademark symbol
conforms to the current engine and
emission system protection standards and
fuel economy requirements of the
International Lubricants Specification
Advisory Council (ILSAC), comprised of
U.S. and Japanese automobile
manufacturers.
1. Check the engine oil level.
2. If the engine oil level is not within the
normal range, add engine oil that
meets Ford specifications. See
Capacities and Specifications for more
information.
3. Remove the engine oil filler cap and use a funnel to pour the engine oil into
the opening.
4. Recheck the engine oil level. Make sure
the oil level is not above the normal
operating range on the engine oil level
dipstick.
5. Install the engine oil level dipstick and ensure it is fully seated.
6. Fully install the engine oil filler cap by turning the filler cap clockwise until
three clicks are heard or until the cap
is fully seated.
ENGINE COOLANT CHECK WARNINGS
Do not add engine coolant when the
engine is hot. Steam and scalding
liquids released from a hot cooling
system can burn you badly. Also, you can
be burned if you spill coolant on hot engine
parts. Do not put engine coolant in the
windshield washer fluid container. If
sprayed on the windshield, engine
coolant could make it difficult to see
through the windshield. WARNINGS
To reduce the risk of personal injury,
make sure the engine is cool before
unscrewing the coolant pressure
relief cap. The cooling system is under
pressure; steam and hot liquid can come
out forcefully when the cap is loosened
slightly. Do not add coolant further than the
MAX mark.
Note:
If your vehicle is equipped with a
diesel engine, refer to the Diesel
Supplement.
When the engine is cold, check the
concentration and level of the engine
coolant at the intervals listed in the
scheduled maintenance information. See
Scheduled Maintenance (page 457).
Note: Make sure that the level is between
the MIN and MAX marks on the coolant
reservoir.
Note: Coolant expands when it is hot. The
level may extend beyond the MAX mark
Note: If the level is at the MIN mark, below
the MIN mark, or empty, add coolant
immediately. See
Adding Engine Coolant
in this chapter.
The coolant concentration should be
maintained within 48% to 50%, which
equates to a freeze point between
-29°F
(-34°C) and -35°F (-37°C).
Note: For best results, coolant
concentration should be tested with a
refractometer such as Robinair Coolant and
Battery Refractometer 75240. We do not
recommend the use of hydrometers or
coolant test strips for measuring coolant
concentrations.
236
Super Duty (), enUSA Maintenance
Page 240 of 485
Note:
Automotive fluids are not
interchangeable. Do not use engine coolant
or antifreeze or windshield washer fluid
outside of its specified function and vehicle
location.
Adding Engine Coolant
Note: Do not use stop leak pellets, cooling
system sealants, or additives as they can
cause damage to the engine cooling or
heating systems. This damage would not
be covered under your vehicle ’s warranty.
Note: During normal vehicle operation, the
engine coolant may change color from
orange to pink or light red. As long as the
engine coolant is clear and uncontaminated,
this color change does not indicate the
engine coolant has degraded nor does it
require the engine coolant to be drained, the
system to be flushed, or the engine coolant
to be replaced.
• Do not mix different colors or types of
coolant in your vehicle. Make sure the
correct coolant is used. Mixing of
engine coolants may harm your
engine ’s cooling system. The use of an
improper coolant may harm engine and
cooling system components and may
void the warranty. Use prediluted
engine coolant meeting the Ford
specification. See Capacities and
Specifications (page 301).
• In case of emergency, a large amount
of water without engine coolant may
be added in order to reach a vehicle
service location. In this instance, the
cooling system must be drained,
chemically cleaned with Motorcraft®
Premium Cooling System Flush, and
refilled with engine coolant as soon as
possible. Water alone (without engine
coolant) can cause engine damage
from corrosion, overheating or freezing. •
Do not use alcohol, methanol, brine or
any engine coolants mixed with alcohol
or methanol antifreeze (coolant).
Alcohol and other liquids can cause
engine damage from overheating or
freezing.
• Do not add extra inhibitors or additives
to the coolant. These can be harmful
and compromise the corrosion
protection of the engine coolant.
Unscrew the cap slowly. Any pressure will
escape as you unscrew the cap.
Add prediluted engine coolant meeting the
Ford specification. See
Capacities and
Specifications (page 301).
Whenever coolant has been added, the
coolant level in the coolant reservoir
should be checked the next few times you
drive the vehicle. If necessary, add enough
prediluted engine coolant to bring the
coolant level to the proper level.
Recycled Engine Coolant
Ford Motor Company does not recommend
the use of recycled engine coolant since a
Ford-approved recycling process is not yet
available.
Used engine coolant should be disposed
of in an appropriate manner. Follow your
community ’s regulations and standards
for recycling and disposing of automotive
fluids.
237
Super Duty (), enUSA Maintenance
Page 242 of 485
You have limited engine power when in the
fail-safe mode, so drive the vehicle with
caution. The vehicle will not be able to
maintain high-speed operation and the
engine will run rough. Remember that the
engine is capable of completely shutting
down automatically to prevent engine
damage, therefore:
1. Pull off the road as soon as safely
possible and turn off the engine.
2. Arrange for the vehicle to be taken to an authorized dealer.
3. If this is not possible, wait a short period for the engine to cool.
4. Check the coolant level and replenish if low.
5. Re-start the engine and take your vehicle to an authorized dealer.
Note: Driving the vehicle without repairing
the engine problem increases the chance of
engine damage. Take your vehicle to an
authorized dealer as soon as possible.
Engine Fluid Temperature
Management (If Equipped) WARNINGS
To reduce the risk of collision and
injury, be prepared that the vehicle
speed may reduce and the vehicle
may not be able to accelerate with full
power until the fluid temperatures reduce. Never remove the coolant reservoir
cap while the engine is running or hot.
Your vehicle has been designed to pull a
trailer, but because of the added load, the
vehicle
’s engine may temporarily reach
higher temperatures during severe
operating conditions such as ascending a
long or steep grade while pulling a trailer
in hot ambient temperatures. At this time, you may notice your engine
coolant temperature gauge needle move
toward the H and the POWER REDUCED
TO LOWER TEMP message may appear
in the information display.
You may notice a reduction in the vehicle
’s
speed caused by reduced engine power.
In order to manage the engine fluid
temperatures, your vehicle may enter this
mode if certain high-temperature and
high-load conditions take place. The
amount of speed reduction will depend on
the vehicle loading, towing, grade, ambient
temperature, and other factors. If this
occurs, there is no need to pull off the road.
The vehicle can continue to be driven while
this message is active
The air conditioning may turn on and off
during severe operating conditions to
protect the engine from overheating. When
the engine coolant temperature decreases
to a more normal operating temperature,
the air conditioning will turn on once again.
If the engine coolant temperature gauge
moves fully into the red (hot) area, or if the
coolant temperature warning or service
engine soon messages appear in your
information display:
1. Stop your vehicle as soon as safely possible and shift the transmission into
Park (P).
2. Leave the engine running until the coolant temperature gauge needle
moves away from the H range. After
several minutes, if this does not
happen, follow the remaining steps.
3. Switch the engine off and wait for it to
cool before checking the coolant level.
4. If the coolant level is normal, you may restart your engine and continue on.
239
Super Duty (), enUSA Maintenance
Page 243 of 485
5. If the coolant is low, add coolant,
restart the engine and take your vehicle
to an authorized dealer. See Adding
engine coolant in this chapter for more
information. Refer to fail-safe cooling
for additional information.
AUTOMATIC TRANSMISSION
FLUID CHECK
Have an authorized dealer check and
change the transmission fluid and filter at
the correct service interval. See
Scheduled Maintenance (page 457).
Do not use supplemental transmission
fluid additives, treatments or cleaning
agents. The use of these materials may
affect transmission operation and result
in damage to internal transmission
components.
Checking Automatic Transmission
Fluid
For scheduled intervals of the fluid checks
and changes, See
Scheduled
Maintenance (page 457). Your
transmission does not consume fluid.
However, the fluid level should be checked
if the transmission is not working properly,
i.e., if the transmission slips or shifts slowly
or if you notice some sign of fluid leakage.
Automatic transmission fluid expands
when warmed. To obtain an accurate fluid
check, drive the vehicle until it is at normal
operating temperature (approximately
19 mi (30 km)
). Verify that the
transmission fluid temperature gauge,
located on the instrument cluster, is within
normal range.
1. Drive the vehicle
19 (30 km)until it
reaches normal operating temperature.
2. Park the vehicle on a level surface and
engage the parking brake. 3.
With the engine running, parking brake
engaged and your foot on the brake
pedal, move the gearshift lever through
all of the gear ranges. Allow sufficient
time for each gear to engage.
4. Latch the gearshift lever in P and leave
the engine running.
5. Remove the dipstick, wiping it clean with a clean, dry lint free rag. If
necessary, refer to the Under Hood
Overview in this chapter for the
location of the dipstick.
6. Install the dipstick making sure it is fully
seated in the filler tube.
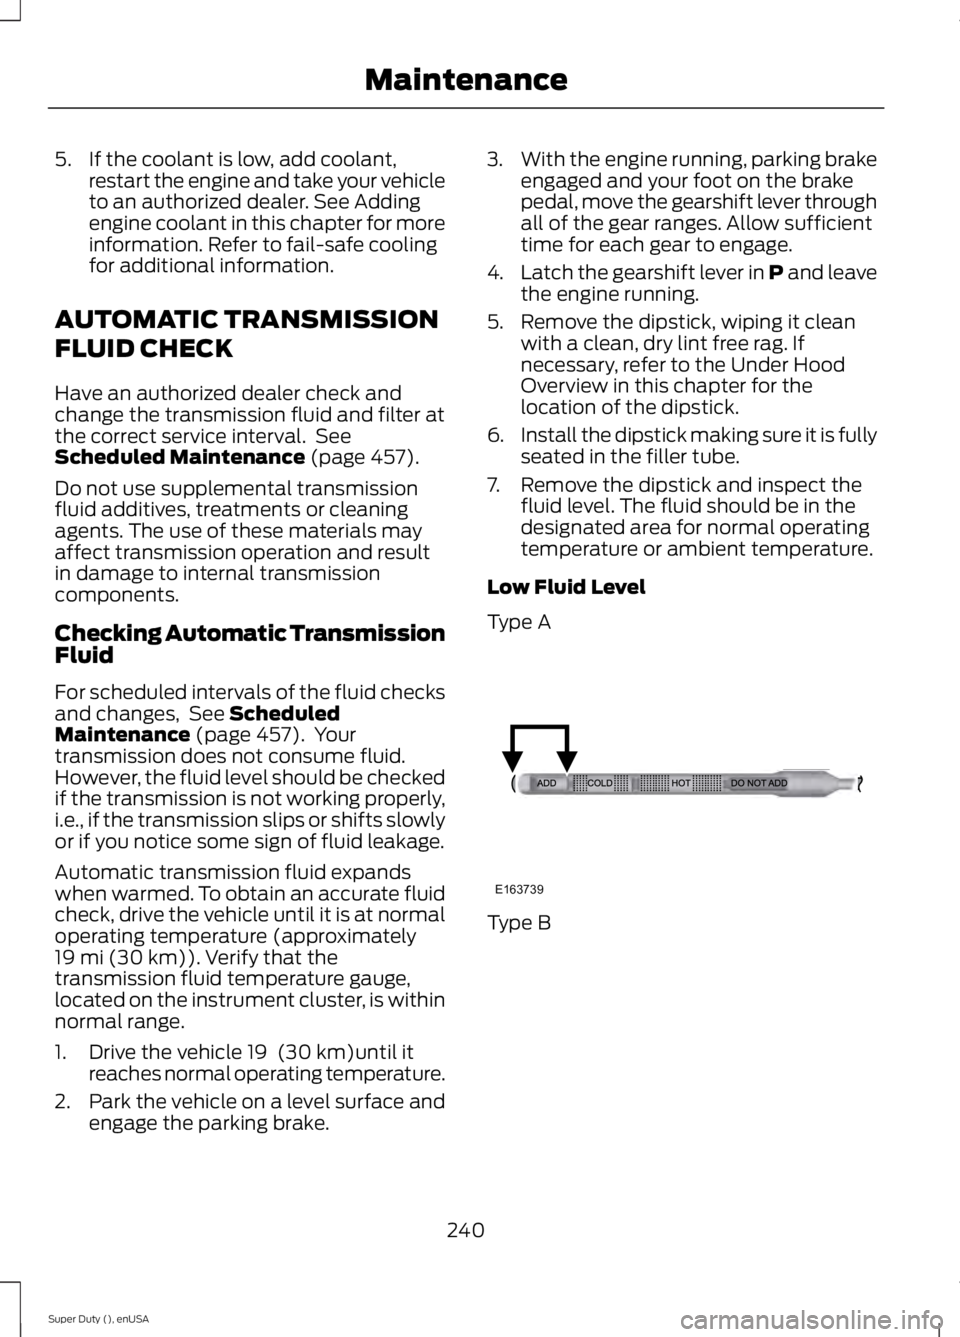
7. Remove the dipstick and inspect the fluid level. The fluid should be in the
designated area for normal operating
temperature or ambient temperature.
Low Fluid Level
Type A Type B
240
Super Duty (), enUSA MaintenanceE163739
Page 264 of 485
Engine
•
Change the engine oil and filter prior to
storage because used engine oil
contains contaminates which may
cause engine damage.
• Start the engine every 15 days for a
minimum of 15 minutes. Run at fast idle
with the climate controls set to defrost
until the engine reaches normal
operating temperature.
• With your foot on the brake, shift
through all the gears while the engine
is running.
• We recommend that you change the
engine oil before you use your vehicle
again.
Fuel system
• Fill the fuel tank with high-quality fuel
until the first automatic shutoff of the
fuel pump nozzle.
Cooling system
• Protect against freezing temperatures.
• When removing your vehicle from
storage, check coolant fluid level.
Confirm that there are no cooling
system leaks and that fluid is at the
recommended level.
Battery
• Check and recharge as necessary. Keep
connections clean.
• If storing your vehicle for more than 30
days without recharging the battery,
we recommend that you disconnect
the battery cables to maintain battery
charge for quick starting.
Note: It is necessary to reset memory
features if battery cables are disconnected. Brakes
•
Make sure the brakes and parking brake
release fully.
Tires
• Maintain recommended air pressure.
Miscellaneous
• Make sure all linkages, cables, levers
and pins under your vehicle are covered
with grease to prevent rust.
• Move vehicles at least 25 ft (7.5 m)
every 15 days to lubricate working parts
and prevent corrosion.
Removing Vehicle From Storage
When your vehicle is ready to come out of
storage, do the following:
• Wash your vehicle to remove any dirt
or grease film build-up on window
surfaces.
• Check windshield wipers for any
deterioration.
• Check under the hood for any foreign
material that may have collected
during storage such as mice or squirrel
nests.
• Check the exhaust for any foreign
material that may have collected
during storage.
• Check tire pressures and set tire
inflation per the Tire Label.
• Check brake pedal operation. Drive
your vehicle
15 ft (4.5 m) back and
forth to remove rust build-up.
• Check fluid levels (including coolant,
oil and gas) to make sure there are no
leaks, and fluids are at recommended
levels.
• If you remove the battery, clean the
battery cable ends and check for
damage.
261
Super Duty (), enUSA Vehicle Care