check engine FORD F650 2005 11.G User Guide
[x] Cancel search | Manufacturer: FORD, Model Year: 2005, Model line: F650, Model: FORD F650 2005 11.GPages: 272, PDF Size: 1.5 MB
Page 25 of 272
Do not drain water separator while engine is running. Fuel may
ignite if separator is drained while engine is running or vehicle is
moving.
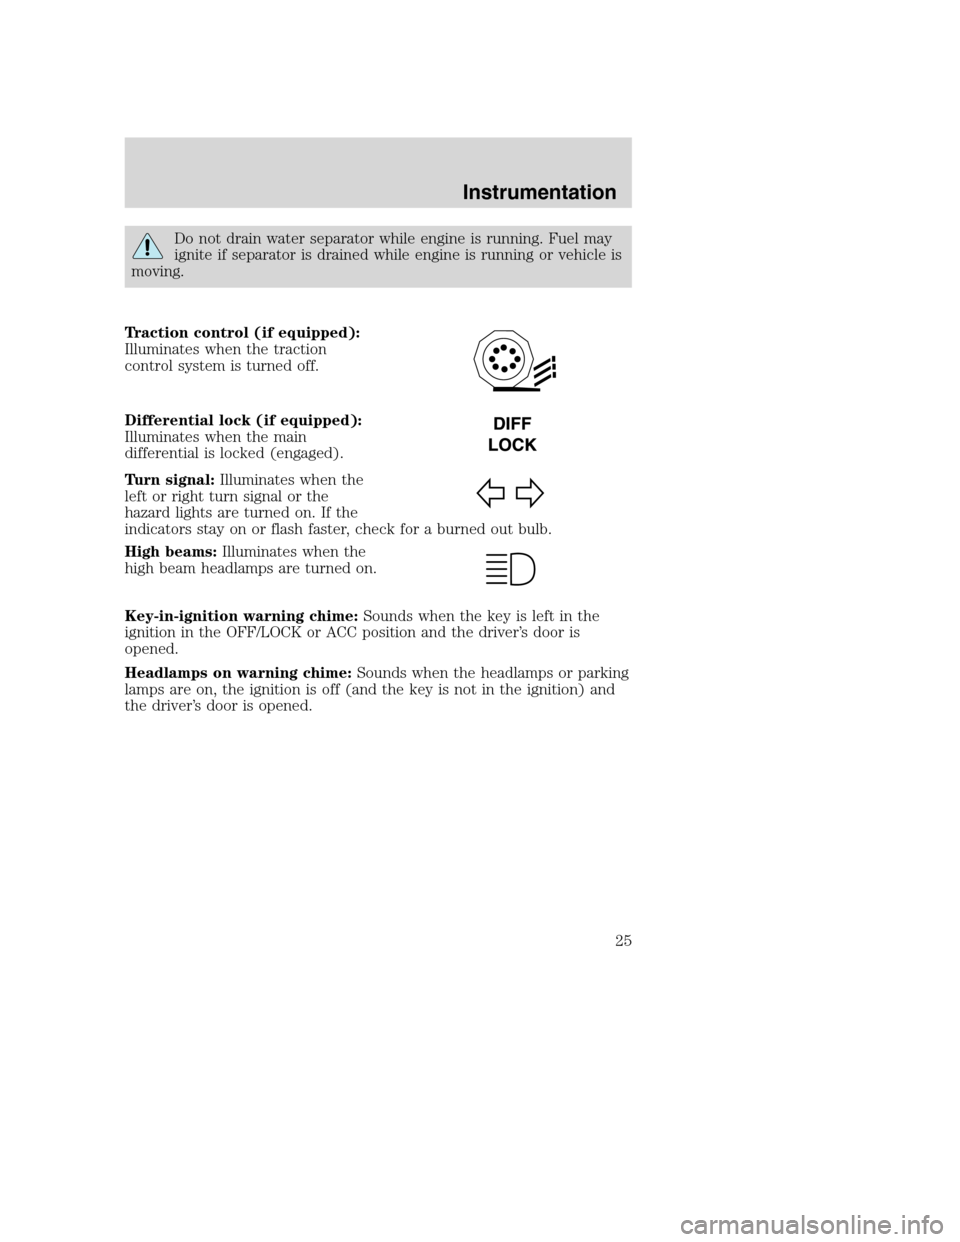
Traction control (if equipped):
Illuminates when the traction
control system is turned off.
Differential lock (if equipped):
Illuminates when the main
differential is locked (engaged).
Turn signal:Illuminates when the
left or right turn signal or the
hazard lights are turned on. If the
indicators stay on or flash faster, check for a burned out bulb.
High beams:Illuminates when the
high beam headlamps are turned on.
Key-in-ignition warning chime:Sounds when the key is left in the
ignition in the OFF/LOCK or ACC position and the driver’s door is
opened.
Headlamps on warning chime:Sounds when the headlamps or parking
lamps are on, the ignition is off (and the key is not in the ignition) and
the driver’s door is opened.
Instrumentation
25
Page 28 of 272
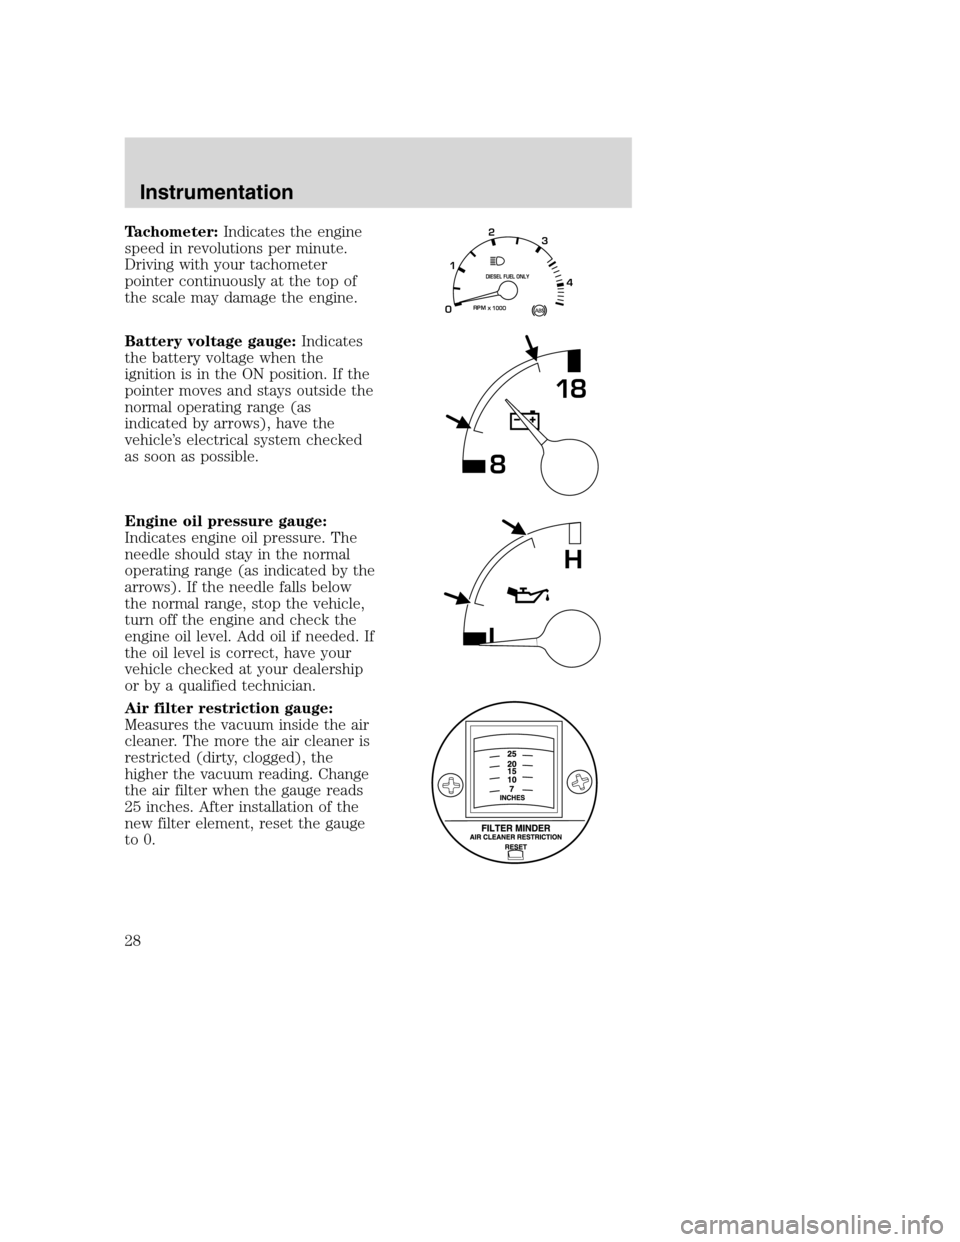
Tachometer:Indicates the engine
speed in revolutions per minute.
Driving with your tachometer
pointer continuously at the top of
the scale may damage the engine.
Battery voltage gauge:Indicates
the battery voltage when the
ignition is in the ON position. If the
pointer moves and stays outside the
normal operating range (as
indicated by arrows), have the
vehicle’s electrical system checked
as soon as possible.
Engine oil pressure gauge:
Indicates engine oil pressure. The
needle should stay in the normal
operating range (as indicated by the
arrows). If the needle falls below
the normal range, stop the vehicle,
turn off the engine and check the
engine oil level. Add oil if needed. If
the oil level is correct, have your
vehicle checked at your dealership
or by a qualified technician.
Air filter restriction gauge:
Measures the vacuum inside the air
cleaner. The more the air cleaner is
restricted (dirty, clogged), the
higher the vacuum reading. Change
the air filter when the gauge reads
25 inches. After installation of the
new filter element, reset the gauge
to 0.
RPM1000
DIESEL FUEL ONLY
X012
3
4
818
L
H
Instrumentation
28
Page 88 of 272
After the engine starts:
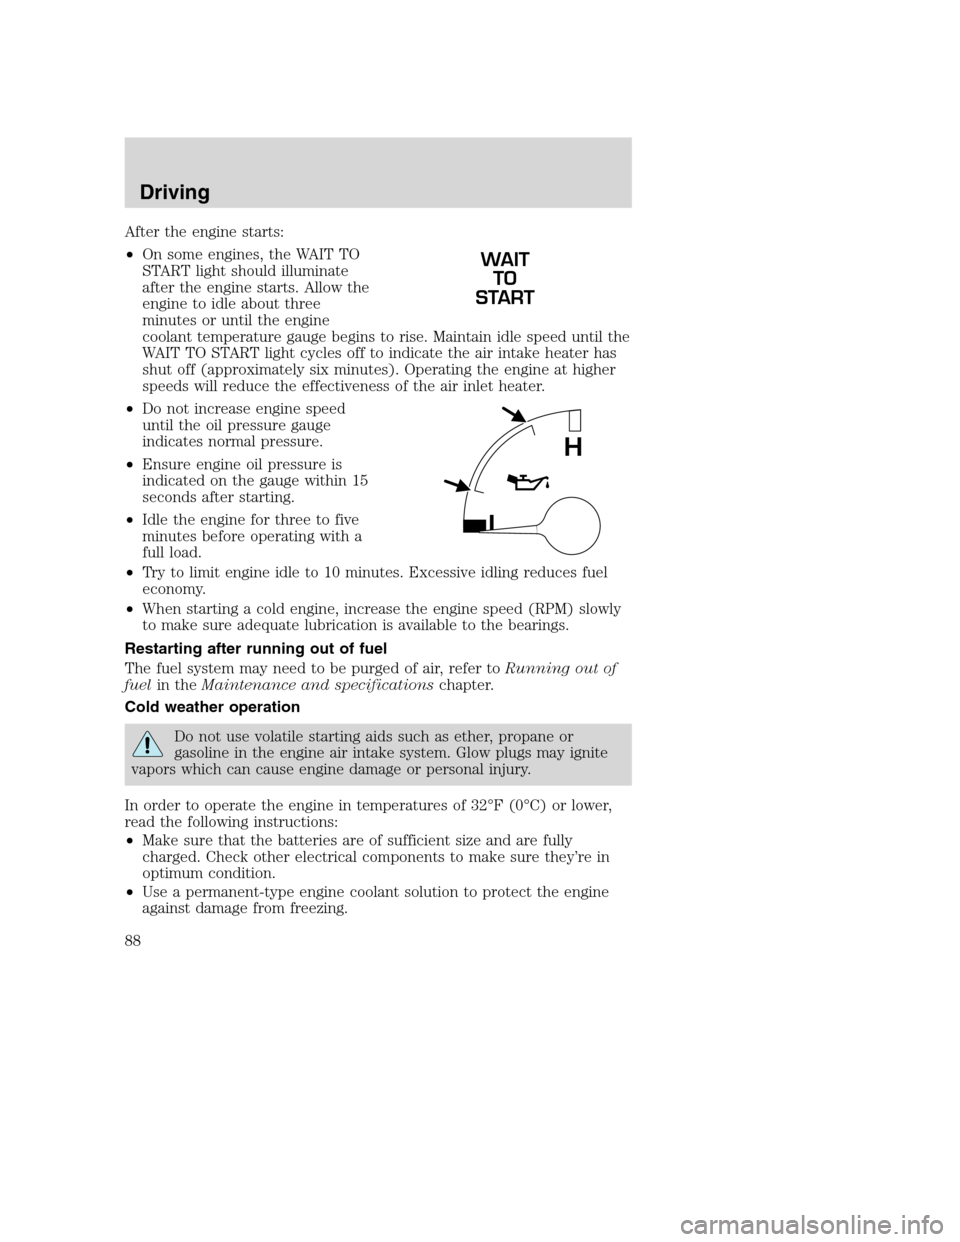
•On some engines, the WAIT TO
START light should illuminate
after the engine starts. Allow the
engine to idle about three
minutes or until the engine
coolant temperature gauge begins to rise. Maintain idle speed until the
WAIT TO START light cycles off to indicate the air intake heater has
shut off (approximately six minutes). Operating the engine at higher
speeds will reduce the effectiveness of the air inlet heater.
•Do not increase engine speed
until the oil pressure gauge
indicates normal pressure.
•Ensure engine oil pressure is
indicated on the gauge within 15
seconds after starting.
•Idle the engine for three to five
minutes before operating with a
full load.
•Try to limit engine idle to 10 minutes. Excessive idling reduces fuel
economy.
•When starting a cold engine, increase the engine speed (RPM) slowly
to make sure adequate lubrication is available to the bearings.
Restarting after running out of fuel
The fuel system may need to be purged of air, refer toRunning out of
fuelin theMaintenance and specificationschapter.
Cold weather operation
Do not use volatile starting aids such as ether, propane or
gasoline in the engine air intake system. Glow plugs may ignite
vapors which can cause engine damage or personal injury.
In order to operate the engine in temperatures of 32°F(0°C) or lower,
read the following instructions:
•Make sure that the batteries are of sufficient size and are fully
charged. Check other electrical components to make sure they’re in
optimum condition.
•Use a permanent-type engine coolant solution to protect the engine
against damage from freezing.
WAIT
TO
START
L
H
Driving
88
Page 92 of 272
Backing up
To reduce the risk of the possibility of personal injury while
backing the vehicle, always be sure your vehicle’s path is clear.
Before backing your vehicle, be sure you can do so safely. If anything
behind the cab limits your view, do not rely on mirrors alone to assure
that your intended path is clear. If other people are in the vicinity, have
someone standing well behind your vehicle and outside of your intended
path (visible through an exterior mirror) guide you as you back up.
Although OSHA or some governmental regulations may require the use
of an electrical or mechanical back-up alarm to warn bystanders, such an
alarm does not assure that the intended path is clear. When in doubt, get
out of the vehicle and visually check the intended path is clear; back-up
slowly as to allow others time to move, if necessary.
If an electrical back-up alarm is installed, it should be connected to the
back-up lamp circuit.
Parking your vehicle
Always use the parking brake. When parking on a grade, block the
wheels and turn the front wheels to one side so that if the vehicle rolls,
the front tires will act against the curb to stop the vehicle. The front
wheels will be more effective at stopping a rolling vehicle than the rear
wheels.
When parking your vehicle, do not leave the transmission in
gear; if the key is in the ON position and the vehicle rolls, the
engine could start. Failure to follow these instructions could result in
an unattended vehicle moving, possibly causing personal injury or
property damage.
Driving through water
If driving through deep or standing water is unavoidable, proceed very
slowly especially if the depth is not known. Never drive through water
that is higher than the bottom of the hubs (for trucks) or the bottom of
the wheel rims (for cars). Traction or brake capability may be limited
and your vehicle may stall. Water may also enter your engine’s air intake
and severely damage your engine, drive axles or the transmisison
(through the breather ports).
Once through the water, always dry the brakes by moving your vehicle
slowly while applying light pressure on the brake pedal. Wet brakes do
not stop the vehicle as quickly as dry brakes.
Driving
92
Page 93 of 272
HYDRAULIC BRAKES (IF EQUIPPED)
Your service brakes are self-adjusting. Refer to theGeneral
Maintenance Informationfor scheduled maintenance.
Occasional brake noise is normal and often does not indicate a
performance concern with the vehicle’s brake system. In normal
operation, automotive brake systems may emit occasional or intermittent
squeal or groan noises when the brakes are applied. Such noises are
usually heard during the first few brake applications in the morning;
however, they may be heard at any time while braking and can be
aggravated by environmental conditions such as cold, heat, moisture,
road dust, salt or mud. If a“metal-to-metal,”“continuous grinding”or
“continuous squeal”sound is present while braking, the brake linings
may be worn-out and should be inspected by a qualified service
technician.
If you are driving down a long or steep hill, shift to a lower gear.
Do not apply your brakes continuously, as they may overheat
and become less effective.
Note:Normally, choose the same gear to descend the hill that you would
use to ascend the hill.
IF BRAKES DO NOT GRIP WELL
•If you have been driving through deep water, gently apply the brakes
several times while the vehicle is moving slowly.
•Let the brakes cool if you have been using them excessively, as in
mountain driving or after several fast, high speed stops.
•Check brake adjustment.
•Check brake linings for excessive wear.
Hydraulic brake booster system (Hydromax)
The Hydromax systems receive fluid pressure from the power steering
pump to provide power assist during braking.
The Hydromax booster receives backup pressure from the reserve
system electric pump whenever the fluid in the power steering system is
not flowing. When the engine is OFF, the pump will turn on if the brake
pedal is applied, or if the ignition is turned to the ON position.
The sound of the pump operating may be heard by the driver, but this is
a normal characteristic of the system.
Driving
93
Page 99 of 272
AIR BRAKES (IF EQUIPPED)
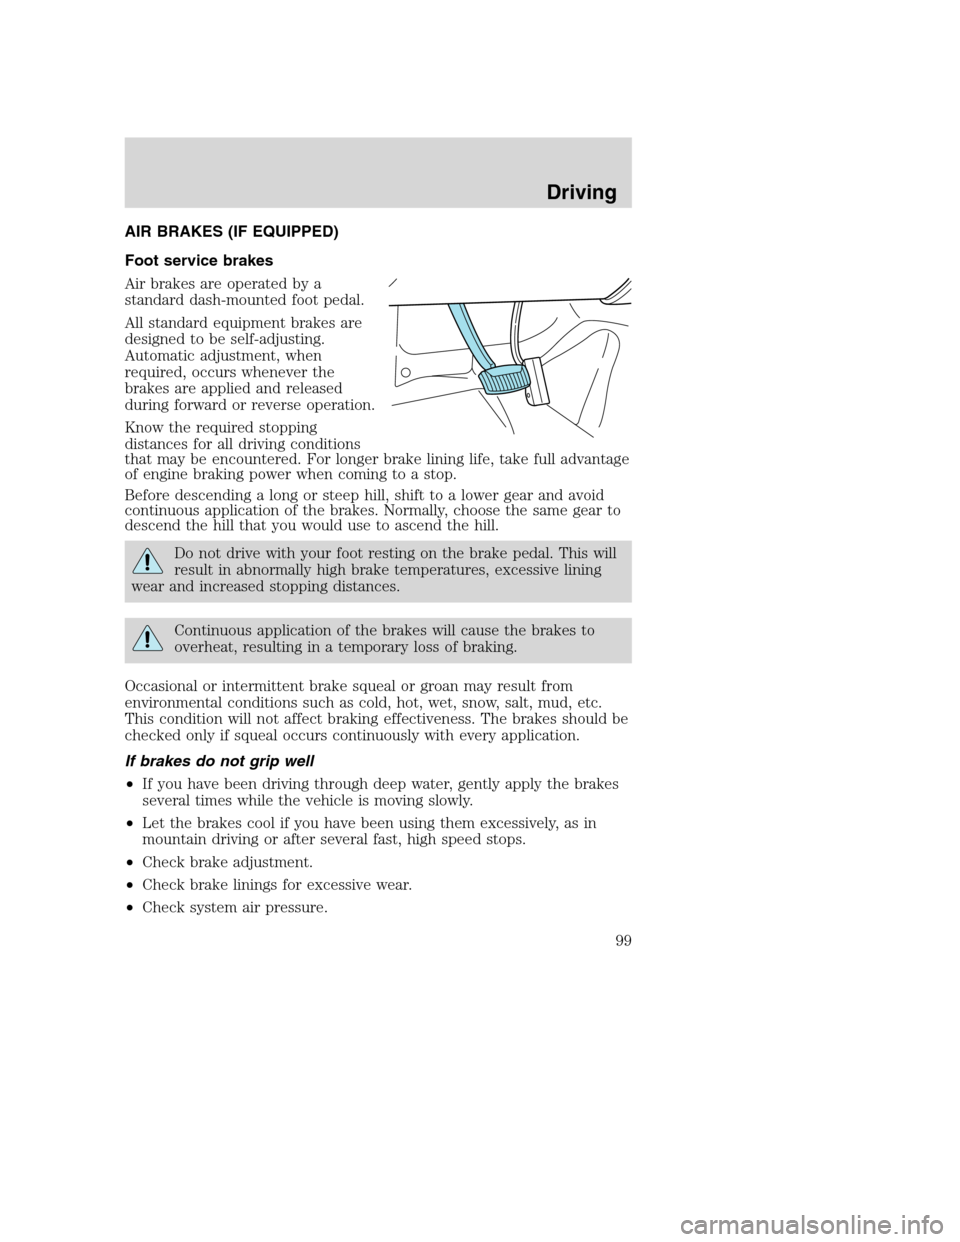
Foot service brakes
Air brakes are operated by a
standard dash-mounted foot pedal.
All standard equipment brakes are
designed to be self-adjusting.
Automatic adjustment, when
required, occurs whenever the
brakes are applied and released
during forward or reverse operation.
Know the required stopping
distances for all driving conditions
that may be encountered. For longer brake lining life, take full advantage
of engine braking power when coming to a stop.
Before descending a long or steep hill, shift to a lower gear and avoid
continuous application of the brakes. Normally, choose the same gear to
descend the hill that you would use to ascend the hill.
Do not drive with your foot resting on the brake pedal. This will
result in abnormally high brake temperatures, excessive lining
wear and increased stopping distances.
Continuous application of the brakes will cause the brakes to
overheat, resulting in a temporary loss of braking.
Occasional or intermittent brake squeal or groan may result from
environmental conditions such as cold, hot, wet, snow, salt, mud, etc.
This condition will not affect braking effectiveness. The brakes should be
checked only if squeal occurs continuously with every application.
If brakes do not grip well
•If you have been driving through deep water, gently apply the brakes
several times while the vehicle is moving slowly.
•Let the brakes cool if you have been using them excessively, as in
mountain driving or after several fast, high speed stops.
•Check brake adjustment.
•Check brake linings for excessive wear.
•Check system air pressure.
Driving
99
Page 101 of 272
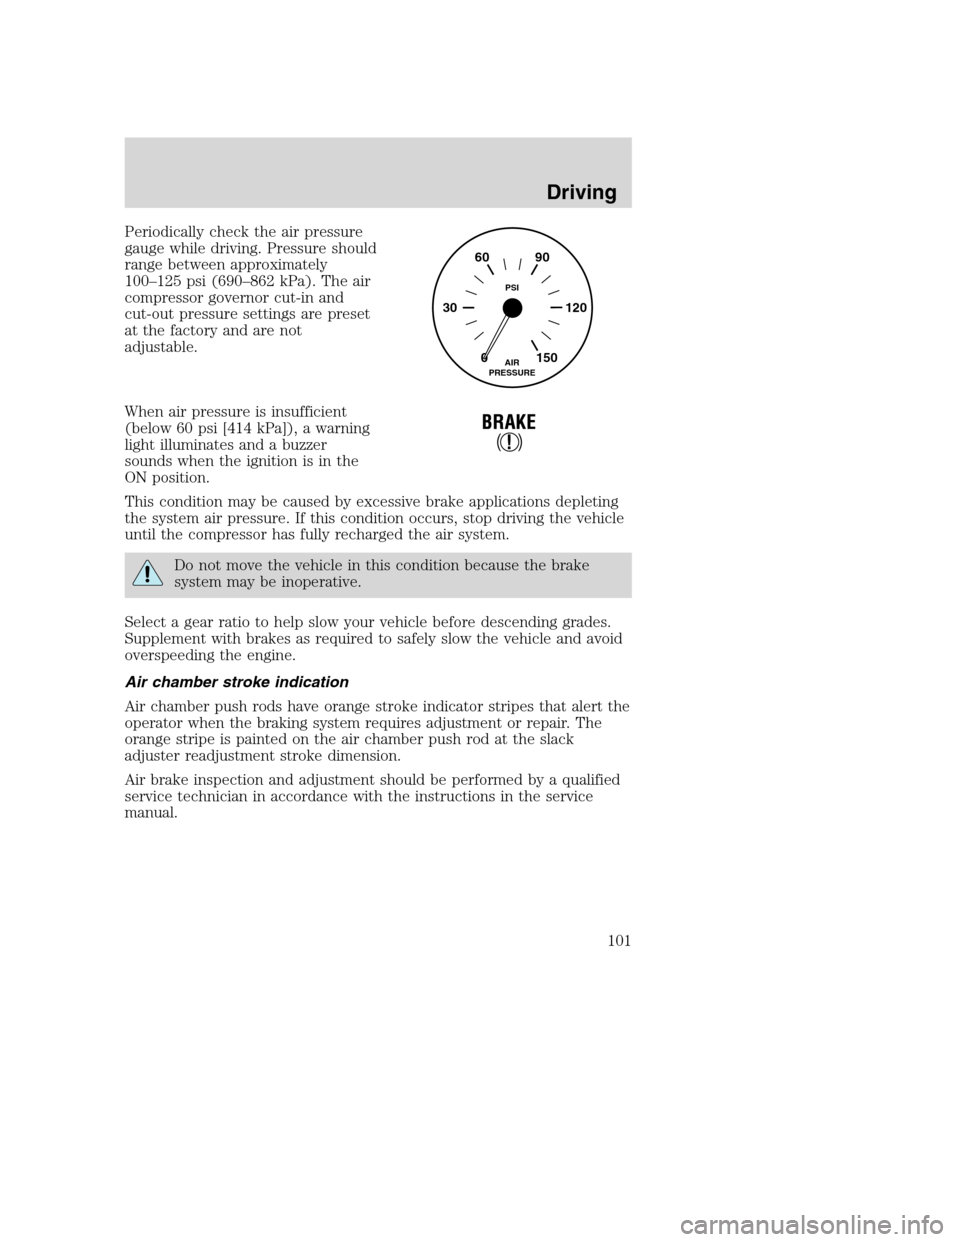
Periodically check the air pressure
gauge while driving. Pressure should
range between approximately
100–125 psi (690–862 kPa). The air
compressor governor cut-in and
cut-out pressure settings are preset
at the factory and are not
adjustable.
When air pressure is insufficient
(below 60 psi [414 kPa]), a warning
light illuminates and a buzzer
sounds when the ignition is in the
ON position.
This condition may be caused by excessive brake applications depleting
the system air pressure. If this condition occurs, stop driving the vehicle
until the compressor has fully recharged the air system.
Do not move the vehicle in this condition because the brake
system may be inoperative.
Select a gear ratio to help slow your vehicle before descending grades.
Supplement with brakes as required to safely slow the vehicle and avoid
overspeeding the engine.
Air chamber stroke indication
Air chamber push rods have orange stroke indicator stripes that alert the
operator when the braking system requires adjustment or repair. The
orange stripe is painted on the air chamber push rod at the slack
adjuster readjustment stroke dimension.
Air brake inspection and adjustment should be performed by a qualified
service technician in accordance with the instructions in the service
manual.
0 30 12090 60
150AIR
PRESSUREPSI
Driving
101
Page 136 of 272
When operating empty or lightly loaded, sudden or hard braking
may induce wheel lockup with loss of vehicle control and the
possibility of accident and serious injury, especially on wet or slippery
road surfaces.
TRAILER TOWING
Towing a trailer places an additional load on your vehicle’s engine,
transmission, axle, brakes, tires and suspension. Inspect these
components carefully prior to and after any towing operation.
Your vehicle’s load capacity is designated by weight, not by volume, so
you cannot necessarily use all available space when loading a vehicle.
2nd unit bodies are not included in maximum trailer weight ratings. The
weight of the additional“body”must be subtracted from the maximum
trailer weight.
Note:Do not exceed the GVWR or the GAWR specified on the
certification label.
Towing trailers beyond the maximum recommended gross trailer
weight exceeds the limit of the vehicle and could result in
engine damage, transmission damage, structural damage, loss of vehicle
control, vehicle rollover and personal injury.
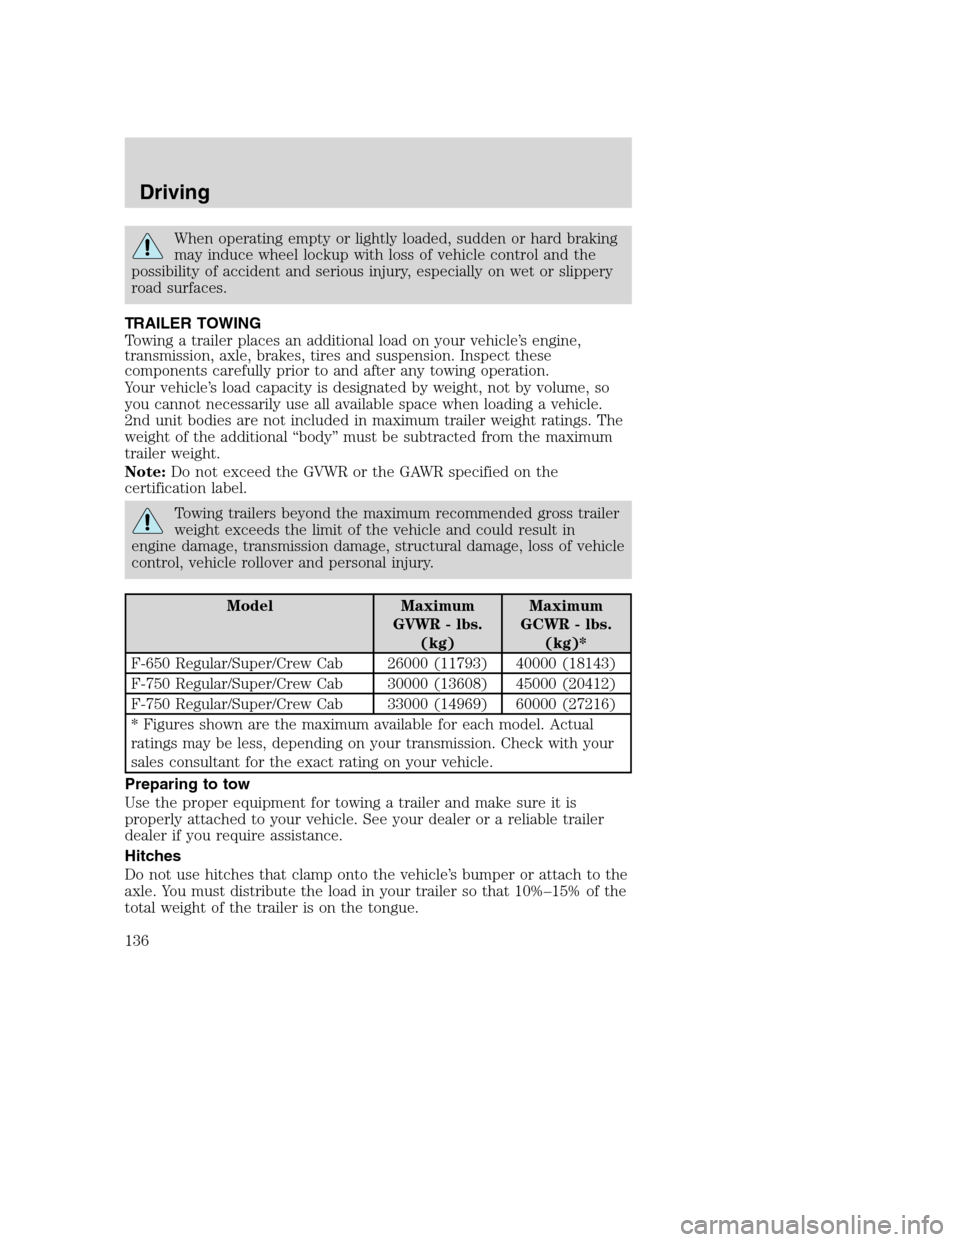
Model Maximum
GVWR - lbs.
(kg)Maximum
GCWR - lbs.
(kg)*
F-650 Regular/Super/Crew Cab 26000 (11793) 40000 (18143)
F-750 Regular/Super/Crew Cab 30000 (13608) 45000 (20412)
F-750 Regular/Super/Crew Cab 33000 (14969) 60000 (27216)
* Figures shown are the maximum available for each model. Actual
ratings may be less, depending on your transmission. Check with your
sales consultant for the exact rating on your vehicle.
Preparing to tow
Use the proper equipment for towing a trailer and make sure it is
properly attached to your vehicle. See your dealer or a reliable trailer
dealer if you require assistance.
Hitches
Do not use hitches that clamp onto the vehicle’s bumper or attach to the
axle. You must distribute the load in your trailer so that 10%–15% of the
total weight of the trailer is on the tongue.
Driving
136
Page 138 of 272
Trailer towing tips
•Practice turning, stopping and backing up before starting on a trip to
get the feel of the vehicle trailer combination. When turning, make
wider turns so the trailer wheels will clear curbs and other obstacles.
•Allow more distance for stopping with a trailer attached.
•The trailer tongue weight should be 10–15% of the loaded trailer
weight.
•After you have traveled 50 miles (80 km), thoroughly check your
hitch, electrical connections and trailer wheel lug nuts.
•To aid in engine/transmission cooling and A/C efficiency during hot
weather while stopped in traffic, place the gearshift lever in P (Park)
(if available on your automatic transmission) or N (Neutral) (manual
transmissions and automatic transmissions without a P [Park]
position).
•Vehicles with trailers should not be parked on a grade. If you must
park on a grade, place wheel chocks under the trailer’s wheels.
Driving
138
Page 150 of 272
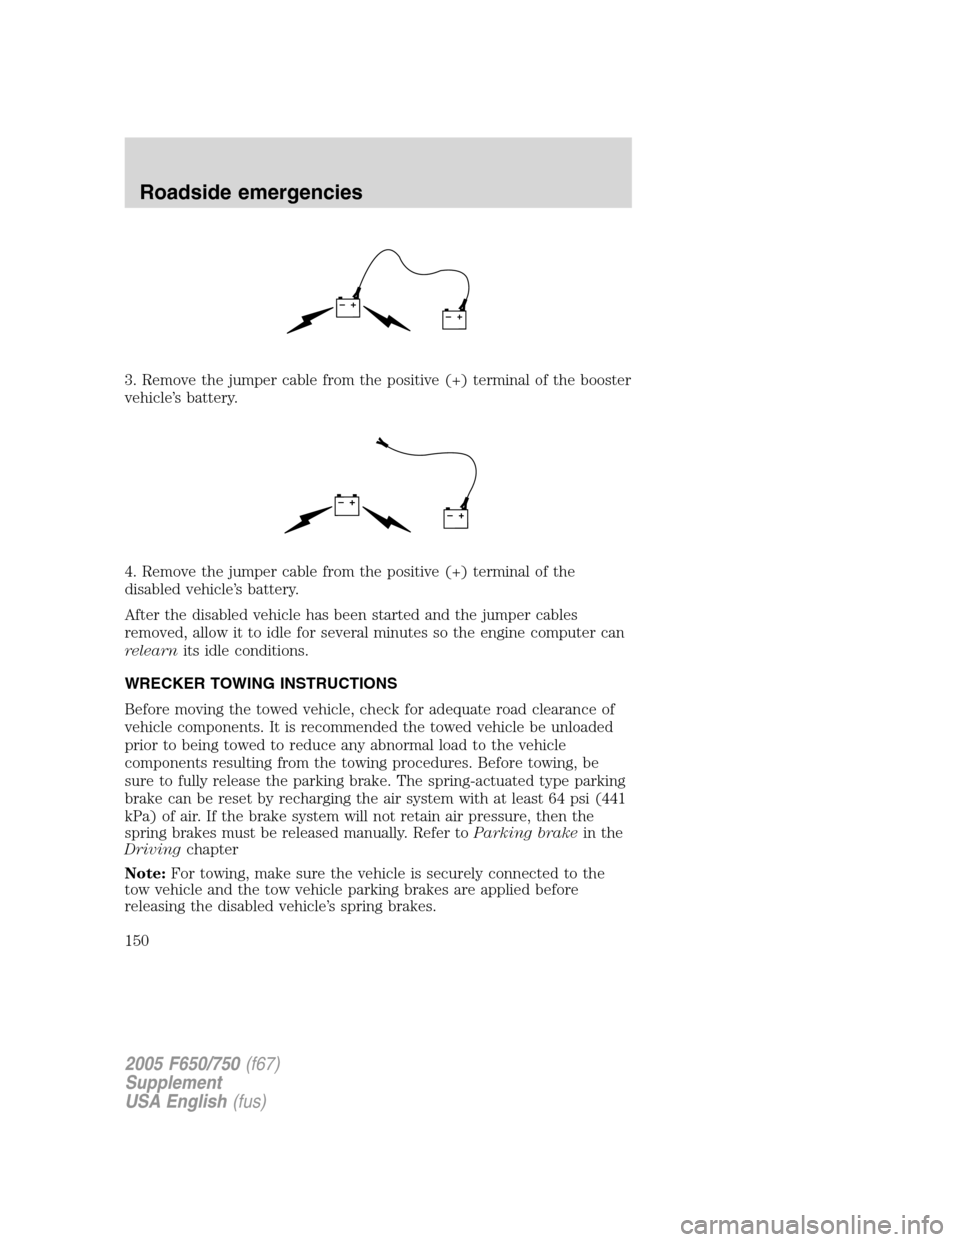
3. Remove the jumper cable from the positive (+) terminal of the booster
vehicle’s battery.
4. Remove the jumper cable from the positive (+) terminal of the
disabled vehicle’s battery.
After the disabled vehicle has been started and the jumper cables
removed, allow it to idle for several minutes so the engine computer can
relearnits idle conditions.
WRECKER TOWING INSTRUCTIONS
Before moving the towed vehicle, check for adequate road clearance of
vehicle components. It is recommended the towed vehicle be unloaded
prior to being towed to reduce any abnormal load to the vehicle
components resulting from the towing procedures. Before towing, be
sure to fully release the parking brake. The spring-actuated type parking
brake can be reset by recharging the air system with at least 64 psi (441
kPa) of air. If the brake system will not retain air pressure, then the
spring brakes must be released manually. Refer toParking brakein the
Drivingchapter
Note:For towing, make sure the vehicle is securely connected to the
tow vehicle and the tow vehicle parking brakes are applied before
releasing the disabled vehicle’s spring brakes.
+–+–
+–+–
2005 F650/750(f67)
Supplement
USA English(fus)
Roadside emergencies
150