instrument panel FORD F650 2015 13.G Owners Manual
[x] Cancel search | Manufacturer: FORD, Model Year: 2015, Model line: F650, Model: FORD F650 2015 13.GPages: 384, PDF Size: 4.95 MB
Page 6 of 384
Vehicle Care 234
Cleaning products.....................................234
Cleaning the exterior..................................234
Waxing.............................................236
Repairing minor paint damage............................236
Cleaning the engine...................................237
Cleaning the windows and wiper blades.....................237
Cleaning the interior...................................238
Cleaning the instrument panel and instrument cluster lens.......238
Cleaning leather seats..................................239
Cleaning the alloy wheels...............................239
Vehiclestorage.......................................240
Wheels and Tires 243
Tire information......................................243
Wheel lug nut torque..................................253
Capacities and Specifications 254
Engine drivebelt......................................254
Lubricant specifications.................................255
Refill capacities......................................268
Part numbers........................................272
Vehicle identification number............................272
Vehicle certification label...............................273
Audio System 275
AM/FMstereo........................................277
AM/FM/CD with SYNC.................................278
Auxiliary input jack...................................280
USBport...........................................282
Satellite radio information...............................282
Table of Contents5
2015 F-650/750(f67)
Owners Guide gf(ownloose), 1st Printing, December 2013
Canadian_French(fr_can)
Page 56 of 384
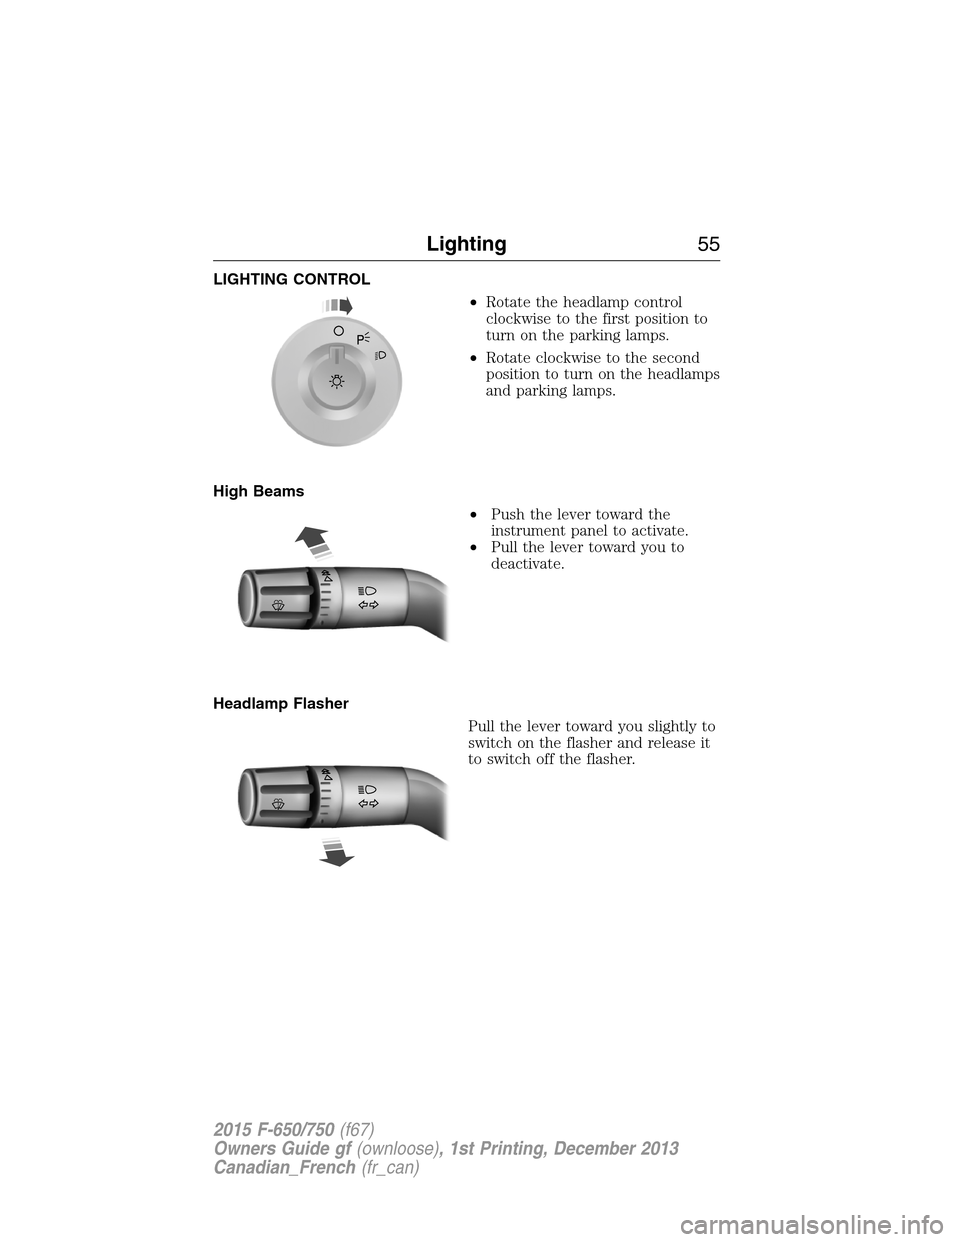
LIGHTING CONTROL
•Rotate the headlamp control
clockwise to the first position to
turn on the parking lamps.
•Rotate clockwise to the second
position to turn on the headlamps
and parking lamps.
High Beams
•Push the lever toward the
instrument panel to activate.
•Pull the lever toward you to
deactivate.
Headlamp Flasher
Pull the lever toward you slightly to
switch on the flasher and release it
to switch off the flasher.
Lighting55
2015 F-650/750(f67)
Owners Guide gf(ownloose), 1st Printing, December 2013
Canadian_French(fr_can)
Page 57 of 384
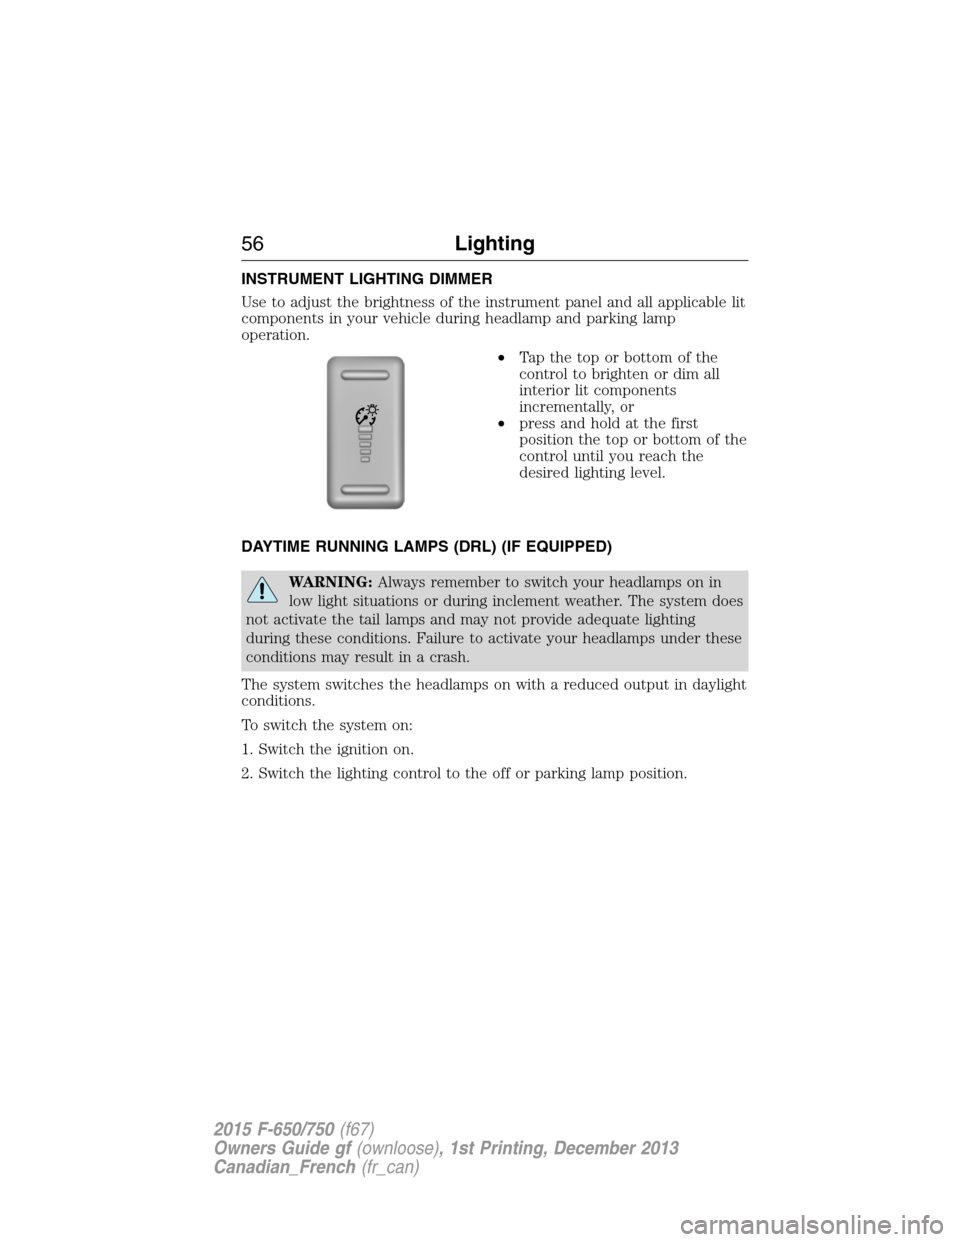
INSTRUMENT LIGHTING DIMMER
Use to adjust the brightness of the instrument panel and all applicable lit
components in your vehicle during headlamp and parking lamp
operation.
•Tapthetoporbottomofthe
control to brighten or dim all
interior lit components
incrementally, or
•press and hold at the first
position the top or bottom of the
control until you reach the
desired lighting level.
DAYTIME RUNNING LAMPS (DRL) (IF EQUIPPED)
WARNING:Always remember to switch your headlamps on in
low light situations or during inclement weather. The system does
not activate the tail lamps and may not provide adequate lighting
during these conditions. Failure to activate your headlamps under these
conditions may result in a crash.
The system switches the headlamps on with a reduced output in daylight
conditions.
To switch the system on:
1. Switch the ignition on.
2. Switch the lighting control to the off or parking lamp position.
56Lighting
2015 F-650/750(f67)
Owners Guide gf(ownloose), 1st Printing, December 2013
Canadian_French(fr_can)
Page 77 of 384
MANUAL CLIMATE SYSTEM
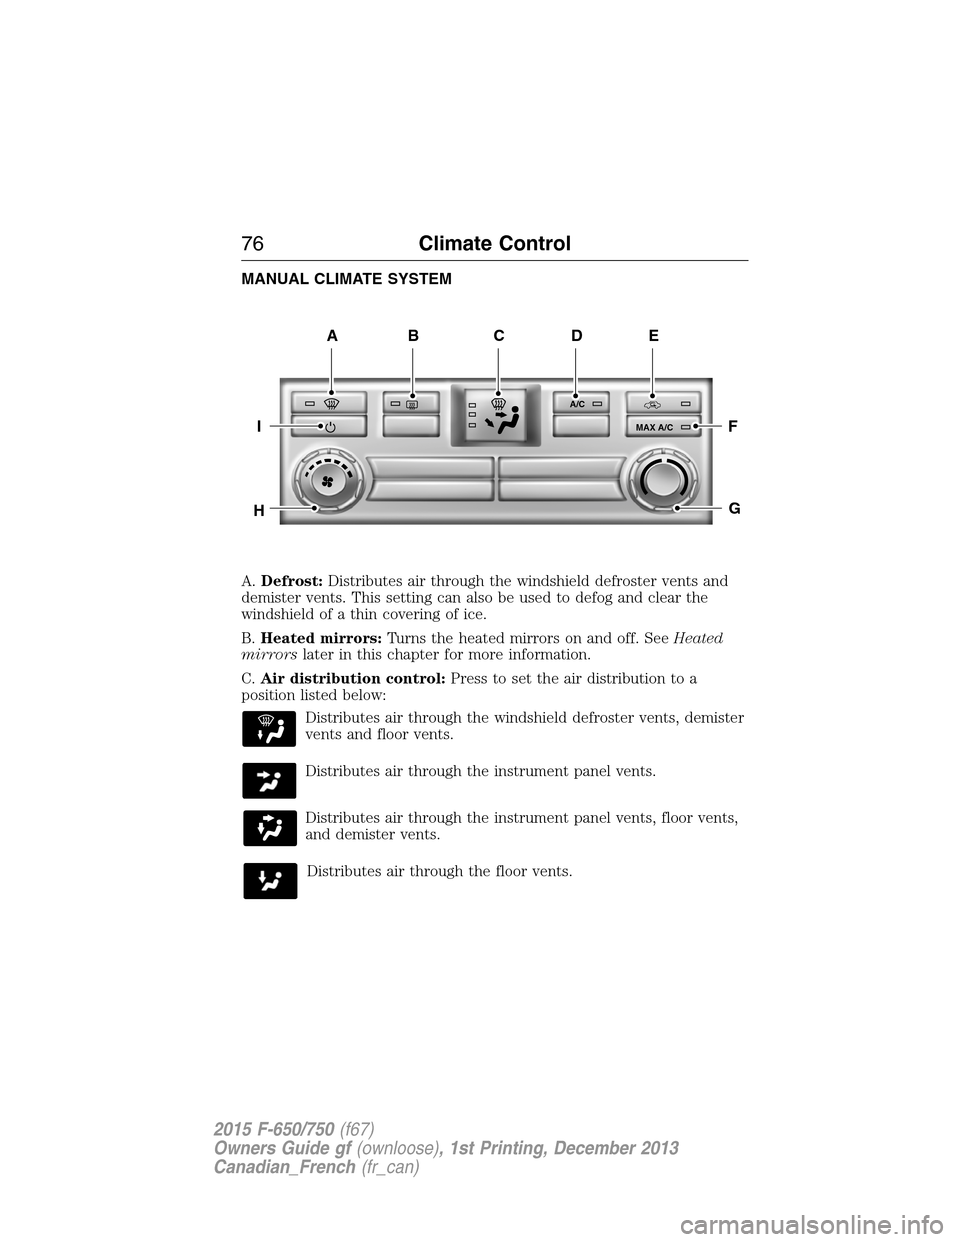
A.Defrost:Distributes air through the windshield defroster vents and
demister vents. This setting can also be used to defog and clear the
windshield of a thin covering of ice.
B.Heated mirrors:Turns the heated mirrors on and off. SeeHeated
mirrorslater in this chapter for more information.
C.Air distribution control:Press to set the air distribution to a
position listed below:
Distributes air through the windshield defroster vents, demister
vents and floor vents.
Distributes air through the instrument panel vents.
Distributes air through the instrument panel vents, floor vents,
and demister vents.
Distributes air through the floor vents.
A/C
MAX A/C
ABDE
F
G
I
H
C
76Climate Control
2015 F-650/750(f67)
Owners Guide gf(ownloose), 1st Printing, December 2013
Canadian_French(fr_can)
Page 78 of 384
D.A/C:Press to turn air conditioning on or off. Air conditioning cools
the vehicle using outside air. To improve air conditioning when starting
your vehicle, drive with the windows slightly open for two to three
minutes.
E.Recirculated air:Press to switch between outside air and
recirculated air. When the LED on the button is lit, the air currently in
the passenger compartment is being recirculated. Using recirculated air
can reduce the time needed to cool the interior and reduce unwanted
odors from entering your vehicle.
Note:For better cooling in hot conditions, recirculated air automatically
engages when the air distribution control is in Panel or Panel/Floor
modes and the air conditioning is on. You can switch to fresh air by
pressing the recirculated air button again.
F.MAX A/C:Distributes recirculated air through the instrument panel
vents to cool the vehicle. This position is more economical and efficient
than normal A/C.
G.Temperature control:Controls the temperature of the air circulated
in your vehicle. Turn to select the desired temperature.
H.Fan speed control:Controls the volume of air circulated in your
vehicle. Turn to select the desired fan speed or switch off. If you switch
the fan off, the windshield may fog up.
I.Power:Press to turn the system on and off. When the system is off,
outside air is prevented from entering the vehicle.
GENERAL OPERATING TIPS
•To reduce fog build-up on the windshield during humid weather,
select Defrost. Temperature and fan speed can also be increased to
improve clearing.
•To reduce humidity build-up inside the vehicle, do not drive with the
system off or with recirculated air engaged.
•Do not put objects under the front seats that interfere with the
airflow to the back seats.
•Remove any snow, ice or leaves from the air intake area at the base
of the windshield.
Cooling the interior quickly:
1. Adjust the fan speed to the highest speed setting initially and then
adjust it to suit the desired comfort level.
2. Adjust the temperature control to the lowest temperature setting.
3. Adjust the air distribution control to the MAX A/C position.
Climate Control77
2015 F-650/750(f67)
Owners Guide gf(ownloose), 1st Printing, December 2013
Canadian_French(fr_can)
Page 79 of 384
Recommended settings for cooling:
•Adjust the air distribution control to the A/C position.
If your vehicle is stationary for extended periods during extreme high
ambient temperatures:
•Select the MAX A/C position.
Gas engines:If your vehicle is stationary for long periods of time in
high ambient temperature conditions, your climate control system may
automatically switch from fresh air mode to recirculation mode. This is
normal system operation as it provides protection of the air conditioning
compressor (and related parts). It is recommended that you allow the
system to remain in this mode if it has switched. The system reverts
back to fresh air mode when conditions allow.
For maximum cooling performance, turn the air distribution control to
MAX A/C.
To aid in side window defogging/demisting in cold weather:
1. Select Panel/Floor.
2. Select A/C.
3. Adjust the temperature control to maintain comfort.
4. Set the fan speed to the highest setting.
5. Direct the outer instrument panel vents toward the side windows.
6. To increase airflow to the outer instrument panel vents, close the
vents located in the middle of the instrument panel.
HEATED MIRRORS (IF EQUIPPED)
Note:Do not remove ice from the mirrors with a scraper or attempt to
readjust the mirror glass if it is frozen in place. These actions could
cause damage to the glass and mirrors.
Note:Do not clean the housing or glass of any mirror with harsh
abrasives, fuel or other petroleum-based cleaning products.
Both mirrors are heated to remove ice, mist and fog when the heated
mirror button is pressed.
78Climate Control
2015 F-650/750(f67)
Owners Guide gf(ownloose), 1st Printing, December 2013
Canadian_French(fr_can)
Page 92 of 384
AUXILIARY POWER POINTS
WARNING:Do not plug optional electrical accessories into the
cigarette lighter socket (if equipped). Improper use of the lighter
can cause damage not covered by your warranty, and can result in fire
or serious injury.
Note:If you use the power points when the engine is not running, the
battery may discharge and there may not be sufficient battery power to
start your engine.
Note:Do not insert objects other than an accessory plug into the power
point. This damages the outlet and blows the fuse.
Note:Do not hang any type of accessory or accessory bracket from the
plug.
Note:Do not use the power point over the vehicle capacity of 12–volt
DC 180 watts or a fuse may blow.
Note:Do not use the power point for operating a cigarette lighter
element.
Note:Improper use of the power point can cause damage not covered
by your warranty.
Note:Always keep the power point caps closed when they are not in
use.
Run the engine for full capacity use of the power point. To prevent the
battery from discharging:
•Do not use the power point longer than necessary when the engine is
not running.
•Do not leave devices plugged in overnight or when you park your
vehicle for extended periods.
Locations
Power points may be:
•On the instrument panel (two locations).
•Inside the center console storage compartment (if equipped).
•On the rear of the center console (if equipped).
•Inside the 20-percent front seat console (if equipped).
•Inside the rear under seat storage compartment (if equipped).
Auxiliary Power Points91
2015 F-650/750(f67)
Owners Guide gf(ownloose), 1st Printing, December 2013
Canadian_French(fr_can)
Page 127 of 384
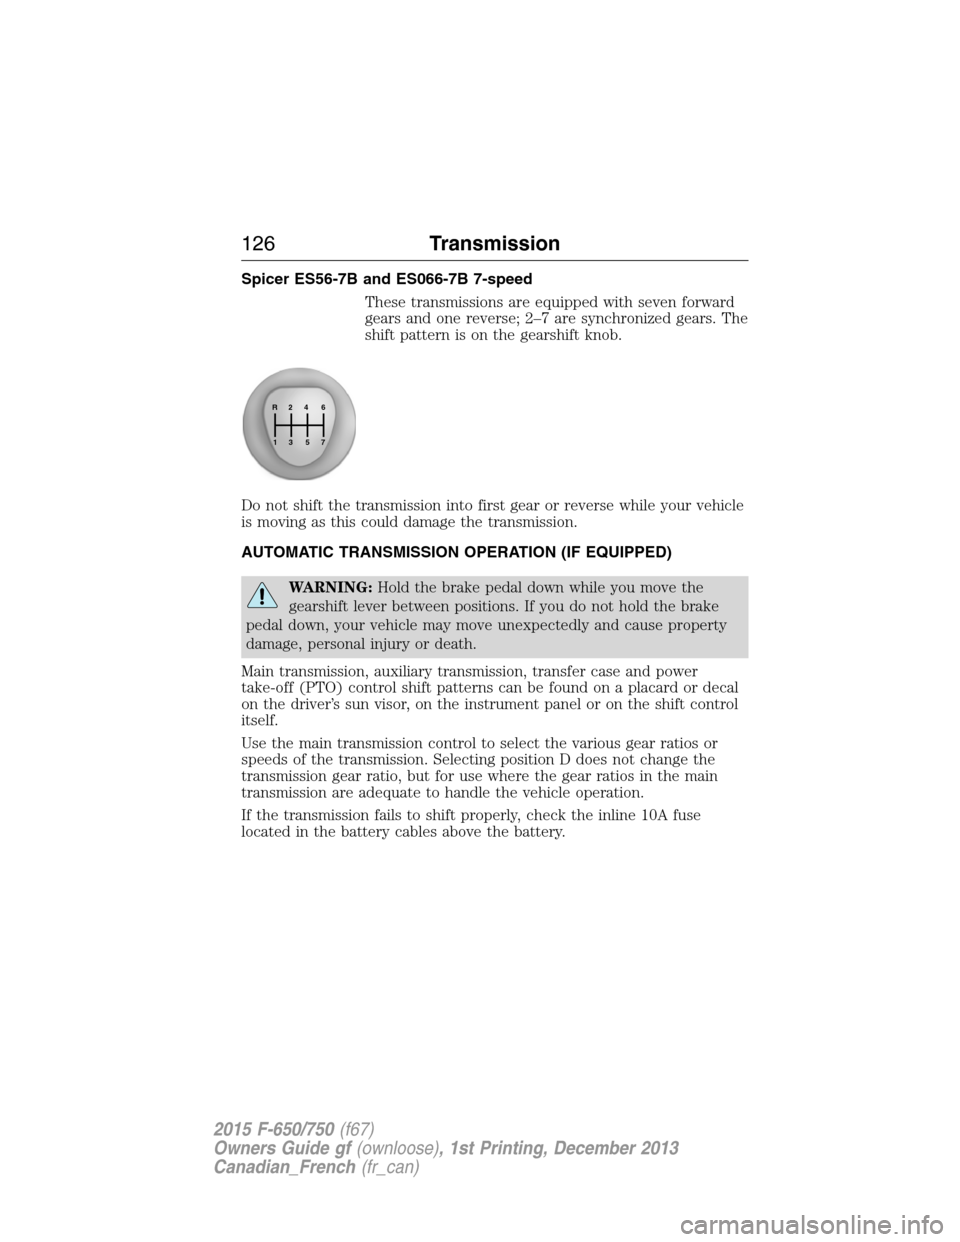
Spicer ES56-7B and ES066-7B 7-speed
These transmissions are equipped with seven forward
gears and one reverse; 2–7 are synchronized gears. The
shift pattern is on the gearshift knob.
Do not shift the transmission into first gear or reverse while your vehicle
is moving as this could damage the transmission.
AUTOMATIC TRANSMISSION OPERATION (IF EQUIPPED)
WARNING:Hold the brake pedal down while you move the
gearshift lever between positions. If you do not hold the brake
pedal down, your vehicle may move unexpectedly and cause property
damage, personal injury or death.
Main transmission, auxiliary transmission, transfer case and power
take-off (PTO) control shift patterns can be found on a placard or decal
on the driver’s sun visor, on the instrument panel or on the shift control
itself.
Use the main transmission control to select the various gear ratios or
speeds of the transmission. Selecting position D does not change the
transmission gear ratio, but for use where the gear ratios in the main
transmission are adequate to handle the vehicle operation.
If the transmission fails to shift properly, check the inline 10A fuse
located in the battery cables above the battery.
R24
576
3 1
126Transmission
2015 F-650/750(f67)
Owners Guide gf(ownloose), 1st Printing, December 2013
Canadian_French(fr_can)
Page 144 of 384
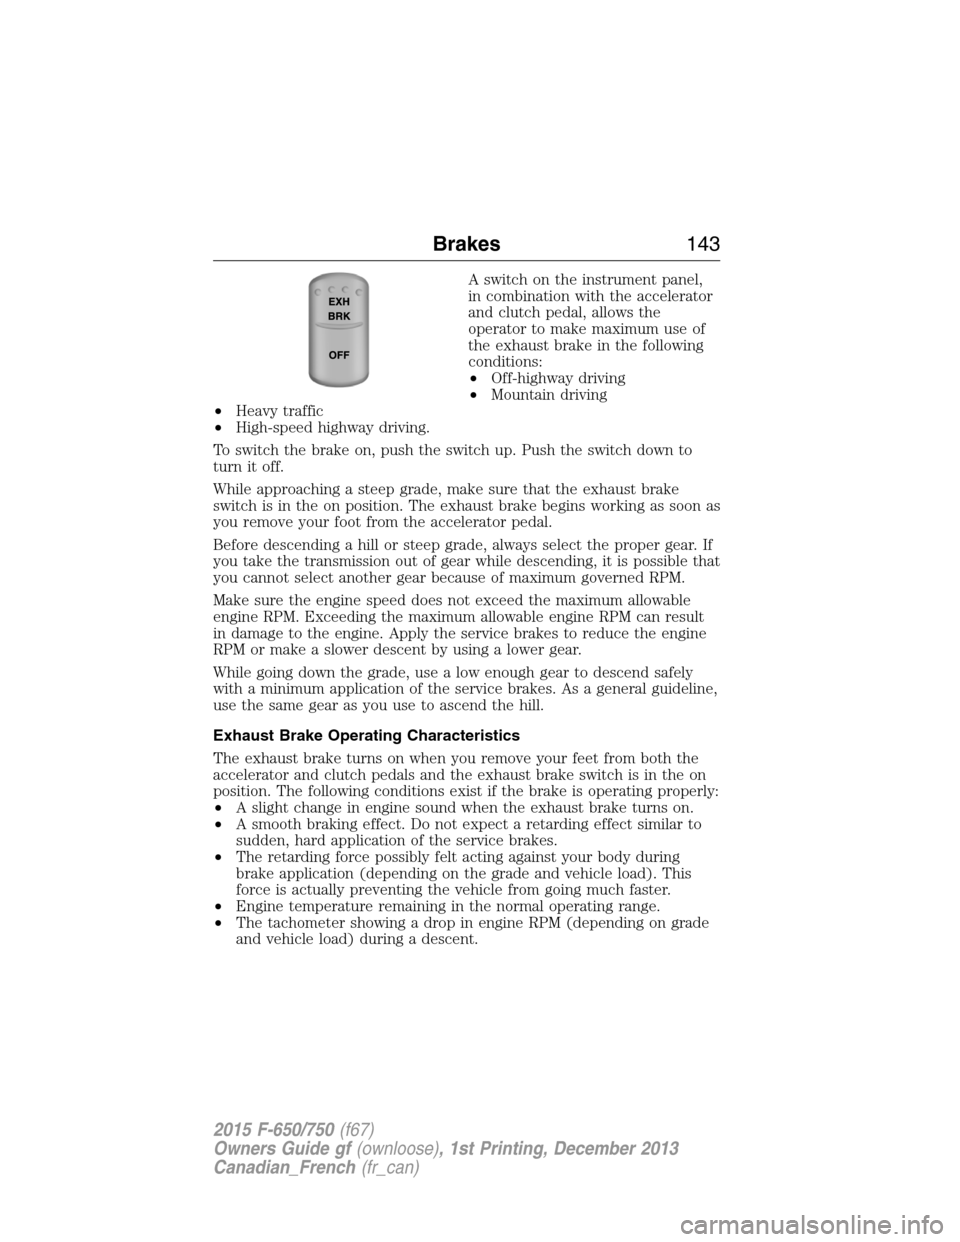
A switch on the instrument panel,
in combination with the accelerator
and clutch pedal, allows the
operator to make maximum use of
the exhaust brake in the following
conditions:
•Off-highway driving
•Mountain driving
•Heavy traffic
•High-speed highway driving.
To switch the brake on, push the switch up. Push the switch down to
turn it off.
While approaching a steep grade, make sure that the exhaust brake
switch is in the on position. The exhaust brake begins working as soon as
you remove your foot from the accelerator pedal.
Before descending a hill or steep grade, always select the proper gear. If
you take the transmission out of gear while descending, it is possible that
you cannot select another gear because of maximum governed RPM.
Make sure the engine speed does not exceed the maximum allowable
engine RPM. Exceeding the maximum allowable engine RPM can result
in damage to the engine. Apply the service brakes to reduce the engine
RPM or make a slower descent by using a lower gear.
While going down the grade, use a low enough gear to descend safely
with a minimum application of the service brakes. As a general guideline,
use the same gear as you use to ascend the hill.
Exhaust Brake Operating Characteristics
The exhaust brake turns on when you remove your feet from both the
accelerator and clutch pedals and the exhaust brake switch is in the on
position. The following conditions exist if the brake is operating properly:
•A slight change in engine sound when the exhaust brake turns on.
•A smooth braking effect. Do not expect a retarding effect similar to
sudden, hard application of the service brakes.
•The retarding force possibly felt acting against your body during
brake application (depending on the grade and vehicle load). This
force is actually preventing the vehicle from going much faster.
•Engine temperature remaining in the normal operating range.
•The tachometer showing a drop in engine RPM (depending on grade
and vehicle load) during a descent.
Brakes143
2015 F-650/750(f67)
Owners Guide gf(ownloose), 1st Printing, December 2013
Canadian_French(fr_can)
Page 145 of 384
•A decrease in road speed when applying the exhaust brake during a
descent, except when your vehicle is carrying a heavy load or the
grade is extremely steep. In these instances, you may need to apply
the service brakes occasionally.
TRAILER BRAKES
Trailer Brake Hand Control (If Equipped)
WARNING:The hand control should never be used to apply the
brakes when the tractor and trailer are parked unattended. Air
may leak from the system and the vehicle could possibly move,
resulting in possible property damage, personal injury or death.
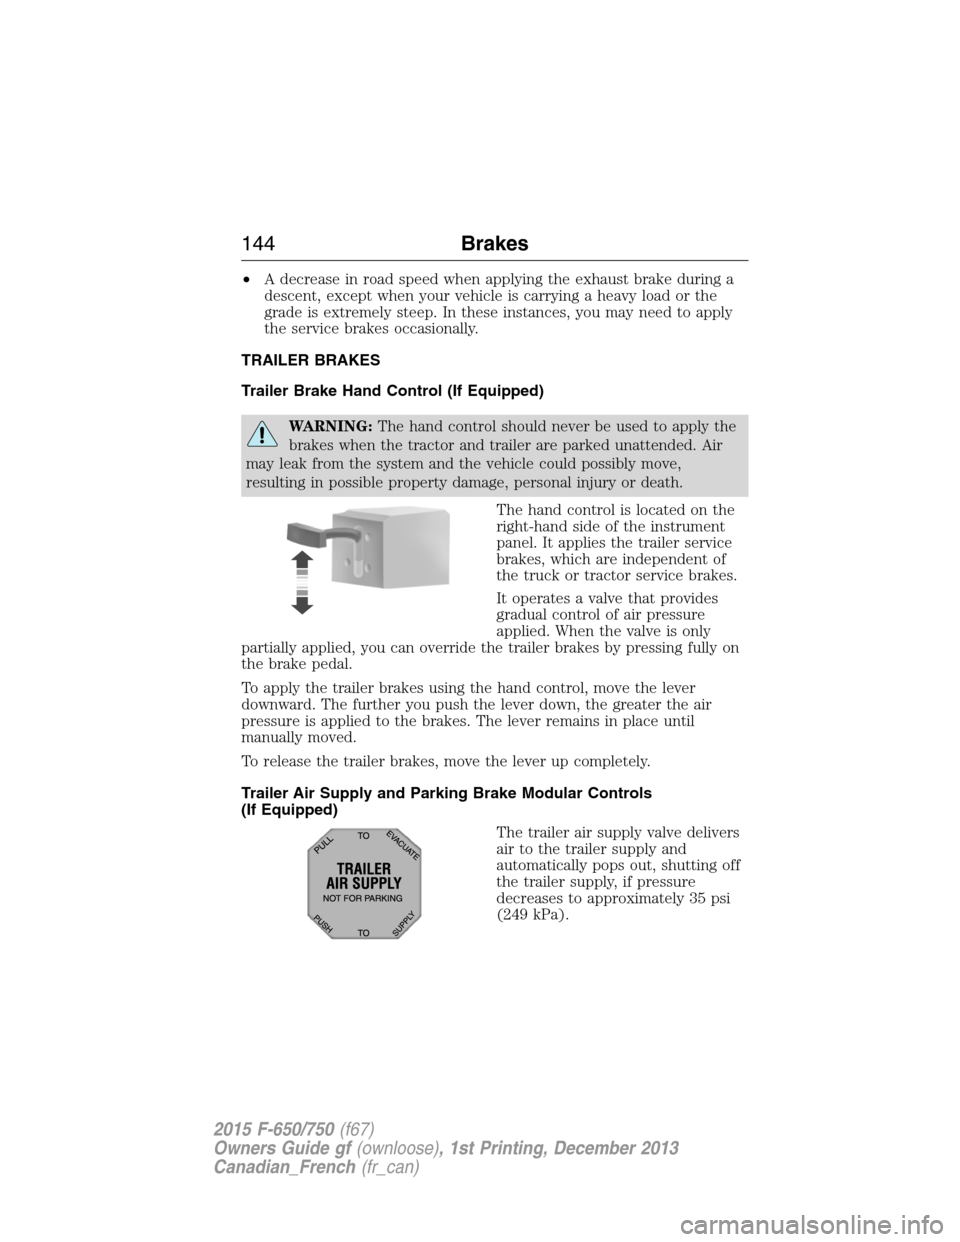
The hand control is located on the
right-hand side of the instrument
panel. It applies the trailer service
brakes, which are independent of
the truck or tractor service brakes.
It operates a valve that provides
gradual control of air pressure
applied. When the valve is only
partially applied, you can override the trailer brakes by pressing fully on
the brake pedal.
To apply the trailer brakes using the hand control, move the lever
downward. The further you push the lever down, the greater the air
pressure is applied to the brakes. The lever remains in place until
manually moved.
To release the trailer brakes, move the lever up completely.
Trailer Air Supply and Parking Brake Modular Controls
(If Equipped)
The trailer air supply valve delivers
air to the trailer supply and
automatically pops out, shutting off
the trailer supply, if pressure
decreases to approximately 35 psi
(249 kPa).
144Brakes
2015 F-650/750(f67)
Owners Guide gf(ownloose), 1st Printing, December 2013
Canadian_French(fr_can)