check engine light FORD F650/750 2023 Owners Manual
[x] Cancel search | Manufacturer: FORD, Model Year: 2023, Model line: F650/750, Model: FORD F650/750 2023Pages: 378, PDF Size: 5.65 MB
Page 13 of 378
If these modified engine performance
characteristics persist for an extended
period and either the service engine soon
or powertrain malfunction, reduced power,
electronic throttle control light is
illuminated, have the system checked by
an authorized dealer.
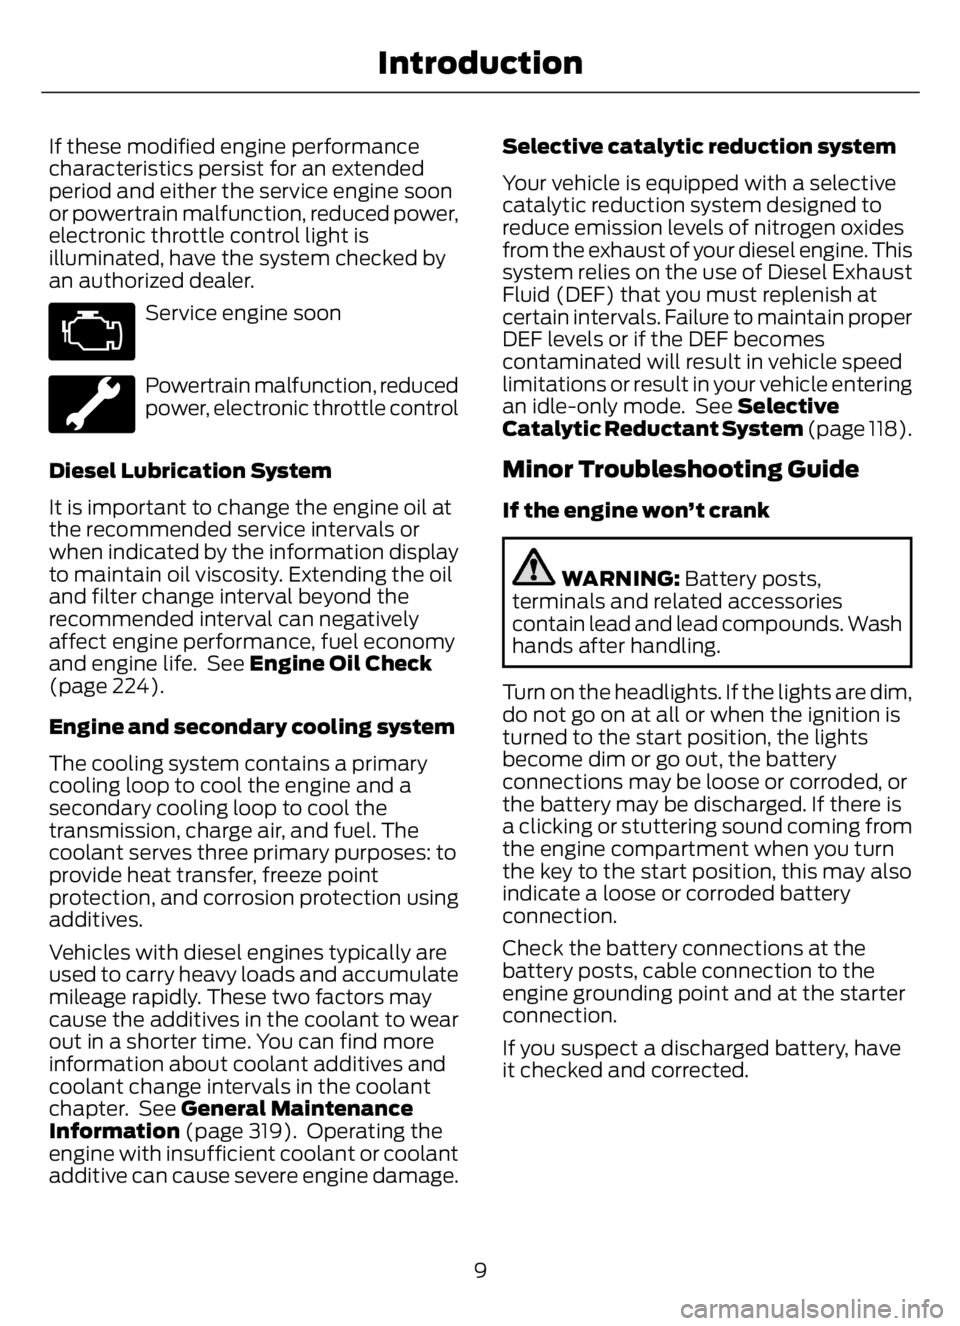
Service engine soon
Powertrain malfunction, reduced
power, electronic throttle control
Diesel Lubrication System
It is important to change the engine oil at
the recommended service intervals or
when indicated by the information display
to maintain oil viscosity. Extending the oil
and filter change interval beyond the
recommended interval can negatively
affect engine performance, fuel economy
and engine life. See Engine Oil Check
(page 224).
Engine and secondary cooling system
The cooling system contains a primary
cooling loop to cool the engine and a
secondary cooling loop to cool the
transmission, charge air, and fuel. The
coolant serves three primary purposes: to
provide heat transfer, freeze point
protection, and corrosion protection using
additives.
Vehicles with diesel engines typically are
used to carry heavy loads and accumulate
mileage rapidly. These two factors may
cause the additives in the coolant to wear
out in a shorter time. You can find more
information about coolant additives and
coolant change intervals in the coolant
chapter. See General Maintenance
Information (page 319). Operating the
engine with insufficient coolant or coolant
additive can cause severe engine damage.Selective catalytic reduction system
Your vehicle is equipped with a selective
catalytic reduction system designed to
reduce emission levels of nitrogen oxides
from the exhaust of your diesel engine. This
system relies on the use of Diesel Exhaust
Fluid (DEF) that you must replenish at
certain intervals. Failure to maintain proper
DEF levels or if the DEF becomes
contaminated will result in vehicle speed
limitations or result in your vehicle entering
an idle-only mode. See Selective
Catalytic Reductant System (page 118).
Minor Troubleshooting Guide
If the engine won’t crank
WARNING: Battery posts,
terminals and related accessories
contain lead and lead compounds. Wash
hands after handling.
Turn on the headlights. If the lights are dim,
do not go on at all or when the ignition is
turned to the start position, the lights
become dim or go out, the battery
connections may be loose or corroded, or
the battery may be discharged. If there is
a clicking or stuttering sound coming from
the engine compartment when you turn
the key to the start position, this may also
indicate a loose or corroded battery
connection.
Check the battery connections at the
battery posts, cable connection to the
engine grounding point and at the starter
connection.
If you suspect a discharged battery, have
it checked and corrected.
9
Introduction
Page 69 of 378
Engine Oil Pressure Gauge
Indicates engine oil pressure. At normal
operating temperature, the level indicator
is in the normal range. If the pressure gauge
falls below the normal range, stop your
vehicle, switch off the engine and check
the engine oil level. Add oil if needed. If the
oil level is correct, have your vehicle
checked by an authorized dealer.
Engine Coolant Temperature
Gauge
WARNING: Do not remove the
coolant reservoir cap when the engine is
on or the cooling system is hot. Wait 10
minutes for the cooling system to cool
down. Cover the coolant reservoir cap
with a thick cloth to prevent the
possibility of scalding and slowly remove
the cap. Failure to follow this instruction
could result in personal injury.
Indicates engine coolant temperature. At
normal operating temperature, the level
indicator is in the normal range. If the
engine coolant temperature exceeds the
normal range, stop your vehicle as soon as
possible, switch off the engine and let the
engine cool.
Fuel Gauge
The fuel gauge indicates about how much
fuel is in the fuel tank.
The arrow adjacent to the fuel pump
symbol indicates on which side of your
vehicle the fuel filler door is located.
Note:The fuel gauge may vary slightly
when your vehicle is moving or on a slope.Low Fuel Reminder
A low fuel level reminder displays and
sounds when the distance to empty
reaches 50 mi (80 km), 25 mi (40 km),
10 mi (20 km) and 0 mi (0 km) for all
vehicle keys.
Note:The low fuel reminder can appear at
different fuel gauge positions depending on
fuel economy conditions. This variation is
normal.
Distance to Empty
Indicates the approximate distance your
vehicle can travel on the fuel remaining in
the tank. Changes in driving pattern can
cause the value to not only decrease but
also increase or stay constant for periods
of time.
Configurable Gauge
Transmission Fluid Temperature Gauge
Indicates transmission fluid temperature.
At normal operating temperature, the level
indicator is in the normal range. If the
transmission fluid temperature exceeds
the normal range, stop your vehicle as soon
as possible and verify the airflow is not
restricted by snow or debris blocking
airflow through the grille.
Special operating conditions such as
snowplowing, towing, or off-road use may
cause higher than normal operating
temperatures. See Special Operating
Conditions Scheduled Maintenance
(page 329).
To lower the transmission temperature
into the normal range, alter the severity of
your driving conditions. Operating the
transmission for extended periods with the
gauge in the higher than normal area may
cause internal transmission damage. If the
gauge continues to show high
temperatures, see an authorized dealer.
65
Instrument Cluster
Page 71 of 378
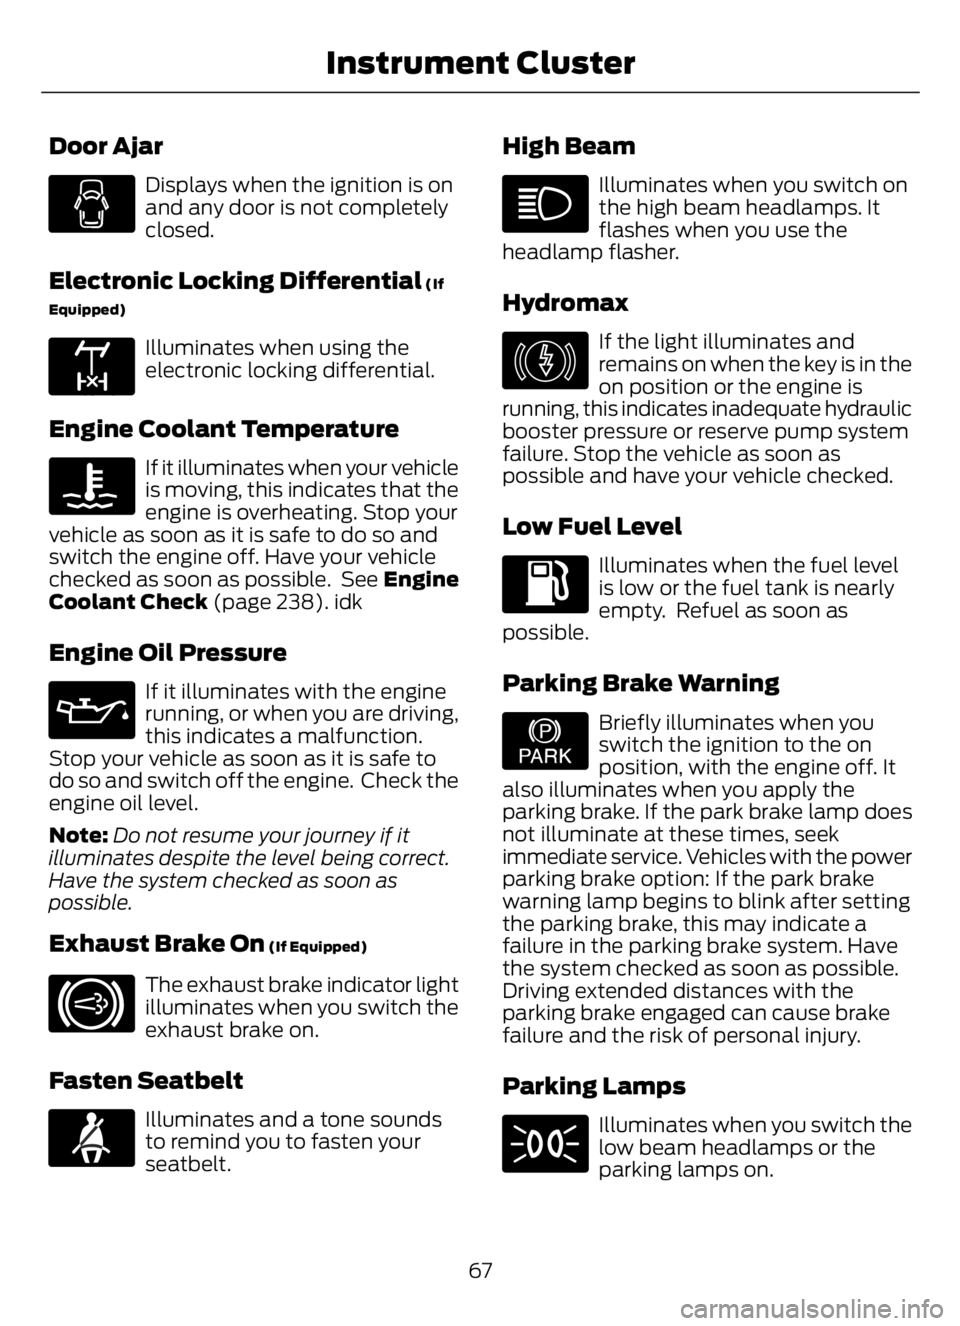
Door Ajar
Displays when the ignition is on
and any door is not completely
closed.
Electronic Locking Differential (If
Equipped)
E163170
Illuminates when using the
electronic locking differential.
Engine Coolant Temperature
If it illuminates when your vehicle
is moving, this indicates that the
engine is overheating. Stop your
vehicle as soon as it is safe to do so and
switch the engine off. Have your vehicle
checked as soon as possible. See Engine
Coolant Check (page 238). idk
Engine Oil Pressure
If it illuminates with the engine
running, or when you are driving,
this indicates a malfunction.
Stop your vehicle as soon as it is safe to
do so and switch off the engine. Check the
engine oil level.
Note:Do not resume your journey if it
illuminates despite the level being correct.
Have the system checked as soon as
possible.
Exhaust Brake On (If Equipped)
E171217
The exhaust brake indicator light
illuminates when you switch the
exhaust brake on.
Fasten Seatbelt
E71880
Illuminates and a tone sounds
to remind you to fasten your
seatbelt.
High Beam
Illuminates when you switch on
the high beam headlamps. It
flashes when you use the
headlamp flasher.
Hydromax
E146190
If the light illuminates and
remains on when the key is in the
on position or the engine is
running, this indicates inadequate hydraulic
booster pressure or reserve pump system
failure. Stop the vehicle as soon as
possible and have your vehicle checked.
Low Fuel Level
Illuminates when the fuel level
is low or the fuel tank is nearly
empty. Refuel as soon as
possible.
Parking Brake Warning
E208810
Briefly illuminates when you
switch the ignition to the on
position, with the engine off. It
also illuminates when you apply the
parking brake. If the park brake lamp does
not illuminate at these times, seek
immediate service. Vehicles with the power
parking brake option: If the park brake
warning lamp begins to blink after setting
the parking brake, this may indicate a
failure in the parking brake system. Have
the system checked as soon as possible.
Driving extended distances with the
parking brake engaged can cause brake
failure and the risk of personal injury.
Parking Lamps
Illuminates when you switch the
low beam headlamps or the
parking lamps on.
67
Instrument Cluster
Page 72 of 378
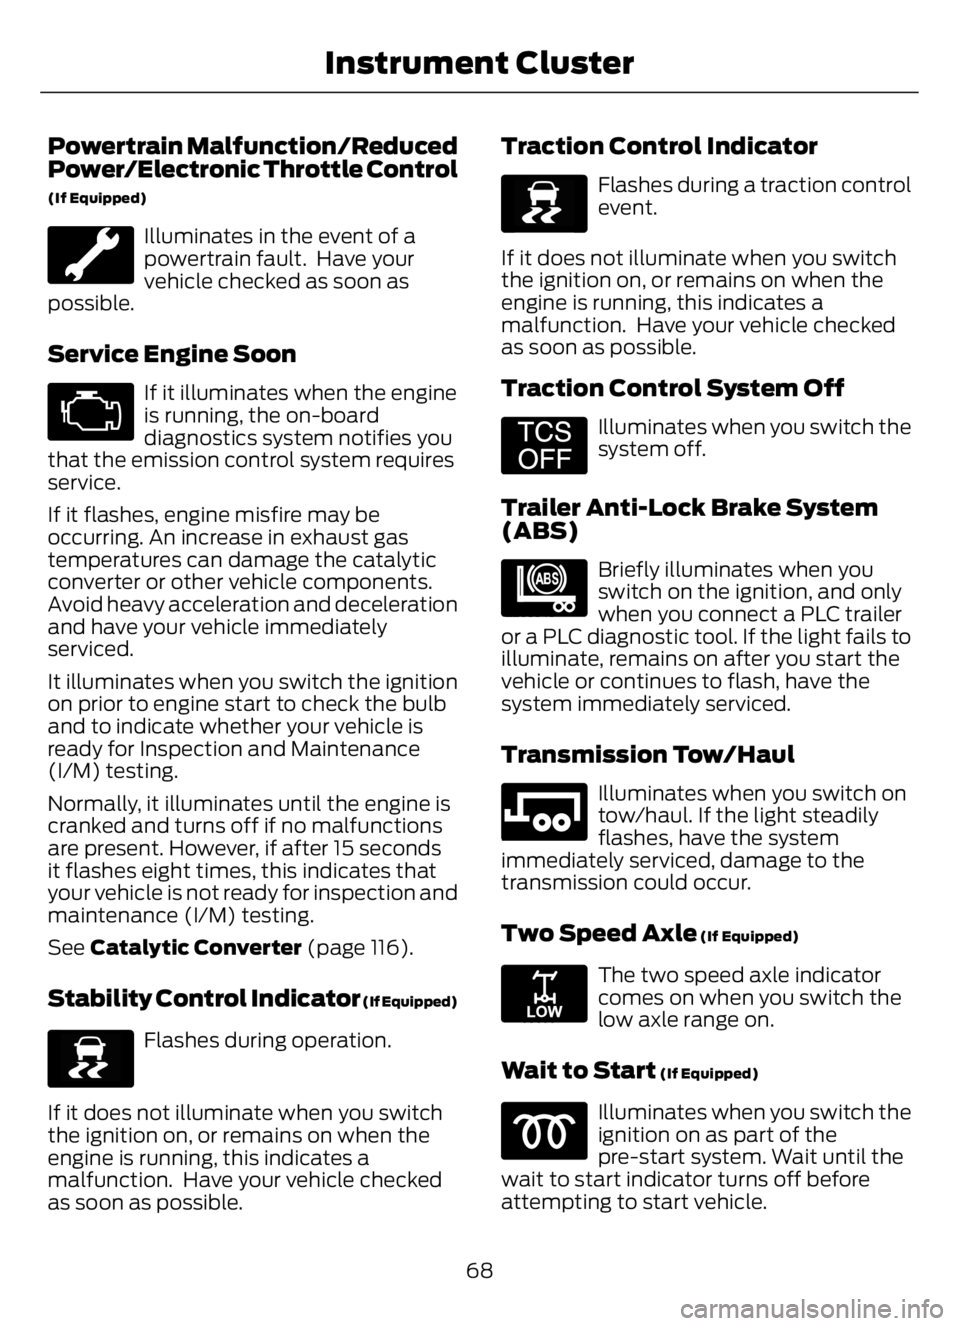
Powertrain Malfunction/Reduced
Power/Electronic Throttle Control
(If Equipped)
Illuminates in the event of a
powertrain fault. Have your
vehicle checked as soon as
possible.
Service Engine Soon
If it illuminates when the engine
is running, the on-board
diagnostics system notifies you
that the emission control system requires
service.
If it flashes, engine misfire may be
occurring. An increase in exhaust gas
temperatures can damage the catalytic
converter or other vehicle components.
Avoid heavy acceleration and deceleration
and have your vehicle immediately
serviced.
It illuminates when you switch the ignition
on prior to engine start to check the bulb
and to indicate whether your vehicle is
ready for Inspection and Maintenance
(I/M) testing.
Normally, it illuminates until the engine is
cranked and turns off if no malfunctions
are present. However, if after 15 seconds
it flashes eight times, this indicates that
your vehicle is not ready for inspection and
maintenance (I/M) testing.
See Catalytic Converter (page 116).
Stability Control Indicator (If Equipped)
E138639
Flashes during operation.
If it does not illuminate when you switch
the ignition on, or remains on when the
engine is running, this indicates a
malfunction. Have your vehicle checked
as soon as possible.
Traction Control Indicator
E138639
Flashes during a traction control
event.
If it does not illuminate when you switch
the ignition on, or remains on when the
engine is running, this indicates a
malfunction. Have your vehicle checked
as soon as possible.
Traction Control System Off
E194301
Illuminates when you switch the
system off.
Trailer Anti-Lock Brake System
(ABS)
E209040
Briefly illuminates when you
switch on the ignition, and only
when you connect a PLC trailer
or a PLC diagnostic tool. If the light fails to
illuminate, remains on after you start the
vehicle or continues to flash, have the
system immediately serviced.
Transmission Tow/Haul
E246592
Illuminates when you switch on
tow/haul. If the light steadily
flashes, have the system
immediately serviced, damage to the
transmission could occur.
Two Speed Axle (If Equipped)
E208809
The two speed axle indicator
comes on when you switch the
low axle range on.
Wait to Start (If Equipped)
Illuminates when you switch the
ignition on as part of the
pre-start system. Wait until the
wait to start indicator turns off before
attempting to start vehicle.
68
Instrument Cluster
Page 73 of 378
WARNING: Do not use starting
fluid, for example ether, in the air intake
system. Such fluid could cause
immediate explosive damage to the
engine and possible personal injury.
Water in Fuel (If Equipped)
Illuminates when the fuel
filter/water separator has a
significant quantity of water in
it.
If the light illuminates when the engine is
running, stop the vehicle as soon as safely
possible, shut off the engine, then drain the
fuel filter/water separator.
Allowing water to stay in the system could
result in extensive damage to, or failure of,
the fuel injection system.
WARNING: Do not drain the
water-in-fuel separator while the engine
is running. Failure to follow this warning
may result in fire, serious injury, death or
property damage.
AUDIBLE WARNINGS AND
INDICATORS
Headlamps On Warning Chime
Sounds when you remove the key from the
ignition and open the driver's door and you
have left the headlamps or parking lamps
on.
Key in Ignition Warning Chime
Sounds when you open the driver's door
and you have left the key in the ignition.
Parking Brake On Warning Chime
Sounds when you have left the parking
brake on and drive your vehicle. If the
warning chime remains on after you have
released the parking brake, have the
system checked by your authorized dealer
immediately.
69
Instrument Cluster
Page 119 of 378
EMISSION LAW
WARNING: Do not remove or alter
the original equipment floor covering or
insulation between it and the metal floor
of the vehicle. The floor covering and
insulation protect occupants of the
vehicle from the engine and exhaust
system heat and noise. On vehicles with
no original equipment floor covering
insulation, do not carry passengers in a
manner that permits prolonged skin
contact with the metal floor. Failure to
follow these instructions may result in
fire or personal injury.
U.S. federal laws and certain state laws
prohibit removing or rendering inoperative
emission control system components.
Similar federal or provincial laws may
apply in Canada. We do not approve of any
vehicle modification without first
determining applicable laws.
Tampering with emissions
control systems including
related sensors or the Diesel
Exhaust Fluid system can result in reduced
engine power and the illumination of the
service engine soon light.
Tampering With a Noise Control
System
Federal laws prohibit the following acts:
• Removal or rendering inoperative by
any person other than for purposes of
maintenance.
• Repair or replacement of any device or
element of the design incorporated into
a new vehicle for the purpose of noise
control prior to its sale or delivery to
the ultimate purchaser or while it is in
use.
• The use of the vehicle after any person
removes or renders inoperative any
device or element of the design.
The U.S. Environmental Protection Agency
may presume to constitute tampering as
follows:
• Removal of hood blanket, fender apron
absorbers, fender apron barriers,
underbody noise shields or acoustically
absorptive material.
• Tampering or rendering inoperative the
engine speed governor, to allow engine
speed to exceed manufacturer
specifications.
If the engine does not start, runs rough,
experiences a decrease in engine
performance, experiences excess fuel
consumption or produces excessive
exhaust smoke, check for the following:
• A plugged or disconnected air inlet
system hose.
• A plugged engine air filter element.
• Water in the fuel filter and water
separator.
• A clogged fuel filter.
• Contaminated fuel.
• Air in the fuel system, due to loose
connections.
• An open or pinched sensor hose.
• Incorrect engine oil level.
115
Engine Emission Control
Page 124 of 378
1. Remove the diesel exhaust fluid
container cap. Place the spout onto the
container and tighten until you feel a
strong resistance.
2. Remove the diesel exhaust fluid tank
filler cap.
3. Insert the spout into the filler neck until
the seal on the spout seats onto the
filler neck. Pour the fluid into the tank.
When the tank is full the fluid stops. In
case of direct fill tank, the spout does
not seal against the fill tank interface
and does not stop the flowing
automatically.
4. Return the container to the vertical
position slightly below the diesel
exhaust fluid filler neck. Allow any fluid
remaining in the spout to drain back
into the container.
5. Remove the spout from the diesel
exhaust fluid filler neck. Replace the
diesel exhaust fluid tank cap.
6. Remove the spout from the diesel
exhaust fluid container and replace the
cap.
Note:If there is diesel exhaust fluid left in
the container retain it for later use. The
spout is reusable. Wash the spout with
clean water prior to storage. Do not use the
diesel exhaust fluid spout with any other
fluid.
Filling the Diesel Exhaust Fluid Tank in
Cold Climates
Diesel exhaust fluid freezes if the ambient
temperature is below 12°F (-11°C). Your
vehicle has a preheating system which
allows diesel exhaust fluid to operate
below 12°F (-11°C). If you do not use your
vehicle for an extended period when the
ambient temperature is below 12°F (-11°C),
the fluid in the tank freezes. If the tank is
overfilled and the fluid freezes it may
damage the tank. This is not covered by
the vehicle warranty.Note: If the diesel exhaust fluid tank is
frozen, it may not recognize when the tank
is refilled. The diesel exhaust fluid level
updates once the tank thaws out.
Diesel Exhaust Fluid Warning
Messages and Vehicle Operations
WARNING: Diesel exhaust fluid
must be refilled when low or replaced
when contaminated or your vehicle
speed becomes limited to 50 mph
(80 km/h). In these conditions, drive with
caution and refill diesel exhaust fluid
immediately. If the diesel exhaust fluid
becomes empty or contaminated and
fluid is not replaced, your vehicle
becomes limited to engine idle only once
stopped. In these conditions, be cautious
where you stop your vehicle because you
may not be able to drive long distances
or maintain highway speeds until you
refill or replace the diesel exhaust fluid.
Note:Drain and replace diluted diesel
exhaust fluid.
WARNING: Tampering with or
disabling the selective catalytic
reduction system results in severe
vehicle performance limitation including
eventual speed limiting to 5 mph
(8 km/h).
A systems check displays messages
indicating the amount of diesel exhaust
fluid available or displays a warning
message indicating the approximate
distance remaining as the fluid in the diesel
exhaust fluid tank nears empty. See
Information Messages (page 74).
120
Engine Emission Control
Page 129 of 378
Before you start operator commanded
regeneration, do the following:
• Shift into park (P) or if you have an
RNDM selector shift into neutral (N)
and apply the parking and or air brake,
on stable, level ground.
• Park your vehicle outside of any
structure.
• Park your vehicle 10–15 ft (3–5 m)
away from any obstructions and away
from materials that can easily combust
or melt, for example paper, leaves,
petroleum products, fuels, plastics and
other dry organic material.
• Make sure there is a minimum of 1/8
tank of fuel.
• Make sure all fluids are at proper levels.
How to Start Operator Commanded
Regeneration
WARNING: Stay clear of the
exhaust tailpipe during regeneration. Hot
exhaust gases can burn you badly.
Note:You cannot use the operator
commanded regeneration until the diesel
particulate filter load percentage has
reached 100%. The diesel particulate filter
load percentage fluctuates up and down
when driving your vehicle due to active and
passive regenerations.
Note:During the use of operator
commanded regeneration, you may observe
a light amount of white smoke. This is
normal.
You may not be able to use
operator commanded
regeneration if the service engine
soon warning lamp appears in the
information displayInformation Display Procedure
Start your vehicle engine and when it has
reached the normal operating temperature,
arrow through the display to get to the
Diesel Particulate Filter Status on the
Truck Info tab. Exhaust Filter XX%/FULL
displays. Operator commanded
regeneration can only be initiated when
FULL See Information Display Control
(page 52). If a message advising that the
exhaust filter is full appears in the
information display, press and hold the OK
button to initiate Exhaust Cleaning. If
successful, a second prompt appears
regarding exhaust position required to
initiate operator commanded regeneration.
Be sure to understand each prompt. If you
are not sure what is being asked by each
prompt, contact an authorized dealer. If
the exhaust system meets the position
requirements then press and hold the OK
button to fully activate the Operator
Commanded Regeneration. The display
confirms the operation has started and
when it has finished.
You can also drive to clean the filter.
When the system is at the point
of oversaturation, the service
engine warning lamp illuminates
and a message appears in the information
display. You cannot initiate filter cleaning.
You must have your vehicle checked as
soon as possible.
Once operator commanded regeneration
starts, engine speed increases to
approximately 1600 rpm and the cooling
fan speed increases. You will hear a
change in audible sound due to engine
speed and cooling fan speed increases.
It is not necessary to open the hood on the
engine compartment. Once operator
commanded regeneration completes, the
engine speed returns to normal idling. The
exhaust system remains very hot for
several minutes even after regeneration is
125
Engine Emission Control
Page 130 of 378
complete. Do not reposition the vehicle
over materials that could burn until the
exhaust system has had sufficient time to
cool. Depending on the amount of soot
collected by the diesel particulate filter,
ambient temperature and altitude,
operator commanded regeneration lasts
approximately 30 minutes.
Operator Commanded Regeneration
with Automatic Regeneration Control
(If Equipped)
If your vehicle is operated with significant
stationary operation, low speed drive
cycles less than 25 mph (40 km/h), short
drive cycles, drive time less than 15 minutes
or the vehicle does not fully warm up,
passive and active regeneration may not
sufficiently clean the diesel particulate
filter system. You can switch off automatic
regeneration until better driving conditions
are available, for example steady high
speed driving. You can then switch
automatic regeneration back on to clean
the diesel particulate filter.
Switching Automatic Regeneration
Control On and Off
To switch operator commanded
regeneration on and off, use the
information display control on the steering
wheel. See Information Display Control
(page 52). Scroll through the Settings tab
to ensure there is a check in the box next
to Auto Regeneration, this means it is
active. To deactivate Auto Regeneration,
uncheck the box. A message appears “Auto
Exhaust Cleaning Off” along with an icon
indicating that Auto Exhaust Cleaning is
disabled. The icon stays illuminated until
you switch Auto Exhaust Cleaning back on
by checking the box.How to Interrupt or Cancel Operator
Commanded Regeneration
If you need to cancel the operator
commanded regeneration, pressing the
brake, accelerator or switching the engine
off stops the procedure. Depending on the
amount of time you allowed the operator
commanded regeneration to operate, soot
may not have had sufficient time to be fully
eliminated, but the exhaust system and
exhaust gas may still be hot. If you shut
your vehicle off during operator
commanded regeneration, you may notice
turbo flutter. This is a normal consequence
caused by shutting off a diesel engine
during boosted operation and is considered
normal.
Filter Service and Maintenance
Over time, a slight amount of ash builds
up in the diesel particulate filter, which is
not removed during the regeneration
process. The filter may need to be replaced
with a new or remanufactured part at
approximately 250,000 mi (400,000 km).
Actual mileage varies depending on engine
and vehicle operating conditions.
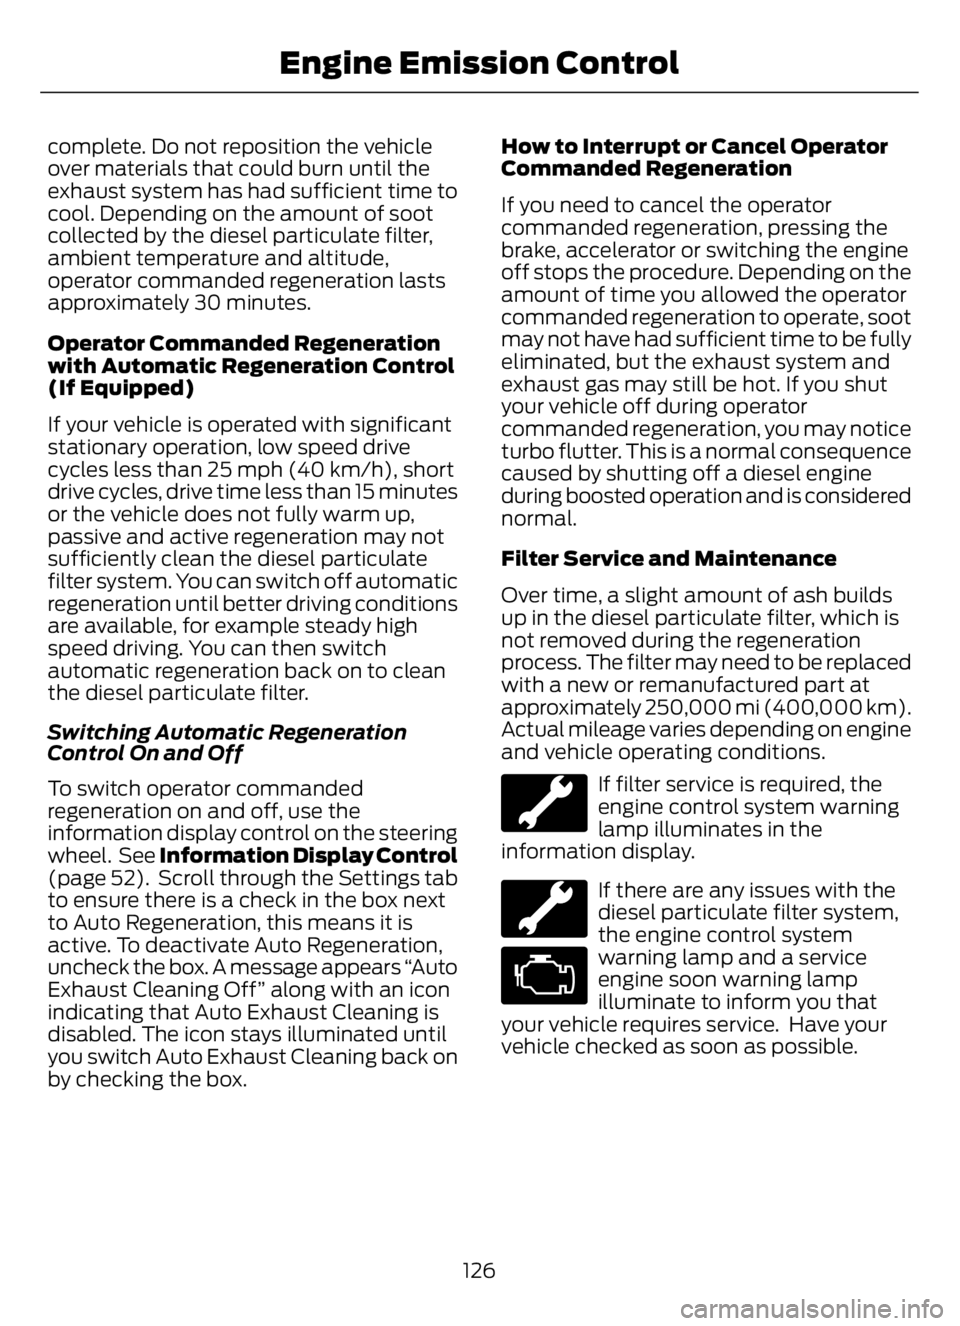
If filter service is required, the
engine control system warning
lamp illuminates in the
information display.
If there are any issues with the
diesel particulate filter system,
the engine control system
warning lamp and a service
engine soon warning lamp
illuminate to inform you that
your vehicle requires service. Have your
vehicle checked as soon as possible.
126
Engine Emission Control
Page 141 of 378
GENERAL INFORMATION
Note: Occasional brake noise is normal. If
a metal-to-metal, continuous grinding or
continuous squeal sound is present, the
brake linings may be worn-out. Have the
system checked as soon as possible. If the
vehicle has continuous vibration or shudder
in the steering wheel while braking, have the
system checked as soon as possible.
All standard equipment brakes are
self-adjusting. Automatic adjustment,
when required, occurs whenever you apply
and release the brakes during forward or
reverse operation.
Know the required stopping distances for
all driving conditions you may encounter.
For longer brake lining life, take full
advantage of engine braking power when
coming to a stop.
Wet brakes result in reduced braking
efficiency. Gently press the brake pedal a
few times when driving from a car wash or
standing water to dry the brakes.
If the brakes do not grip well:
• Check brake adjustment.
• Check the brake linings for excessive
wear.
• Check the system air pressure on
vehicles with air brakes.
• Let the brakes cool if you have been
using them excessively, as in mountain
driving or after several fast, high-speed
stops.
• If you have been driving through deep
water, gently apply the brakes several
times while your vehicle is moving
slowly.
Brake Over Accelerator
In the event the accelerator pedal
becomes stuck or entrapped, apply steady
and firm pressure to the brake pedal to
slow the vehicle and reduce engine power.
If you experience this condition, apply the
brakes and bring your vehicle to a safe
stop. Move the transmission to park (P),
switch the engine off and apply the parking
brake. Inspect the accelerator pedal for
any interference. If none are found and the
condition persists, have your vehicle towed
to the nearest authorized dealer
Anti-lock Brake System
This system helps you maintain steering
control during emergency stops by keeping
the brakes from locking.
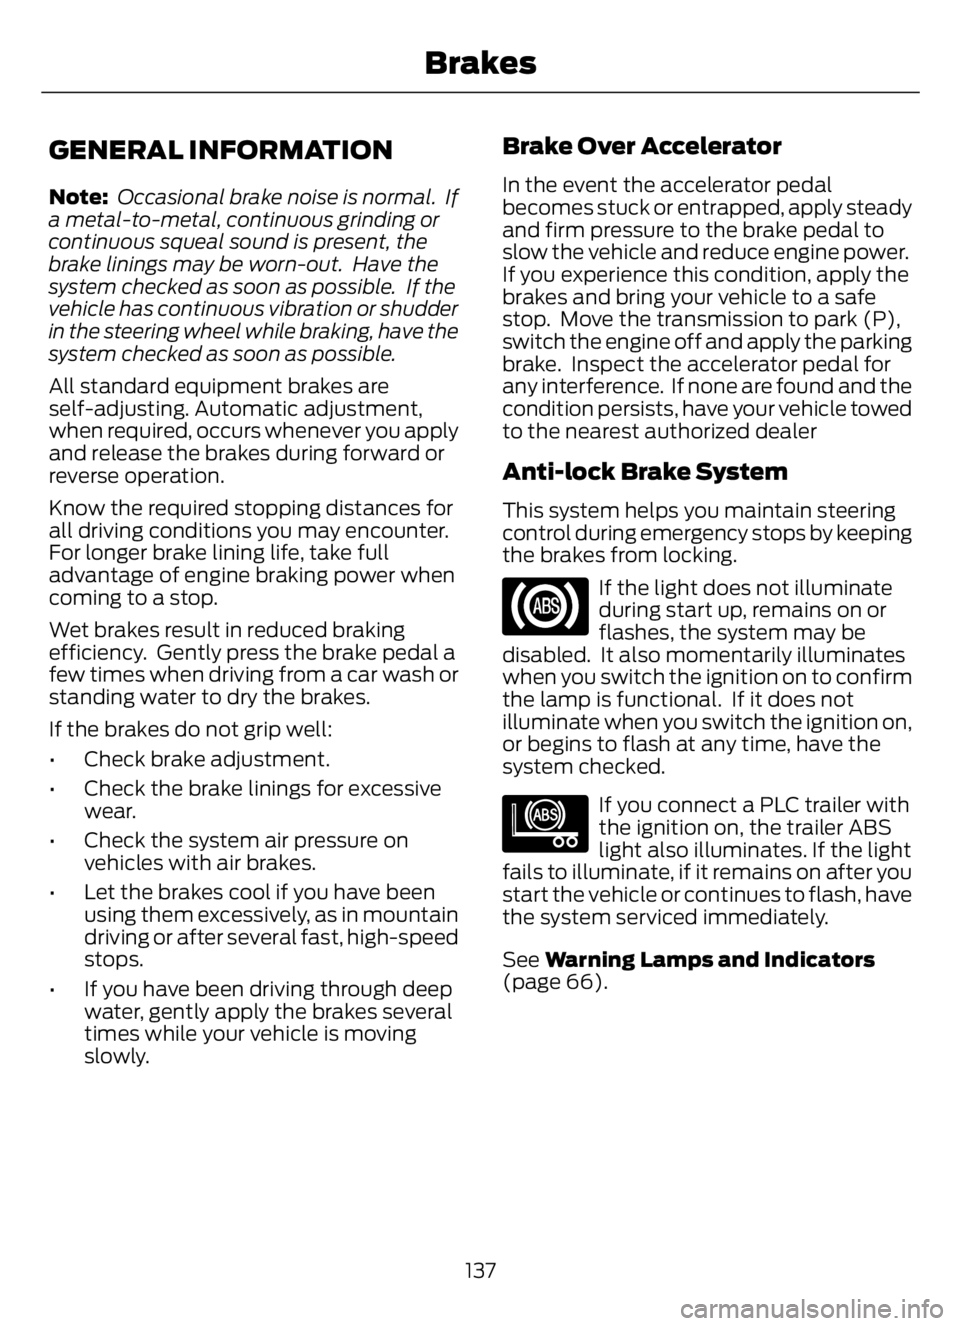
If the light does not illuminate
during start up, remains on or
flashes, the system may be
disabled. It also momentarily illuminates
when you switch the ignition on to confirm
the lamp is functional. If it does not
illuminate when you switch the ignition on,
or begins to flash at any time, have the
system checked.
E210335
If you connect a PLC trailer with
the ignition on, the trailer ABS
light also illuminates. If the light
fails to illuminate, if it remains on after you
start the vehicle or continues to flash, have
the system serviced immediately.
See Warning Lamps and Indicators
(page 66).
137
Brakes