engine FORD F750 2001 10.G Repair Manual
[x] Cancel search | Manufacturer: FORD, Model Year: 2001, Model line: F750, Model: FORD F750 2001 10.GPages: 240, PDF Size: 1.3 MB
Page 166 of 240
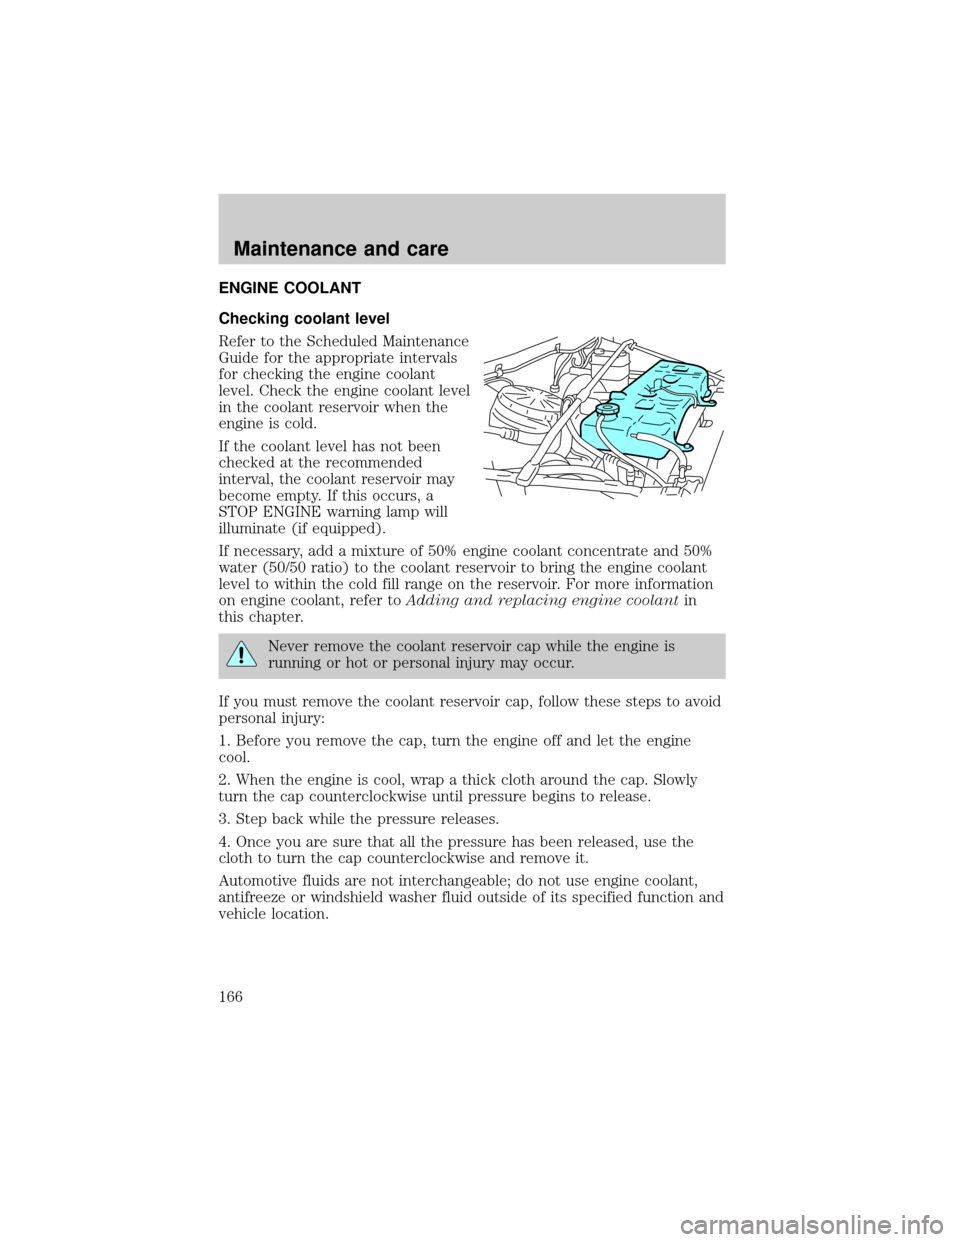
ENGINE COOLANT
Checking coolant level
Refer to the Scheduled Maintenance
Guide for the appropriate intervals
for checking the engine coolant
level. Check the engine coolant level
in the coolant reservoir when the
engine is cold.
If the coolant level has not been
checked at the recommended
interval, the coolant reservoir may
become empty. If this occurs, a
STOP ENGINE warning lamp will
illuminate (if equipped).
If necessary, add a mixture of 50% engine coolant concentrate and 50%
water (50/50 ratio) to the coolant reservoir to bring the engine coolant
level to within the cold fill range on the reservoir. For more information
on engine coolant, refer toAdding and replacing engine coolantin
this chapter.
Never remove the coolant reservoir cap while the engine is
running or hot or personal injury may occur.
If you must remove the coolant reservoir cap, follow these steps to avoid
personal injury:
1. Before you remove the cap, turn the engine off and let the engine
cool.
2. When the engine is cool, wrap a thick cloth around the cap. Slowly
turn the cap counterclockwise until pressure begins to release.
3. Step back while the pressure releases.
4. Once you are sure that all the pressure has been released, use the
cloth to turn the cap counterclockwise and remove it.
Automotive fluids are not interchangeable; do not use engine coolant,
antifreeze or windshield washer fluid outside of its specified function and
vehicle location.
Maintenance and care
166
Page 167 of 240
Adding and replacing engine coolant-7.3L Power Stroke Cummins
B and Caterpillar 3126 B engines
Refer to the Scheduled Maintenance Guide for service intervals of the
engine cooling system.
Use Ford Premium Engine Coolant E2FZ-19549±AA (in Canada,
MotorcraftCXC-10 ) or a premium engine coolant that meets Ford
specification ESE-M97B44±A. Do not use alcohol or methanol antifreeze.
The use of an improper coolant may cause cooling system and/or engine
damage and may void the warranty of your vehicle's engine cooling
system.
A mixture of 50% engine coolant concentrate and 50% water (50/50
ratio) is recommended to maintain best overall cooling system
performance. A 60/40 antifreeze to water ratio is acceptable for
extremely cold climates, but the coolant and water mixture must be
returned to a 50/50 ratio at the end of the winter season. To avoid
damaging the cooling system and engine, the coolant and water mixture
should never exceed a 60/40 antifreeze to water ratio.
Operating the engine with insufficient coolant can cause severe
cooling system and engine damage.
When refilling the engine cooling system as part of regular maintenance
or due to service, adhere to the following instructions:
1. Drain and flush the cooling system to remove dirt deposits, oil and
rust particles. Always dispose of used automotive fluids following your
community's standards.
2. Fill the coolant reservoir with the specified coolant and water mixture
until the level stabilizes within the cold fill range.
3. Reinstall the coolant reservoir cap.
4. Start and idle the engine until the upper radiator hose is warm
(approximately 10±15 minutes). If the hose does not get warm, repeat
this step at a higher engine speed.
5. Once the hose is warm, shut the engine off.
6. Cautiously remove the coolant reservoir cap as previously described,
and add the specified coolant and water mixture until the level stabilizes
within the cold fill range of the coolant reservoir.
7. Reinstall the engine coolant reservoir cap.
Maintenance and care
167
Page 168 of 240
Adding and replacing engine coolant-Caterpillar 3126 B engine
Refer to the engine operator's manual for additional engine cooling
system information.
FAN CLUTCHES
Your vehicle's cooling system is equipped with a viscous variable speed
fan clutch.
²The fan clutch helps control cooling, increase performance, improve
fuel economy and reduce noise.
²The fan clutch is controlled by bimetallic spring sensors. Do not
tamper with these sensors as this may change their calibration or keep
the fan clutch from operating at all.
Stay clear of the fan/fan area while the engine is running or
possible personal injury may occur.
CHECKING AND ADDING POWER STEERING FLUID
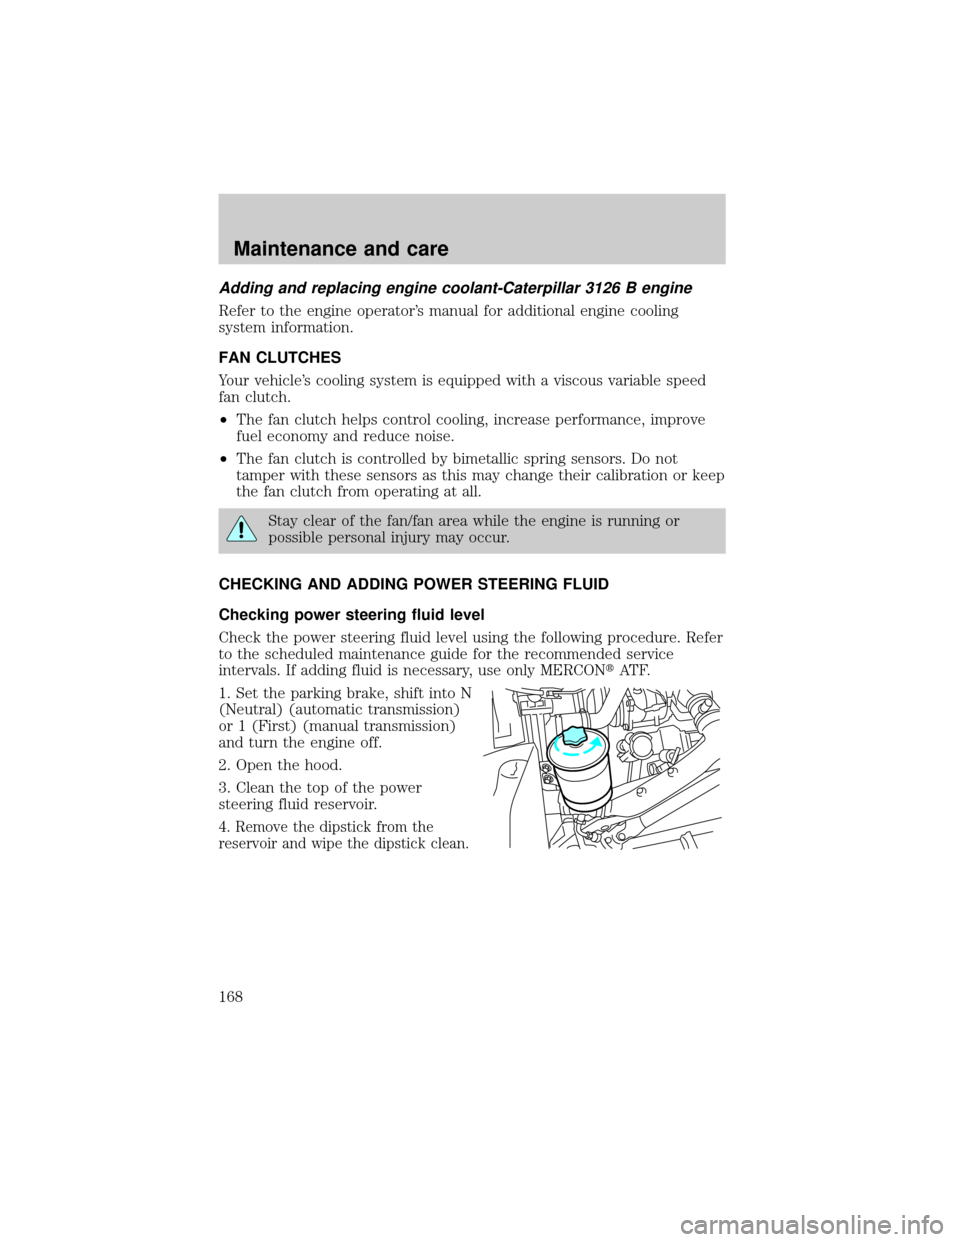
Checking power steering fluid level
Check the power steering fluid level using the following procedure. Refer
to the scheduled maintenance guide for the recommended service
intervals. If adding fluid is necessary, use only MERCONtAT F.
1. Set the parking brake, shift into N
(Neutral) (automatic transmission)
or 1 (First) (manual transmission)
and turn the engine off.
2. Open the hood.
3. Clean the top of the power
steering fluid reservoir.
4. Remove the dipstick from the
reservoir and wipe the dipstick clean.
Maintenance and care
168
Page 170 of 240

Transmission fluid level should be checked by your dealer or a qualified
service technician.
If you must add transmission fluid, make sure the correct type of fluid is
being used. The type of fluid used is indicated in your Allison Automatic
Transmission Operator's Manual.
Use of a non-approved automatic transmission fluid may cause
internal transmission component damage.
Manual transmission fluid
Refer to your scheduled maintenance guide for transmission fluid level
checks and fluid change intervals.
Your manual transmission may be filled with an optional synthetic fluid
which allows the use of extended service intervals. A tag on the filler
plug will identify the use of the synthetic fluid.
Use only fluid that meets Ford specifications (refer toLubricant
specificationsin theCapacities and specificationchapter).
Use of a non-approved transmission fluid may cause internal
transmission component damage.
For location of the transmission filler plug, refer to your transmission
operator's manual orTransmission Refill Capacitiesin theCapacities
and specificationschapter.
Check your transmission fluid level using the following procedure:
1. Park the vehicle on level ground.
2. Set the parking brake and shift into 1 (First) and turn the engine off.
3. Clean any dirt from around the filler plug.
4. Remove the filler plug and inspect the fluid level.
5. The fluid level should be up to the bottom of the filler plug opening.
6. If necessary, add enough fluid through the filler plug opening so that
the fluid level is at the bottom of the opening.
7. Clean and install the filler plug securely.
Drain and refill your transmission fluid using the following procedure:
1. Drain the transmission while the fluid is warm.
2. Park the vehicle on level ground.
3. Set the parking brake and shift into 1 (First) and turn the engine off.
Maintenance and care
170
Page 171 of 240
4. Clean any dirt from around the filler and drain plugs.
5. Remove the filler and drain plugs and drain the fluid into a suitable
container. Dispose all used automotive fluids in a responsible manner
following your local authorized standards.
6. Clean and install the drain plug securely.
7. Add enough fluid through the filler plug opening so that the fluid level
is up to the bottom of the opening.
8. Clean and install the filler plug securely.
REAR AXLE LUBRICANT
Refer to your Scheduled Maintenance Guide for rear axle lubricant level
checks and lubricant change intervals.
Your rear axle may be filled with an optional synthetic lubricant which
allows the use of extended service intervals. A tag on the filler plug will
identify the use of the synthetic lubricant.
Use only a lubricant that meets Ford specifications (refer toLubricant
specificationsin theCapacities and specificationchapter).
Use of a non-approved rear axle lubricant may cause internal axle
component damage.
Check your rear axle lubricant level using the following procedure:
1. Park the vehicle on level ground.
2. Set the parking brake and shift into N (Neutral) (automatic
transmission) or 1 (First) (manual transmission) and turn the engine off.
3. Clean any dirt from around the rear axle filler plug.
4. Remove the filler plug and inspect the lubricant level.
5. The lubricant level should be up to the bottom of the filler plug
opening.
6. If necessary, add enough lubricant through the filler plug opening so
that the lubricant level is at the bottom of the opening.
7. Clean and install the filler plug securely.
Drain and refill your rear axle lubricant using the following procedure:
1. Drain the rear axle while the lubricant is warm.
2. Park the vehicle on level ground.
Maintenance and care
171
Page 172 of 240
3. Set the parking brake and shift into N (Neutral) (automatic
transmission) or 1 (First) (manual transmission) and turn the engine off.
4. Clean any dirt from around the rear axle filler and drain plugs.
5. Remove the filler and drain plugs and drain the lubricant into a
suitable container. Dispose all used automotive fluids in a responsible
manner following your local authorized standards.
6. Clean and install the drain plug securely.
7. Add enough lubricant through the filler plug opening so that the
lubricant level is up to the bottom of the opening.
8. Clean and install the filler plug securely.
BATTERY
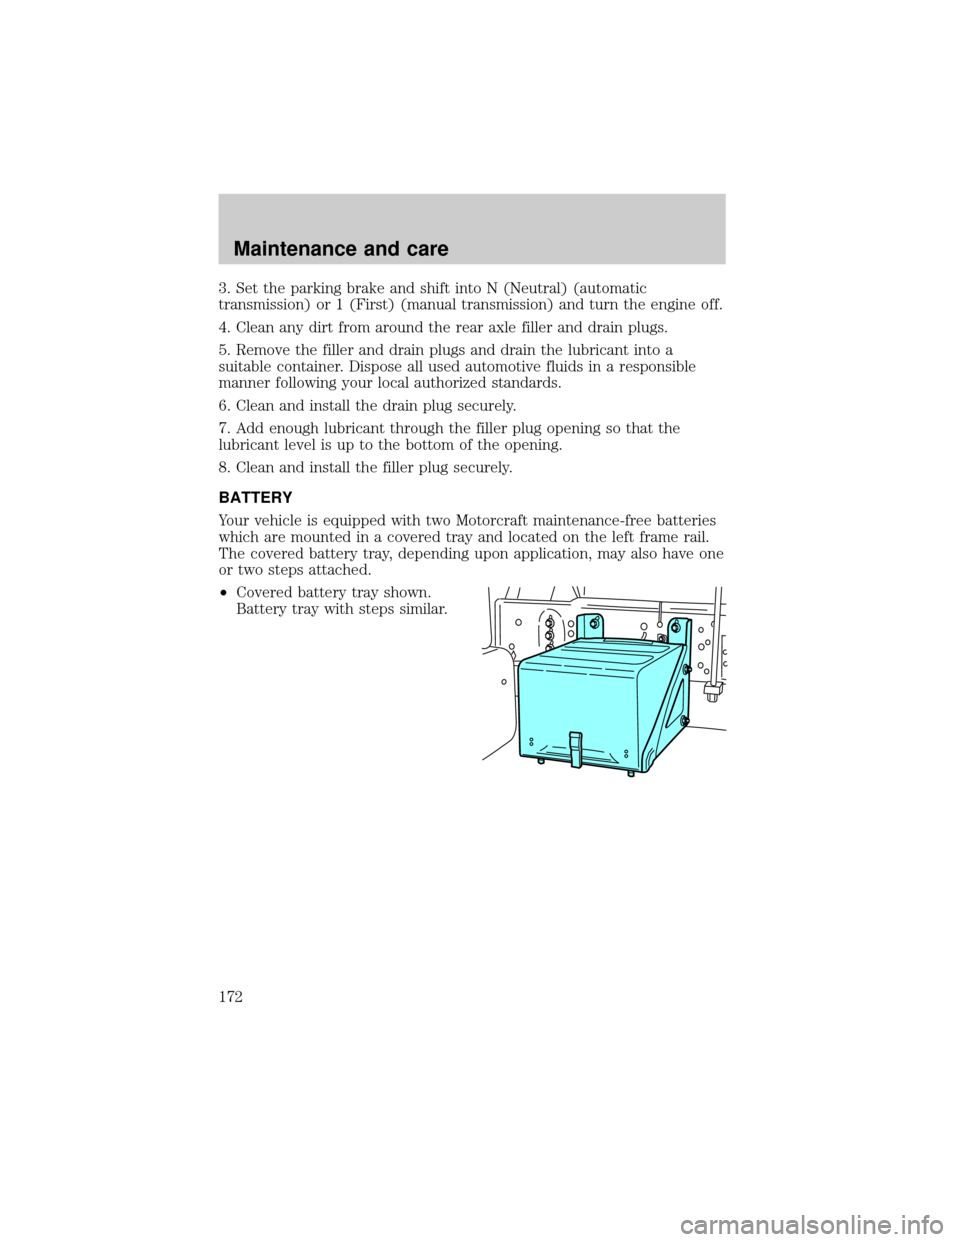
Your vehicle is equipped with two Motorcraft maintenance-free batteries
which are mounted in a covered tray and located on the left frame rail.
The covered battery tray, depending upon application, may also have one
or two steps attached.
²Covered battery tray shown.
Battery tray with steps similar.
Maintenance and care
172
Page 175 of 240
Servicing the air filter
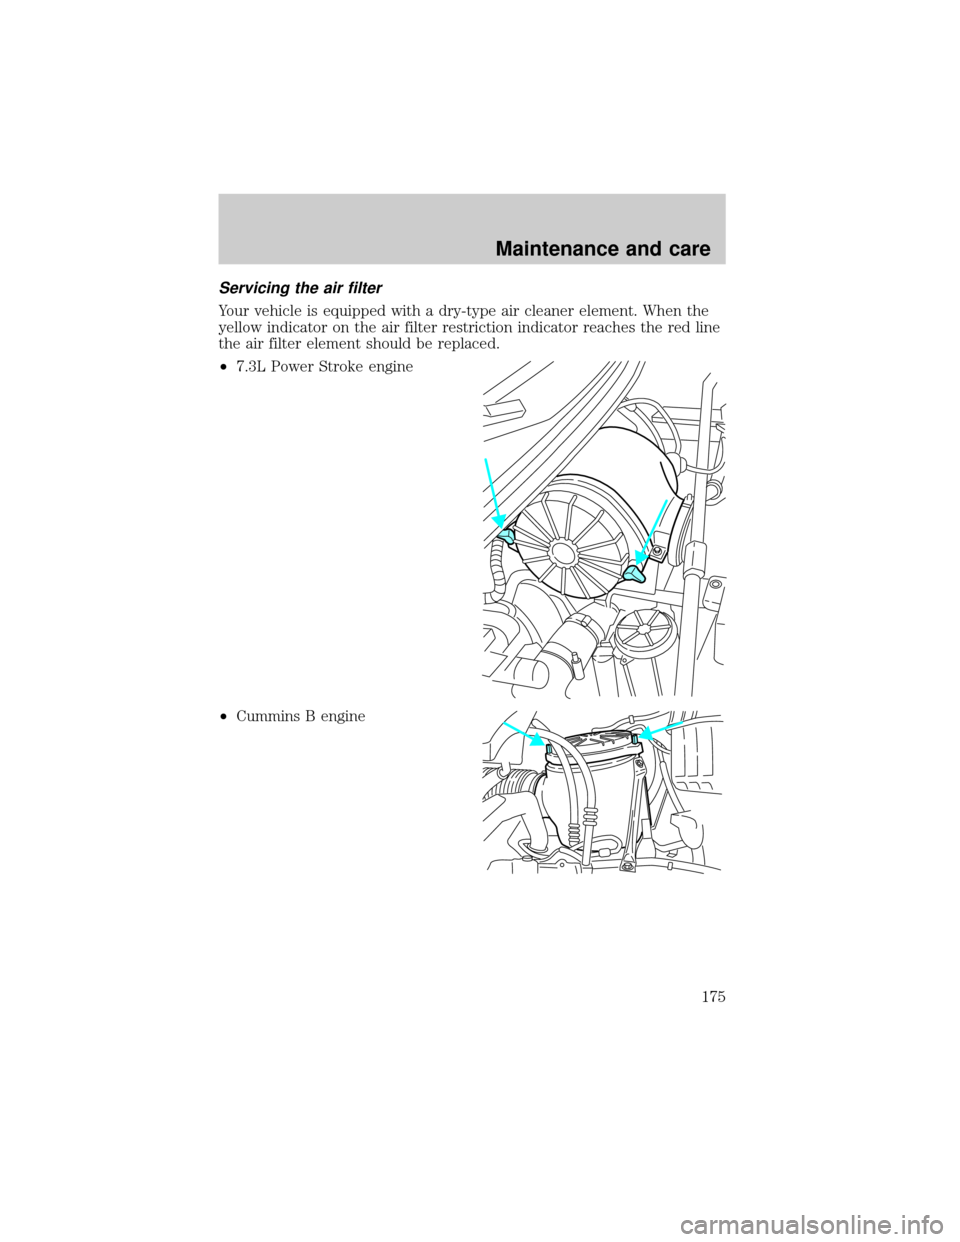
Your vehicle is equipped with a dry-type air cleaner element. When the
yellow indicator on the air filter restriction indicator reaches the red line
the air filter element should be replaced.
²7.3L Power Stroke engine
²Cummins B engine
Maintenance and care
175
Page 176 of 240
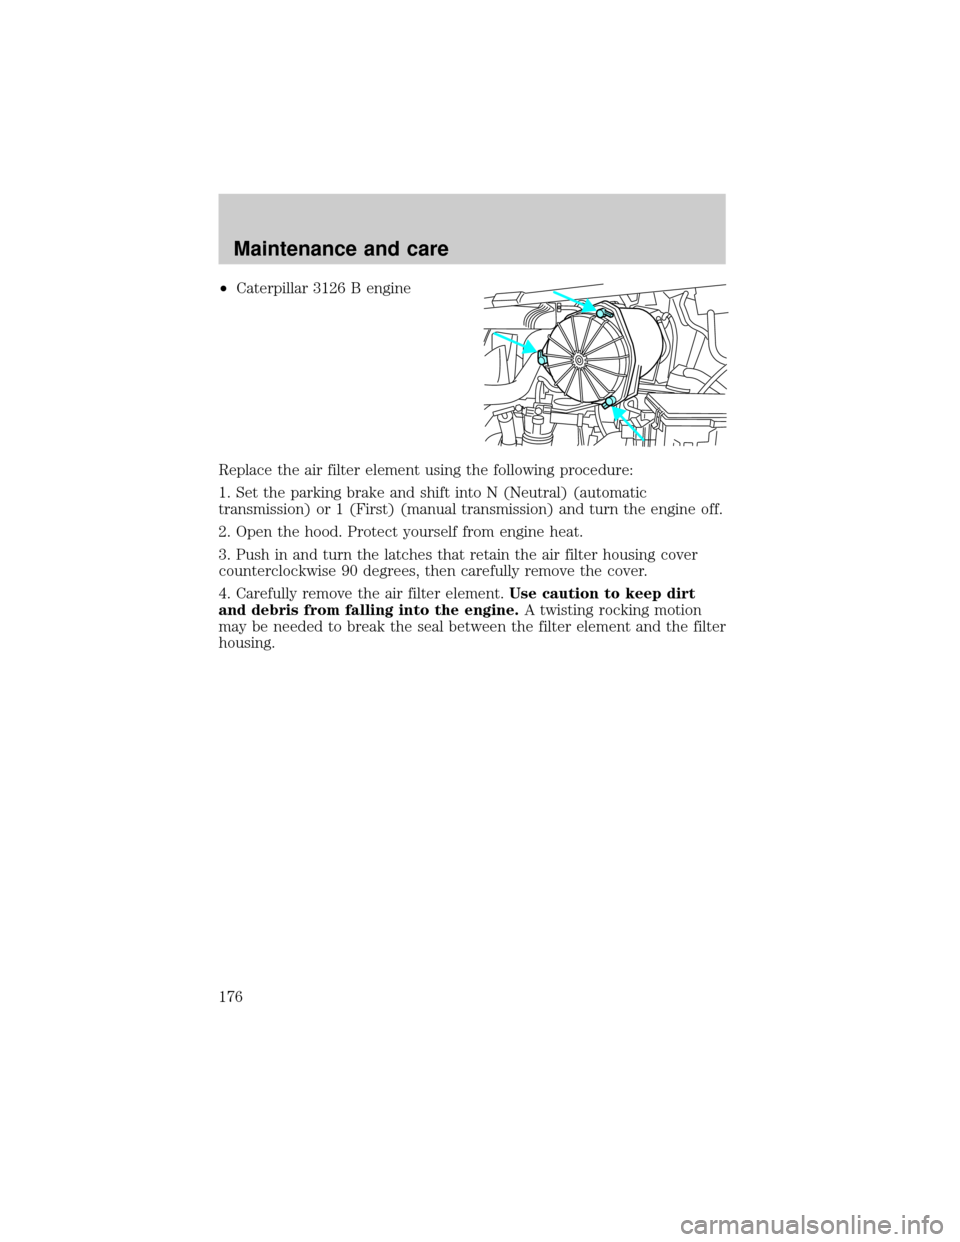
²Caterpillar 3126 B engine
Replace the air filter element using the following procedure:
1. Set the parking brake and shift into N (Neutral) (automatic
transmission) or 1 (First) (manual transmission) and turn the engine off.
2. Open the hood. Protect yourself from engine heat.
3. Push in and turn the latches that retain the air filter housing cover
counterclockwise 90 degrees, then carefully remove the cover.
4. Carefully remove the air filter element.Use caution to keep dirt
and debris from falling into the engine.A twisting rocking motion
may be needed to break the seal between the filter element and the filter
housing.
Maintenance and care
176
Page 177 of 240
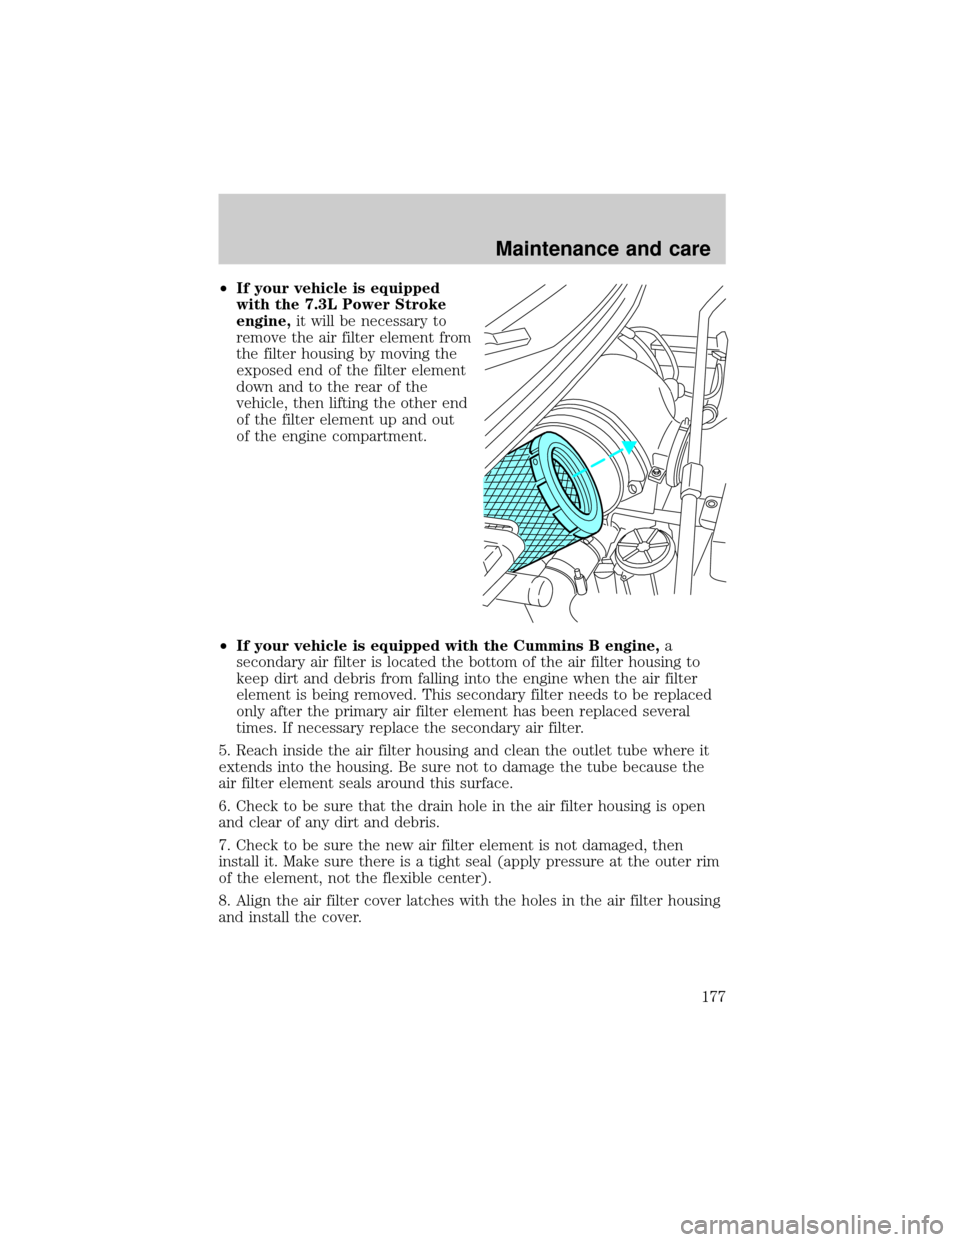
²If your vehicle is equipped
with the 7.3L Power Stroke
engine,it will be necessary to
remove the air filter element from
the filter housing by moving the
exposed end of the filter element
down and to the rear of the
vehicle, then lifting the other end
of the filter element up and out
of the engine compartment.
²If your vehicle is equipped with the Cummins B engine,a
secondary air filter is located the bottom of the air filter housing to
keep dirt and debris from falling into the engine when the air filter
element is being removed. This secondary filter needs to be replaced
only after the primary air filter element has been replaced several
times. If necessary replace the secondary air filter.
5. Reach inside the air filter housing and clean the outlet tube where it
extends into the housing. Be sure not to damage the tube because the
air filter element seals around this surface.
6. Check to be sure that the drain hole in the air filter housing is open
and clear of any dirt and debris.
7. Check to be sure the new air filter element is not damaged, then
install it. Make sure there is a tight seal (apply pressure at the outer rim
of the element, not the flexible center).
8. Align the air filter cover latches with the holes in the air filter housing
and install the cover.
Maintenance and care
177
Page 179 of 240
SERVICING YOUR WHEELS AND TIRES
Wheel assembly
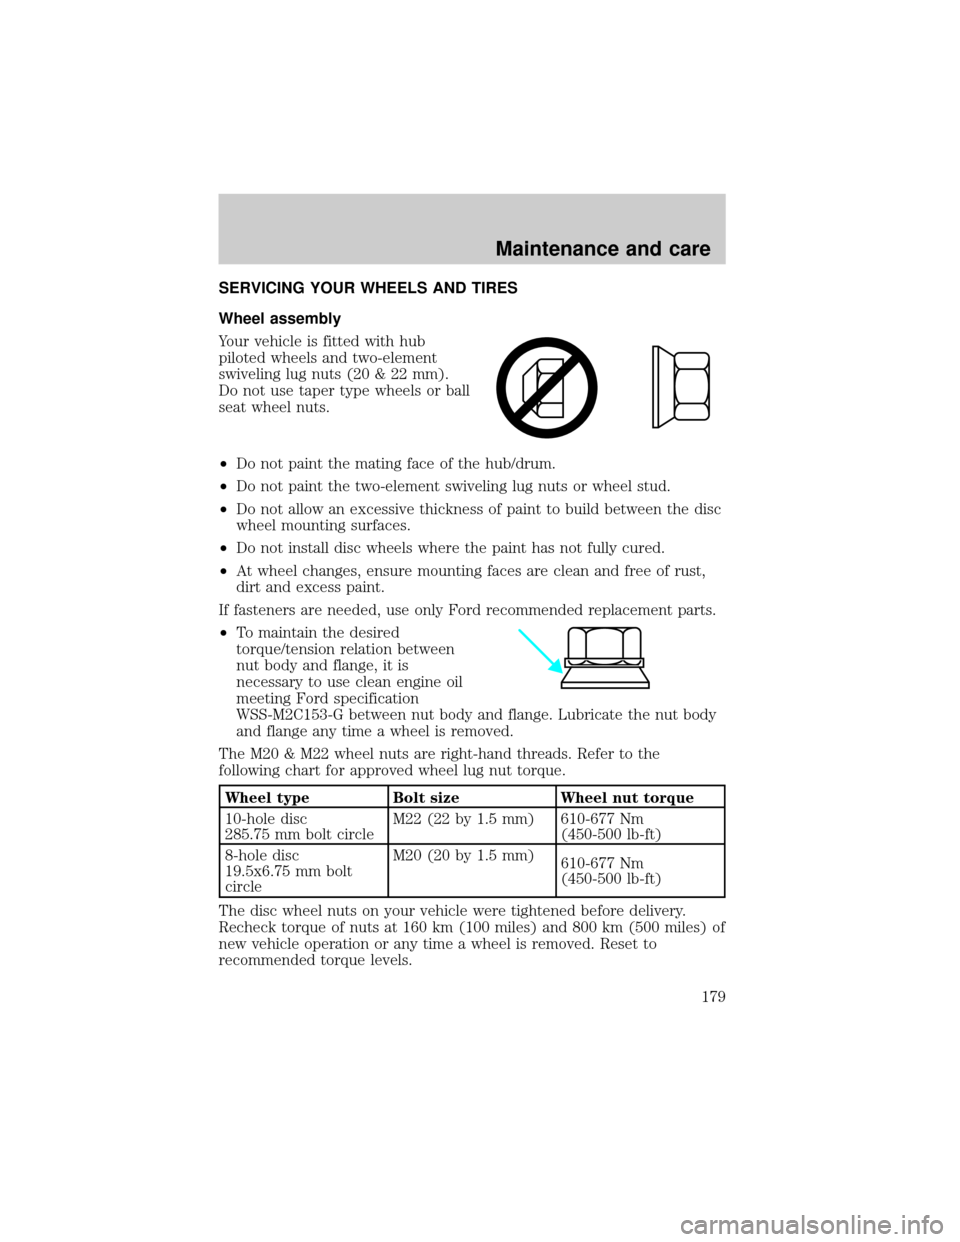
Your vehicle is fitted with hub
piloted wheels and two-element
swiveling lug nuts (20 & 22 mm).
Do not use taper type wheels or ball
seat wheel nuts.
²Do not paint the mating face of the hub/drum.
²Do not paint the two-element swiveling lug nuts or wheel stud.
²Do not allow an excessive thickness of paint to build between the disc
wheel mounting surfaces.
²Do not install disc wheels where the paint has not fully cured.
²At wheel changes, ensure mounting faces are clean and free of rust,
dirt and excess paint.
If fasteners are needed, use only Ford recommended replacement parts.
²To maintain the desired
torque/tension relation between
nut body and flange, it is
necessary to use clean engine oil
meeting Ford specification
WSS-M2C153-G between nut body and flange. Lubricate the nut body
and flange any time a wheel is removed.
The M20 & M22 wheel nuts are right-hand threads. Refer to the
following chart for approved wheel lug nut torque.
Wheel type Bolt size Wheel nut torque
10-hole disc
285.75 mm bolt circleM22 (22 by 1.5 mm) 610-677 Nm
(450-500 lb-ft)
8-hole disc
19.5x6.75 mm bolt
circleM20 (20 by 1.5 mm)
610-677 Nm
(450-500 lb-ft)
The disc wheel nuts on your vehicle were tightened before delivery.
Recheck torque of nuts at 160 km (100 miles) and 800 km (500 miles) of
new vehicle operation or any time a wheel is removed. Reset to
recommended torque levels.
Maintenance and care
179