transmission FORD F750 2006 11.G User Guide
[x] Cancel search | Manufacturer: FORD, Model Year: 2006, Model line: F750, Model: FORD F750 2006 11.GPages: 272, PDF Size: 1.86 MB
Page 95 of 272
disengage the clutch and try to increase engine RPM as this may damage
driveline components. The engine will recover as the vehicle begins
moving.
Engine shutdown
Allow the engine to idle for three to five minutes before shutting it
down. The larger the engine, the greater the need for this idling period.
However, do not let the engine idle for more than 10 minutes.
Restarting after running out of fuel
The fuel system may need to be purged of air, refer toRunning out of
fuelin theMaintenance and Specificationschapter.
General operating instructions
•Avoid extended and unnecessary idling.
•Start the vehicle in motion by using the highest gear speed in the
transmission that will let the engine easily start the load without
slipping the clutch.
•Accelerate smoothly and evenly; rapid acceleration increases fuel
consumption without increasing engine performance.
•When approaching a hill, depress the accelerator smoothly to start the
incline at full power, then shift down as needed to maintain vehicle
speed.
•When going down a hill, or long steep grades, prevent over-speeding
of the engine. The engine governor has no control over engine speed
when it is being pushed by a loaded vehicle.
•Always shift to a lower gear at high altitudes to prevent engine
smoking.
•Operate in a gear that will permit an engine speed not in excess of the
maximum governed speed or high-idle RPM (no load).
•Normally, choose the same gear to descend the hill that you would use
to ascend the hill.
All vehicles have blind spots. To reduce the risk of severe injury
or property damage, never move your vehicle to the side or rear
or change lanes without being sure your way is clear on both sides and
to your rear.
2006 F-650/750(f67)
Supplement
USA(fus)
Driving
95
Page 96 of 272
Backing up
To reduce the risk of the possibility of personal injury while
backing the vehicle, always be sure your vehicle’s path is clear.
Before backing your vehicle, be sure you can do so safely. If anything
behind the cab limits your view, do not rely on mirrors alone to ensure
that your intended path is clear. If other people are in the vicinity, have
someone standing well behind your vehicle and outside of your intended
path (visible through an exterior mirror) guide you as you back up.
Although OSHA or some governmental regulations may require the use
of an electrical or mechanical back-up alarm to warn bystanders, such an
alarm does not ensure that the intended path is clear. When in doubt,
get out of the vehicle and visually check the intended path is clear;
back-up slowly as to allow others time to move, if necessary.
If an electrical back-up alarm is installed, it should be connected to the
back-up lamp circuit.
Parking your vehicle
Always use the parking brake. When parking on a grade, block the
wheels and turn the front wheels to one side so that if the vehicle rolls,
the front tires will act against the curb to stop the vehicle. The front
wheels will be more effective at stopping a rolling vehicle than the rear
wheels.
When parking your vehicle, do not leave the transmission in
gear; if the key is in the ON position and the vehicle rolls, the
engine could start. Failure to follow these instructions could result in
an unattended vehicle moving, possibly causing personal injury or
property damage.
Driving through water
If driving through deep or standing water is unavoidable, proceed very
slowly especially if the depth is not known. Never drive through water
that is higher than the bottom of the hubs (for trucks) or the bottom of
the wheel rims (for cars). Traction or brake capability may be limited
and your vehicle may stall. Water may also enter your engine’s air intake
and severely damage your engine, drive axles or the transmission
(through the breather ports).
Once through the water, always dry the brakes by moving your vehicle
slowly while applying light pressure on the brake pedal. Wet brakes do
not stop the vehicle as quickly as dry brakes.
2006 F-650/750(f67)
Supplement
USA(fus)
Driving
96
Page 100 of 272
Parking brake
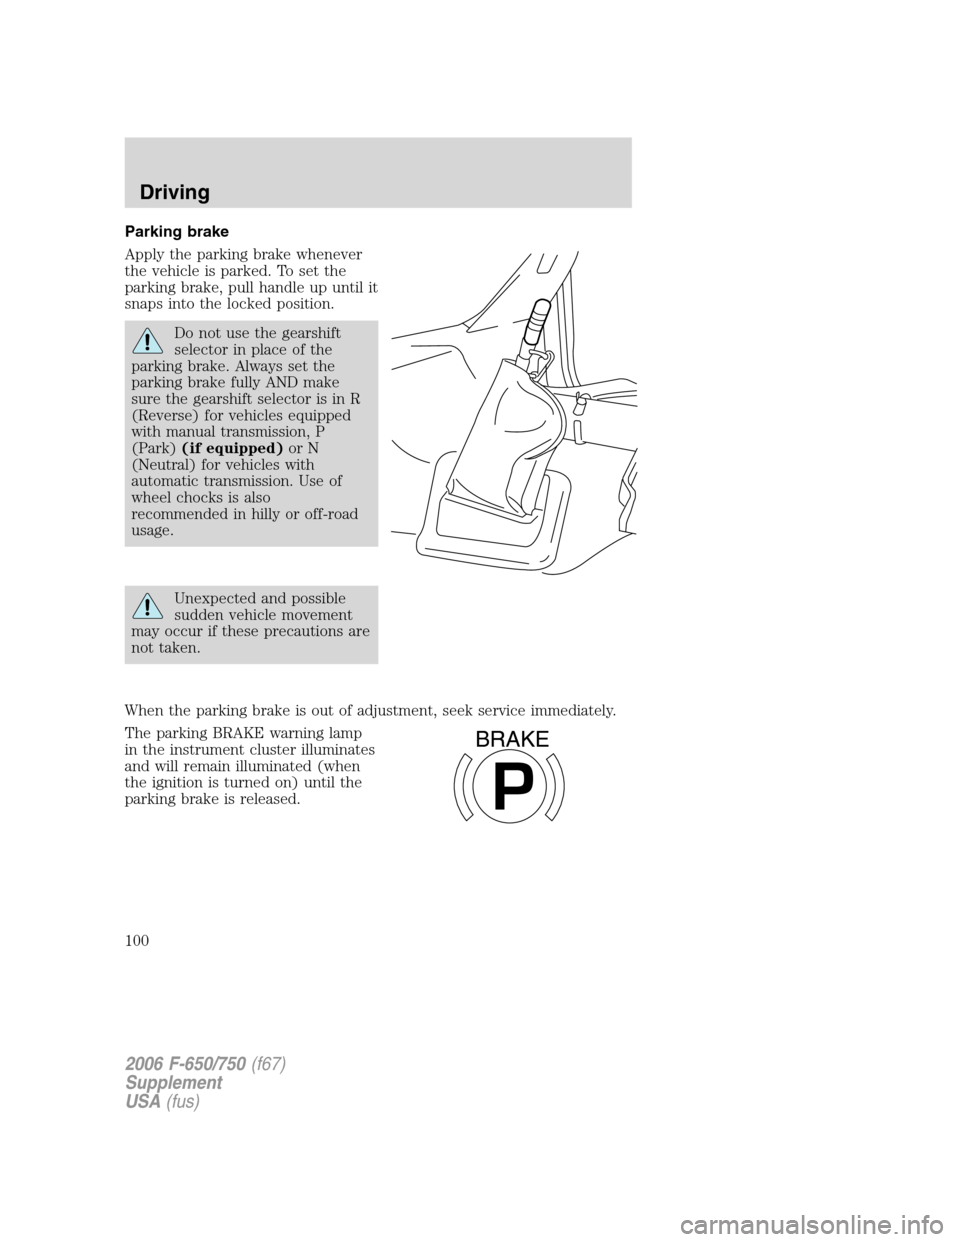
Apply the parking brake whenever
the vehicle is parked. To set the
parking brake, pull handle up until it
snaps into the locked position.
Do not use the gearshift
selector in place of the
parking brake. Always set the
parking brake fully AND make
sure the gearshift selector is in R
(Reverse) for vehicles equipped
with manual transmission, P
(Park)(if equipped)or N
(Neutral) for vehicles with
automatic transmission. Use of
wheel chocks is also
recommended in hilly or off-road
usage.
Unexpected and possible
sudden vehicle movement
may occur if these precautions are
not taken.
When the parking brake is out of adjustment, seek service immediately.
The parking BRAKE warning lamp
in the instrument cluster illuminates
and will remain illuminated (when
the ignition is turned on) until the
parking brake is released.
P
BRAKE
2006 F-650/750(f67)
Supplement
USA(fus)
Driving
100
Page 102 of 272
Releasing the parking brake
Note:Read and understand the following steps and perform them
whenever you prepare to drive the vehicle.
Note:The parking brake will not disengage unless sufficient system air
pressure is available.
For vehicles with automatic transmissions - dash-mounted push
button (Allison 3000 Series) and steering column-mounted (Allison
2200 and 2500) gear selection:
1. With the engine running, depress and hold the service brake pedal.
2. Wait until system air pressure is above 100 psi (690 kPa).
3. Select the appropriate drive gear.
4. Push the yellow, dash-mounted parking brake knob.
For vehicles with manual transmissions - (TTC 7–speed,
Eaton/Fuller 5–speed, 6–speed and 10–speed):
1. With the engine running, depress and hold the service brake pedal.
2. Wait until system air pressure is above 100 psi (690 kPa).
3. Depress and hold the clutch pedal.
4. Select the appropriate drive gear.
5. Push the yellow, dash-mounted parking brake knob.
Hold the brake pedal down while moving the gearshift lever from
position to position. If the brake pedal is not held down, the
vehicle may move unexpectedly resulting in property damage, personal
injury or death.
Parking brake light illumination due to low air pressure
If at any time during vehicle operation air pressure is too low, the
parking brake may apply and the parking brake light will turn on.
If the parking brake is applied due to low air pressure, immediate service
is required to the parking brake system.
Parking brake warning system
If the park brake light blinks and a chime sounds when pulling the yellow
control knob out, this indicates the parking brake is not functioning
properly; seek service for the parking brake immediately.
The light will blink and the chime will sound until the yellow control
knob is pushed in or approximately eight minutes have passed. If the
2006 F-650/750(f67)
Supplement
USA(fus)
Driving
102
Page 106 of 272
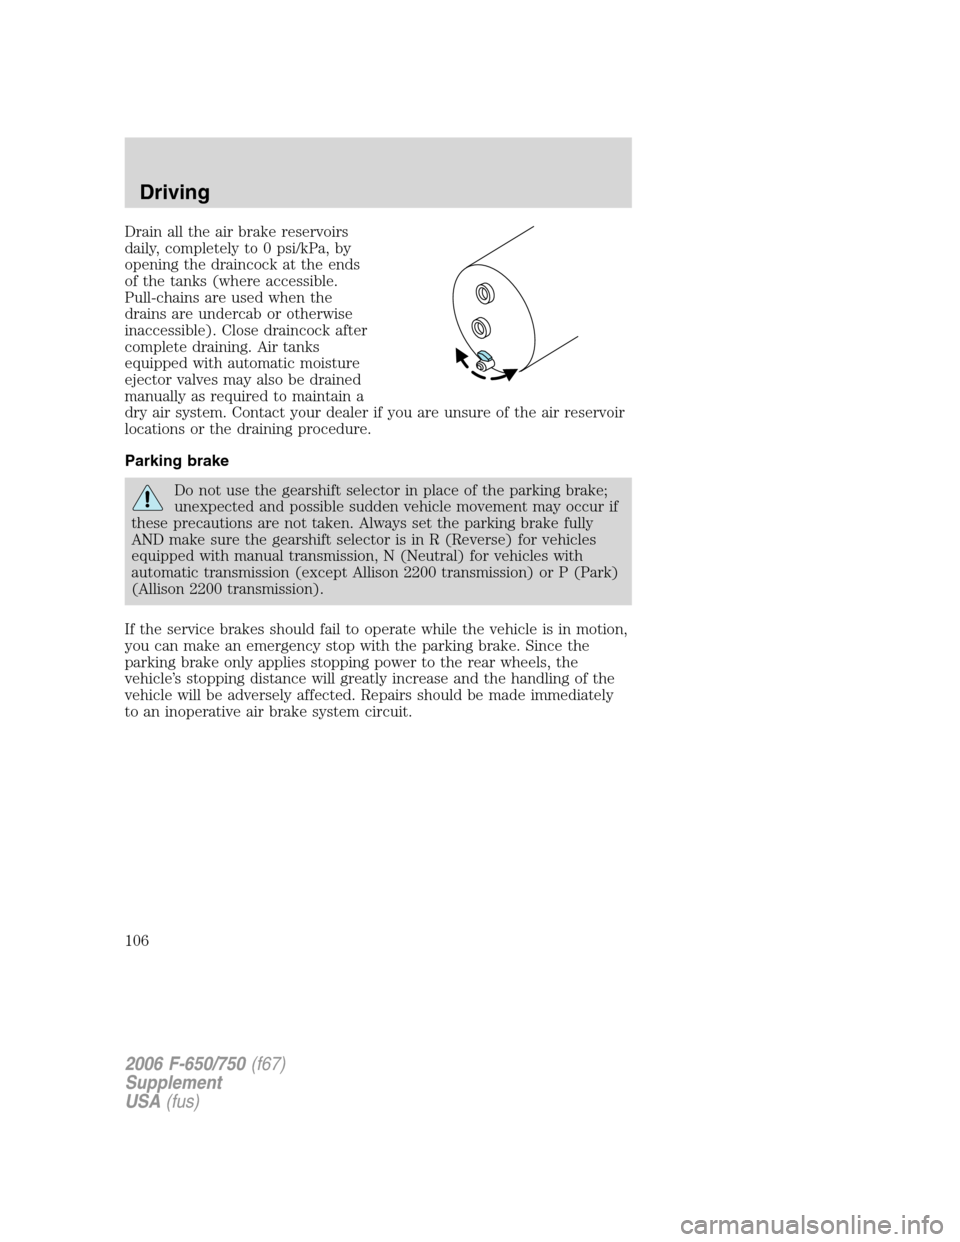
Drain all the air brake reservoirs
daily, completely to 0 psi/kPa, by
opening the draincock at the ends
of the tanks (where accessible.
Pull-chains are used when the
drains are undercab or otherwise
inaccessible). Close draincock after
complete draining. Air tanks
equipped with automatic moisture
ejector valves may also be drained
manually as required to maintain a
dry air system. Contact your dealer if you are unsure of the air reservoir
locations or the draining procedure.
Parking brake
Do not use the gearshift selector in place of the parking brake;
unexpected and possible sudden vehicle movement may occur if
these precautions are not taken. Always set the parking brake fully
AND make sure the gearshift selector is in R (Reverse) for vehicles
equipped with manual transmission, N (Neutral) for vehicles with
automatic transmission (except Allison 2200 transmission) or P (Park)
(Allison 2200 transmission).
If the service brakes should fail to operate while the vehicle is in motion,
you can make an emergency stop with the parking brake. Since the
parking brake only applies stopping power to the rear wheels, the
vehicle’s stopping distance will greatly increase and the handling of the
vehicle will be adversely affected. Repairs should be made immediately
to an inoperative air brake system circuit.
2006 F-650/750(f67)
Supplement
USA(fus)
Driving
106
Page 107 of 272
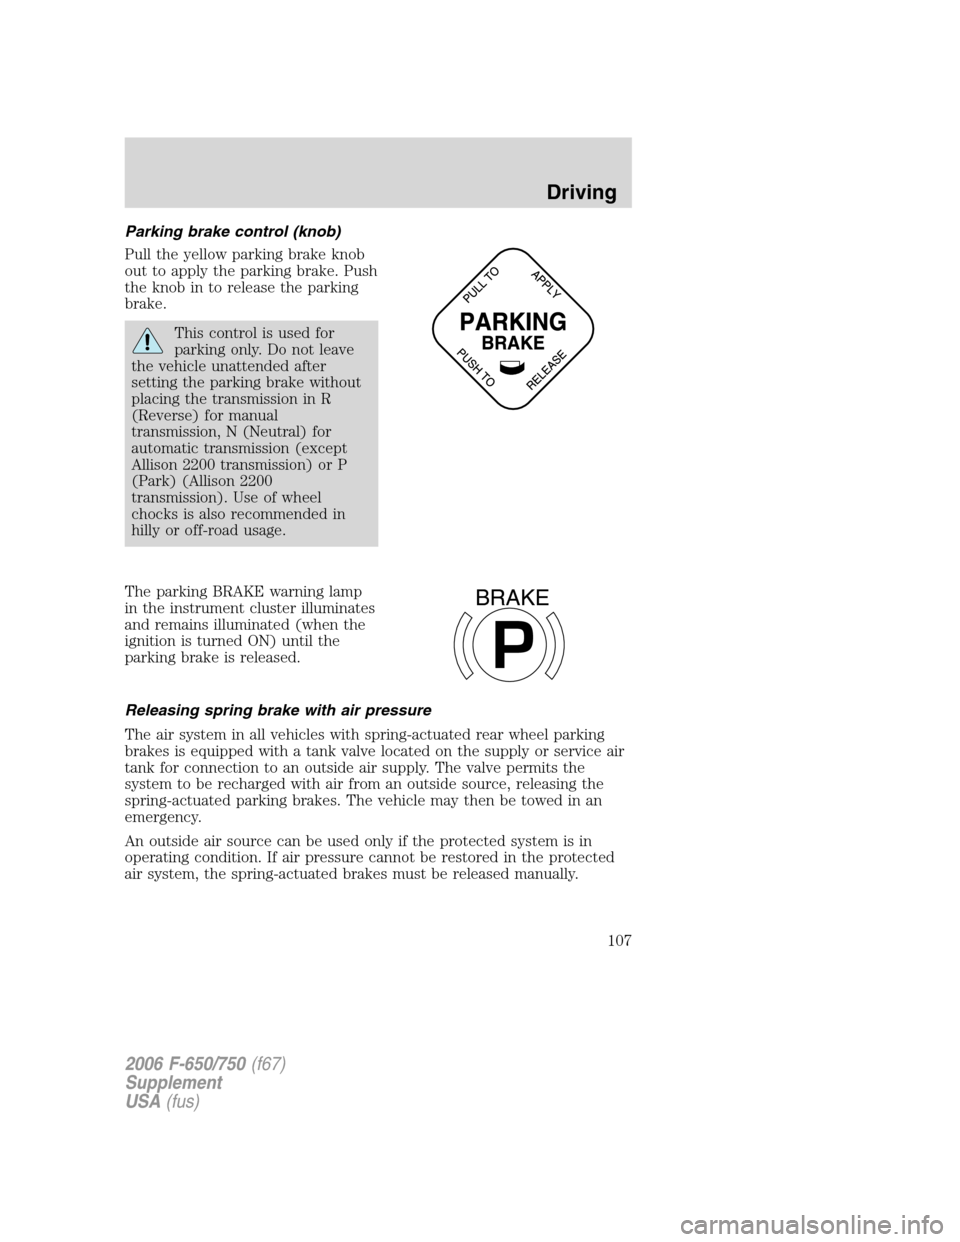
Parking brake control (knob)
Pull the yellow parking brake knob
out to apply the parking brake. Push
the knob in to release the parking
brake.
This control is used for
parking only. Do not leave
the vehicle unattended after
setting the parking brake without
placing the transmission in R
(Reverse) for manual
transmission, N (Neutral) for
automatic transmission (except
Allison 2200 transmission) or P
(Park) (Allison 2200
transmission). Use of wheel
chocks is also recommended in
hilly or off-road usage.
The parking BRAKE warning lamp
in the instrument cluster illuminates
and remains illuminated (when the
ignition is turned ON) until the
parking brake is released.
Releasing spring brake with air pressure
The air system in all vehicles with spring-actuated rear wheel parking
brakes is equipped with a tank valve located on the supply or service air
tank for connection to an outside air supply. The valve permits the
system to be recharged with air from an outside source, releasing the
spring-actuated parking brakes. The vehicle may then be towed in an
emergency.
An outside air source can be used only if the protected system is in
operating condition. If air pressure cannot be restored in the protected
air system, the spring-actuated brakes must be released manually.
P
BRAKE
2006 F-650/750(f67)
Supplement
USA(fus)
Driving
107
Page 110 of 272
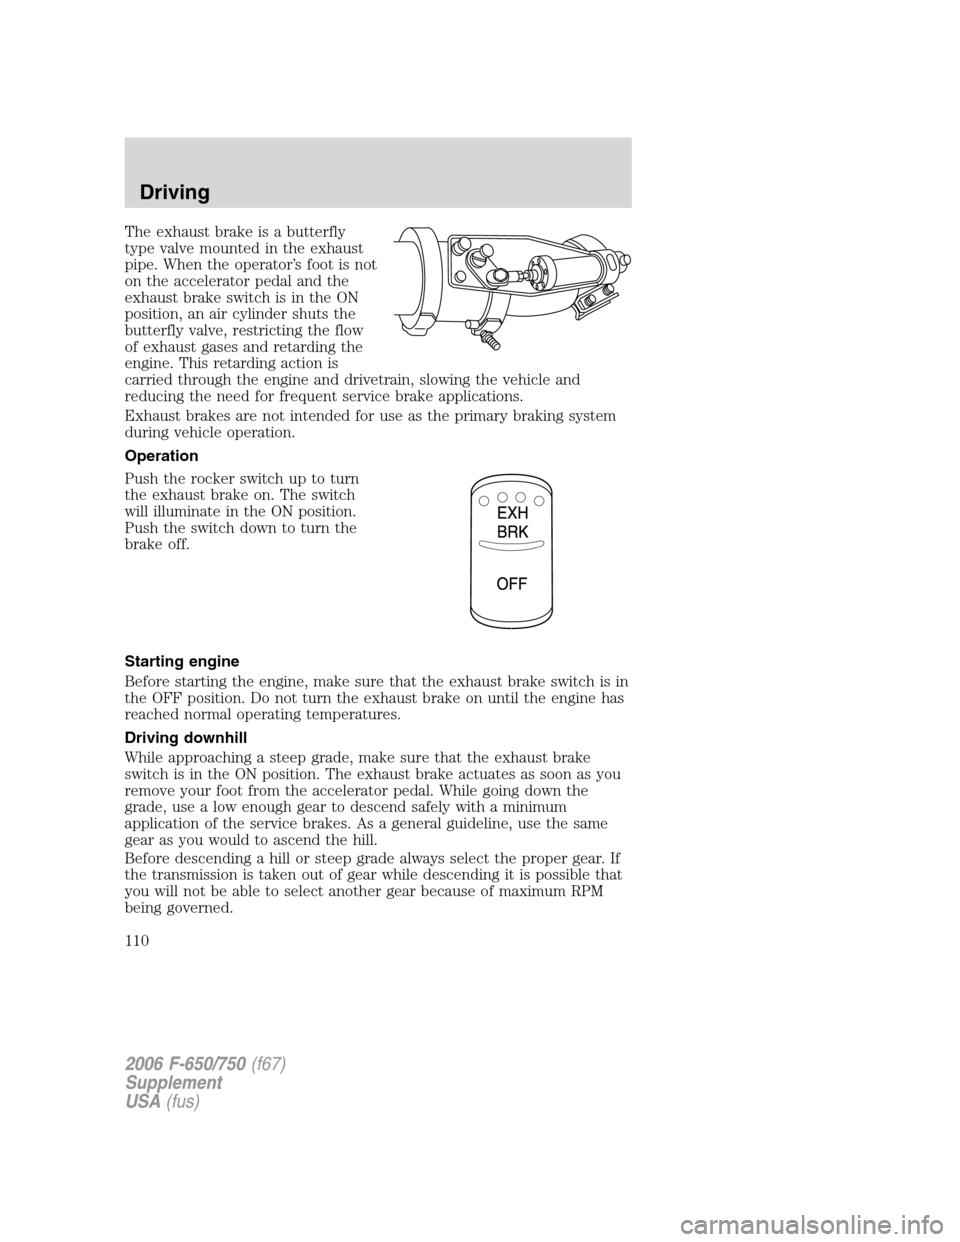
The exhaust brake is a butterfly
type valve mounted in the exhaust
pipe. When the operator’s foot is not
on the accelerator pedal and the
exhaust brake switch is in the ON
position, an air cylinder shuts the
butterfly valve, restricting the flow
of exhaust gases and retarding the
engine. This retarding action is
carried through the engine and drivetrain, slowing the vehicle and
reducing the need for frequent service brake applications.
Exhaust brakes are not intended for use as the primary braking system
during vehicle operation.
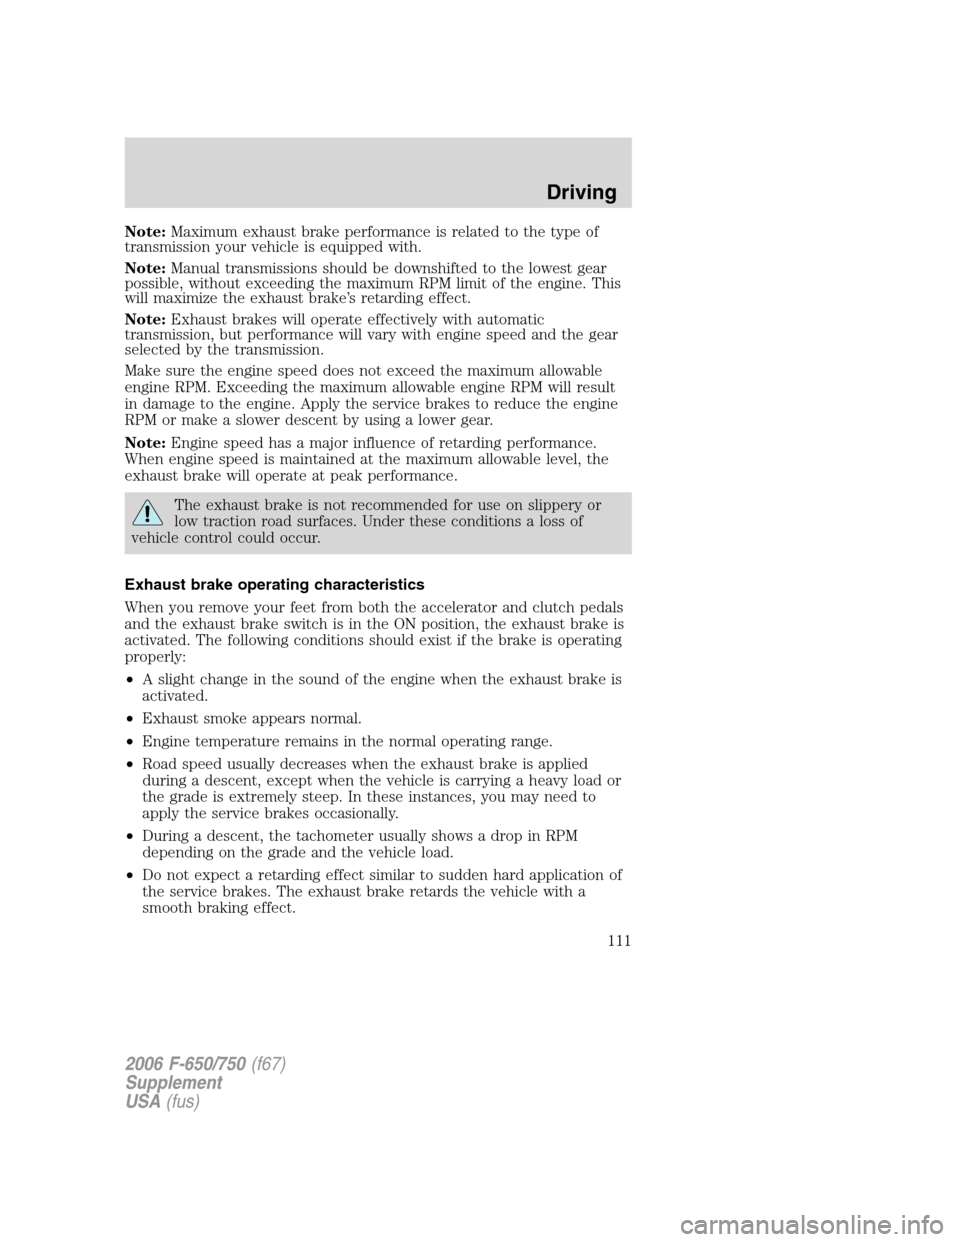
Operation
Push the rocker switch up to turn
the exhaust brake on. The switch
will illuminate in the ON position.
Push the switch down to turn the
brake off.
Starting engine
Before starting the engine, make sure that the exhaust brake switch is in
the OFF position. Do not turn the exhaust brake on until the engine has
reached normal operating temperatures.
Driving downhill
While approaching a steep grade, make sure that the exhaust brake
switch is in the ON position. The exhaust brake actuates as soon as you
remove your foot from the accelerator pedal. While going down the
grade, use a low enough gear to descend safely with a minimum
application of the service brakes. As a general guideline, use the same
gear as you would to ascend the hill.
Before descending a hill or steep grade always select the proper gear. If
the transmission is taken out of gear while descending it is possible that
you will not be able to select another gear because of maximum RPM
being governed.
2006 F-650/750(f67)
Supplement
USA(fus)
Driving
110
Page 111 of 272
Note:Maximum exhaust brake performance is related to the type of
transmission your vehicle is equipped with.
Note:Manual transmissions should be downshifted to the lowest gear
possible, without exceeding the maximum RPM limit of the engine. This
will maximize the exhaust brake’s retarding effect.
Note:Exhaust brakes will operate effectively with automatic
transmission, but performance will vary with engine speed and the gear
selected by the transmission.
Make sure the engine speed does not exceed the maximum allowable
engine RPM. Exceeding the maximum allowable engine RPM will result
in damage to the engine. Apply the service brakes to reduce the engine
RPM or make a slower descent by using a lower gear.
Note:Engine speed has a major influence of retarding performance.
When engine speed is maintained at the maximum allowable level, the
exhaust brake will operate at peak performance.
The exhaust brake is not recommended for use on slippery or
low traction road surfaces. Under these conditions a loss of
vehicle control could occur.
Exhaust brake operating characteristics
When you remove your feet from both the accelerator and clutch pedals
and the exhaust brake switch is in the ON position, the exhaust brake is
activated. The following conditions should exist if the brake is operating
properly:
•A slight change in the sound of the engine when the exhaust brake is
activated.
•Exhaust smoke appears normal.
•Engine temperature remains in the normal operating range.
•Road speed usually decreases when the exhaust brake is applied
during a descent, except when the vehicle is carrying a heavy load or
the grade is extremely steep. In these instances, you may need to
apply the service brakes occasionally.
•During a descent, the tachometer usually shows a drop in RPM
depending on the grade and the vehicle load.
•Do not expect a retarding effect similar to sudden hard application of
the service brakes. The exhaust brake retards the vehicle with a
smooth braking effect.
2006 F-650/750(f67)
Supplement
USA(fus)
Driving
111
Page 112 of 272
•Depending on the grade and vehicle load, you may or may not feel the
retarding force acting against your body when the brake is applied.
The brake’s retarding force is actually preventing the vehicle from
going much faster.
•Engine speed has a major effect on retarding performance, with higher
engine speeds permitting greater retarding ability.
•Engine brake performance is closely related to the type of
transmission your vehicle is equipped with. Downshifting of manual
transmission to the lowest gear possible, without exceeding the
maximum engine RPM limit, will maximize retarding performance.
Exhaust brakes will operate effectively with automatic transmissions,
but performance will vary with engine speed and the gear selected by
the transmission.
Make sure the exhaust brake is turned off before shutting off the engine.
Note:Installing an exhaust or auxiliary brake does not necessarily
protect the engine from exceeding maximum governed speed. The
primary brakes should be used to never allow the engine to exceed
maximum governed speed under any conditions.
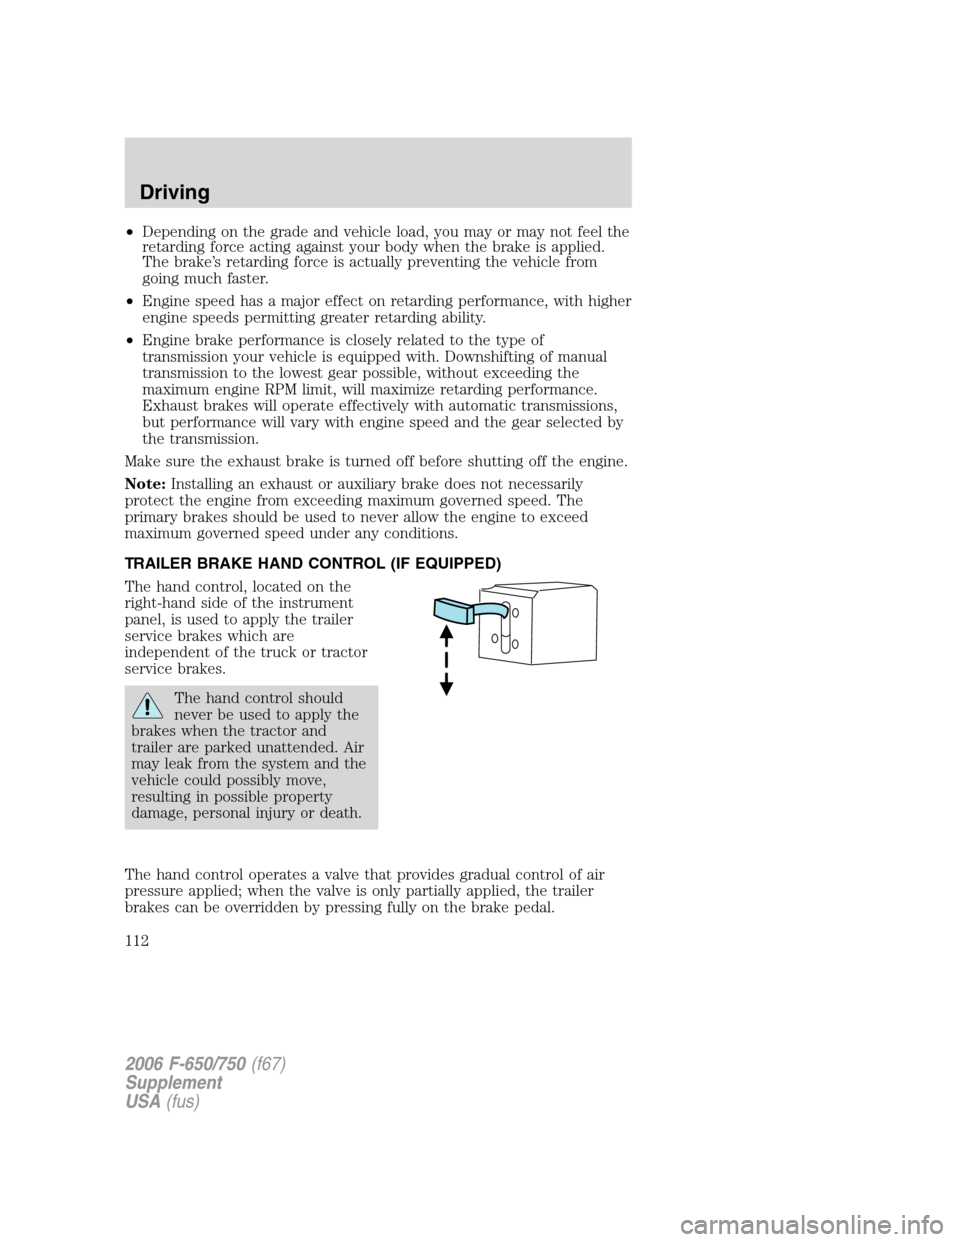
TRAILER BRAKE HAND CONTROL (IF EQUIPPED)
The hand control, located on the
right-hand side of the instrument
panel, is used to apply the trailer
service brakes which are
independent of the truck or tractor
service brakes.
The hand control should
never be used to apply the
brakes when the tractor and
trailer are parked unattended. Air
may leak from the system and the
vehicle could possibly move,
resulting in possible property
damage, personal injury or death.
The hand control operates a valve that provides gradual control of air
pressure applied; when the valve is only partially applied, the trailer
brakes can be overridden by pressing fully on the brake pedal.
2006 F-650/750(f67)
Supplement
USA(fus)
Driving
112
Page 121 of 272
AUTOMATIC TRANSMISSION OPERATION (IF EQUIPPED)
Main transmission, auxiliary transmission, transfer case and power
take-off (PTO) control shift patterns can be found on a placard or decal
on the driver’s sun visor, on the instrument panel or on the shift control
itself.
The main transmission control is used to select the various gear ratios or
speeds of the transmission. Selecting D (Direct Drive), does not change
the transmission gear ratio, but is used where the gear ratios in the main
transmission are adequate to handle the vehicle operation.
If the transmission fails to shift properly, check the inline 10A fuse
located in the battery cables above the battery.
Hold the brake pedal down while you move the gearshift lever
between positions. If you don’t hold the brake pedal down, your
vehicle may move unexpectedly and cause property damage, personal
injury or death.
Allison 2500 automatic transmission
This transmission is available with a column-mounted gearshift lever. The
gear positions are displayed on the RNDL in the instrument cluster.
To avoid sudden, unexpected vehicle movement and
possible personal injury or death:
1. Bring the vehicle to a complete stop.
2. Shift the transmission into N (Neutral).
3. Apply the parking brake and make sure it is holding properly.
4. Turn the engine off when you leave the vehicle.Never leave the
vehicle unattended when the engine is running.
Allison 2200 automatic transmission with park pawl feature
Note:For Allison automatic transmission-equipped vehicles, also refer to
the separate Allison Transmission Operator’s Manual.
A parking pawl effectively grounds the transmission’s output shaft
preventing rotation of the driveline. If the vehicle is stationary, selecting
the P (Park) position places the transmission in neutral and engages the
parking pawl (always use the parking brake, also).
Note:If the P (Park) position is selected when the vehicle is in motion,
the parking pawl mechanism will ratchet andNOThold the truck.
2006 F-650/750(f67)
Supplement
USA(fus)
Driving
121