warning lights FORD FUSION HYBRID 2014 Owners Manual
[x] Cancel search | Manufacturer: FORD, Model Year: 2014, Model line: FUSION HYBRID, Model: FORD FUSION HYBRID 2014Pages: 473, PDF Size: 5.93 MB
Page 37 of 473
The Personal Safety System provides an
improved overall level of frontal crash
protection to front seat occupants and is
designed to help further reduce the risk of
airbag-related injuries. The system is able
to analyze different occupant conditions
and crash severity before activating the
appropriate safety devices to help better
protect a range of occupants in a variety
of frontal crash situations.
Your vehicle's Personal Safety System
consists of:
• Driver and passenger dual-stage airbag
supplemental restraints.
• Front outboard safety belts with
pretensioners, energy management
retractors (first row only), and safety
belt usage sensors.
• Driver’s seat position sensor.
• Front passenger sensing system.
• Passenger airbag off and on indicator
lamp.
• Front crash severity sensors.
• Restraints control module with impact
and safing sensors.
• Restraint system warning light and
backup tone.
• The electrical wiring for the airbags,
crash sensor(s), safety belt
pretensioners, front safety belt usage
sensors, driver seat position sensor,
front passenger sensing system, and
indicator lights.
How Does the Personal Safety
System Work?
The Personal Safety System can adapt the
deployment strategy of your vehicle’s
safety devices according to crash severity
and occupant conditions. A collection of
crash and occupant sensors provides
information to the restraints control module. During a crash, the restraints
control module may activate the safety
belt pretensioners and may activate either
one or both stages of the dual-stage airbag
supplemental restraints based on crash
severity and occupant conditions.
34Personal Safety System™
Page 80 of 473
Note: Do not clean the housing or glass of
any mirror with harsh abrasives, fuel or other
petroleum or ammonia-based cleaning
products.
You can adjust the interior mirror to your
preference. Some mirrors also have a
second pivot point. This lets you move the
mirror head up or down and from side to
side.
Pull the tab below the mirror toward you
to reduce glare at night.
Auto-Dimming Mirror (If Equipped)
Note: Do not block the sensors on the front
and back of the mirror. Mirror performance
may be affected. A rear center passenger or
raised rear center head restraint may also
block light from reaching the sensor.
The mirror will dim automatically to reduce
glare when bright lights are detected from
behind your vehicle. It will automatically
return to normal reflection when you select
reverse gear to make sure you have a clear
view when backing up.
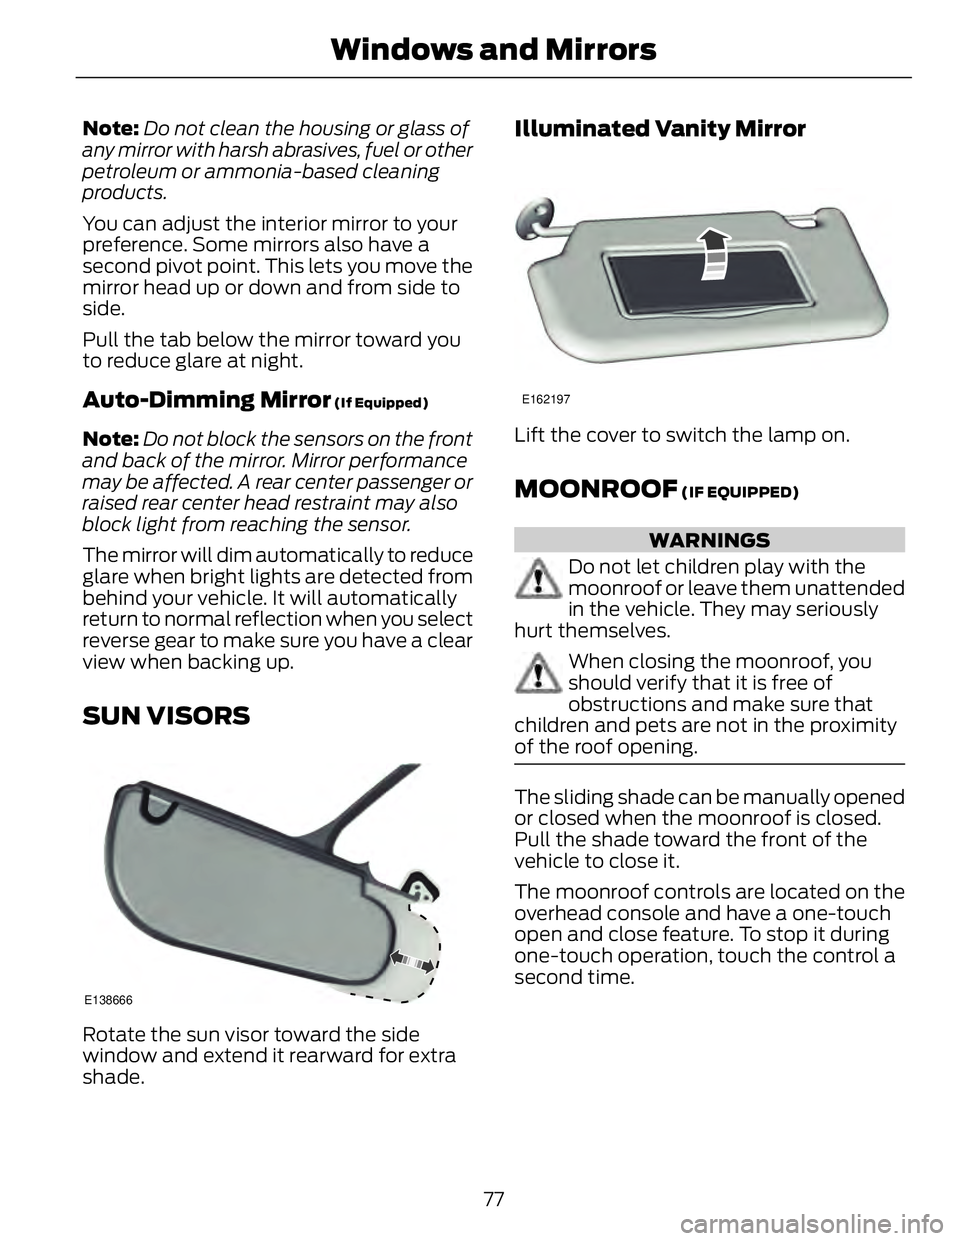
SUN VISORS
E138666
Rotate the sun visor toward the side
window and extend it rearward for extra
shade. Illuminated Vanity Mirror E162197
Lift the cover to switch the lamp on.
MOONROOF (IF EQUIPPED)
WARNINGS
Do not let children play with the
moonroof or leave them unattended
in the vehicle. They may seriously
hurt themselves.
When closing the moonroof, you
should verify that it is free of
obstructions and make sure that
children and pets are not in the proximity
of the roof opening.
The sliding shade can be manually opened
or closed when the moonroof is closed.
Pull the shade toward the front of the
vehicle to close it.
The moonroof controls are located on the
overhead console and have a one-touch
open and close feature. To stop it during
one-touch operation, touch the control a
second time.
77Windows and Mirrors
Page 86 of 473
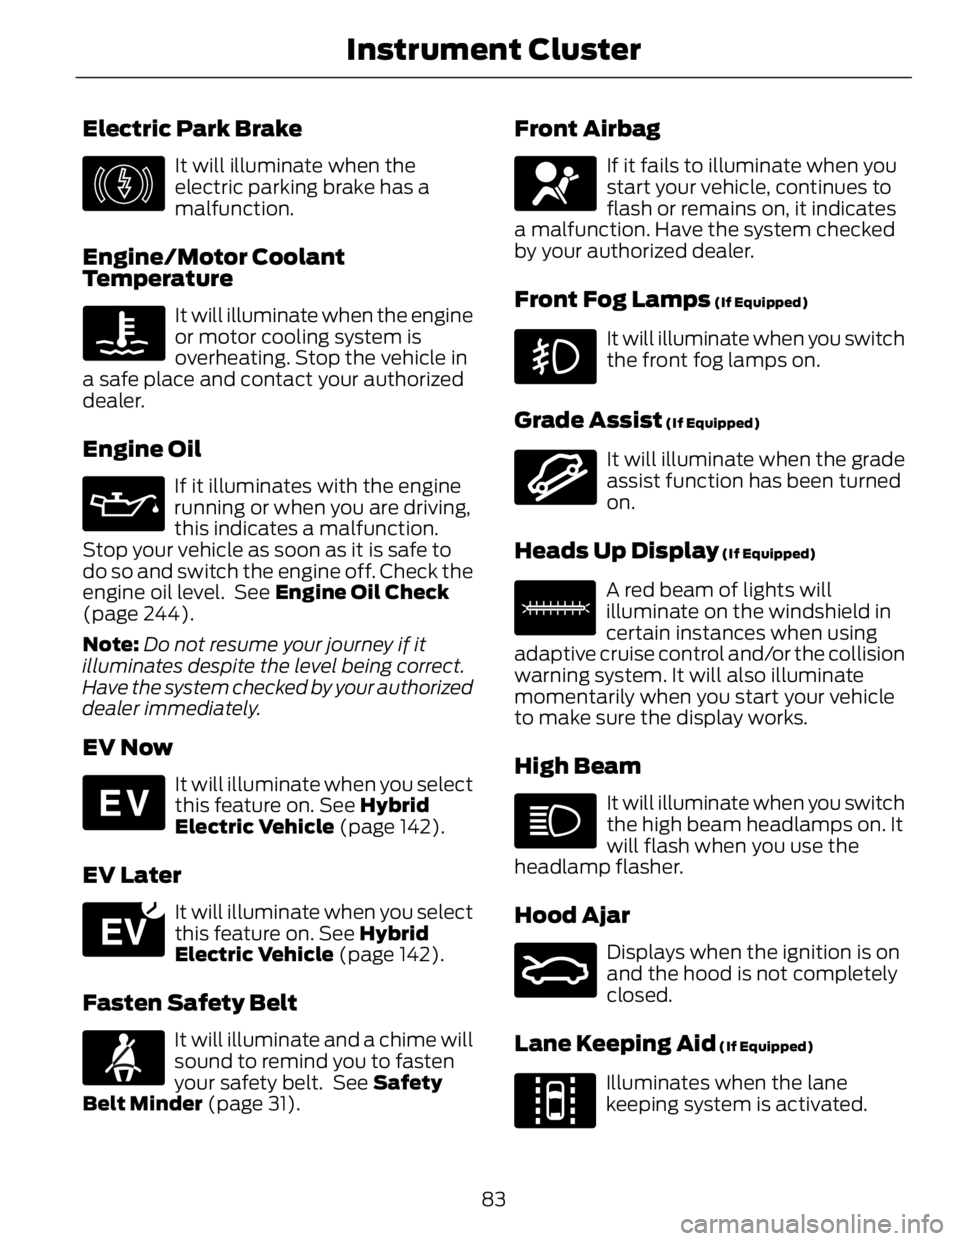
Electric Park Brake E146190
It will illuminate when the
electric parking brake has a
malfunction.
Engine/Motor Coolant
Temperature It will illuminate when the engine
or motor cooling system is
overheating. Stop the vehicle in
a safe place and contact your authorized
dealer.
Engine Oil If it illuminates with the engine
running or when you are driving,
this indicates a malfunction.
Stop your vehicle as soon as it is safe to
do so and switch the engine off. Check the
engine oil level. See Engine Oil Check
(page 244).
Note: Do not resume your journey if it
illuminates despite the level being correct.
Have the system checked by your authorized
dealer immediately.
EV Now E144814
It will illuminate when you select
this feature on. See Hybrid
Electric Vehicle (page 142).
EV Later E151263
It will illuminate when you select
this feature on. See Hybrid
Electric Vehicle (page 142).
Fasten Safety Belt
It will illuminate and a chime will
sound to remind you to fasten
your safety belt. See Safety
Belt Minder (page 31). Front Airbag If it fails to illuminate when you
start your vehicle, continues to
flash or remains on, it indicates
a malfunction. Have the system checked
by your authorized dealer.
Front Fog Lamps (If Equipped)
It will illuminate when you switch
the front fog lamps on.
Grade Assist (If Equipped)
E144523
It will illuminate when the grade
assist function has been turned
on.
Heads Up Display (If Equipped)
E156133
A red beam of lights will
illuminate on the windshield in
certain instances when using
adaptive cruise control and/or the collision
warning system. It will also illuminate
momentarily when you start your vehicle
to make sure the display works.
High Beam It will illuminate when you switch
the high beam headlamps on. It
will flash when you use the
headlamp flasher.
Hood Ajar E159324
Displays when the ignition is on
and the hood is not completely
closed.
Lane Keeping Aid (If Equipped)
E144813
Illuminates when the lane
keeping system is activated.
83Instrument Cluster
Page 130 of 473
HEATED SEATS (IF EQUIPPED)
WARNING
People who are unable to feel pain
to their skin because of advanced
age, chronic illness, diabetes, spinal
cord injury, medication, alcohol use,
exhaustion or other physical conditions,
must exercise care when using the heated
seat. The heated seat may cause burns
even at low temperatures, especially if
used for long periods of time. Do not place
anything on the seat that insulates against
heat, such as a blanket or cushion. This
may cause the heated seat to overheat.
Do not puncture the seat with pins, needles
or other pointed objects. This may damage
the heating element which may cause the
heated seat to overheat. An overheated
seat may cause serious personal injury.
Do not do the following:
• Place heavy objects on the seat.
• Operate the heated seat if water or any
other liquid is spilled on the seat. Allow
the seat to dry thoroughly.
• Operate the heated seats unless the
engine is running. Doing so can cause
the battery to lose charge.
E146941
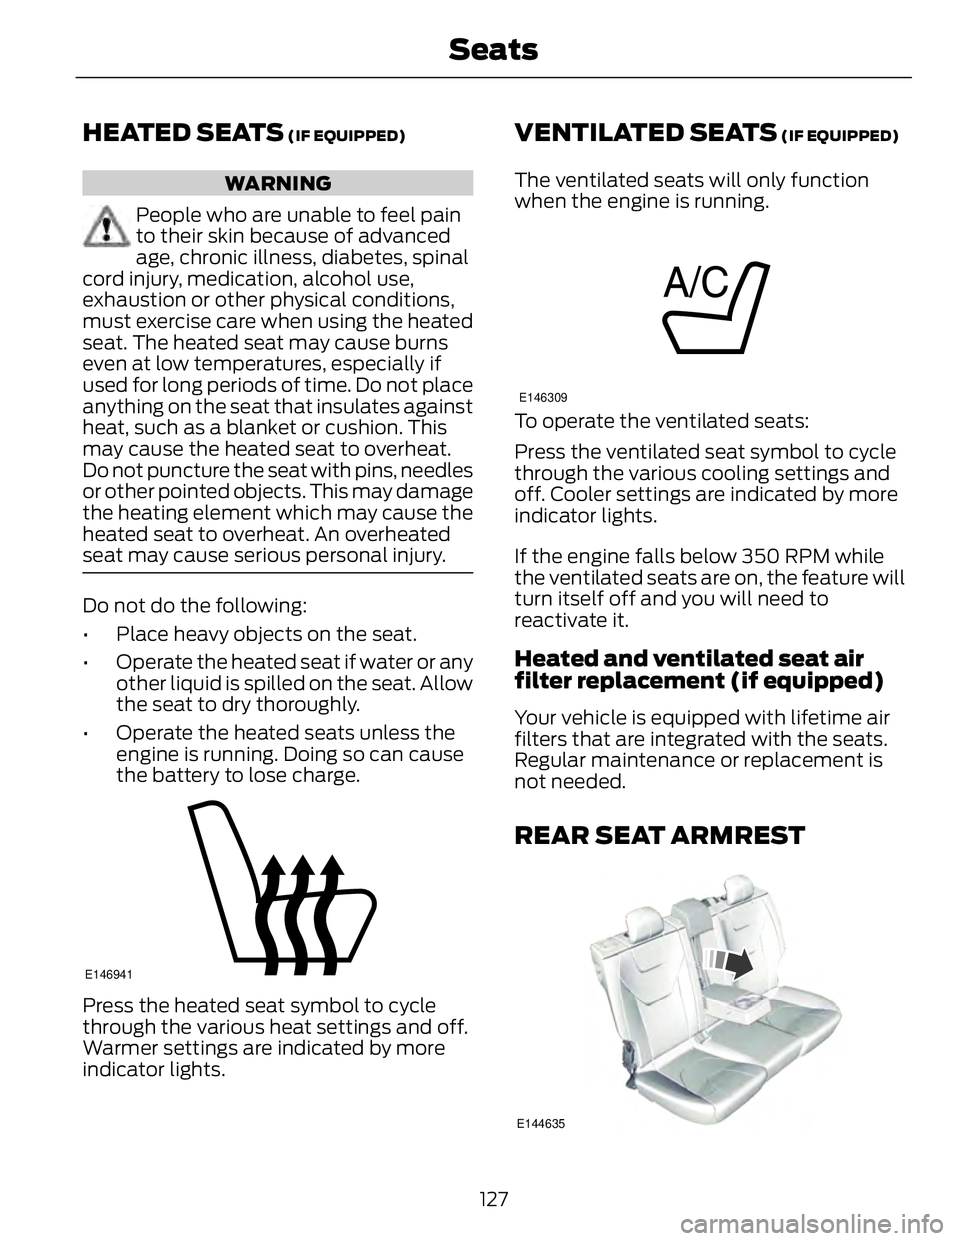
Press the heated seat symbol to cycle
through the various heat settings and off.
Warmer settings are indicated by more
indicator lights. VENTILATED SEATS (IF EQUIPPED)
The ventilated seats will only function
when the engine is running. E146309
To operate the ventilated seats:
Press the ventilated seat symbol to cycle
through the various cooling settings and
off. Cooler settings are indicated by more
indicator lights.
If the engine falls below 350 RPM while
the ventilated seats are on, the feature will
turn itself off and you will need to
reactivate it.
Heated and ventilated seat air
filter replacement (if equipped) Your vehicle is equipped with lifetime air
filters that are integrated with the seats.
Regular maintenance or replacement is
not needed.
REAR SEAT ARMREST
E144635
127Seats
Page 175 of 473
Automatic release - drive away release
Note: The driver's door must be closed and
the driver's safety belt must be fastened
before this feature will operate.
Note: If the electric parking brake warning
lamp stays illuminated, the electric parking
brake will not automatically release. You
must release the electric parking brake using
the electric parking brake switch.
Note: The engine must be running and the
accelerator pedal must be pressed before
the drive away release feature will operate.
Note: On hybrid vehicles, the vehicle must
be Ready-to-Drive as indicated by the green
Ready indicator light.
The brake system warning lamp will go off
to confirm that the electric parking brake
has been released.
Note: The electric parking brake drive away
release makes starting on a hill easier. This
feature will release the parking brake
automatically when the vehicle has
sufficient drive force to move up the hill. To
assure drive away release when starting
uphill, press the accelerator pedal quickly.
Battery With No Charge WARNING
You will not be able to apply or
release the electric parking brake if
the battery is low or has no charge.
If the battery is low or has no charge, use
jumper cables and a booster battery.
HILL START ASSIST WARNINGS
The system does not replace the
parking brake. When you leave your
vehicle, always apply the parking
brake and put the vehicle in position P. WARNINGS
You must remain in your vehicle once
you have activated the system.
During all times, you are responsible
for controlling your vehicle,
supervising the system and
intervening, if required.
If the engine is revved excessively, or
if a malfunction is detected, the
system will be deactivated.
The system makes it easier to pull away
when your vehicle is on a slope without the
need to use the parking brake.
When the system is active, your vehicle will
remain stationary on the slope for two to
three seconds after you release the brake
pedal. This allows you time to move your
foot from the brake to the accelerator
pedal. The brakes are released
automatically once the engine has
developed sufficient drive to prevent your
vehicle from rolling down the slope. This
is an advantage when pulling away on a
slope, (for example from a car park ramp,
traffic lights or when reversing uphill into
a parking space).
The system will activate automatically on
any slope that will cause significant vehicle
rollback.
Using Hill Start Assist 1. Press the brake pedal to bring your
vehicle to a complete standstill. Keep
the brake pedal pressed.
2. If the sensors detect that your vehicle
is on a slope, the system will activate
automatically.
172Brakes
Page 177 of 473
PRINCIPLE OF OPERATION The traction control system helps avoid
drive wheel spin and loss of traction.
If your vehicle begins to slide, the system
applies the brakes to individual wheels
and, when needed, reduces engine power
at the same time. If the wheels spin when
accelerating on slippery or loose surfaces,
the system reduces engine power in order
to increase traction.
USING TRACTION CONTROL In certain situations (for example, stuck in
snow or mud), turning the traction control
off may be beneficial as this allows the
wheels to spin with full engine power. Turn
off the traction control system through the
information display. See General
Information (page 86).
System Indicator Lights and
Messages WARNING
If a failure has been detected within
the AdvanceTrac system, the
stability control light will illuminate
steadily. Verify that the AdvanceTrac
system was not manually disabled through
the information display. If the stability
control light still illuminates steadily, have
the system serviced by an authorized
dealer immediately. Operating your vehicle
with AdvanceTrac disabled could lead to
an increased risk of loss of vehicle control,
vehicle rollover, personal injury and death. E138639
The stability control light
temporarily illuminates on
engine start-up and flashes
when a driving condition activates the
stability system. The stability control off light
temporarily illuminates on
engine start-up and stays on
when you turn the traction control system
off.
When you turn the traction control system
off or on, a message appears in the
information display showing system status.
174Traction Control
Page 186 of 473
A B C D
F EE142436
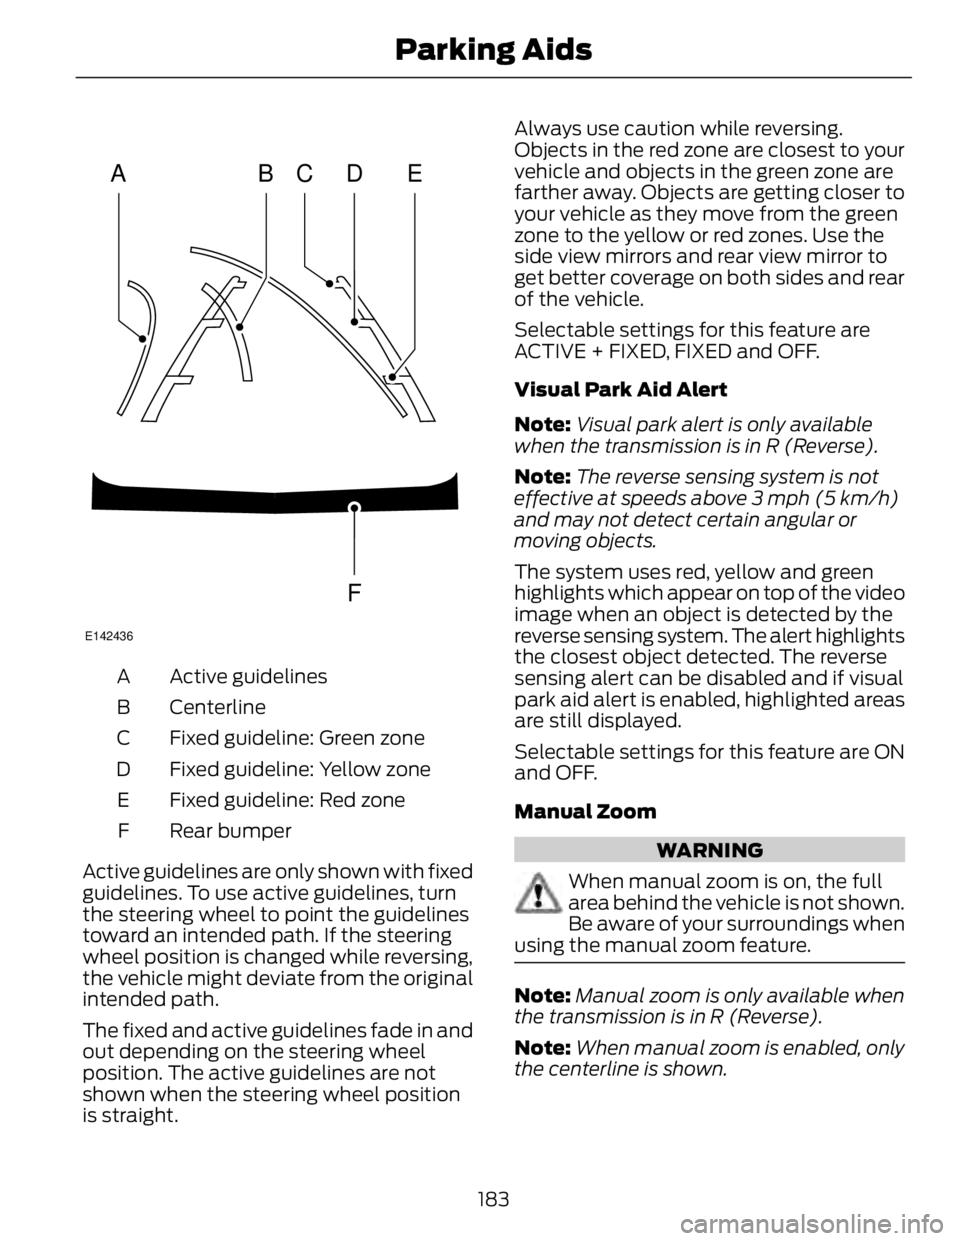
Active guidelinesA
CenterlineB
Fixed guideline: Green zoneC
Fixed guideline: Yellow zoneD
Fixed guideline: Red zoneE
Rear bumperF
Active guidelines are only shown with fixed
guidelines. To use active guidelines, turn
the steering wheel to point the guidelines
toward an intended path. If the steering
wheel position is changed while reversing,
the vehicle might deviate from the original
intended path.
The fixed and active guidelines fade in and
out depending on the steering wheel
position. The active guidelines are not
shown when the steering wheel position
is straight. Always use caution while reversing.
Objects in the red zone are closest to your
vehicle and objects in the green zone are
farther away. Objects are getting closer to
your vehicle as they move from the green
zone to the yellow or red zones. Use the
side view mirrors and rear view mirror to
get better coverage on both sides and rear
of the vehicle.
Selectable settings for this feature are
ACTIVE + FIXED, FIXED and OFF.
Visual Park Aid Alert
Note: Visual park alert is only available
when the transmission is in R (Reverse).
Note: The reverse sensing system is not
effective at speeds above 3 mph (5 km/h)
and may not detect certain angular or
moving objects.
The system uses red, yellow and green
highlights which appear on top of the video
image when an object is detected by the
reverse sensing system. The alert highlights
the closest object detected. The reverse
sensing alert can be disabled and if visual
park aid alert is enabled, highlighted areas
are still displayed.
Selectable settings for this feature are ON
and OFF.
Manual Zoom
WARNING
When manual zoom is on, the full
area behind the vehicle is not shown.
Be aware of your surroundings when
using the manual zoom feature.
Note: Manual zoom is only available when
the transmission is in R (Reverse).
Note: When manual zoom is enabled, only
the centerline is shown.
183Parking Aids
Page 202 of 473
E142441
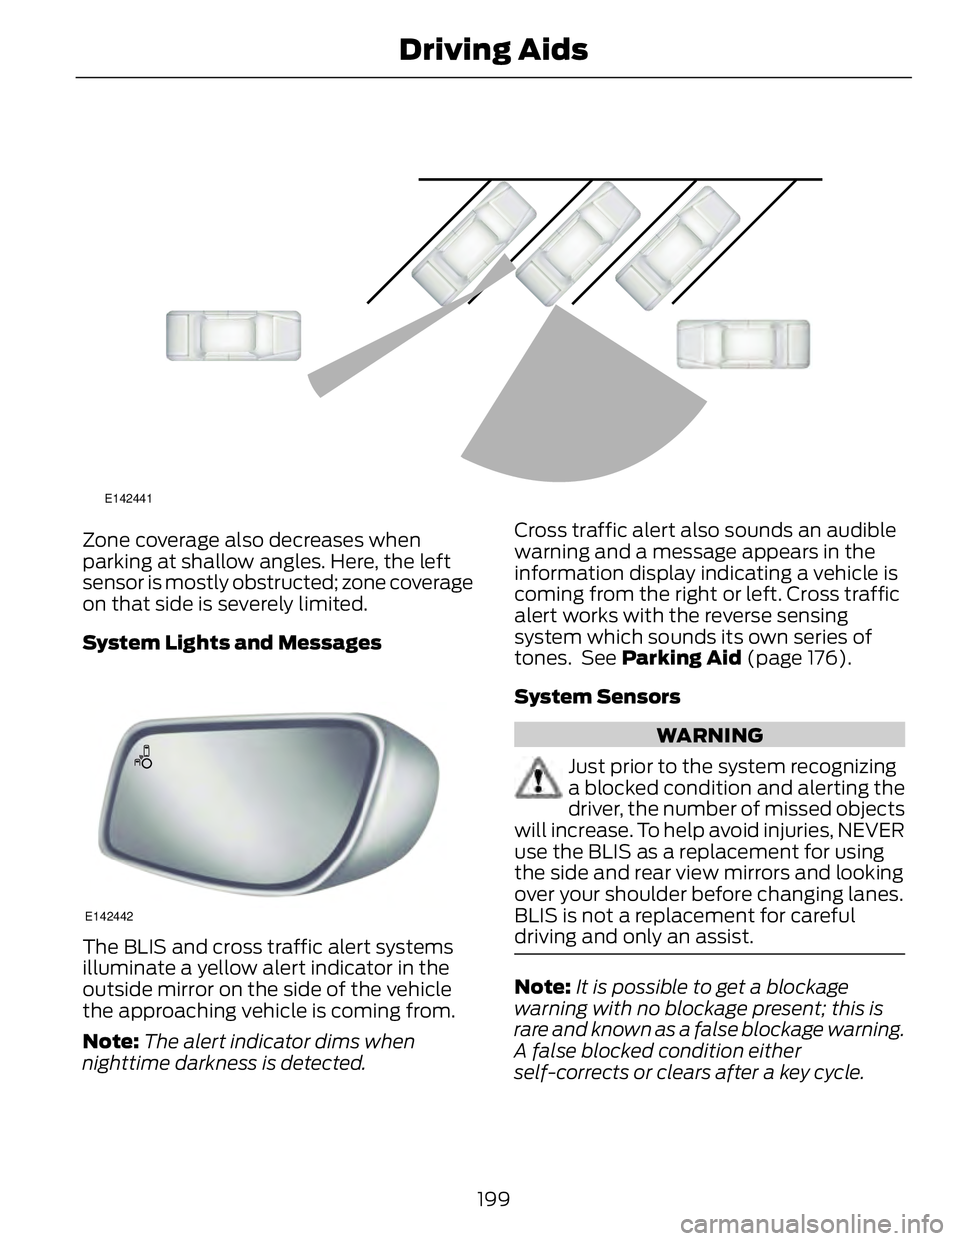
Zone coverage also decreases when
parking at shallow angles. Here, the left
sensor is mostly obstructed; zone coverage
on that side is severely limited.
System Lights and Messages
E142442
The BLIS and cross traffic alert systems
illuminate a yellow alert indicator in the
outside mirror on the side of the vehicle
the approaching vehicle is coming from.
Note: The alert indicator dims when
nighttime darkness is detected. Cross traffic alert also sounds an audible
warning and a message appears in the
information display indicating a vehicle is
coming from the right or left. Cross traffic
alert works with the reverse sensing
system which sounds its own series of
tones. See Parking Aid (page 176).
System Sensors
WARNING
Just prior to the system recognizing
a blocked condition and alerting the
driver, the number of missed objects
will increase. To help avoid injuries, NEVER
use the BLIS as a replacement for using
the side and rear view mirrors and looking
over your shoulder before changing lanes.
BLIS is not a replacement for careful
driving and only an assist.
Note: It is possible to get a blockage
warning with no blockage present; this is
rare and known as a false blockage warning.
A false blocked condition either
self-corrects or clears after a key cycle.
199Driving Aids
Page 272 of 473
First Stage: Reinflating the Tire
with Sealing Compound and Air WARNINGS
Do not stand directly over the kit
while inflating the tire. If you notice
any unusual bulges or deformations
in the tire's sidewall during inflation, stop
and call roadside assistance.
If the tire doesn't inflate to the
recommended tire pressure within
15 minutes, stop and call roadside
assistance.
Preparation: Park the vehicle in a safe, level
and secure area, away from moving traffic.
Turn the hazard lights on. Apply the parking
brake and turn the engine off. Inspect the
flat tire for visible damage.
Sealant compound contains latex. To
avoid any allergic reactions, use the
non-latex gloves located in the accessory
box on the underside of the kit housing.
Do not remove any foreign object that has
pierced the tire. If a puncture is located in
the tire sidewall, stop and call roadside
assistance.
1. Remove the valve cap from the tire
valve.
2. Unwrap the clear tube from the
compressor housing.
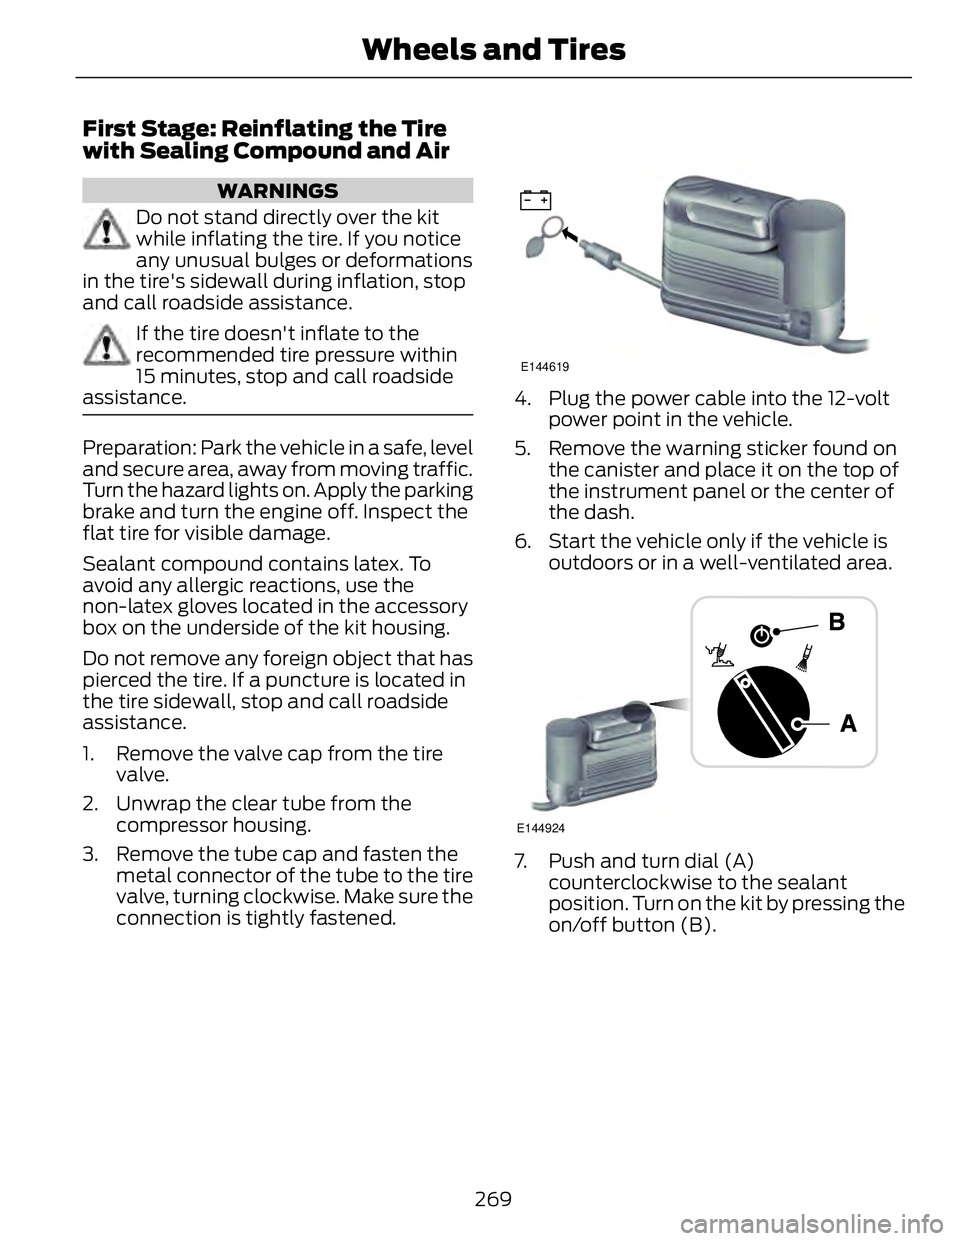
3. Remove the tube cap and fasten the
metal connector of the tube to the tire
valve, turning clockwise. Make sure the
connection is tightly fastened. E144619
4. Plug the power cable into the 12-volt
power point in the vehicle.
5. Remove the warning sticker found on
the canister and place it on the top of
the instrument panel or the center of
the dash.
6. Start the vehicle only if the vehicle is
outdoors or in a well-ventilated area.
E144924
7. Push and turn dial (A)
counterclockwise to the sealant
position. Turn on the kit by pressing the
on/off button (B).
269Wheels and Tires
Page 449 of 473
Oils, Fluids and Flushing
In many cases, fluid discoloration is a
normal operating characteristic and, by
itself, does not necessarily indicate a
concern or that the fluid needs to be
changed. However, a qualified expert, such
as the factory-trained technicians at your
dealership, should inspect discolored fluids
that also show signs of overheating or
foreign material contamination
immediately. Make sure to change your vehicle’s oils and
fluids at the specified intervals or in
conjunction with a repair. Flushing is a
viable way to change fluid for many vehicle
sub-systems during scheduled
maintenance. It is critical that systems are
flushed only with new fluid that is the same
as that required to fill and operate the
system or using a Ford-approved flushing
chemical.
Owner Checks and Services Make sure you perform the following basic
maintenance checks and inspections every
month or at six-month intervals.Check every month
Engine oil level.
Function of all interior and exterior lights.
Tires (including spare) for wear and proper pressure.
Windshield washer fluid level.
Check every six months
Battery connections. Clean if necessary.
Body and door drain holes for obstructions. Clean if necessary.
Cooling system fluid level and coolant strength.
Door weatherstrips for wear. Lubricate if necessary.
Hinges, latches and outside locks for proper operation. Lubricate if necessary.
Parking brake for proper operation.
Safety belts and seat latches for wear and function.
Safety warning lamps (brake, ABS, airbag and safety belt) for operation.
Washer spray and wiper operation. Clean or replace blades as necessary.
446Scheduled Maintenance