stop start FORD MUSTANG 2002 4.G Owners Manual
[x] Cancel search | Manufacturer: FORD, Model Year: 2002, Model line: MUSTANG, Model: FORD MUSTANG 2002 4.GPages: 264, PDF Size: 2.56 MB
Page 39 of 264
²If an MP3 disc is
already present in
the player, press the
CD control to begin
play.
²Press the MP3 DIR
control to engage
MP3 directory mode,
if desired. The track
number format on the display will change from
TXXX (XXX=current track number) to XX-XX
(directory Ðtrack number).
Note:If the car's ignition is turned off and on again,
play will begin at the beginning of the last song
played. If the radio was powered off by the VOL
control, play will start where it last left off.
²To stop MP3 disc
play, eject the disc
or press the AM/FM
control. The player
will return to radio mode.
Selecting a directory in MP3 directory mode
The TUNE DIR control allows you to select a
different directory to play on the MP3 disc.
²Press
on the
TUNE DIR control to
advance to the next
directory on the MP3 disc. If the current directory
is the last directory on the disc, pressing
will
select the first directory on the disc. Press and
hold for fast selection.
²Press
on TUNE DIR to revert to the previous
directory on the MP3 disc. If the current directory
is the first directory on the disc, pressing
will
select the last directory on the disc. Press and
hold for fast selection.
Entertainment Systems
39
Page 143 of 264
Always set the parking brake fully and make
sure that the gearshift is securely latched in
P (Park) (automatic transmission) or in 1 (First
Gear) (manual transmission).
The parking brake is not recommended to stop a
moving vehicle. However, if the normal brakes fail,
the parking brake can be used to stop your vehicle
in an emergency. Since the parking brake applies
only the rear brakes, the vehicle's stopping distance
will increase greatly and the handling of your vehicle
will be adversely affected.
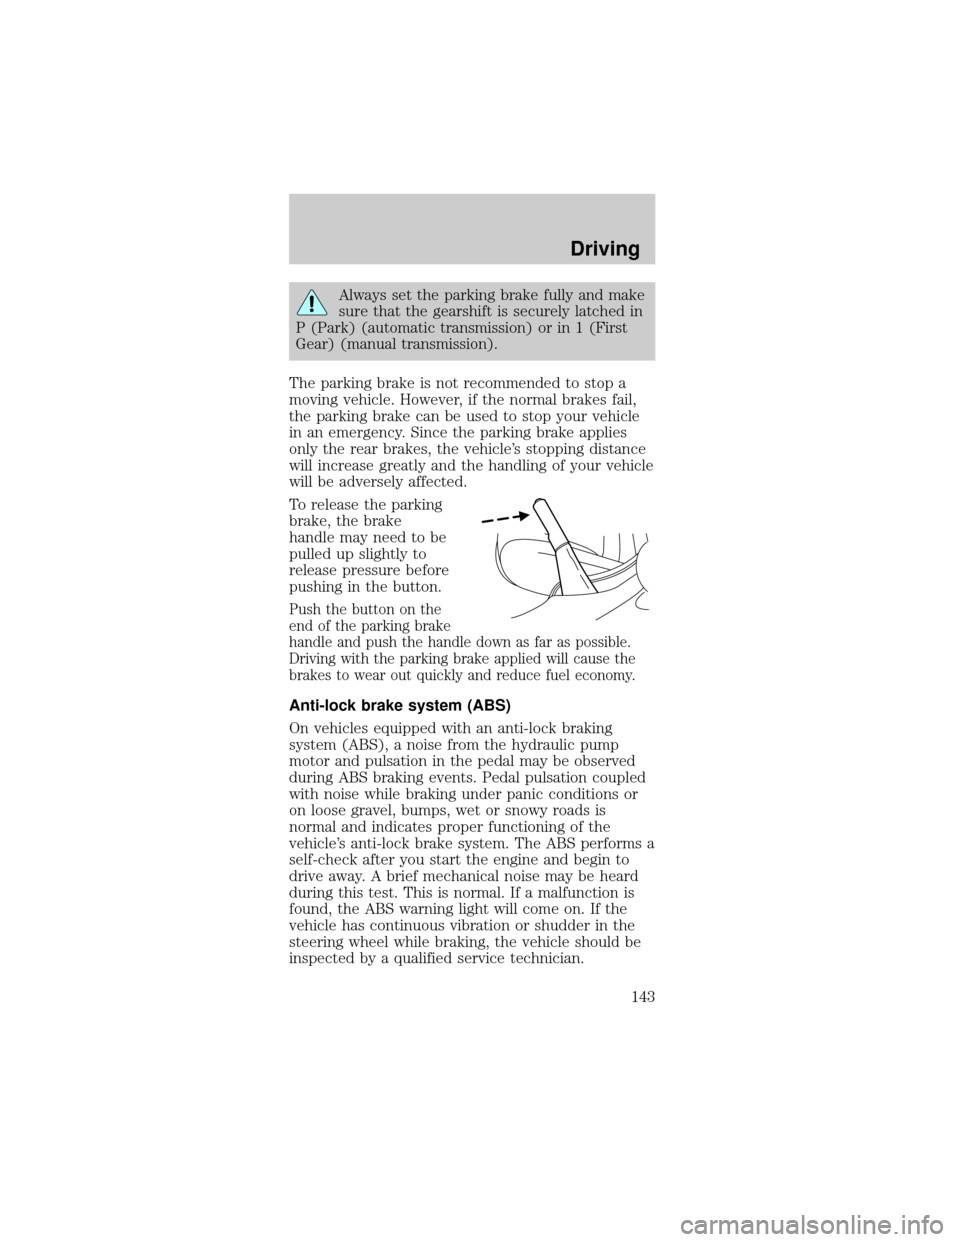
To release the parking
brake, the brake
handle may need to be
pulled up slightly to
release pressure before
pushing in the button.
Push the button on the
end of the parking brake
handle and push the handle down as far as possible.
Driving with the parking brake applied will cause the
brakes to wear out quickly and reduce fuel economy.
Anti-lock brake system (ABS)
On vehicles equipped with an anti-lock braking
system (ABS), a noise from the hydraulic pump
motor and pulsation in the pedal may be observed
during ABS braking events. Pedal pulsation coupled
with noise while braking under panic conditions or
on loose gravel, bumps, wet or snowy roads is
normal and indicates proper functioning of the
vehicle's anti-lock brake system. The ABS performs a
self-check after you start the engine and begin to
drive away. A brief mechanical noise may be heard
during this test. This is normal. If a malfunction is
found, the ABS warning light will come on. If the
vehicle has continuous vibration or shudder in the
steering wheel while braking, the vehicle should be
inspected by a qualified service technician.
Driving
143
Page 144 of 264

The ABS operates by
detecting the onset of
wheel lockup during
brake applications and
compensates for this
tendency. The wheels
are prevented from
locking even when the brakes are firmly applied. The
accompanying illustration depicts the advantage of
an ABS equipped vehicle (on bottom) to a non-ABS
equipped vehicle (on top) during hard braking with
loss of front braking traction.
ABS warning lamp
ABS
TheABSwarning lamp in the instrument cluster
momentarily illuminates when the ignition is turned
to the ON position. If the light does not illuminate
momentarily at start up, remains on or continues to
flash, the ABS needs to be serviced.
With the ABS light on,
the anti-lock brake
system is disabled and
normal braking is still
effective unless the brake warning light also remains
illuminated with parking brake released. (If your
brake warning lamp illuminates, have your vehicle
serviced immediately.)
Using ABS
²In an emergency or when maximum efficiency
from the four-wheel ABS is required, apply
continuous force on the brake. The four wheel
ABS will be activated immediately, thus allowing
you to retain full steering control of your vehicle
and, providing there is sufficient space, will
enable you to avoid obstacles and bring the
vehicle to a controlled stop.
²The anti-lock system does not decrease the time
necessary to apply the brakes or always reduce
P!
BRAKE
Driving
144
Page 149 of 264
If your vehicle gets stuck in mud or snow it may be
rocked out by shifting from forward and reverse
gears, stopping between shifts, in a steady pattern.
Press lightly on the accelerator in each gear.
Do not rock the vehicle if the engine is not at
normal operating temperature or damage to
the transmission may occur.
Do not rock the vehicle for more than a few
minutes or damage to the transmission and
tires may occur or the engine may overheat.
Always set the parking brake fully and make
sure the gearshift is latched in P (Park).
Turn the ignition to the LOCK position and remove
the key whenever you leave your vehicle.
If the parking brake is fully released, but the
brake warning lamp remains illuminated, the
brakes may not be working properly. See your
dealer or a qualified service technician.
Driving with an automatic overdrive
transmission with console gearshift and O/D off
switch
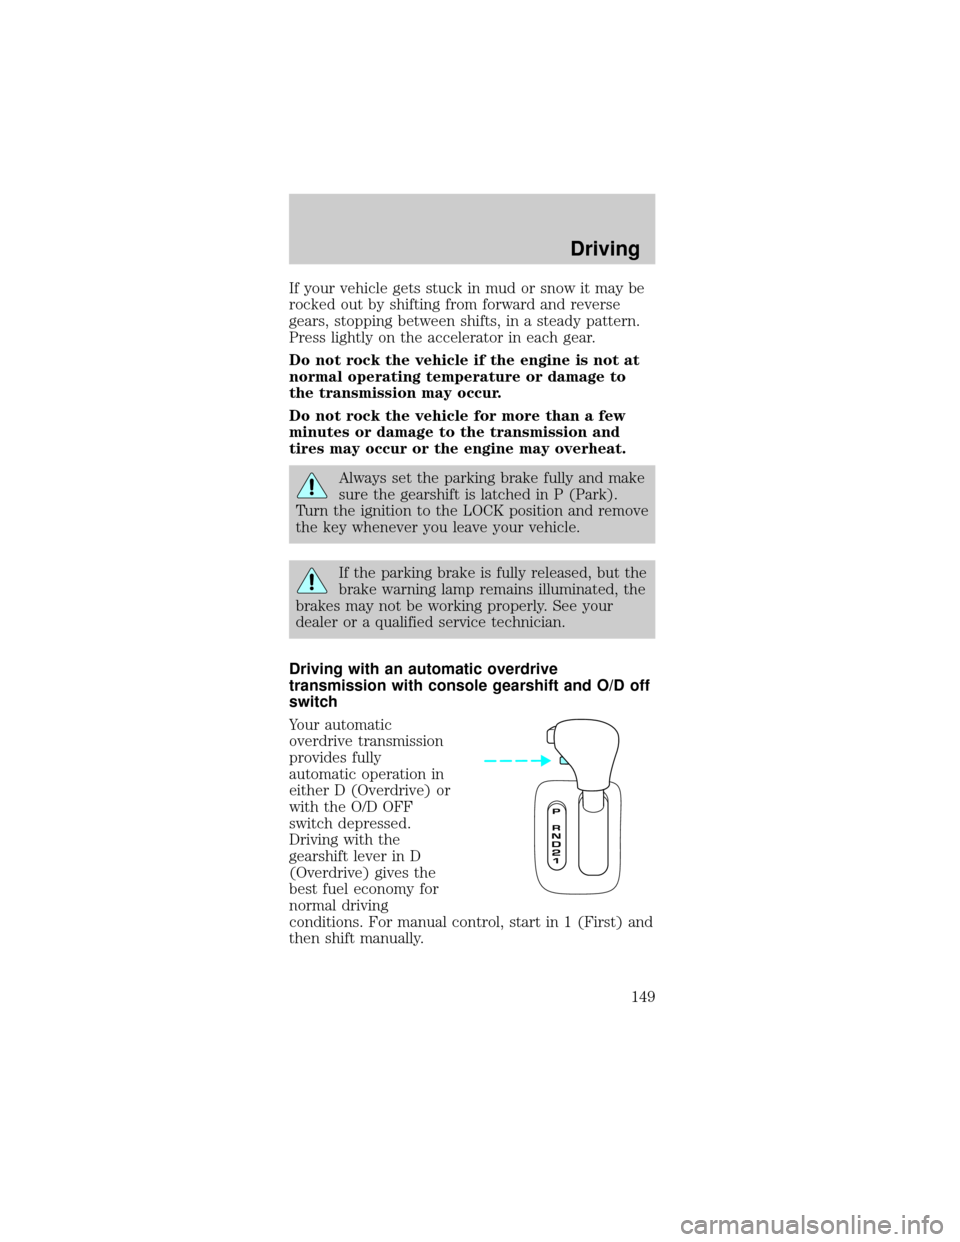
Your automatic
overdrive transmission
provides fully
automatic operation in
either D (Overdrive) or
with the O/D OFF
switch depressed.
Driving with the
gearshift lever in D
(Overdrive) gives the
best fuel economy for
normal driving
conditions. For manual control, start in 1 (First) and
then shift manually.
Driving
149
Page 150 of 264
Driving with a 4±speed automatic transmission
(if equipped)
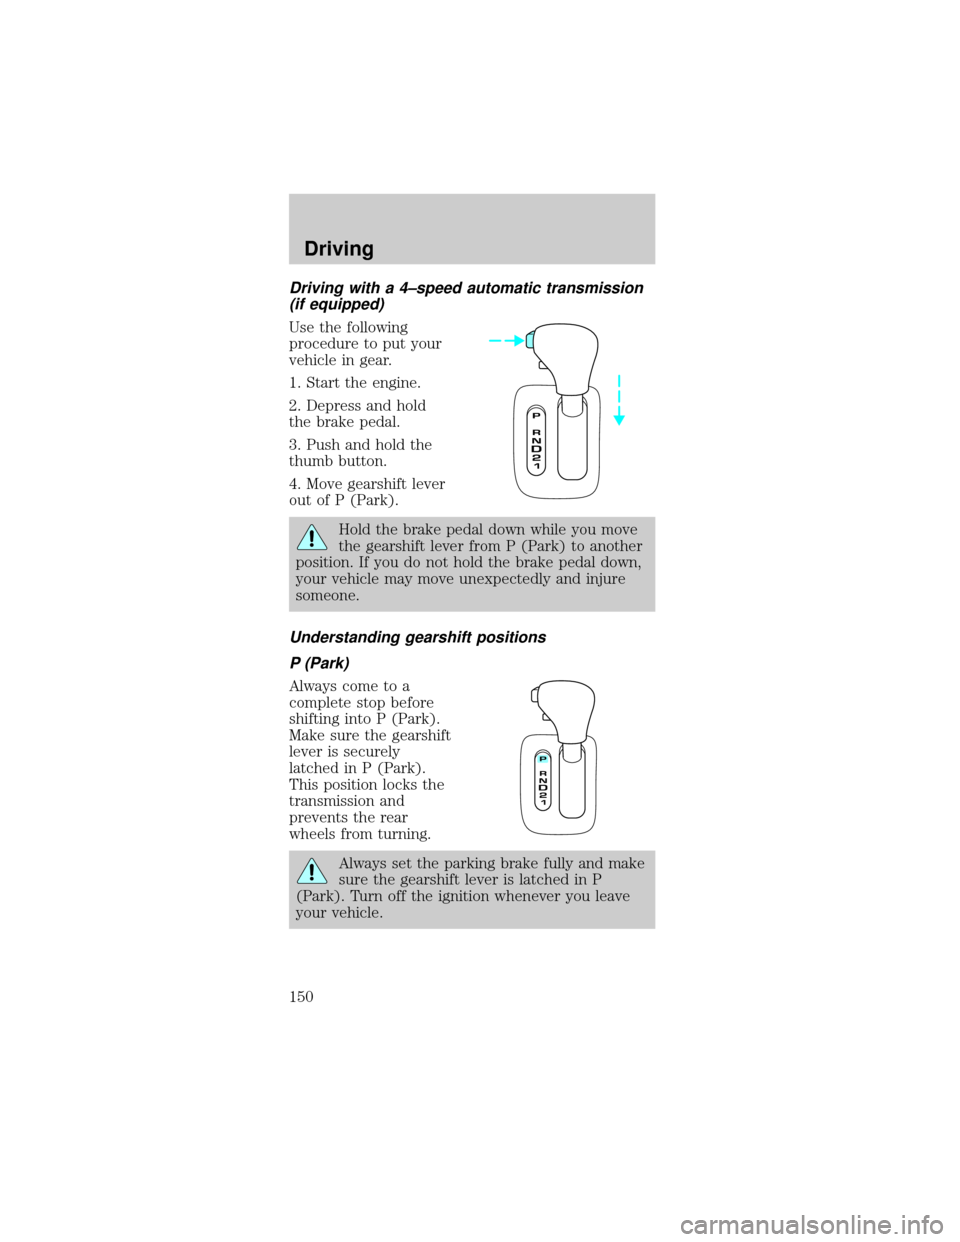
Use the following
procedure to put your
vehicle in gear.
1. Start the engine.
2. Depress and hold
the brake pedal.
3. Push and hold the
thumb button.
4. Move gearshift lever
out of P (Park).
Hold the brake pedal down while you move
the gearshift lever from P (Park) to another
position. If you do not hold the brake pedal down,
your vehicle may move unexpectedly and injure
someone.
Understanding gearshift positions
P (Park)
Always come to a
complete stop before
shifting into P (Park).
Make sure the gearshift
lever is securely
latched in P (Park).
This position locks the
transmission and
prevents the rear
wheels from turning.
Always set the parking brake fully and make
sure the gearshift lever is latched in P
(Park). Turn off the ignition whenever you leave
your vehicle.
Driving
150
Page 151 of 264
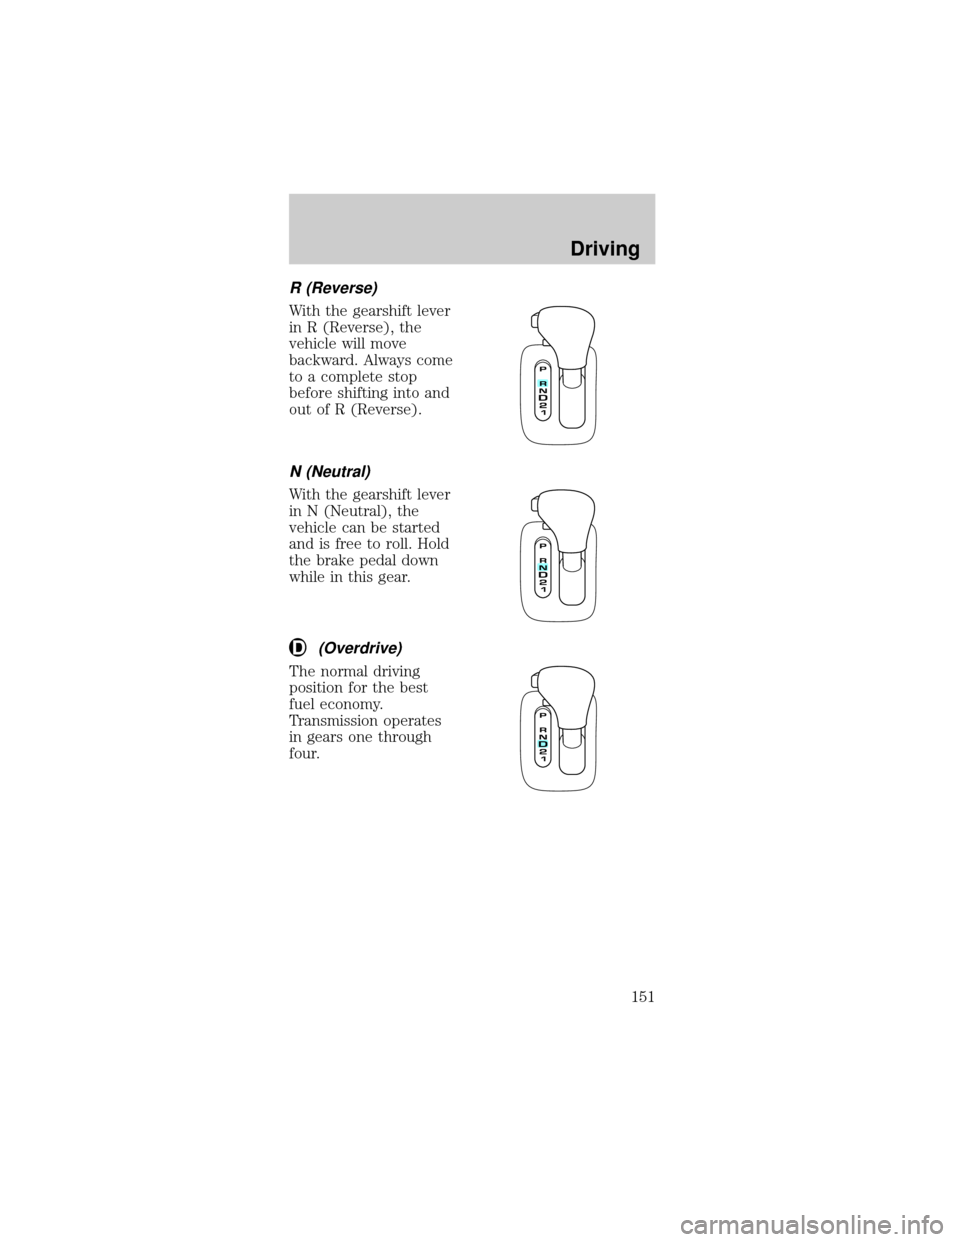
R (Reverse)
With the gearshift lever
in R (Reverse), the
vehicle will move
backward. Always come
to a complete stop
before shifting into and
out of R (Reverse).
N (Neutral)
With the gearshift lever
in N (Neutral), the
vehicle can be started
and is free to roll. Hold
the brake pedal down
while in this gear.
(Overdrive)
The normal driving
position for the best
fuel economy.
Transmission operates
in gears one through
four.
Driving
151
Page 164 of 264
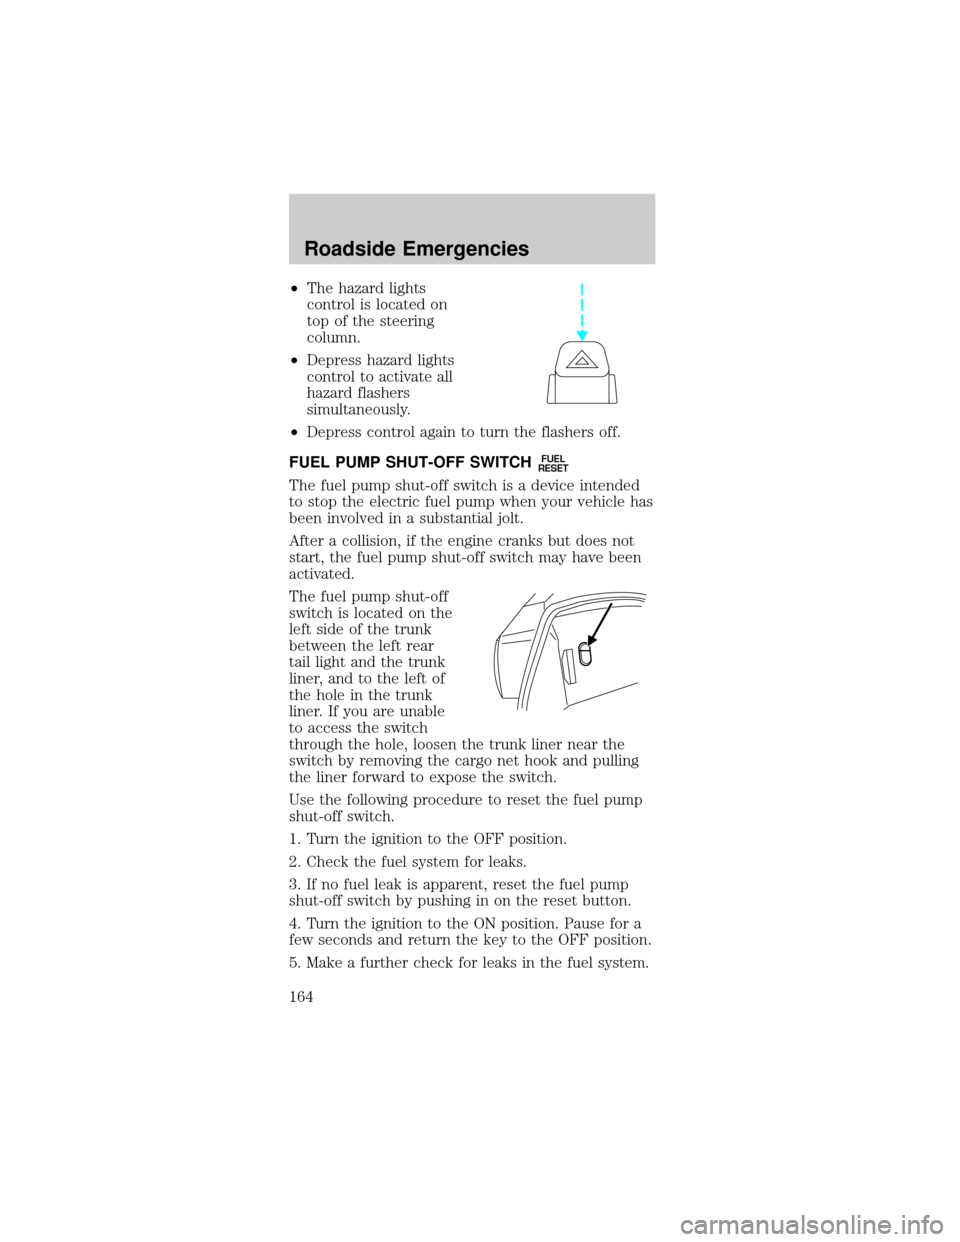
²The hazard lights
control is located on
top of the steering
column.
²Depress hazard lights
control to activate all
hazard flashers
simultaneously.
²Depress control again to turn the flashers off.
FUEL PUMP SHUT-OFF SWITCH
FUEL
RESET
The fuel pump shut-off switch is a device intended
to stop the electric fuel pump when your vehicle has
been involved in a substantial jolt.
After a collision, if the engine cranks but does not
start, the fuel pump shut-off switch may have been
activated.
The fuel pump shut-off
switch is located on the
left side of the trunk
between the left rear
tail light and the trunk
liner, and to the left of
the hole in the trunk
liner. If you are unable
to access the switch
through the hole, loosen the trunk liner near the
switch by removing the cargo net hook and pulling
the liner forward to expose the switch.
Use the following procedure to reset the fuel pump
shut-off switch.
1. Turn the ignition to the OFF position.
2. Check the fuel system for leaks.
3. If no fuel leak is apparent, reset the fuel pump
shut-off switch by pushing in on the reset button.
4. Turn the ignition to the ON position. Pause for a
few seconds and return the key to the OFF position.
5. Make a further check for leaks in the fuel system.
Roadside Emergencies
164
Page 212 of 264

To begin this process:
1. With the vehicle at a complete stop, set the
parking brake.
2. Put the gearshift in P (Park) (automatic
transmission) or the neutral position (manual
transmission), turn off all accessories and start the
engine.
3. Run the engine until it reaches normal operating
temperature.
4. Allow the engine to idle for at least one minute.
5. Turn the A/C on and allow the engine to idle for
at least one minute.
6. Drive the vehicle to complete the relearning
process.
²The vehicle may need to be driven 16 km
(10 miles) or more to relearn the idle and fuel
trim strategy.
²If you do not allow the engine to relearn its
idle trim, the idle quality of your vehicle may
be adversely affected until the idle trim is
eventually relearned.
When the battery is disconnected or a new battery
installed, the transmission must relearn its adaptive
strategy. As a result of this, the transmission may
shift firmly. This operation is considered normal and
will not affect function or durability of the
transmission. Over time the adaptive learning
process will fully update transmission operation to
its optimum shift feel.
If the battery has been disconnected or a new
battery has been installed, the clock and the preset
radio stations must be reset once the battery is
reconnected.
Maintenance and Specifications
212
Page 233 of 264

Do not make any unauthorized changes to your
vehicle or engine. By law, vehicle owners and anyone
who manufactures, repairs, services, sells, leases,
trades vehicles, or supervises a fleet of vehicles are
not permitted to intentionally remove an emission
control device or prevent it from working.
Information about your vehicle's emission system is
on the Vehicle Emission Control Information Decal
located on or near the engine. This decal identifies
engine displacement and gives some tune up
specifications.
Please consult yourWarranty Guidefor complete
emission warranty information.
Readiness for Inspection/Maintenance (I/M)
testing
In some localities, it may be a legal requirement to
pass an I/M test of the on-board diagnostics system.
If your ªCheck Engine/Service Engine Soonº light is
on, refer to the description in theWarning lights
and chimessection of theInstrument Cluster
chapter. Your vehicle may not pass the I/M test with
the ªCheck Engine/Service Engine Soonº light on.
If the vehicle's powertrain system or its battery has
just been serviced, the on-board diagnostics system
is reset to a ªnot ready for I/M testº condition. To
ready the on-board diagnostics system for I/M
testing, a minimum of 30 minutes of city and
highway driving is necessary as described below:
²First, at least 10 minutes of driving on an
expressway or highway.
²Next, at least 20 minutes driving in stop-and-go,
city-type traffic with at least four idle periods.
Allow the vehicle to sit for at least eight hours
without starting the engine. Then, start the engine
and complete the above driving cycle. The engine
must warm up to its normal operating temperature.
Once started, do not turn off the engine until the
above driving cycle is complete.
Maintenance and Specifications
233