display FORD MUSTANG 2005 5.G Quick Reference Guide
[x] Cancel search | Manufacturer: FORD, Model Year: 2005, Model line: MUSTANG, Model: FORD MUSTANG 2005 5.GPages: 12, PDF Size: 0.26 MB
Page 2 of 12

AUDIO SYSTEMS
1
6
7
3
10
8
54
2
9
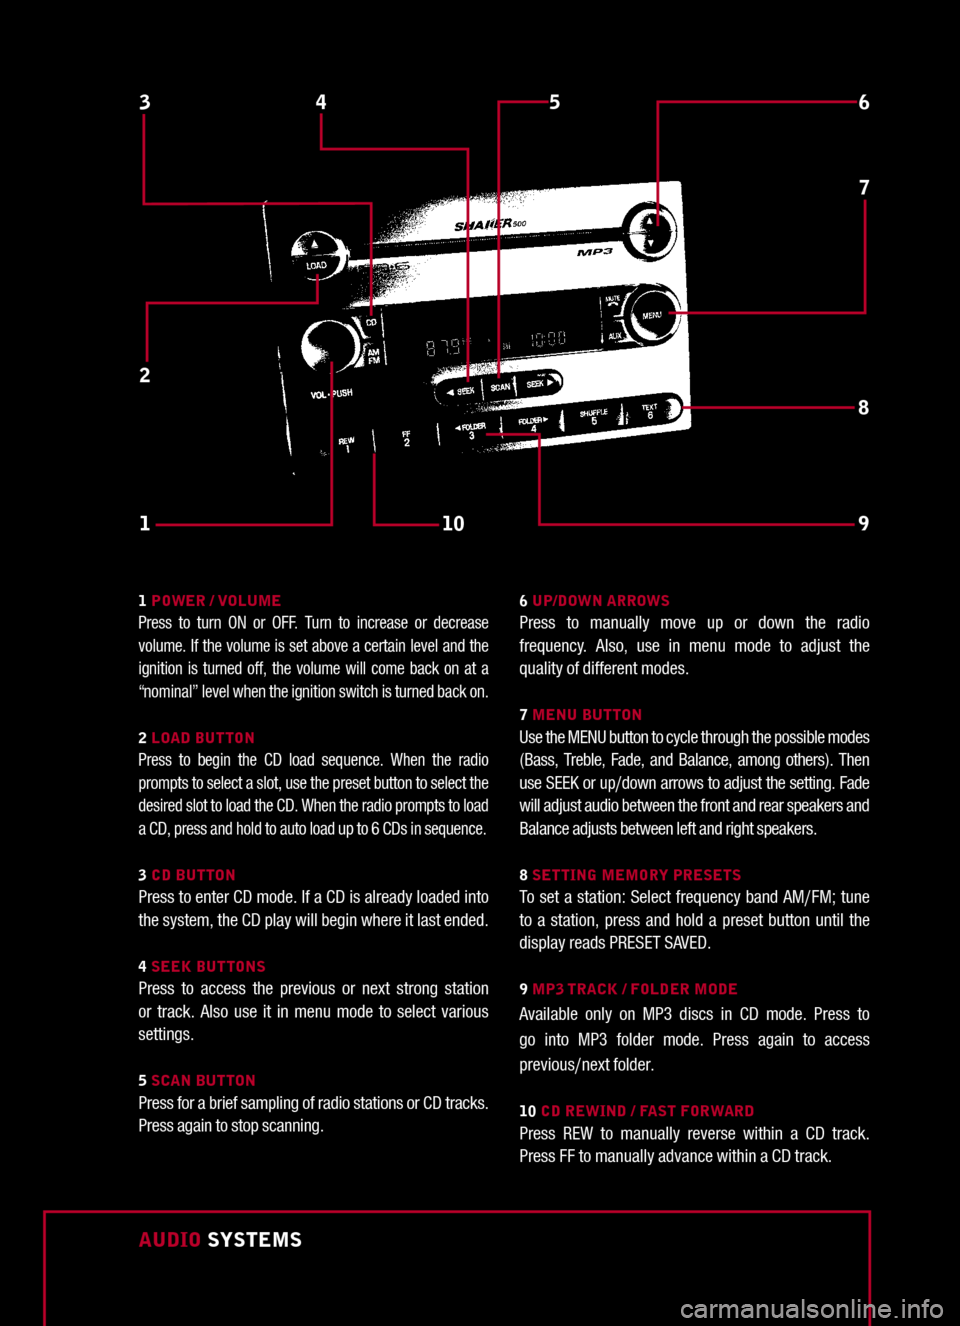
1 POWER / VOLUMEPress to turn ON or OFF. Turn to increase or decrease volume. If the volume is set above a certain level and the ignition is turned off, the volume will come back on at a “nominal” level when the ignition switch is turned back on.
2 LOAD BUTTONPress to begin the CD load sequence. When the radio prompts to select a slot, use the preset button to select the desired slot to load the CD. When the radio prompts to load a CD, press and hold to auto load up to 6 CDs in sequence.
3 CD BUTTONPress to enter CD mode. If a CD is already loaded into the system, the CD play will begin where it last ended.
4 SEEK BUTTONSPress to access the previous or next strong station or track. Also use it in menu mode to select various settings.
5 SCAN BUTTONPress for a brief sampling of radio stations or CD tracks. Press again to stop scanning.
6 UP/DOWN ARROWSPress to manually move up or down the radio frequency. Also, use in menu mode to adjust the quality of different modes.
7 MENU BUTTONUse the MENU button to cycle through the possible modes (Bass, Treble, Fade, and Balance, among others). Then use SEEK or up/down arrows to adjust the setting. Fade will adjust audio between the front and rear speakers and Balance adjusts between left and right speakers.
8 SETTING MEMORY PRESETSTo set a station: Select frequency band AM/FM; tune to a station, press and hold a preset button until the display reads PRESET SAVED.
9 MP3 TRACK / FOLDER MODE
Available only on MP3 discs in CD mode. Press to go into MP3 folder mode. Press again to access previous/next folder.
10 CD REWIND / FAST FORWARDPress REW to manually reverse within a CD track. Press FF to manually advance within a CD track.
Page 12 of 12

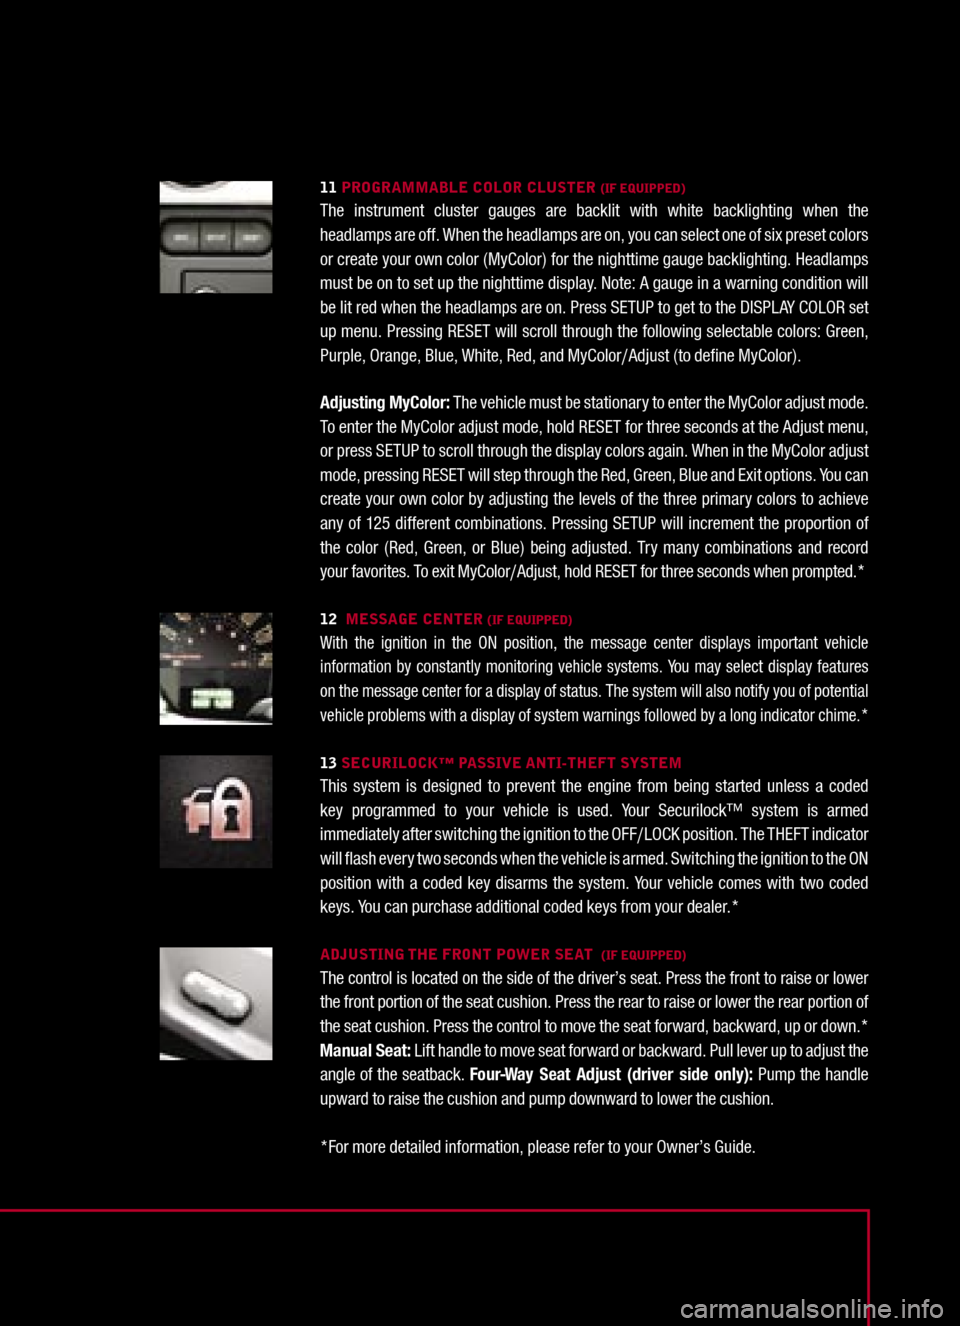
11 PROGRAMMABLE COLOR CLUSTER (IF EQUIPPED)The instrument cluster gauges are backlit with white backlighting when the headlamps are off. When the headlamps are on, you can select one of six preset colors or create your own color (MyColor) for the nighttime gauge backlighting. Headlamps must be on to set up the nighttime display. Note: A gauge in a warning condition will be lit red when the headlamps are on. Press SETUP to get to the DISPLAY COLOR set up menu. Pressing RESET will scroll through the following selectable colors: Green, Purple, Orange, Blue, White, Red, and MyColor/Adjust (to define MyColor).
Adjusting MyColor: The vehicle must be stationary to enter the MyColor adjust mode. To enter the MyColor adjust mode, hold RESET for three seconds at the Adjust menu, or press SETUP to scroll through the display colors again. When in the MyColor adjust mode, pressing RESET will step through the Red, Green, Blue and Exit options. You can create your own color by adjusting the levels of the three primary colors to achieve any of 125 different combinations. Pressing SETUP will increment the proportion of the color (Red, Green, or Blue) being adjusted. Try many combinations and record your favorites. To exit MyColor/Adjust, hold RESET for three seconds when prompted.*
12 MESSAGE CENTER (IF EQUIPPED)With the ignition in the ON position, the message center displays important vehicle information by constantly monitoring vehicle systems. You may select display features on the message center for a display of status. The system will also notify you of potential vehicle problems with a display of system warnings followed by a long indicator chime.*
13 SECURILOCK™ PASSIVE ANTI-THEFT SYSTEMThis system is designed to prevent the engine from being started unless a coded key programmed to your vehicle is used. Your Securilock™ system is armed immediately after switching the ignition to the OFF/LOCK position. The THEFT indicator will flash every two seconds when the vehicle is armed. Switching the ignition to the ON position with a coded key disarms the system. Your vehicle comes with two coded keys. You can purchase additional coded keys from your dealer.*
ADJUSTING THE FRONT POWER SEAT (IF EQUIPPED)The control is located on the side of the driver’s seat. Press the front to raise or lower the front portion of the seat cushion. Press the rear to raise or lower the rear portion of the seat cushion. Press the control to move the seat forward, backward, up or down.* Manual Seat: Lift handle to move seat forward or backward. Pull lever up to adjust the angle of the seatback. Four-Way Seat Adjust (driver side only): Pump the handle upward to raise the cushion and pump downward to lower the cushion.
*For more detailed information, please refer to your Owner’s Guide.