ignition FORD RANGER 2002 2.G Owners Manual
[x] Cancel search | Manufacturer: FORD, Model Year: 2002, Model line: RANGER, Model: FORD RANGER 2002 2.GPages: 288, PDF Size: 3.03 MB
Page 14 of 288
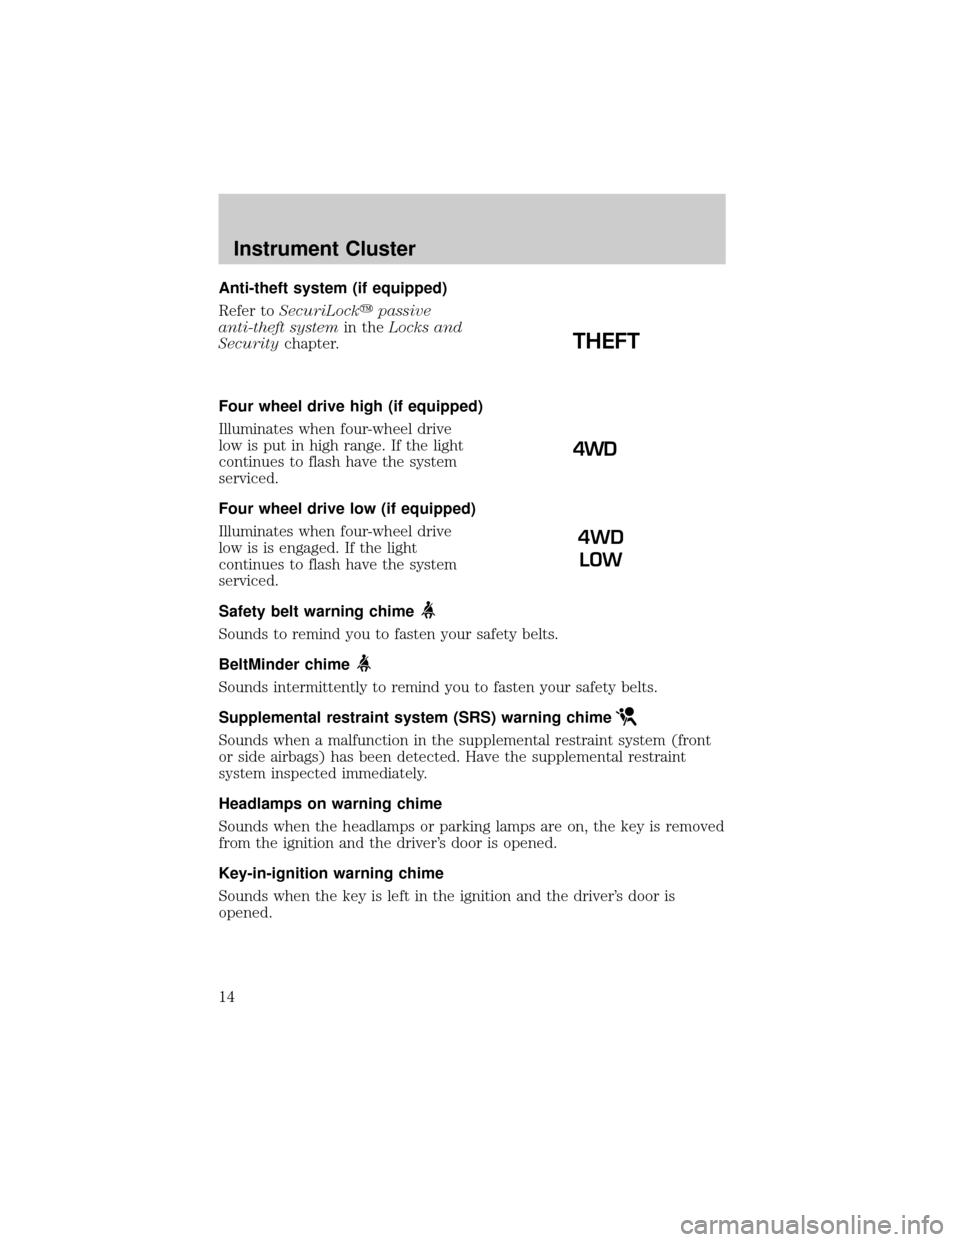
Anti-theft system (if equipped)
Refer toSecuriLockypassive
anti-theft systemin theLocks and
Securitychapter.
Four wheel drive high (if equipped)
Illuminates when four-wheel drive
low is put in high range. If the light
continues to flash have the system
serviced.
Four wheel drive low (if equipped)
Illuminates when four-wheel drive
low is is engaged. If the light
continues to flash have the system
serviced.
Safety belt warning chime
Sounds to remind you to fasten your safety belts.
BeltMinder chime
Sounds intermittently to remind you to fasten your safety belts.
Supplemental restraint system (SRS) warning chime
Sounds when a malfunction in the supplemental restraint system (front
or side airbags) has been detected. Have the supplemental restraint
system inspected immediately.
Headlamps on warning chime
Sounds when the headlamps or parking lamps are on, the key is removed
from the ignition and the driver's door is opened.
Key-in-ignition warning chime
Sounds when the key is left in the ignition and the driver's door is
opened.
THEFT
4WD
LOW
Instrument Cluster
14
Page 18 of 288
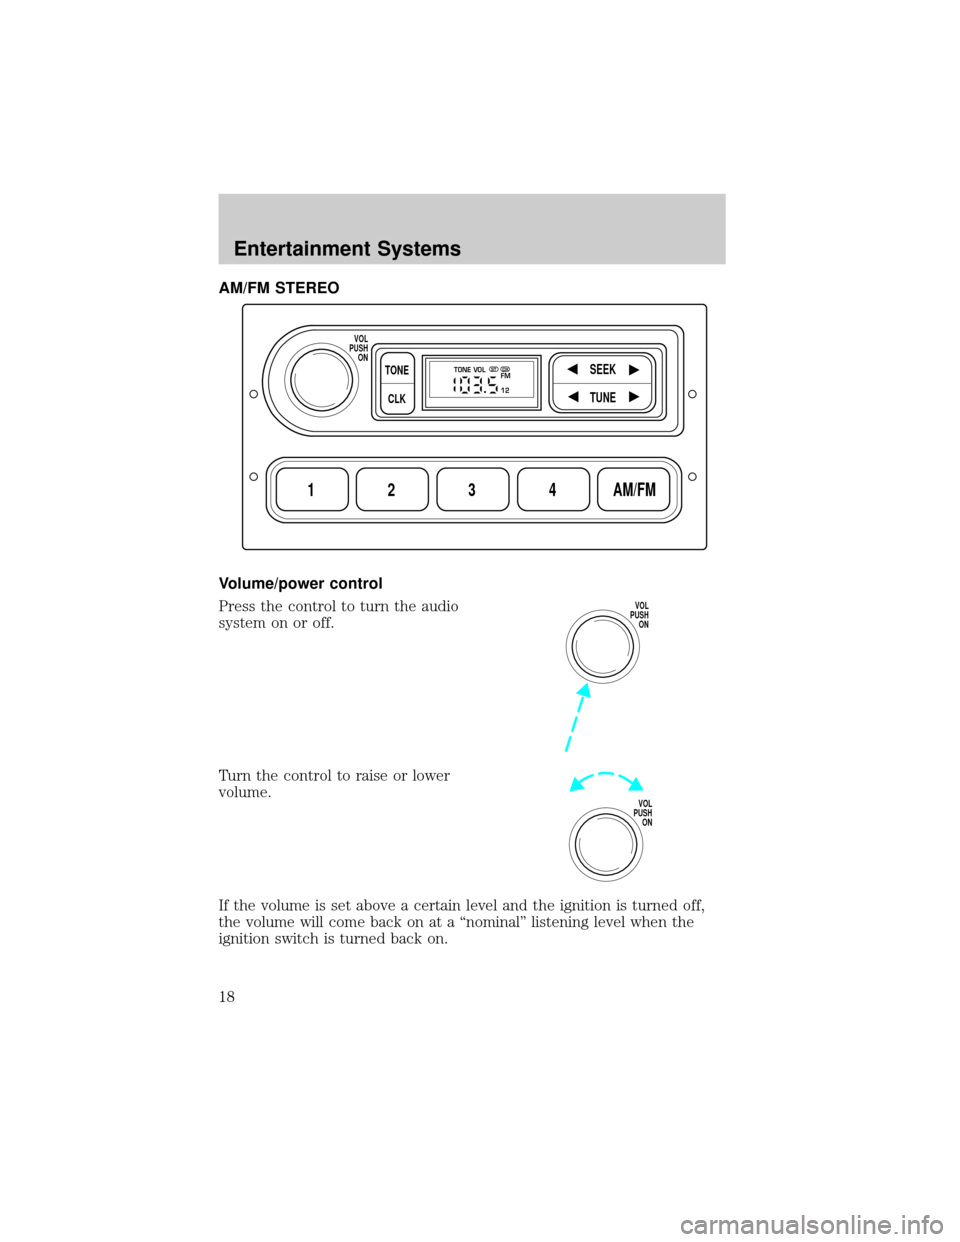
AM/FM STEREO
Volume/power control
Press the control to turn the audio
system on or off.
Turn the control to raise or lower
volume.
If the volume is set above a certain level and the ignition is turned off,
the volume will come back on at a ªnominalº listening level when the
ignition switch is turned back on.
1234AM/FM
SEEKTONE
CLK
TUNE
TONE VOL
12 FMSTDX
VOL
PUSH
ON
VOL
PUSH
ON
VOL
PUSH
ON
Entertainment Systems
18
Page 22 of 288
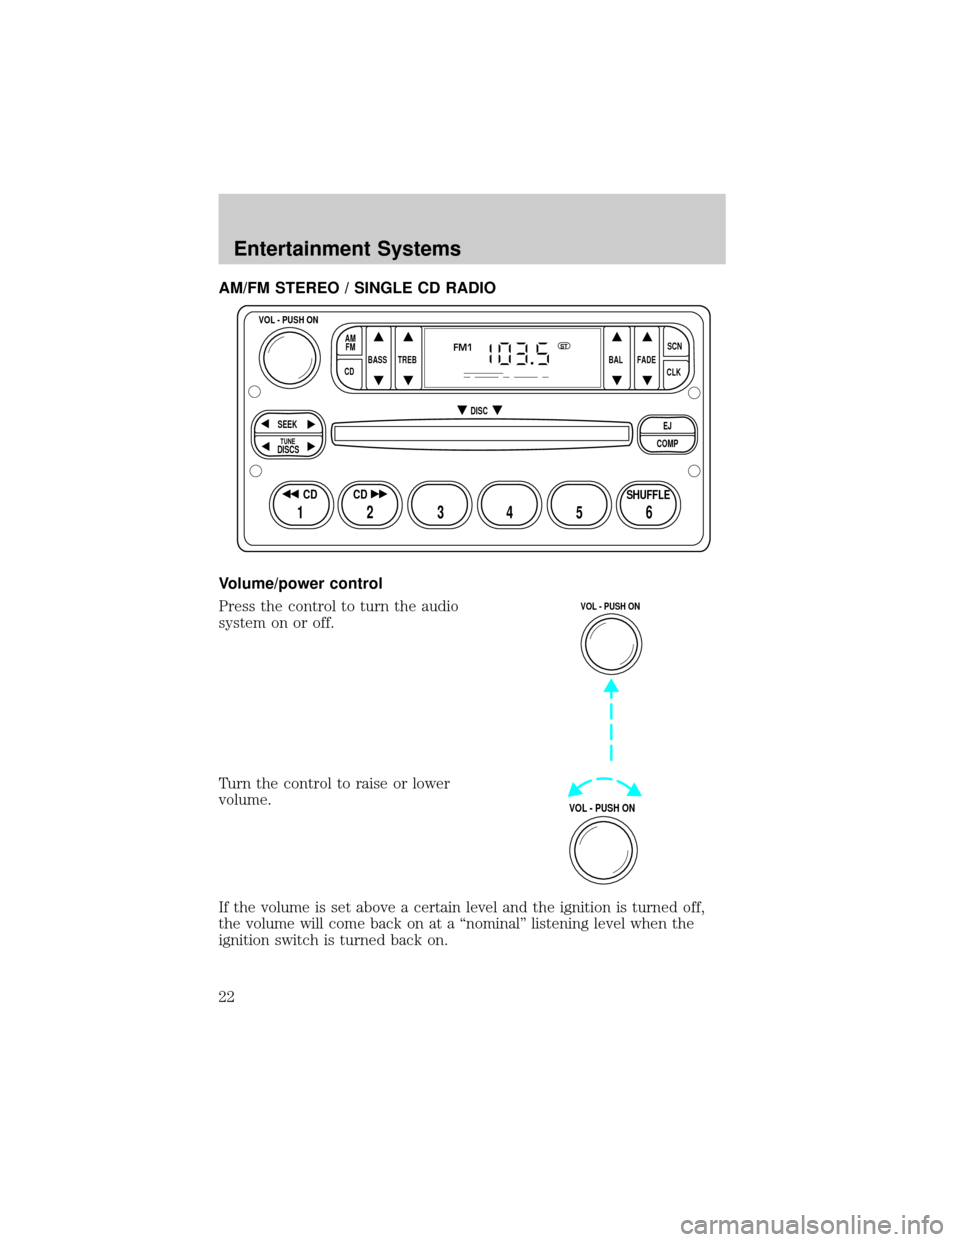
AM/FM STEREO / SINGLE CD RADIO
Volume/power control
Press the control to turn the audio
system on or off.
Turn the control to raise or lower
volume.
If the volume is set above a certain level and the ignition is turned off,
the volume will come back on at a ªnominalº listening level when the
ignition switch is turned back on.
BASS
CDTREB BAL FADESCN
CLK AM
FM
VOL - PUSH ON
SEEK
EJ
COMP DISC
DISCS
TUNE
12 3456
FM1ST
SHUFFLE CD CD
VOL - PUSH ON
VOL - PUSH ON
Entertainment Systems
22
Page 30 of 288
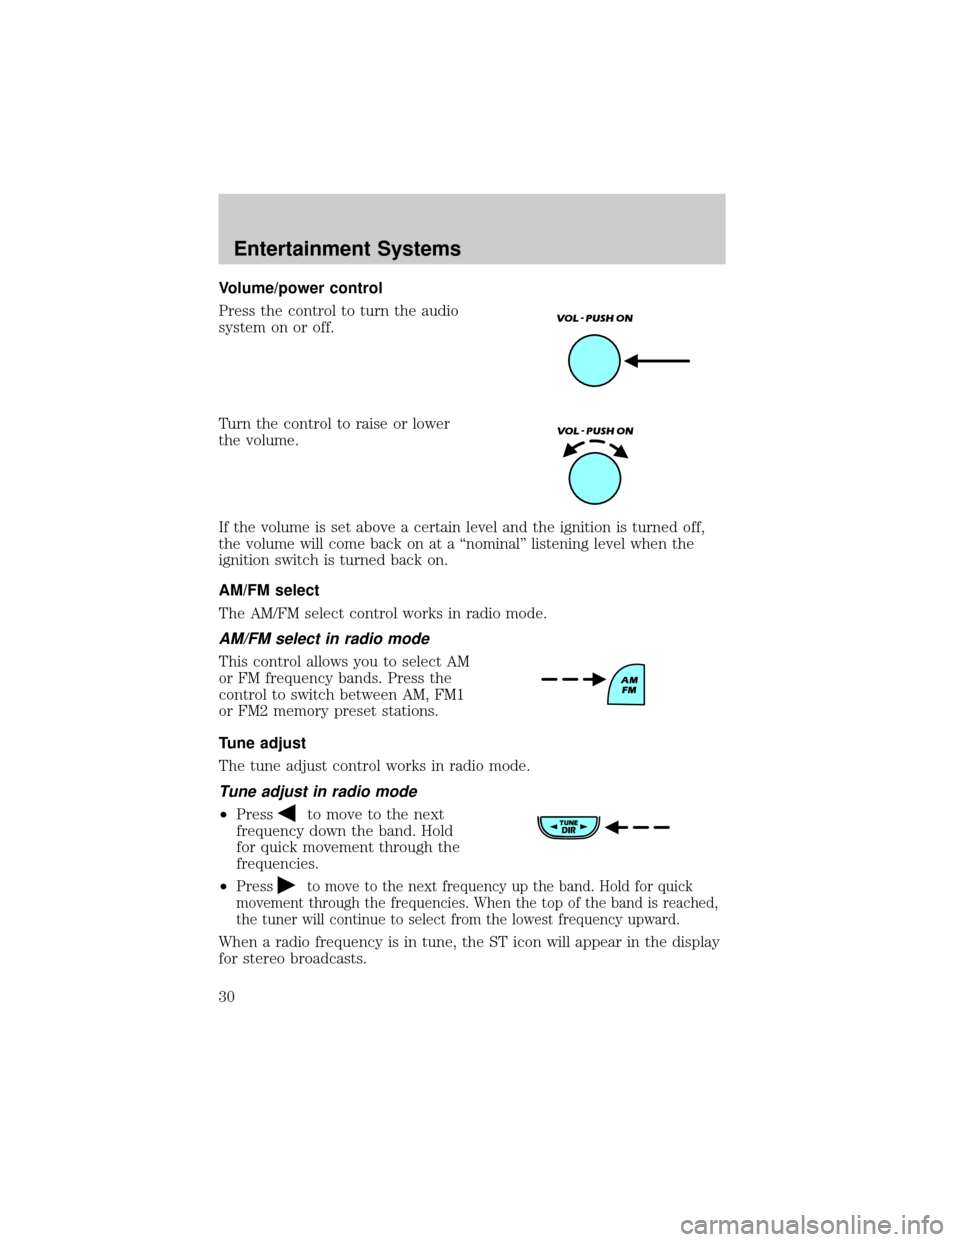
Volume/power control
Press the control to turn the audio
system on or off.
Turn the control to raise or lower
the volume.
If the volume is set above a certain level and the ignition is turned off,
the volume will come back on at a ªnominalº listening level when the
ignition switch is turned back on.
AM/FM select
The AM/FM select control works in radio mode.
AM/FM select in radio mode
This control allows you to select AM
or FM frequency bands. Press the
control to switch between AM, FM1
or FM2 memory preset stations.
Tune adjust
The tune adjust control works in radio mode.
Tune adjust in radio mode
²Pressto move to the next
frequency down the band. Hold
for quick movement through the
frequencies.
²Press
to move to the next frequency up the band. Hold for quick
movement through the frequencies. When the top of the band is reached,
the tuner will continue to select from the lowest frequency upward.
When a radio frequency is in tune, the ST icon will appear in the display
for stereo broadcasts.
Entertainment Systems
30
Page 36 of 288
Playing a CD
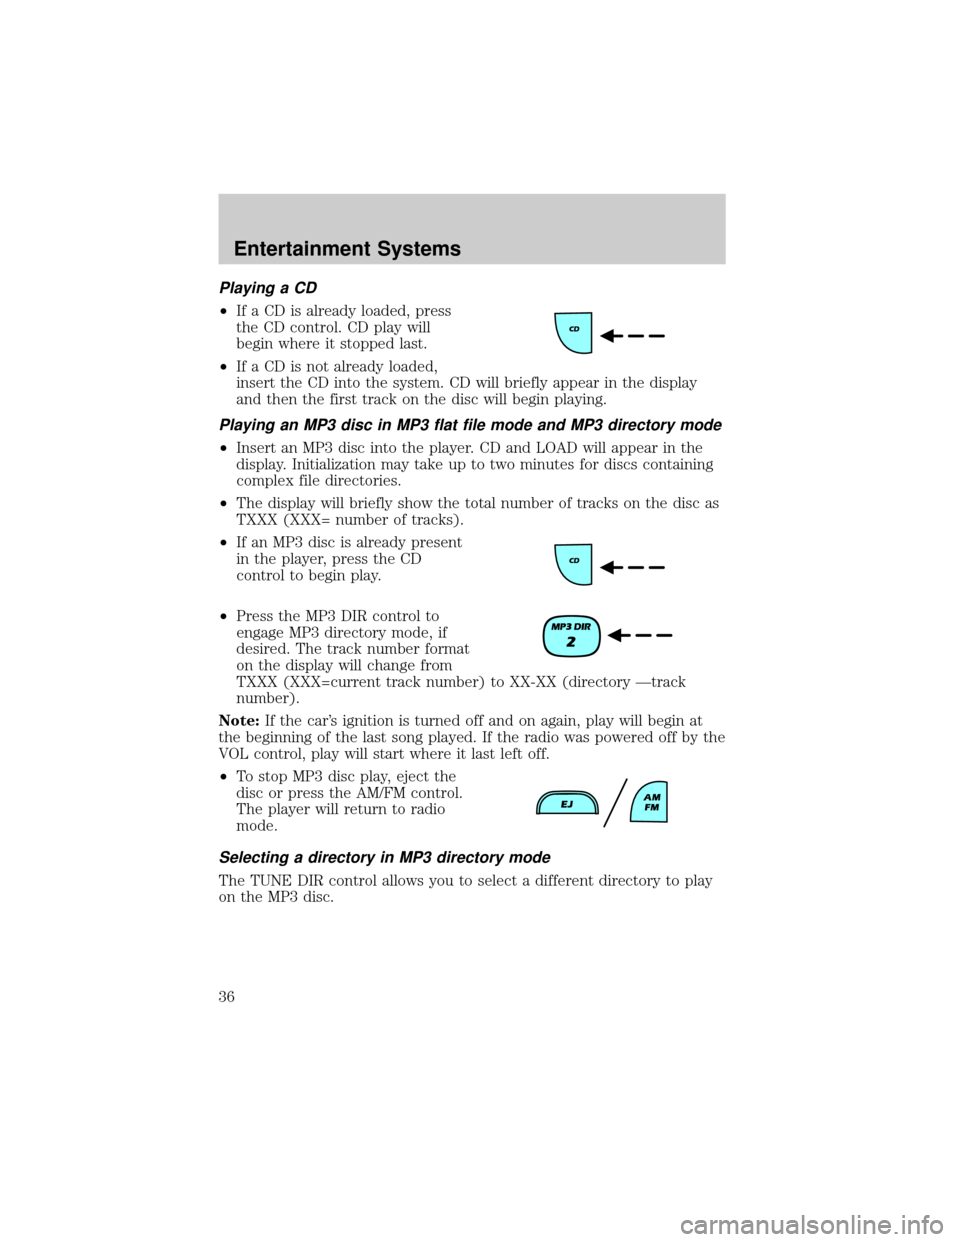
²If a CD is already loaded, press
the CD control. CD play will
begin where it stopped last.
²If a CD is not already loaded,
insert the CD into the system. CD will briefly appear in the display
and then the first track on the disc will begin playing.
Playing an MP3 disc in MP3 flat file mode and MP3 directory mode
²Insert an MP3 disc into the player. CD and LOAD will appear in the
display. Initialization may take up to two minutes for discs containing
complex file directories.
²The display will briefly show the total number of tracks on the disc as
TXXX (XXX= number of tracks).
²If an MP3 disc is already present
in the player, press the CD
control to begin play.
²Press the MP3 DIR control to
engage MP3 directory mode, if
desired. The track number format
on the display will change from
TXXX (XXX=current track number) to XX-XX (directory Ðtrack
number).
Note:If the car's ignition is turned off and on again, play will begin at
the beginning of the last song played. If the radio was powered off by the
VOL control, play will start where it last left off.
²To stop MP3 disc play, eject the
disc or press the AM/FM control.
The player will return to radio
mode.
Selecting a directory in MP3 directory mode
The TUNE DIR control allows you to select a different directory to play
on the MP3 disc.
Entertainment Systems
36
Page 37 of 288
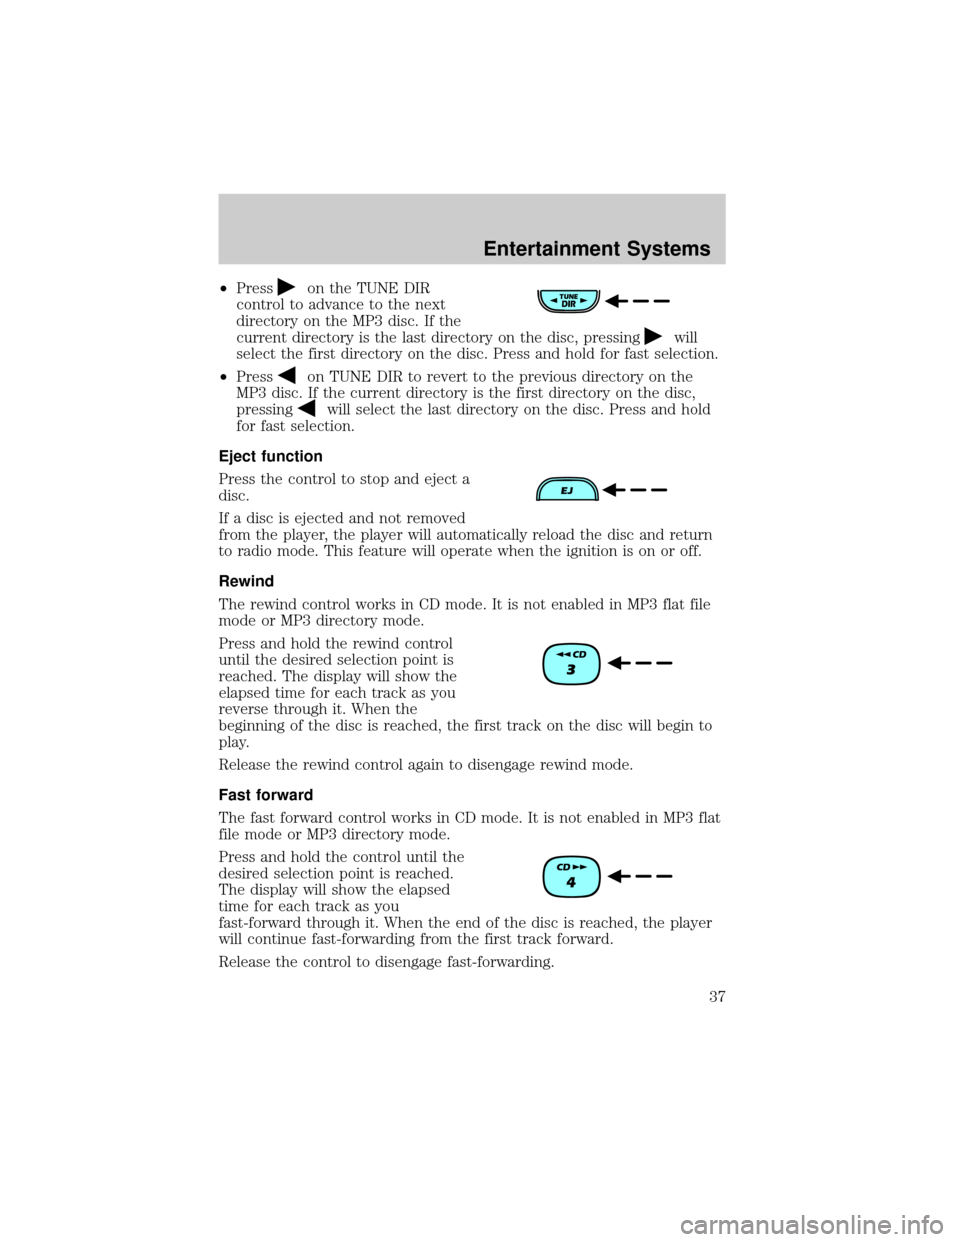
²Presson the TUNE DIR
control to advance to the next
directory on the MP3 disc. If the
current directory is the last directory on the disc, pressing
will
select the first directory on the disc. Press and hold for fast selection.
²Press
on TUNE DIR to revert to the previous directory on the
MP3 disc. If the current directory is the first directory on the disc,
pressing
will select the last directory on the disc. Press and hold
for fast selection.
Eject function
Press the control to stop and eject a
disc.
If a disc is ejected and not removed
from the player, the player will automatically reload the disc and return
to radio mode. This feature will operate when the ignition is on or off.
Rewind
The rewind control works in CD mode. It is not enabled in MP3 flat file
mode or MP3 directory mode.
Press and hold the rewind control
until the desired selection point is
reached. The display will show the
elapsed time for each track as you
reverse through it. When the
beginning of the disc is reached, the first track on the disc will begin to
play.
Release the rewind control again to disengage rewind mode.
Fast forward
The fast forward control works in CD mode. It is not enabled in MP3 flat
file mode or MP3 directory mode.
Press and hold the control until the
desired selection point is reached.
The display will show the elapsed
time for each track as you
fast-forward through it. When the end of the disc is reached, the player
will continue fast-forwarding from the first track forward.
Release the control to disengage fast-forwarding.
Entertainment Systems
37
Page 43 of 288
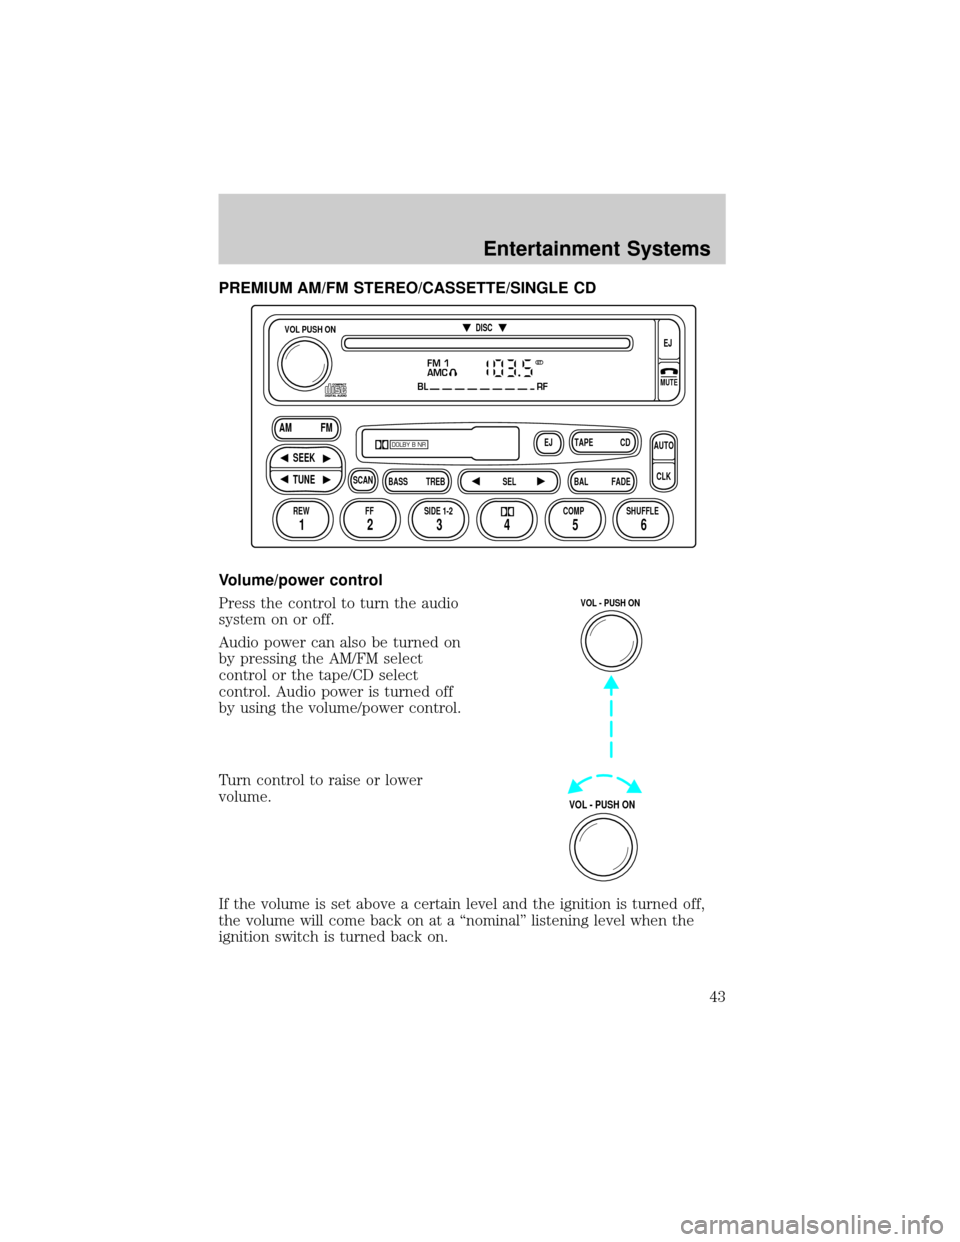
PREMIUM AM/FM STEREO/CASSETTE/SINGLE CD
Volume/power control
Press the control to turn the audio
system on or off.
Audio power can also be turned on
by pressing the AM/FM select
control or the tape/CD select
control. Audio power is turned off
by using the volume/power control.
Turn control to raise or lower
volume.
If the volume is set above a certain level and the ignition is turned off,
the volume will come back on at a ªnominalº listening level when the
ignition switch is turned back on.
FM 1
AMC
BL RF
REW FFSCAN
BASS TREB SEL BALTAPE DISC
EJ CD
FADEAUTO
CLK
SIDE 1-2 COMP SHUFFLEEJ
MUTE
VOL PUSH ON
SEEK
TUNE AM FM
12 3456
DOLBY B NR
ST
VOL - PUSH ON
VOL - PUSH ON
Entertainment Systems
43
Page 52 of 288
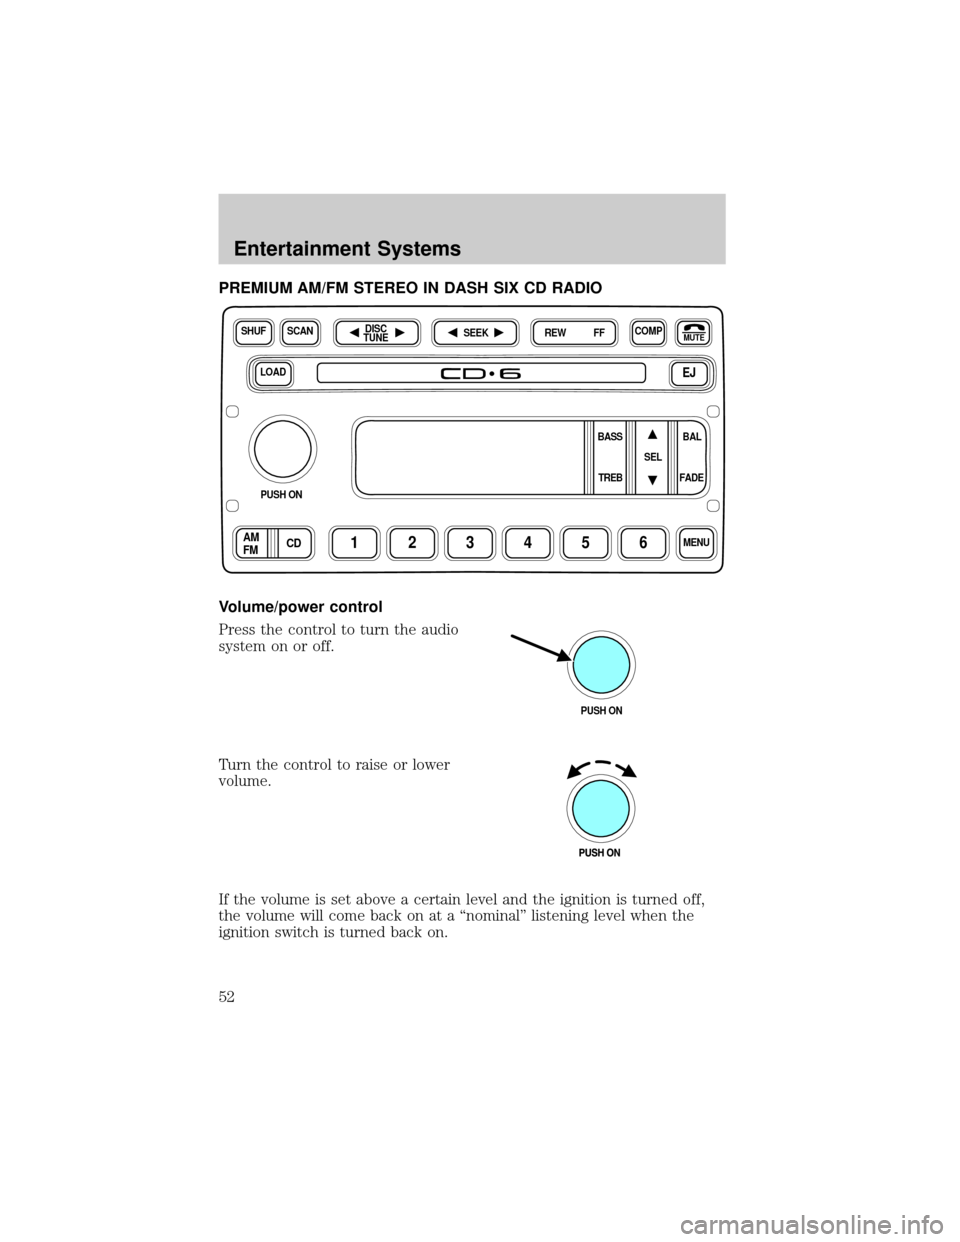
PREMIUM AM/FM STEREO IN DASH SIX CD RADIO
Volume/power control
Press the control to turn the audio
system on or off.
Turn the control to raise or lower
volume.
If the volume is set above a certain level and the ignition is turned off,
the volume will come back on at a ªnominalº listening level when the
ignition switch is turned back on.
LOADEJ
SHUFCOMPMUTE
SELBAL BASS
FADE TREB
SCANDISC
TUNE
PUSH ON
CD123456MENUAM
FM
SEEKREW FF
PUSH ON
Entertainment Systems
52
Page 57 of 288
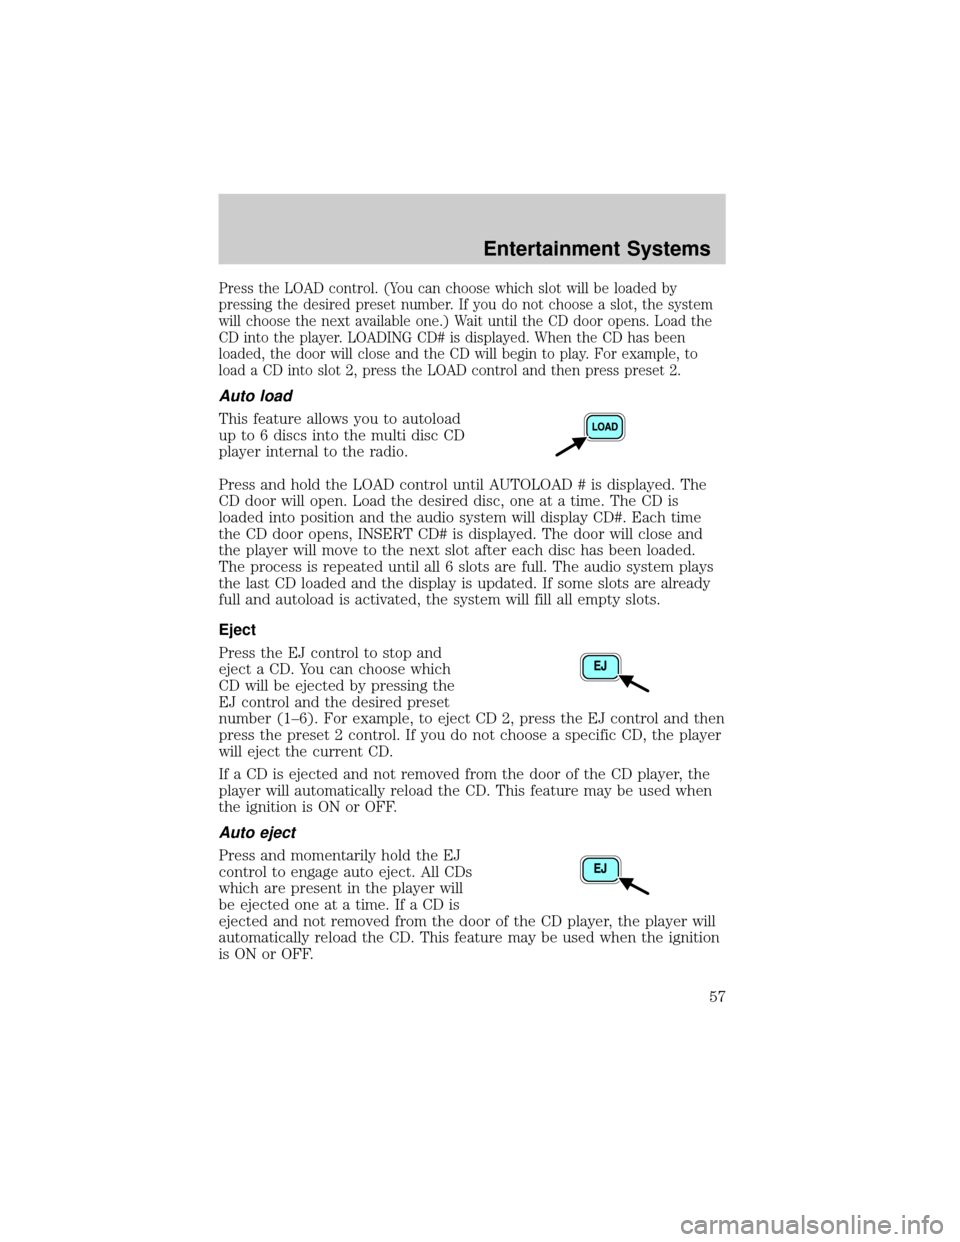
Press the LOAD control. (You can choose which slot will be loaded by
pressing the desired preset number. If you do not choose a slot, the system
will choose the next available one.) Wait until the CD door opens. Load the
CD into the player. LOADING CD# is displayed. When the CD has been
loaded, the door will close and the CD will begin to play. For example, to
load a CD into slot 2, press the LOAD control and then press preset 2.
Auto load
This feature allows you to autoload
up to 6 discs into the multi disc CD
player internal to the radio.
Press and hold the LOAD control until AUTOLOAD # is displayed. The
CD door will open. Load the desired disc, one at a time. The CD is
loaded into position and the audio system will display CD#. Each time
the CD door opens, INSERT CD# is displayed. The door will close and
the player will move to the next slot after each disc has been loaded.
The process is repeated until all 6 slots are full. The audio system plays
the last CD loaded and the display is updated. If some slots are already
full and autoload is activated, the system will fill all empty slots.
Eject
Press the EJ control to stop and
eject a CD. You can choose which
CD will be ejected by pressing the
EJ control and the desired preset
number (1±6). For example, to eject CD 2, press the EJ control and then
press the preset 2 control. If you do not choose a specific CD, the player
will eject the current CD.
If a CD is ejected and not removed from the door of the CD player, the
player will automatically reload the CD. This feature may be used when
the ignition is ON or OFF.
Auto eject
Press and momentarily hold the EJ
control to engage auto eject. All CDs
which are present in the player will
be ejected one at a time. If a CD is
ejected and not removed from the door of the CD player, the player will
automatically reload the CD. This feature may be used when the ignition
is ON or OFF.
Entertainment Systems
57
Page 73 of 288
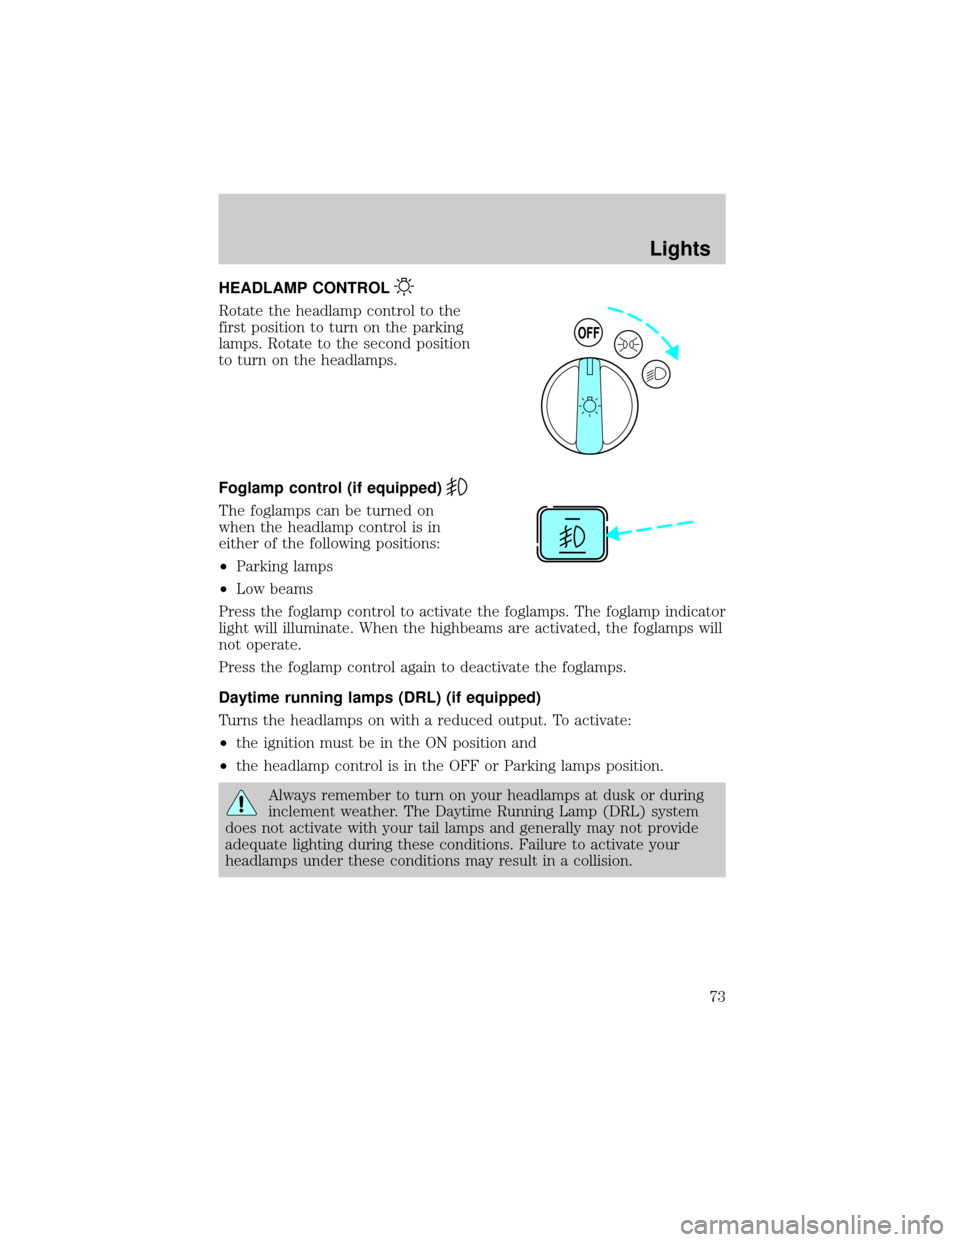
HEADLAMP CONTROL
Rotate the headlamp control to the
first position to turn on the parking
lamps. Rotate to the second position
to turn on the headlamps.
Foglamp control (if equipped)
The foglamps can be turned on
when the headlamp control is in
either of the following positions:
²Parking lamps
²Low beams
Press the foglamp control to activate the foglamps. The foglamp indicator
light will illuminate. When the highbeams are activated, the foglamps will
not operate.
Press the foglamp control again to deactivate the foglamps.
Daytime running lamps (DRL) (if equipped)
Turns the headlamps on with a reduced output. To activate:
²the ignition must be in the ON position and
²the headlamp control is in the OFF or Parking lamps position.
Always remember to turn on your headlamps at dusk or during
inclement weather. The Daytime Running Lamp (DRL) system
does not activate with your tail lamps and generally may not provide
adequate lighting during these conditions. Failure to activate your
headlamps under these conditions may result in a collision.
OFF
Lights
73