stop start FORD RANGER 2002 2.G Owners Manual
[x] Cancel search | Manufacturer: FORD, Model Year: 2002, Model line: RANGER, Model: FORD RANGER 2002 2.GPages: 288, PDF Size: 3.03 MB
Page 27 of 288
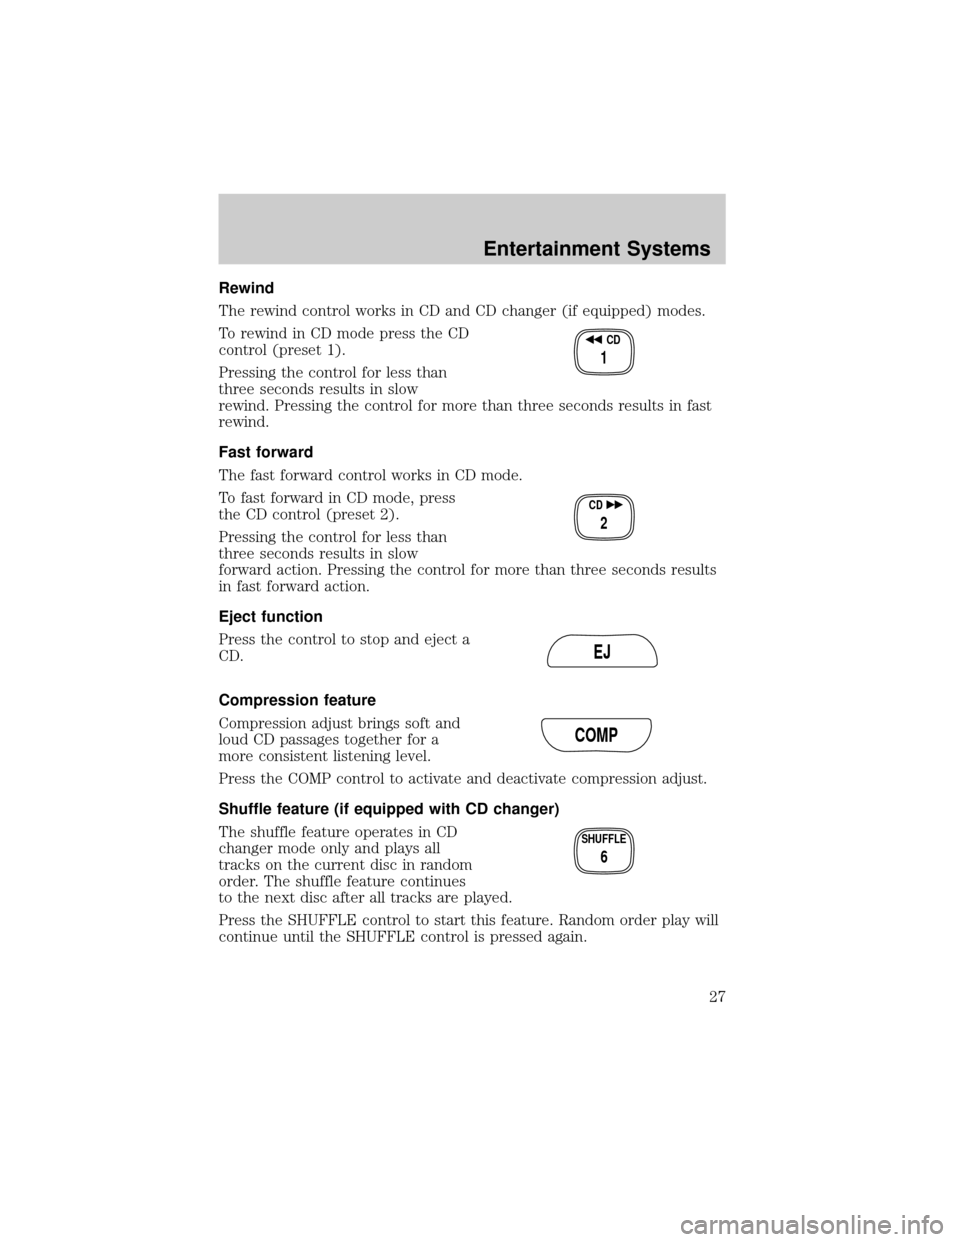
Rewind
The rewind control works in CD and CD changer (if equipped) modes.
To rewind in CD mode press the CD
control (preset 1).
Pressing the control for less than
three seconds results in slow
rewind. Pressing the control for more than three seconds results in fast
rewind.
Fast forward
The fast forward control works in CD mode.
To fast forward in CD mode, press
the CD control (preset 2).
Pressing the control for less than
three seconds results in slow
forward action. Pressing the control for more than three seconds results
in fast forward action.
Eject function
Press the control to stop and eject a
CD.
Compression feature
Compression adjust brings soft and
loud CD passages together for a
more consistent listening level.
Press the COMP control to activate and deactivate compression adjust.
Shuffle feature (if equipped with CD changer)
The shuffle feature operates in CD
changer mode only and plays all
tracks on the current disc in random
order. The shuffle feature continues
to the next disc after all tracks are played.
Press the SHUFFLE control to start this feature. Random order play will
continue until the SHUFFLE control is pressed again.
CD
1
CD
2
EJ
COMP
SHUFFLE
6
Entertainment Systems
27
Page 36 of 288
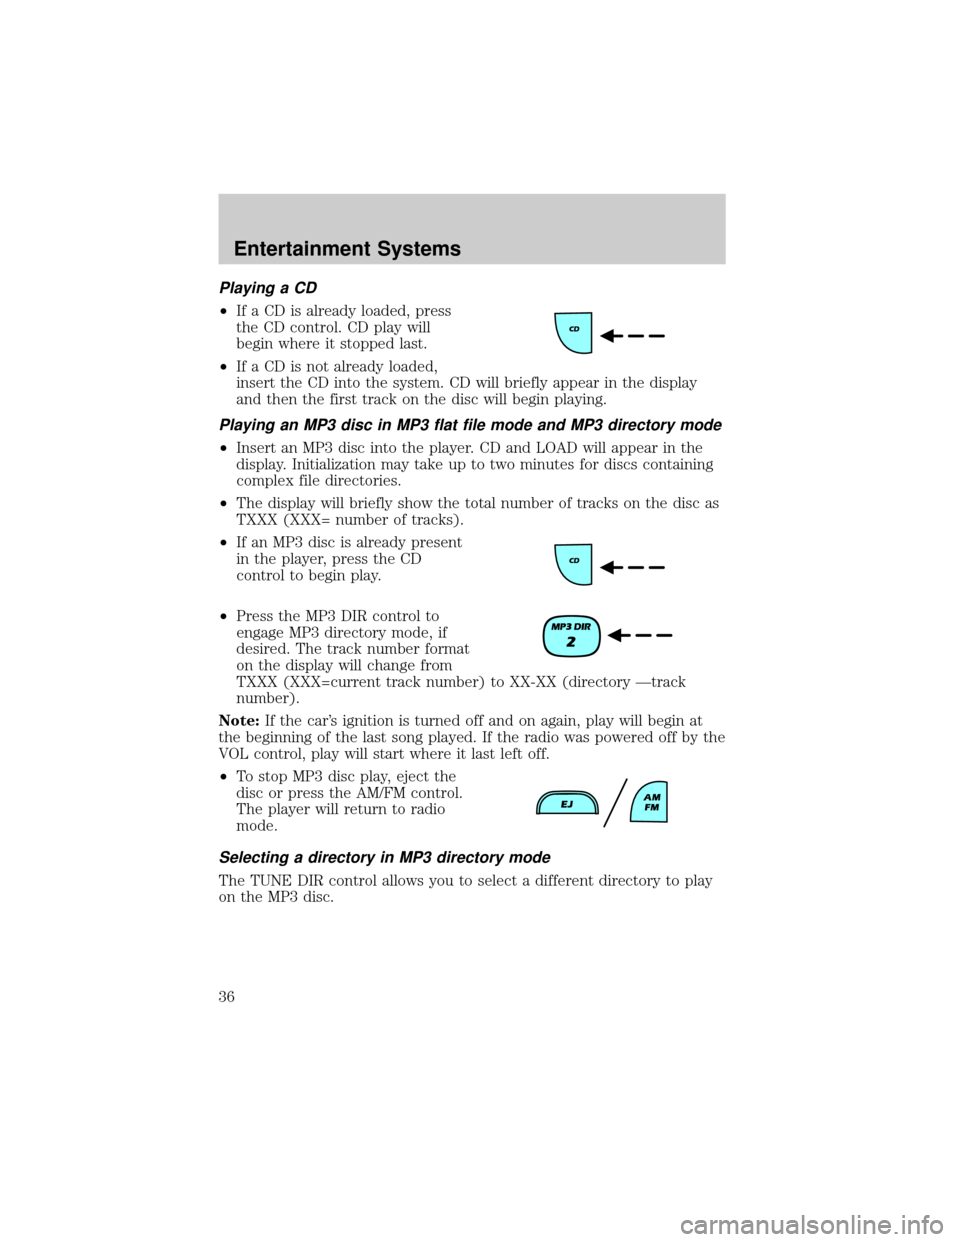
Playing a CD
²If a CD is already loaded, press
the CD control. CD play will
begin where it stopped last.
²If a CD is not already loaded,
insert the CD into the system. CD will briefly appear in the display
and then the first track on the disc will begin playing.
Playing an MP3 disc in MP3 flat file mode and MP3 directory mode
²Insert an MP3 disc into the player. CD and LOAD will appear in the
display. Initialization may take up to two minutes for discs containing
complex file directories.
²The display will briefly show the total number of tracks on the disc as
TXXX (XXX= number of tracks).
²If an MP3 disc is already present
in the player, press the CD
control to begin play.
²Press the MP3 DIR control to
engage MP3 directory mode, if
desired. The track number format
on the display will change from
TXXX (XXX=current track number) to XX-XX (directory Ðtrack
number).
Note:If the car's ignition is turned off and on again, play will begin at
the beginning of the last song played. If the radio was powered off by the
VOL control, play will start where it last left off.
²To stop MP3 disc play, eject the
disc or press the AM/FM control.
The player will return to radio
mode.
Selecting a directory in MP3 directory mode
The TUNE DIR control allows you to select a different directory to play
on the MP3 disc.
Entertainment Systems
36
Page 150 of 288
ABS warning lampABS
TheABSwarning lamp in the instrument cluster momentarily illuminates
when the ignition is turned to the ON position. If the light does not
illuminate momentarily at start up, remains on or continues to flash, the
ABS needs to be serviced.
With the ABS light on, the anti-lock
brake system is disabled and normal
braking is still effective unless the
brake warning light also remains
illuminated with parking brake
released. (If your brake warning lamp illuminates, have your vehicle
serviced immediately.)
Parking brake
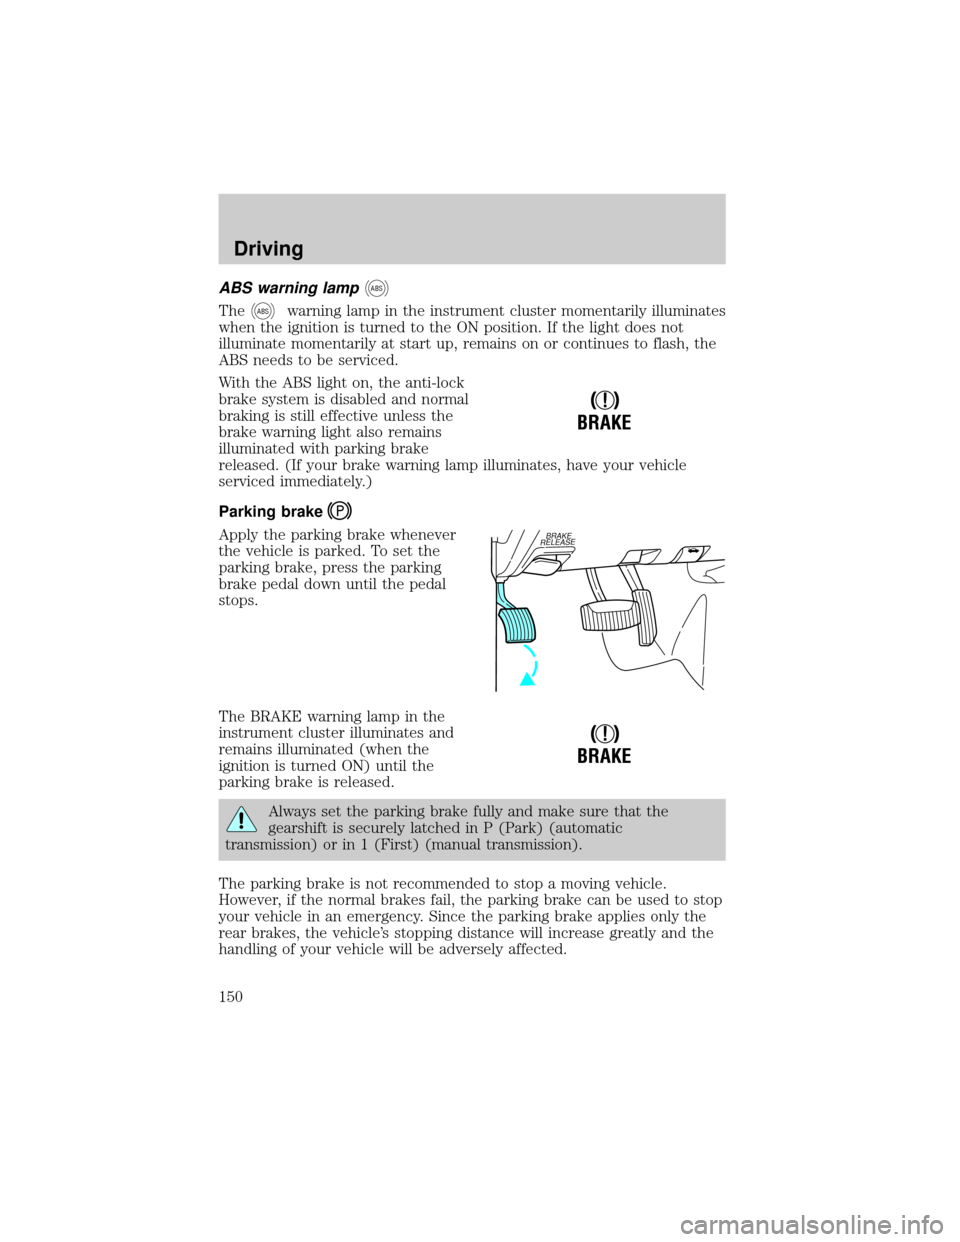
Apply the parking brake whenever
the vehicle is parked. To set the
parking brake, press the parking
brake pedal down until the pedal
stops.
The BRAKE warning lamp in the
instrument cluster illuminates and
remains illuminated (when the
ignition is turned ON) until the
parking brake is released.
Always set the parking brake fully and make sure that the
gearshift is securely latched in P (Park) (automatic
transmission) or in 1 (First) (manual transmission).
The parking brake is not recommended to stop a moving vehicle.
However, if the normal brakes fail, the parking brake can be used to stop
your vehicle in an emergency. Since the parking brake applies only the
rear brakes, the vehicle's stopping distance will increase greatly and the
handling of your vehicle will be adversely affected.
!
BRAKE
BRAKE
RELEASE
!
BRAKE
Driving
150
Page 153 of 288
AUTOMATIC TRANSMISSION OPERATION (IF EQUIPPED)
Brake-shift interlock
This vehicle is equipped with a brake-shift interlock feature that prevents
the gearshift lever from being moved from P (Park) when the ignition is
in the ON position unless the brake pedal is depressed.
If you cannot move the gearshift lever out of P (Park) with ignition in
the ON position and the brake pedal depressed:
1. Apply the parking brake, turn ignition key to LOCK, then remove the
key.
2. Insert the key and turn it to OFF.Apply the brake pedal and shift
to N (Neutral).
3. Start the vehicle.
If it is necessary to use the above procedure to move the gearshift lever,
it is possible that a fuse has blown or the vehicle's brakelamps are not
operating properly. Refer toFuses and relaysin theRoadside
emergencieschapter.
Do not drive your vehicle until you verify that the brakelamps
are working.
If your vehicle gets stuck in mud or snow it may be rocked out by
shifting from forward and reverse gears, stopping between shifts, in a
steady pattern. Press lightly on the accelerator in each gear.
Do not rock the vehicle if the engine is not at normal operating
temperature or damage to the transmission may occur.
Do not rock the vehicle for more than a few minutes or damage
to the transmission and tires may occur or the engine may
overheat.
Always set the parking brake fully and make sure the gearshift is
latched in P (Park). Turn off the ignition whenever you leave
your vehicle.
If the parking brake is fully released, but the brake warning lamp
remains illuminated, the brakes may not be working properly.
See your dealer or a qualified service technician.
Driving
153
Page 154 of 288
Driving with a 5±speed automatic transmission (if equipped)
Your automatic transmission electronically controls the shift feel by using
an adaptive learning strategy. This feature is designed to increase
durability, and provide consistent shift feel over the life of the vehicle. It
is normal for a new transmission to shift firmly. This operation is
considered normal and will not affect function or durability of the
transmission. Once the vehicle is at operating temperature it may take
several shifts at the same operating condition for the transmission to
properly adapt. Over time the adaptive learning process will fully update
transmission operation. The more varied the driving habits, speed and
torque, the longer it may take to adapt, but the more complete the
process will be.
When the battery is disconnected or a new battery installed, the
transmission must learn its adaptive strategy. As a result of this, the
transmission may shift firmly. This operation is considered normal and
will fully update transmission operation to its optimum shift feel.
Understanding gearshift positions
Hold the brake pedal down while you move the gearshift lever
from P (Park) to another position. If you do not hold the brake
pedal down, your vehicle may move unexpectedly and injure someone.
P (Park)
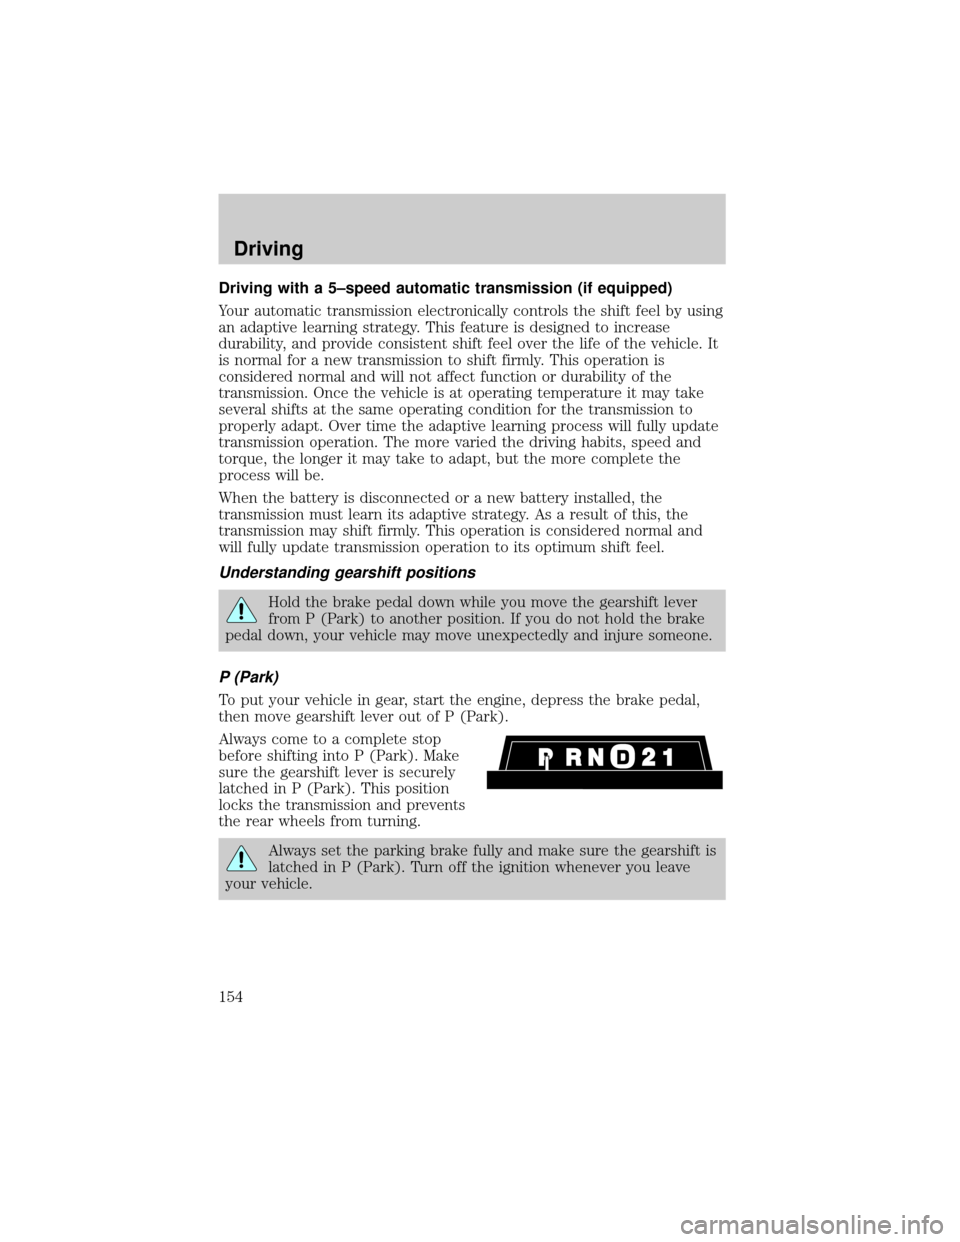
To put your vehicle in gear, start the engine, depress the brake pedal,
then move gearshift lever out of P (Park).
Always come to a complete stop
before shifting into P (Park). Make
sure the gearshift lever is securely
latched in P (Park). This position
locks the transmission and prevents
the rear wheels from turning.
Always set the parking brake fully and make sure the gearshift is
latched in P (Park). Turn off the ignition whenever you leave
your vehicle.
Driving
154
Page 155 of 288
R (Reverse)
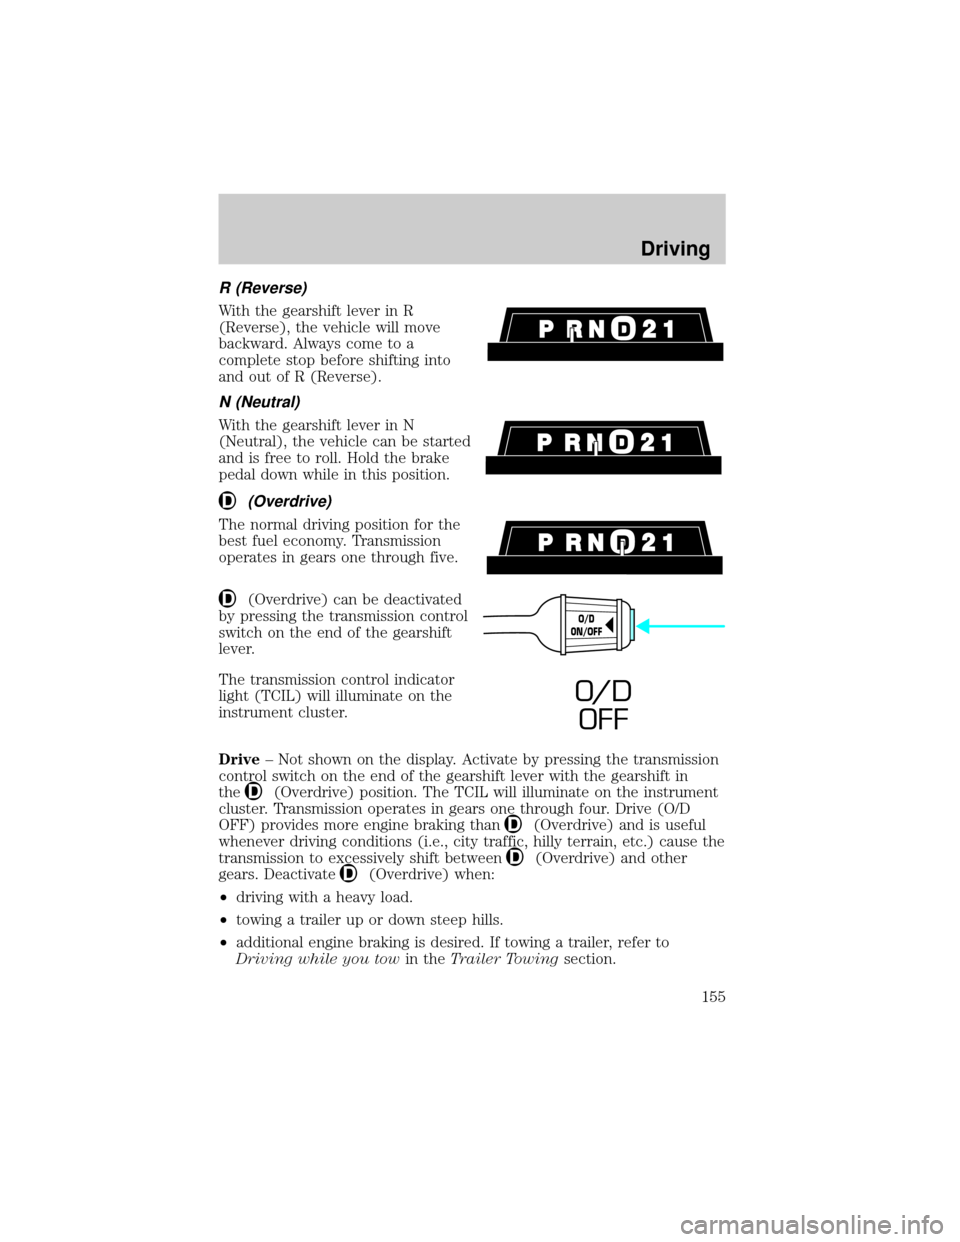
With the gearshift lever in R
(Reverse), the vehicle will move
backward. Always come to a
complete stop before shifting into
and out of R (Reverse).
N (Neutral)
With the gearshift lever in N
(Neutral), the vehicle can be started
and is free to roll. Hold the brake
pedal down while in this position.
(Overdrive)
The normal driving position for the
best fuel economy. Transmission
operates in gears one through five.
(Overdrive) can be deactivated
by pressing the transmission control
switch on the end of the gearshift
lever.
The transmission control indicator
light (TCIL) will illuminate on the
instrument cluster.
Drive± Not shown on the display. Activate by pressing the transmission
control switch on the end of the gearshift lever with the gearshift in
the
(Overdrive) position. The TCIL will illuminate on the instrument
cluster. Transmission operates in gears one through four. Drive (O/D
OFF) provides more engine braking than
(Overdrive) and is useful
whenever driving conditions (i.e., city traffic, hilly terrain, etc.) cause the
transmission to excessively shift between
(Overdrive) and other
gears. Deactivate
(Overdrive) when:
²driving with a heavy load.
²towing a trailer up or down steep hills.
²additional engine braking is desired. If towing a trailer, refer to
Driving while you towin theTrailer Towingsection.
O/D
ON/OFF
O/ D
OFF
Driving
155
Page 162 of 288
FOUR-WHEEL DRIVE (4WD) OPERATION (IF EQUIPPED)
For important information regarding safe operation of this type
of vehicle, seePreparing to drive your vehiclein this chapter.
When four±wheel drive (4WD) is engaged, power is supplied to all four
wheels through a transfer case. 4WD power can be selected when
additional driving power is desired.
If equipped with the Electronic Shift 4WD System, and the
instrument panel control is moved to 4WD Low while the vehicle
is moving, the system will not engage and no damage will occur to
the 4WD system. Before 4WD Low can be engaged, the vehicle
must be brought to a complete stop with the brake pedal
depressed and the transmission placed in neutral (or the clutch
pedal depressed on manual transmissions).
4WD operation is not recommended on dry pavement. Doing so could
result in difficult disengagement of the transfer case, increased tire wear
and decreased fuel economy.
4WD system indicator lights
The 4WD system indicator lights illuminate only under the following
conditions. If these lights illuminate when driving in 2WD, contact your
Ford dealer as soon as possible.
²4WD-momentarily illuminates
when the vehicle is started.
Illuminates when 4H (4WD High)
is engaged.
²4WD LOW±momentarily
illuminates when the vehicle is
started. Illuminates when 4L
(4WD Low) is engaged.
Using the electronic shift 4WD system (if equipped)
Positions of the electronic shift system
2WD (2WD High)± Power to rear axle only.
4X4 HIGH (4WD High)± Power delivered to front and rear axles for
increased traction.
4X4 LOW (4WD Low)± Power to front and rear axles at low speeds.
4WD
LOW
Driving
162
Page 170 of 288
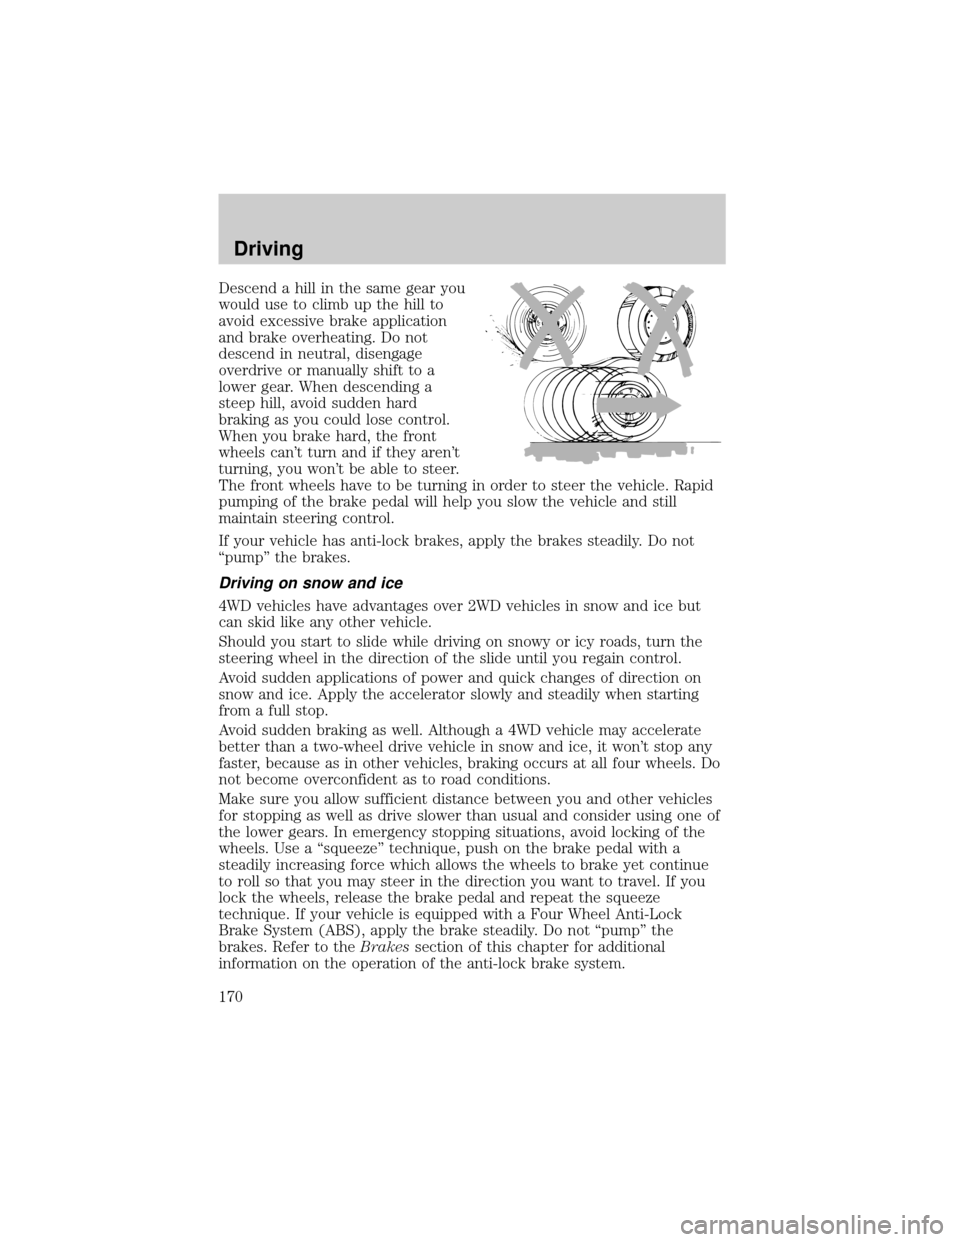
Descend a hill in the same gear you
would use to climb up the hill to
avoid excessive brake application
and brake overheating. Do not
descend in neutral, disengage
overdrive or manually shift to a
lower gear. When descending a
steep hill, avoid sudden hard
braking as you could lose control.
When you brake hard, the front
wheels can't turn and if they aren't
turning, you won't be able to steer.
The front wheels have to be turning in order to steer the vehicle. Rapid
pumping of the brake pedal will help you slow the vehicle and still
maintain steering control.
If your vehicle has anti-lock brakes, apply the brakes steadily. Do not
ªpumpº the brakes.
Driving on snow and ice
4WD vehicles have advantages over 2WD vehicles in snow and ice but
can skid like any other vehicle.
Should you start to slide while driving on snowy or icy roads, turn the
steering wheel in the direction of the slide until you regain control.
Avoid sudden applications of power and quick changes of direction on
snow and ice. Apply the accelerator slowly and steadily when starting
from a full stop.
Avoid sudden braking as well. Although a 4WD vehicle may accelerate
better than a two-wheel drive vehicle in snow and ice, it won't stop any
faster, because as in other vehicles, braking occurs at all four wheels. Do
not become overconfident as to road conditions.
Make sure you allow sufficient distance between you and other vehicles
for stopping as well as drive slower than usual and consider using one of
the lower gears. In emergency stopping situations, avoid locking of the
wheels. Use a ªsqueezeº technique, push on the brake pedal with a
steadily increasing force which allows the wheels to brake yet continue
to roll so that you may steer in the direction you want to travel. If you
lock the wheels, release the brake pedal and repeat the squeeze
technique. If your vehicle is equipped with a Four Wheel Anti-Lock
Brake System (ABS), apply the brake steadily. Do not ªpumpº the
brakes. Refer to theBrakessection of this chapter for additional
information on the operation of the anti-lock brake system.
Driving
170
Page 185 of 288

Trailer towing tips
²Practice turning, stopping and backing up before starting on a trip to
get the feel of the vehicle trailer combination. When turning, make
wider turns so the trailer wheels will clear curbs and other obstacles.
²Allow more distance for stopping with a trailer attached.
²The trailer tongue weight should be no more than 10±15% of the
loaded trailer weight.
²After you have traveled 80 km (50 miles), thoroughly check your
hitch, electrical connections and trailer wheel lug nuts.
²When stopped in traffic for long periods of time in hot weather, place
the gearshift in P (Park) (automatic transmissions) or N (Neutral)
(manual transmissions). This aids engine cooling and air conditioner
efficiency.
²Vehicles with trailers should not be parked on a grade. If you must
park on a grade, place wheel chocks under the trailer's wheels.
Launching or retrieving a boat
When backing down a ramp during boat launching or retrieval:
²do not allow the static water level to rise above the bottom edge of
the rear bumper.
²do not allow waves to break higher than 15 cm (6 inches) above the
bottom edge of the rear bumper.
Exceeding these limits may allow water to enter critical vehicle
components, adversely affecting driveability, emissions, reliability and
causing internal transmission damage.
Replace the rear axle lubricant any time the axle has been submerged in
water. Rear axle lubricant quantities are not to be checked or changed
unless a leak is suspected or repair required.
Disconnect the wiring to the trailer before backing the trailer into the
water. Reconnect the wiring to the trailer after the trailer is removed
from the water.
RECREATIONAL TOWING
Follow these guidelines if you have a need for recreational towing. An
example of recreational towing would be towing your vehicle behind a
motorhome. These guidelines are designed to ensure that your
transmission is not damaged.
Driving
185
Page 188 of 288
ROADSIDE COVERAGE BEYOND BASIC WARRANTY
In the United States, you may purchase additional roadside assistance
coverage beyond this period through the Ford Auto Club by contacting
your Ford or Lincoln Mercury dealer.
Similarly in Canada, for uninterrupted Roadside Assistance coverage, you
may purchase extended coverage prior to your Basic Warranty's Roadside
Assistance expiring. For more information and enrollment, contact
1±877±294±2582 or visit our website at www.ford.ca.
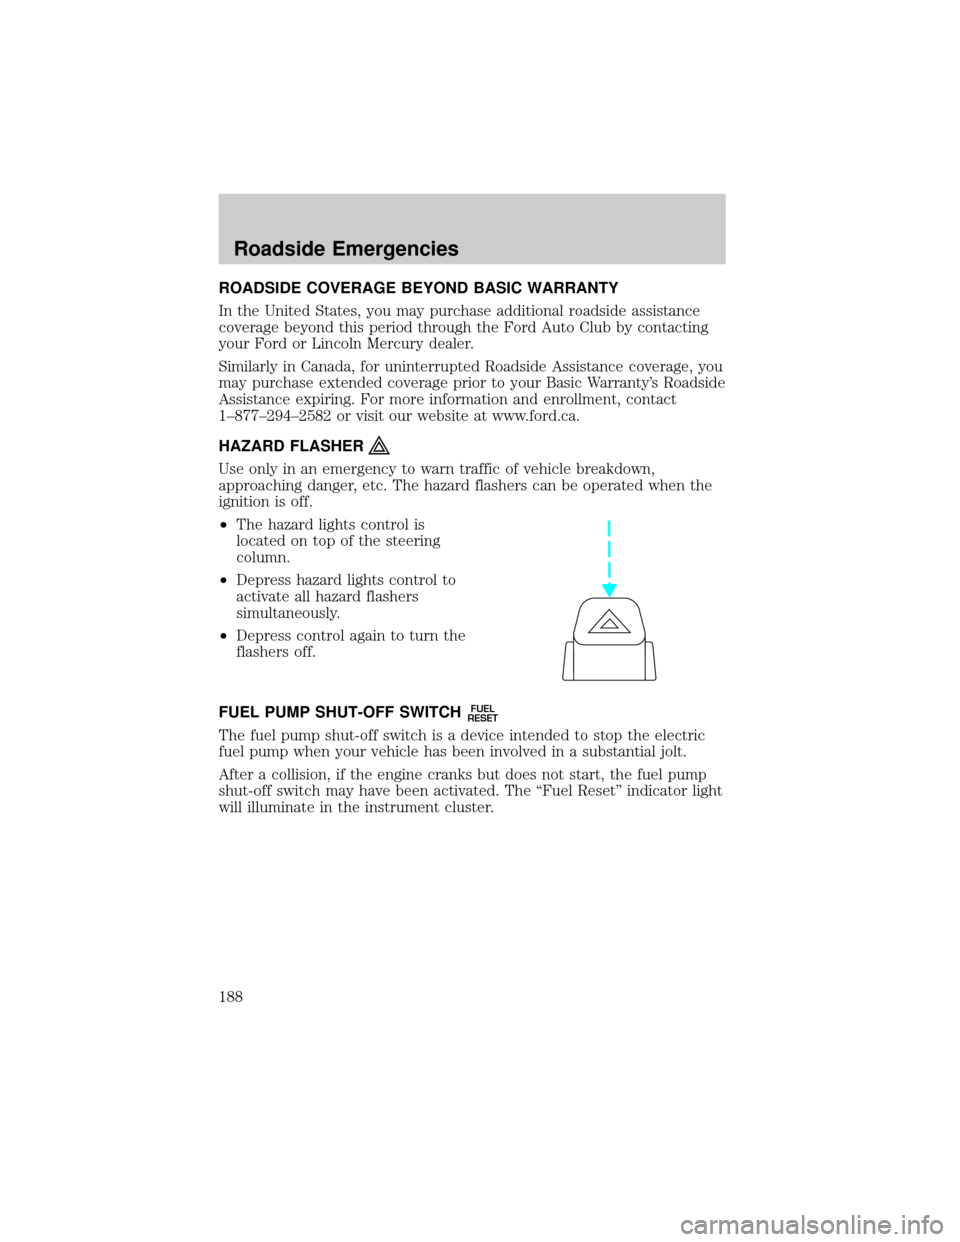
HAZARD FLASHER
Use only in an emergency to warn traffic of vehicle breakdown,
approaching danger, etc. The hazard flashers can be operated when the
ignition is off.
²The hazard lights control is
located on top of the steering
column.
²Depress hazard lights control to
activate all hazard flashers
simultaneously.
²Depress control again to turn the
flashers off.
FUEL PUMP SHUT-OFF SWITCH
FUEL
RESET
The fuel pump shut-off switch is a device intended to stop the electric
fuel pump when your vehicle has been involved in a substantial jolt.
After a collision, if the engine cranks but does not start, the fuel pump
shut-off switch may have been activated. The ªFuel Resetº indicator light
will illuminate in the instrument cluster.
Roadside Emergencies
188