FORD RANGER 2003 2.G Workshop Manual
Manufacturer: FORD, Model Year: 2003, Model line: RANGER, Model: FORD RANGER 2003 2.GPages: 248, PDF Size: 2.53 MB
Page 51 of 248
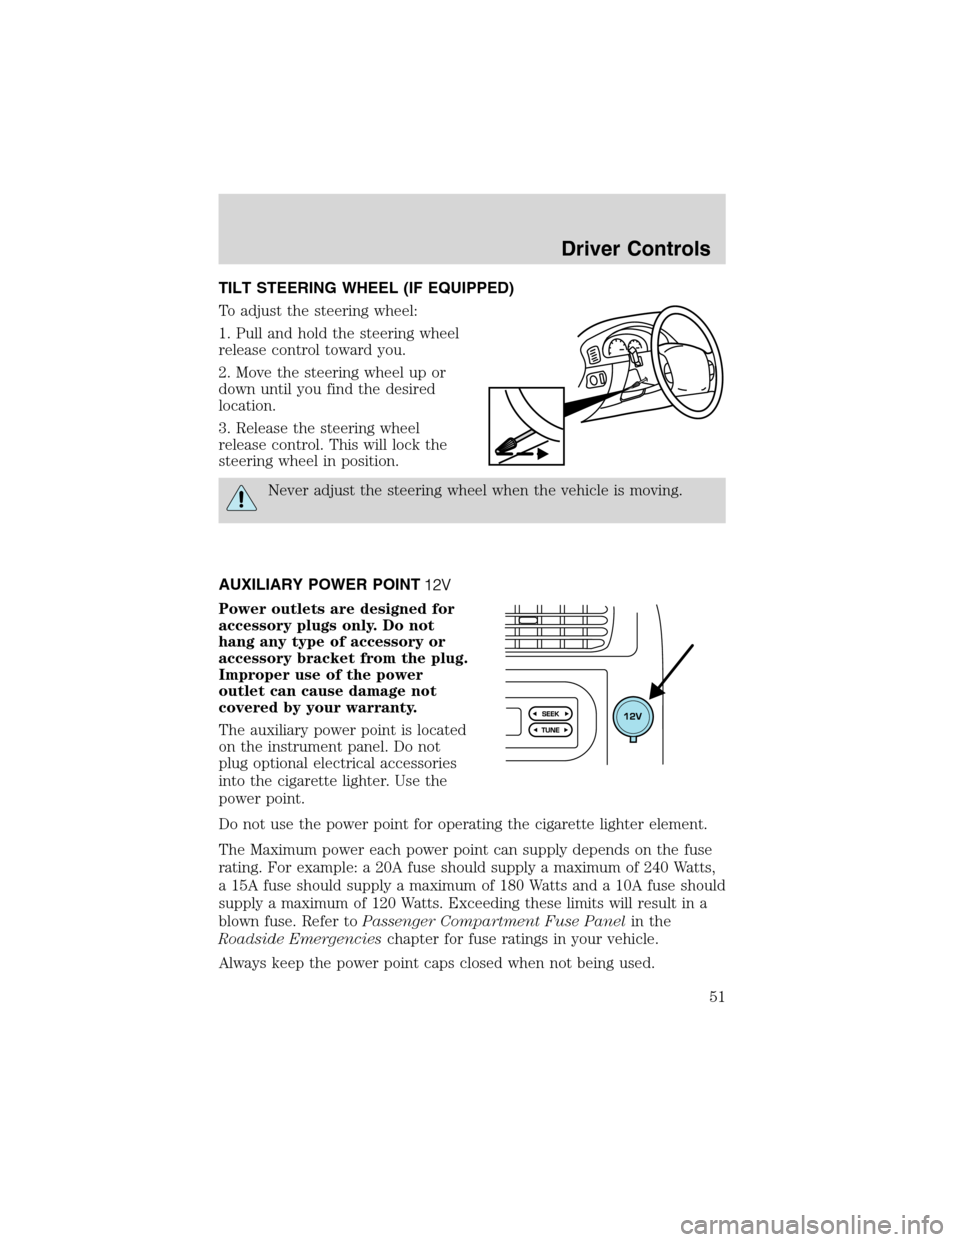
TILT STEERING WHEEL (IF EQUIPPED)
To adjust the steering wheel:
1. Pull and hold the steering wheel
release control toward you.
2. Move the steering wheel up or
down until you find the desired
location.
3. Release the steering wheel
release control. This will lock the
steering wheel in position.
Never adjust the steering wheel when the vehicle is moving.
AUXILIARY POWER POINT
Power outlets are designed for
accessory plugs only. Do not
hang any type of accessory or
accessory bracket from the plug.
Improper use of the power
outlet can cause damage not
covered by your warranty.
The auxiliary power point is located
on the instrument panel. Do not
plug optional electrical accessories
into the cigarette lighter. Use the
power point.
Do not use the power point for operating the cigarette lighter element.
The Maximum power each power point can supply depends on the fuse
rating. For example: a 20A fuse should supply a maximum of 240 Watts,
a 15A fuse should supply a maximum of 180 Watts and a 10A fuse should
supply a maximum of 120 Watts. Exceeding these limits will result in a
blown fuse. Refer toPassenger Compartment Fuse Panelin the
Roadside Emergencieschapter for fuse ratings in your vehicle.
Always keep the power point caps closed when not being used.
Driver Controls
51
Page 52 of 248
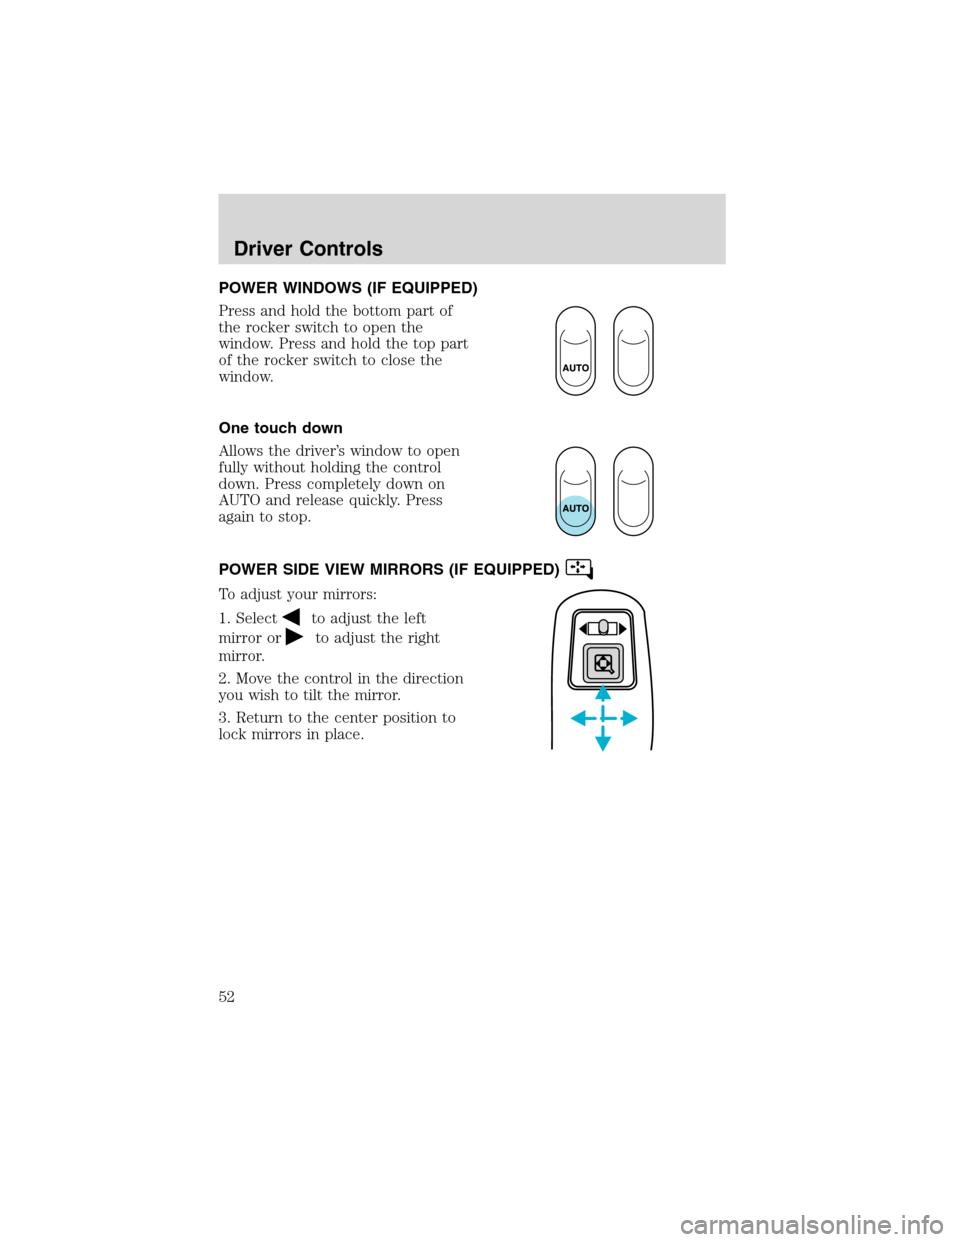
POWER WINDOWS (IF EQUIPPED)
Press and hold the bottom part of
the rocker switch to open the
window. Press and hold the top part
of the rocker switch to close the
window.
One touch down
Allows the driver’s window to open
fully without holding the control
down. Press completely down on
AUTO and release quickly. Press
again to stop.
POWER SIDE VIEW MIRRORS (IF EQUIPPED)
To adjust your mirrors:
1. Select
to adjust the left
mirror or
to adjust the right
mirror.
2. Move the control in the direction
you wish to tilt the mirror.
3. Return to the center position to
lock mirrors in place.
Driver Controls
52
Page 53 of 248
SPEED CONTROL (IF EQUIPPED)
With speed control set, you can
maintain a speed of 48 km/h (30
mph) or more without keeping your
foot on the accelerator pedal. Speed
control does not work at speeds
below 48 km/h (30 mph).
Do not use the speed
control in heavy traffic or
on roads that are winding, slippery
or unpaved.
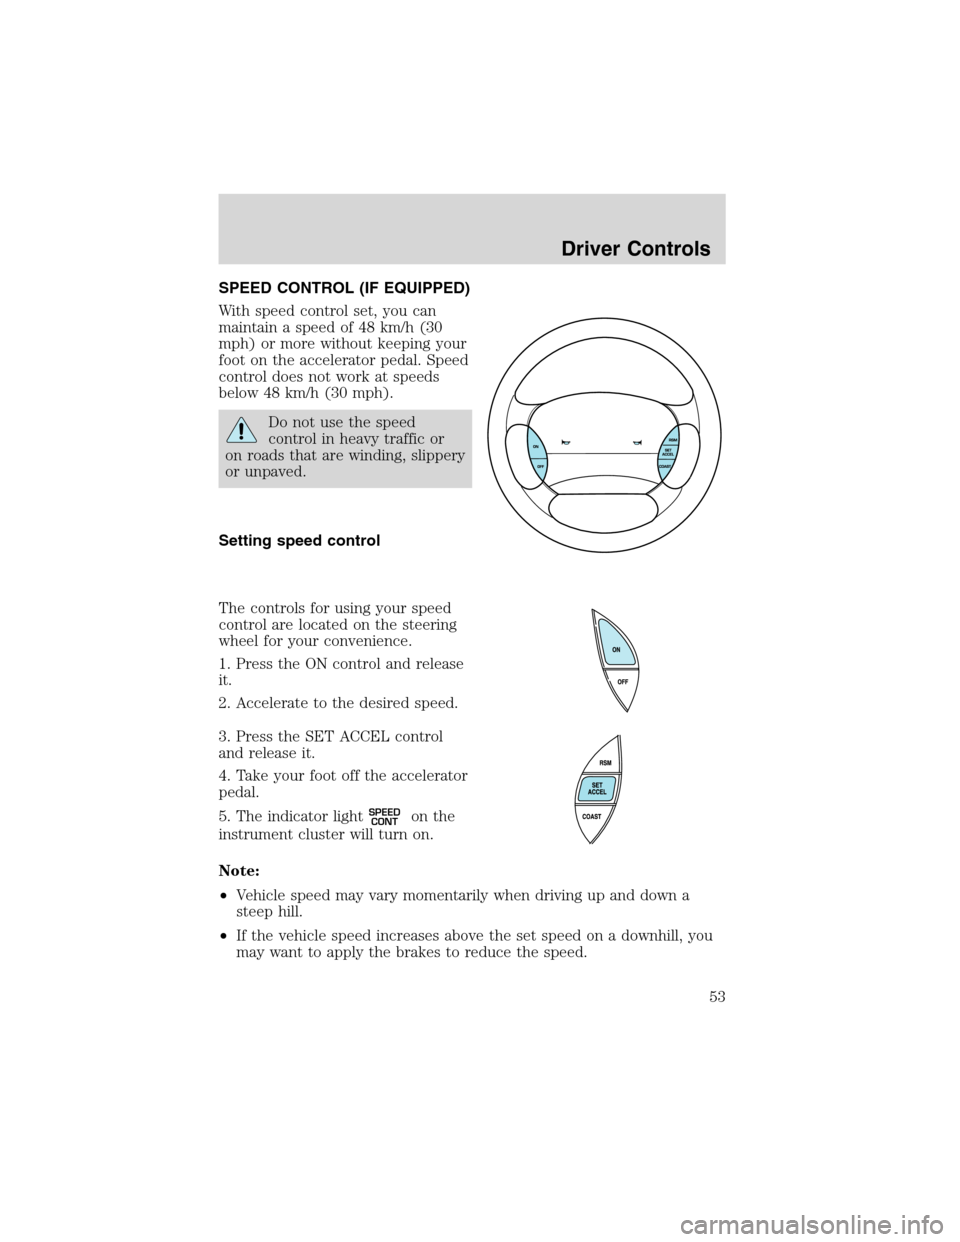
Setting speed control
The controls for using your speed
control are located on the steering
wheel for your convenience.
1. Press the ON control and release
it.
2. Accelerate to the desired speed.
3. Press the SET ACCEL control
and release it.
4. Take your foot off the accelerator
pedal.
5. The indicator light
SPEED
CONTon the
instrument cluster will turn on.
Note:
•Vehicle speed may vary momentarily when driving up and down a
steep hill.
•If the vehicle speed increases above the set speed on a downhill, you
may want to apply the brakes to reduce the speed.
Driver Controls
53
Page 54 of 248
•If the vehicle speed decreases more than 16 km/h (10 mph) below
your set speed on an uphill, your speed control will disengage.
•If the vehicle speed decreases to 40 km/h (25 mph) or less, your
speed control will disengage
Disengaging speed control
To disengage the speed control:
•Depress the brake pedal or
•Depress the clutch pedal (if equipped).
Disengaging the speed control will not erase previous set speed.
Note:When you use the clutch pedal to disengage the speed control,
the engine speed may briefly increase, this is normal.
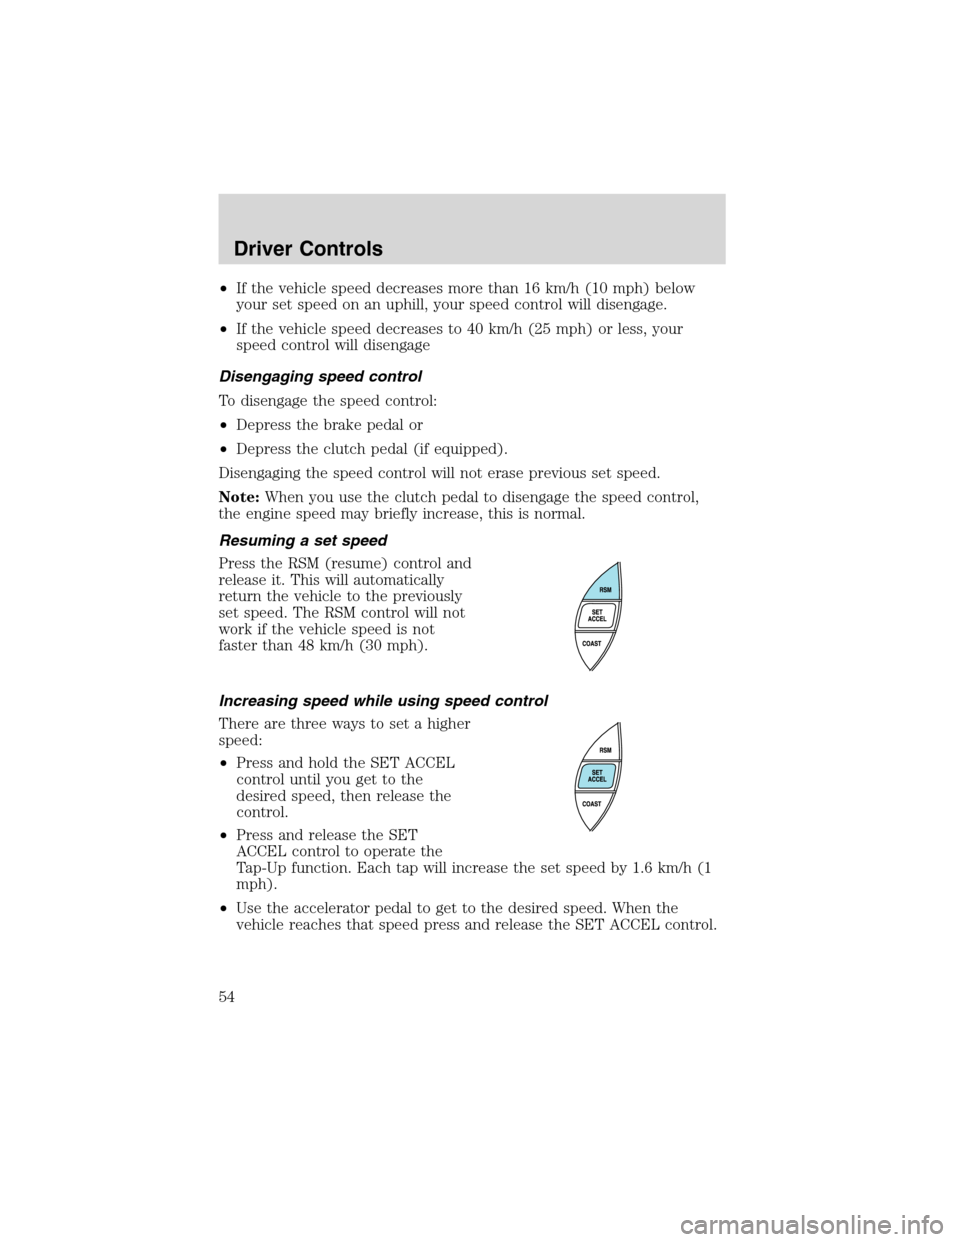
Resuming a set speed
Press the RSM (resume) control and
release it. This will automatically
return the vehicle to the previously
set speed. The RSM control will not
work if the vehicle speed is not
faster than 48 km/h (30 mph).
Increasing speed while using speed control
There are three ways to set a higher
speed:
•Press and hold the SET ACCEL
control until you get to the
desired speed, then release the
control.
•Press and release the SET
ACCEL control to operate the
Tap-Up function. Each tap will increase the set speed by 1.6 km/h (1
mph).
•Use the accelerator pedal to get to the desired speed. When the
vehicle reaches that speed press and release the SET ACCEL control.
Driver Controls
54
Page 55 of 248
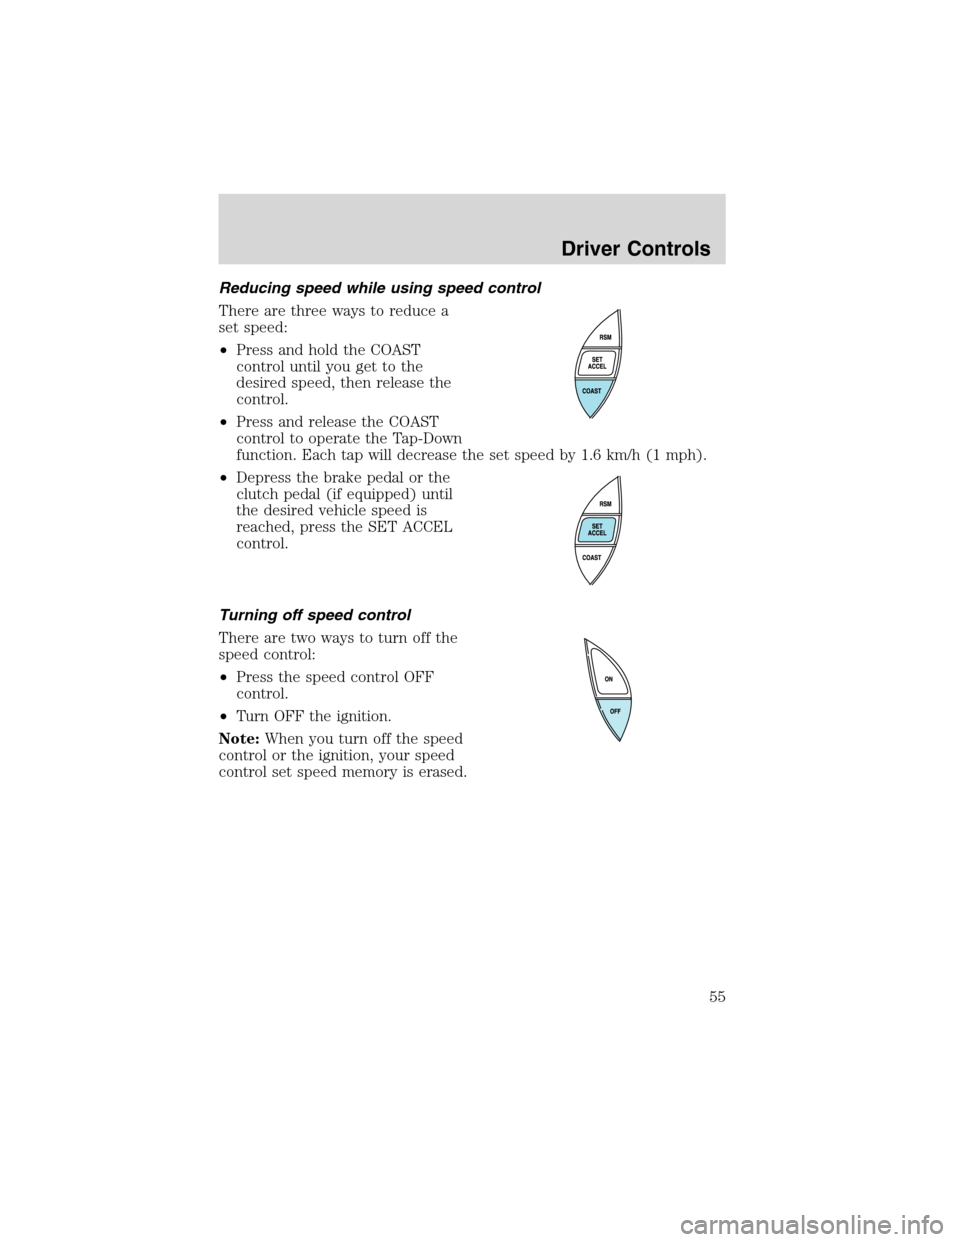
Reducing speed while using speed control
There are three ways to reduce a
set speed:
•Press and hold the COAST
control until you get to the
desired speed, then release the
control.
•Press and release the COAST
control to operate the Tap-Down
function. Each tap will decrease the set speed by 1.6 km/h (1 mph).
•Depress the brake pedal or the
clutch pedal (if equipped) until
the desired vehicle speed is
reached, press the SET ACCEL
control.
Turning off speed control
There are two ways to turn off the
speed control:
•Press the speed control OFF
control.
•Turn OFF the ignition.
Note:When you turn off the speed
control or the ignition, your speed
control set speed memory is erased.
Driver Controls
55
Page 56 of 248
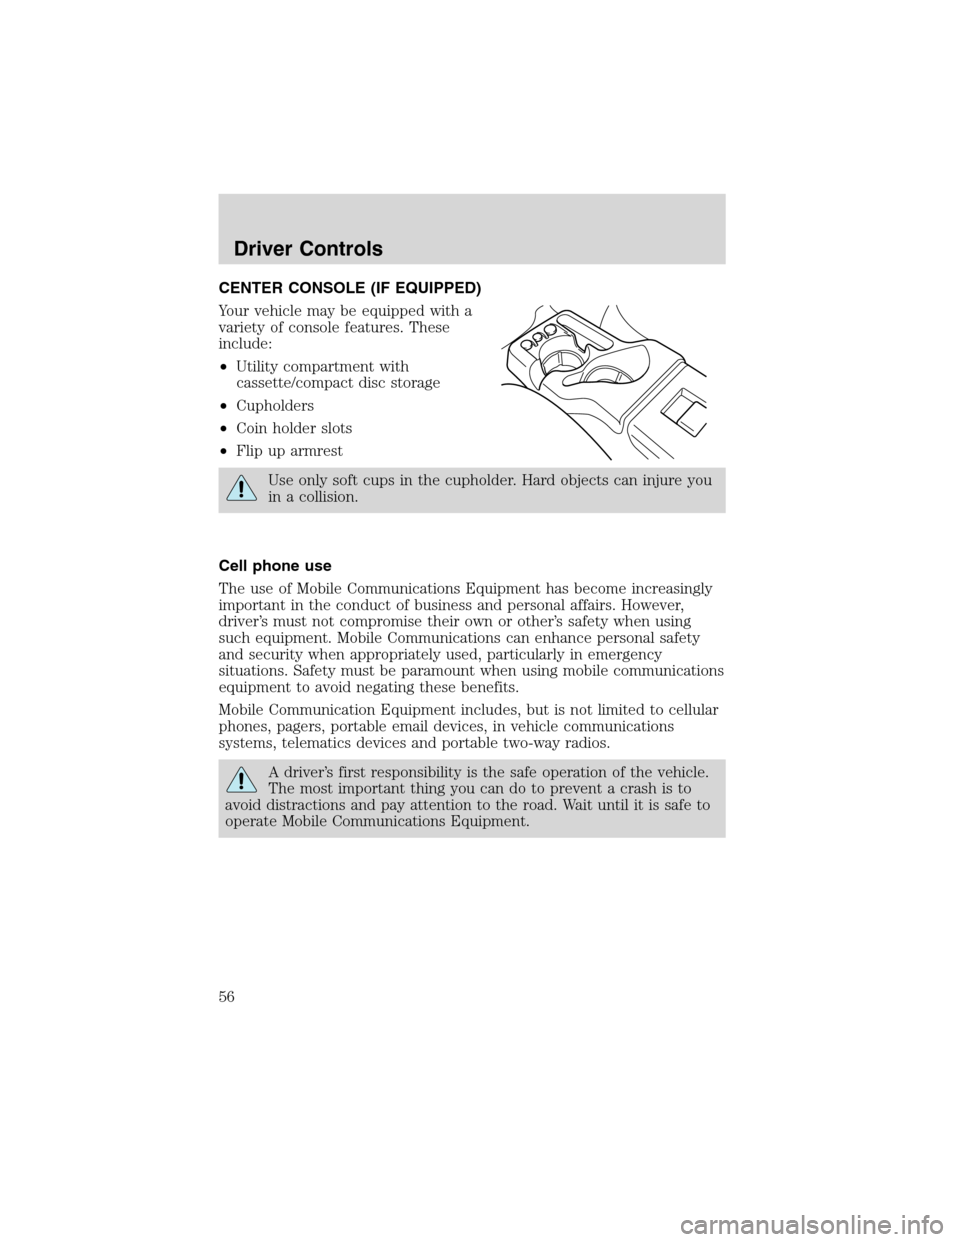
CENTER CONSOLE (IF EQUIPPED)
Your vehicle may be equipped with a
variety of console features. These
include:
•Utility compartment with
cassette/compact disc storage
•Cupholders
•Coin holder slots
•Flip up armrest
Use only soft cups in the cupholder. Hard objects can injure you
in a collision.
Cell phone use
The use of Mobile Communications Equipment has become increasingly
important in the conduct of business and personal affairs. However,
driver’s must not compromise their own or other’s safety when using
such equipment. Mobile Communications can enhance personal safety
and security when appropriately used, particularly in emergency
situations. Safety must be paramount when using mobile communications
equipment to avoid negating these benefits.
Mobile Communication Equipment includes, but is not limited to cellular
phones, pagers, portable email devices, in vehicle communications
systems, telematics devices and portable two-way radios.
A driver’s first responsibility is the safe operation of the vehicle.
The most important thing you can do to prevent a crash is to
avoid distractions and pay attention to the road. Wait until it is safe to
operate Mobile Communications Equipment.
Driver Controls
56
Page 57 of 248
CARGO AREA FEATURES
Cargo area shade (if equipped)
Your vehicle may be equipped with notches in the side trim panels that
are used for a cargo area shade. See your dealer for more information.
BEDRAILS (IF EQUIPPED)
•This bedrail is for appearance use only.
•To help prevent injury, do not use bedrail to retain cargo.
•Retain cargo with the pickup tie down hooks.
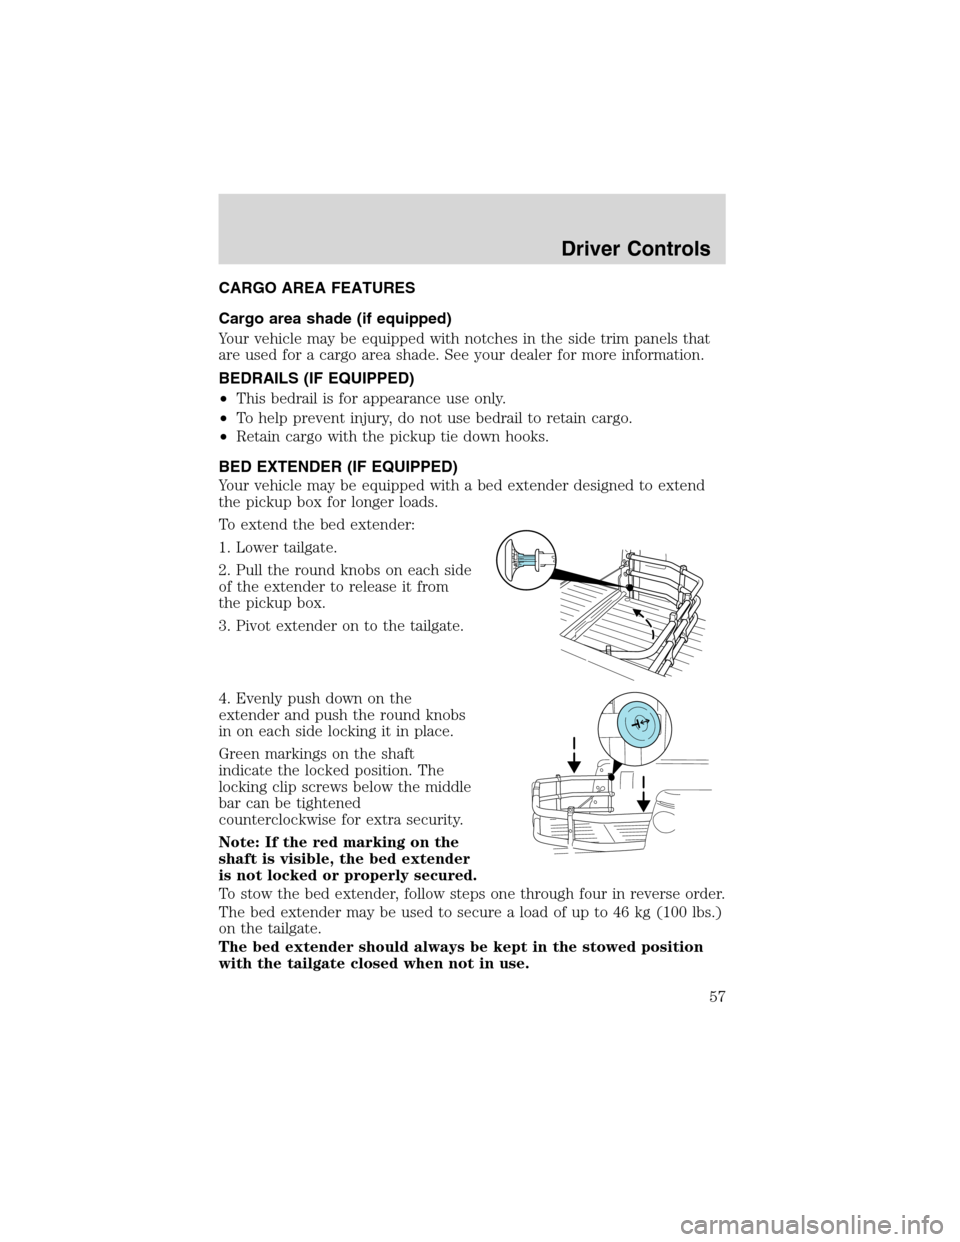
BED EXTENDER (IF EQUIPPED)
Your vehicle may be equipped with a bed extender designed to extend
the pickup box for longer loads.
To extend the bed extender:
1. Lower tailgate.
2. Pull the round knobs on each side
of the extender to release it from
the pickup box.
3. Pivot extender on to the tailgate.
4. Evenly push down on the
extender and push the round knobs
in on each side locking it in place.
Green markings on the shaft
indicate the locked position. The
locking clip screws below the middle
bar can be tightened
counterclockwise for extra security.
Note: If the red marking on the
shaft is visible, the bed extender
is not locked or properly secured.
To stow the bed extender, follow steps one through four in reverse order.
The bed extender may be used to secure a load of up to 46 kg (100 lbs.)
on the tailgate.
The bed extender should always be kept in the stowed position
with the tailgate closed when not in use.
Driver Controls
57
Page 58 of 248
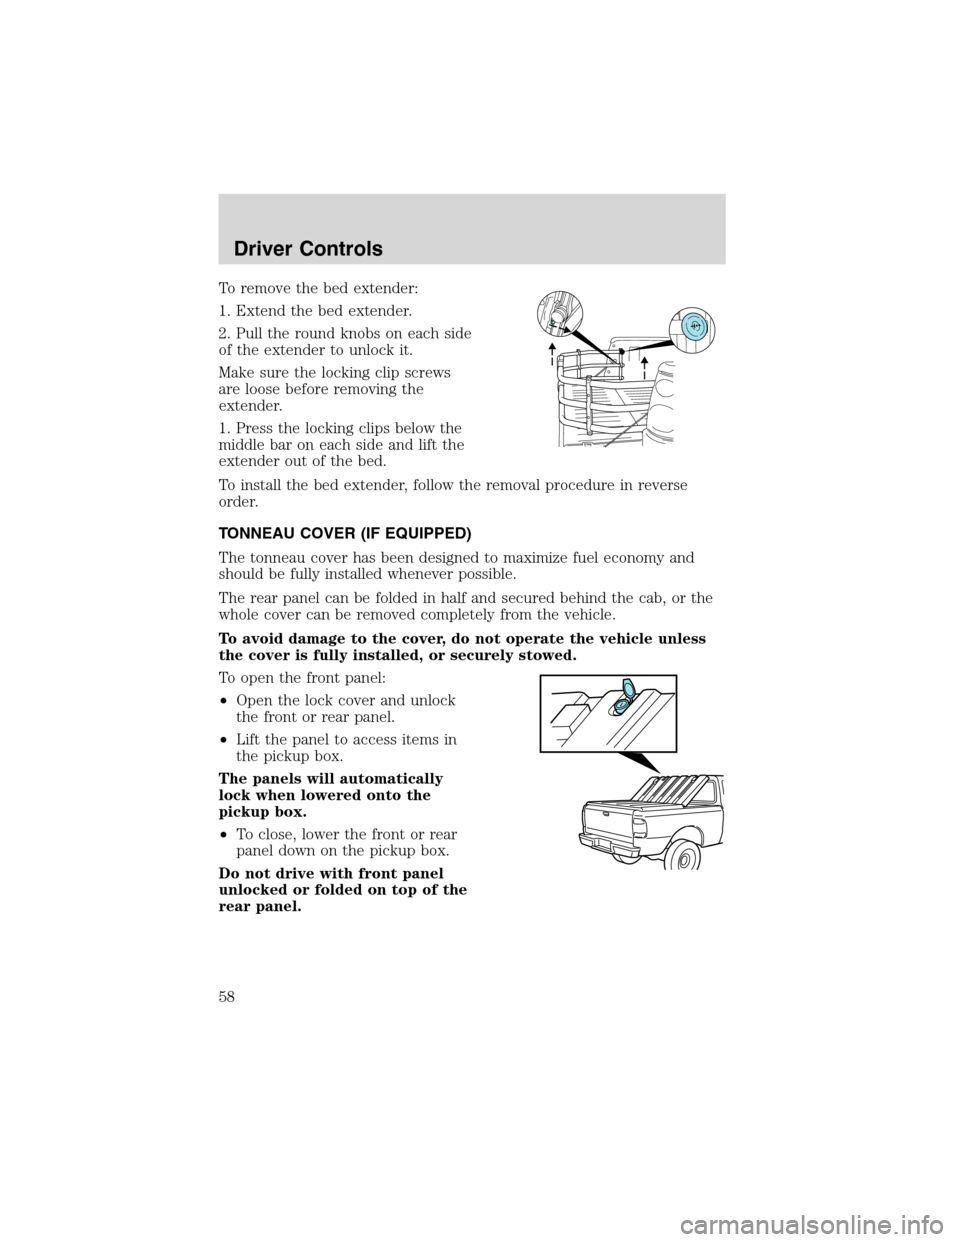
To remove the bed extender:
1. Extend the bed extender.
2. Pull the round knobs on each side
of the extender to unlock it.
Make sure the locking clip screws
are loose before removing the
extender.
1. Press the locking clips below the
middle bar on each side and lift the
extender out of the bed.
To install the bed extender, follow the removal procedure in reverse
order.
TONNEAU COVER (IF EQUIPPED)
The tonneau cover has been designed to maximize fuel economy and
should be fully installed whenever possible.
The rear panel can be folded in half and secured behind the cab, or the
whole cover can be removed completely from the vehicle.
To avoid damage to the cover, do not operate the vehicle unless
the cover is fully installed, or securely stowed.
To open the front panel:
•Open the lock cover and unlock
the front or rear panel.
•Lift the panel to access items in
the pickup box.
The panels will automatically
lock when lowered onto the
pickup box.
•To close, lower the front or rear
panel down on the pickup box.
Do not drive with front panel
unlocked or folded on top of the
rear panel.
Driver Controls
58
Page 59 of 248
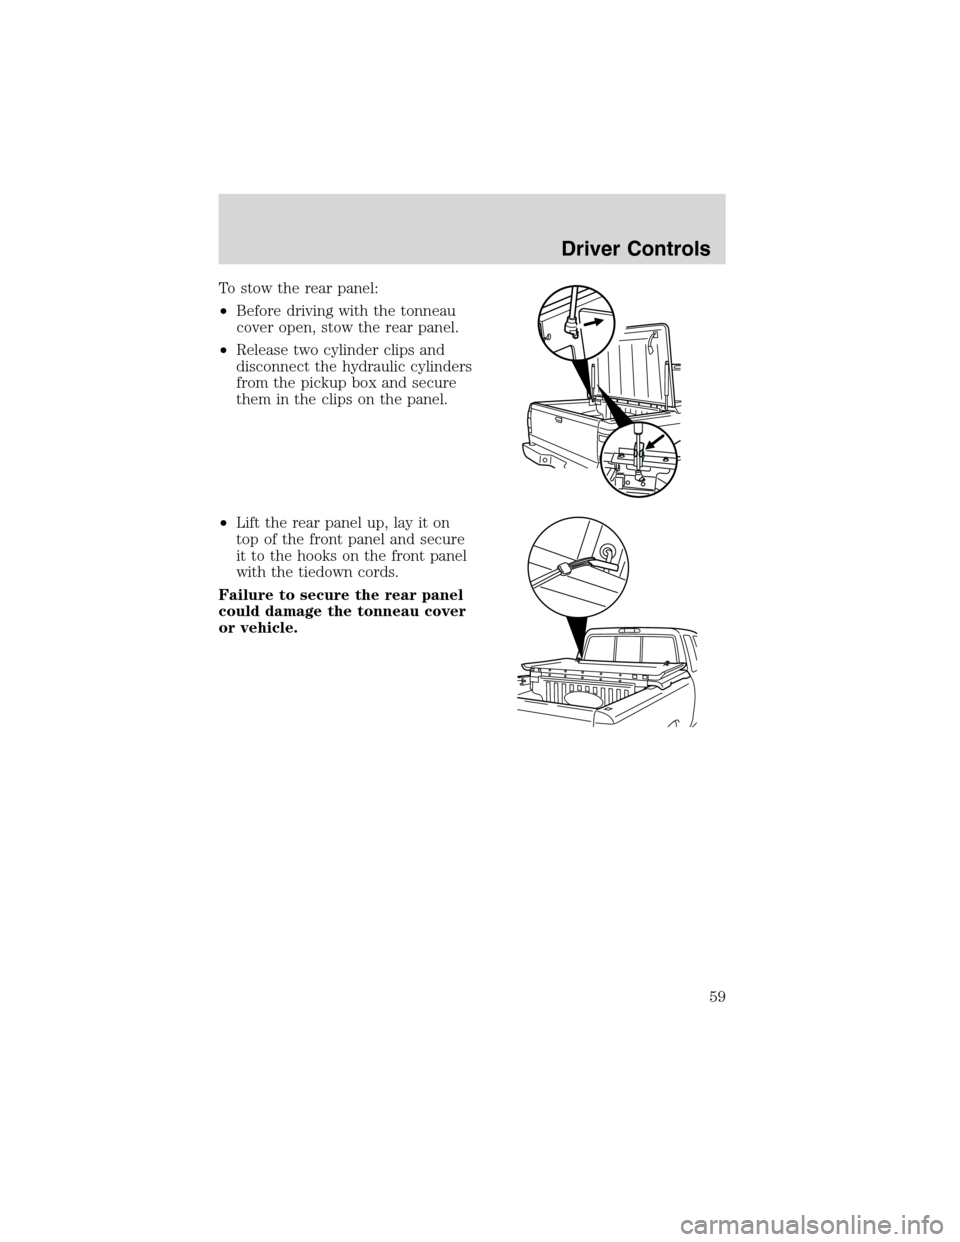
To stow the rear panel:
•Before driving with the tonneau
cover open, stow the rear panel.
•Release two cylinder clips and
disconnect the hydraulic cylinders
from the pickup box and secure
them in the clips on the panel.
•Lift the rear panel up, lay it on
top of the front panel and secure
it to the hooks on the front panel
with the tiedown cords.
Failure to secure the rear panel
could damage the tonneau cover
or vehicle.
Driver Controls
59
Page 60 of 248
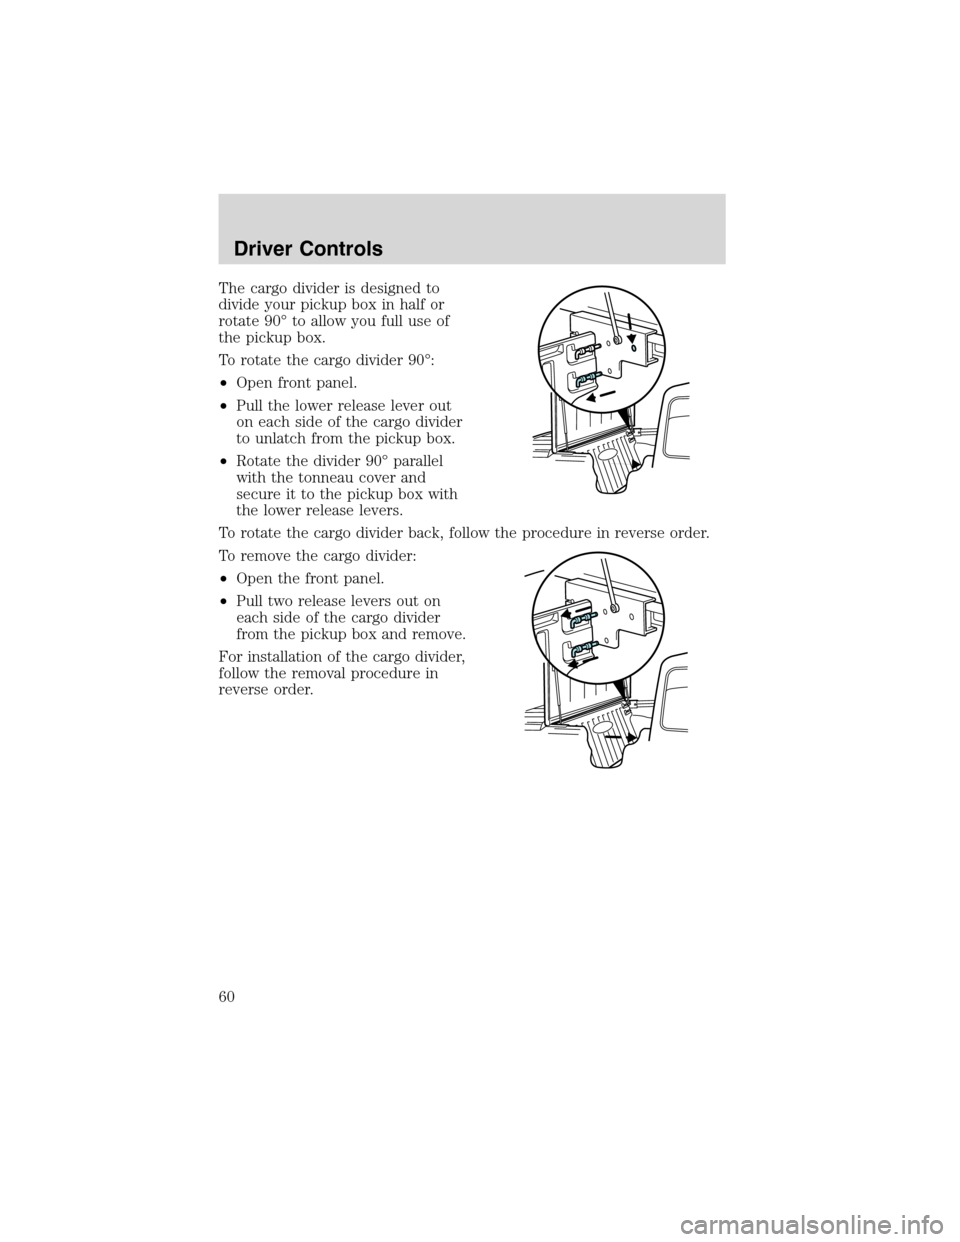
The cargo divider is designed to
divide your pickup box in half or
rotate 90°to allow you full use of
the pickup box.
To rotate the cargo divider 90°:
•Open front panel.
•Pull the lower release lever out
on each side of the cargo divider
to unlatch from the pickup box.
•Rotate the divider 90°parallel
with the tonneau cover and
secure it to the pickup box with
the lower release levers.
To rotate the cargo divider back, follow the procedure in reverse order.
To remove the cargo divider:
•Open the front panel.
•Pull two release levers out on
each side of the cargo divider
from the pickup box and remove.
For installation of the cargo divider,
follow the removal procedure in
reverse order.
Driver Controls
60