FORD SUPER DUTY 2007 1.G Repair Manual
Manufacturer: FORD, Model Year: 2007, Model line: SUPER DUTY, Model: FORD SUPER DUTY 2007 1.GPages: 312, PDF Size: 3.1 MB
Page 61 of 312
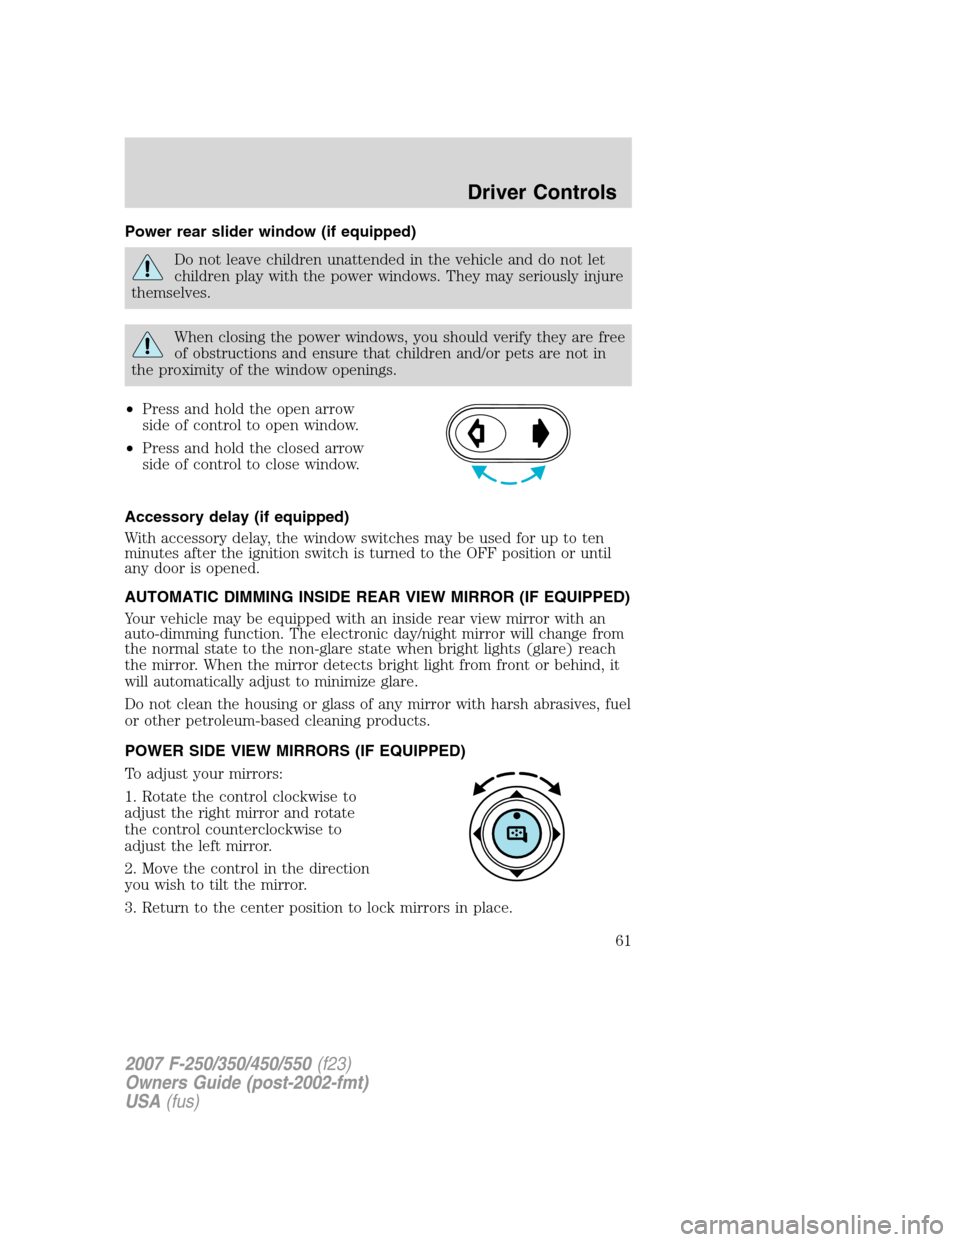
Power rear slider window (if equipped)
Do not leave children unattended in the vehicle and do not let
children play with the power windows. They may seriously injure
themselves.
When closing the power windows, you should verify they are free
of obstructions and ensure that children and/or pets are not in
the proximity of the window openings.
•Press and hold the open arrow
side of control to open window.
•Press and hold the closed arrow
side of control to close window.
Accessory delay (if equipped)
With accessory delay, the window switches may be used for up to ten
minutes after the ignition switch is turned to the OFF position or until
any door is opened.
AUTOMATIC DIMMING INSIDE REAR VIEW MIRROR (IF EQUIPPED)
Your vehicle may be equipped with an inside rear view mirror with an
auto-dimming function. The electronic day/night mirror will change from
the normal state to the non-glare state when bright lights (glare) reach
the mirror. When the mirror detects bright light from front or behind, it
will automatically adjust to minimize glare.
Do not clean the housing or glass of any mirror with harsh abrasives, fuel
or other petroleum-based cleaning products.
POWER SIDE VIEW MIRRORS (IF EQUIPPED)
To adjust your mirrors:
1. Rotate the control clockwise to
adjust the right mirror and rotate
the control counterclockwise to
adjust the left mirror.
2. Move the control in the direction
you wish to tilt the mirror.
3. Return to the center position to lock mirrors in place.
2007 F-250/350/450/550(f23)
Owners Guide (post-2002-fmt)
USA(fus)
Driver Controls
61
Page 62 of 312
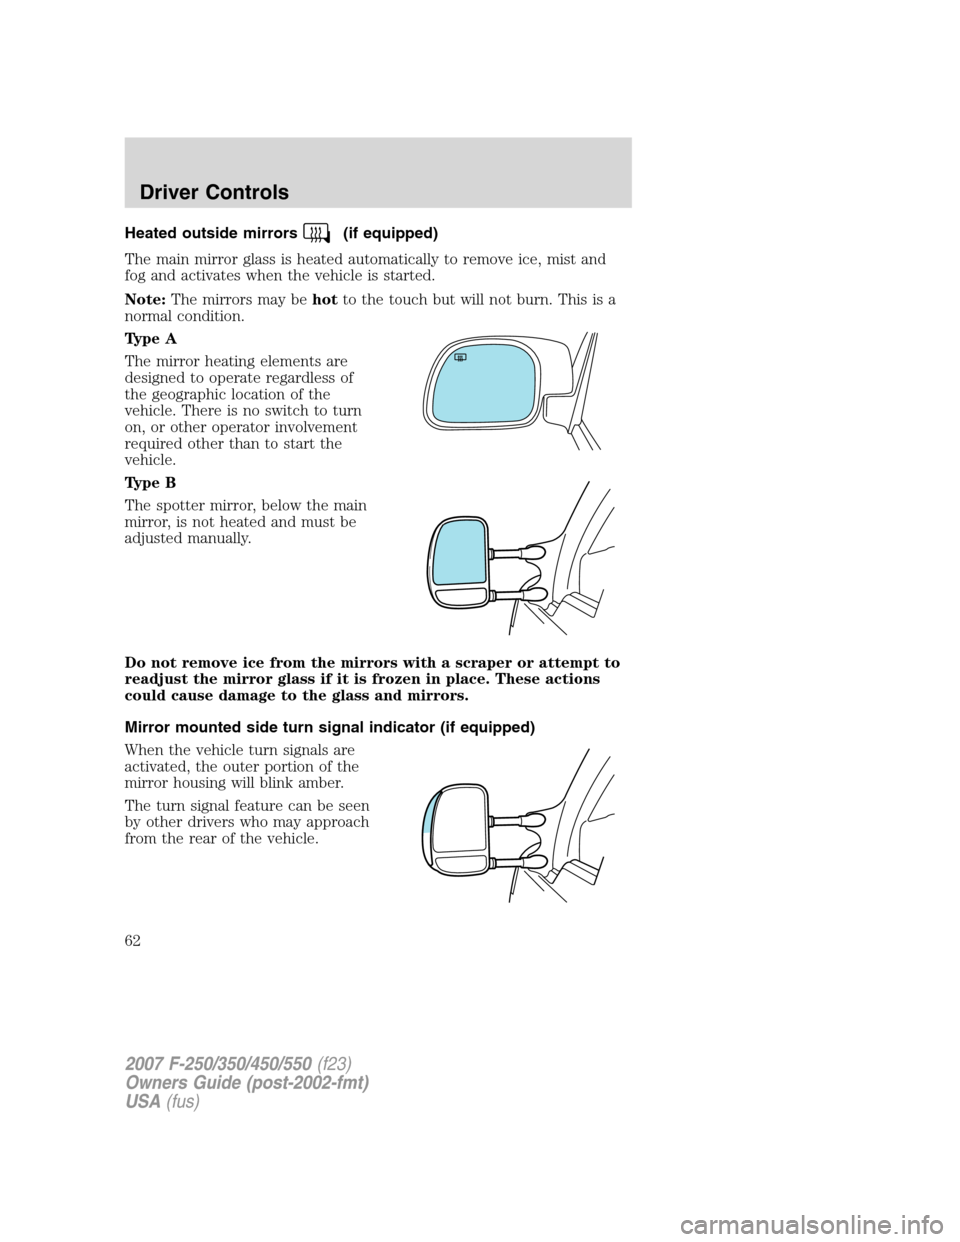
Heated outside mirrors(if equipped)
The main mirror glass is heated automatically to remove ice, mist and
fog and activates when the vehicle is started.
Note:The mirrors may behotto the touch but will not burn. This is a
normal condition.
Type A
The mirror heating elements are
designed to operate regardless of
the geographic location of the
vehicle. There is no switch to turn
on, or other operator involvement
required other than to start the
vehicle.
Type B
The spotter mirror, below the main
mirror, is not heated and must be
adjusted manually.
Do not remove ice from the mirrors with a scraper or attempt to
readjust the mirror glass if it is frozen in place. These actions
could cause damage to the glass and mirrors.
Mirror mounted side turn signal indicator (if equipped)
When the vehicle turn signals are
activated, the outer portion of the
mirror housing will blink amber.
The turn signal feature can be seen
by other drivers who may approach
from the rear of the vehicle.
2007 F-250/350/450/550(f23)
Owners Guide (post-2002-fmt)
USA(fus)
Driver Controls
62
Page 63 of 312
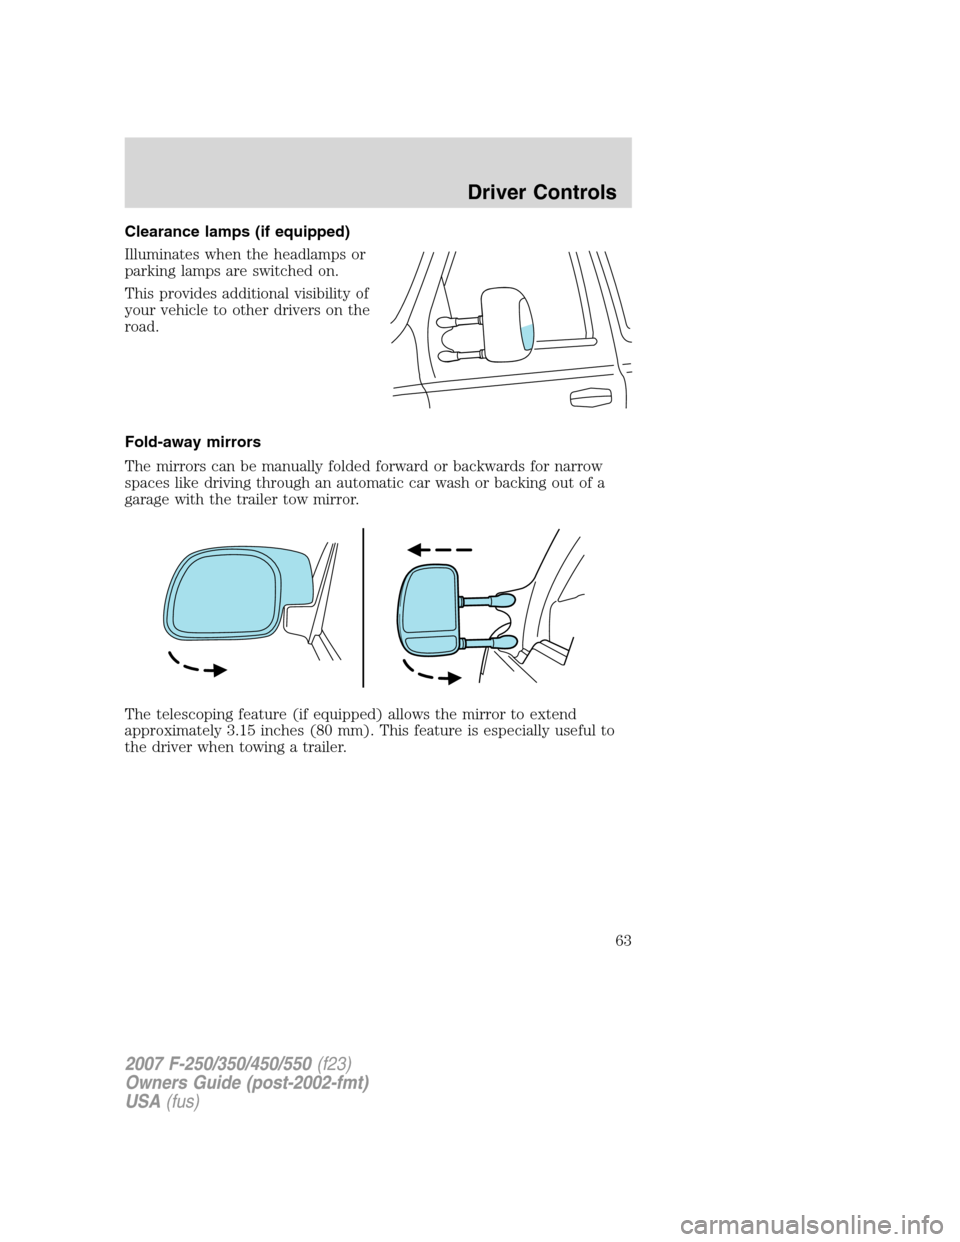
Clearance lamps (if equipped)
Illuminates when the headlamps or
parking lamps are switched on.
This provides additional visibility of
your vehicle to other drivers on the
road.
Fold-away mirrors
The mirrors can be manually folded forward or backwards for narrow
spaces like driving through an automatic car wash or backing out of a
garage with the trailer tow mirror.
The telescoping feature (if equipped) allows the mirror to extend
approximately 3.15 inches (80 mm). This feature is especially useful to
the driver when towing a trailer.
2007 F-250/350/450/550(f23)
Owners Guide (post-2002-fmt)
USA(fus)
Driver Controls
63
Page 64 of 312
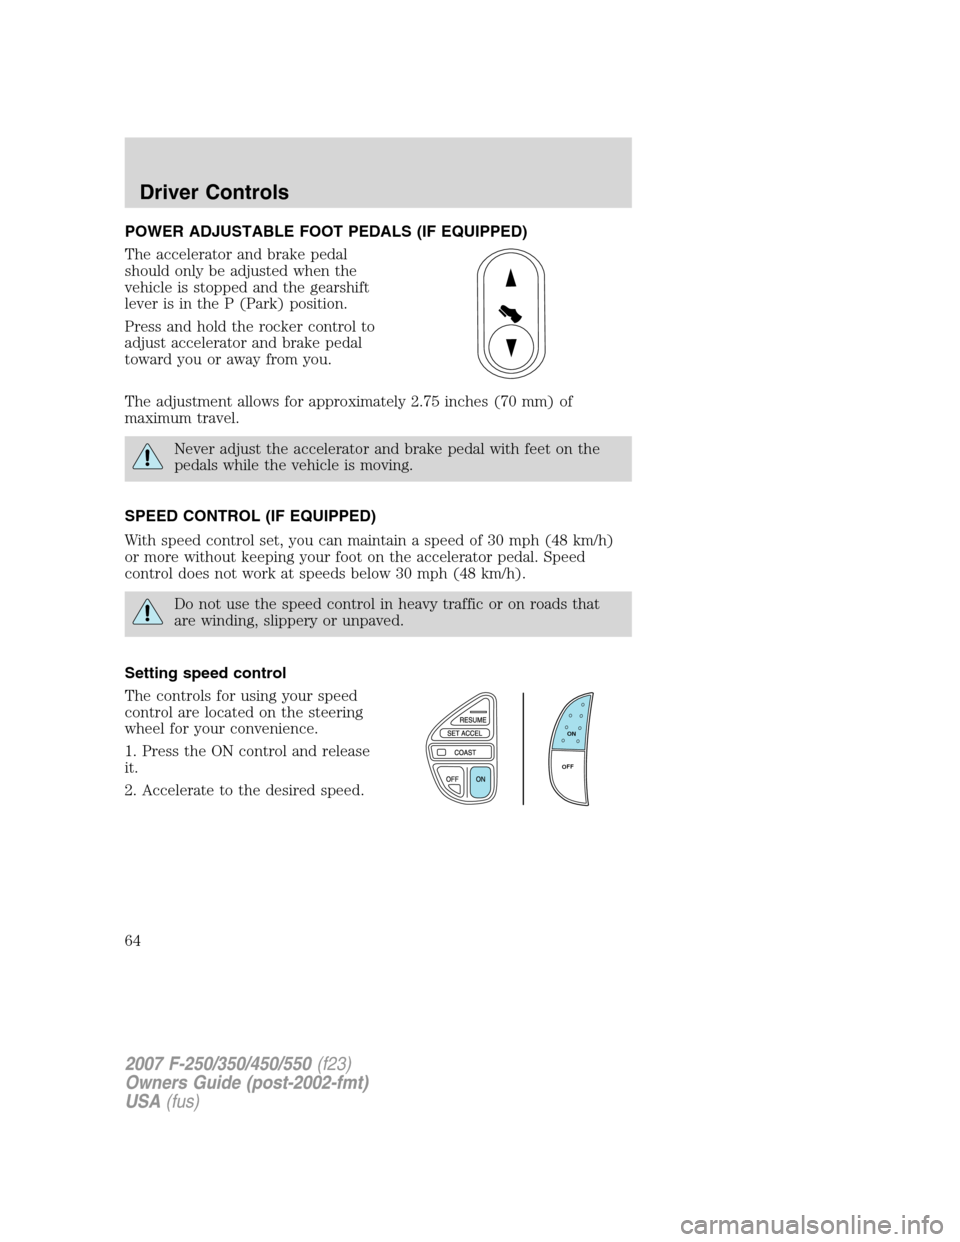
POWER ADJUSTABLE FOOT PEDALS (IF EQUIPPED)
The accelerator and brake pedal
should only be adjusted when the
vehicle is stopped and the gearshift
lever is in the P (Park) position.
Press and hold the rocker control to
adjust accelerator and brake pedal
toward you or away from you.
The adjustment allows for approximately 2.75 inches (70 mm) of
maximum travel.
Never adjust the accelerator and brake pedal with feet on the
pedals while the vehicle is moving.
SPEED CONTROL (IF EQUIPPED)
With speed control set, you can maintain a speed of 30 mph (48 km/h)
or more without keeping your foot on the accelerator pedal. Speed
control does not work at speeds below 30 mph (48 km/h).
Do not use the speed control in heavy traffic or on roads that
are winding, slippery or unpaved.
Setting speed control
The controls for using your speed
control are located on the steering
wheel for your convenience.
1. Press the ON control and release
it.
2. Accelerate to the desired speed.
ON
OFF
2007 F-250/350/450/550(f23)
Owners Guide (post-2002-fmt)
USA(fus)
Driver Controls
64
Page 65 of 312
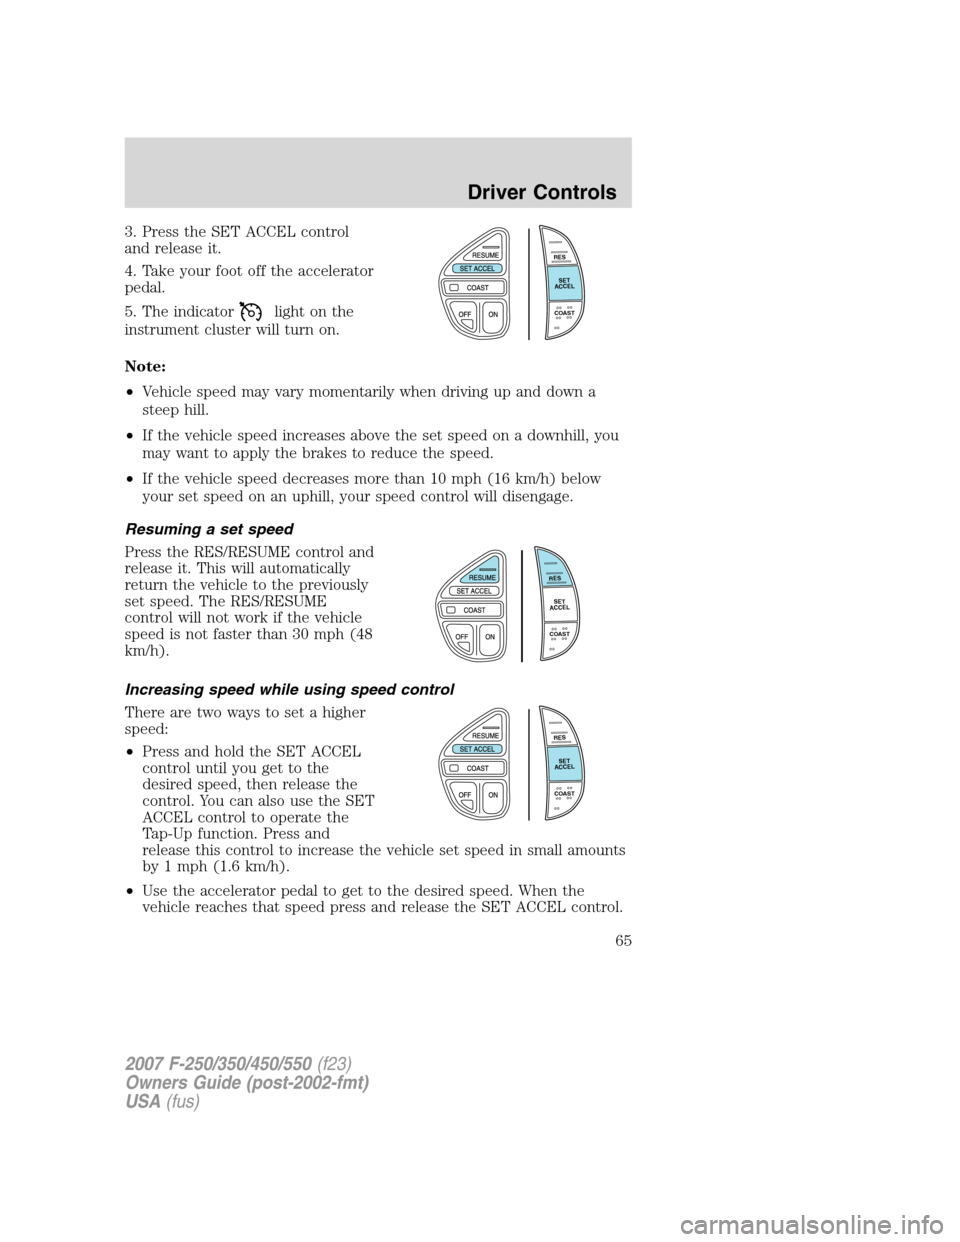
3. Press the SET ACCEL control
and release it.
4. Take your foot off the accelerator
pedal.
5. The indicator
light on the
instrument cluster will turn on.
Note:
•Vehicle speed may vary momentarily when driving up and down a
steep hill.
•If the vehicle speed increases above the set speed on a downhill, you
may want to apply the brakes to reduce the speed.
•If the vehicle speed decreases more than 10 mph (16 km/h) below
your set speed on an uphill, your speed control will disengage.
Resuming a set speed
Press the RES/RESUME control and
release it. This will automatically
return the vehicle to the previously
set speed. The RES/RESUME
control will not work if the vehicle
speed is not faster than 30 mph (48
km/h).
Increasing speed while using speed control
There are two ways to set a higher
speed:
•Press and hold the SET ACCEL
control until you get to the
desired speed, then release the
control. You can also use the SET
ACCEL control to operate the
Tap-Up function. Press and
release this control to increase the vehicle set speed in small amounts
by 1 mph (1.6 km/h).
•Use the accelerator pedal to get to the desired speed. When the
vehicle reaches that speed press and release the SET ACCEL control.
R
E
S
S
E
T
A
C
C
E
L
C
O
A
S
T
R
E
S
S
E
T
A
C
C
E
L
C
O
A
S
T
R
E
S
S
E
T
A
C
C
E
L
C
O
A
S
T
2007 F-250/350/450/550(f23)
Owners Guide (post-2002-fmt)
USA(fus)
Driver Controls
65
Page 66 of 312
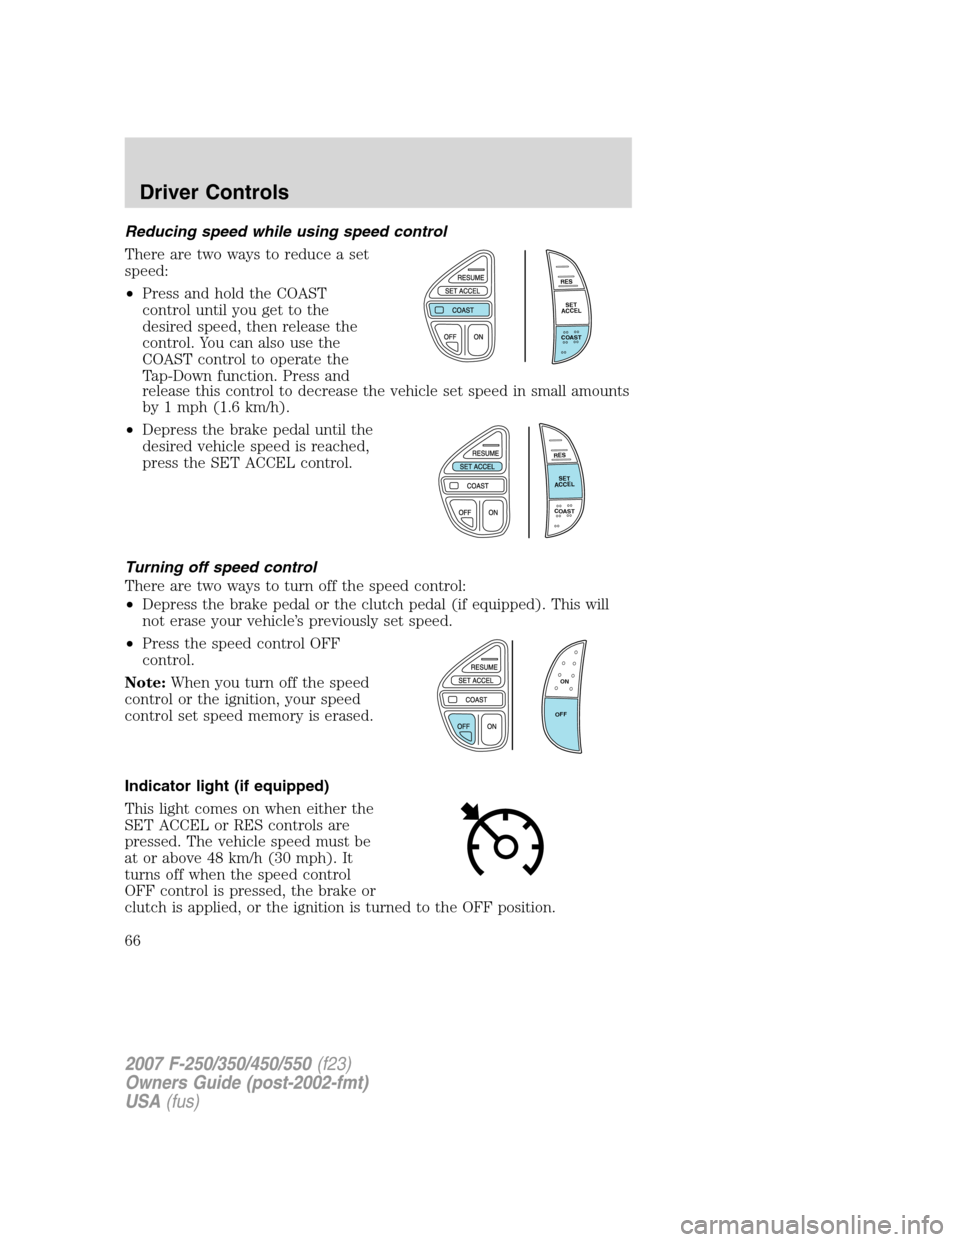
Reducing speed while using speed control
There are two ways to reduce a set
speed:
•Press and hold the COAST
control until you get to the
desired speed, then release the
control. You can also use the
COAST control to operate the
Tap-Down function. Press and
release this control to decrease the vehicle set speed in small amounts
by 1 mph (1.6 km/h).
•Depress the brake pedal until the
desired vehicle speed is reached,
press the SET ACCEL control.
Turning off speed control
There are two ways to turn off the speed control:
•Depress the brake pedal or the clutch pedal (if equipped). This will
not erase your vehicle’s previously set speed.
•Press the speed control OFF
control.
Note:When you turn off the speed
control or the ignition, your speed
control set speed memory is erased.
Indicator light (if equipped)
This light comes on when either the
SET ACCEL or RES controls are
pressed. The vehicle speed must be
at or above 48 km/h (30 mph). It
turns off when the speed control
OFF control is pressed, the brake or
clutch is applied, or the ignition is turned to the OFF position.
R
E
S
S
E
T
A
C
C
E
L
C
O
A
S
T
R
E
S
S
E
T
A
C
C
E
L
C
O
A
S
T
ON
OFF
2007 F-250/350/450/550(f23)
Owners Guide (post-2002-fmt)
USA(fus)
Driver Controls
66
Page 67 of 312
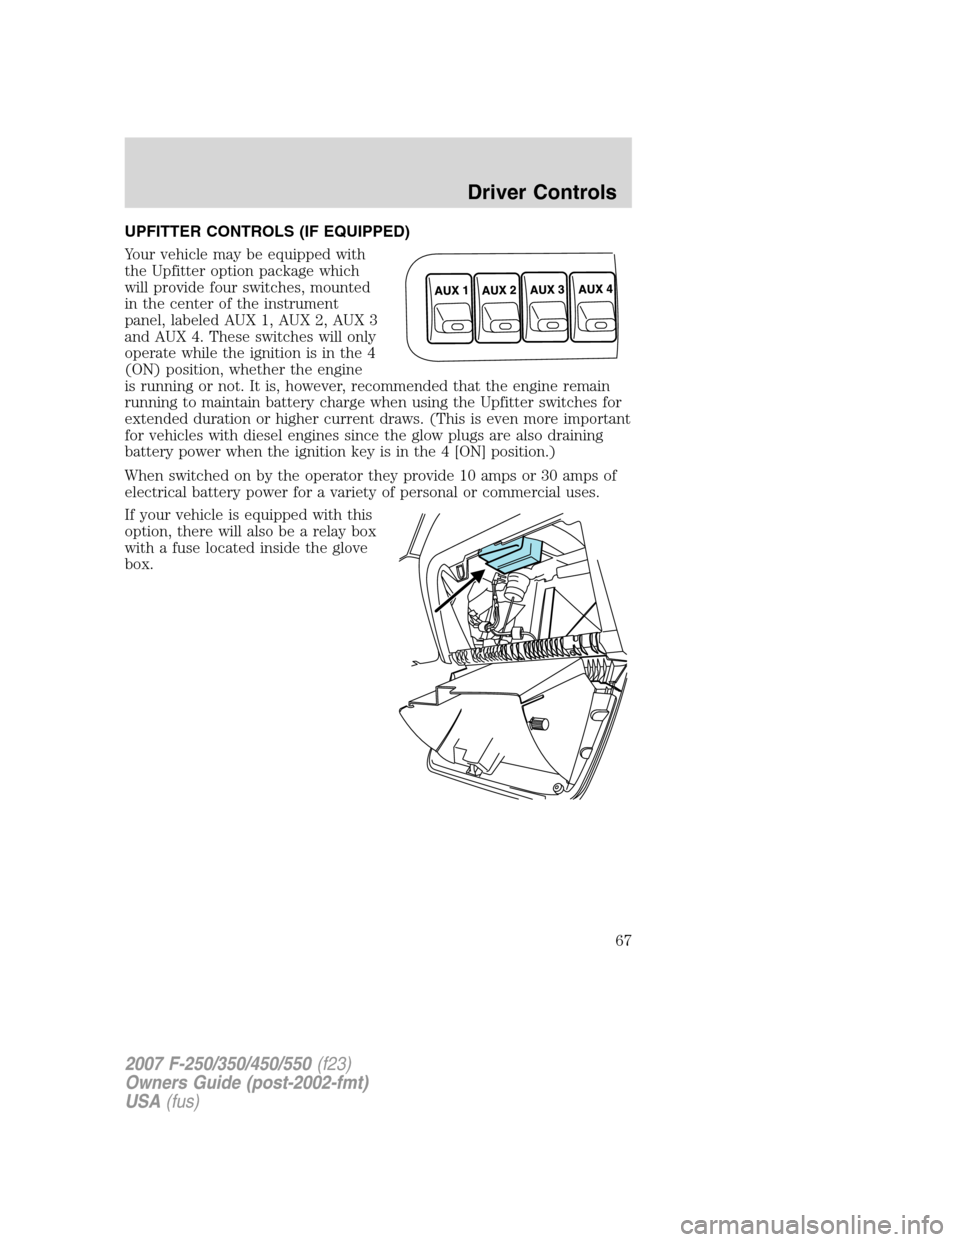
UPFITTER CONTROLS (IF EQUIPPED)
Your vehicle may be equipped with
the Upfitter option package which
will provide four switches, mounted
in the center of the instrument
panel, labeled AUX 1, AUX 2, AUX 3
and AUX 4. These switches will only
operate while the ignition is in the 4
(ON) position, whether the engine
is running or not. It is, however, recommended that the engine remain
running to maintain battery charge when using the Upfitter switches for
extended duration or higher current draws. (This is even more important
for vehicles with diesel engines since the glow plugs are also draining
battery power when the ignition key is in the 4 [ON] position.)
When switched on by the operator they provide 10 amps or 30 amps of
electrical battery power for a variety of personal or commercial uses.
If your vehicle is equipped with this
option, there will also be a relay box
with a fuse located inside the glove
box.
2007 F-250/350/450/550(f23)
Owners Guide (post-2002-fmt)
USA(fus)
Driver Controls
67
Page 68 of 312
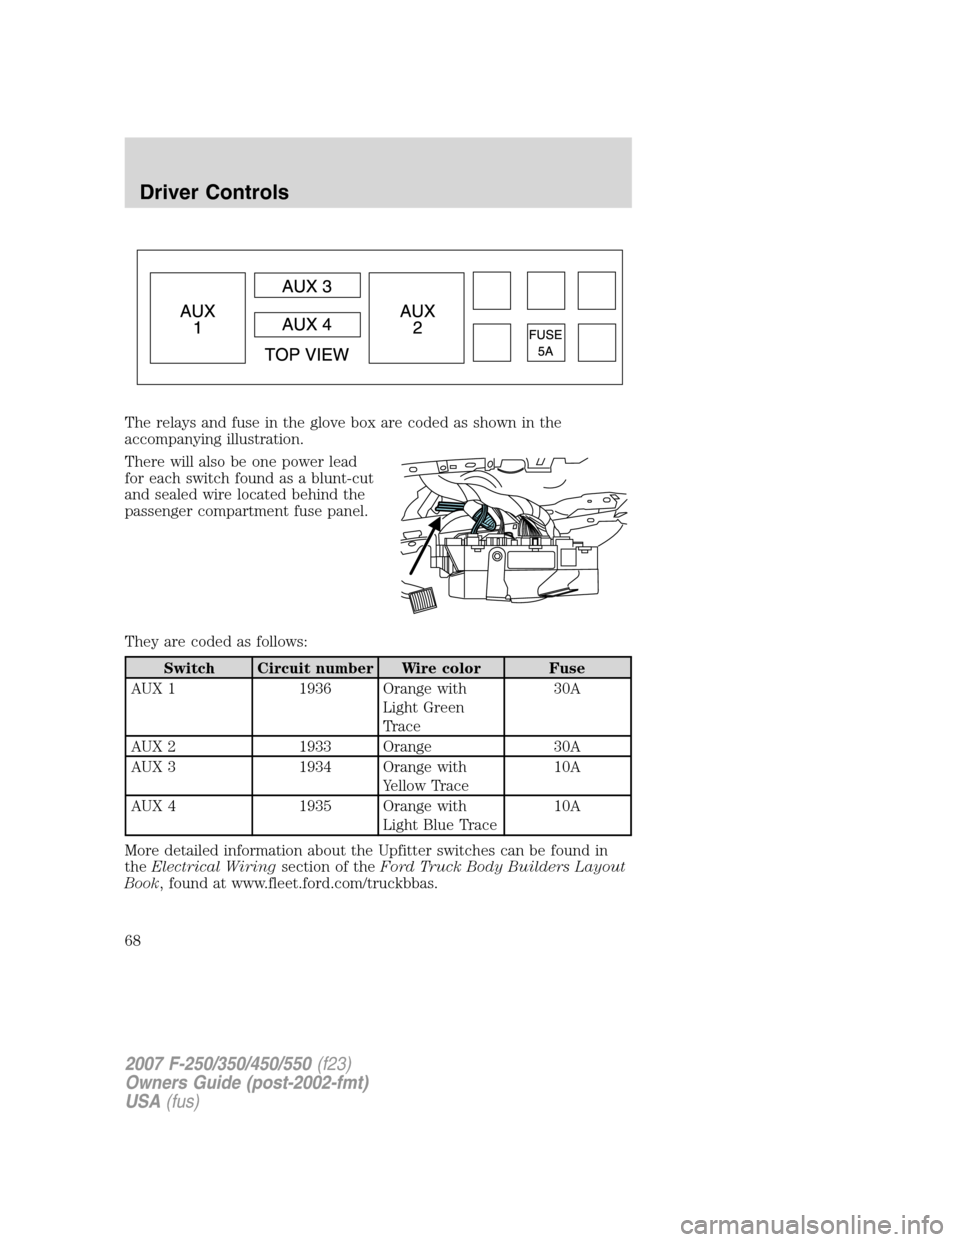
The relays and fuse in the glove box are coded as shown in the
accompanying illustration.
There will also be one power lead
for each switch found as a blunt-cut
and sealed wire located behind the
passenger compartment fuse panel.
They are coded as follows:
Switch Circuit number Wire color Fuse
AUX 1 1936 Orange with
Light Green
Trace30A
AUX 2 1933 Orange 30A
AUX 3 1934 Orange with
Yellow Trace10A
AUX 4 1935 Orange with
Light Blue Trace10A
More detailed information about the Upfitter switches can be found in
theElectrical Wiringsection of theFord Truck Body Builders Layout
Book, found at www.fleet.ford.com/truckbbas.
2007 F-250/350/450/550(f23)
Owners Guide (post-2002-fmt)
USA(fus)
Driver Controls
68
Page 69 of 312
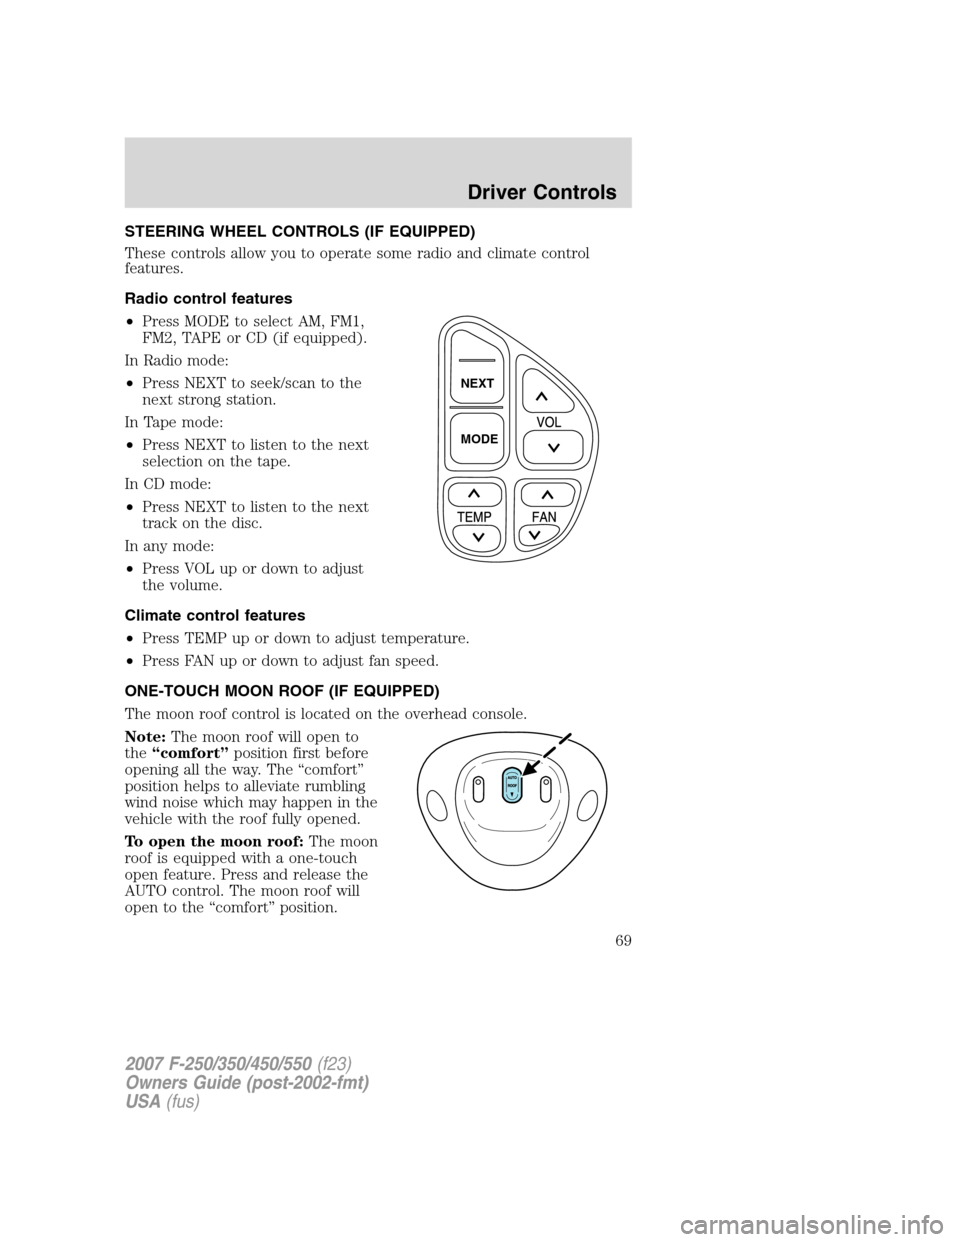
STEERING WHEEL CONTROLS (IF EQUIPPED)
These controls allow you to operate some radio and climate control
features.
Radio control features
•Press MODE to select AM, FM1,
FM2, TAPE or CD (if equipped).
In Radio mode:
•Press NEXT to seek/scan to the
next strong station.
In Tape mode:
•Press NEXT to listen to the next
selection on the tape.
In CD mode:
•Press NEXT to listen to the next
track on the disc.
In any mode:
•Press VOL up or down to adjust
the volume.
Climate control features
•Press TEMP up or down to adjust temperature.
•Press FAN up or down to adjust fan speed.
ONE-TOUCH MOON ROOF (IF EQUIPPED)
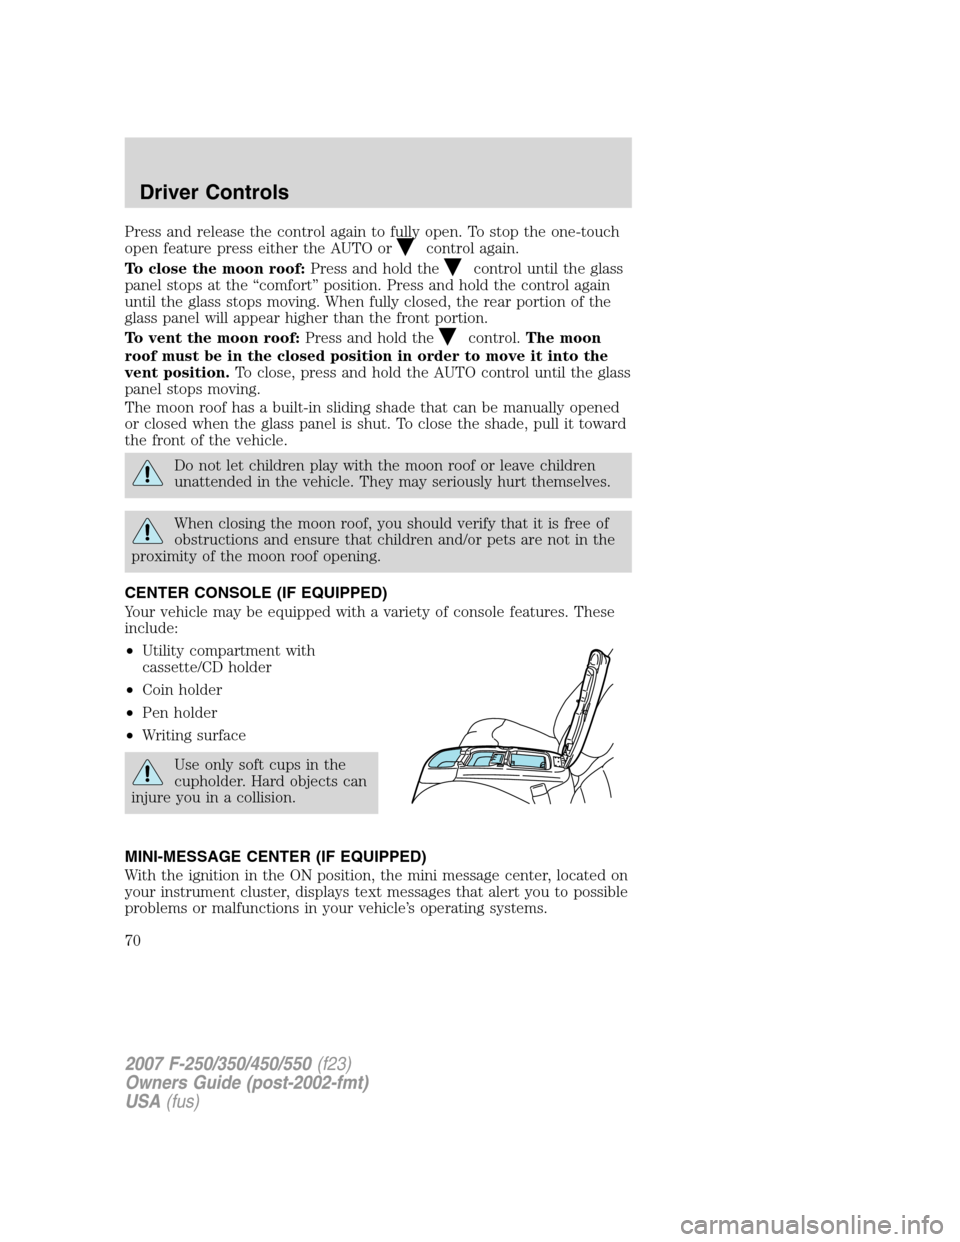
The moon roof control is located on the overhead console.
Note:The moon roof will open to
the“comfort”position first before
opening all the way. The “comfort”
position helps to alleviate rumbling
wind noise which may happen in the
vehicle with the roof fully opened.
To open the moon roof:The moon
roof is equipped with a one-touch
open feature. Press and release the
AUTO control. The moon roof will
open to the “comfort” position.
NEXT
MODE
2007 F-250/350/450/550(f23)
Owners Guide (post-2002-fmt)
USA(fus)
Driver Controls
69
Page 70 of 312
Press and release the control again to fully open. To stop the one-touch
open feature press either the AUTO or
control again.
To close the moon roof:Press and hold the
control until the glass
panel stops at the “comfort” position. Press and hold the control again
until the glass stops moving. When fully closed, the rear portion of the
glass panel will appear higher than the front portion.
To vent the moon roof:Press and hold the
control.The moon
roof must be in the closed position in order to move it into the
vent position.To close, press and hold the AUTO control until the glass
panel stops moving.
The moon roof has a built-in sliding shade that can be manually opened
or closed when the glass panel is shut. To close the shade, pull it toward
the front of the vehicle.
Do not let children play with the moon roof or leave children
unattended in the vehicle. They may seriously hurt themselves.
When closing the moon roof, you should verify that it is free of
obstructions and ensure that children and/or pets are not in the
proximity of the moon roof opening.
CENTER CONSOLE (IF EQUIPPED)
Your vehicle may be equipped with a variety of console features. These
include:
•Utility compartment with
cassette/CD holder
•Coin holder
•Pen holder
•Writing surface
Use only soft cups in the
cupholder. Hard objects can
injure you in a collision.
MINI-MESSAGE CENTER (IF EQUIPPED)
With the ignition in the ON position, the mini message center, located on
your instrument cluster, displays text messages that alert you to possible
problems or malfunctions in your vehicle’s operating systems.
2007 F-250/350/450/550(f23)
Owners Guide (post-2002-fmt)
USA(fus)
Driver Controls
70