fuel pressure FORD SUPER DUTY 2014 3.G Owners Manual
[x] Cancel search | Manufacturer: FORD, Model Year: 2014, Model line: SUPER DUTY, Model: FORD SUPER DUTY 2014 3.GPages: 458, PDF Size: 5.3 MB
Page 7 of 458
Fuse Specification Chart...........................214
Maintenance
General Information....................................222
Opening and Closing the Hood..............222
Under Hood Overview - 6.2L...................223
Under Hood Overview - 6.8L...................224
Engine Oil Dipstick.......................................225
Engine Oil Check..........................................225
Engine Coolant Check
...............................226
Automatic Transmission Fluid Check...........................................................230
Transfer Case Fluid Check........................233
Brake Fluid Check
........................................233
Power Steering Fluid Check.....................233
Washer Fluid Check....................................234
Fuel Filter
........................................................234
Changing the 12V Battery.........................234
Checking the Wiper Blades
.....................236
Changing the Wiper Blades.....................236
Adjusting the Headlamps.........................237
Removing a Headlamp..............................238
Changing a Bulb..........................................240
Bulb Specification Chart...........................242
Changing the Engine Air Filter................244
Vehicle Care
General Information
...................................246
Cleaning Products
.......................................246
Cleaning the Exterior..................................246
Waxing.............................................................247
Cleaning the Engine
....................................247
Cleaning the Exhaust.................................248
Cleaning the Windows and Wiper Blades..........................................................248
Cleaning the Interior...................................249
Cleaning the Instrument Panel and Instrument Cluster Lens.......................249
Cleaning Leather Seats
.............................250
Repairing Minor Paint Damage................251 Cleaning the Alloy Wheels
........................251
Vehicle Storage
..............................................251
Wheels and Tires
General Information
...................................254
Tire Care
..........................................................256
Using Snow Chains
......................................273
Tire Pressure Monitoring System
...........273
Changing a Road Wheel
............................279
Technical Specifications
..........................290
Capacities and Specific- ations
Engine Specifications
................................292
Motorcraft Parts
...........................................293
Vehicle Identification Number................294
Vehicle Certification Label.......................294
Transmission Code Designation............295
Technical Specifications..........................296
Audio System
General Information
..................................300
Audio unit - Vehicles With: AM/FM.......301
Audio unit - Vehicles With: AM/FM/CD/SYNC...................................302
Audio unit - Vehicles With: Sony AM/FM/CD................................................304
Digital Audio..................................................305
Satellite Radio
..............................................308
Auxiliary Input Jack......................................310
USB Port
............................................................311
Media Hub
........................................................311
SYNC™
General Information
....................................312
Using Voice Recognition............................314
Using SYNC™ With Your Phone.............316
SYNC™ Applications and Services
.......327
Using SYNC™ With Your Media Player...........................................................334
4
Super Duty (TFA) Table of Contents
Page 77 of 458
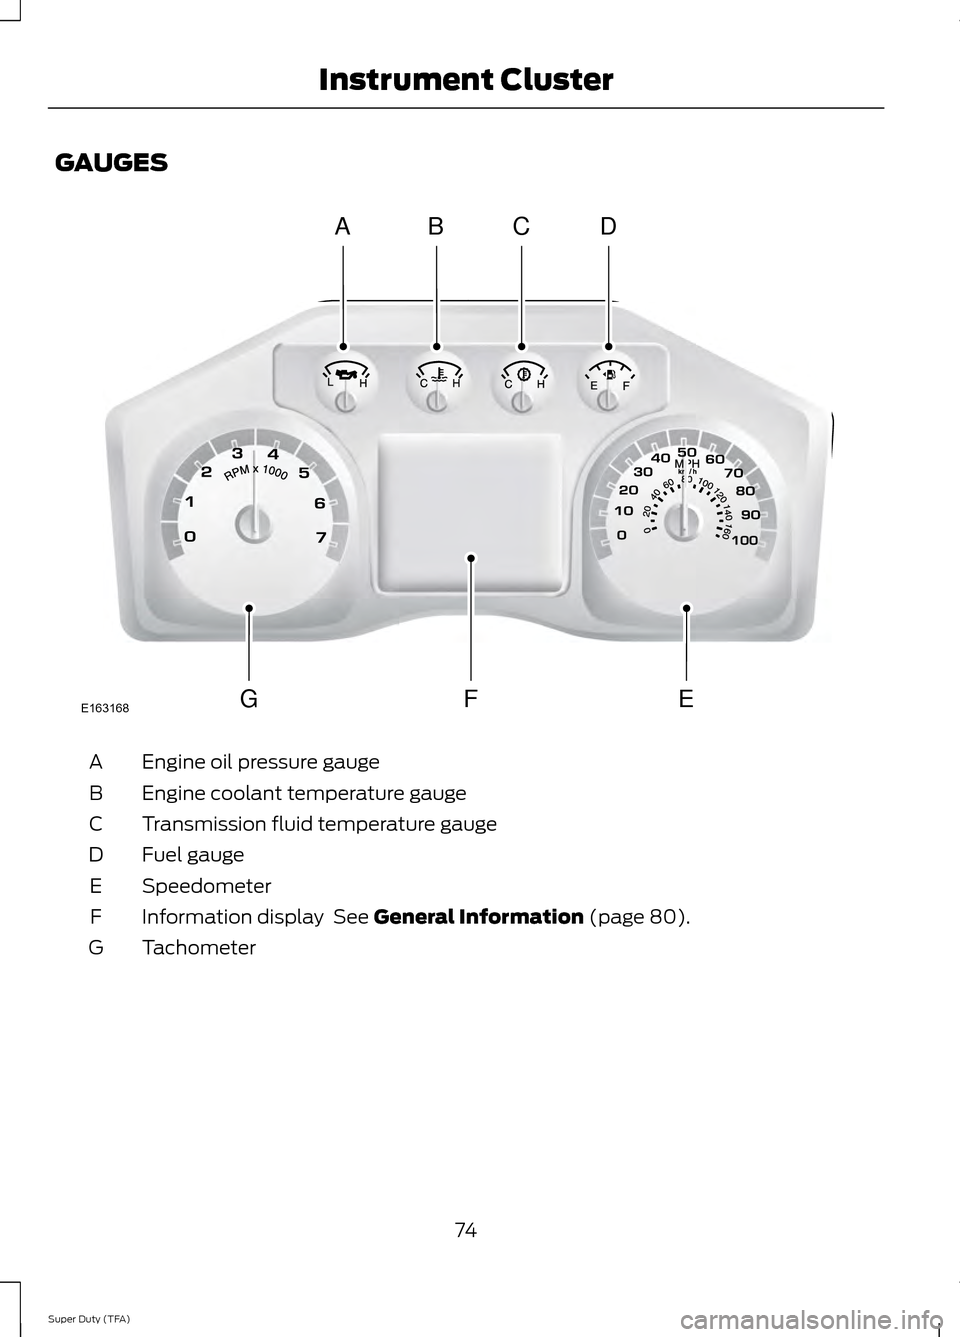
GAUGES
Engine oil pressure gauge
A
Engine coolant temperature gauge
B
Transmission fluid temperature gauge
C
Fuel gauge
D
Speedometer
E
Information display See General Information (page 80).
F
Tachometer
G
74
Super Duty (TFA) Instrument ClusterABCD
GFEE163168
Page 78 of 458
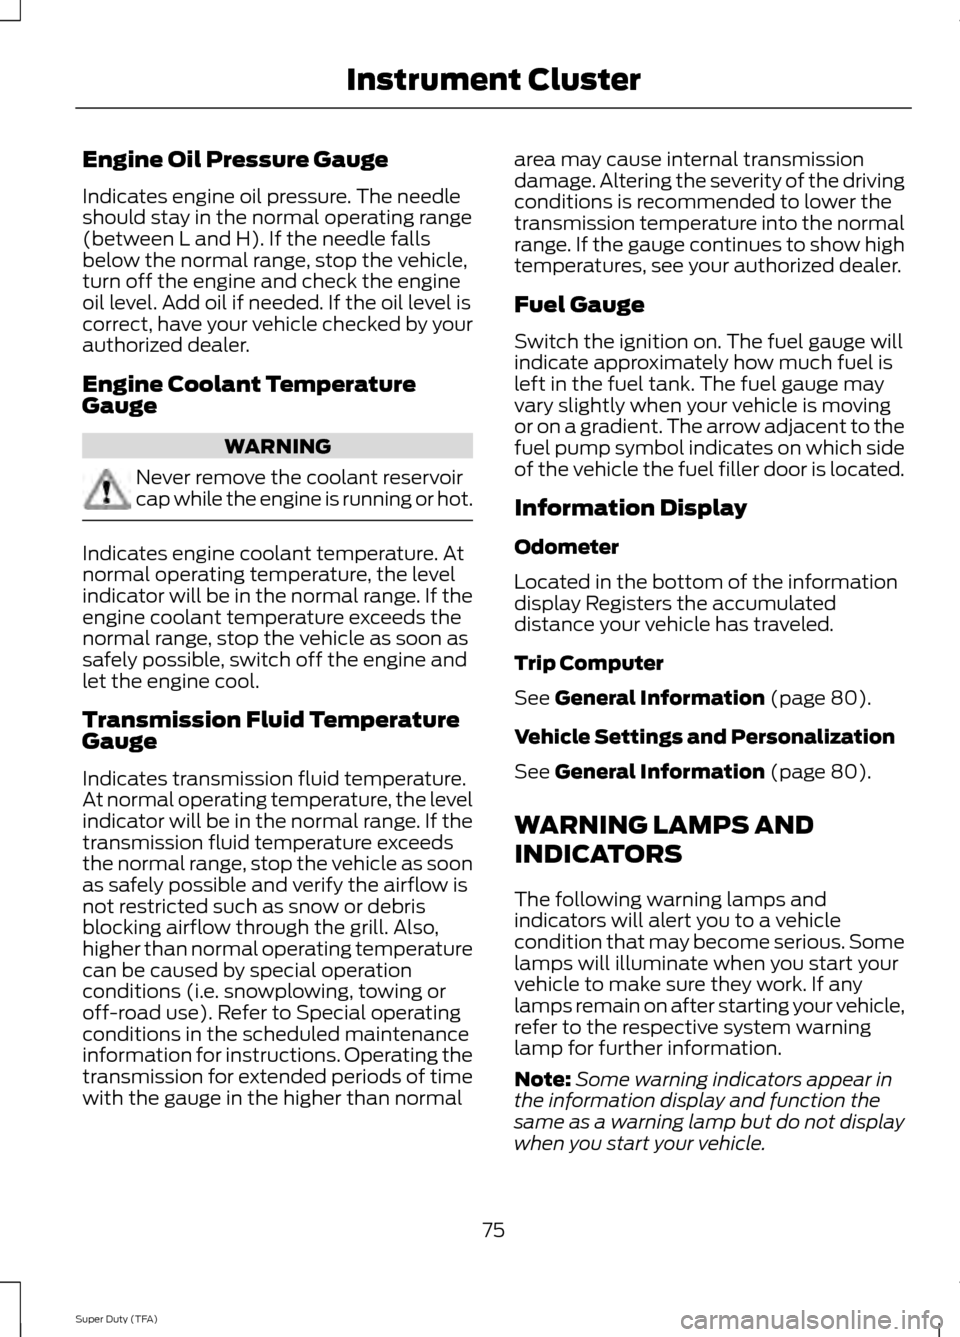
Engine Oil Pressure Gauge
Indicates engine oil pressure. The needle
should stay in the normal operating range
(between L and H). If the needle falls
below the normal range, stop the vehicle,
turn off the engine and check the engine
oil level. Add oil if needed. If the oil level is
correct, have your vehicle checked by your
authorized dealer.
Engine Coolant Temperature
Gauge
WARNING
Never remove the coolant reservoir
cap while the engine is running or hot.
Indicates engine coolant temperature. At
normal operating temperature, the level
indicator will be in the normal range. If the
engine coolant temperature exceeds the
normal range, stop the vehicle as soon as
safely possible, switch off the engine and
let the engine cool.
Transmission Fluid Temperature
Gauge
Indicates transmission fluid temperature.
At normal operating temperature, the level
indicator will be in the normal range. If the
transmission fluid temperature exceeds
the normal range, stop the vehicle as soon
as safely possible and verify the airflow is
not restricted such as snow or debris
blocking airflow through the grill. Also,
higher than normal operating temperature
can be caused by special operation
conditions (i.e. snowplowing, towing or
off-road use). Refer to Special operating
conditions in the scheduled maintenance
information for instructions. Operating the
transmission for extended periods of time
with the gauge in the higher than normal area may cause internal transmission
damage. Altering the severity of the driving
conditions is recommended to lower the
transmission temperature into the normal
range. If the gauge continues to show high
temperatures, see your authorized dealer.
Fuel Gauge
Switch the ignition on. The fuel gauge will
indicate approximately how much fuel is
left in the fuel tank. The fuel gauge may
vary slightly when your vehicle is moving
or on a gradient. The arrow adjacent to the
fuel pump symbol indicates on which side
of the vehicle the fuel filler door is located.
Information Display
Odometer
Located in the bottom of the information
display Registers the accumulated
distance your vehicle has traveled.
Trip Computer
See General Information (page 80).
Vehicle Settings and Personalization
See
General Information (page 80).
WARNING LAMPS AND
INDICATORS
The following warning lamps and
indicators will alert you to a vehicle
condition that may become serious. Some
lamps will illuminate when you start your
vehicle to make sure they work. If any
lamps remain on after starting your vehicle,
refer to the respective system warning
lamp for further information.
Note: Some warning indicators appear in
the information display and function the
same as a warning lamp but do not display
when you start your vehicle.
75
Super Duty (TFA) Instrument Cluster
Page 80 of 458
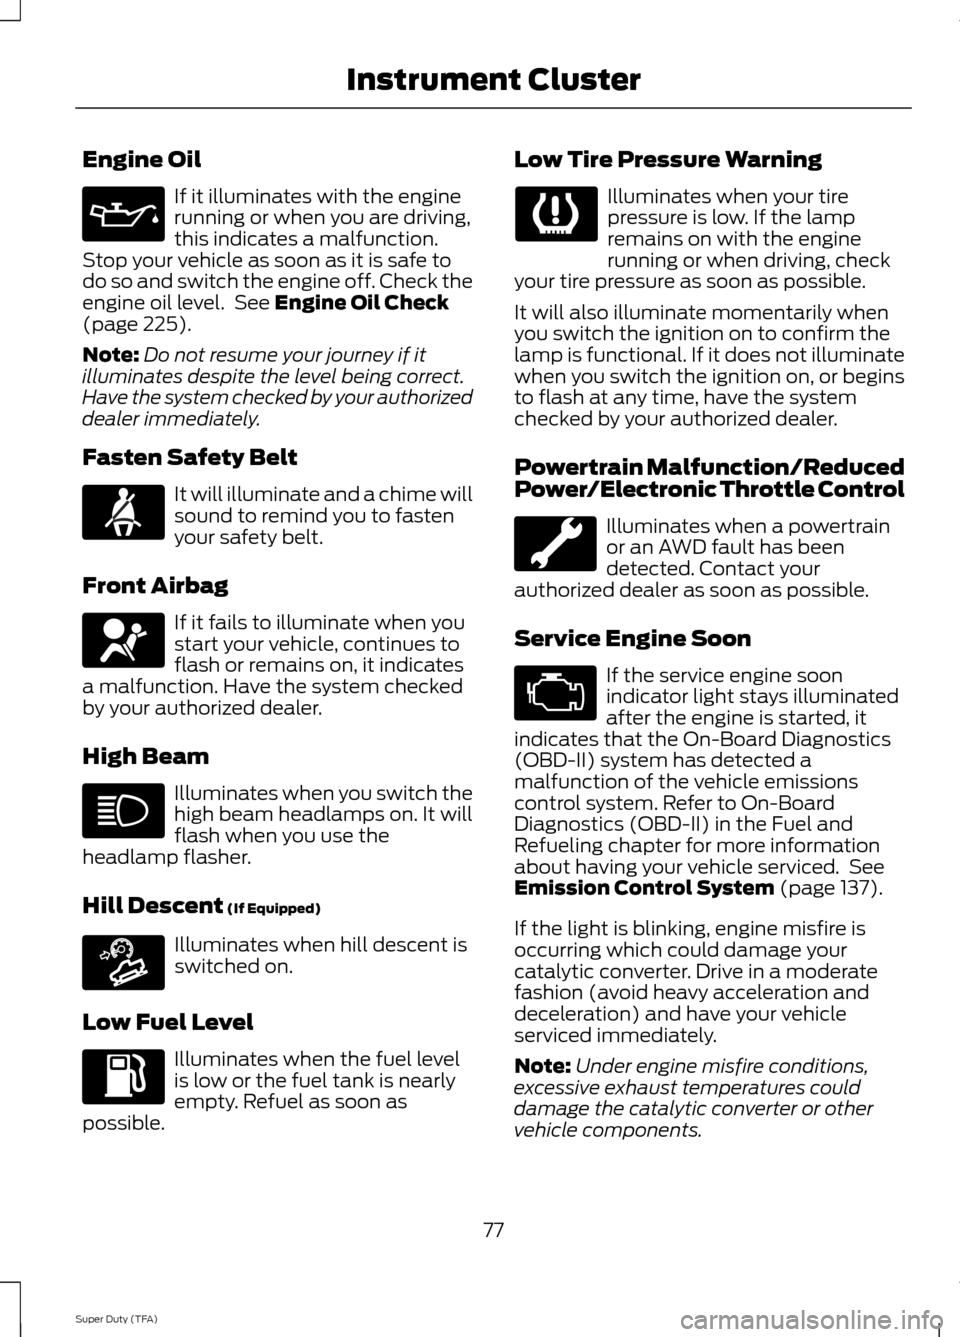
Engine Oil
If it illuminates with the engine
running or when you are driving,
this indicates a malfunction.
Stop your vehicle as soon as it is safe to
do so and switch the engine off. Check the
engine oil level. See Engine Oil Check
(page 225).
Note: Do not resume your journey if it
illuminates despite the level being correct.
Have the system checked by your authorized
dealer immediately.
Fasten Safety Belt It will illuminate and a chime will
sound to remind you to fasten
your safety belt.
Front Airbag If it fails to illuminate when you
start your vehicle, continues to
flash or remains on, it indicates
a malfunction. Have the system checked
by your authorized dealer.
High Beam Illuminates when you switch the
high beam headlamps on. It will
flash when you use the
headlamp flasher.
Hill Descent
(If Equipped) Illuminates when hill descent is
switched on.
Low Fuel Level Illuminates when the fuel level
is low or the fuel tank is nearly
empty. Refuel as soon as
possible. Low Tire Pressure Warning Illuminates when your tire
pressure is low. If the lamp
remains on with the engine
running or when driving, check
your tire pressure as soon as possible.
It will also illuminate momentarily when
you switch the ignition on to confirm the
lamp is functional. If it does not illuminate
when you switch the ignition on, or begins
to flash at any time, have the system
checked by your authorized dealer.
Powertrain Malfunction/Reduced
Power/Electronic Throttle Control Illuminates when a powertrain
or an AWD fault has been
detected. Contact your
authorized dealer as soon as possible.
Service Engine Soon If the service engine soon
indicator light stays illuminated
after the engine is started, it
indicates that the On-Board Diagnostics
(OBD-II) system has detected a
malfunction of the vehicle emissions
control system. Refer to On-Board
Diagnostics (OBD-II) in the Fuel and
Refueling chapter for more information
about having your vehicle serviced. See
Emission Control System (page 137).
If the light is blinking, engine misfire is
occurring which could damage your
catalytic converter. Drive in a moderate
fashion (avoid heavy acceleration and
deceleration) and have your vehicle
serviced immediately.
Note: Under engine misfire conditions,
excessive exhaust temperatures could
damage the catalytic converter or other
vehicle components.
77
Super Duty (TFA) Instrument Cluster E163171
Page 98 of 458
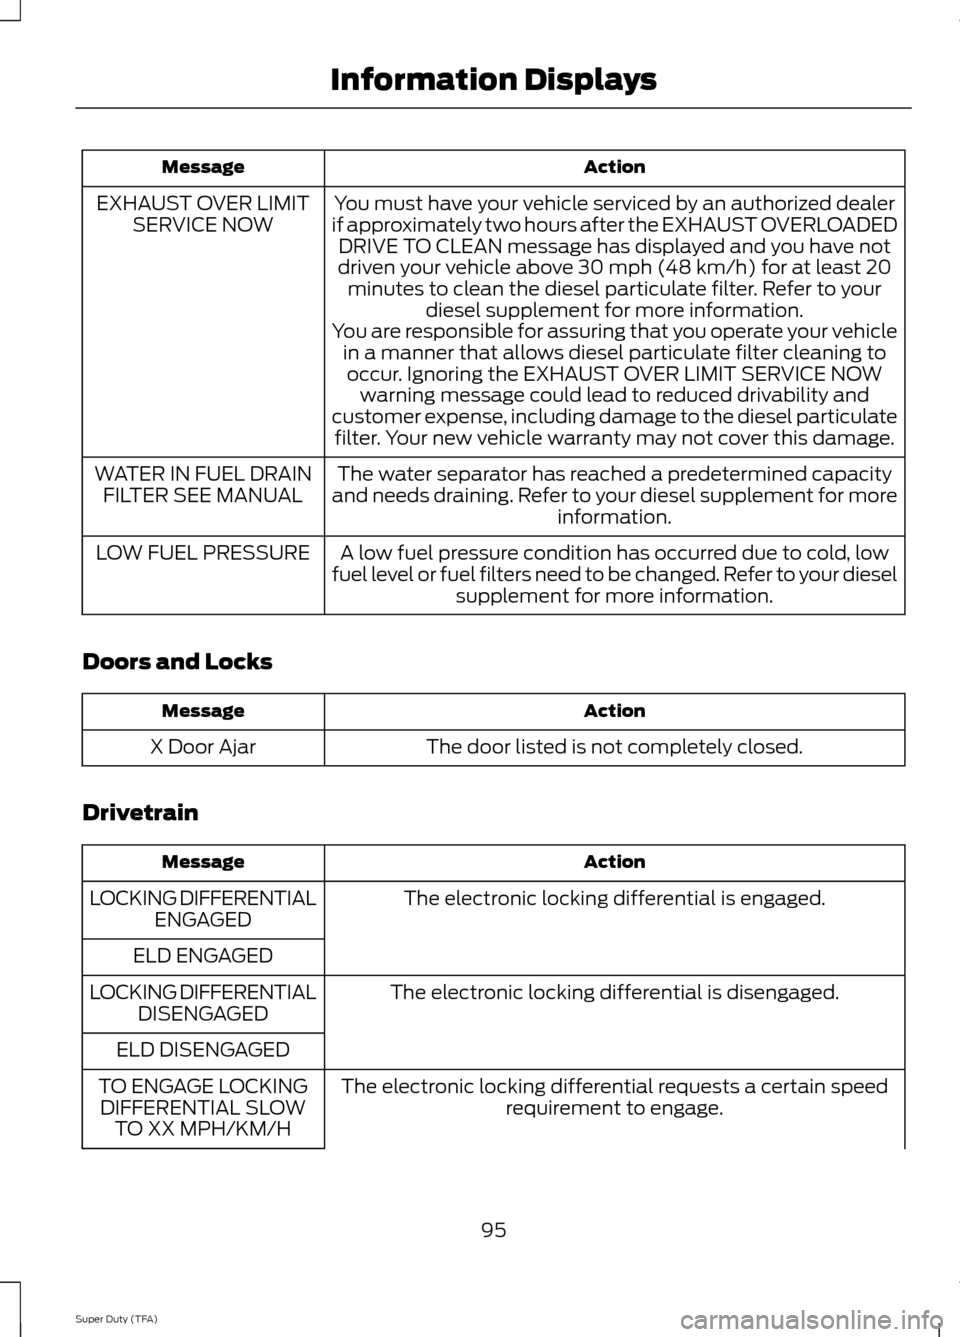
Action
Message
You must have your vehicle serviced by an authorized dealer
if approximately two hours after the EXHAUST OVERLOADED DRIVE TO CLEAN message has displayed and you have not
driven your vehicle above 30 mph (48 km/h) for at least 20 minutes to clean the diesel particulate filter. Refer to your diesel supplement for more information.
EXHAUST OVER LIMIT
SERVICE NOW
You are responsible for assuring that you operate your vehiclein a manner that allows diesel particulate filter cleaning tooccur. Ignoring the EXHAUST OVER LIMIT SERVICE NOW warning message could lead to reduced drivability and
customer expense, including damage to the diesel particulate filter. Your new vehicle warranty may not cover this damage.
The water separator has reached a predetermined capacity
and needs draining. Refer to your diesel supplement for more information.
WATER IN FUEL DRAIN
FILTER SEE MANUAL
A low fuel pressure condition has occurred due to cold, low
fuel level or fuel filters need to be changed. Refer to your diesel supplement for more information.
LOW FUEL PRESSURE
Doors and Locks Action
Message
The door listed is not completely closed.
X Door Ajar
Drivetrain Action
Message
The electronic locking differential is engaged.
LOCKING DIFFERENTIAL
ENGAGED
ELD ENGAGED The electronic locking differential is disengaged.
LOCKING DIFFERENTIAL
DISENGAGED
ELD DISENGAGED The electronic locking differential requests a certain speedrequirement to engage.
TO ENGAGE LOCKING
DIFFERENTIAL SLOW TO XX MPH/KM/H
95
Super Duty (TFA) Information Displays
Page 136 of 458
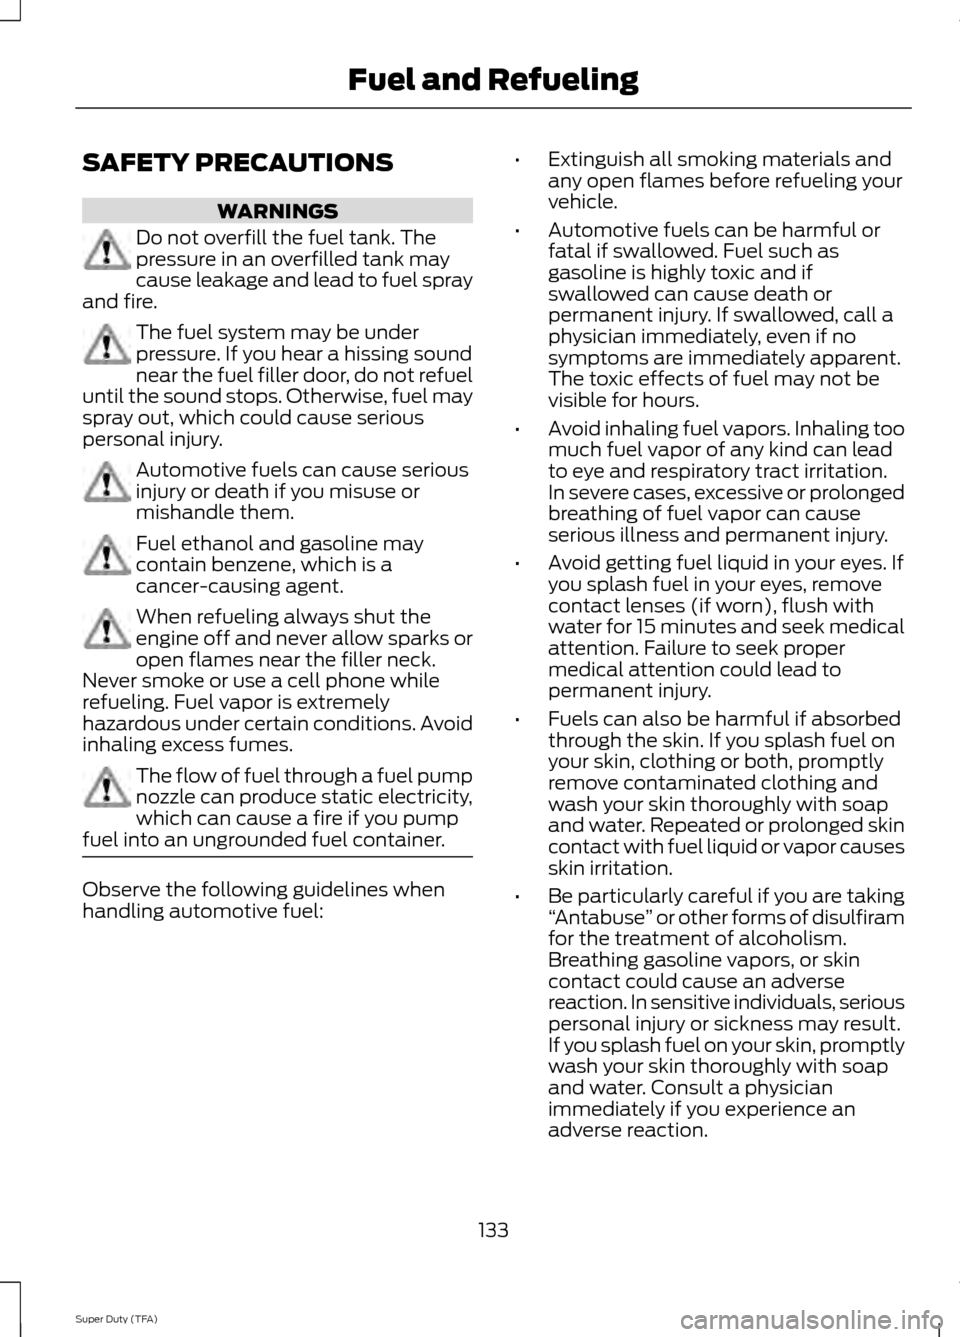
SAFETY PRECAUTIONS
WARNINGS
Do not overfill the fuel tank. The
pressure in an overfilled tank may
cause leakage and lead to fuel spray
and fire. The fuel system may be under
pressure. If you hear a hissing sound
near the fuel filler door, do not refuel
until the sound stops. Otherwise, fuel may
spray out, which could cause serious
personal injury. Automotive fuels can cause serious
injury or death if you misuse or
mishandle them.
Fuel ethanol and gasoline may
contain benzene, which is a
cancer-causing agent.
When refueling always shut the
engine off and never allow sparks or
open flames near the filler neck.
Never smoke or use a cell phone while
refueling. Fuel vapor is extremely
hazardous under certain conditions. Avoid
inhaling excess fumes. The flow of fuel through a fuel pump
nozzle can produce static electricity,
which can cause a fire if you pump
fuel into an ungrounded fuel container. Observe the following guidelines when
handling automotive fuel: •
Extinguish all smoking materials and
any open flames before refueling your
vehicle.
• Automotive fuels can be harmful or
fatal if swallowed. Fuel such as
gasoline is highly toxic and if
swallowed can cause death or
permanent injury. If swallowed, call a
physician immediately, even if no
symptoms are immediately apparent.
The toxic effects of fuel may not be
visible for hours.
• Avoid inhaling fuel vapors. Inhaling too
much fuel vapor of any kind can lead
to eye and respiratory tract irritation.
In severe cases, excessive or prolonged
breathing of fuel vapor can cause
serious illness and permanent injury.
• Avoid getting fuel liquid in your eyes. If
you splash fuel in your eyes, remove
contact lenses (if worn), flush with
water for 15 minutes and seek medical
attention. Failure to seek proper
medical attention could lead to
permanent injury.
• Fuels can also be harmful if absorbed
through the skin. If you splash fuel on
your skin, clothing or both, promptly
remove contaminated clothing and
wash your skin thoroughly with soap
and water. Repeated or prolonged skin
contact with fuel liquid or vapor causes
skin irritation.
• Be particularly careful if you are taking
“Antabuse ” or other forms of disulfiram
for the treatment of alcoholism.
Breathing gasoline vapors, or skin
contact could cause an adverse
reaction. In sensitive individuals, serious
personal injury or sickness may result.
If you splash fuel on your skin, promptly
wash your skin thoroughly with soap
and water. Consult a physician
immediately if you experience an
adverse reaction.
133
Super Duty (TFA) Fuel and Refueling
Page 138 of 458
•
You may need to cycle the ignition from
off to on several times after refueling
to allow the fuel system to pump the
fuel from the tank to the engine. On
restarting, cranking time will take a few
seconds longer than normal. With
keyless ignition, just start the engine.
Crank time will be longer than usual.
• Normally, adding 1 gallon (3.8 liters) of
fuel is enough to restart the engine. If
the vehicle is out of fuel and on a steep
grade, more than 1 gallon (3.8 liters)
may be required.
• The service engine soon indicator may
come on. For more information on the
service engine soon indicator, See
Warning Lamps and Indicators
(page 75).
Refilling With a Portable Fuel
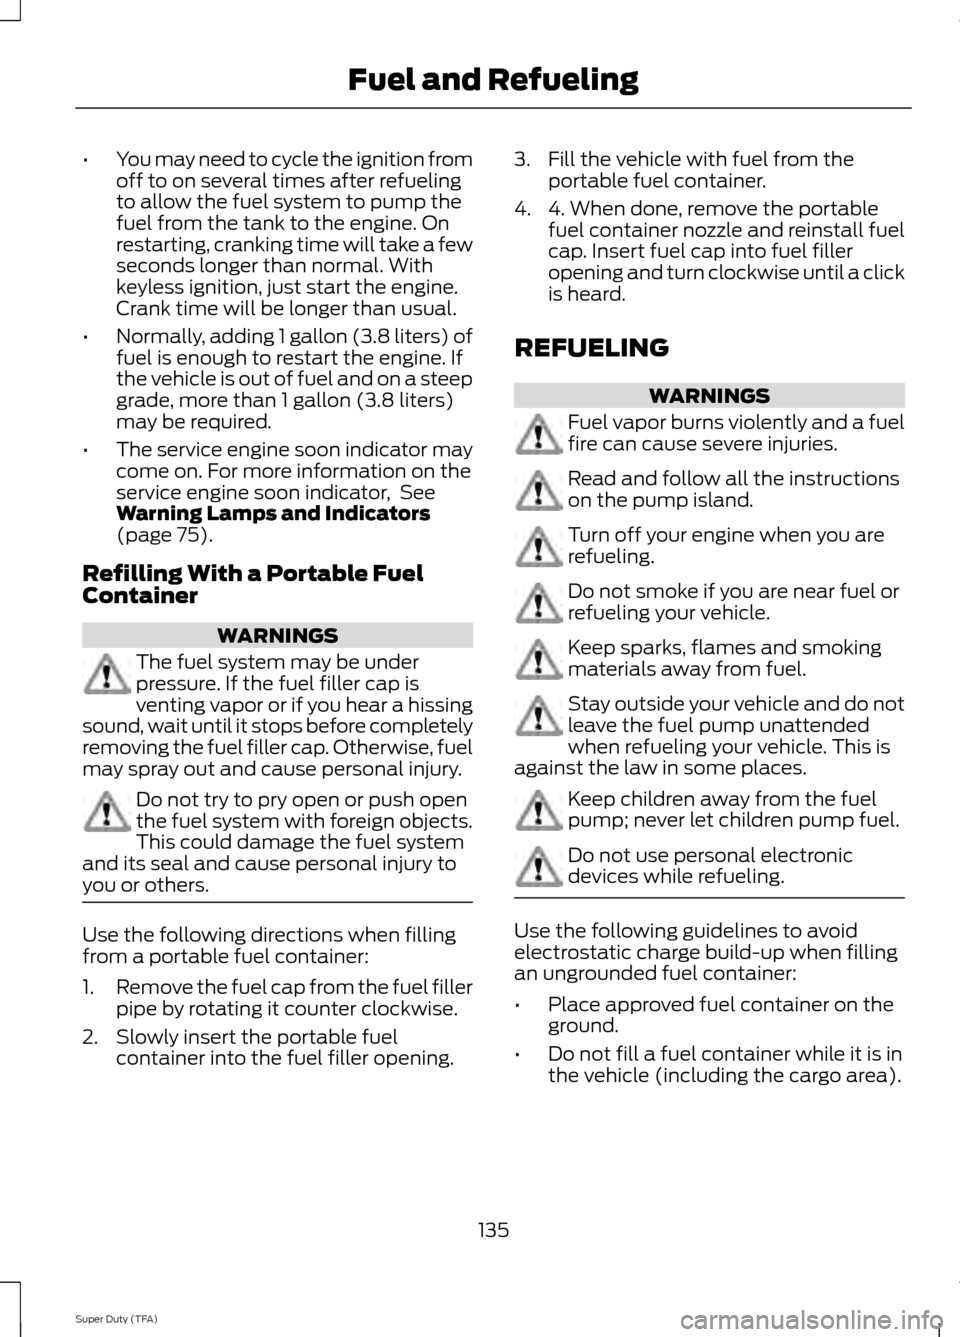
Container WARNINGS
The fuel system may be under
pressure. If the fuel filler cap is
venting vapor or if you hear a hissing
sound, wait until it stops before completely
removing the fuel filler cap. Otherwise, fuel
may spray out and cause personal injury. Do not try to pry open or push open
the fuel system with foreign objects.
This could damage the fuel system
and its seal and cause personal injury to
you or others. Use the following directions when filling
from a portable fuel container:
1.
Remove the fuel cap from the fuel filler
pipe by rotating it counter clockwise.
2. Slowly insert the portable fuel container into the fuel filler opening. 3. Fill the vehicle with fuel from the
portable fuel container.
4. 4. When done, remove the portable fuel container nozzle and reinstall fuel
cap. Insert fuel cap into fuel filler
opening and turn clockwise until a click
is heard.
REFUELING WARNINGS
Fuel vapor burns violently and a fuel
fire can cause severe injuries.
Read and follow all the instructions
on the pump island.
Turn off your engine when you are
refueling.
Do not smoke if you are near fuel or
refueling your vehicle.
Keep sparks, flames and smoking
materials away from fuel.
Stay outside your vehicle and do not
leave the fuel pump unattended
when refueling your vehicle. This is
against the law in some places. Keep children away from the fuel
pump; never let children pump fuel.
Do not use personal electronic
devices while refueling.
Use the following guidelines to avoid
electrostatic charge build-up when filling
an ungrounded fuel container:
•
Place approved fuel container on the
ground.
• Do not fill a fuel container while it is in
the vehicle (including the cargo area).
135
Super Duty (TFA) Fuel and Refueling
Page 139 of 458
•
Keep the fuel pump nozzle in contact
with the fuel container while filling.
• Do not use a device that would hold
the fuel pump handle in the fill position.
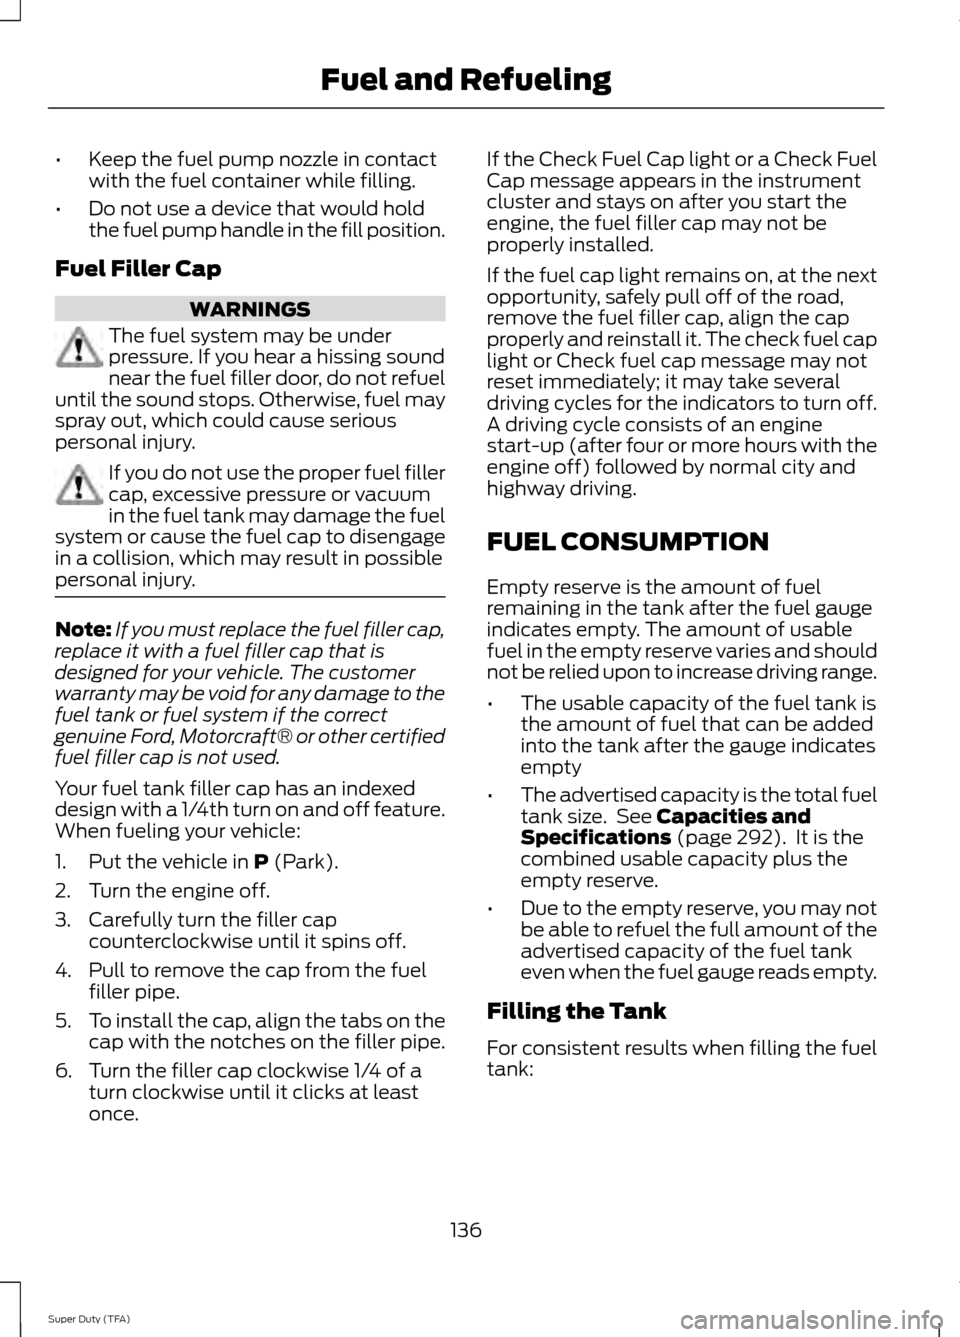
Fuel Filler Cap WARNINGS
The fuel system may be under
pressure. If you hear a hissing sound
near the fuel filler door, do not refuel
until the sound stops. Otherwise, fuel may
spray out, which could cause serious
personal injury. If you do not use the proper fuel filler
cap, excessive pressure or vacuum
in the fuel tank may damage the fuel
system or cause the fuel cap to disengage
in a collision, which may result in possible
personal injury. Note:
If you must replace the fuel filler cap,
replace it with a fuel filler cap that is
designed for your vehicle. The customer
warranty may be void for any damage to the
fuel tank or fuel system if the correct
genuine Ford, Motorcraft® or other certified
fuel filler cap is not used.
Your fuel tank filler cap has an indexed
design with a 1/4th turn on and off feature.
When fueling your vehicle:
1. Put the vehicle in P (Park).
2. Turn the engine off.
3. Carefully turn the filler cap counterclockwise until it spins off.
4. Pull to remove the cap from the fuel filler pipe.
5. To install the cap, align the tabs on the
cap with the notches on the filler pipe.
6. Turn the filler cap clockwise 1/4 of a turn clockwise until it clicks at least
once. If the Check Fuel Cap light or a Check Fuel
Cap message appears in the instrument
cluster and stays on after you start the
engine, the fuel filler cap may not be
properly installed.
If the fuel cap light remains on, at the next
opportunity, safely pull off of the road,
remove the fuel filler cap, align the cap
properly and reinstall it. The check fuel cap
light or Check fuel cap message may not
reset immediately; it may take several
driving cycles for the indicators to turn off.
A driving cycle consists of an engine
start-up (after four or more hours with the
engine off) followed by normal city and
highway driving.
FUEL CONSUMPTION
Empty reserve is the amount of fuel
remaining in the tank after the fuel gauge
indicates empty. The amount of usable
fuel in the empty reserve varies and should
not be relied upon to increase driving range.
•
The usable capacity of the fuel tank is
the amount of fuel that can be added
into the tank after the gauge indicates
empty
• The advertised capacity is the total fuel
tank size. See
Capacities and
Specifications (page 292). It is the
combined usable capacity plus the
empty reserve.
• Due to the empty reserve, you may not
be able to refuel the full amount of the
advertised capacity of the fuel tank
even when the fuel gauge reads empty.
Filling the Tank
For consistent results when filling the fuel
tank:
136
Super Duty (TFA) Fuel and Refueling
Page 140 of 458
•
Turn the ignition off before fueling; an
inaccurate reading results if the engine
is left running.
• Use the same fill rate
(low-medium-high) each time the tank
is filled.
• Allow no more than two automatic
click-offs when filling.
Results are most accurate when the filling
method is consistent.
Calculating Fuel Economy
Do not measure fuel economy during the
first 1000 miles (1600 kilometers) of
driving (this is your engine ’s break-in
period); a more accurate measurement is
obtained after 2000 miles - 3000 miles
(3200 kilometers - 4800 kilometers). Also,
fuel expense, frequency of fill ups or fuel
gauge readings are not accurate ways to
measure fuel economy.
1. Fill the fuel tank completely and record
the initial odometer reading.
2. Each time you fill the tank, record the amount of fuel added.
3. After at least 3 to 5 tank fill ups, fill the
fuel tank and record the current
odometer reading.
4. Subtract your initial odometer reading from the current odometer reading.
5. Calculate fuel economy by dividing miles traveled by gallons used (For
Metric: Multiply liters used by 100, then
divide by kilometers traveled).
Keep a record for at least 1 month and
record the type of driving (city or highway).
This provides an accurate estimate of the
vehicle ’s fuel economy under current
driving conditions. Additionally, keeping
records during summer and winter show
how temperature impacts fuel economy.
In general, lower temperatures mean lower
fuel economy. Conditions
•
Heavily loading a vehicle or towing a
trailer may reduce fuel economy at any
speed.
• Carrying unnecessary weight may
reduce fuel economy (approximately
1 mpg [0.4 km/L] is lost for every 400
pounds [180 kilograms] of weight
carried).
• Adding certain accessories to your
vehicle (for example bug deflectors,
rollbars/light bars, running boards, ski
racks) may reduce fuel economy.
• Using fuel blended with alcohol may
lower fuel economy.
• Fuel economy may decrease with lower
temperatures during the first 8– 10
miles (12 –16 kilometers) of driving.
• Driving on flat terrain offers improved
fuel economy as compared to driving
on hilly terrain.
• Transmissions give their best fuel
economy when operated in the top
cruise gear and with steady pressure
on the gas pedal.
• Close windows for high speed driving.
EMISSION CONTROL SYSTEM WARNINGS
Do not park, idle, or drive your vehicle
in dry grass or other dry ground cover.
The emission system heats up the
engine compartment and exhaust system,
which can start a fire. Exhaust leaks may result in entry of
harmful and potentially lethal fumes
into the passenger compartment. If
you smell exhaust fumes inside your
vehicle, have your dealer inspect your
vehicle immediately. Do not drive if you
smell exhaust fumes. 137
Super Duty (TFA) Fuel and Refueling
Page 202 of 458
•
Transmissions give their best fuel
economy when operated in the top
cruise gear and with steady pressure
on the gas pedal.
• Four-wheel-drive operation (if
equipped) is less fuel efficient than
two-wheel-drive operation.
• Close the windows for high-speed
driving.
DRIVING THROUGH WATER
Note: Driving through deep water above
the recommended levels can cause vehicle
damage.
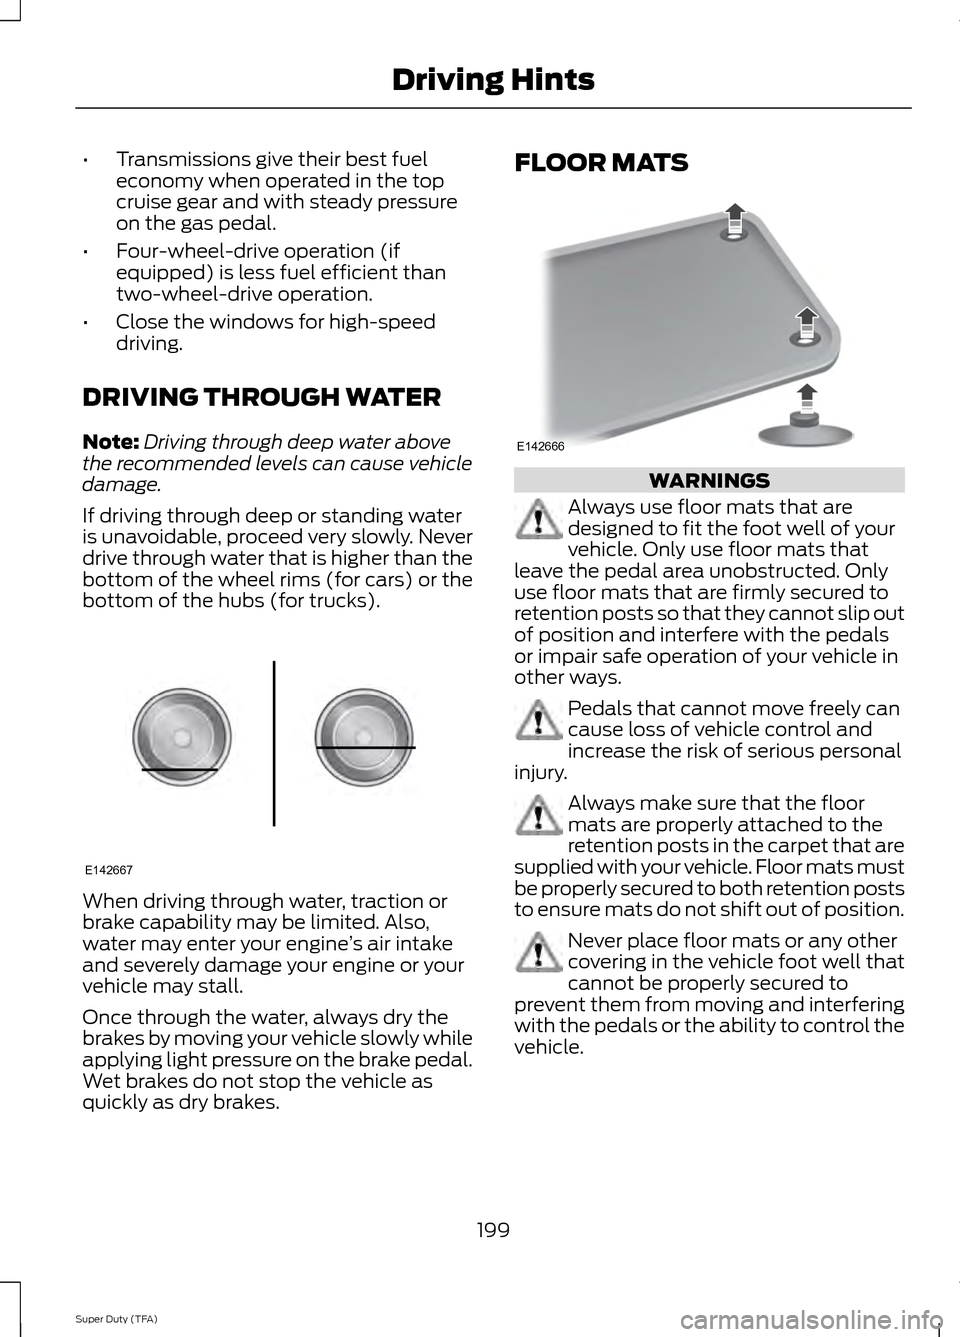
If driving through deep or standing water
is unavoidable, proceed very slowly. Never
drive through water that is higher than the
bottom of the wheel rims (for cars) or the
bottom of the hubs (for trucks). When driving through water, traction or
brake capability may be limited. Also,
water may enter your engine
’s air intake
and severely damage your engine or your
vehicle may stall.
Once through the water, always dry the
brakes by moving your vehicle slowly while
applying light pressure on the brake pedal.
Wet brakes do not stop the vehicle as
quickly as dry brakes. FLOOR MATS
WARNINGS
Always use floor mats that are
designed to fit the foot well of your
vehicle. Only use floor mats that
leave the pedal area unobstructed. Only
use floor mats that are firmly secured to
retention posts so that they cannot slip out
of position and interfere with the pedals
or impair safe operation of your vehicle in
other ways. Pedals that cannot move freely can
cause loss of vehicle control and
increase the risk of serious personal
injury. Always make sure that the floor
mats are properly attached to the
retention posts in the carpet that are
supplied with your vehicle. Floor mats must
be properly secured to both retention posts
to ensure mats do not shift out of position. Never place floor mats or any other
covering in the vehicle foot well that
cannot be properly secured to
prevent them from moving and interfering
with the pedals or the ability to control the
vehicle.
199
Super Duty (TFA) Driving HintsE142667 E142666