clock setting FORD SUPER DUTY 2023 Owners Manual
[x] Cancel search | Manufacturer: FORD, Model Year: 2023, Model line: SUPER DUTY, Model: FORD SUPER DUTY 2023Pages: 738, PDF Size: 18.49 MB
Page 20 of 738
Vehicle Identification
Vehicle Identification Number...............547
Connected Vehicle
What Is a Connected Vehicle.................548
Connected Vehicle Requirements.......548
Connected Vehicle Limitations.............548
Connecting the Vehicle to a MobileNetwork.....................................................548
Connecting the Vehicle to a Wi-FiNetwork.....................................................548
Connected Vehicle – Troubleshooting.......................................................................549
Connected Vehicle Videos......................550
Vehicle Wi-Fi Hotspot
Creating a Vehicle Wi-Fi Hotspot..........551
Changing the Vehicle Wi-Fi HotspotName or Password.................................551
Vehicle Wi-Fi Hotspot – Troubleshooting........................................................................552
Audio System
Audio System Precautions......................553
Identifying the Audio Unit.......................553
Switching the Audio Unit On and Off........................................................................553
Selecting the Audio Source....................553
Playing or Pausing the Audio Source........................................................................553
Adjusting the Volume...............................554
Switching Shuffle Mode On and Off........................................................................554
Switching Repeat Mode On and Off........................................................................554
Setting a Memory Preset.........................554
Muting the Audio........................................554
Adjusting the Sound Settings................554
Setting the Clock and Date.....................555
AM/FM Radio...............................................555
Switching the Display On and Off.......556
Digital Radio.................................................556
Satellite Radio..............................................557
Audio System – Troubleshooting........559
Center Display Overview
Center Display Precautions....................563
Center Display Limitations......................563
Status Bar.....................................................563
Feature Bar...................................................564
Information On Demand Screen..........564
Rebooting the Center Display...............564
Center Display Overview Videos..........564
Voice Interaction
Ford Assistant.............................................565
Alexa Built-In
What is Alexa Built-In................................567
Alexa Built-In Requirements..................567
Signing Into Your Account.......................567
Using Alexa Built-In...................................567
Alexa Built-In Settings..............................567
Phone
Phone Precautions....................................569
Connecting Your Phone...........................569
Phone Menu.................................................569
Making and Receiving a Phone Call......571
Sending and Receiving a Text Message........................................................................572
Switching Text Message Notification Onand Off........................................................573
Bluetooth®
Connecting a Bluetooth® Device.........574
Playing Media Using Bluetooth®..........574
Apps
App Precautions..........................................575
App Requirements.....................................575
16
2023 Super Duty (TFH) Canada/United States of America, enUSA, Edition date: 202211, DOMTable of Contents
Page 160 of 738
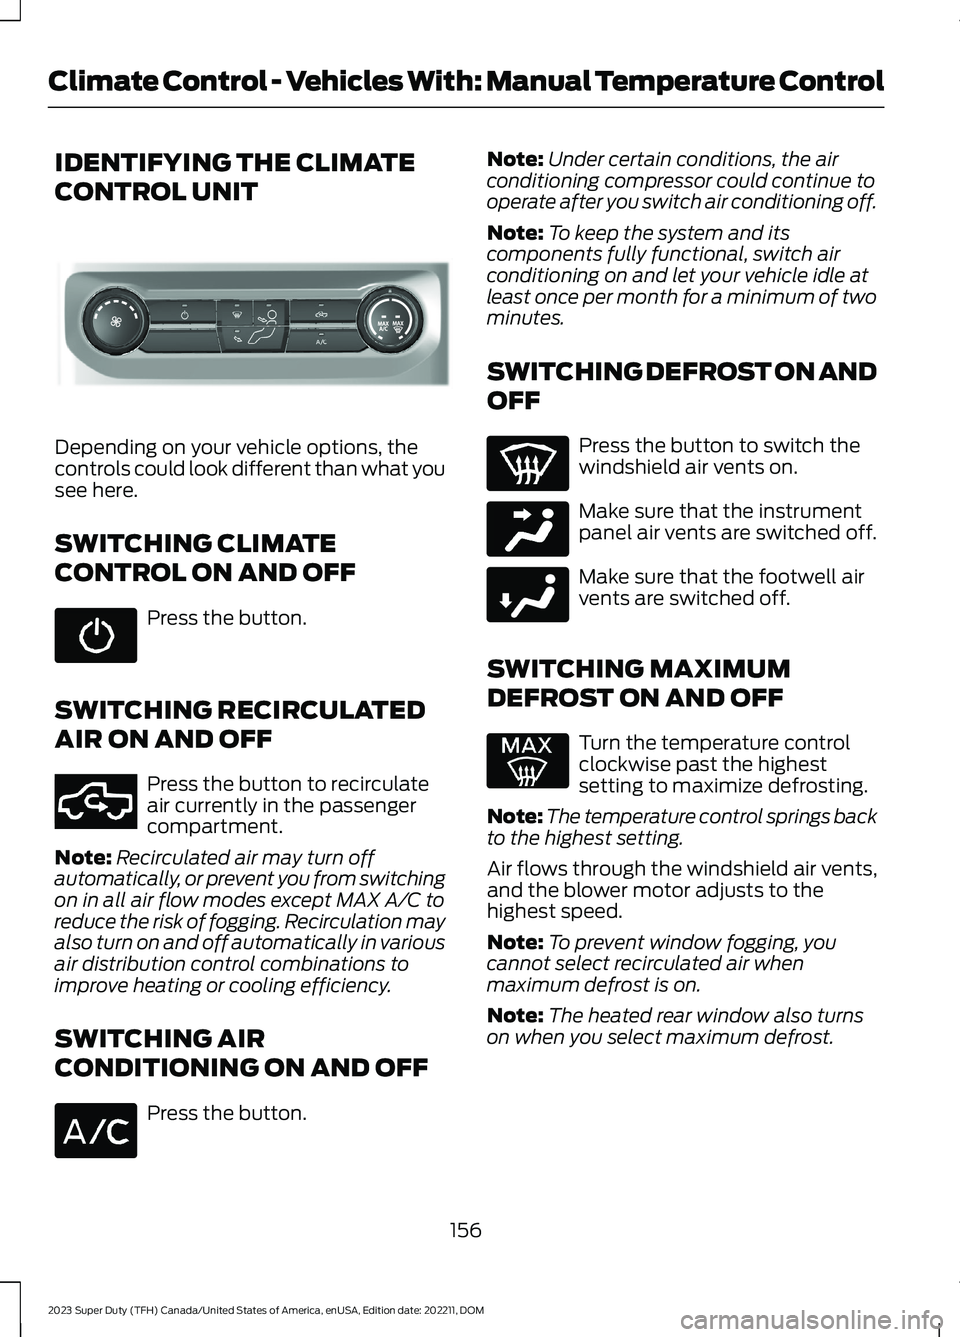
IDENTIFYING THE CLIMATE
CONTROL UNIT
Depending on your vehicle options, thecontrols could look different than what yousee here.
SWITCHING CLIMATE
CONTROL ON AND OFF
Press the button.
SWITCHING RECIRCULATED
AIR ON AND OFF
Press the button to recirculateair currently in the passengercompartment.
Note:Recirculated air may turn offautomatically, or prevent you from switchingon in all air flow modes except MAX A/C toreduce the risk of fogging. Recirculation mayalso turn on and off automatically in variousair distribution control combinations toimprove heating or cooling efficiency.
SWITCHING AIR
CONDITIONING ON AND OFF
Press the button.
Note:Under certain conditions, the airconditioning compressor could continue tooperate after you switch air conditioning off.
Note:To keep the system and itscomponents fully functional, switch airconditioning on and let your vehicle idle atleast once per month for a minimum of twominutes.
SWITCHING DEFROST ON AND
OFF
Press the button to switch thewindshield air vents on.
Make sure that the instrumentpanel air vents are switched off.
Make sure that the footwell airvents are switched off.
SWITCHING MAXIMUM
DEFROST ON AND OFF
Turn the temperature controlclockwise past the highestsetting to maximize defrosting.
Note:The temperature control springs backto the highest setting.
Air flows through the windshield air vents,and the blower motor adjusts to thehighest speed.
Note:To prevent window fogging, youcannot select recirculated air whenmaximum defrost is on.
Note:The heated rear window also turnson when you select maximum defrost.
156
2023 Super Duty (TFH) Canada/United States of America, enUSA, Edition date: 202211, DOMClimate Control - Vehicles With: Manual Temperature ControlE308141 E351062 E244097 E244098
Page 161 of 738
SWITCHING MAXIMUM
COOLING ON AND OFF
Turn the temperature controlcounterclockwise past thelowest setting to maximizecooling.
Note:The temperature control springs backto the lowest setting.
Note:When you switch maximum coolingoff, air conditioning remains on.
SWITCHING THE HEATED
REAR WINDOW ON AND OFF (IF
EQUIPPED)
Press the button to clear the rearwindow of thin ice and fog. Theheated rear window turns offafter a short period of time.
Note:Do not use harsh chemicals, razorblades or other sharp objects to clean orremove decals from the inside of the heatedrear window as this could cause damage tothe heated rear window grid lines notcovered by the vehicle Warranty.
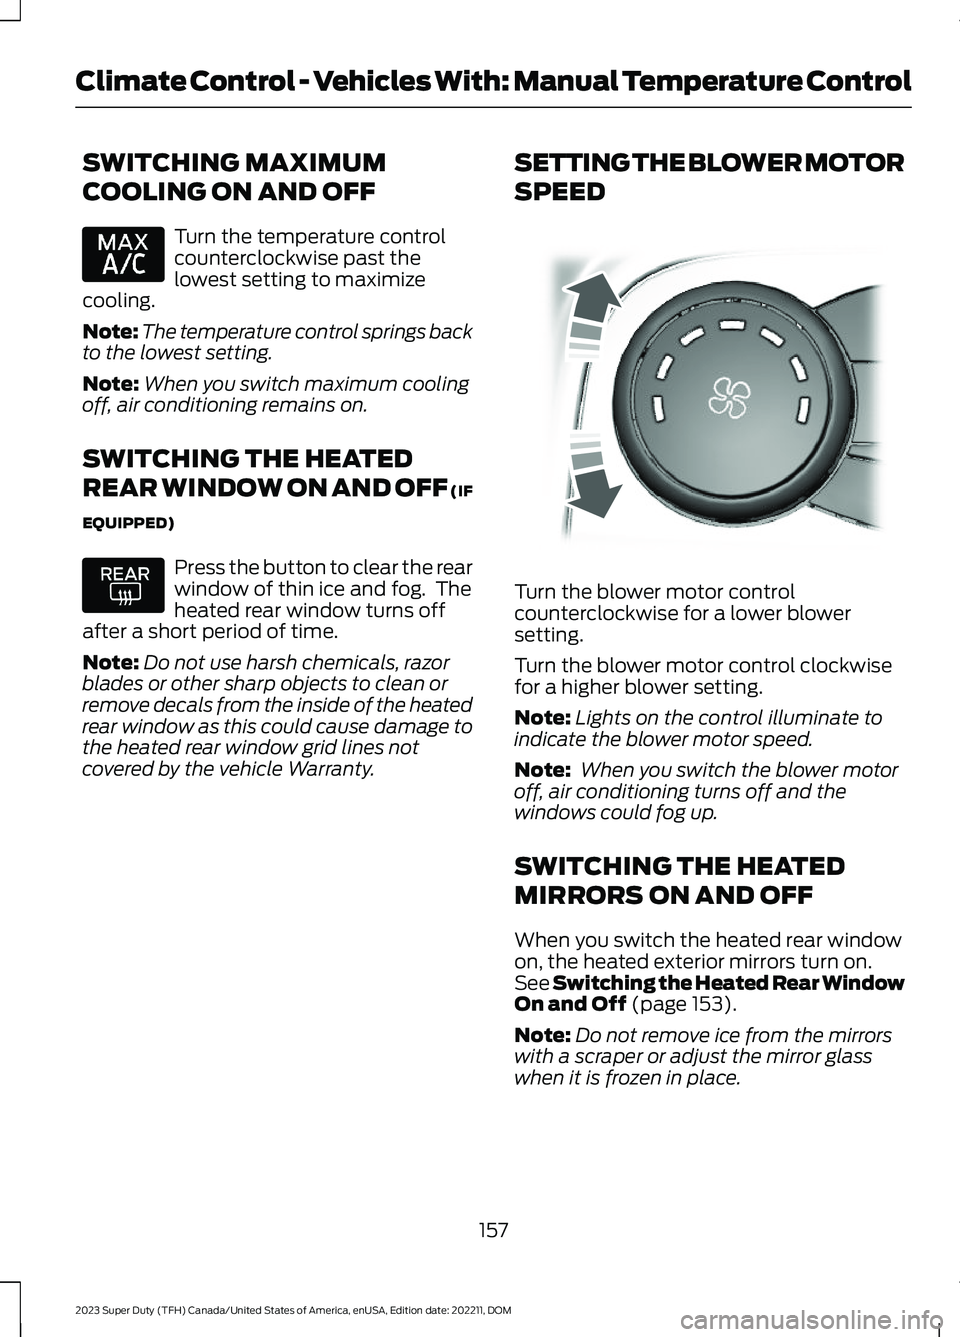
SETTING THE BLOWER MOTOR
SPEED
Turn the blower motor controlcounterclockwise for a lower blowersetting.
Turn the blower motor control clockwisefor a higher blower setting.
Note:Lights on the control illuminate toindicate the blower motor speed.
Note: When you switch the blower motoroff, air conditioning turns off and thewindows could fog up.
SWITCHING THE HEATED
MIRRORS ON AND OFF
When you switch the heated rear windowon, the heated exterior mirrors turn on.See Switching the Heated Rear WindowOn and Off (page 153).
Note:Do not remove ice from the mirrorswith a scraper or adjust the mirror glasswhen it is frozen in place.
157
2023 Super Duty (TFH) Canada/United States of America, enUSA, Edition date: 202211, DOMClimate Control - Vehicles With: Manual Temperature Control E317606
Page 162 of 738
Note:Do not clean the mirror housing orglass with harsh abrasives, fuel or otherpetroleum-based cleaning products. Thevehicle warranty may not cover damagecaused to the mirror housing or glass.
Note:The engine must be running or yourvehicle must be ready to drive to switch thesystem on.
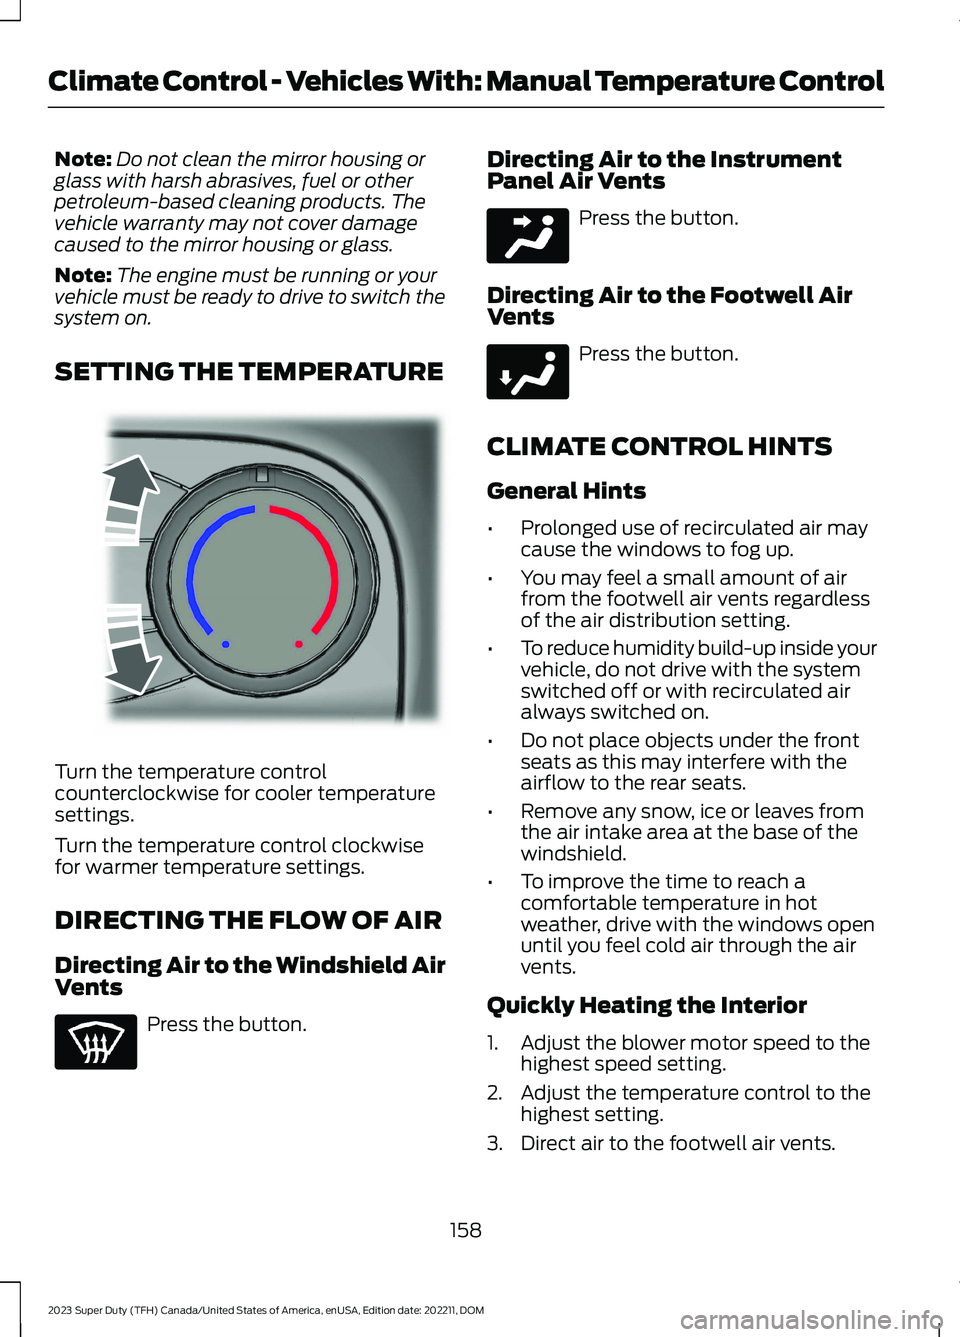
SETTING THE TEMPERATURE
Turn the temperature controlcounterclockwise for cooler temperaturesettings.
Turn the temperature control clockwisefor warmer temperature settings.
DIRECTING THE FLOW OF AIR
Directing Air to the Windshield AirVents
Press the button.
Directing Air to the InstrumentPanel Air Vents
Press the button.
Directing Air to the Footwell AirVents
Press the button.
CLIMATE CONTROL HINTS
General Hints
•Prolonged use of recirculated air maycause the windows to fog up.
•You may feel a small amount of airfrom the footwell air vents regardlessof the air distribution setting.
•To reduce humidity build-up inside yourvehicle, do not drive with the systemswitched off or with recirculated airalways switched on.
•Do not place objects under the frontseats as this may interfere with theairflow to the rear seats.
•Remove any snow, ice or leaves fromthe air intake area at the base of thewindshield.
•To improve the time to reach acomfortable temperature in hotweather, drive with the windows openuntil you feel cold air through the airvents.
Quickly Heating the Interior
1.Adjust the blower motor speed to thehighest speed setting.
2.Adjust the temperature control to thehighest setting.
3.Direct air to the footwell air vents.
158
2023 Super Duty (TFH) Canada/United States of America, enUSA, Edition date: 202211, DOMClimate Control - Vehicles With: Manual Temperature ControlE244106 E244097 E244098
Page 163 of 738
Recommended Settings forHeating
1.Adjust the blower motor speed to thecenter setting.
2.Adjust the temperature control to themidway point of the hot settings.
3.Direct air to the footwell air vents.
Quickly Cooling the Interior
1.Turn the temperature controlcounterclockwise past the lowestsetting.
2.Drive with the windows open for a shortperiod of time.
Recommended Settings forCooling
1.Adjust the blower motor speed to thecenter setting.
2.Adjust the temperature control to themidway point of the cold settings.
3.Direct air to the instrument panel airvents.
Defogging the Side Windows inCold Weather
1.Direct air to the instrument panel andwindshield air vents.
2.Press and release A/C.
3.Adjust the temperature control to thesetting you prefer.
4.Adjust the blower motor speed to thehighest setting.
5.Direct air toward the side windows.
6.Close the instrument panel air vents.
CLIMATE CONTROL VIDEOS
Heated Mirrors
159
2023 Super Duty (TFH) Canada/United States of America, enUSA, Edition date: 202211, DOMClimate Control - Vehicles With: Manual Temperature Control
Page 316 of 738
DRIVE MODES
ECO - 4X4
For efficient driving. This modehelps deliver maximum fuelefficiency and helps to increasedriving range.
Two-wheel drive high is the defaultfour-wheel drive mode. Four-wheel drivelow is not available in eco mode.
The electronic locking differential isavailable below 25 mph (40 km/h). SeeSwitching the Electronic LockingDifferential On and Off (page 245).
ECO - 4X2
For efficient driving. This modehelps deliver maximum fuelefficiency and helps to increasedriving range.
The electronic locking differential isavailable below 25 mph (40 km/h). SeeSwitching the Electronic LockingDifferential On and Off (page 247).
NORMAL - 4X4
For everyday driving. This modeis the perfect balance ofexcitement, comfort andconvenience. This is the default mode aftereach ignition cycle.
Two-wheel drive high is the defaultfour-wheel drive mode. All four-wheel drivemodes are selectable when in normalmode.
The electronic locking differential isavailable below 25 mph (40 km/h). SeeSwitching the Electronic LockingDifferential On and Off (page 245).
NORMAL - 4X2
For everyday driving. This modeis the perfect balance ofexcitement, comfort andconvenience. This is the default mode aftereach ignition cycle.
The electronic locking differential isavailable below 25 mph (40 km/h). SeeSwitching the Electronic LockingDifferential On and Off (page 247).
OFF-ROAD - 4X4
For driving on rough uneventerrain. This mode optimizesaccelerator pedal response togive you more control over your vehiclewhen traversing off-road obstacles.Traction control and stability controlsettings are optimized, and the rearelectronic differential is automaticallyengaged to enhance vehicle performancein off-road environments. Use this modewhen driving through sand, loose gravel,mud, or mixed off-road terrain.
ROCK CRAWL
For off-road driving andoptimum rock-climbing. Rockcrawl mode engages theelectronic locking differential, optimizesthrottle response and adjusts transmissionshift points to provide additional controlof your vehicle.
Four-wheel drive low is the only four-wheeldrive mode available in rock crawl mode.
The electronic locking differential engageswhen you select this mode at any speed,and you can disengage it at any time usingthe button. See Switching the ElectronicLocking Differential On and Off (page245).
312
2023 Super Duty (TFH) Canada/United States of America, enUSA, Edition date: 202211, DOMDrive Mode ControlE295413 E295413 E225310 E225310 E372640 E367349
Page 449 of 738
WARNING: Do not add engine oilwhen the engine is hot. Failure to followthis instruction could result in personalinjury.
Do not use supplemental engine oiladditives because they are unnecessaryand could lead to engine damage that thevehicle warranty may not cover.
1.Clean the area surrounding the engineoil filler cap before you remove it.
2.Remove the engine oil filler cap.
3.Add engine oil that meets ourspecifications. See Capacities andSpecifications (page 520).
4.Reinstall the engine oil filler cap. Turnit clockwise until you feel a strongresistance.
Note: Do not add oil further than themaximum mark. Oil levels above themaximum mark may cause engine damage.
Note:Immediately soak up any oil spillagewith an absorbent cloth.
INTELLIGENT OIL LIFE MONITOR
Under certain conditions the vehicle’sintelligent oil life monitor may determineyour oil requires replacement prior to yourgeneral service. Should this occur it isrecommended you replace your oil withintwo weeks or 500 mi (800 km) of beingalerted.
Your authorized dealer will be able toadvise you whether only an engine oil andfilter change is recommended or whetheryou should complete your general serviceinclusive of oil and oil Filter.
RESETTING THE INTELLIGENT OILLIFE MONITOR
1.Press the Menu button on the steeringwheel to enter the instrument clusterdisplay main menu.
2.Select Vehicle Maintenance.
3.Select Oil Life.
4.Select Reset Oil Life.
5.Press and hold the OK button until thesystem reset confirmation appears.
ENGINE OIL CAPACITY ANDSPECIFICATION
For filling information, please refer to theCapacities and Specifications section ofyour owner's manual. See Capacities andSpecifications (page 520).
ENGINE AIR FILTER
CHANGING THE ENGINE AIRFILTER
WARNING: To reduce the risk ofvehicle damage and personal burninjuries, do not start your engine with theair cleaner removed and do not removeit while the engine is running.
Use the correct specification air filterelement. See Engine Air Filter (page 445).
Note: Failure to use the correct air filterelement may result in severe enginedamage. Resulting component damagemay not be covered by the vehicle Warranty.
445
2023 Super Duty (TFH) Canada/United States of America, enUSA, Edition date: 202211, DOMMaintenance
Page 462 of 738
If you disconnect or replace the batteryand your vehicle has an automatictransmission, it must relearn its adaptivestrategy. Because of this, the transmissionmay shift firmly when first driven. This isnormal operation while the transmissionfully updates its operation to optimumshift feel.
Removing the Battery
1.Apply the parking brake and switch theignition off.
2.Switch all electrical equipment off, forexample lights and radio.
3.Wait a minimum of two minutes beforedisconnecting the battery.
Note:The engine management system hasa power hold function and remains poweredfor a period of time after you switch theignition off. This is to allow diagnostic andadaptive tables to be stored. Disconnectingthe battery without waiting can causedamage not covered by the vehicleWarranty.
4.Disconnect and isolate the negativebattery cable terminal.
5.Disconnect and isolate the positivebattery cable terminal.
6.Remove the battery securing clamp.
7.Remove the battery.
If you disconnect or replace the vehiclebattery, you must reset the followingfeatures:
•Window bounce-back. See WindowBounce-Back (page 129).
•Clock Settings.
•Pre-set radio stations.
Replacing the Battery
Note:Before reconnecting the battery,make sure the ignition remains switched off.
You must replace the battery with one ofexactly the same specification.
To install, reverse the removal procedure.
Note:Make sure that you correctly installthe battery terminal covers, battery coverand battery cable terminals.
RESETTING THE BATTERYSENSOR
When you install a new battery, reset thebattery sensor by doing the following:
1.Switch the ignition on, and leave theengine off.
Note:Complete Steps 2 and 3 within 10seconds.
2.Flash the high beam headlamps fivetimes, ending with the high beams off.
3.Press and release the brake pedal threetimes.
The battery warning lamp flashes threetimes to confirm that the reset issuccessful.
RECYCLING AND DISPOSING OFTHE 12V BATTERY
Make sure that you dispose ofold batteries in anenvironmentally friendly way.Seek advice from your local authorityabout recycling old batteries.
458
2023 Super Duty (TFH) Canada/United States of America, enUSA, Edition date: 202211, DOMMaintenanceE107998
Page 559 of 738
Occupancy Mode (If Equipped)
1.Press Settings on the touchscreen.
2.Press Sound Settings.
3.Press Occupancy Mode.
4.Press a setting.
Sound Mode (If Equipped)
1.Press Settings on the touchscreen.
2.Press Sound Settings.
3.Press Sound Mode.
4.Press a setting.
SETTING THE CLOCK AND
DATE
1.Press Settings on the touchscreen.
2.Press Clock Settings.
3.Set the time.
Note:The AM and PM options are notavailable if 24-hour mode is on.
Switching Automatic TimeUpdates On and Off
1.Press Settings on the touchscreen.
2.Press Clock Settings.
3.Switch Auto Time Update on or off.
AM/FM RADIO
AM/FM RADIO LIMITATIONS
The further you travel from an AM or FMstation, the weaker the signal and theweaker the reception.
Hills, mountains, tall buildings, bridges,tunnels, freeway overpasses, parkinggarages, dense tree foliage andthunderstorms can interfere with thereception.
When you pass a ground-based broadcastrepeating tower, a stronger signal mayovertake a weaker one and result in theaudio system muting.
SELECTING A RADIO STATION
Manually Selecting a RadioStation
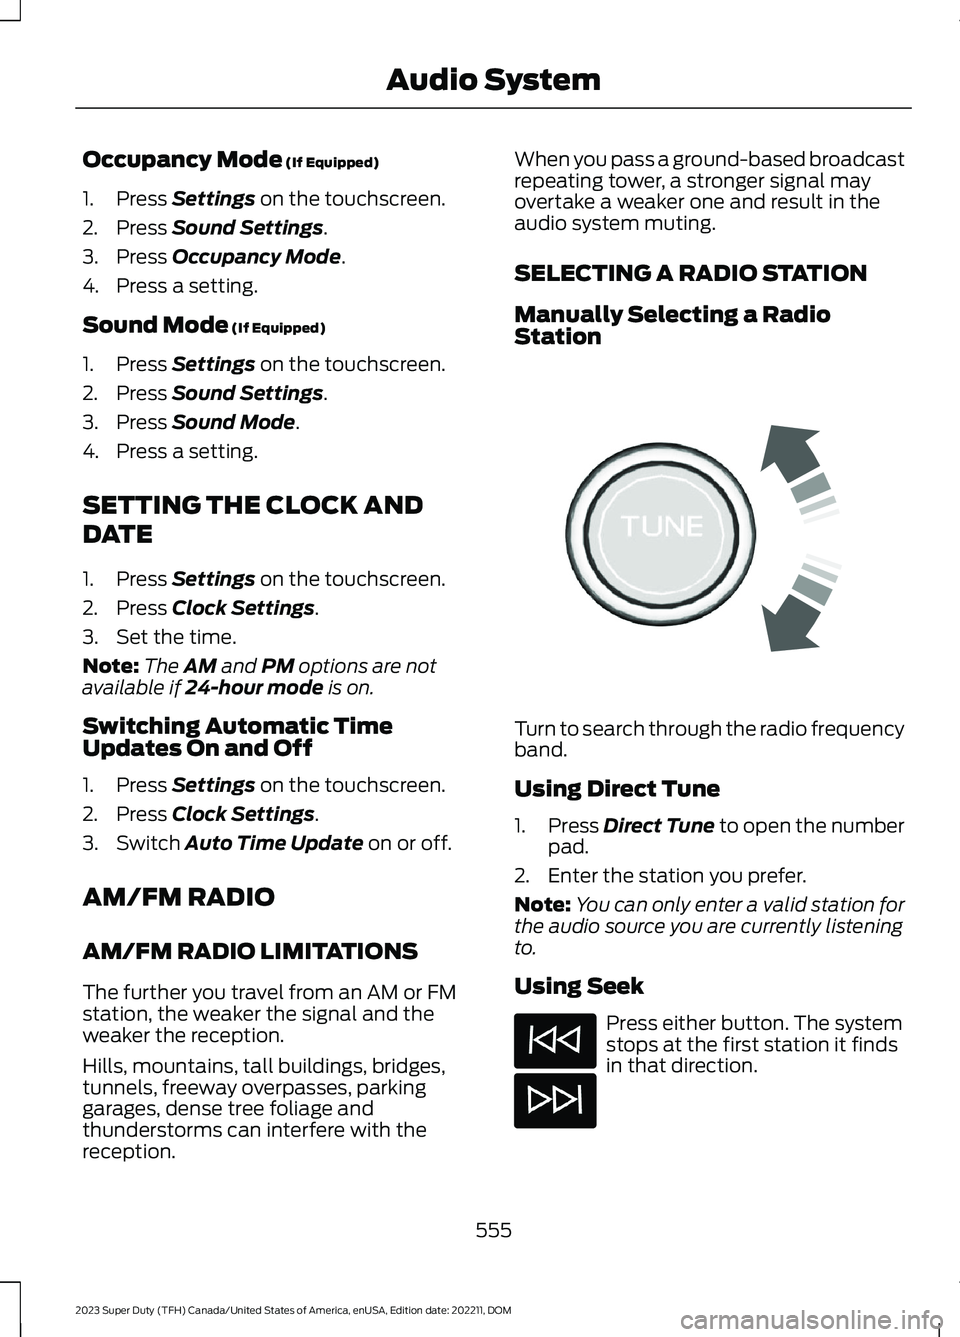
Turn to search through the radio frequencyband.
Using Direct Tune
1.Press Direct Tune to open the numberpad.
2.Enter the station you prefer.
Note:You can only enter a valid station forthe audio source you are currently listeningto.
Using Seek
Press either button. The systemstops at the first station it findsin that direction.
555
2023 Super Duty (TFH) Canada/United States of America, enUSA, Edition date: 202211, DOMAudio SystemE270235
Page 729 of 738
Selective Catalytic Reduction SystemPrecautions.................................................226Selective Catalytic Reduction SystemRequirements.............................................228Selective Catalytic ReductionSystem..........................................................226Filling the Selective Catalytic ReductionSystem Tank...................................................228Selective Catalytic Reduction System –Troubleshooting............................................230Selective Catalytic Reduction System –Troubleshooting........................................230Selective Catalytic Reduction System –Information Messages.................................231Selective Catalytic Reduction System –Warning Lamps.............................................230Sending and Receiving a TextMessage........................................................572Sensitive Locking Mode...............................52How Does Sensitive Locking ModeWork.....................................................................52What is Sensitive Locking Mode.....................52Service Data......................................................27Setting a Destination..................................579Setting a Destination Using a Point ofInterest.............................................................580Setting a Destination Using a PredictiveDestination.....................................................580Setting a Destination Using a RecentDestination.....................................................580Setting a Destination Using a SavedDestination.....................................................580Setting a Destination Using the MapScreen..............................................................580Setting a Destination Using the Text EntryScreen...............................................................579Setting a Memory Preset..........................554Settings Data...................................................28Setting the Adaptive Cruise ControlGap................................................................300Setting the Adaptive Cruise ControlSpeed............................................................299Setting the Blower Motor Speed............153Setting the Clock and Date......................555Setting the Cruise Control Speed.........294Setting the Hill Descent Speed...............277Setting the Speed Limit.............................316
Setting the Speed Sign RecognitionSpeed Tolerance.......................................349Setting the Speed Sign RecognitionSpeed Warning..........................................349Setting the Temperature...........................153Setting the Trail Control Speed..............273Setting Up the Trailer Backup Assistancefor a Conventional Trailer......................386Applying the Trailer Reversing AidSticker...............................................................388Calibrating the System...................................389Configuring the Trailer.....................................386Trailer Sensor Installation..............................388Setting Up the Trailer Backup Assistancefor a Fifth-Wheel or GooseneckTrailer............................................................389Calibrating the System.....................................391Configuring the Trailer.....................................389Trailer Sensor Installation...............................391Setting Up Trailer Reverse Guidance fora Conventional Trailer.............................401Applying the Trailer Reverse AidSticker...............................................................403Calibrating the System...................................404Configuring the Trailer......................................401Trailer Sensor Installation..............................403Shifting Your Vehicle Into Gear...............235Signing Into Your Account........................567Sitting in the Correct Position...................161Smart Hitch Limitations............................382Smart Hitch...................................................382Snow Plowing Precautions......................418Snow Plowing................................................418Software Update Indicators....................583Software Update Settings.......................582Software UpdateSee: Software Update Settings...................582See: Vehicle Software Updates...................582Sounding the Panic Alarm..........................74Special Operating Conditions ScheduledMaintenance - Diesel..............................603Special Operating Conditions ScheduledMaintenance - Gasoline........................608Speed ControlSee: Cruise Control...........................................294Speed Limiter Audible Warnings............316Speed Limiter Indicators............................316Speed Limiter.................................................316
725
2023 Super Duty (TFH) Canada/United States of America, enUSA, Edition date: 202211, DOMIndex