set clock FORD SUPER DUTY 2023 Owners Manual
[x] Cancel search | Manufacturer: FORD, Model Year: 2023, Model line: SUPER DUTY, Model: FORD SUPER DUTY 2023Pages: 738, PDF Size: 18.49 MB
Page 20 of 738
Vehicle Identification
Vehicle Identification Number...............547
Connected Vehicle
What Is a Connected Vehicle.................548
Connected Vehicle Requirements.......548
Connected Vehicle Limitations.............548
Connecting the Vehicle to a MobileNetwork.....................................................548
Connecting the Vehicle to a Wi-FiNetwork.....................................................548
Connected Vehicle – Troubleshooting.......................................................................549
Connected Vehicle Videos......................550
Vehicle Wi-Fi Hotspot
Creating a Vehicle Wi-Fi Hotspot..........551
Changing the Vehicle Wi-Fi HotspotName or Password.................................551
Vehicle Wi-Fi Hotspot – Troubleshooting........................................................................552
Audio System
Audio System Precautions......................553
Identifying the Audio Unit.......................553
Switching the Audio Unit On and Off........................................................................553
Selecting the Audio Source....................553
Playing or Pausing the Audio Source........................................................................553
Adjusting the Volume...............................554
Switching Shuffle Mode On and Off........................................................................554
Switching Repeat Mode On and Off........................................................................554
Setting a Memory Preset.........................554
Muting the Audio........................................554
Adjusting the Sound Settings................554
Setting the Clock and Date.....................555
AM/FM Radio...............................................555
Switching the Display On and Off.......556
Digital Radio.................................................556
Satellite Radio..............................................557
Audio System – Troubleshooting........559
Center Display Overview
Center Display Precautions....................563
Center Display Limitations......................563
Status Bar.....................................................563
Feature Bar...................................................564
Information On Demand Screen..........564
Rebooting the Center Display...............564
Center Display Overview Videos..........564
Voice Interaction
Ford Assistant.............................................565
Alexa Built-In
What is Alexa Built-In................................567
Alexa Built-In Requirements..................567
Signing Into Your Account.......................567
Using Alexa Built-In...................................567
Alexa Built-In Settings..............................567
Phone
Phone Precautions....................................569
Connecting Your Phone...........................569
Phone Menu.................................................569
Making and Receiving a Phone Call......571
Sending and Receiving a Text Message........................................................................572
Switching Text Message Notification Onand Off........................................................573
Bluetooth®
Connecting a Bluetooth® Device.........574
Playing Media Using Bluetooth®..........574
Apps
App Precautions..........................................575
App Requirements.....................................575
16
2023 Super Duty (TFH) Canada/United States of America, enUSA, Edition date: 202211, DOMTable of Contents
Page 160 of 738
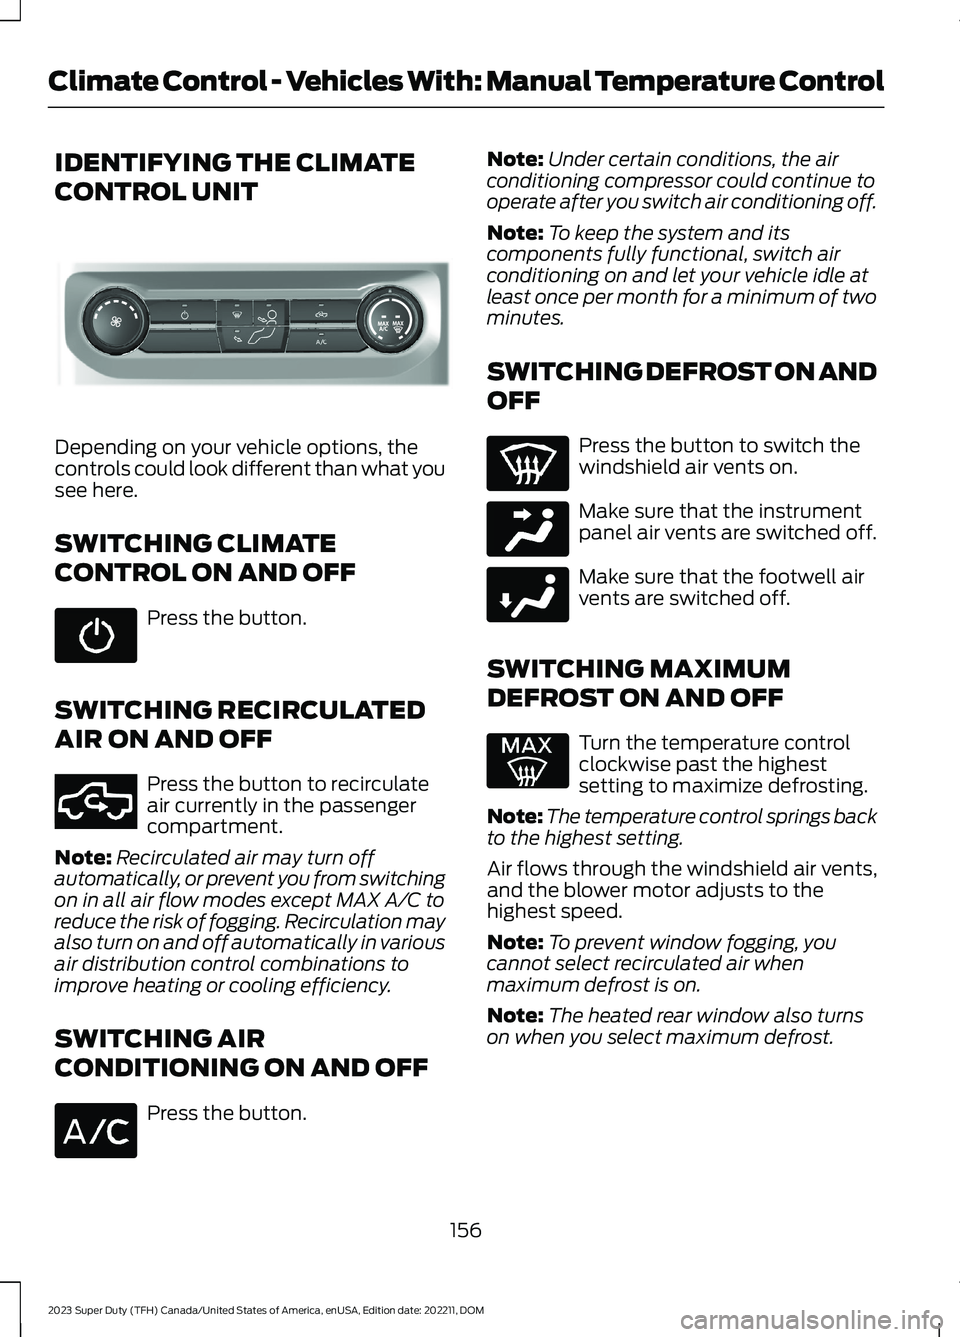
IDENTIFYING THE CLIMATE
CONTROL UNIT
Depending on your vehicle options, thecontrols could look different than what yousee here.
SWITCHING CLIMATE
CONTROL ON AND OFF
Press the button.
SWITCHING RECIRCULATED
AIR ON AND OFF
Press the button to recirculateair currently in the passengercompartment.
Note:Recirculated air may turn offautomatically, or prevent you from switchingon in all air flow modes except MAX A/C toreduce the risk of fogging. Recirculation mayalso turn on and off automatically in variousair distribution control combinations toimprove heating or cooling efficiency.
SWITCHING AIR
CONDITIONING ON AND OFF
Press the button.
Note:Under certain conditions, the airconditioning compressor could continue tooperate after you switch air conditioning off.
Note:To keep the system and itscomponents fully functional, switch airconditioning on and let your vehicle idle atleast once per month for a minimum of twominutes.
SWITCHING DEFROST ON AND
OFF
Press the button to switch thewindshield air vents on.
Make sure that the instrumentpanel air vents are switched off.
Make sure that the footwell airvents are switched off.
SWITCHING MAXIMUM
DEFROST ON AND OFF
Turn the temperature controlclockwise past the highestsetting to maximize defrosting.
Note:The temperature control springs backto the highest setting.
Air flows through the windshield air vents,and the blower motor adjusts to thehighest speed.
Note:To prevent window fogging, youcannot select recirculated air whenmaximum defrost is on.
Note:The heated rear window also turnson when you select maximum defrost.
156
2023 Super Duty (TFH) Canada/United States of America, enUSA, Edition date: 202211, DOMClimate Control - Vehicles With: Manual Temperature ControlE308141 E351062 E244097 E244098
Page 161 of 738
SWITCHING MAXIMUM
COOLING ON AND OFF
Turn the temperature controlcounterclockwise past thelowest setting to maximizecooling.
Note:The temperature control springs backto the lowest setting.
Note:When you switch maximum coolingoff, air conditioning remains on.
SWITCHING THE HEATED
REAR WINDOW ON AND OFF (IF
EQUIPPED)
Press the button to clear the rearwindow of thin ice and fog. Theheated rear window turns offafter a short period of time.
Note:Do not use harsh chemicals, razorblades or other sharp objects to clean orremove decals from the inside of the heatedrear window as this could cause damage tothe heated rear window grid lines notcovered by the vehicle Warranty.
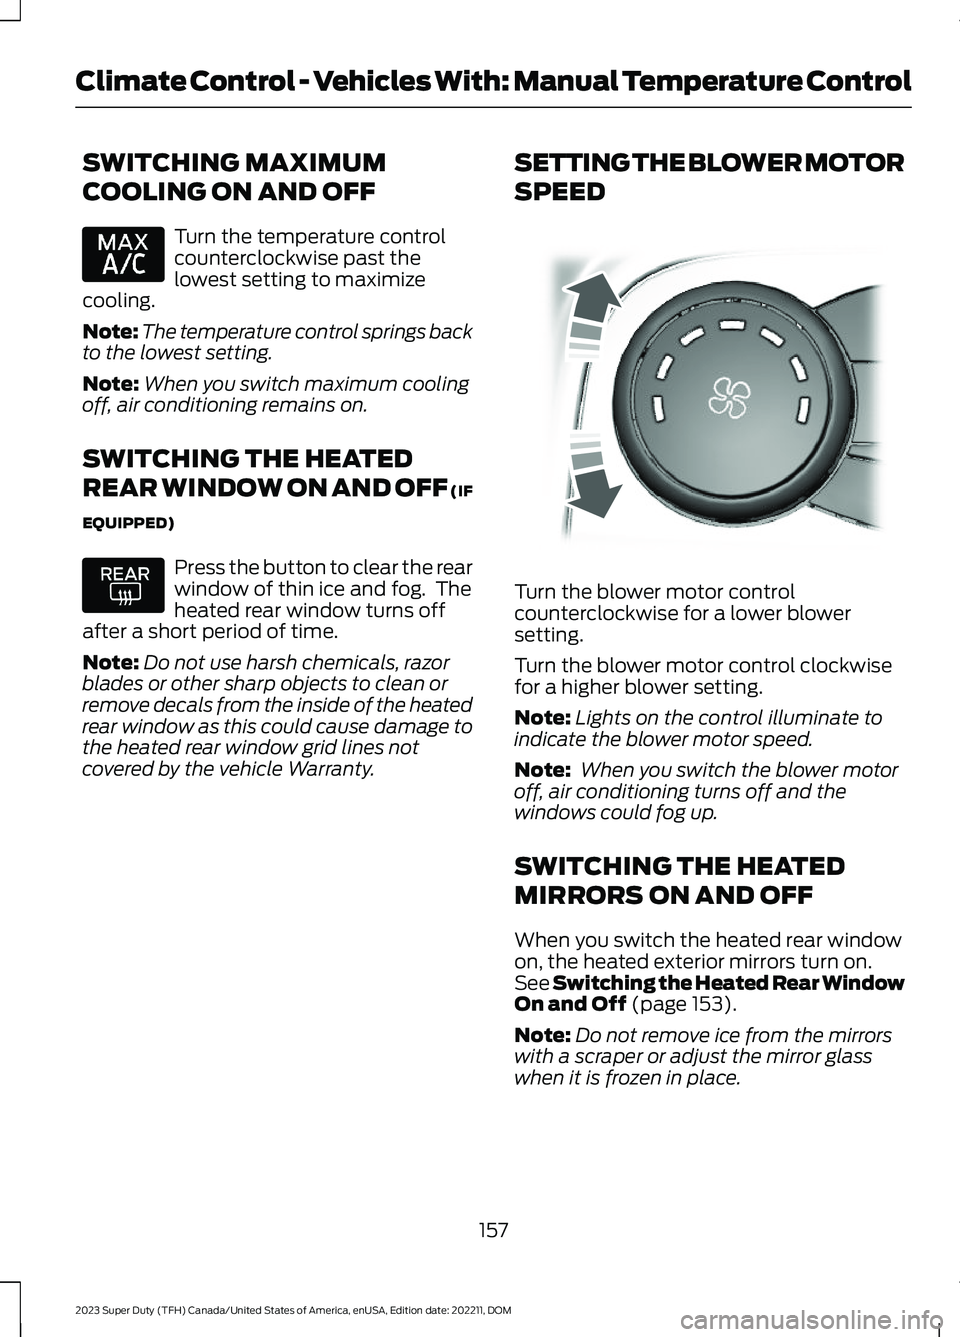
SETTING THE BLOWER MOTOR
SPEED
Turn the blower motor controlcounterclockwise for a lower blowersetting.
Turn the blower motor control clockwisefor a higher blower setting.
Note:Lights on the control illuminate toindicate the blower motor speed.
Note: When you switch the blower motoroff, air conditioning turns off and thewindows could fog up.
SWITCHING THE HEATED
MIRRORS ON AND OFF
When you switch the heated rear windowon, the heated exterior mirrors turn on.See Switching the Heated Rear WindowOn and Off (page 153).
Note:Do not remove ice from the mirrorswith a scraper or adjust the mirror glasswhen it is frozen in place.
157
2023 Super Duty (TFH) Canada/United States of America, enUSA, Edition date: 202211, DOMClimate Control - Vehicles With: Manual Temperature Control E317606
Page 162 of 738
Note:Do not clean the mirror housing orglass with harsh abrasives, fuel or otherpetroleum-based cleaning products. Thevehicle warranty may not cover damagecaused to the mirror housing or glass.
Note:The engine must be running or yourvehicle must be ready to drive to switch thesystem on.
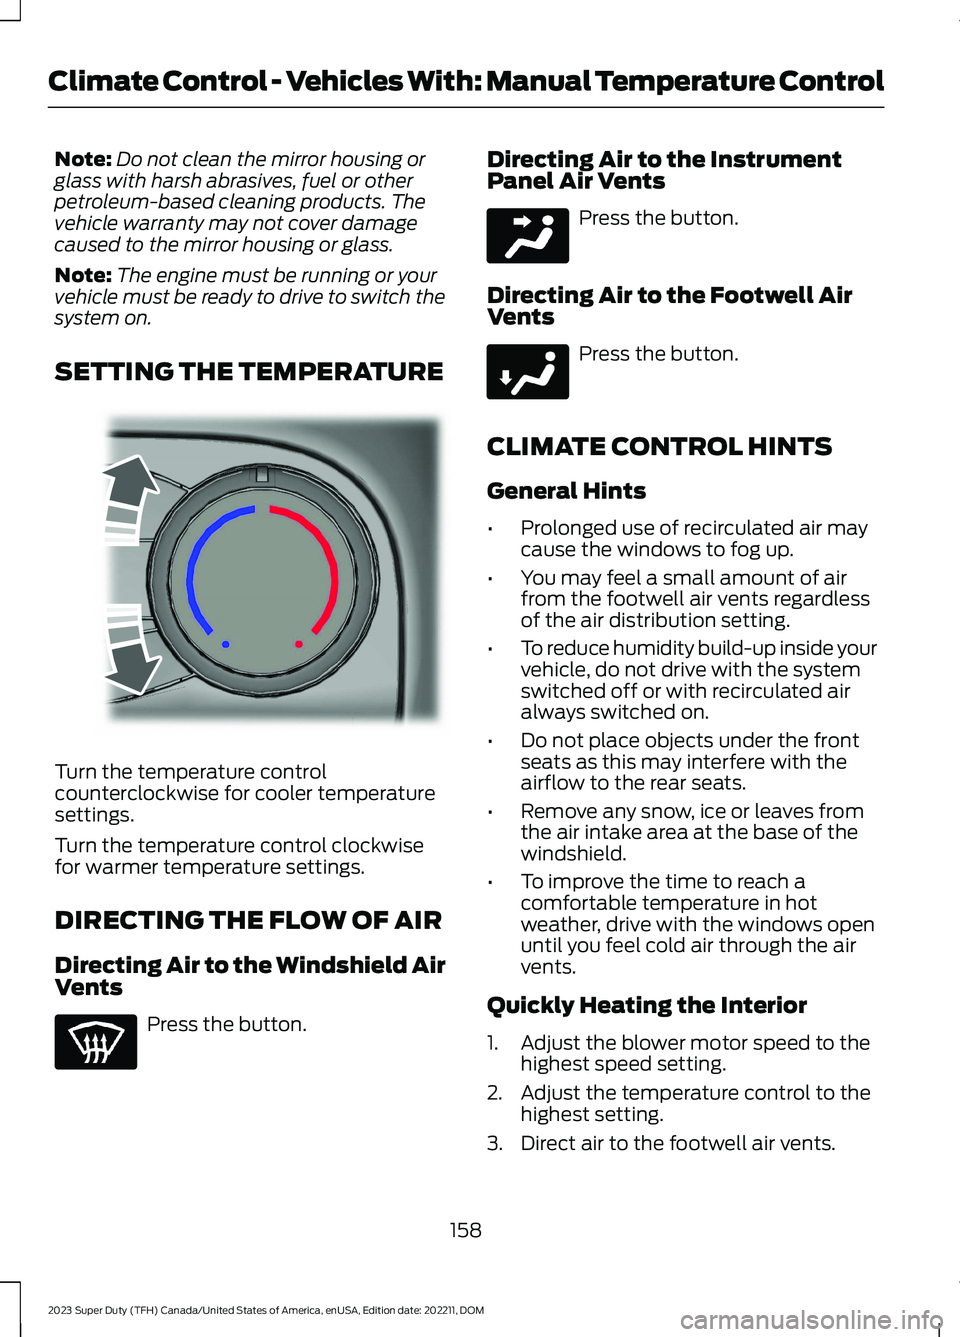
SETTING THE TEMPERATURE
Turn the temperature controlcounterclockwise for cooler temperaturesettings.
Turn the temperature control clockwisefor warmer temperature settings.
DIRECTING THE FLOW OF AIR
Directing Air to the Windshield AirVents
Press the button.
Directing Air to the InstrumentPanel Air Vents
Press the button.
Directing Air to the Footwell AirVents
Press the button.
CLIMATE CONTROL HINTS
General Hints
•Prolonged use of recirculated air maycause the windows to fog up.
•You may feel a small amount of airfrom the footwell air vents regardlessof the air distribution setting.
•To reduce humidity build-up inside yourvehicle, do not drive with the systemswitched off or with recirculated airalways switched on.
•Do not place objects under the frontseats as this may interfere with theairflow to the rear seats.
•Remove any snow, ice or leaves fromthe air intake area at the base of thewindshield.
•To improve the time to reach acomfortable temperature in hotweather, drive with the windows openuntil you feel cold air through the airvents.
Quickly Heating the Interior
1.Adjust the blower motor speed to thehighest speed setting.
2.Adjust the temperature control to thehighest setting.
3.Direct air to the footwell air vents.
158
2023 Super Duty (TFH) Canada/United States of America, enUSA, Edition date: 202211, DOMClimate Control - Vehicles With: Manual Temperature ControlE244106 E244097 E244098
Page 163 of 738
Recommended Settings forHeating
1.Adjust the blower motor speed to thecenter setting.
2.Adjust the temperature control to themidway point of the hot settings.
3.Direct air to the footwell air vents.
Quickly Cooling the Interior
1.Turn the temperature controlcounterclockwise past the lowestsetting.
2.Drive with the windows open for a shortperiod of time.
Recommended Settings forCooling
1.Adjust the blower motor speed to thecenter setting.
2.Adjust the temperature control to themidway point of the cold settings.
3.Direct air to the instrument panel airvents.
Defogging the Side Windows inCold Weather
1.Direct air to the instrument panel andwindshield air vents.
2.Press and release A/C.
3.Adjust the temperature control to thesetting you prefer.
4.Adjust the blower motor speed to thehighest setting.
5.Direct air toward the side windows.
6.Close the instrument panel air vents.
CLIMATE CONTROL VIDEOS
Heated Mirrors
159
2023 Super Duty (TFH) Canada/United States of America, enUSA, Edition date: 202211, DOMClimate Control - Vehicles With: Manual Temperature Control
Page 242 of 738
HOW DOES FOUR-WHEEL
DRIVE WORK
Using the Electronic Shift On theFly System (If Equipped)
This four-wheel drive system utilizes a2-speed Electronic Shift On the Fly (ESOF)transfer case which is also known as apart-time system. This system offers thedriver two-wheel drive high, four-wheeldrive high, and four-wheel drive low asavailable modes of operation. When youselect either four-wheel drive high orfour-wheel drive low, the system providesmechanically locked four-wheel drivepower to both the front and rear wheelsfor use in off-road or slippery conditionssuch as deep snow, sand or mud. Whenyou select four-wheel drive low, the systemprovides additional gearing for increasedtorque multiplication for conditions likedeep sand, steep slopes, or pulling heavyobjects. Additionally, the system is capableof recreational flat towing by putting thetransfer case into a neutral position. SeeRecreationally Towing Your Vehicle(page 427).
There is further information available ondriving in unique driving conditions. SeeOff-Road Driving (page 412).
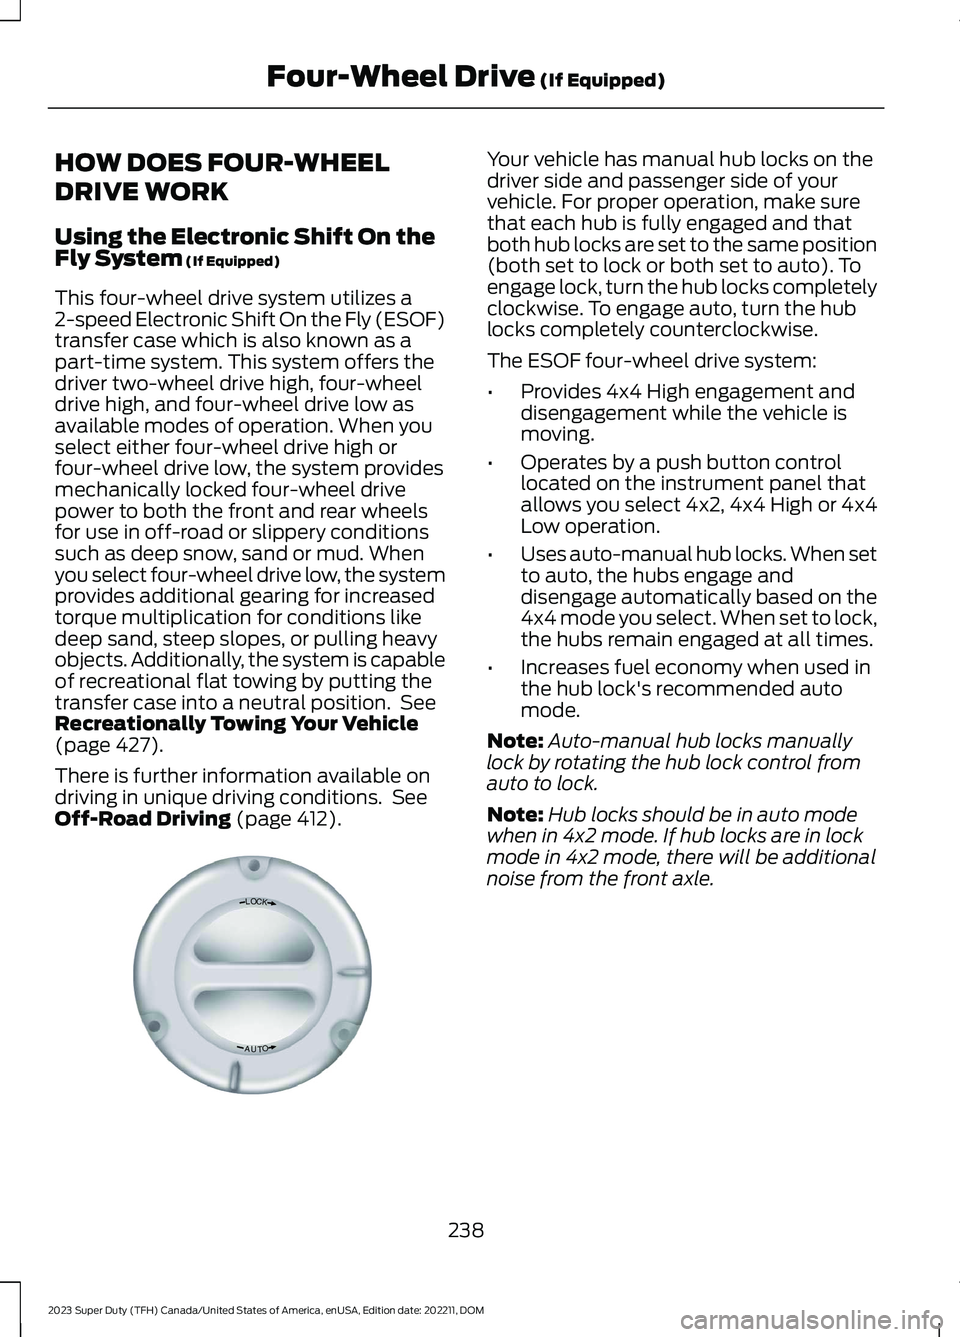
Your vehicle has manual hub locks on thedriver side and passenger side of yourvehicle. For proper operation, make surethat each hub is fully engaged and thatboth hub locks are set to the same position(both set to lock or both set to auto). Toengage lock, turn the hub locks completelyclockwise. To engage auto, turn the hublocks completely counterclockwise.
The ESOF four-wheel drive system:
•Provides 4x4 High engagement anddisengagement while the vehicle ismoving.
•Operates by a push button controllocated on the instrument panel thatallows you select 4x2, 4x4 High or 4x4Low operation.
•Uses auto-manual hub locks. When setto auto, the hubs engage anddisengage automatically based on the4x4 mode you select. When set to lock,the hubs remain engaged at all times.
•Increases fuel economy when used inthe hub lock's recommended automode.
Note:Auto-manual hub locks manuallylock by rotating the hub lock control fromauto to lock.
Note:Hub locks should be in auto modewhen in 4x2 mode. If hub locks are in lockmode in 4x2 mode, there will be additionalnoise from the front axle.
238
2023 Super Duty (TFH) Canada/United States of America, enUSA, Edition date: 202211, DOMFour-Wheel Drive (If Equipped)LOCKOTUAE339076
Page 249 of 738
WHAT IS THE ELECTRONIC
LOCKING DIFFERENTIAL
The electronic locking differential is adevice housed in the rear axle and whenactivated, allows both wheels on that axleto turn at the same speed. The electroniclocking differential provides additionaltraction should your vehicle become stuck.
HOW DOES THE ELECTRONIC
LOCKING DIFFERENTIAL
WORK
You can activate the differentialelectronically and shift it on the fly withinthe operating speed range. The electronicdifferential disengages when the vehiclespeed exceeds a set value and it reengageswhen the vehicle speed drops below a setvalue. See Switching the ElectronicLocking Differential On and Off (page245). The electronic locking differentialcould engage based on certain selecteddrive modes. See Selecting a Drive Mode(page 311). The electronic lockingdifferential is for use in mud, rocks, sand,or any off-road condition where you needmaximum traction.
Note:The electronic locking differential isfor off-road use only and is not for use ondry pavement. Using the electronic lockingdifferential on dry pavement results inincreased tire wear, noise and vibration.
Note:The electronic locking differentialactivates or deactivates automaticallybased on speed, four-wheel drive mode, anddrive mode selection. See Switching theElectronic Locking Differential On andOff (page 245).
ELECTRONIC LOCKING
DIFFERENTIAL PRECAUTIONS
Operating the Electronic LockingDifferential with a Spare orMismatched Tires
On vehicles with an electronic lockingdifferential, the size of the spare tire canaffect performance of the system. If thereis a significant difference between the tworear tires, you may have limited electroniclocking differential functionality. If thesystem has difficulty disengaging, releasethe accelerator pedal and turn the steeringwheel in the opposite direction whenrolling. We recommend engaging anddisengaging the electronic lockingdifferential at a stop when you mount aspare on the rear axle.
SWITCHING THE ELECTRONIC
LOCKING DIFFERENTIAL ON
AND OFF - 4X4
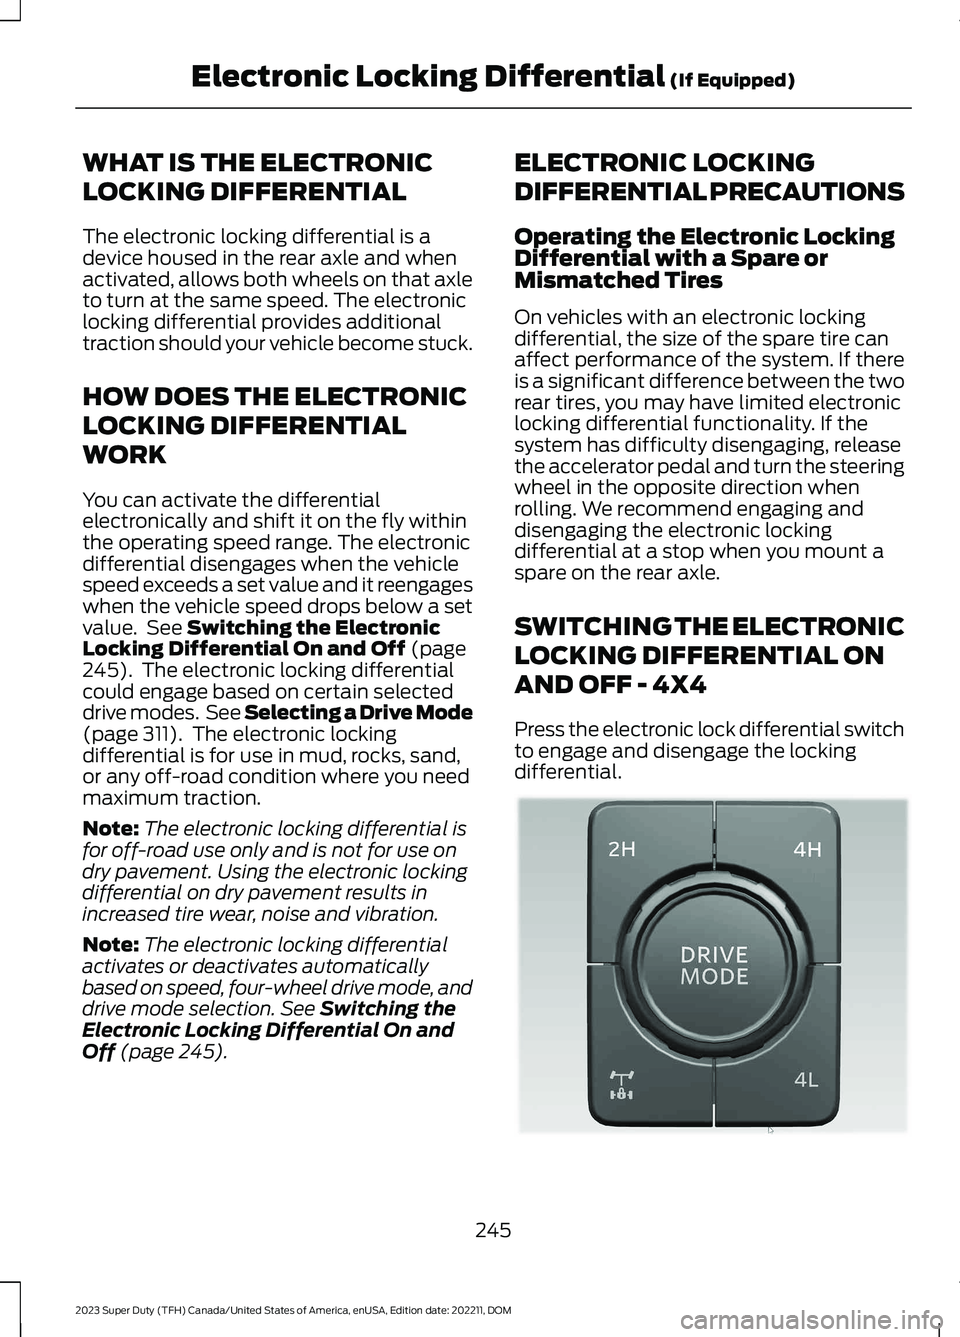
Press the electronic lock differential switchto engage and disengage the lockingdifferential.
245
2023 Super Duty (TFH) Canada/United States of America, enUSA, Edition date: 202211, DOMElectronic Locking Differential (If Equipped)E373433
Page 316 of 738
DRIVE MODES
ECO - 4X4
For efficient driving. This modehelps deliver maximum fuelefficiency and helps to increasedriving range.
Two-wheel drive high is the defaultfour-wheel drive mode. Four-wheel drivelow is not available in eco mode.
The electronic locking differential isavailable below 25 mph (40 km/h). SeeSwitching the Electronic LockingDifferential On and Off (page 245).
ECO - 4X2
For efficient driving. This modehelps deliver maximum fuelefficiency and helps to increasedriving range.
The electronic locking differential isavailable below 25 mph (40 km/h). SeeSwitching the Electronic LockingDifferential On and Off (page 247).
NORMAL - 4X4
For everyday driving. This modeis the perfect balance ofexcitement, comfort andconvenience. This is the default mode aftereach ignition cycle.
Two-wheel drive high is the defaultfour-wheel drive mode. All four-wheel drivemodes are selectable when in normalmode.
The electronic locking differential isavailable below 25 mph (40 km/h). SeeSwitching the Electronic LockingDifferential On and Off (page 245).
NORMAL - 4X2
For everyday driving. This modeis the perfect balance ofexcitement, comfort andconvenience. This is the default mode aftereach ignition cycle.
The electronic locking differential isavailable below 25 mph (40 km/h). SeeSwitching the Electronic LockingDifferential On and Off (page 247).
OFF-ROAD - 4X4
For driving on rough uneventerrain. This mode optimizesaccelerator pedal response togive you more control over your vehiclewhen traversing off-road obstacles.Traction control and stability controlsettings are optimized, and the rearelectronic differential is automaticallyengaged to enhance vehicle performancein off-road environments. Use this modewhen driving through sand, loose gravel,mud, or mixed off-road terrain.
ROCK CRAWL
For off-road driving andoptimum rock-climbing. Rockcrawl mode engages theelectronic locking differential, optimizesthrottle response and adjusts transmissionshift points to provide additional controlof your vehicle.
Four-wheel drive low is the only four-wheeldrive mode available in rock crawl mode.
The electronic locking differential engageswhen you select this mode at any speed,and you can disengage it at any time usingthe button. See Switching the ElectronicLocking Differential On and Off (page245).
312
2023 Super Duty (TFH) Canada/United States of America, enUSA, Edition date: 202211, DOMDrive Mode ControlE295413 E295413 E225310 E225310 E372640 E367349
Page 361 of 738
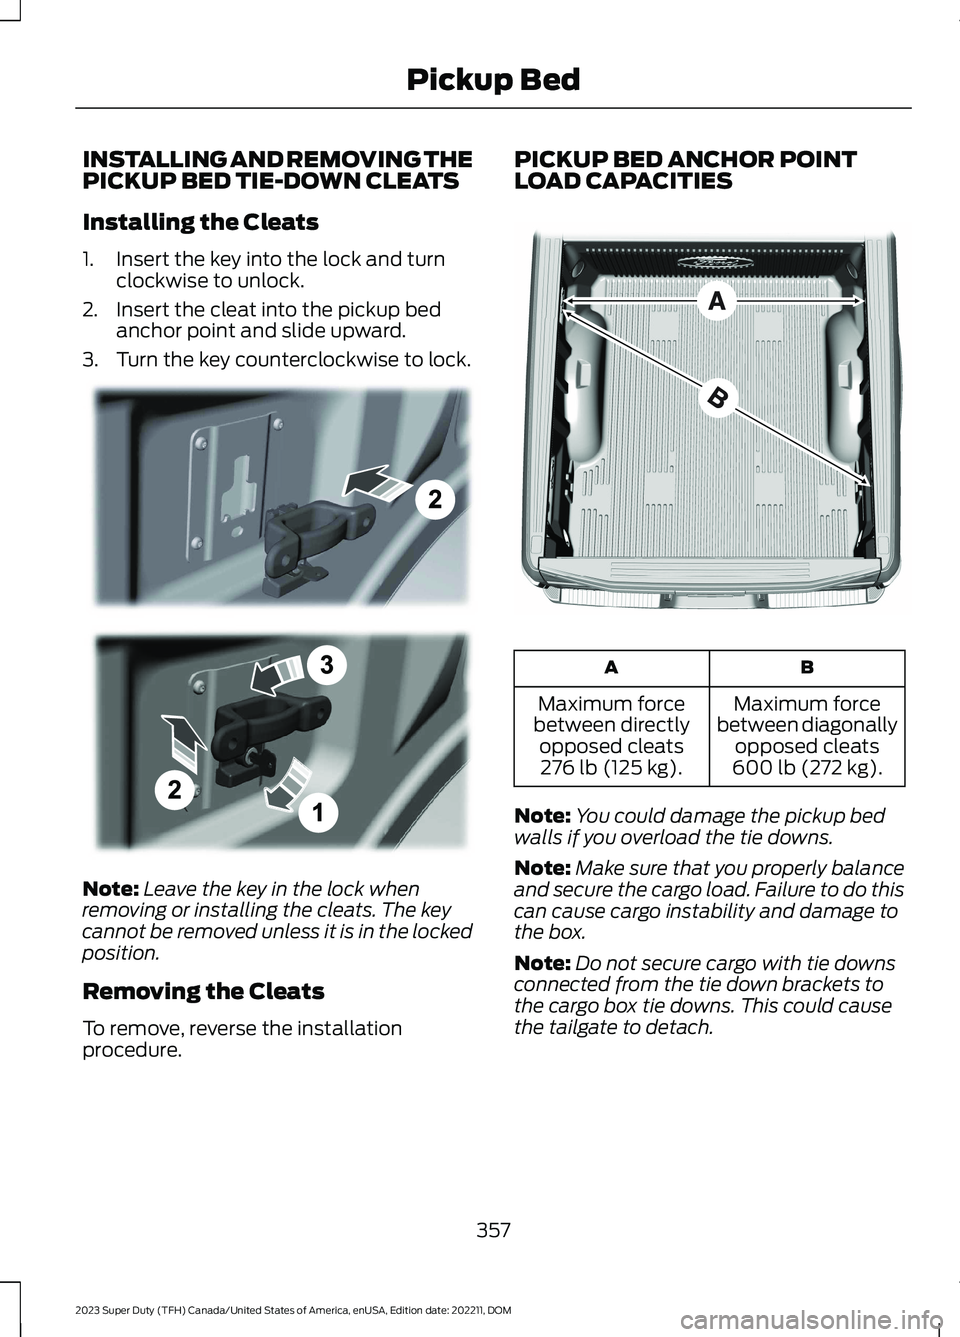
INSTALLING AND REMOVING THEPICKUP BED TIE-DOWN CLEATS
Installing the Cleats
1.Insert the key into the lock and turnclockwise to unlock.
2.Insert the cleat into the pickup bedanchor point and slide upward.
3.Turn the key counterclockwise to lock.
Note:Leave the key in the lock whenremoving or installing the cleats. The keycannot be removed unless it is in the lockedposition.
Removing the Cleats
To remove, reverse the installationprocedure.
PICKUP BED ANCHOR POINTLOAD CAPACITIES
BA
Maximum forcebetween diagonallyopposed cleats600 lb (272 kg).
Maximum forcebetween directlyopposed cleats276 lb (125 kg).
Note:You could damage the pickup bedwalls if you overload the tie downs.
Note:Make sure that you properly balanceand secure the cargo load. Failure to do thiscan cause cargo instability and damage tothe box.
Note:Do not secure cargo with tie downsconnected from the tie down brackets tothe cargo box tie downs. This could causethe tailgate to detach.
357
2023 Super Duty (TFH) Canada/United States of America, enUSA, Edition date: 202211, DOMPickup BedE327575 E327576
Page 396 of 738
Note:Keep the steering wheel straightwhen instructed to by the instrument clusterdisplay and touchscreen. If the steeringwheel is in a turned position during thisinstruction, the calibration pauses.
Note:During calibration, the systemdetermines the trailer length. The systemsupports trailer lengths of 10–39 ft(3–11.94 m) distance from the hitch pointto the center of the axle or axles.
Note:The instrument cluster displays andtouchscreen shows if you are going too slowor fast. Calibration pauses if the speed isoutside the required range of 2–16 mph(4–25 km/h).
Note:You need to complete at least a 90°turn, and longer trailers could require a 180°turn.
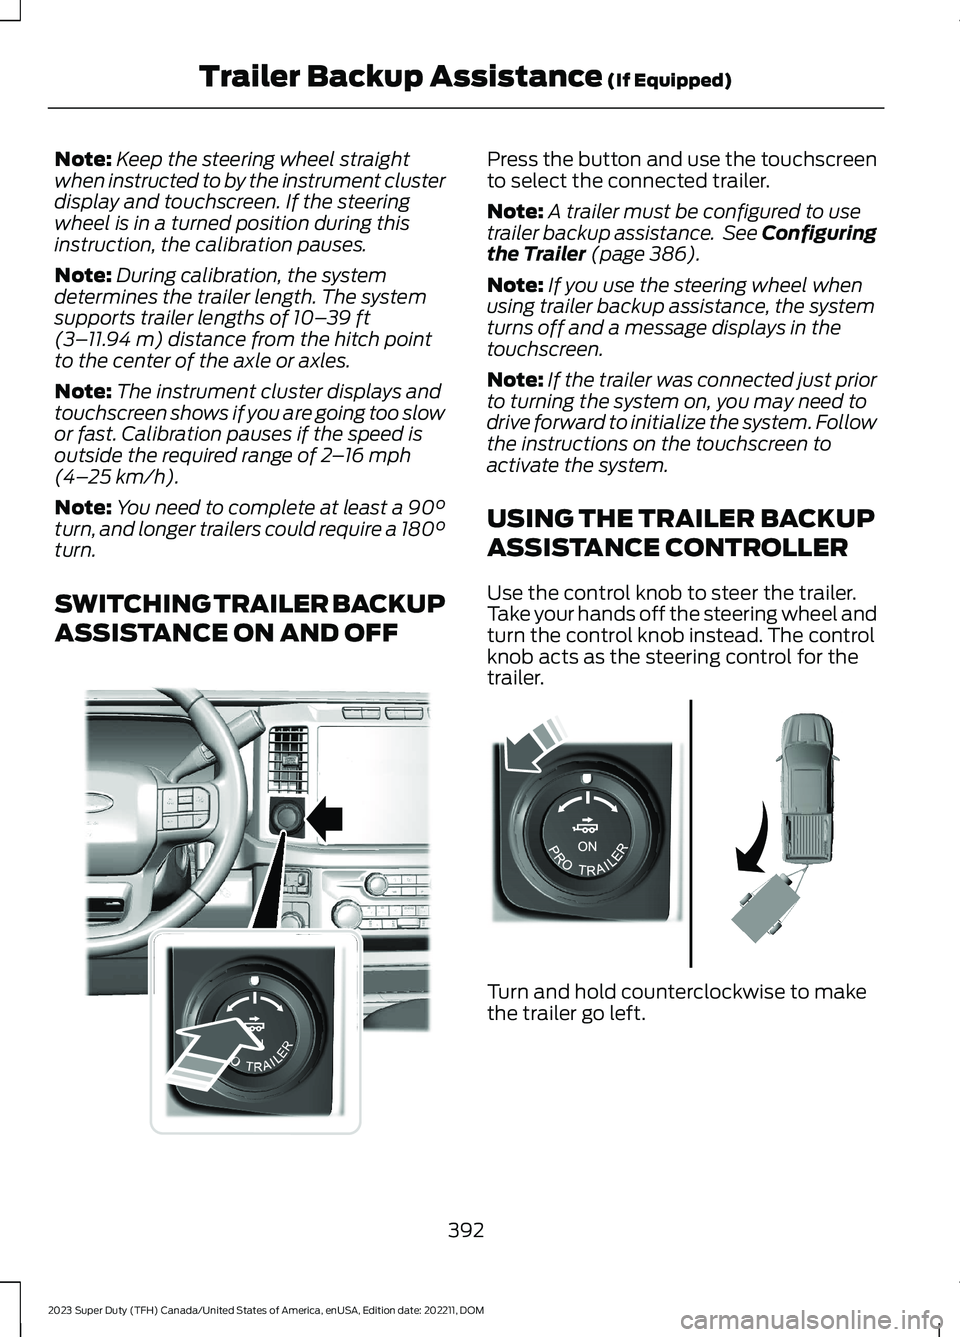
SWITCHING TRAILER BACKUP
ASSISTANCE ON AND OFF
Press the button and use the touchscreento select the connected trailer.
Note:A trailer must be configured to usetrailer backup assistance. See Configuringthe Trailer (page 386).
Note:If you use the steering wheel whenusing trailer backup assistance, the systemturns off and a message displays in thetouchscreen.
Note:If the trailer was connected just priorto turning the system on, you may need todrive forward to initialize the system. Followthe instructions on the touchscreen toactivate the system.
USING THE TRAILER BACKUP
ASSISTANCE CONTROLLER
Use the control knob to steer the trailer.Take your hands off the steering wheel andturn the control knob instead. The controlknob acts as the steering control for thetrailer.
Turn and hold counterclockwise to makethe trailer go left.
392
2023 Super Duty (TFH) Canada/United States of America, enUSA, Edition date: 202211, DOMTrailer Backup Assistance (If Equipped)E373857 E313025