FORD TRANSIT 2015 5.G Owners Manual
Manufacturer: FORD, Model Year: 2015, Model line: TRANSIT, Model: FORD TRANSIT 2015 5.GPages: 461, PDF Size: 5.82 MB
Page 141 of 461
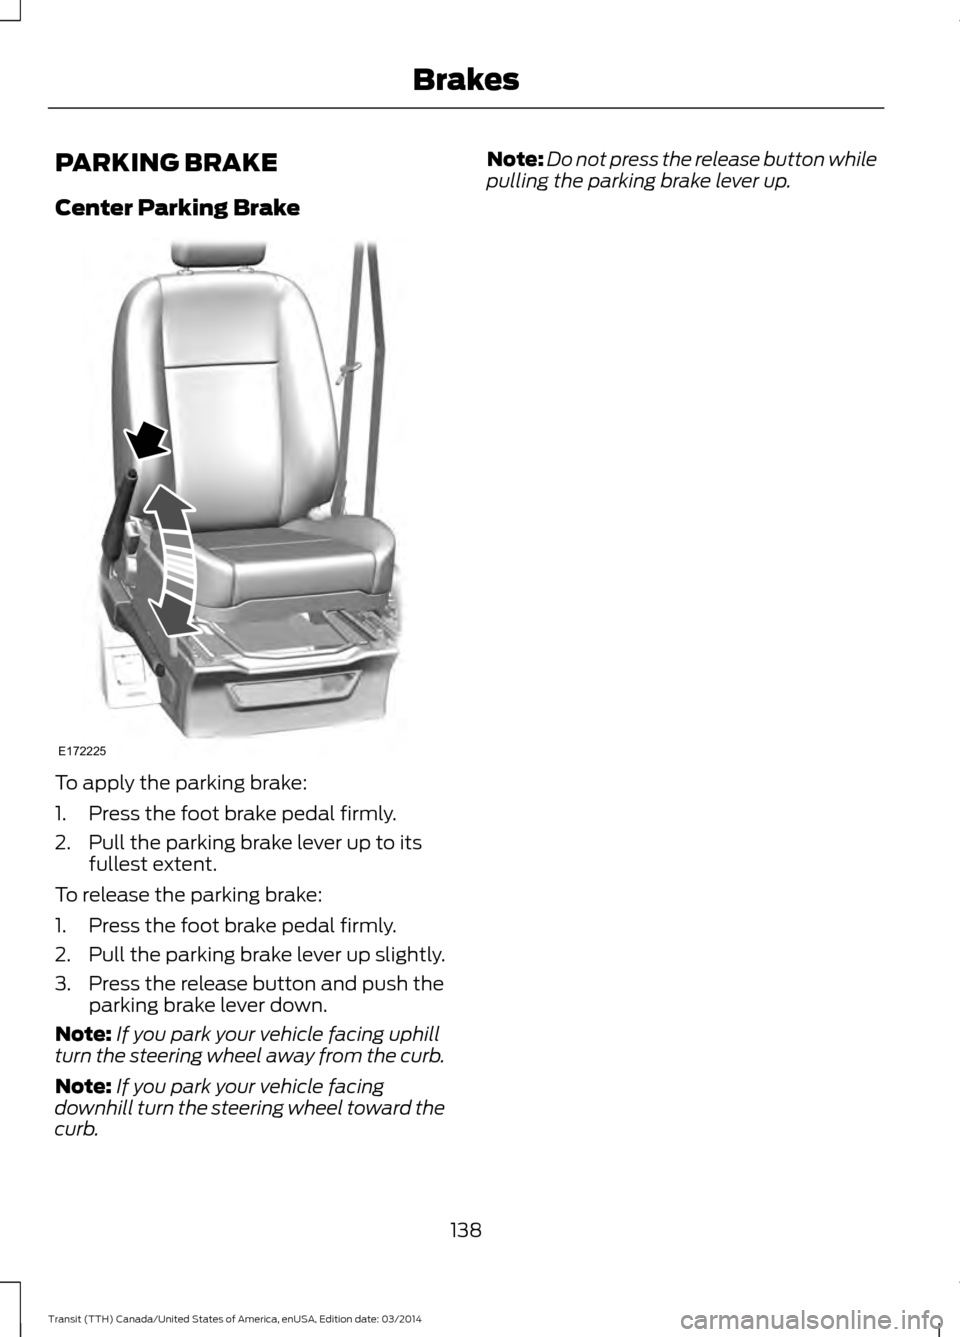
PARKING BRAKE
Center Parking Brake
To apply the parking brake:
1. Press the foot brake pedal firmly.
2. Pull the parking brake lever up to its
fullest extent.
To release the parking brake:
1. Press the foot brake pedal firmly.
2. Pull the parking brake lever up slightly.
3. Press the release button and push the parking brake lever down.
Note: If you park your vehicle facing uphill
turn the steering wheel away from the curb.
Note: If you park your vehicle facing
downhill turn the steering wheel toward the
curb. Note:
Do not press the release button while
pulling the parking brake lever up.
138 Transit (TTH) Canada/United States of America, enUSA, Edition date: 03/2014 BrakesE172225
Page 142 of 461
PRINCIPLE OF OPERATION
The traction control system helps avoid
drive wheel spin and loss of traction.
If your vehicle begins to slide, the system
applies the brakes to individual wheels
and, when needed, reduces engine power
at the same time. If the wheels spin when
accelerating on slippery or loose surfaces,
the system reduces engine power in order
to increase traction.
USING TRACTION CONTROL
In certain situations, for example stuck in
snow or mud, it may be beneficial for you
to switch the traction control system off.
This allows the wheels to spin with full
engine power.
Note:
A MyKey can be set up to prevent the
MyKey user from switching the traction
control system off. See MyKey ™ (page
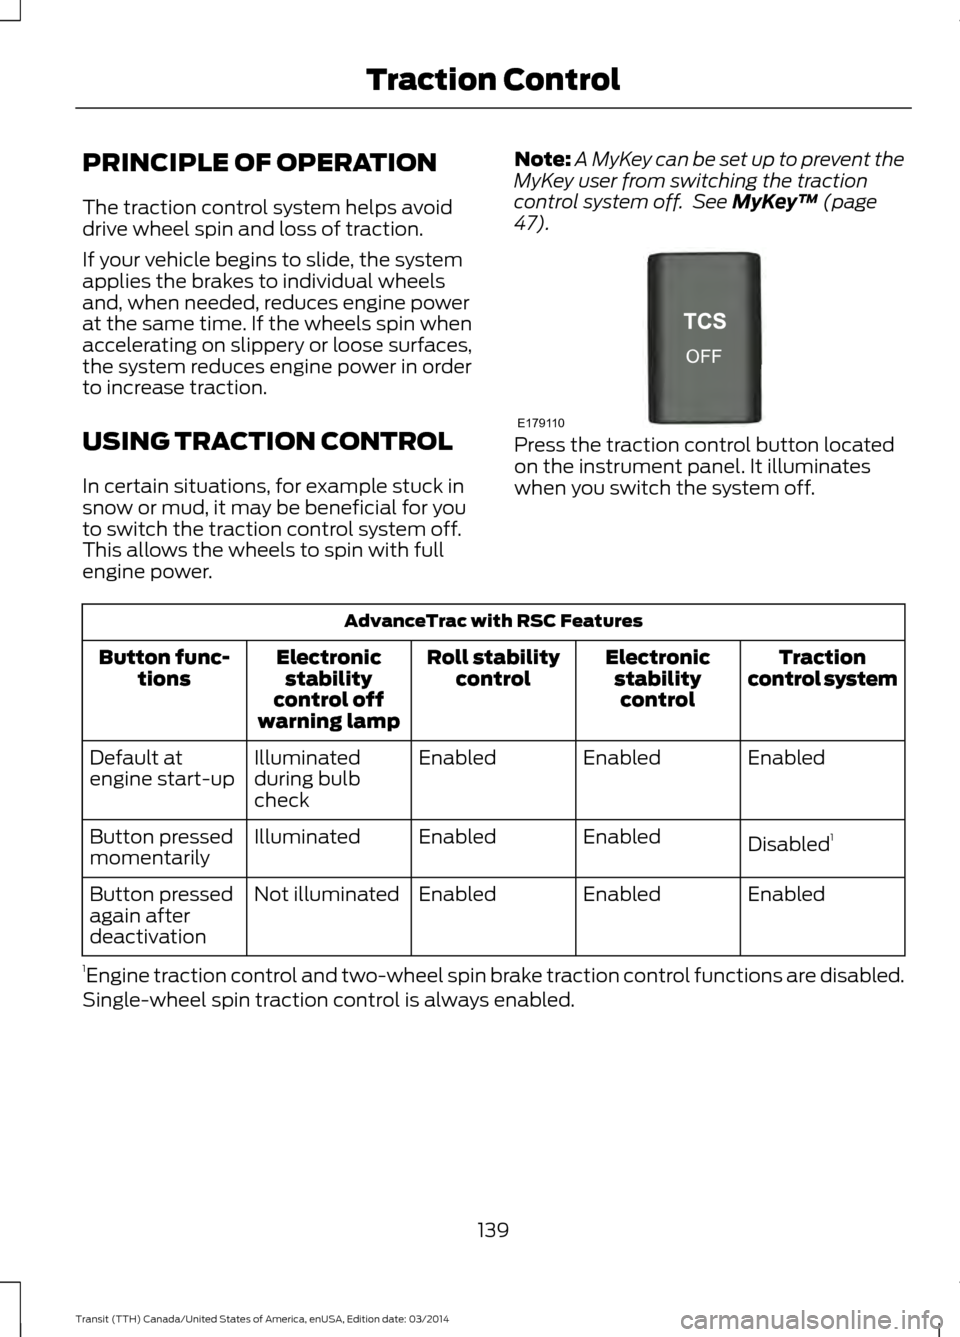
47). Press the traction control button located
on the instrument panel. It illuminates
when you switch the system off.
AdvanceTrac with RSC Features
Traction
control system
Electronic
stabilitycontrol
Roll stability
control
Electronic
stability
control off
warning lamp
Button func-
tions
Enabled
Enabled
Enabled
Illuminated
during bulb
check
Default at
engine start-up
Disabled1
Enabled
Enabled
Illuminated
Button pressed
momentarily
Enabled
Enabled
Enabled
Not illuminated
Button pressed
again after
deactivation
1 Engine traction control and two-wheel spin brake traction control functions are disabled.
Single-wheel spin traction control is always enabled.
139Transit (TTH) Canada/United States of America, enUSA, Edition date: 03/2014 Traction ControlE179110
Page 143 of 461
WARNING
If a malfunction occurs within the
AdvanceTrac system, the traction
control off lamp will illuminate. Make
sure the traction control system was not
manually switched off using the traction
control button. If the traction control lamp
stays on, have the system checked by an
authorized dealer immediately. Operating
your vehicle with traction control disabled
could lead to an increased risk of loss of
vehicle control, vehicle rollover, personal
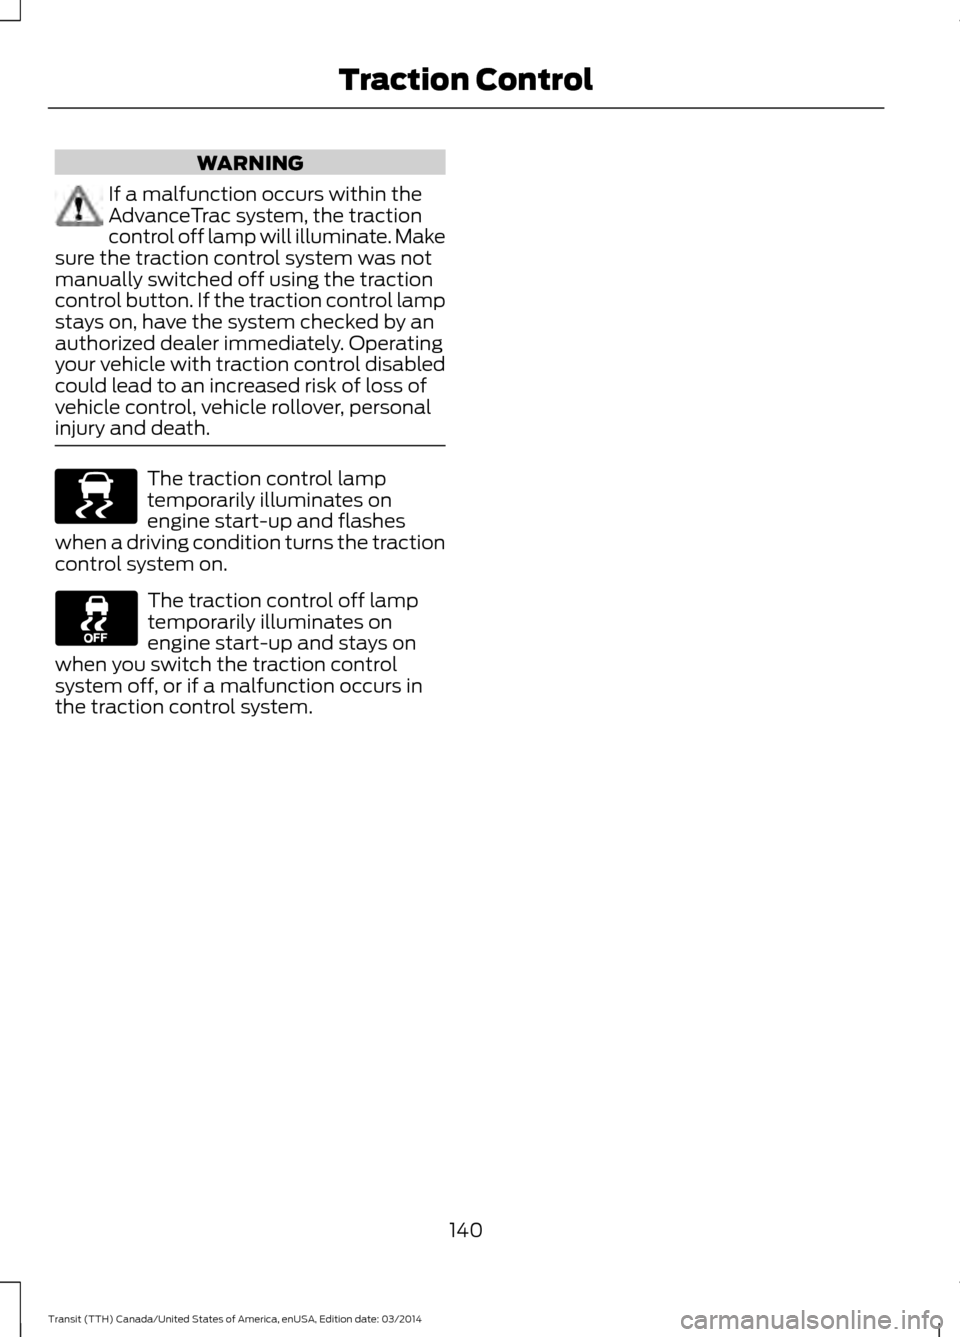
injury and death. The traction control lamp
temporarily illuminates on
engine start-up and flashes
when a driving condition turns the traction
control system on. The traction control off lamp
temporarily illuminates on
engine start-up and stays on
when you switch the traction control
system off, or if a malfunction occurs in
the traction control system.
140Transit (TTH) Canada/United States of America, enUSA, Edition date: 03/2014 Traction ControlE138639
Page 144 of 461
PRINCIPLE OF OPERATION
WARNINGS
Vehicle modifications involving
braking system, aftermarket roof
racks, suspension, steering system,
tire construction and wheel and tire size
may change the handling characteristics
of your vehicle and may adversely affect
the performance of the AdvanceTrac
system. In addition, installing any stereo
loudspeakers may interfere with and
adversely affect the AdvanceTrac system.
Install any aftermarket stereo loudspeaker
as far as possible from the front center
console, the tunnel, and the front seats in
order to minimize the risk of interfering with
the AdvanceTrac sensors. Reducing the
effectiveness of the AdvanceTrac system
could lead to an increased risk of loss of
vehicle control, vehicle rollover, personal
injury and death. Remember that even advanced
technology cannot defy the laws of
physics. It’
s always possible to lose
control of a vehicle due to inappropriate
driver input for the conditions. Aggressive
driving on any road condition can cause
you to lose control of your vehicle
increasing the risk of personal injury or
property damage. Activation of the
AdvanceTrac system is an indication that
at least some of the tires have exceeded
their ability to grip the road; this could
reduce the operator ’s ability to control the
vehicle potentially resulting in a loss of
vehicle control, vehicle rollover, personal
injury and death. If your AdvanceTrac
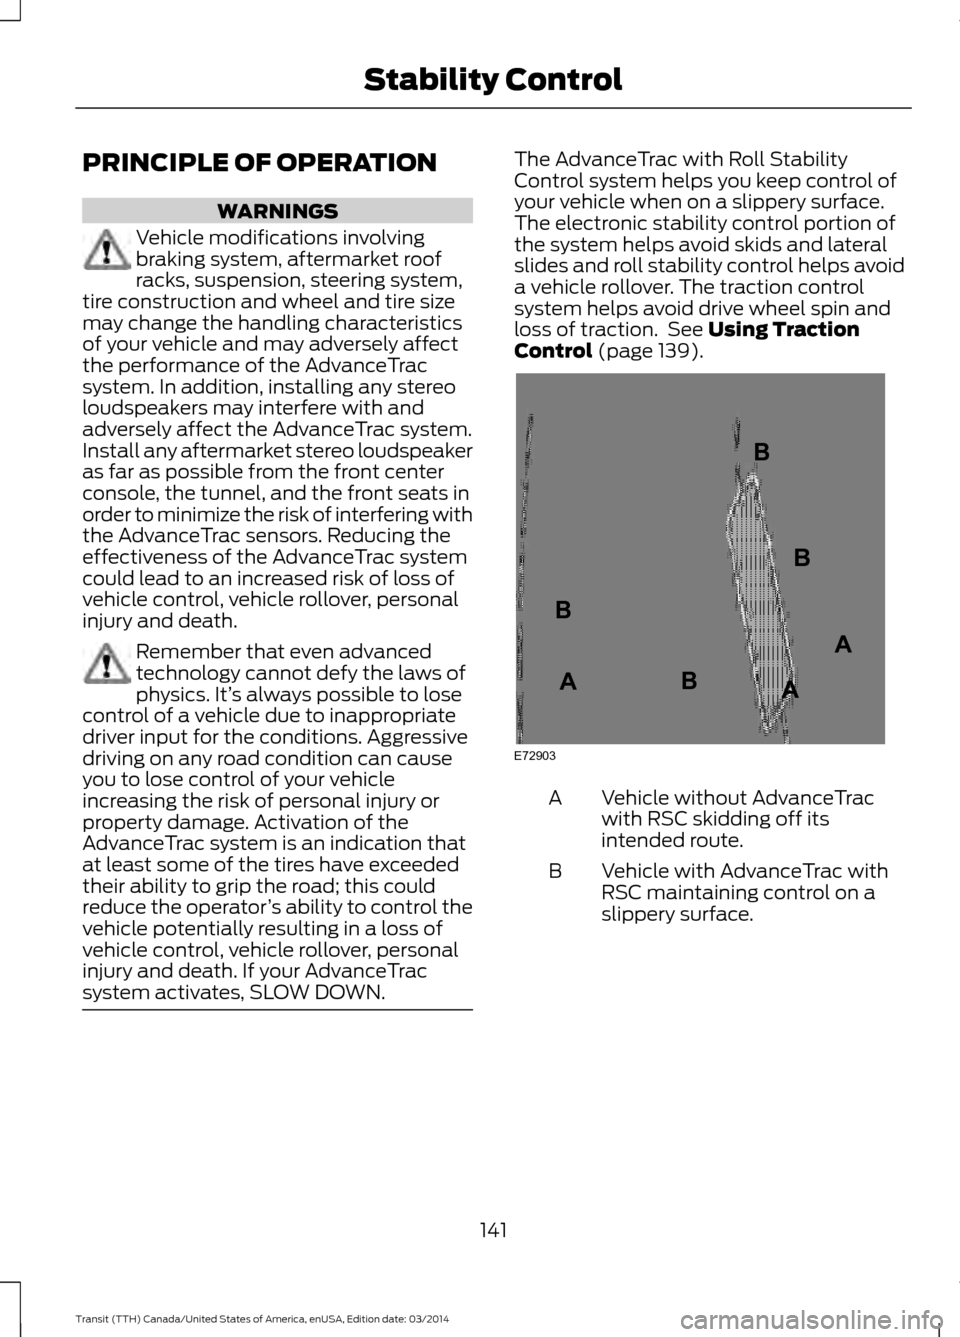
system activates, SLOW DOWN. The AdvanceTrac with Roll Stability
Control system helps you keep control of
your vehicle when on a slippery surface.
The electronic stability control portion of
the system helps avoid skids and lateral
slides and roll stability control helps avoid
a vehicle rollover. The traction control
system helps avoid drive wheel spin and
loss of traction. See Using Traction
Control (page 139). Vehicle without AdvanceTrac
with RSC skidding off its
intended route.
A
Vehicle with AdvanceTrac with
RSC maintaining control on a
slippery surface.
B
141 Transit (TTH) Canada/United States of America, enUSA, Edition date: 03/2014 Stability ControlE72903A
AA
B
BB
B
Page 145 of 461
USING STABILITY CONTROL
AdvanceTrac® with Roll Stability
Control
™ (RSC®)
The system automatically activates when
you start your vehicle. The AdvanceTrac
with RSC system cannot be completely
turned off, but the electronic stability
control and roll stability control portions
of the system are disabled when the
transmission is in position R. You can turn
off the traction control portion of the
system independently. See Using
Traction Control (page 139).
142Transit (TTH) Canada/United States of America, enUSA, Edition date: 03/2014 Stability Control
Page 146 of 461
PRINCIPLE OF OPERATION
WARNINGS
The system does not relieve you of
your responsibility to drive with due
care and attention.
If your vehicles has a non-Ford
approved trailer tow module the
system may not correctly detect
objects. The sensors may not detect objects
in heavy rain or other conditions that
cause disruptive reflections.
The sensors may not detect objects
with surfaces that absorb ultrasonic
waves.
The system does not detect objects
that are moving away from your
vehicle. They will only be detected
shortly after they start to move toward
your vehicle. Take particular care when reversing
with a tow ball arm or a rear fitted
accessory. For example, a bicycle
carrier. The rear parking aid will only
indicate the approximate distance from
the rear bumper to an object. If you use a high pressure spray to
wash your vehicle, only spray the
sensors briefly from a distance not
less than eight inches (20 centimeters). Note:
If your vehicle has a tow ball arm,
switch the system off when you connect
trailer lamps (or lighting boards) to the
13-pin socket through a Ford approved
trailer tow module.
Note: Keep the sensors free from dirt, ice
or snow. Do not clean with sharp objects.
Note: The system may emit false alerts if
it detects a signal using the same frequency
as the sensors or if your vehicle is fully
loaded. Note:
The outer sensors may detect the
side walls of a garage. If the distance
between the outer sensors and the side wall
remains constant for three seconds, the
alert will turn off. As you continue the inner
sensors will detect objects directly behind
your vehicle.
PARKING AID WARNINGS
The parking aid system can only
assist you to detect objects when
your vehicle is moving at parking
speeds. To help avoid personal injury you
must take care when using the parking aid
system. Traffic control systems, inclement
weather, air brakes, external motors
and fans may affect the correct
operation of the sensing system.This may
cause reduced performance or false alerts. The system may not detect small or
moving objects, particularly those
close to the ground.
The system warns you of objects that are
within the detection zone of the bumper
areas. When you switch the ignition on,
the system automatically turns on. The
system becomes active when you shift into
reverse (R) and the speed of your vehicle
is 10 mph (16 km/h) or less.
143 Transit (TTH) Canada/United States of America, enUSA, Edition date: 03/2014 Parking Aids
Page 147 of 461
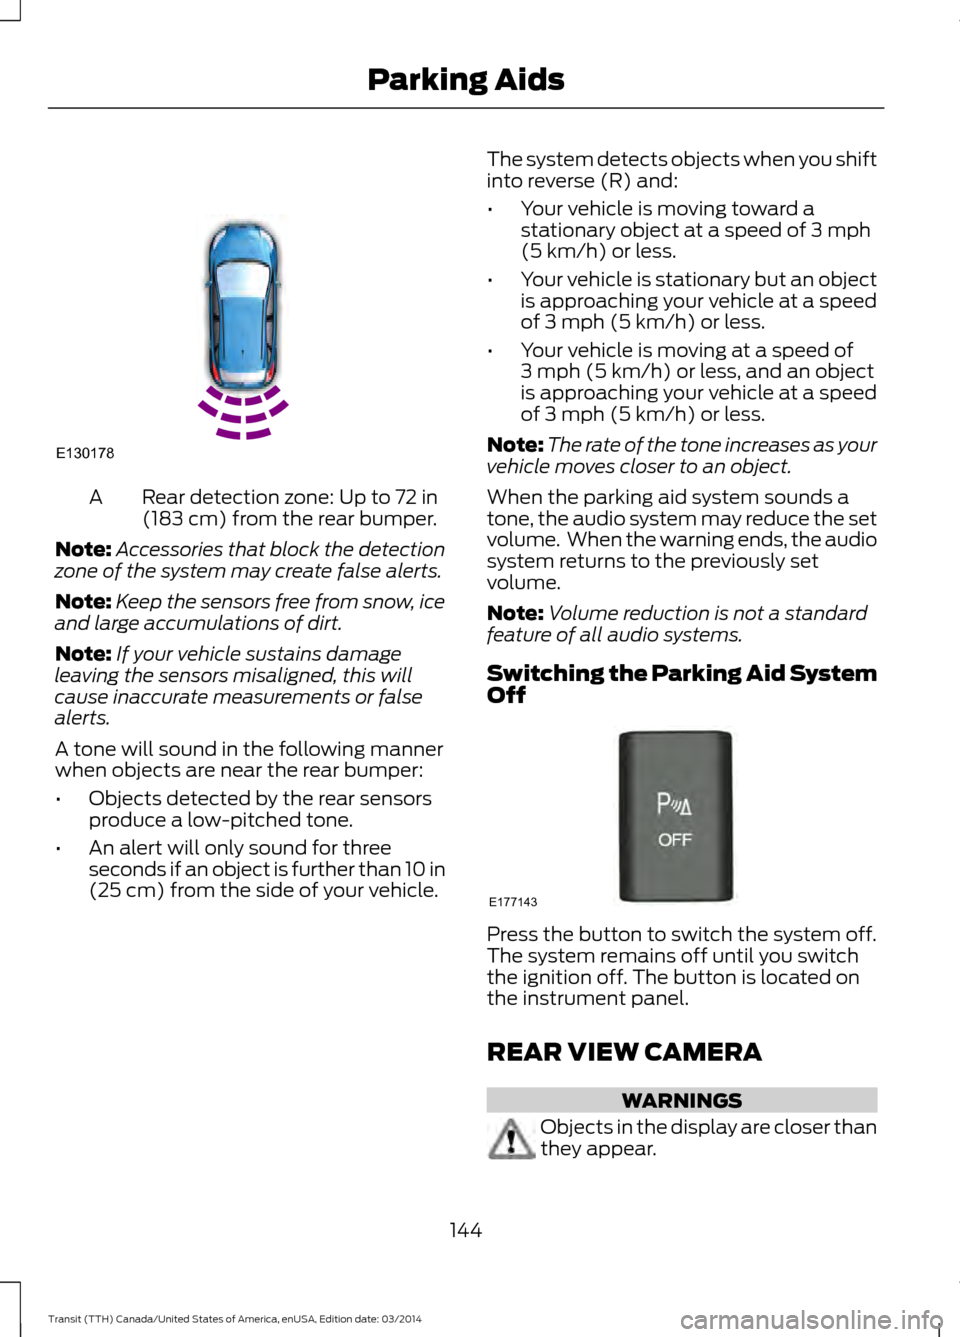
Rear detection zone: Up to 72 in
(183 cm) from the rear bumper.
A
Note: Accessories that block the detection
zone of the system may create false alerts.
Note: Keep the sensors free from snow, ice
and large accumulations of dirt.
Note: If your vehicle sustains damage
leaving the sensors misaligned, this will
cause inaccurate measurements or false
alerts.
A tone will sound in the following manner
when objects are near the rear bumper:
• Objects detected by the rear sensors
produce a low-pitched tone.
• An alert will only sound for three
seconds if an object is further than 10 in
(25 cm) from the side of your vehicle. The system detects objects when you shift
into reverse (R) and:
•
Your vehicle is moving toward a
stationary object at a speed of
3 mph
(5 km/h) or less.
• Your vehicle is stationary but an object
is approaching your vehicle at a speed
of
3 mph (5 km/h) or less.
• Your vehicle is moving at a speed of
3 mph (5 km/h)
or less, and an object
is approaching your vehicle at a speed
of
3 mph (5 km/h) or less.
Note: The rate of the tone increases as your
vehicle moves closer to an object.
When the parking aid system sounds a
tone, the audio system may reduce the set
volume. When the warning ends, the audio
system returns to the previously set
volume.
Note: Volume reduction is not a standard
feature of all audio systems.
Switching the Parking Aid System
Off Press the button to switch the system off.
The system remains off until you switch
the ignition off. The button is located on
the instrument panel.
REAR VIEW CAMERA
WARNINGS
Objects in the display are closer than
they appear.
144 Transit (TTH) Canada/United States of America, enUSA, Edition date: 03/2014 Parking AidsE130178 E177143
Page 148 of 461
WARNINGS
The operation of the camera may
vary depending on the ambient
temperature, vehicle and road
conditions. Do not place objects in front of the
camera.
The camera may not detect objects
that are very close to your vehicle.
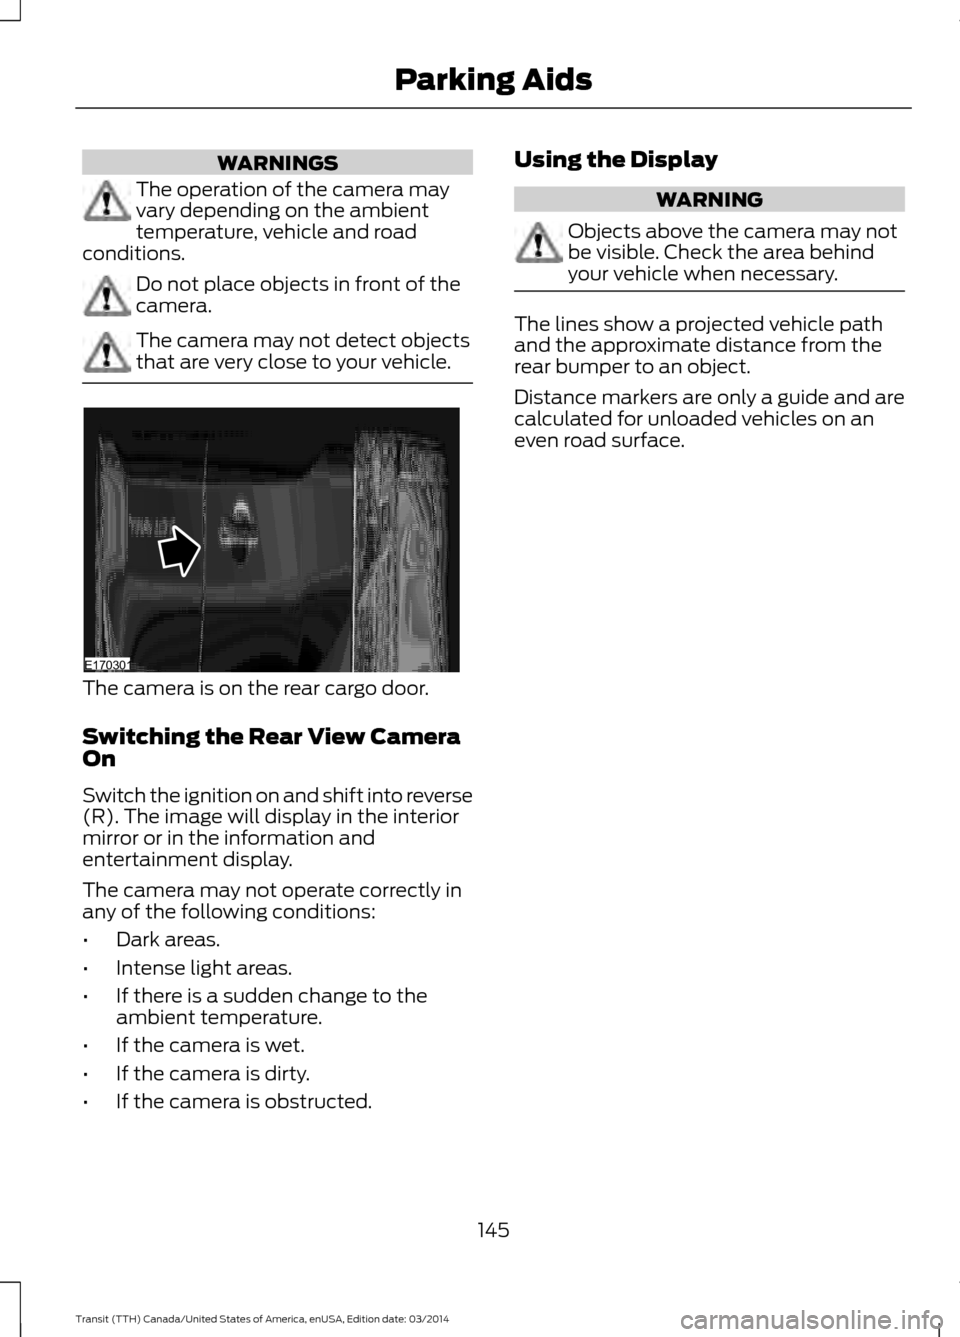
The camera is on the rear cargo door.
Switching the Rear View Camera
On
Switch the ignition on and shift into reverse
(R). The image will display in the interior
mirror or in the information and
entertainment display.
The camera may not operate correctly in
any of the following conditions:
•
Dark areas.
• Intense light areas.
• If there is a sudden change to the
ambient temperature.
• If the camera is wet.
• If the camera is dirty.
• If the camera is obstructed. Using the Display WARNING
Objects above the camera may not
be visible. Check the area behind
your vehicle when necessary.
The lines show a projected vehicle path
and the approximate distance from the
rear bumper to an object.
Distance markers are only a guide and are
calculated for unloaded vehicles on an
even road surface.
145 Transit (TTH) Canada/United States of America, enUSA, Edition date: 03/2014 Parking AidsE170301
Page 149 of 461
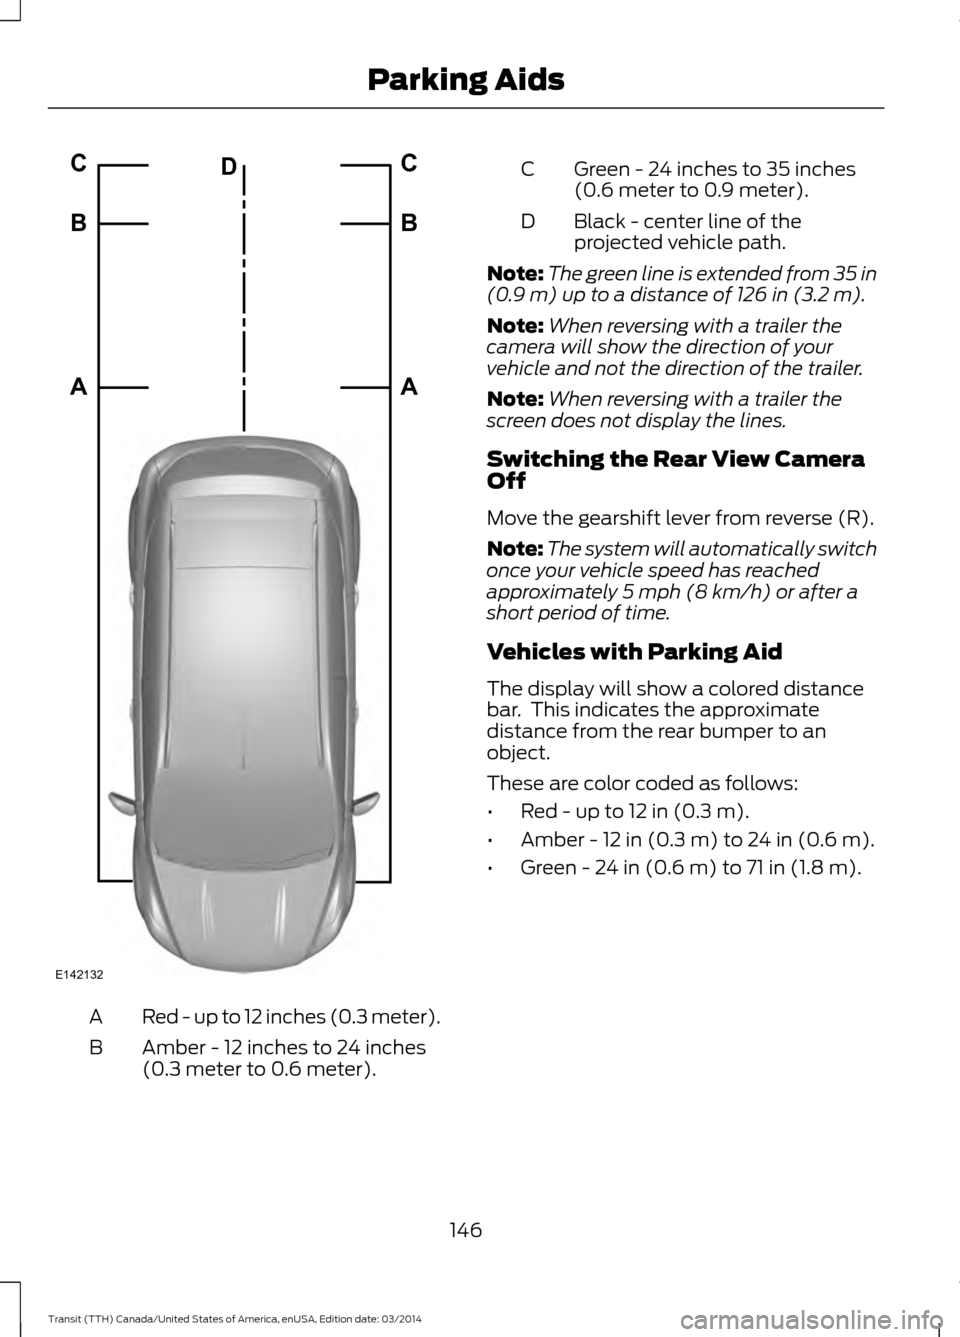
Red - up to 12 inches (0.3 meter).
A
Amber - 12 inches to 24 inches
(0.3 meter to 0.6 meter).
B Green - 24 inches to 35 inches
(0.6 meter to 0.9 meter).
C
Black - center line of the
projected vehicle path.
D
Note: The green line is extended from 35 in
(0.9 m) up to a distance of 126 in (3.2 m).
Note: When reversing with a trailer the
camera will show the direction of your
vehicle and not the direction of the trailer.
Note: When reversing with a trailer the
screen does not display the lines.
Switching the Rear View Camera
Off
Move the gearshift lever from reverse (R).
Note: The system will automatically switch
once your vehicle speed has reached
approximately
5 mph (8 km/h) or after a
short period of time.
Vehicles with Parking Aid
The display will show a colored distance
bar. This indicates the approximate
distance from the rear bumper to an
object.
These are color coded as follows:
• Red - up to 12 in (0.3 m).
• Amber - 12 in (0.3 m) to
24 in (0.6 m).
• Green -
24 in (0.6 m) to 71 in (1.8 m).
146 Transit (TTH) Canada/United States of America, enUSA, Edition date: 03/2014 Parking AidsE142132A B C
A B C
D
Page 150 of 461
PRINCIPLE OF OPERATION
WARNING
The system does not relieve you of
your responsibility to drive with due
care and attention.
Cruise control allows you to control your
speed using the switches on the steering
wheel. You can use cruise control when
you exceed approximately 20 mph (30
km/h).
USING CRUISE CONTROL
WARNINGS
Do not use cruise control in heavy
traffic, on winding roads or when the
road surface is slippery. This could
result in loss of vehicle control, serious
injury or death. When you are going downhill, your
vehicle speed may increase above
the set speed. The system will not
apply the brakes. Change down a gear to
assist the system in maintaining the set
speed. Failure to do so could result in loss
of vehicle control, serious injury or death. Note:
Cruise control will disengage if your
vehicle speed decreases more than 10 mph
(16 km/h) below your set speed while
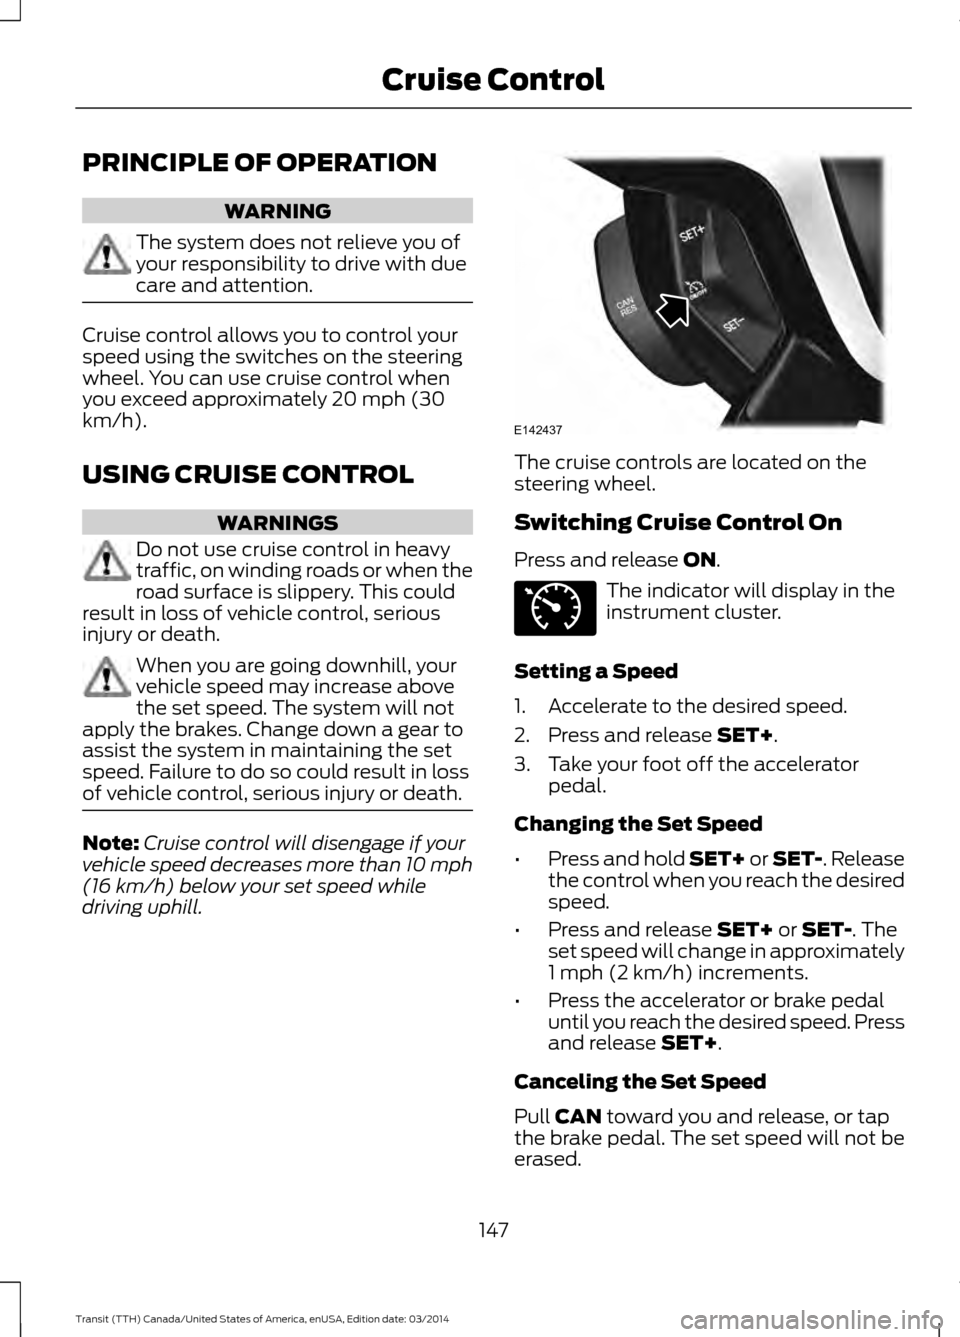
driving uphill. The cruise controls are located on the
steering wheel.
Switching Cruise Control On
Press and release ON.
The indicator will display in the
instrument cluster.
Setting a Speed
1. Accelerate to the desired speed.
2. Press and release SET+.
3. Take your foot off the accelerator pedal.
Changing the Set Speed
• Press and hold SET+ or SET-. Release
the control when you reach the desired
speed.
• Press and release SET+ or SET-. The
set speed will change in approximately
1 mph (2 km/h) increments.
• Press the accelerator or brake pedal
until you reach the desired speed. Press
and release SET+.
Canceling the Set Speed
Pull CAN toward you and release, or tap
the brake pedal. The set speed will not be
erased.
147 Transit (TTH) Canada/United States of America, enUSA, Edition date: 03/2014 Cruise ControlE142437 E71340