tires FORD TRANSIT 2016 5.G Owners Manual
[x] Cancel search | Manufacturer: FORD, Model Year: 2016, Model line: TRANSIT, Model: FORD TRANSIT 2016 5.GPages: 411, PDF Size: 5.65 MB
Page 7 of 411
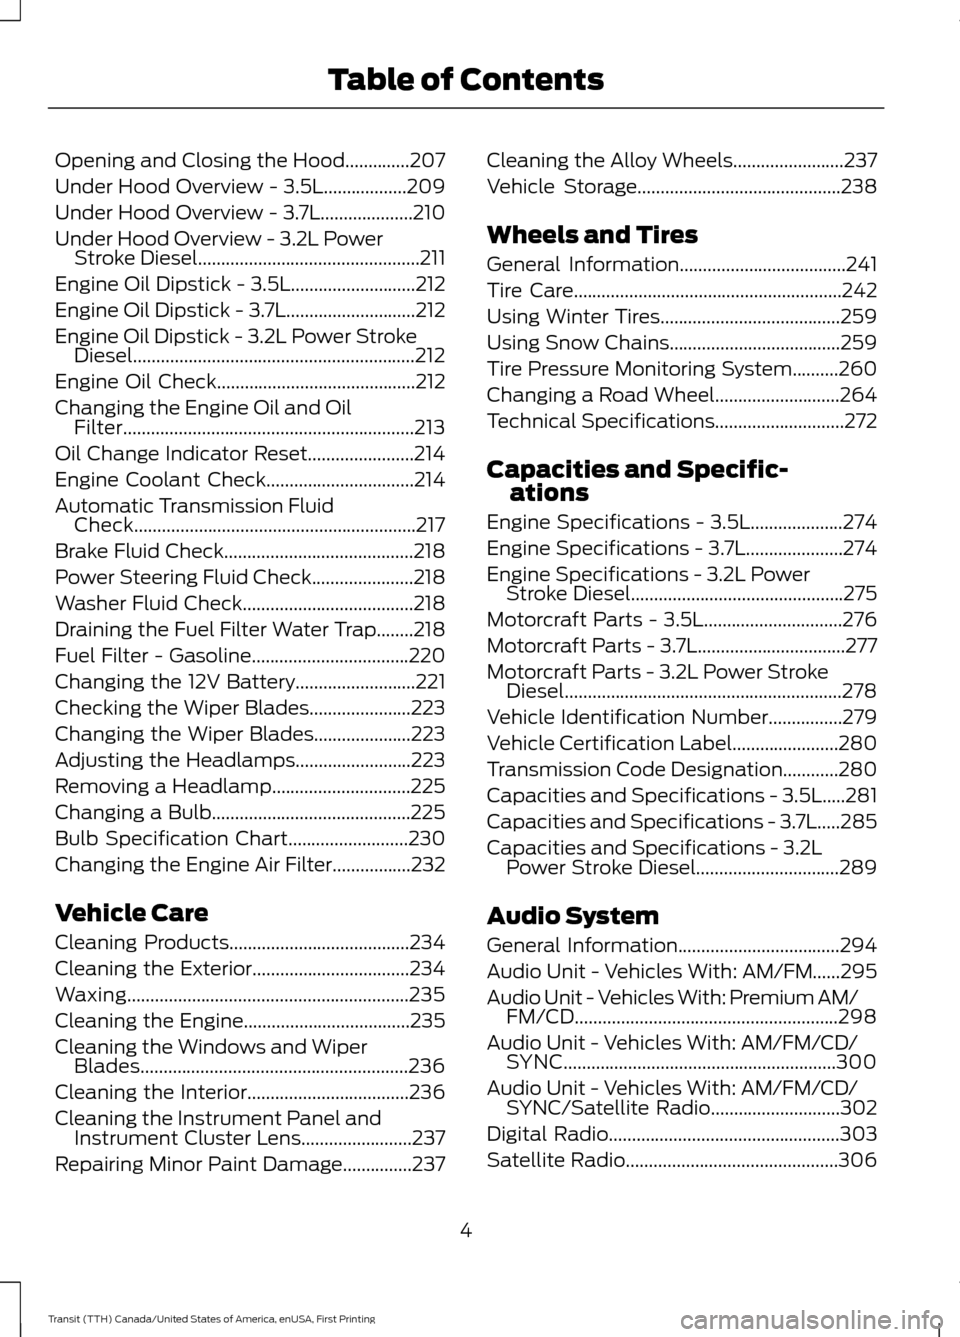
Opening and Closing the Hood..............207
Under Hood Overview - 3.5L..................209
Under Hood Overview - 3.7L....................210
Under Hood Overview - 3.2L Power
Stroke Diesel................................................211
Engine Oil Dipstick - 3.5L...........................212
Engine Oil Dipstick - 3.7L............................212
Engine Oil Dipstick - 3.2L Power Stroke Diesel.............................................................212
Engine Oil Check...........................................212
Changing the Engine Oil and Oil Filter...............................................................213
Oil Change Indicator Reset.......................214
Engine Coolant Check
................................214
Automatic Transmission Fluid Check.............................................................217
Brake Fluid Check.........................................218
Power Steering Fluid Check......................218
Washer Fluid Check
.....................................218
Draining the Fuel Filter Water Trap........218
Fuel Filter - Gasoline
..................................220
Changing the 12V Battery
..........................221
Checking the Wiper Blades......................223
Changing the Wiper Blades.....................223
Adjusting the Headlamps
.........................223
Removing a Headlamp
..............................225
Changing a Bulb...........................................225
Bulb Specification Chart
..........................230
Changing the Engine Air Filter.................232
Vehicle Care
Cleaning Products
.......................................234
Cleaning the Exterior..................................234
Waxing.............................................................235
Cleaning the Engine....................................235
Cleaning the Windows and Wiper Blades..........................................................236
Cleaning the Interior...................................236
Cleaning the Instrument Panel and Instrument Cluster Lens........................237
Repairing Minor Paint Damage...............237 Cleaning the Alloy Wheels
........................237
Vehicle Storage
............................................238
Wheels and Tires
General Information
....................................241
Tire Care
..........................................................242
Using Winter Tires.......................................259
Using Snow Chains.....................................259
Tire Pressure Monitoring System..........260
Changing a Road Wheel...........................264
Technical Specifications............................272
Capacities and Specific- ations
Engine Specifications - 3.5L....................274
Engine Specifications - 3.7L
.....................274
Engine Specifications - 3.2L Power Stroke Diesel..............................................275
Motorcraft Parts - 3.5L..............................276
Motorcraft Parts - 3.7L
................................277
Motorcraft Parts - 3.2L Power Stroke Diesel............................................................278
Vehicle Identification Number................279
Vehicle Certification Label.......................280
Transmission Code Designation............280
Capacities and Specifications - 3.5L.....281
Capacities and Specifications - 3.7L.....285
Capacities and Specifications - 3.2L Power Stroke Diesel...............................289
Audio System
General Information
...................................294
Audio Unit - Vehicles With: AM/FM......295
Audio Unit - Vehicles With: Premium AM/ FM/CD.........................................................298
Audio Unit - Vehicles With: AM/FM/CD/ SYNC...........................................................300
Audio Unit - Vehicles With: AM/FM/CD/ SYNC/Satellite Radio............................302
Digital Radio
..................................................303
Satellite Radio
..............................................306
4
Transit (TTH) Canada/United States of America, enUSA, First Printing Table of Contents
Page 83 of 411
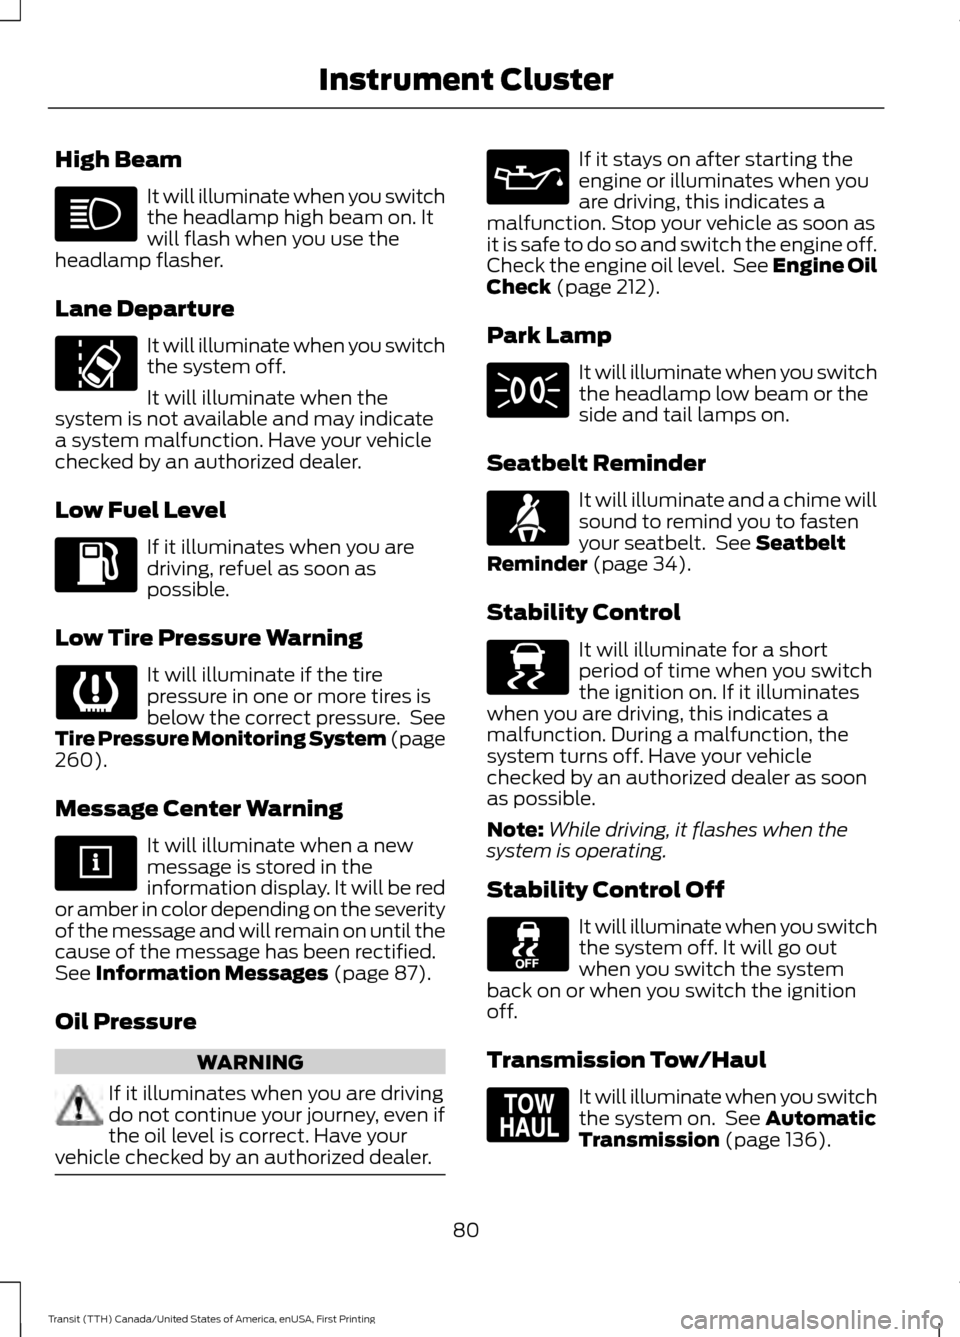
High Beam
It will illuminate when you switch
the headlamp high beam on. It
will flash when you use the
headlamp flasher.
Lane Departure It will illuminate when you switch
the system off.
It will illuminate when the
system is not available and may indicate
a system malfunction. Have your vehicle
checked by an authorized dealer.
Low Fuel Level If it illuminates when you are
driving, refuel as soon as
possible.
Low Tire Pressure Warning It will illuminate if the tire
pressure in one or more tires is
below the correct pressure. See
Tire Pressure Monitoring System (page
260).
Message Center Warning It will illuminate when a new
message is stored in the
information display. It will be red
or amber in color depending on the severity
of the message and will remain on until the
cause of the message has been rectified.
See
Information Messages (page 87).
Oil Pressure WARNING
If it illuminates when you are driving
do not continue your journey, even if
the oil level is correct. Have your
vehicle checked by an authorized dealer. If it stays on after starting the
engine or illuminates when you
are driving, this indicates a
malfunction. Stop your vehicle as soon as
it is safe to do so and switch the engine off.
Check the engine oil level. See Engine Oil
Check
(page 212).
Park Lamp It will illuminate when you switch
the headlamp low beam or the
side and tail lamps on.
Seatbelt Reminder It will illuminate and a chime will
sound to remind you to fasten
your seatbelt. See
Seatbelt
Reminder (page 34).
Stability Control It will illuminate for a short
period of time when you switch
the ignition on. If it illuminates
when you are driving, this indicates a
malfunction. During a malfunction, the
system turns off. Have your vehicle
checked by an authorized dealer as soon
as possible.
Note: While driving, it flashes when the
system is operating.
Stability Control Off It will illuminate when you switch
the system off. It will go out
when you switch the system
back on or when you switch the ignition
off.
Transmission Tow/Haul It will illuminate when you switch
the system on. See
Automatic
Transmission (page 136).
80
Transit (TTH) Canada/United States of America, enUSA, First Printing Instrument Cluster E138639 E161509
Page 94 of 411
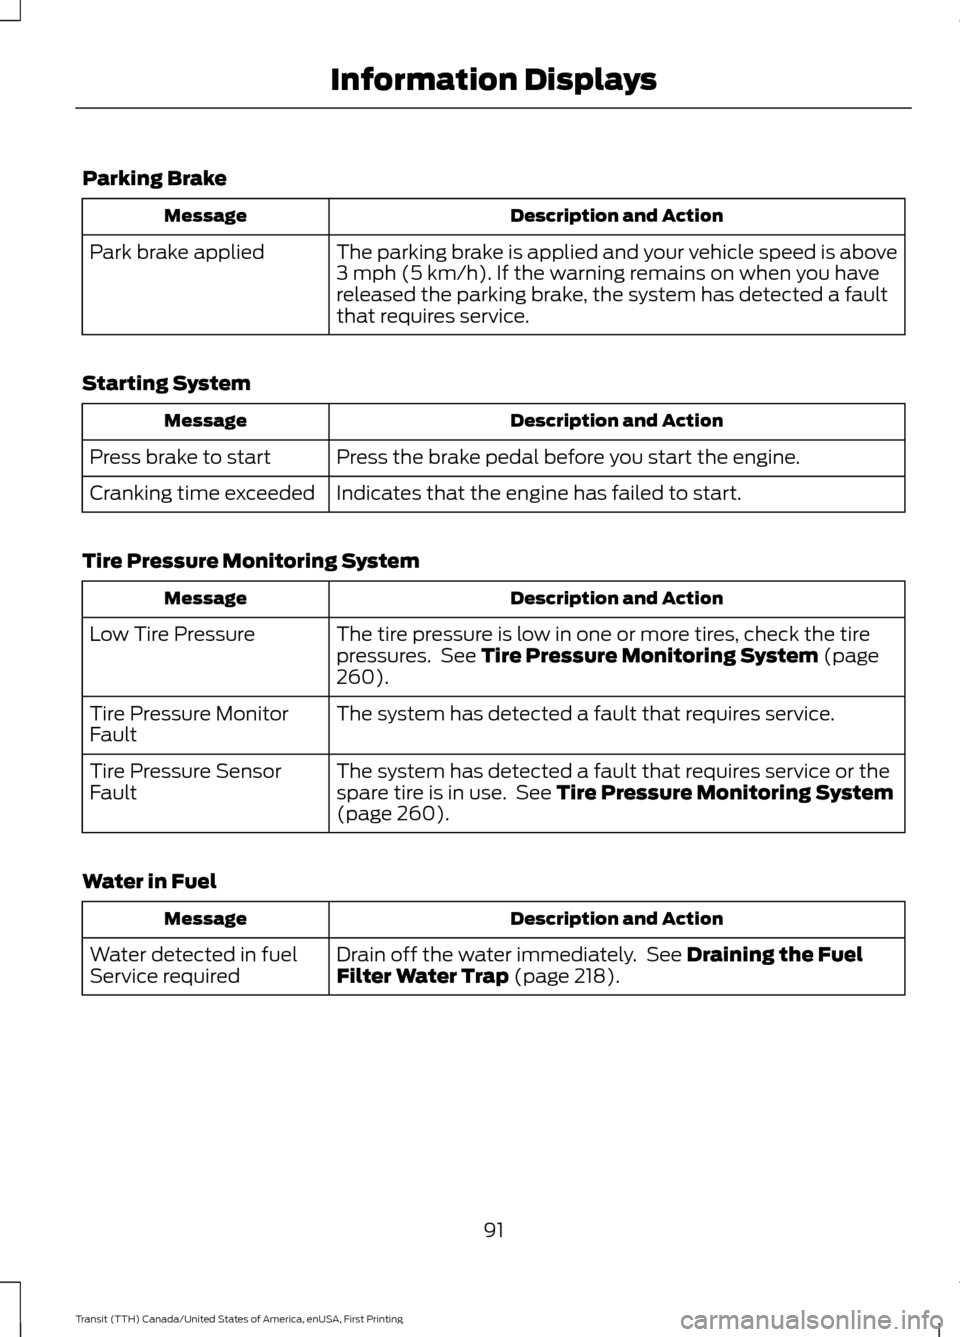
Parking Brake
Description and Action
Message
The parking brake is applied and your vehicle speed is above
3 mph (5 km/h). If the warning remains on when you have
released the parking brake, the system has detected a fault
that requires service.
Park brake applied
Starting System Description and Action
Message
Press the brake pedal before you start the engine.
Press brake to start
Indicates that the engine has failed to start.
Cranking time exceeded
Tire Pressure Monitoring System Description and Action
Message
The tire pressure is low in one or more tires, check the tire
pressures. See
Tire Pressure Monitoring System (page
260).
Low Tire Pressure
The system has detected a fault that requires service.
Tire Pressure Monitor
Fault
The system has detected a fault that requires service or the
spare tire is in use. See
Tire Pressure Monitoring System
(page 260).
Tire Pressure Sensor
Fault
Water in Fuel Description and Action
Message
Drain off the water immediately. See
Draining the Fuel
Filter Water Trap (page 218).
Water detected in fuel
Service required
91
Transit (TTH) Canada/United States of America, enUSA, First Printing Information Displays
Page 141 of 411
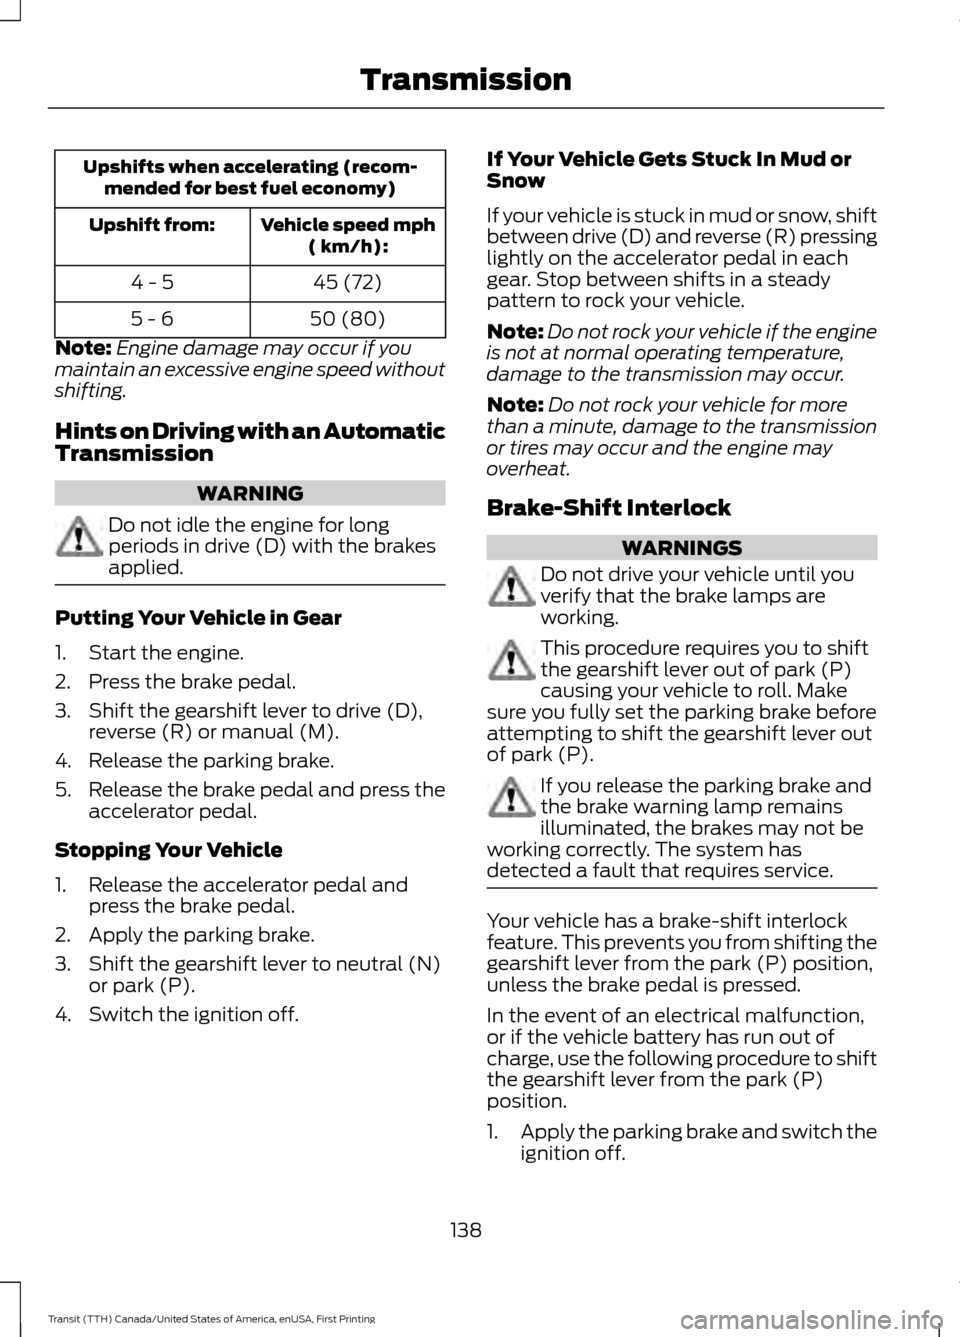
Upshifts when accelerating (recom-
mended for best fuel economy)
Vehicle speed mph( km/h):
Upshift from:
45 (72)
4 - 5
50 (80)
5 - 6
Note: Engine damage may occur if you
maintain an excessive engine speed without
shifting.
Hints on Driving with an Automatic
Transmission WARNING
Do not idle the engine for long
periods in drive (D) with the brakes
applied.
Putting Your Vehicle in Gear
1. Start the engine.
2. Press the brake pedal.
3. Shift the gearshift lever to drive (D),
reverse (R) or manual (M).
4. Release the parking brake.
5. Release the brake pedal and press the
accelerator pedal.
Stopping Your Vehicle
1. Release the accelerator pedal and press the brake pedal.
2. Apply the parking brake.
3. Shift the gearshift lever to neutral (N) or park (P).
4. Switch the ignition off. If Your Vehicle Gets Stuck In Mud or
Snow
If your vehicle is stuck in mud or snow, shift
between drive (D) and reverse (R) pressing
lightly on the accelerator pedal in each
gear. Stop between shifts in a steady
pattern to rock your vehicle.
Note:
Do not rock your vehicle if the engine
is not at normal operating temperature,
damage to the transmission may occur.
Note: Do not rock your vehicle for more
than a minute, damage to the transmission
or tires may occur and the engine may
overheat.
Brake-Shift Interlock WARNINGS
Do not drive your vehicle until you
verify that the brake lamps are
working.
This procedure requires you to shift
the gearshift lever out of park (P)
causing your vehicle to roll. Make
sure you fully set the parking brake before
attempting to shift the gearshift lever out
of park (P). If you release the parking brake and
the brake warning lamp remains
illuminated, the brakes may not be
working correctly. The system has
detected a fault that requires service. Your vehicle has a brake-shift interlock
feature. This prevents you from shifting the
gearshift lever from the park (P) position,
unless the brake pedal is pressed.
In the event of an electrical malfunction,
or if the vehicle battery has run out of
charge, use the following procedure to shift
the gearshift lever from the park (P)
position.
1.
Apply the parking brake and switch the
ignition off.
138
Transit (TTH) Canada/United States of America, enUSA, First Printing Transmission
Page 147 of 411
PRINCIPLE OF OPERATION
WARNINGS
Vehicle modifications involving
braking system, aftermarket roof
racks, suspension, steering system,
tire construction and wheel and tire size
may change the handling characteristics
of your vehicle and may adversely affect
the performance of the electronic stability
control system. In addition, installing any
stereo loudspeakers may interfere with
and adversely affect the electronic stability
control system. Install any aftermarket
stereo loudspeaker as far as possible from
the front center console, the tunnel, and
the front seats in order to minimize the risk
of interfering with the electronic stability
control sensors. Reducing the
effectiveness of the electronic stability
control system could lead to an increased
risk of loss of vehicle control, vehicle
rollover, personal injury and death. Remember that even advanced
technology cannot defy the laws of
physics. It’
s always possible to lose
control of a vehicle due to inappropriate
driver input for the conditions. Aggressive
driving on any road condition can cause
you to lose control of your vehicle
increasing the risk of personal injury or
property damage. Activation of the
electronic stability control system is an
indication that at least some of the tires
have exceeded their ability to grip the road;
this could reduce the operator ’s ability to
control the vehicle potentially resulting in
a loss of vehicle control, vehicle rollover,
personal injury and death. If your electronic
stability control system activates, SLOW
DOWN. The system automatically turns on each
time you switch the ignition on. If a driving condition activates either the
stability control or the traction control
system you may experience the following
conditions:
•
The stability and traction control light
flashes.
• Your vehicle slows down.
• Reduced engine power.
• A vibration in the brake pedal.
• The brake pedal is stiffer than usual.
• If the driving condition is severe and
your foot is not on the brake, the brake
pedal may move as the systems
applies higher brake forces.
The stability control system has several
features built into it to help you maintain
control of your vehicle:
Electronic Stability Control
The system enhances your vehicle ’s ability
to prevent skids or lateral slides by
applying brakes to one or more of the
wheels individually and, if necessary,
reducing engine power.
Roll Stability Control
The system enhances your vehicle ’s ability
to prevent rollovers by detecting your
vehicle ’s roll motion and the rate at which
it changes by applying the brakes to one
or more wheels individually.
Traction Control
The system enhances your vehicle ’s ability
to maintain traction of the wheels by
detecting and controlling wheel spin. See
Using Traction Control (page 143).
144
Transit (TTH) Canada/United States of America, enUSA, First Printing Stability Control
Page 166 of 411
Tongue Load or Fifth Wheel
King Pin Weight - refers to the
amount of the weight that a trailer
pushes down on a trailer hitch.
Examples:
For a 5000 pound
(2268 kilogram) conventional
trailer, multiply 5000 by 0.10 and
0.15 to obtain a proper tongue
load range of 500 to 750 pounds
(227 to 340 kilograms). For an
11500 pound (5216 kilogram) fifth
wheel trailer, multiply by 0.15 and
0.25 to obtain a proper king pin
load range of 1725 to 2875 pounds
(782 to 1304 kilograms). WARNINGS
Do not exceed the GVWR or
the GAWR specified on the
Safety Compliance Certification
Label. Do not use replacement tires
with lower load carrying
capacities than the original tires
because they may lower the
vehicle ’s GVWR and GAWR
limitations. Replacement tires
with a higher limit than the original
tires do not increase the GVWR
and GAWR limitations. Exceeding any vehicle weight
rating limitation could result
in serious damage to the vehicle
and/or personal injury. Steps for determining the
correct load limit: 1. Locate the statement "The
combined weight of occupants
and cargo should never exceed
XXX kg or XXX lb." on your
vehicle ’s placard.
2. Determine the combined
weight of the driver and
passengers that will be riding
in your vehicle.
3. Subtract the combined weight
of the driver and passengers
from XXX kg or XXX lb.
4. The resulting figure equals the
available amount of cargo and
luggage load capacity. For
example, if the “XXX” amount
equals 1,400 lb. and there will
be five 150 lb. passengers in
your vehicle, the amount of
available cargo and luggage
load capacity is 650 lb.
(1400-750 (5 x 150) = 650 lb.).
5. Determine the combined
weight of luggage and cargo
being loaded on the vehicle.
That weight may not safely
exceed the available cargo and
luggage load capacity
calculated in Step 4.
6. If your vehicle will be towing a
trailer, load from your trailer
will be transferred to your
vehicle. Consult this manual to
determine how this reduces the
available cargo and luggage
load capacity of your vehicle.
The following gives you a few
examples on how to calculate the
available amount of cargo and
luggage load capacity:
163
Transit (TTH) Canada/United States of America, enUSA, First Printing Load Carrying
Page 169 of 411
TOWING A TRAILER
WARNINGS
Do not exceed the Gross
Vehicle Weight Rating or the
Gross Axle Weight Rating
specified on the certification label. Towing trailers beyond the
maximum recommended
gross trailer weight exceeds the
limit of the vehicle and could
result in engine damage,
transmission damage, structural
damage, loss of vehicle control,
vehicle rollover and personal
injury. Your vehicle may have electrical
items, for example fuses or relays,
related to towing. See Fuses
(page 193).
Your vehicle's load capacity
designation is by weight, not by
volume, so you cannot necessarily
use all available space when
loading your vehicle.
Towing a trailer places an extra
load on your vehicle's engine,
transmission, axle, brakes, tires
and suspension. Inspect these
components periodically during,
and after, any towing operation. Load Placement
To help minimize how trailer
movement affects your vehicle
when driving:
•
Load the heaviest items closest
to the trailer floor.
• Load the heaviest items
centered between the left and
right side trailer tires.
• Load the heaviest items above
the trailer axles or just slightly
forward toward the trailer
tongue. Do not allow the final
trailer tongue weight to go
above or below 10-15% of the
loaded trailer weight.
• Select a tow bar with the
correct rise or drop. When both
the loaded vehicle and trailer
are connected, the trailer frame
should be level, or slightly
angled down toward your
vehicle, when viewed from the
side.
When driving with a trailer or
payload, a slight takeoff vibration
or shudder may be present due to
the increased payload weight.
Additional information regarding
correct trailer loading and setting
your vehicle up for towing is
located in another chapter of this
Owner's Manual. See
Load Limit
(page 158). You can also find the
information in the RV & Trailer
Towing Guide. See an authorized
dealer.
166
Transit (TTH) Canada/United States of America, enUSA, First Printing Towing
Page 176 of 411
5. If the trailer wheels lock, indicated by
squealing tires, reduce the gain setting.
If the trailer wheels turn freely, increase
the gain setting. Repeat steps four and
five until the gain setting is at a point just below trailer wheel lock. If towing
a heavier trailer, trailer wheel lock may
not be attainable even with the
maximum gain setting of 10.
System Warning Messages Action and Description
Message
Displays in response to faults sensed by the trailer brake
controller, accompanied by a single tone. If this message
appears, contact an authorized dealer as soon as possible
for diagnosis and repair. The controller may still function, but
performance may be degraded.
Trailer Brake Module
Fault
Displays when there is a short circuit on the electric brake
output wire. If the message displays, accompanied by a single
tone, with no trailer connected, the problem is with your
vehicle wiring between the trailer brake controller and the 7-
pin connector. If the message only displays with a trailer
connected, the problem is with the trailer wiring. Consult a
trailer dealer for assistance. This can be a short to ground,
for example a chaffed wire, short to voltage, for example a
pulled pin on trailer emergency breakaway battery or the
trailer brakes may be drawing too much current.
Wiring Fault on Trailer
Note: An authorized dealer can diagnose the trailer brake controller to determine exactly
which trailer fault has occurred. However, the Ford Warranty does not cover this diagnosis
if the fault is with the trailer.
Points to Remember
• Do not attempt removal of the trailer
brake controller without consulting the
Workshop Manual. Damage to the unit
may result.
• Adjust gain setting before using the
trailer brake controller for the first time.
• Adjust gain setting, using the procedure
above, whenever road, weather and
trailer or vehicle loading conditions
change from when the gain was initially
set. •
Only use the manual control lever for
correct adjustment of the gain during
trailer setup. Misuse, such as
application during trailer sway, could
cause instability of trailer or tow
vehicle.
• Avoid towing in adverse weather
conditions. The trailer brake controller
does not provide anti-lock control of
the trailer wheels. Trailer wheels can
lock up on slippery surfaces, resulting
in instability of trailer or tow vehicle.
173
Transit (TTH) Canada/United States of America, enUSA, First Printing Towing
Page 178 of 411
•
If your vehicle is fitted with
AdvanceTrac with roll stability control
(RSC), this system may turn on during
typical cornering maneuvers with a
heavily loaded trailer. This is normal.
Turning the corner at a slower speed
while towing may reduce this tendency.
• If you are towing a trailer frequently in
hot weather, hilly conditions, at the
gross combined weight rating (or any
combination of these factors), consider
refilling your vehicle's rear axle with
synthetic gear lubricant (if the axle is
not already filled with it). See
Scheduled Maintenance (page 363).
• Allow more distance for stopping with
a trailer attached. Anticipate stops and
brake gradually.
• Avoid parking on a grade. However, if
you must park on a grade:
•Turn the steering wheel to point
your vehicle tires away from traffic
flow.
• Set your vehicle parking brake.
• Place the automatic transmission
in position park (P).
• Place wheel chocks in front of and
at the back of the trailer wheels.
(Trailer wheel chocks are not
included with your vehicle.)
Launching or Retrieving a Boat or
Personal Water Craft (PWC)
When backing down a ramp during boat
launching or retrieval:
• Do not allow the static water level to
rise above the bottom edge of the rear
bumper.
• Do not allow waves to break higher
than
6 in (15 cm) above the bottom
edge of the rear bumper.
Note: Disconnect the wiring to the trailer
before backing the trailer into the water. Note:
Reconnect the wiring to the trailer
after the trailer is removed from the water.
Exceeding these limits may allow water to
enter vehicle components:
• Causing internal damage to the
components.
• Affecting driveability, emissions, and
reliability.
Replace the rear axle lubricant anytime
the rear axle has been submerged in water.
Water may have contaminated the rear
axle lubricant, which is not normally
checked or changed unless a leak is
suspected or other axle repair is required.
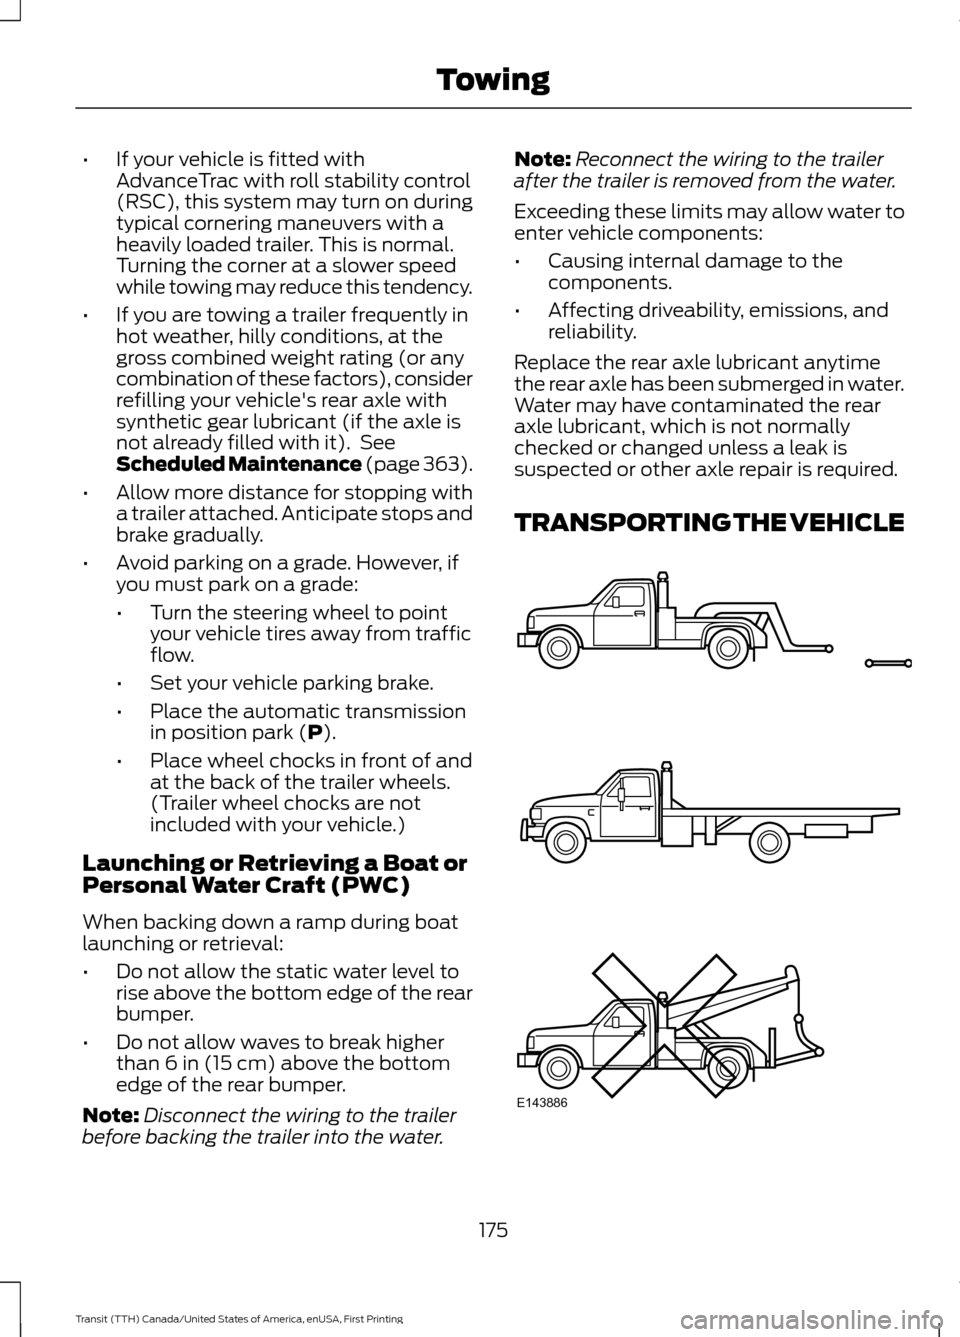
TRANSPORTING THE VEHICLE 175
Transit (TTH) Canada/United States of America, enUSA, First Printing TowingE143886
Page 181 of 411
BREAKING-IN
You need to break in new tires for
approximately 300 miles (480
kilometers). During this time, your vehicle
may exhibit some unusual driving
characteristics. The engine also needs to
break in. Avoid hard accelerations and
driving too fast for the first 1000 miles
(1600 kilometers). If possible, avoid
carrying heavy loads up steep grades
during the break-in period.
REDUCED ENGINE
PERFORMANCE
WARNING
Continued operation will increase the
engine temperature and cause the
engine to shut down completely.
If the engine coolant temperature gauge
needle moves to the upper limit position,
the engine is overheating. See Gauges
(page 76).
You must only drive your vehicle for a short
distance if the engine overheats. The
distance you can travel depends on
ambient temperature, vehicle load and
terrain. The engine will continue to operate
with limited power for a short time.
If the engine temperature continues to rise,
the fuel supply to the engine will reduce.
The air conditioning will switch off and the
engine cooling fan will operate continually.
1. Reduce your speed gradually and stop
your vehicle as soon as it is safe to do
so.
2. Switch the engine off immediately to prevent severe engine damage.
3. Wait for the engine to cool down.
4. Check the coolant level. See
Engine
Coolant Check (page 214). 5. Have your vehicle checked by an
authorized dealer as soon as possible.
ECONOMICAL DRIVING
Fuel economy is affected by several things
such as how you drive, the conditions you
drive under and how you maintain your
vehicle.
There are some things to keep in mind that
may improve your fuel economy:
• Accelerate and slow down in a smooth,
moderate fashion.
• Drive at steady speeds.
• Anticipate stops; slowing down may
eliminate the need to stop.
• Combine errands and minimize
stop-and-go driving(When running
errands, go to the furthest destination
first and then work your way back
home).
• Close the windows for high-speed
driving.
• Drive at reasonable speeds.
• Keep the tires properly inflated and use
only the recommended size.
• Use the recommended engine oil.
• Perform all regularly scheduled
maintenance.
There are also some things you may want
to avoid doing because they reduce your
fuel economy:
• Avoid sudden or hard accelerations.
• Avoid revving the engine before turning
off the car.
• Avoid long idle periods.
• Do not warm up your vehicle on cold
mornings.
• Reduce the use of air conditioning and
heat.
• Avoid using speed control in hilly
terrain.
178
Transit (TTH) Canada/United States of America, enUSA, First Printing Driving Hints