FORD WINDSTAR 2001 2.G Owners Manual
Manufacturer: FORD, Model Year: 2001, Model line: WINDSTAR, Model: FORD WINDSTAR 2001 2.GPages: 288, PDF Size: 2.6 MB
Page 101 of 288
If you have the optional power sliding door, disable the power sliding
door by pushing the ON/OFF control in the overhead console to the OFF
position. The power sliding door cannot be opened from the rear seat
when both this feature and the child lock are engaged.
If you want to open the sliding door when the child safety lock is on:
²Unlock the sliding door and open the door from the outside.
²If you have the optional power sliding door, press the right or left
hand control on the overhead console to open the door.
CENTER CONSOLE (IF EQUIPPED)
Your vehicle may be equipped with a variety of console features. These
include:
²Utility compartment
²Compact disc changer (if equipped)
²AutovisiontEntertainment System (if equipped)
AutovisionTEntertainment System (if equipped)
Your vehicle may be equipped with an AutovisiontEntertainment
System. This system offers the rear passengers a VHS video cassette
player, a 6.4º LCD video screen, video game inputs and is integrated into
the vehicle audio system. Refer to the AutovisiontEntertainment System
User Manual for operating instructions or call 1-877±848±6434 for
product assistance.
POSITIVE RETENTION FLOOR MAT (IF EQUIPPED)
To install floor mats that have a retention post:
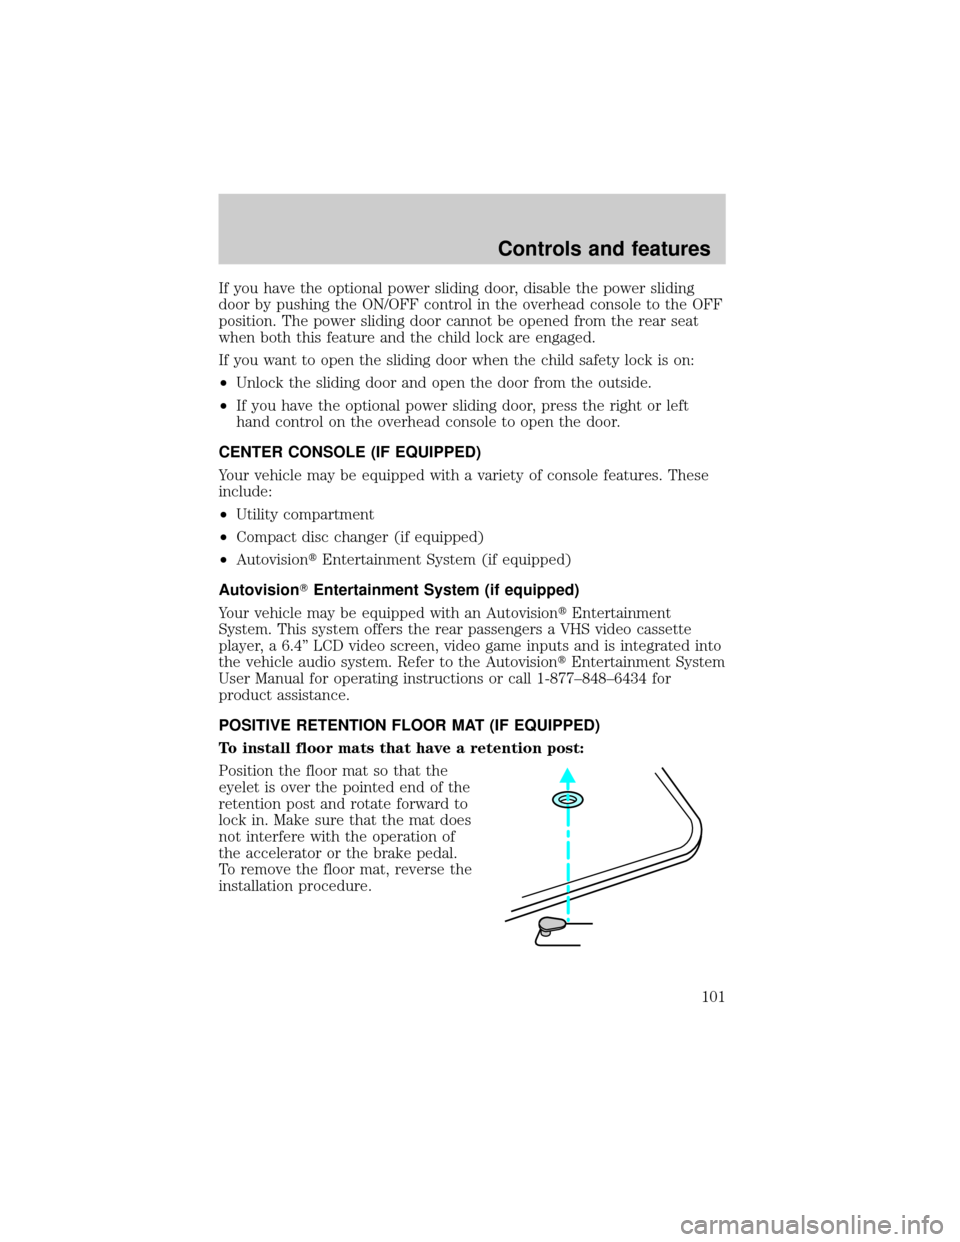
Position the floor mat so that the
eyelet is over the pointed end of the
retention post and rotate forward to
lock in. Make sure that the mat does
not interfere with the operation of
the accelerator or the brake pedal.
To remove the floor mat, reverse the
installation procedure.
Controls and features
101
Page 102 of 288

To install floor mats that have a screw in retainer:
1. Move the driver's seat to the most rearward position
2. Position the driver's side floor mat with the rear of the mat against left
(outboard) front edge of seat track mounting bracket.
3. Use a screwdriver to screw locator post into vehicle carpeting. Exert
pressure while turning to pierce the carpeting.
When installed properly, the locator will not screw down tightly, but will
rotate freely.
Use only Ford original Equipment floor mats. Do not stack multiple floor
mats over the Ford original equipment floor mats as they are not
positively retained.
REMOTE ENTRY SYSTEM
This device complies with part 15 of the FCC rules and with RS-210 of
Industry Canada. Operation is subject to the following two conditions:
(1) This device may not cause harmful interference, and (2) This device
must accept any interference received, including interference that may
cause undesired operation.
Changes or modifications not expressly approved by the party
responsible for compliance could void the user's authority to
operate the equipment.
The remote entry system allows you to:
²lock or unlock all vehicle doors and liftgate without a key.
²unlock/open a RH power sliding door and/or LH power sliding door (if
equipped).
²activate the personal alarm.
²arm and disarm the perimeter anti-theft system (if equipped).
The lock/unlock features will operate with the vehicle in P (Park) or N
(Neutral) and the ignition in the OFF, ACC or RUN positions. The power
sliding door feature will operate with the vehicle in P (Park) and the
ignition in the OFF, ACC or RUN positions. The panic control feature
only operates with the ignition in the OFF position.
If there is any potential remote keyless entry problem with your vehicle,
ensureALL key fobs(remote entry transmitters) are brought to the
dealership, to aid in troubleshooting.
Controls and features
102
Page 103 of 288
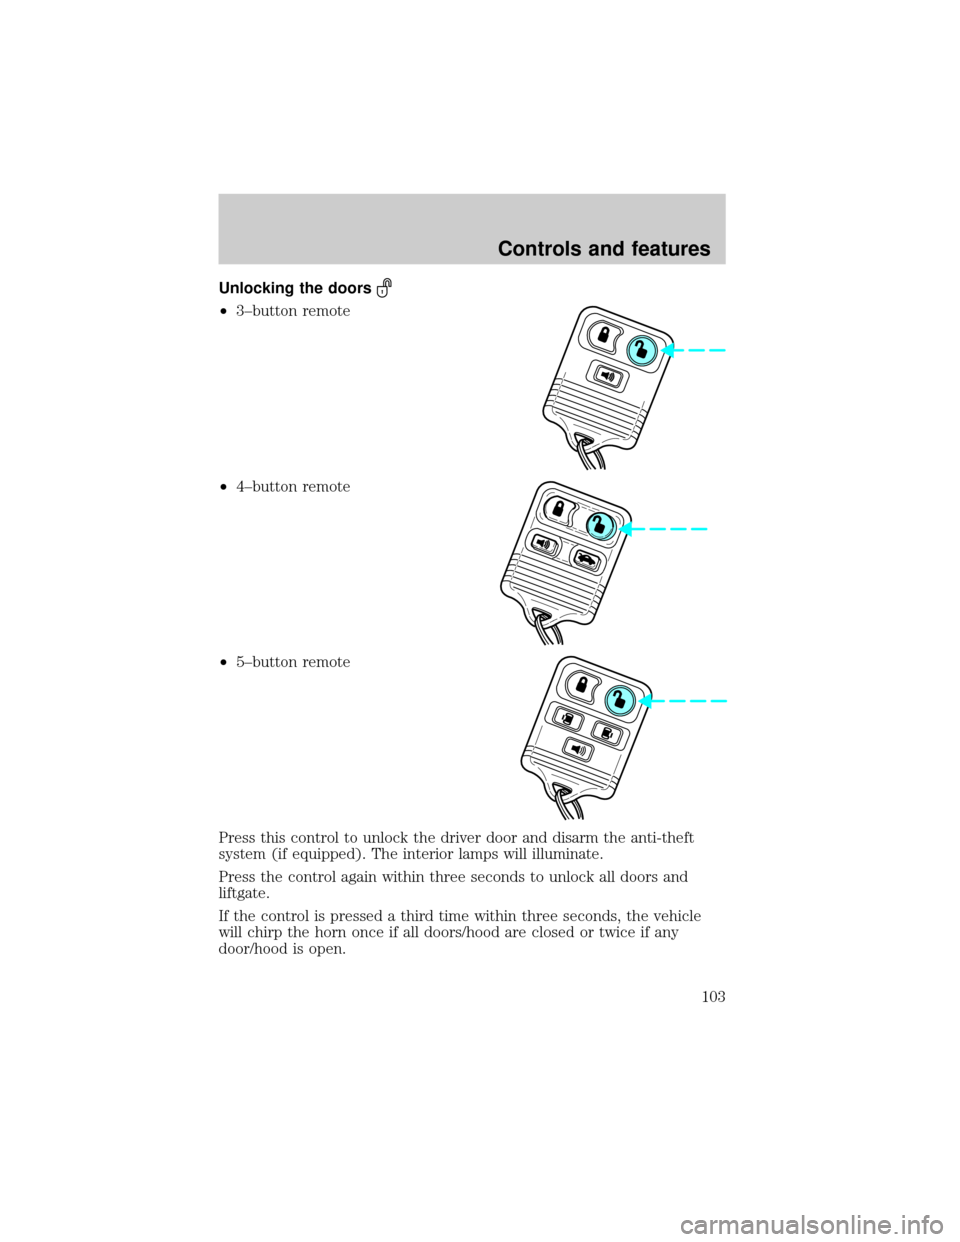
Unlocking the doors
²3±button remote
²4±button remote
²5±button remote
Press this control to unlock the driver door and disarm the anti-theft
system (if equipped). The interior lamps will illuminate.
Press the control again within three seconds to unlock all doors and
liftgate.
If the control is pressed a third time within three seconds, the vehicle
will chirp the horn once if all doors/hood are closed or twice if any
door/hood is open.
Controls and features
103
Page 104 of 288
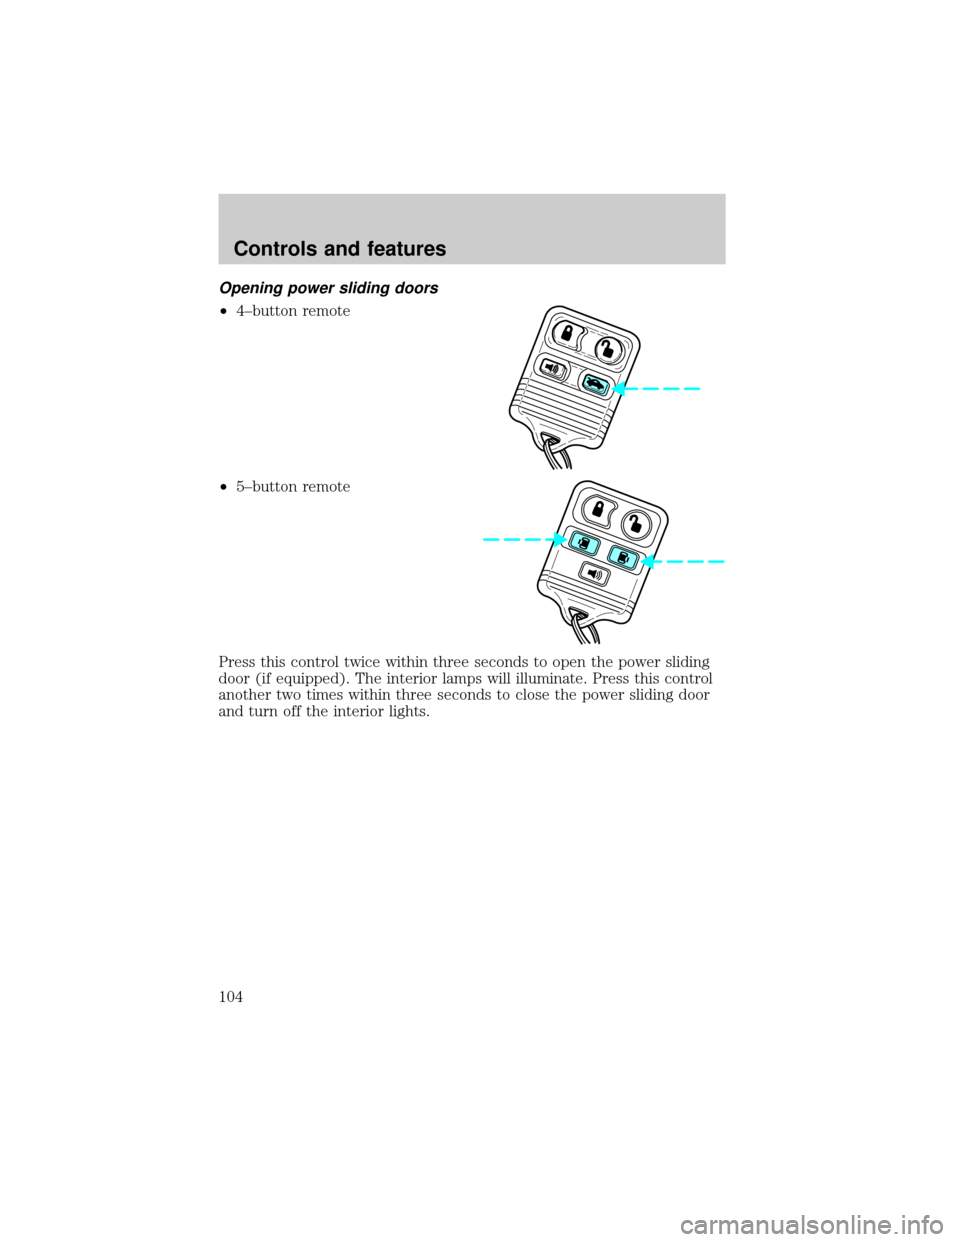
Opening power sliding doors
²4±button remote
²5±button remote
Press this control twice within three seconds to open the power sliding
door (if equipped). The interior lamps will illuminate. Press this control
another two times within three seconds to close the power sliding door
and turn off the interior lights.
Controls and features
104
Page 105 of 288
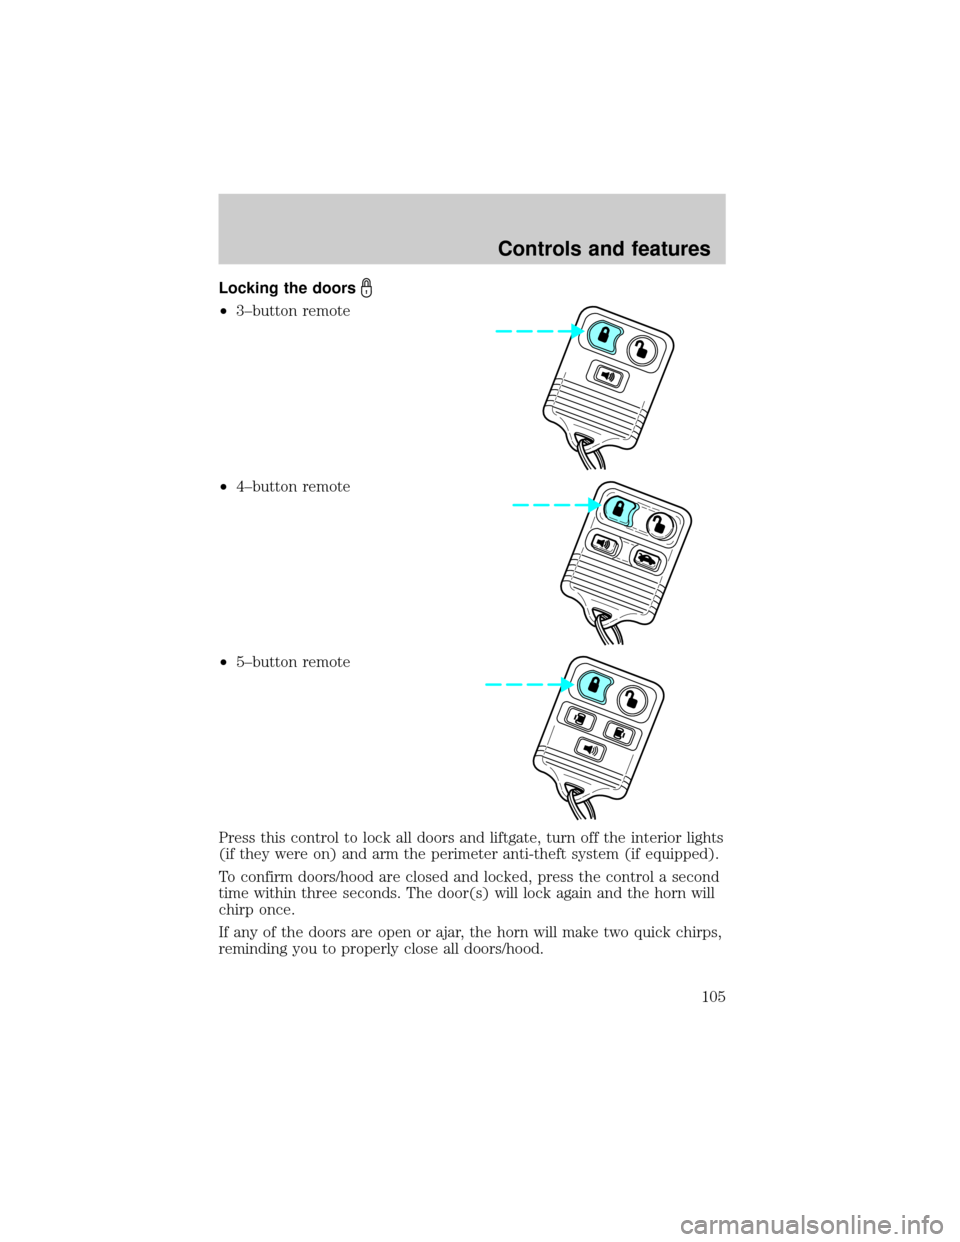
Locking the doors
²3±button remote
²4±button remote
²5±button remote
Press this control to lock all doors and liftgate, turn off the interior lights
(if they were on) and arm the perimeter anti-theft system (if equipped).
To confirm doors/hood are closed and locked, press the control a second
time within three seconds. The door(s) will lock again and the horn will
chirp once.
If any of the doors are open or ajar, the horn will make two quick chirps,
reminding you to properly close all doors/hood.
Controls and features
105
Page 106 of 288
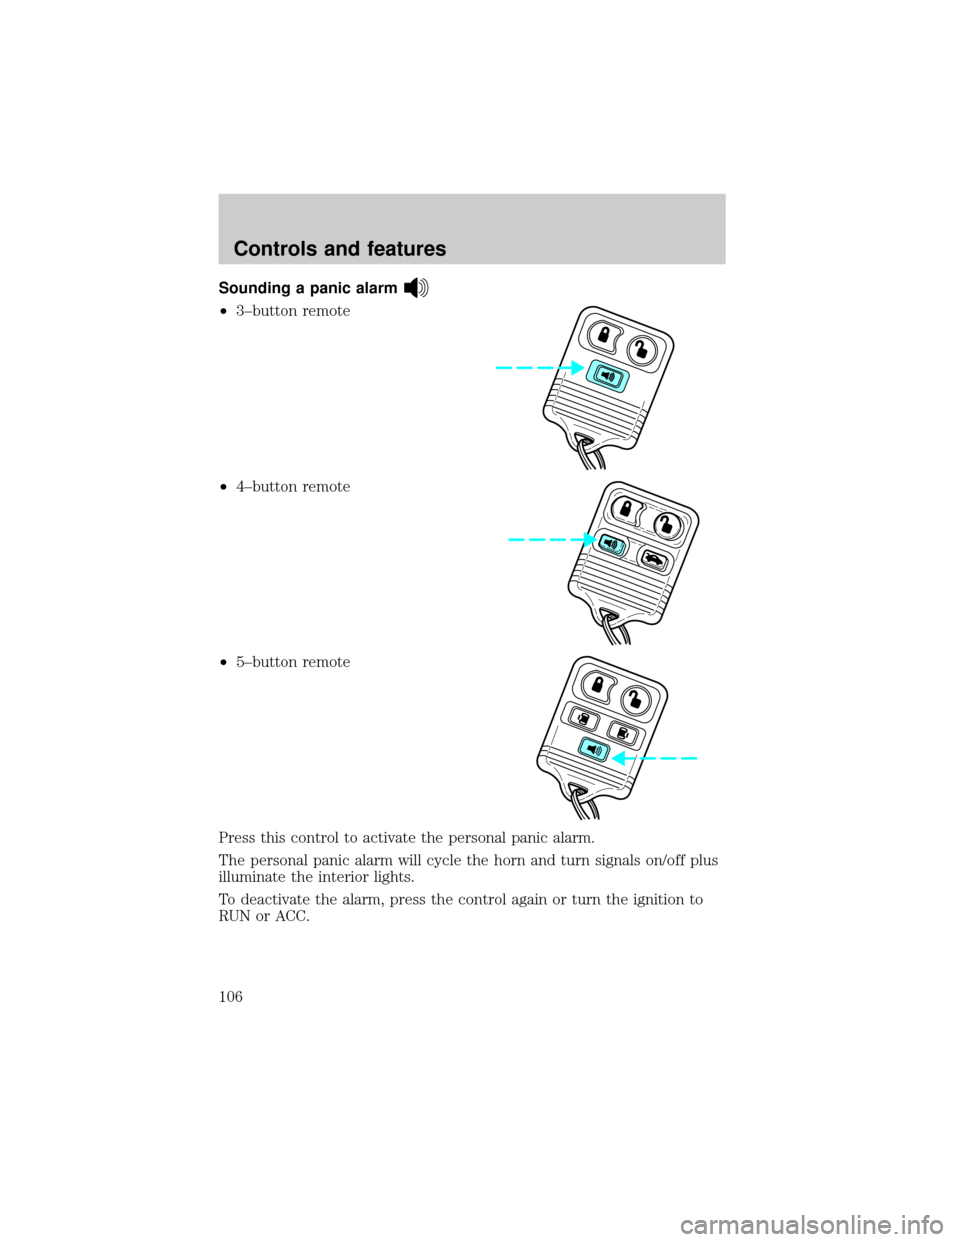
Sounding a panic alarm
²3±button remote
²4±button remote
²5±button remote
Press this control to activate the personal panic alarm.
The personal panic alarm will cycle the horn and turn signals on/off plus
illuminate the interior lights.
To deactivate the alarm, press the control again or turn the ignition to
RUN or ACC.
Controls and features
106
Page 107 of 288

Illuminated entry
The interior lights will illuminate when the remote entry Unlock or Panic
control is pressed with the doors closed or when unlocking or opening a
power sliding door (if equipped).
The system automatically turns off after 25 seconds or when the ignition
is turned to the RUN position. The panel dimmer control mustnotbe
set to the OFF position for the illuminated entry to operate.
The inside lights will not turn off if:
²they have been turned on with the instrument panel dimmer control
or
²any door is open.
The battery saver will shut off the interior lamps 30 minutes after the
last door is closed even if the panel dimmer control is left on.
Illuminated exit
The interior lights will illuminate when the key is removed from the
ignition. When the headlamp control is on the ªsleeping baby modeº, only
the lower interior lights will illuminate.
The system automatically turns off after 25 seconds. The panel dimmer
control mustnotbe set to the OFF position for the illuminated entry to
operate.
Replacing the battery
The remote transmitter is powered by one coin type three-volt lithium
battery CR2032 or equivalent. Typical operating range will allow you to
be up to 10 meters (33 feet) away from your vehicle. A decrease in
operating range can be caused by:
²weather conditions
²nearby radio towers
²structures around the vehicle
²other vehicles parked next to the vehicle
Controls and features
107
Page 108 of 288
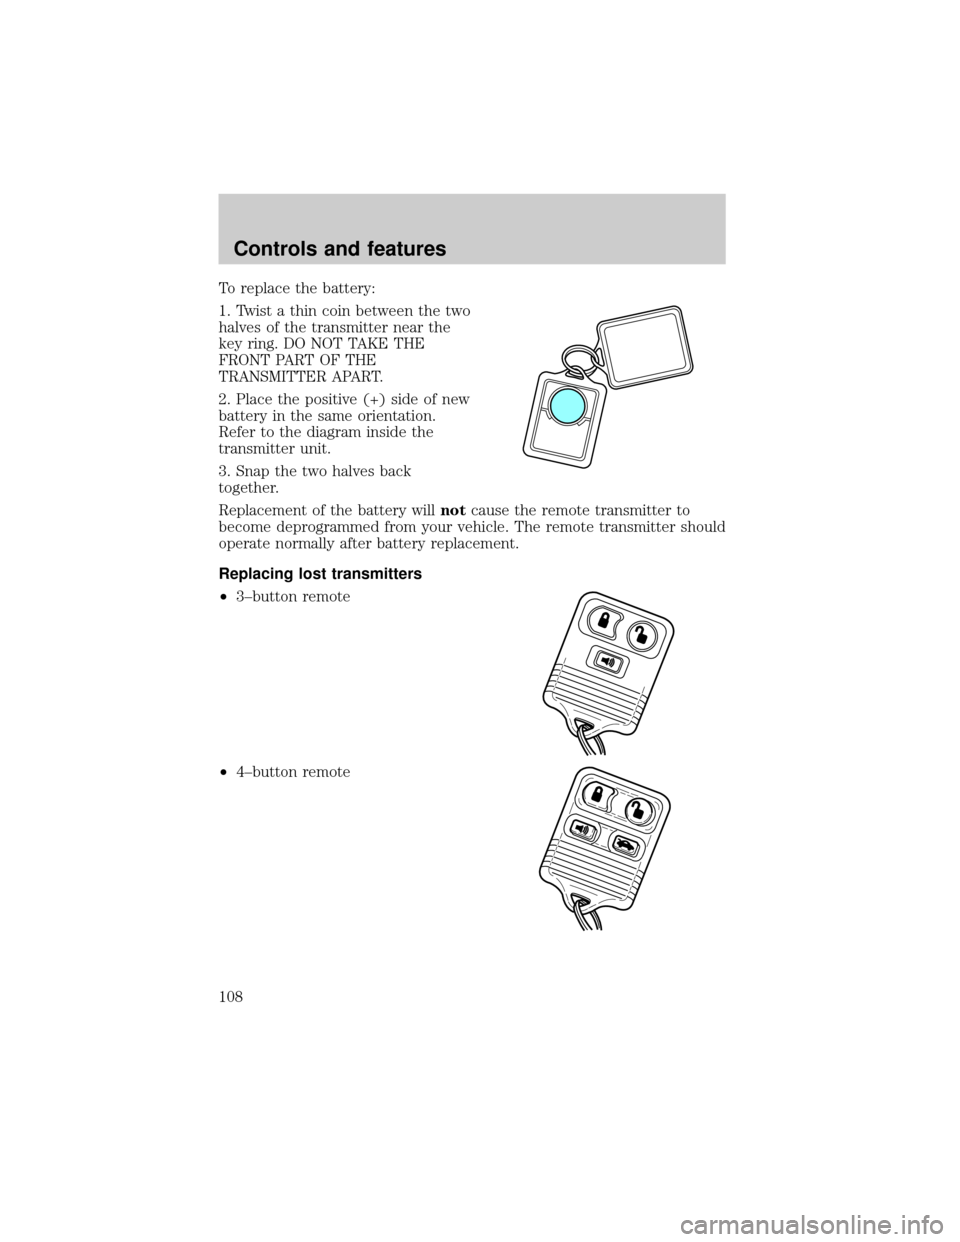
To replace the battery:
1. Twist a thin coin between the two
halves of the transmitter near the
key ring. DO NOT TAKE THE
FRONT PART OF THE
TRANSMITTER APART.
2. Place the positive (+) side of new
battery in the same orientation.
Refer to the diagram inside the
transmitter unit.
3. Snap the two halves back
together.
Replacement of the battery willnotcause the remote transmitter to
become deprogrammed from your vehicle. The remote transmitter should
operate normally after battery replacement.
Replacing lost transmitters
²3±button remote
²4±button remote
Controls and features
108
Page 109 of 288
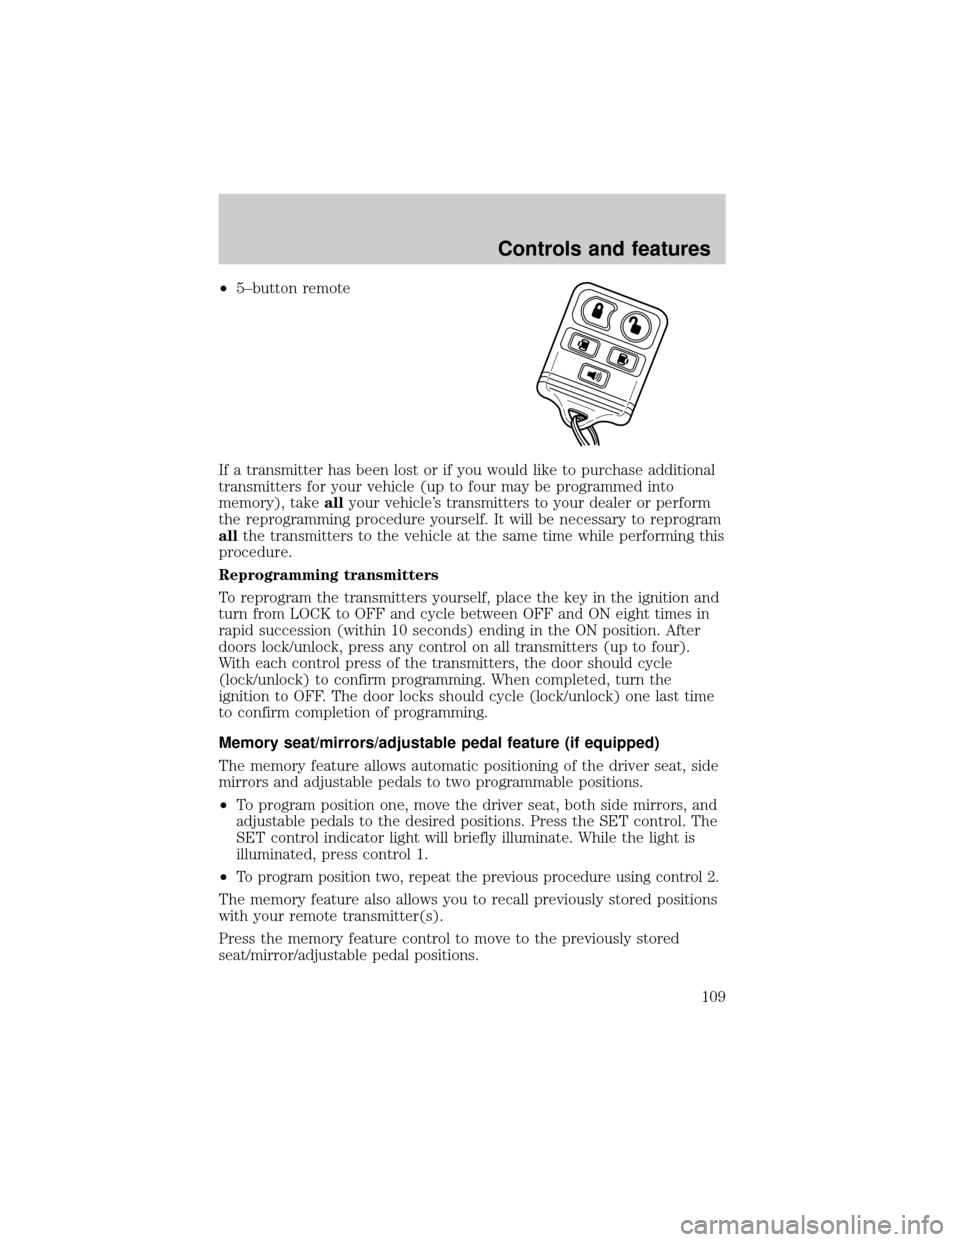
²5±button remote
If a transmitter has been lost or if you would like to purchase additional
transmitters for your vehicle (up to four may be programmed into
memory), takeallyour vehicle's transmitters to your dealer or perform
the reprogramming procedure yourself. It will be necessary to reprogram
allthe transmitters to the vehicle at the same time while performing this
procedure.
Reprogramming transmitters
To reprogram the transmitters yourself, place the key in the ignition and
turn from LOCK to OFF and cycle between OFF and ON eight times in
rapid succession (within 10 seconds) ending in the ON position. After
doors lock/unlock, press any control on all transmitters (up to four).
With each control press of the transmitters, the door should cycle
(lock/unlock) to confirm programming. When completed, turn the
ignition to OFF. The door locks should cycle (lock/unlock) one last time
to confirm completion of programming.
Memory seat/mirrors/adjustable pedal feature (if equipped)
The memory feature allows automatic positioning of the driver seat, side
mirrors and adjustable pedals to two programmable positions.
²To program position one, move the driver seat, both side mirrors, and
adjustable pedals to the desired positions. Press the SET control. The
SET control indicator light will briefly illuminate. While the light is
illuminated, press control 1.
²
To program position two, repeat the previous procedure using control 2.
The memory feature also allows you to recall previously stored positions
with your remote transmitter(s).
Press the memory feature control to move to the previously stored
seat/mirror/adjustable pedal positions.
Controls and features
109
Page 110 of 288

Activating/deactivating the memory feature on your remote transmitter
The memory feature from the remote transmitter can be turned off/on,
however, the memory control buttons will continue to operate. Before
following the procedure, make sure that the ignition is OFF and all doors
and the liftgate window are closed. You must complete steps 1±7 within
30 seconds or the procedure will have to be repeated. If the procedure
needs to be repeated, you must wait 30 seconds.
1. Turn the ignition key to ON.
2. Press the power door unlock control three times.
3. Turn the ignition key from ON to OFF.
4. Press the power door unlock control three times.
5. Turn the ignition back to ON. The horn will chirp.
6. Press the power door unlock control two times, then press the power
lock control once. The horn will chirp twice if the memory feature was
deactivated or three times (two short and one long) if the memory
feature was activated.
7. Turn ignition to OFF. The horn will chirp once to confirm the
procedure is complete.
Autolock
This feature automatically locks all vehicle doors when:
²all doors are closed
²the engine is running
²you shift into any gear putting the vehicle in motion.
Relock
The autolock feature repeats when:
²any door, except the drivers, is opened then closed while the engine is
running and
²you put the vehicle in motion.
Deactivating/activating the autolock feature
The deactivating/activating the autolock feature can be turned off by the
keyless entry pad (if equipped) on your door or by your dealer.
Deactivating/activating the illuminated exit feature
The illuminated exit feature can be turned off by your dealer.
Controls and features
110