FORD WINDSTAR 2001 2.G Owners Manual
Manufacturer: FORD, Model Year: 2001, Model line: WINDSTAR, Model: FORD WINDSTAR 2001 2.GPages: 288, PDF Size: 2.6 MB
Page 111 of 288
KEYLESS ENTRY SYSTEM
With the keyless entry keypad, you can:
²lock or unlock the vehicle doors without using the key.
Your vehicle has a factory set 5 digit code that operates the keyless entry
system. You can also program your own 5 digit personal entry code. The
factory-set code is located:
²on the owner's wallet card in the glove compartment
²taped to the computer module
²or at your dealer.
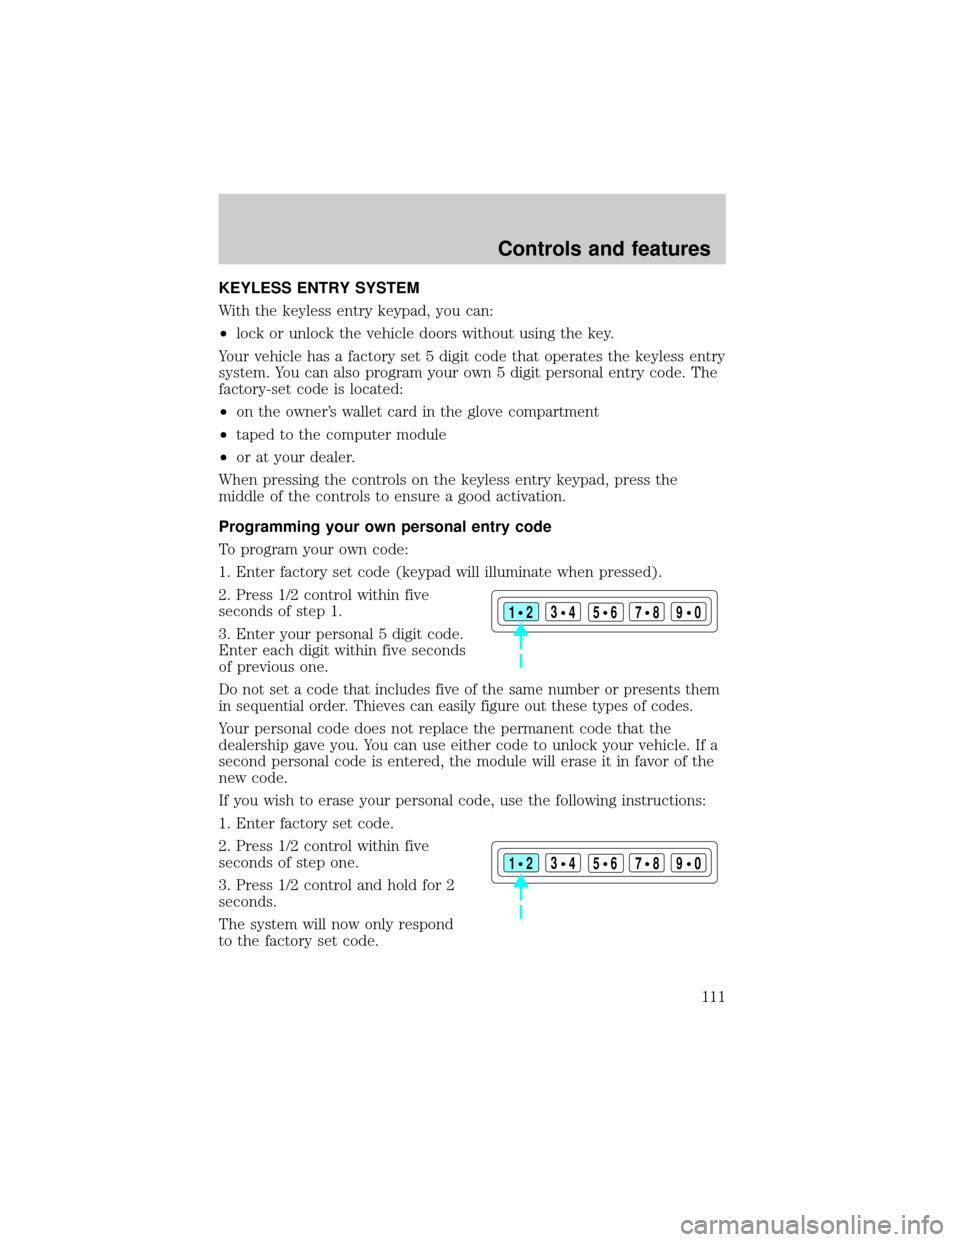
When pressing the controls on the keyless entry keypad, press the
middle of the controls to ensure a good activation.
Programming your own personal entry code
To program your own code:
1. Enter factory set code (keypad will illuminate when pressed).
2. Press 1/2 control within five
seconds of step 1.
3. Enter your personal 5 digit code.
Enter each digit within five seconds
of previous one.
Do not set a code that includes five of the same number or presents them
in sequential order. Thieves can easily figure out these types of codes.
Your personal code does not replace the permanent code that the
dealership gave you. You can use either code to unlock your vehicle. If a
second personal code is entered, the module will erase it in favor of the
new code.
If you wish to erase your personal code, use the following instructions:
1. Enter factory set code.
2. Press 1/2 control within five
seconds of step one.
3. Press 1/2 control and hold for 2
seconds.
The system will now only respond
to the factory set code.
123
45678
90
123
45678
90
Controls and features
111
Page 112 of 288

Unlocking the doors with the keyless entry system
To unlock the driver door, enter either the factory set code or the
personal code (each digit must be pressed within five seconds of the
prior digit). The interior lamps will also illuminate.
To unlock all doors, enter the factory set code or personal code (driver
door unlocks) and press the 3/4 control within five seconds.
Locking the doors with the keyless entry system
It is not necessary to enter the factory or personal code prior to locking
all doors. To lock the doors:
²Press the 7/8 control and the 9/0 control at the same time.
Activating/deactivating autolock with the keyless entry system
Before following the activation or deactivation procedures, make sure
that the anti-theft system (if equipped) is not armed, ignition is off, and
all vehicle doors and liftgate window are closed.
1. Enter 5 digit entry code
2. Press and hold 7/8 control
3. Press and release 3/4 control while holding 7/8 control
4. Release 7/8 control.
The horn will chirp once if autolock was deactivated or twice (one short
and one long chirp) if autolock was activated.
To re-activate autolock, repeat steps 1±4.
PERIMETER ALARM SYSTEM (IF EQUIPPED)
The perimeter anti-theft system will help prevent your vehicle from
unauthorized entry.
If there is any potential perimeter anti-theft problem with your vehicle,
ensureALL key fobs(remote entry transmitters) are brought to the
dealership, to aid in troubleshooting.
Arming the system
When armed, this system will help protect your vehicle from
unauthorized entry. When unauthorized entry occurs, the system will
flash the turn signal lamps and side repeaters and honk the horn.
Controls and features
112
Page 113 of 288
The system is ready to arm whenever the key is removed from the
ignition. Any of the following actions will prearm the alarm system:
²Press the remote entry lock control
²Press the interior power door lock control while the door is open
Twenty seconds after one of the above events occurs, any door/hood that
is closed is armed.
Any door/hood that still open is prearmed and waiting for the door/hood
to be closed.
Once that input is closed, the input will arm in 20 seconds and the
exterior lamps may flash.
Disarming the system
You can disarm the system by any of the following actions:
²Press the transmitter unlock control.
²Unlock the doors with a key.
²Turn a programmed SecuriLock key to RUN /START.
SECURILOCKYPASSIVE ANTI-THEFT SYSTEM
SecuriLockypassive anti-theft system is an engine immobilization
system. This system prevents the engine from being started unless a
coded key programmed to your vehicleis used.
The SecuriLockypassive anti-theft system is not compatible with
non-Ford aftermarket remote start systems. Use of these systems may
result in vehicle starting problems and a loss of security protection.
Automatic arming
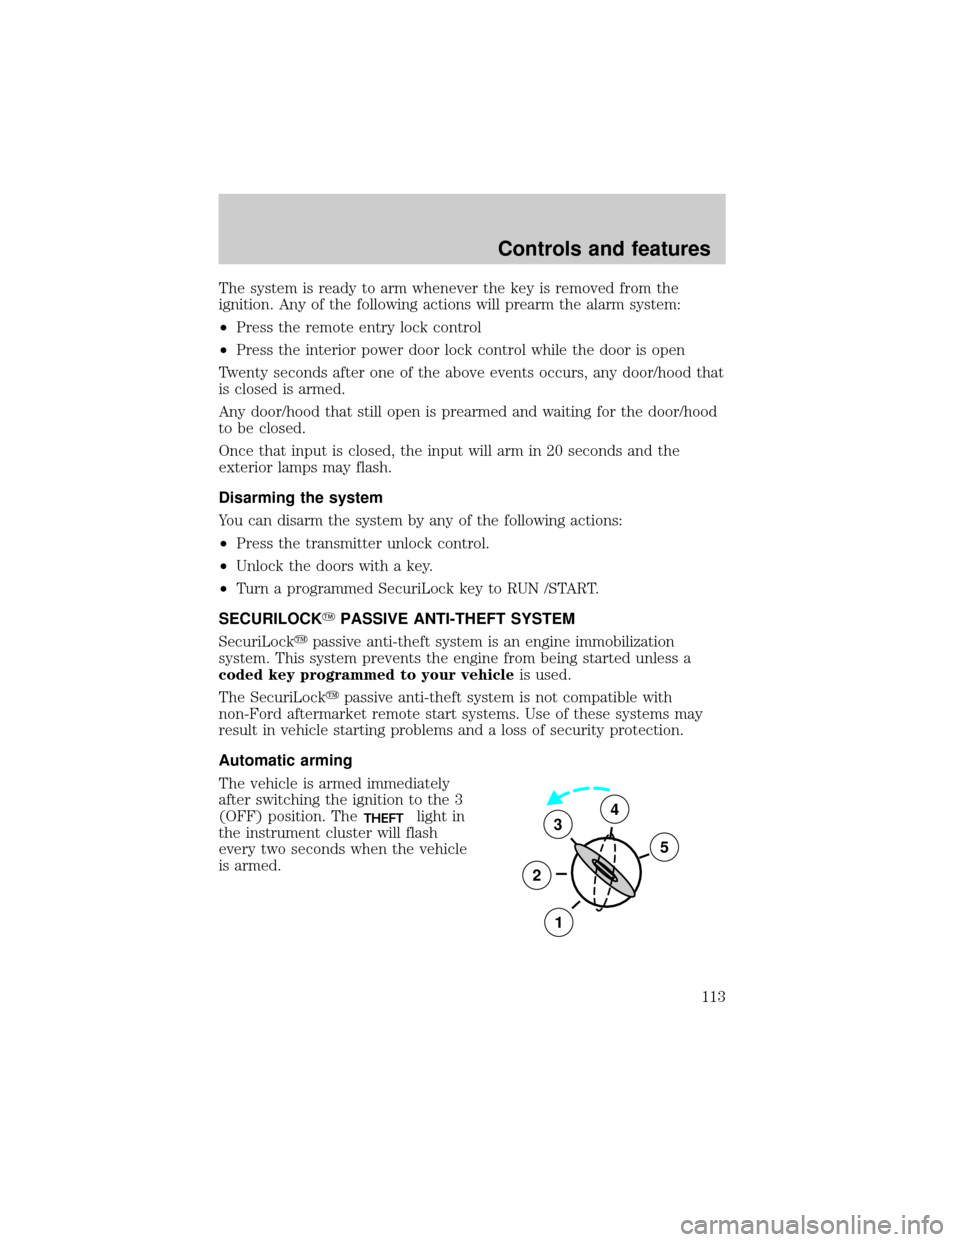
The vehicle is armed immediately
after switching the ignition to the 3
(OFF) position. The
THEFTlight in
the instrument cluster will flash
every two seconds when the vehicle
is armed.3
2
1
5
4
Controls and features
113
Page 114 of 288
Automatic disarming
Switching the ignition to the 4 (ON) position with acoded keydisarms
the vehicle. The
THEFTlight will illuminate for three seconds and then
go out. If the
THEFTlight stays on for an extended period of time or
flashes rapidly, have the system serviced by your dealership or a
qualified technician.
Key information
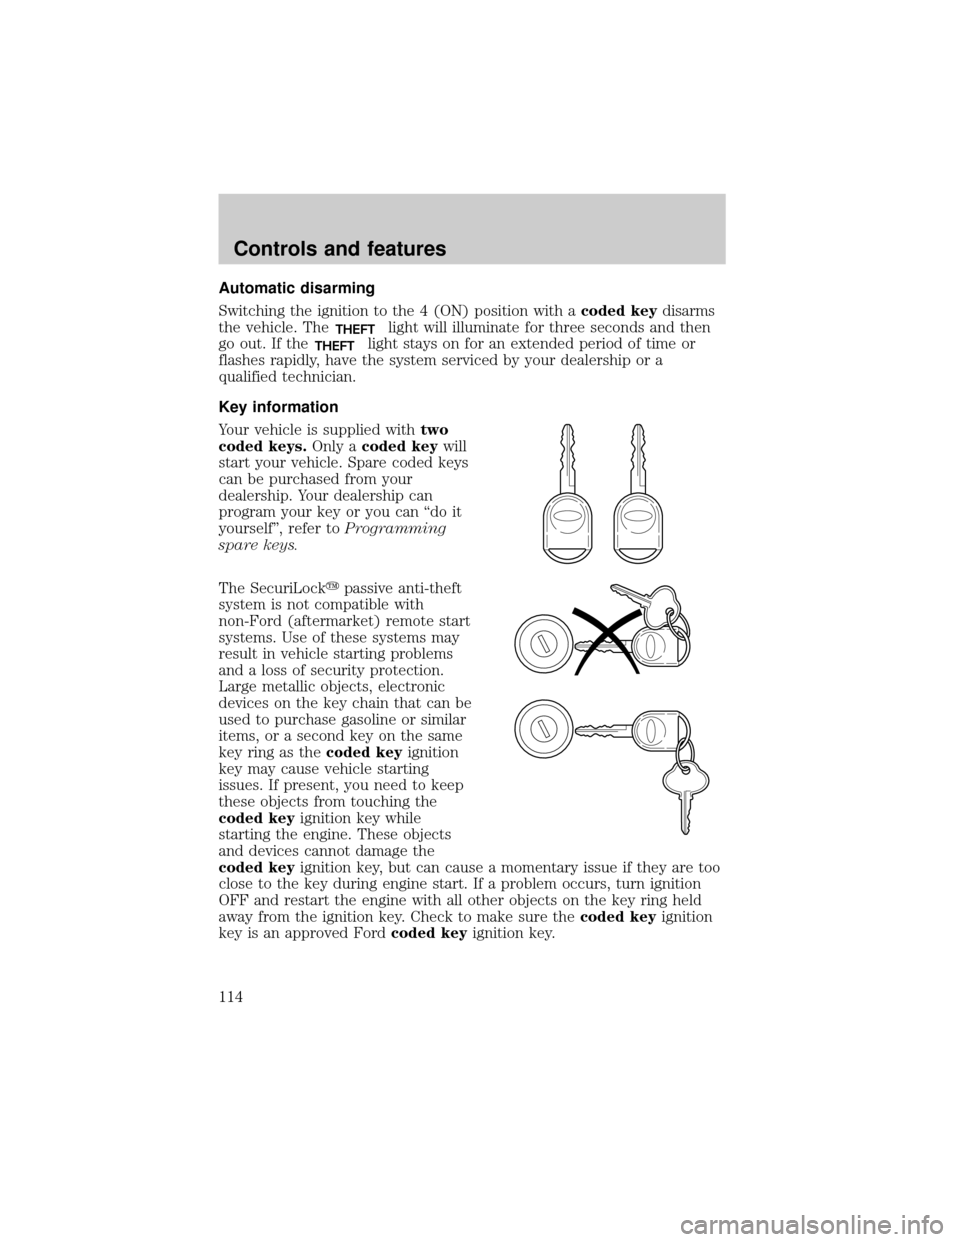
Your vehicle is supplied withtwo
coded keys.Only acoded keywill
start your vehicle. Spare coded keys
can be purchased from your
dealership. Your dealership can
program your key or you can ªdo it
yourselfº, refer toProgramming
spare keys.
The SecuriLockypassive anti-theft
system is not compatible with
non-Ford (aftermarket) remote start
systems. Use of these systems may
result in vehicle starting problems
and a loss of security protection.
Large metallic objects, electronic
devices on the key chain that can be
used to purchase gasoline or similar
items, or a second key on the same
key ring as thecoded keyignition
key may cause vehicle starting
issues. If present, you need to keep
these objects from touching the
coded keyignition key while
starting the engine. These objects
and devices cannot damage the
coded keyignition key, but can cause a momentary issue if they are too
close to the key during engine start. If a problem occurs, turn ignition
OFF and restart the engine with all other objects on the key ring held
away from the ignition key. Check to make sure thecoded keyignition
key is an approved Fordcoded keyignition key.
Controls and features
114
Page 115 of 288

If your keys are lost or stolen you
will need to do the following:
²Use your spare key to start the
vehicle. or
²Have your vehicle towed to a
dealership or locksmith. The key
codes will need to be erased from
your vehicle and new key codes will need to be re-coded.
Replacing coded keys can be very costly and you may want to store an
extra programmed key away from the vehicle in a safe place to prevent
an unforeseen inconvenience.
The correctcoded keykey must be used for your vehicle. The use of
the wrong type ofcoded keykey may lead to a ªNO-STARTº condition.
Refer to the Rotunda Key Application Matrix for the correctcoded key
key type for your particular vehicle make and model year. If a key
Application Matrix is not available, call 1±800±ROTUNDA
(1±800±768±8632) (press 2) to order a Key Application Matrix.
If an unprogrammed key is used in the ignition it will cause a
ªNO STARTºcondition.
Programming spare keys
A maximum of eight keys can be coded to your vehicle. Only
SecuriLockykeys can be used. To program acoded keyyourself, you
will need two previously programmedcoded keys(keys that already
operate your vehicle's engine) and the new unprogrammed key(s) readily
accessible for timely implementation of each step in the procedure.
If two previously programmed coded keys are not available (one or both
of your original keys were lost or stolen), you must bring your vehicle to
your dealership to have the spare coded key(s) programmed.
Please read and understand the entire procedure before you begin.
Controls and features
115
Page 116 of 288

1. Insert the first previously
programmedcoded keyinto the
ignition and turn the ignition from 3
(OFF) to 4 (ON) (maintain ignition
in 4 (ON) for at least one second).
2. Turn ignition to 3 (OFF) then 2
(LOCK) and remove the firstcoded
keyfrom the ignition.
3. Within ten seconds of removing
the firstcoded key,insert the
second previously programmedcoded keyinto the ignition and turn the
ignition from 3 (OFF) to 4 (ON) (maintain ignition in 4 (ON) for at least
one second but no more than ten seconds).
4. Turn the ignition to 3 (OFF) then 2 (LOCK) and remove the second
coded keyfrom the ignition.
5. Within 20 seconds of removing the secondcoded key,insert the new
unprogrammed key (new key/valet key) into the ignition and turn the
ignition from 3 (OFF) to 4 (ON) (maintain ignition in 4 (ON) for at least
one second). This step will program your new key to a coded key.
6. To program additional new unprogrammed key(s), repeat this
procedure from step 1.
If successful, the new coded key(s) will start the vehicle's engine and the
theft indicator will illuminate for three seconds and then go out.
If not successful, the new coded key(s) will not start the vehicle's engine
and the theft indicator will flash on and off. If failure repeats, bring your
vehicle to your dealership to have the new spare key(s) programmed.
AUXILIARY POWER POINT
Power outlets are designed for accessory plugs only. Do not hang
any type of accessory or accessory bracket from the plug.
Improper use of the power outlet can cause damage not covered by
your warranty.
The power point is an additional power source for electrical accessories.
An additional power point is located in the rear cargo area.
3
2
1
5
4
Controls and features
116
Page 117 of 288
LIFTGATE
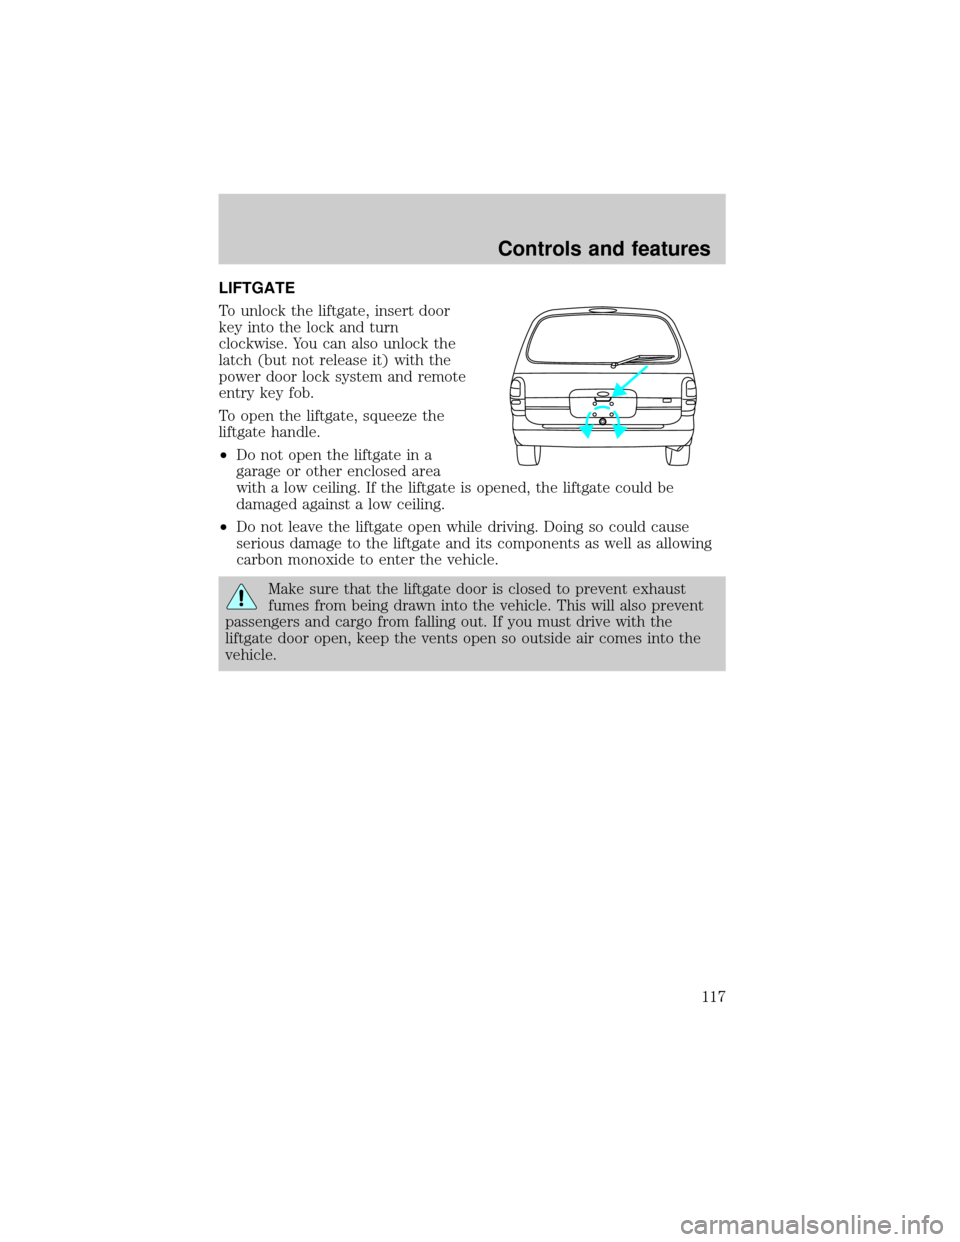
To unlock the liftgate, insert door
key into the lock and turn
clockwise. You can also unlock the
latch (but not release it) with the
power door lock system and remote
entry key fob.
To open the liftgate, squeeze the
liftgate handle.
²Do not open the liftgate in a
garage or other enclosed area
with a low ceiling. If the liftgate is opened, the liftgate could be
damaged against a low ceiling.
²Do not leave the liftgate open while driving. Doing so could cause
serious damage to the liftgate and its components as well as allowing
carbon monoxide to enter the vehicle.
Make sure that the liftgate door is closed to prevent exhaust
fumes from being drawn into the vehicle. This will also prevent
passengers and cargo from falling out. If you must drive with the
liftgate door open, keep the vents open so outside air comes into the
vehicle.
Controls and features
117
Page 118 of 288
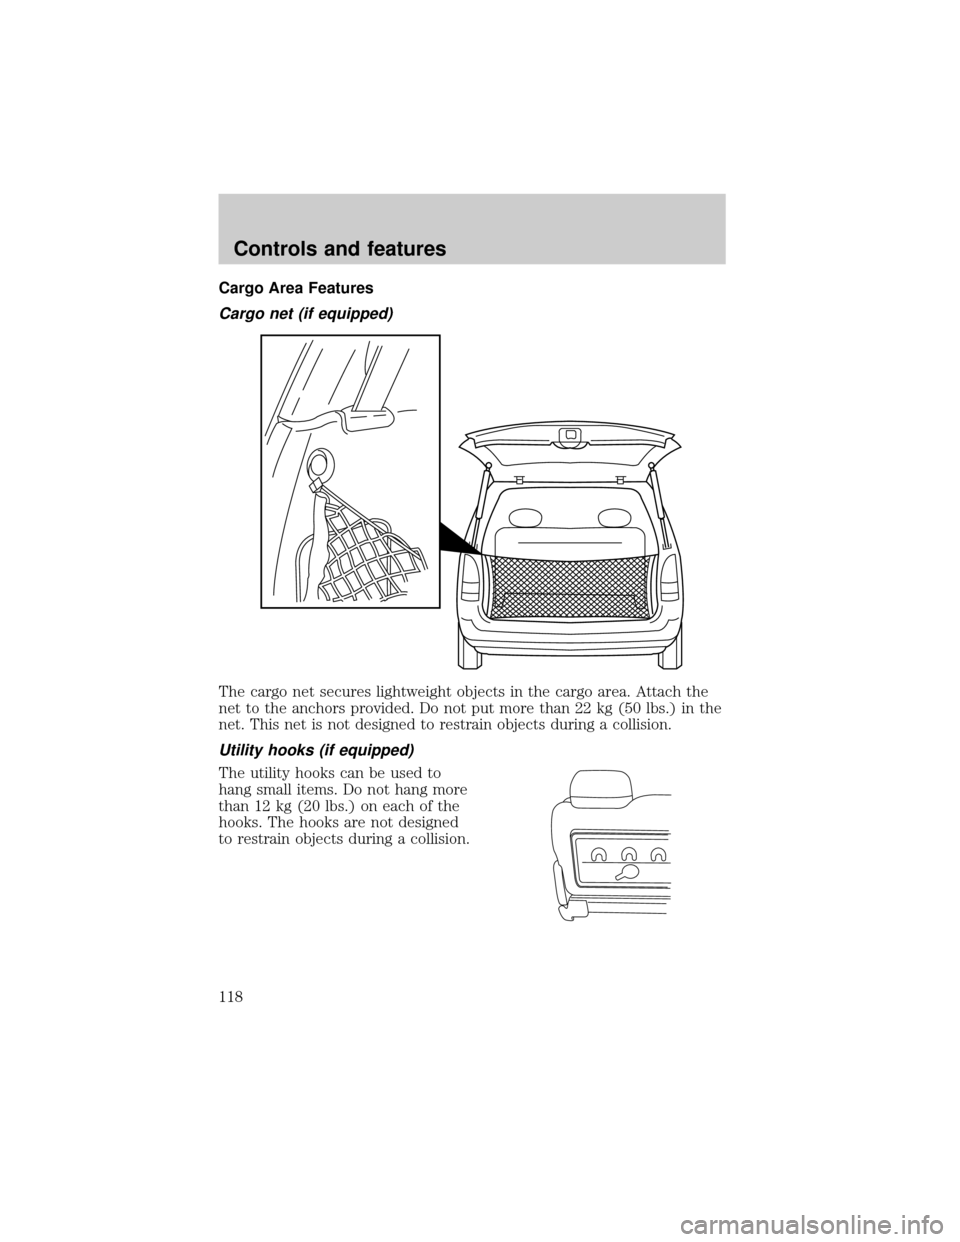
Cargo Area Features
Cargo net (if equipped)
The cargo net secures lightweight objects in the cargo area. Attach the
net to the anchors provided. Do not put more than 22 kg (50 lbs.) in the
net. This net is not designed to restrain objects during a collision.
Utility hooks (if equipped)
The utility hooks can be used to
hang small items. Do not hang more
than 12 kg (20 lbs.) on each of the
hooks. The hooks are not designed
to restrain objects during a collision.
Controls and features
118
Page 119 of 288
SEATING
Adjustable head restraints (if equipped)
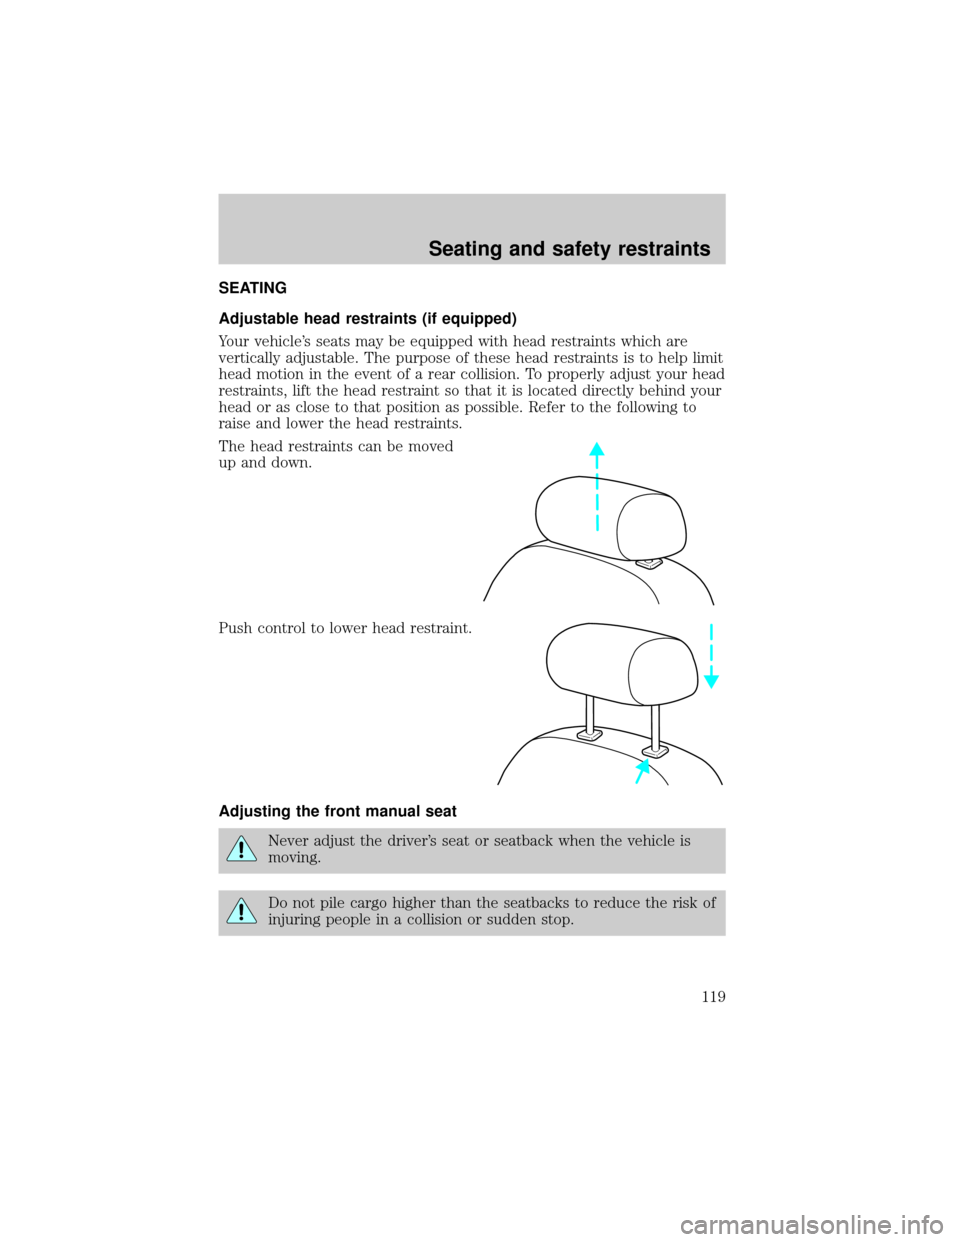
Your vehicle's seats may be equipped with head restraints which are
vertically adjustable. The purpose of these head restraints is to help limit
head motion in the event of a rear collision. To properly adjust your head
restraints, lift the head restraint so that it is located directly behind your
head or as close to that position as possible. Refer to the following to
raise and lower the head restraints.
The head restraints can be moved
up and down.
Push control to lower head restraint.
Adjusting the front manual seat
Never adjust the driver's seat or seatback when the vehicle is
moving.
Do not pile cargo higher than the seatbacks to reduce the risk of
injuring people in a collision or sudden stop.
Seating and safety restraints
119
Page 120 of 288
Always drive and ride with your seatback upright and the lap
belt snug and low across the hips.
Reclining the seatback can reduce the effectiveness of the seat's
safety belt in the event of a collision.
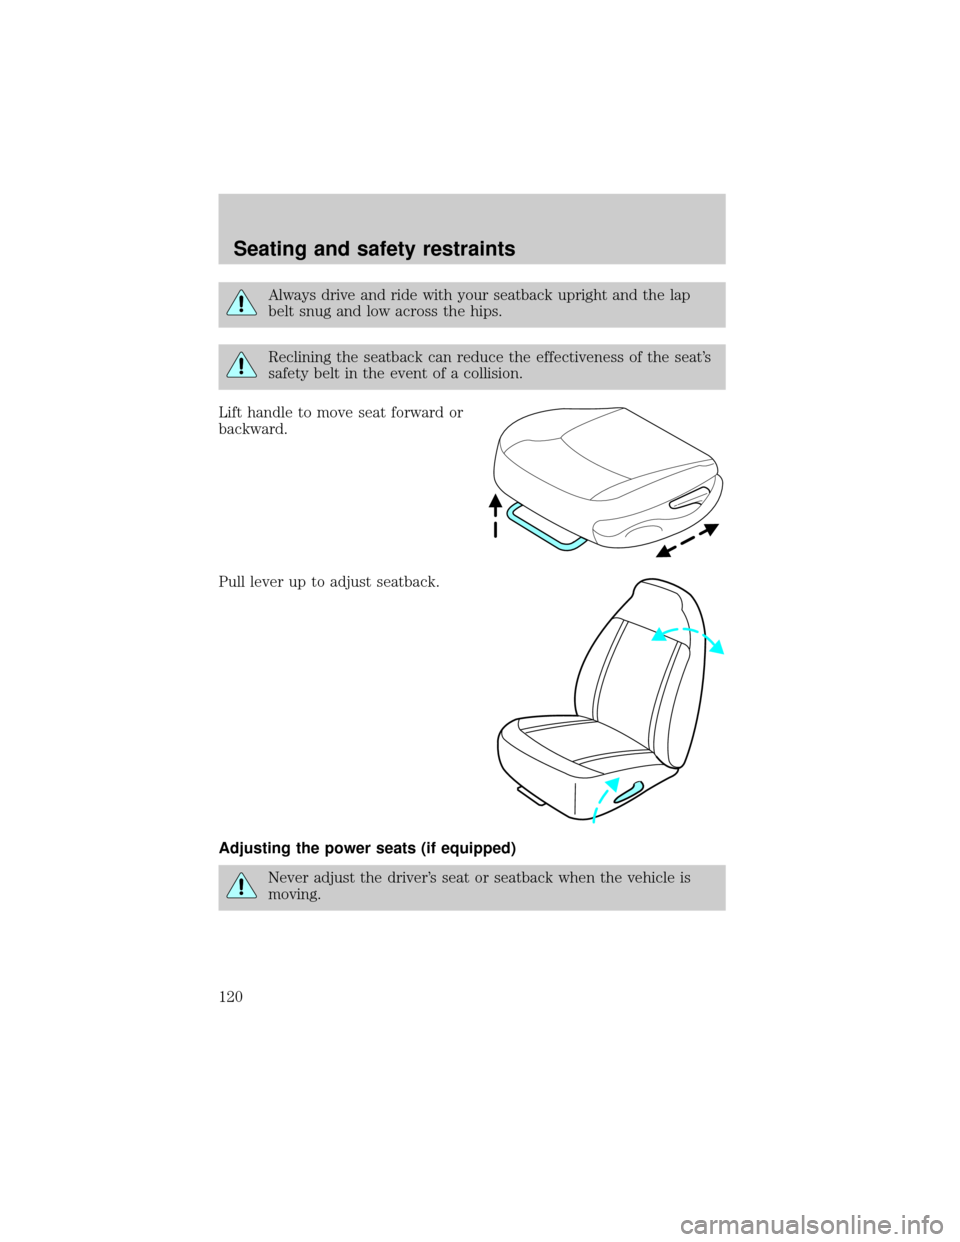
Lift handle to move seat forward or
backward.
Pull lever up to adjust seatback.
Adjusting the power seats (if equipped)
Never adjust the driver's seat or seatback when the vehicle is
moving.
Seating and safety restraints
120